
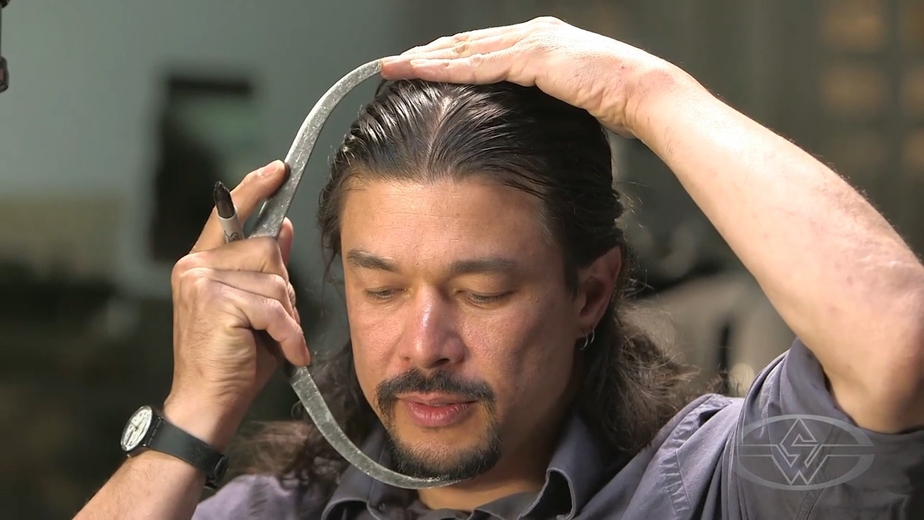
Measuring the Head Size to Make a Sci-Fi Helmet With Fon Davis
In this FREE excerpt from the Stan Winston School of Character Arts course, How to Make a Sci-Fi Helmet - Part 2 - Design Breakdown, Pattern Making, Vacuum Forming, master artist and model maker Fon Davis (Star Wars 1–6, Guardians of the Galaxy, Interstellar) shares how to measure your head to make a sci-fi helmet for your character costumes and cosplay projects!
Jump To Section
- Measuring Head Size for Your Sci-Fi Helmet
- The Importance of Storytelling for Character Costumes
- Finalizing the Helmet Design
To watch the complete instructional video, click the player above!

In this lesson, Fon Davis discusses techniques for designing a sci-fi helmet that’s tailored to your head size and accounts for padding, comfort, and an easy suit-up and removal experience. It’s essential to measure your head as accurately as possible so your helmet fits snugly and doesn't pinch or sit uncomfortably on your face.
Referencing concept art by artist Doug Williams, Davis will help you create an anthropomorphically inspired robot helmet!
Measuring Head Size for Your Sci-Fi Helmet
To make a great helmet, it’s important that it fits your head properly—first and foremost. When measuring the dimensions needed to make your sci-fi helmet, you’ll generally want to give yourself an extra inch.
Davis demonstrates how to measure the distance for every dimension needed to make your helmet. Using a caliper, you’ll measure your head, starting at the widest point. Then, use a tape measure to determine the distance for accuracy.
 (Fon Davis uses a caliper to measure his head at the widest point, then finds the distance using a tape measure.)
Draw a front and top view of the head so you can write each measurement you'll use for designing the helmet.
 (Davis draws a front and top view of his head.)
Next, measure from the bottom of your chin to the top of your head.
 (Davis determines the distance between the top of his head and the bottom of his chin and notes the result on his schematic.)
You’ll then want to measure your head from front to back. To get an accurate measurement, Davis says you want to go from the back of your head (specifically, the part that sticks out the furthest above your neck) to the tip of your nose.
 (Davis measures his head from the front to the back.)
When taking your measurements for the inside of your helmet, Davis emphasizes the importance of giving yourself at least one additional inch of space. This will allow at least a half-inch of padding all the way around.
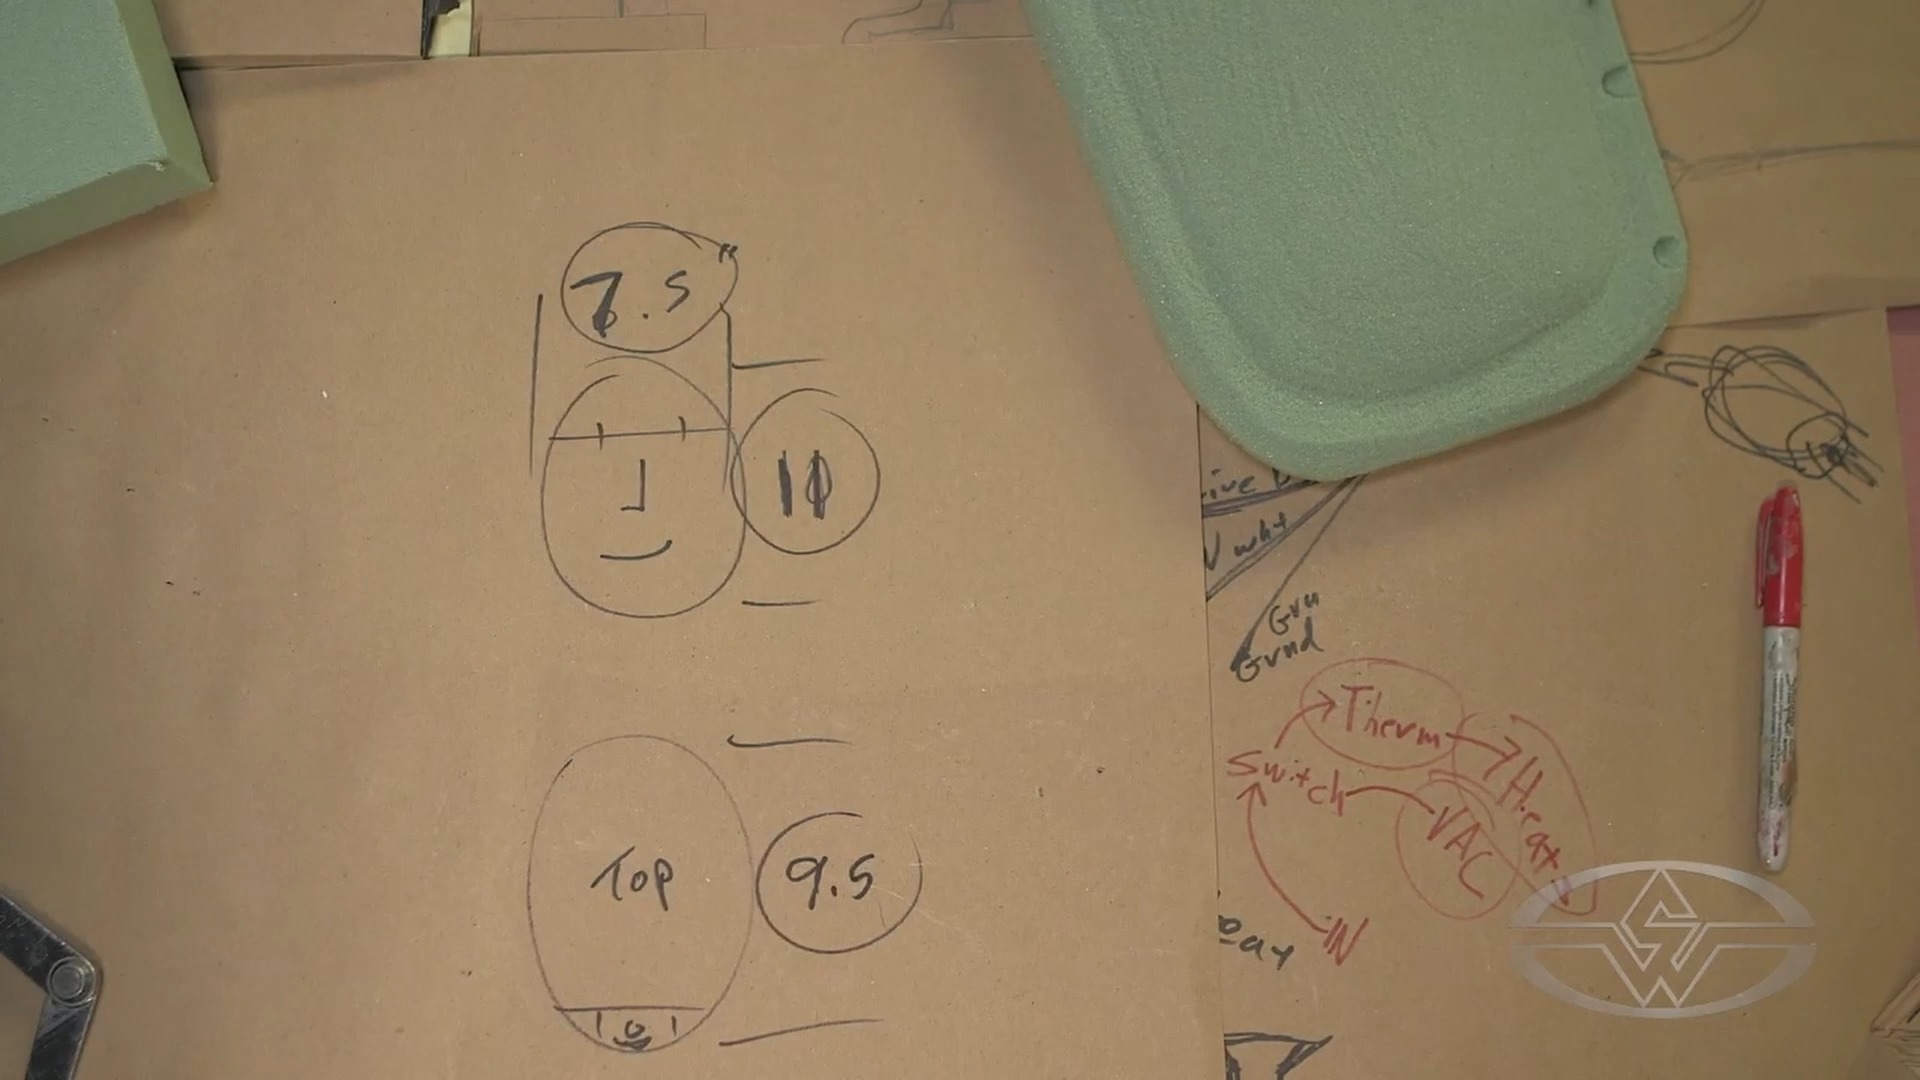 (A look at Davis' measurements with an extra inch added.)
If you don't leave enough space, Davis cautions, "it’ll make it difficult to get on and off and very uncomfortable to wear.”
Note the key dimensions of your design. Referencing the concept art, Davis notes the squared-off, robot-like head. Since the top piece of the helmet sits at an angle, Davis can estimate how much room to leave at the back so he can comfortably move his head.
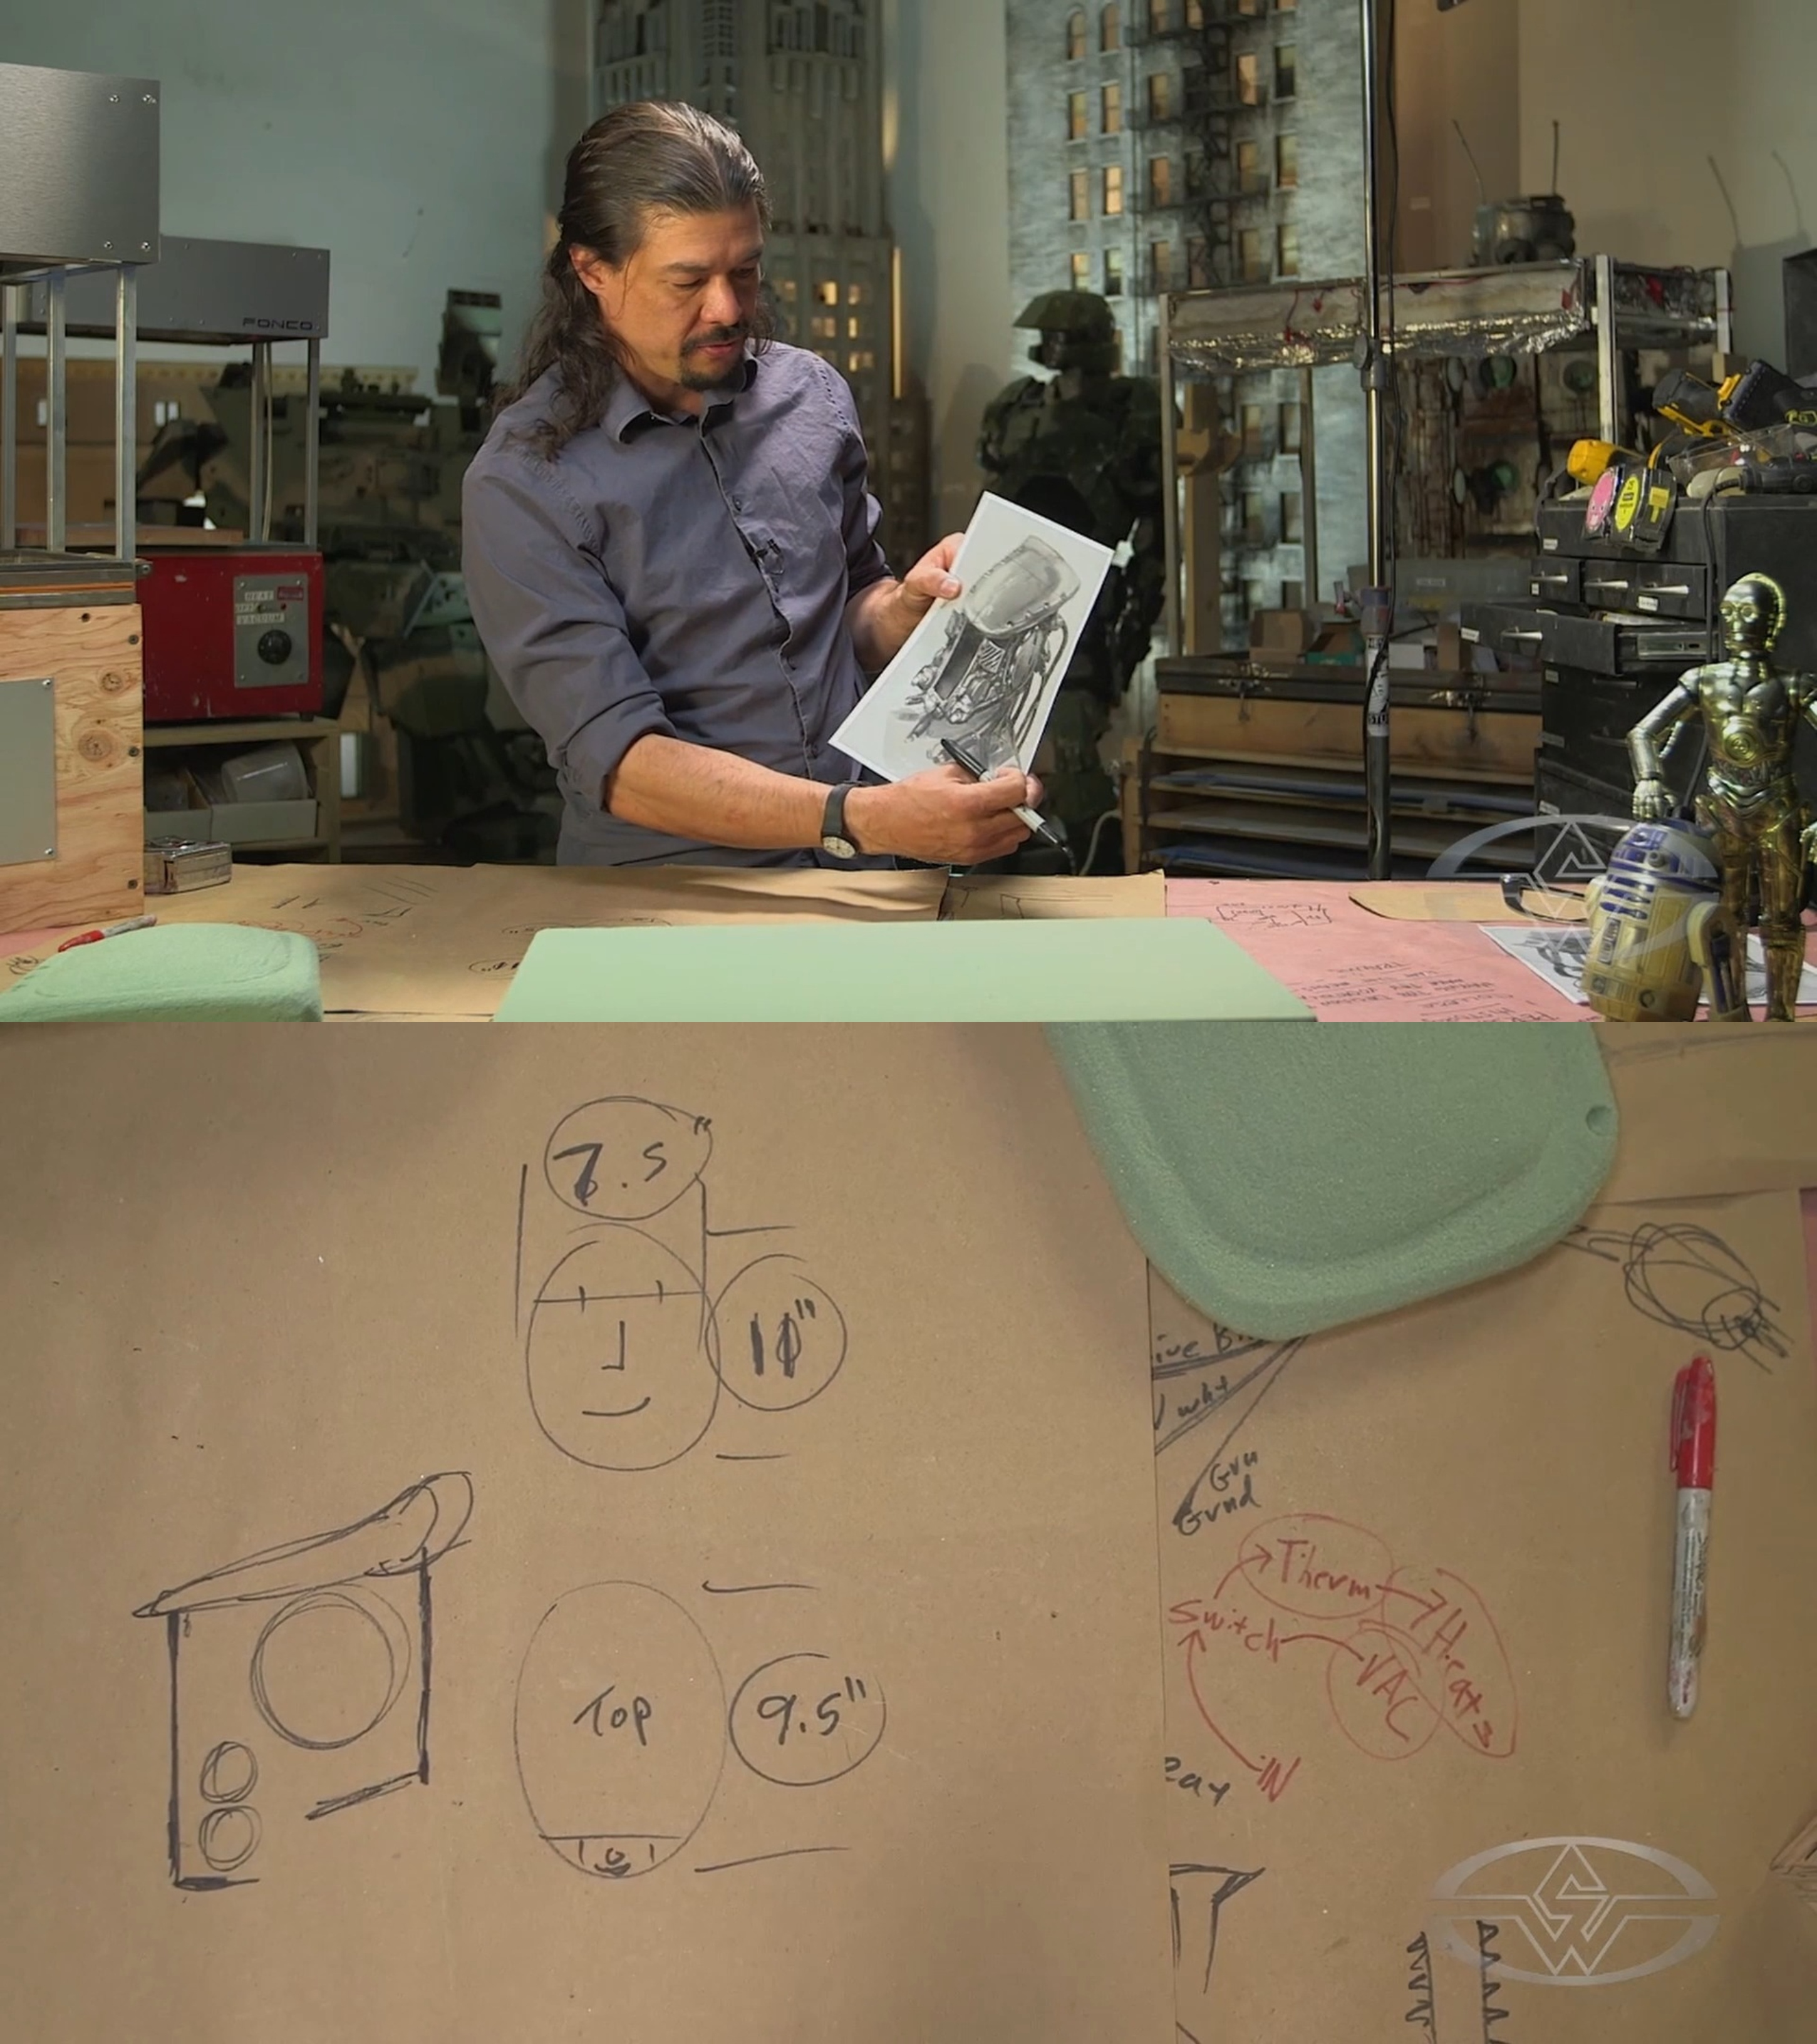 (Top: Davis holding concept art for his sci-fi helmet. Bottom: the schematic with the rough design sketched alongside.)
The next measurement you’ll take is where the base of the skull meets your spine up to the top of your head. You can keep this measurement the same when you transfer this to paper since you’ll already have some space to spare based on the adjustments of an extra inch on the other dimensions.
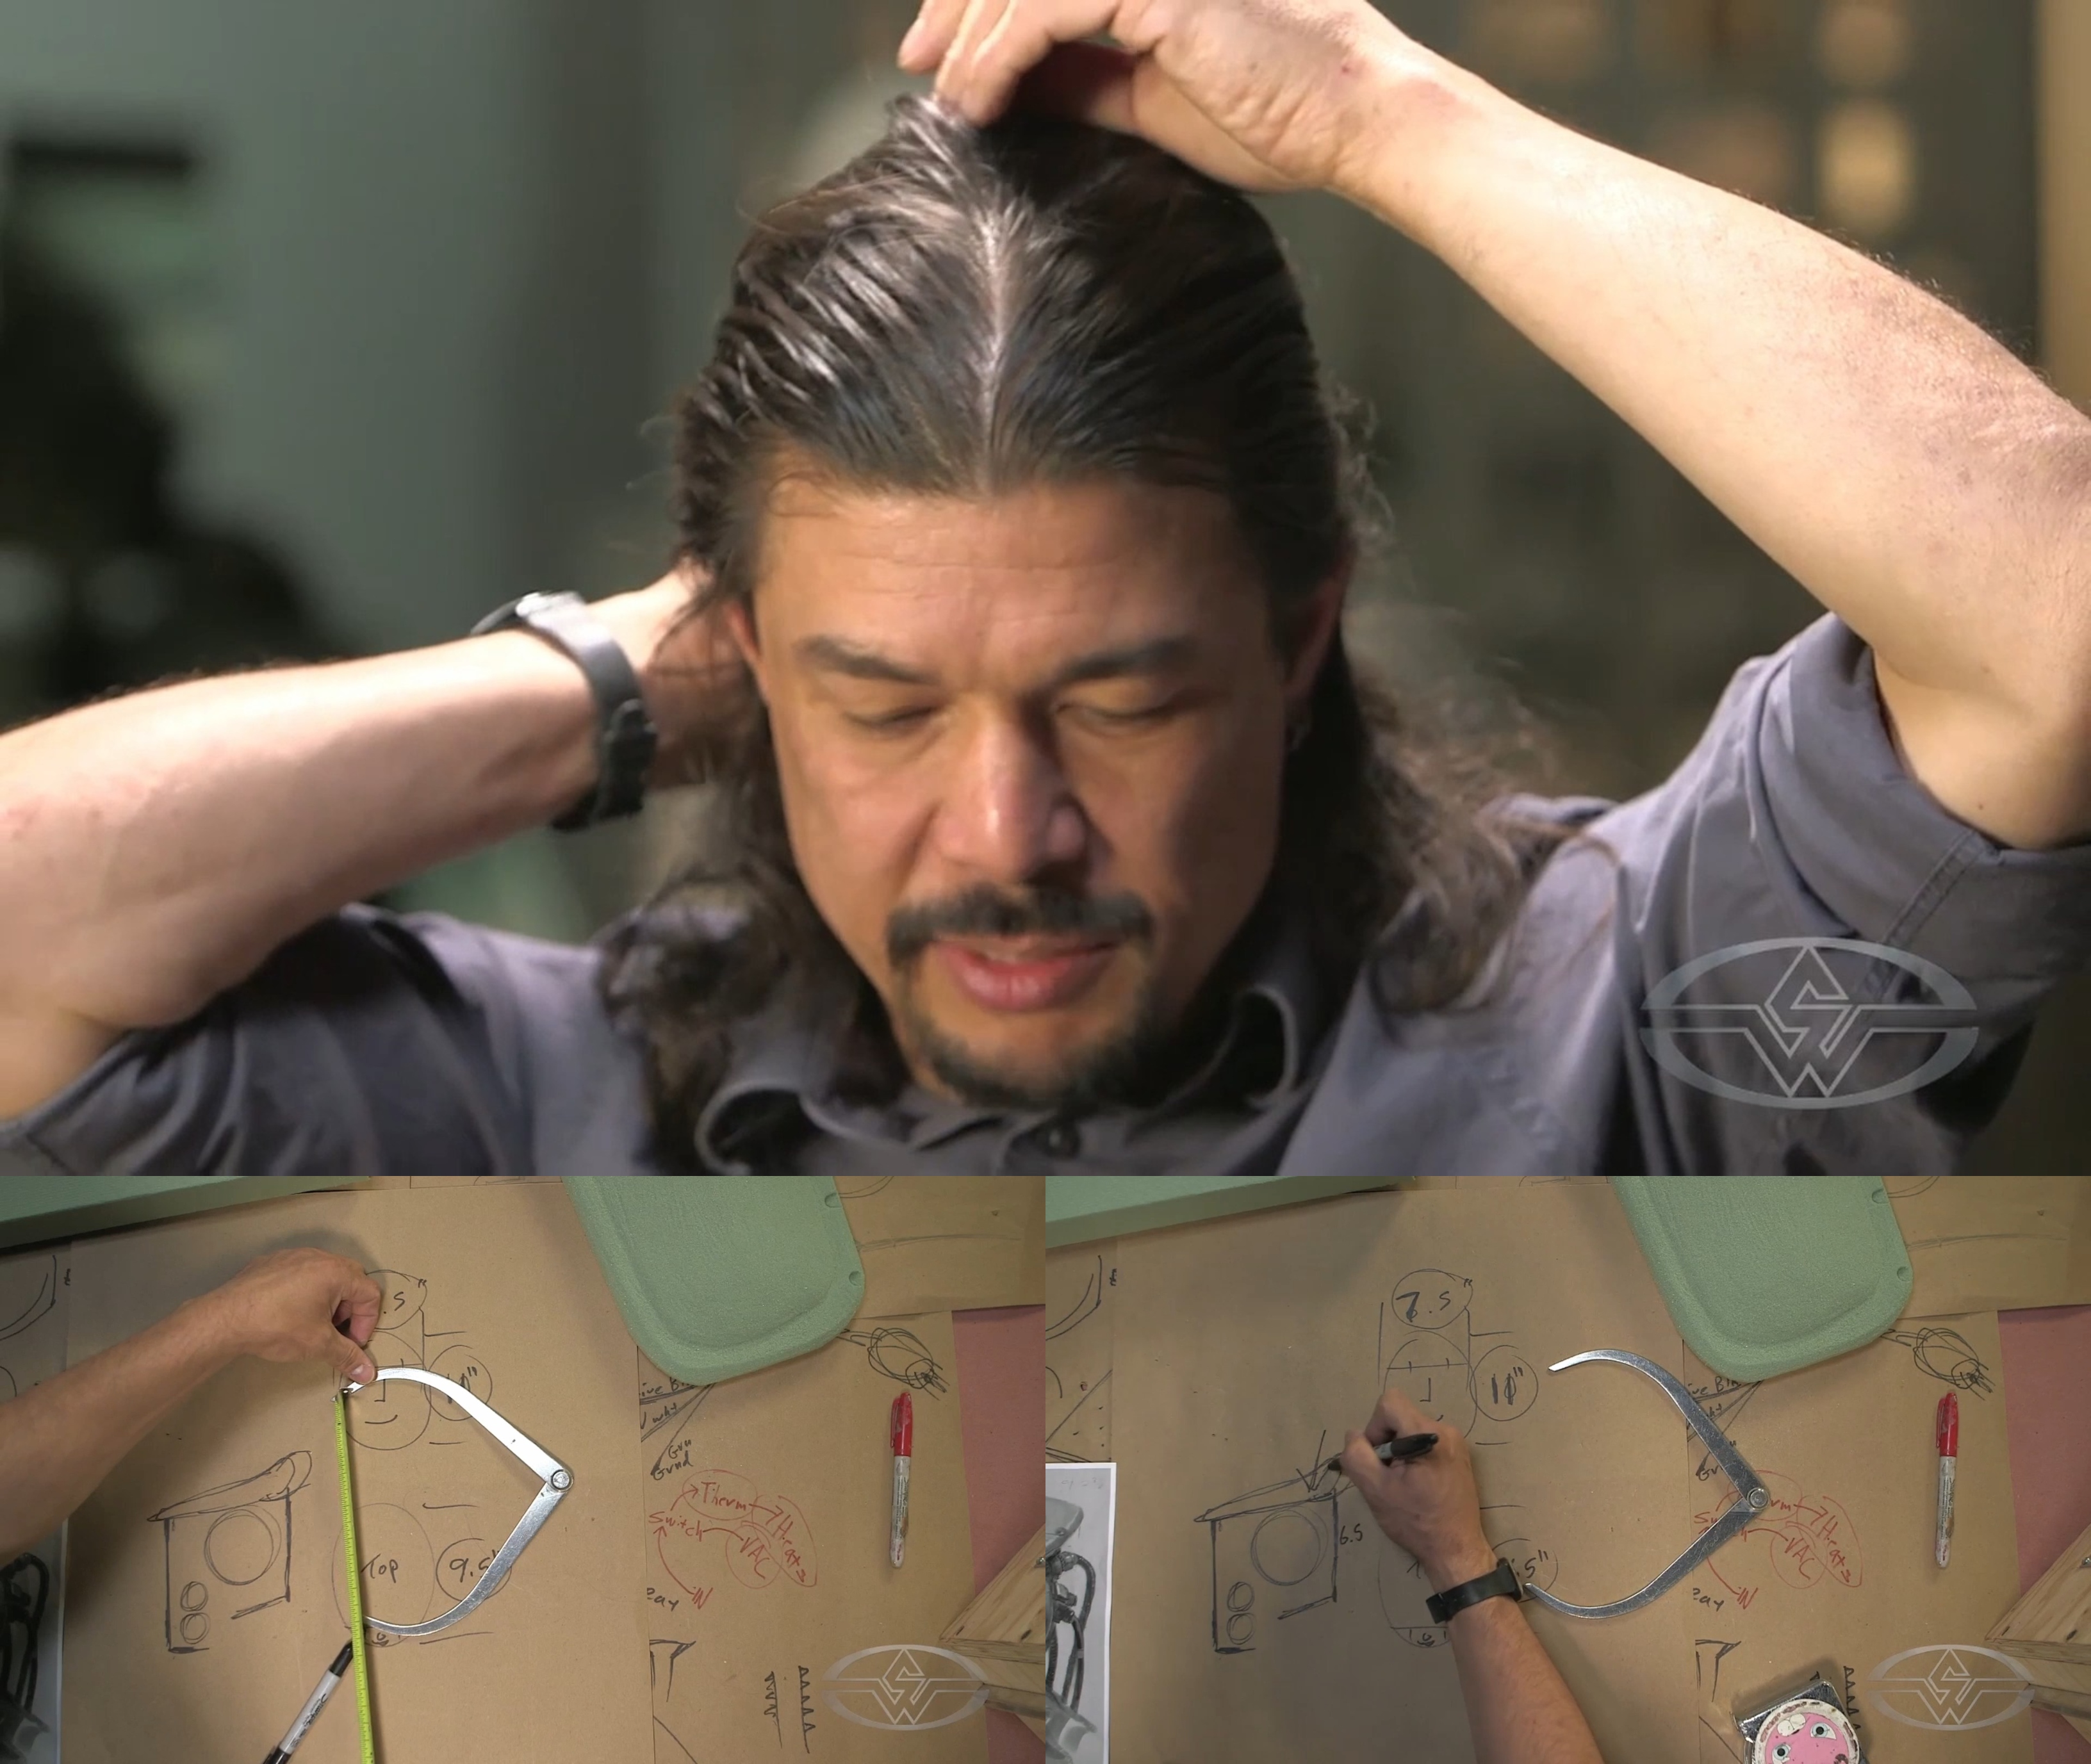 (Davis measures from the base of his head to the top.)
In this design, which mimics the natural shape of the skull, Davis measures from the back of the head to the start of the jaw. If your helmet design has the same human-like characteristics, measure your head from the back of the skull to the start of your jaw.
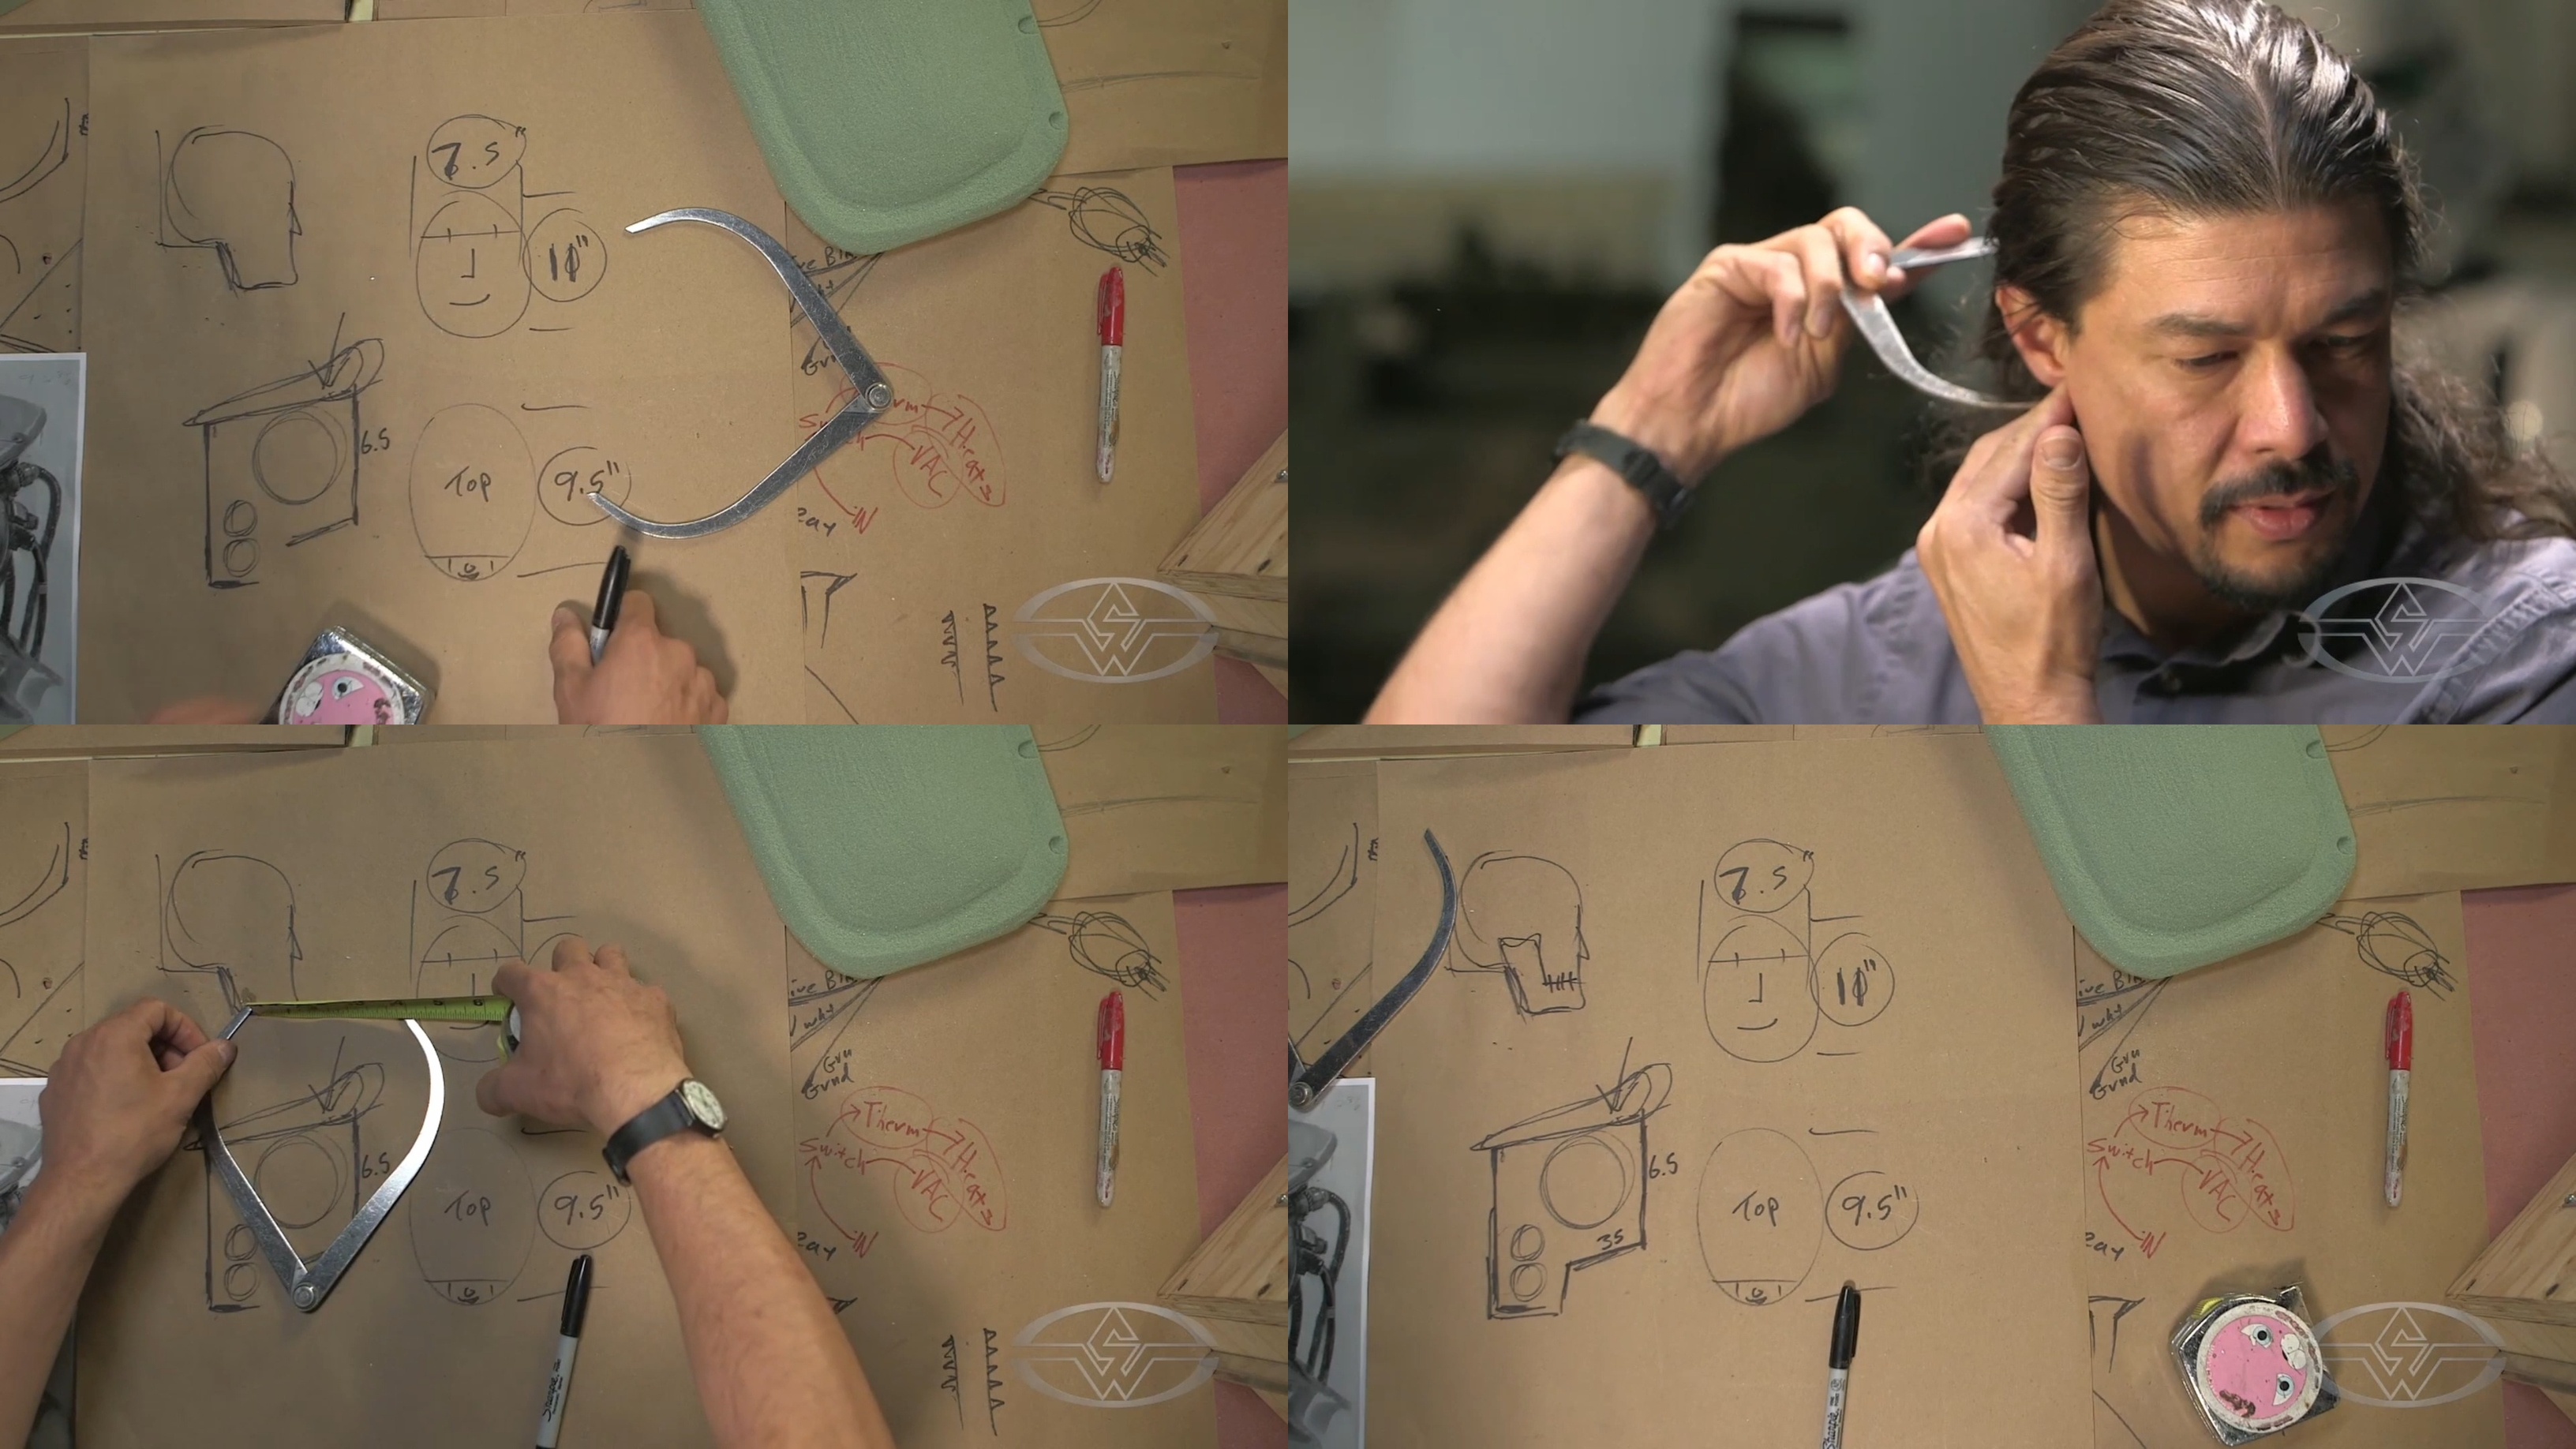 (Davis illustrates where each of the measurements taken will be used in fabricating the helmet.)
The Importance of Storytelling for Character Costumes
The design Davis is using combines both human and robotic features to help give it character and bring it to life.
Storytelling is part of design and critically important in designing characters. By mimicking some human characteristics, Davis hopes a hint of humanity comes through in this robot helmet.
 (Davis explains why storytelling is crucial to character design.)
“Whenever you create something that mimics humanity, it helps your audience identify with the character a little more,” he explains.
An example of this is the original Godzilla. Despite being a monster, the audience was able to sympathize with him and view him as somewhat of a “good guy” character because he had certain human attributes, both in posture and in subtle facial features that brought to mind a dog or cat. On the other hand, the Xenomorph in the Alien franchise has no visible eyes, which makes it creepy and less relatable.
Finalizing the Helmet Design
The last measurement needed for your helmet is the distance of your jawline, from the bottom of your ear down to your chin.
Adding the measurements together, check that the sum of the short distances equals the longer sections measured. It does not have to be exact, as Davis reminds us, as it's not an exact science, and sizing can also adjust on the fly once you begin fabrication.
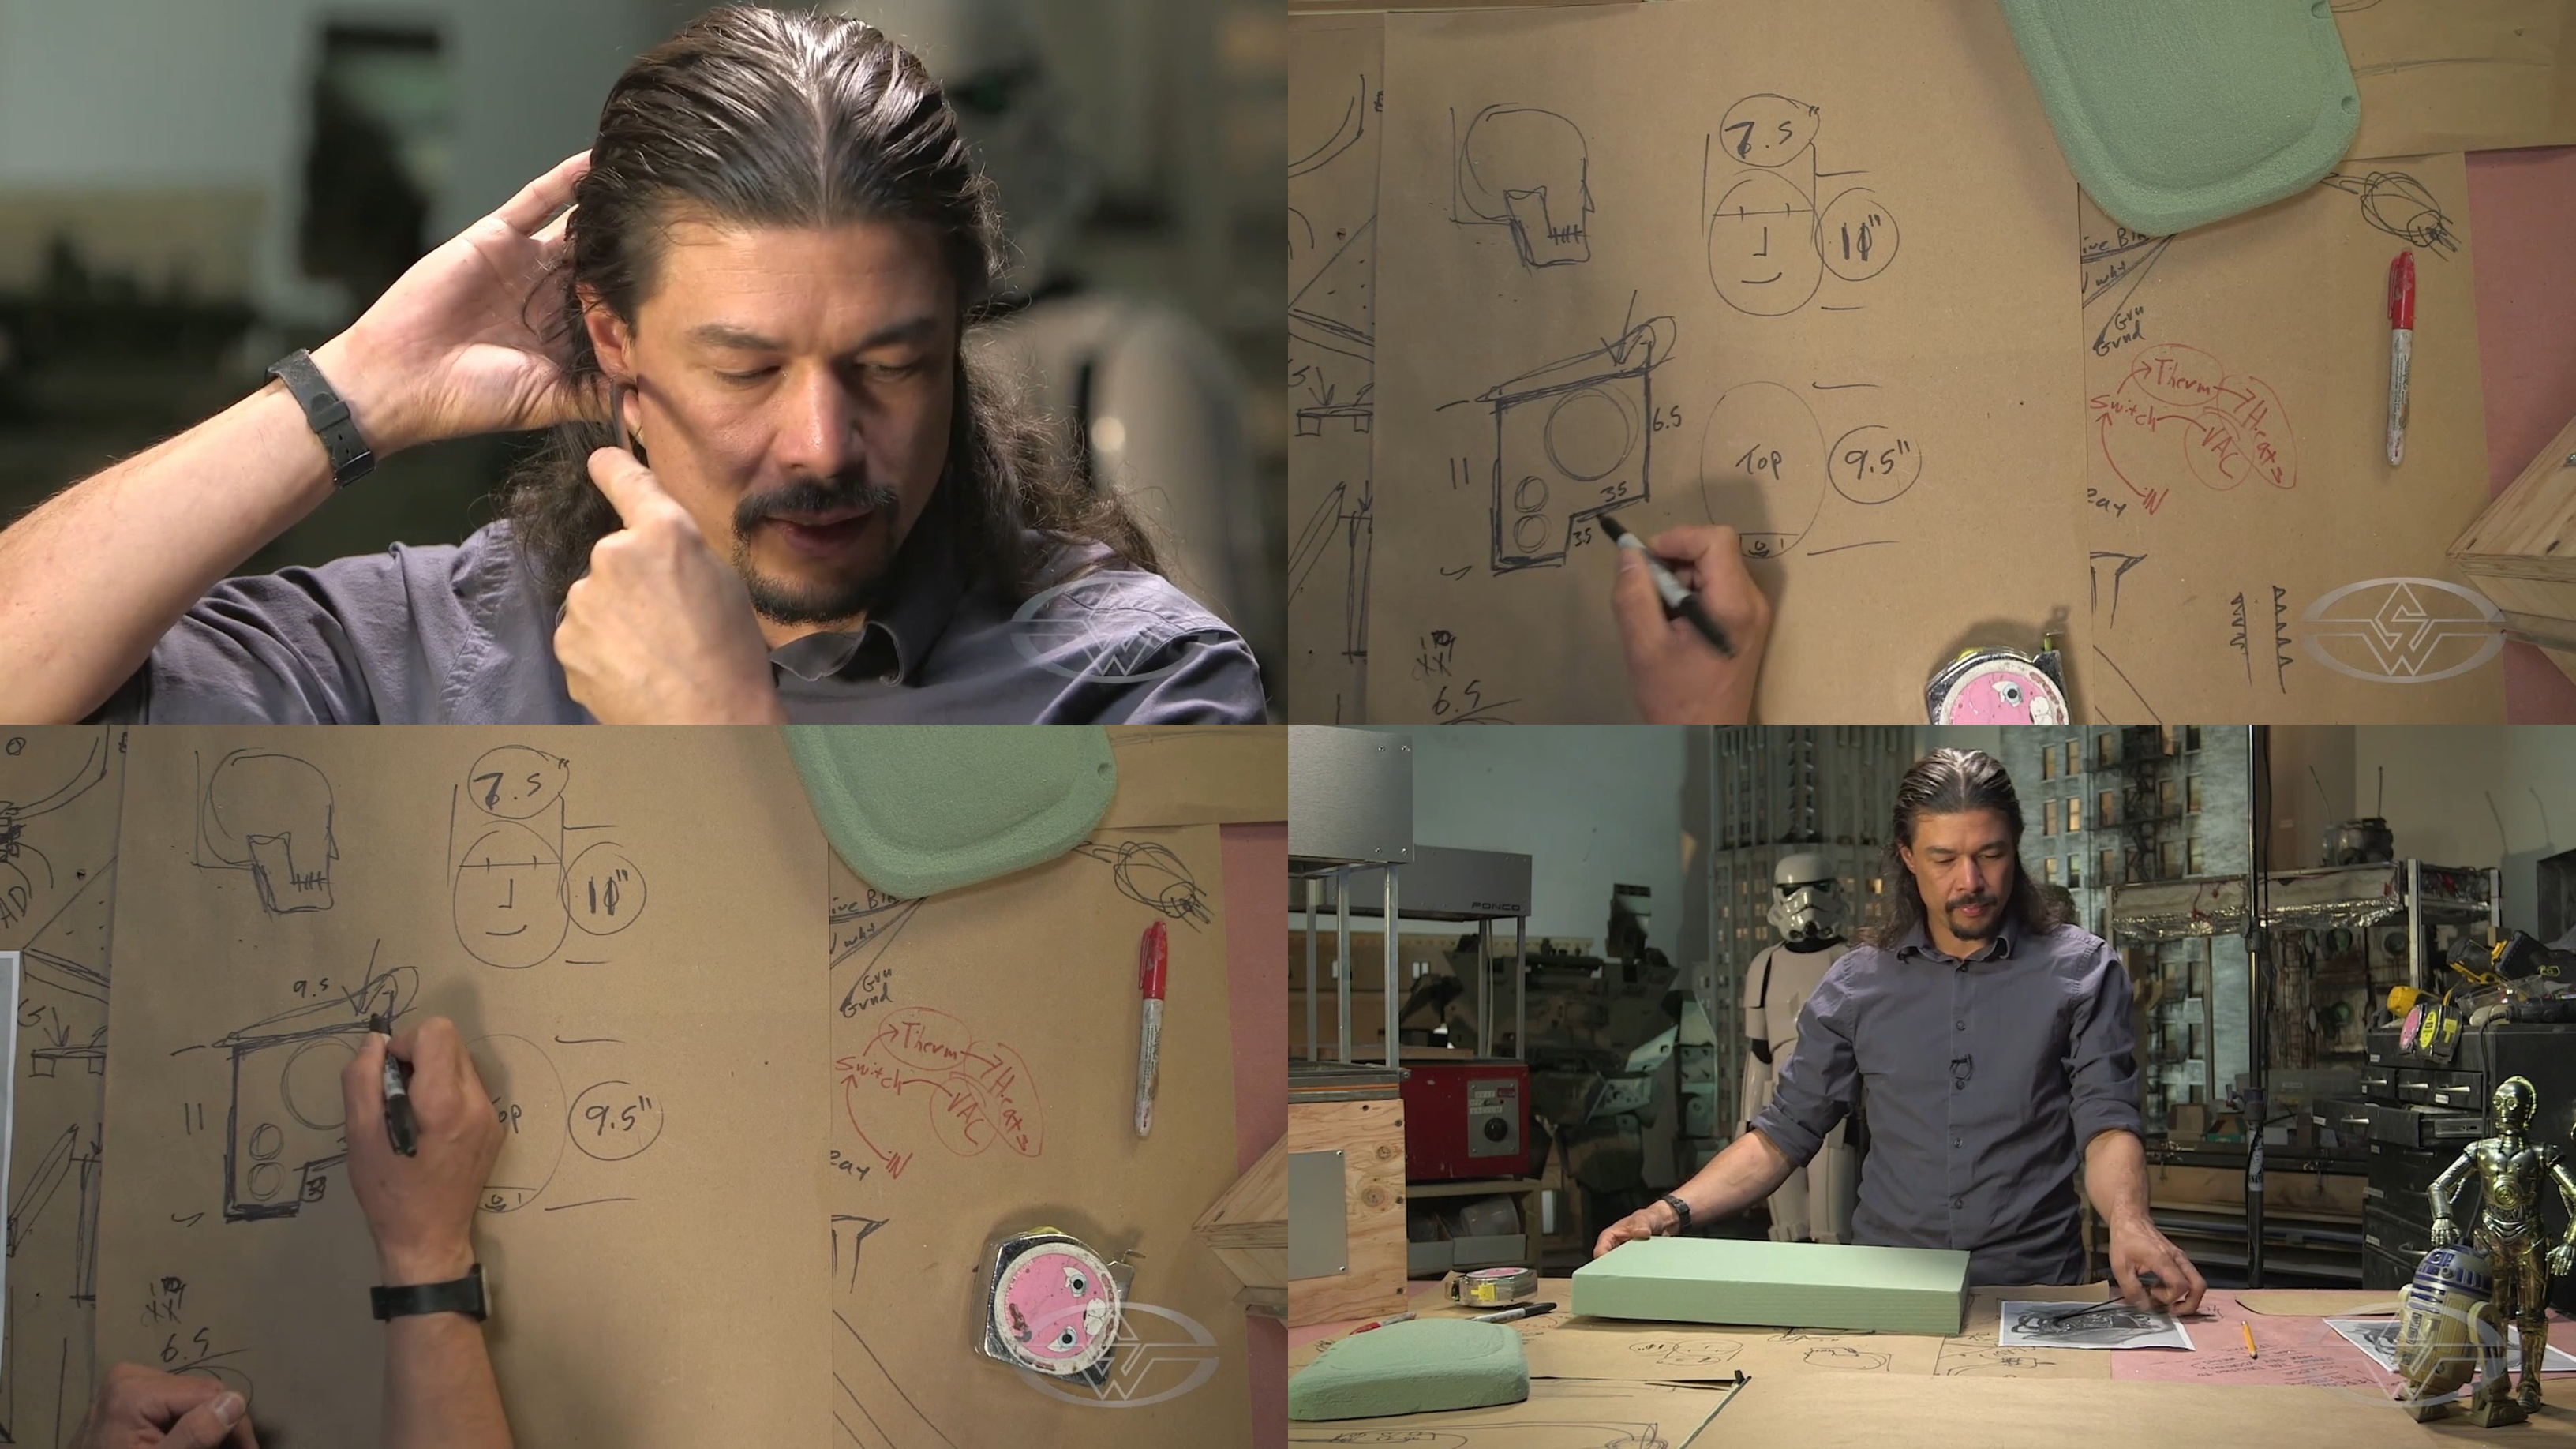 (Davis measures his jawline, which will be echoed in the robot design.)
Finally, you’ll lay everything out on your board and prepare to begin carving the sides of your soon-to-be helmet!
WATCH THE “HOW TO MAKE A SCI-FI HELMET” COURSE WITH FON DAVIS:
How to Make A Sci-Fi Helmet Part 1 - Build a Vacuum Form Machine
How To Make A Sci-Fi Helmet Part 2 - Design Breakdown, Pattern Making, Vacuum Forming
How To Make A Sci-Fi Helmet Part 3 - Construction, Greebling, Painting & Finishing