
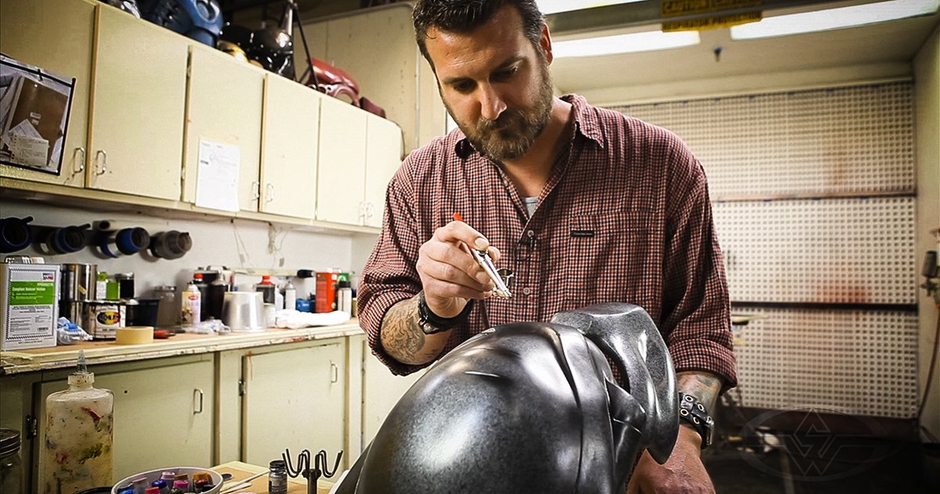
Metallic Painting Techniques for Real Metal Effects With Jamie Grove
The holidays are coming to a close. Regardless of your personal beliefs, everyone’s just simply been in a festive kind of mood for numerous weeks now. So hey, let’s end all of these holidays with a bang. We at the SWSCA can’t think of a better way to do this, than by using a PREDATOR as our guide. Let’s show you how to paint a Predator helmet. Better yet, let’s show you how to paint two different kinds of Predator helmets.
Since Predators are always engaging in some kind of battle, let’s show you the techniques for both a shiny version as well as an extreme battle version. Game on. Watch the full lesson, METALLIC PAINTING TECHNIQUES - REAL METAL EFFECTS with JAMIE S. GROVE!
Jump To Section
- Painting the Predator Masks
- Prepping Predator Helmets for Painting
- Giving a Damaged, Worn Look to Helmets
- Creating a New, Glossy Metallic Helmet
- Adding Details to Your Predator Helmets
 (Here's the goods. These techniques are TIME-TESTED, and Jamie knocks them out in a couple of hours.)
Painting the Predator Masks
The maestro for this lesson is none other than metallic paint master Jamie S. Grove. He works metallic painting like a Renaissance Artist. You’ve seen his work with metallic painting on films like REAL STEEL and IRON MAN. He’s the perfect man for the job. Here he’s working with the PREDATOR masks, but not just any Predator masks. To up the cool factor a little more, the molds for the helmets were actually made from the original Predator Enviro Helmet molds. These are not new sculpts but rather the real deal.
 (The white resin pull is fresh out of the original molds. The yellow one, an older casting, actually has clay INSIDE from the original sculpt.)
Prepping Predator Helmets for Painting
After introducing all the tools and materials for the lesson, the first step Jamie takes you through is preparing both helmets for painting. He scuffs up the material just slightly with an abrasive pad so that the paint will have more of a texture to hold on to. It’s a subtle touch, but one that will pay off in the end. In addition, he applies some grease remover that will remove all fingerprints and debris that may have been left over from the initial process. After this is done, we’re ready to start painting.
The first step is applying the primer. We’re using silver and metallic colors, so black is used since it’s a good base to build on. A few coats of this and we’re ready to move to the next step. From here, we move to the clear coat. First, it’s mixed, then applied. A tack coat followed by a wet and shiny coat gives us our first look at some of the shine that the helmet will take on. Once it looks wet, you’re done.
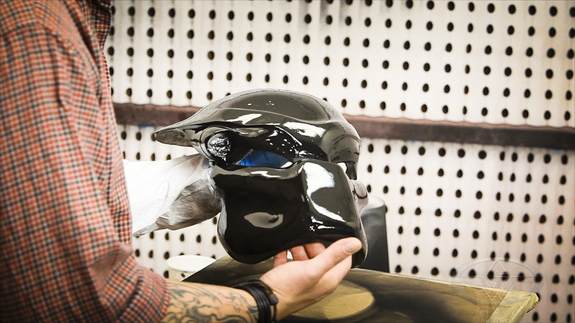 (The top shops in town have perfected the methods Jamie demonstrates... PAY ATTENTION! )
Giving a Damaged, Worn Look to Helmets
After an interlude discussing why a clean spray gun is a happy spray gun, along with techniques on how to clean your tools, we move on to the battle damage helmet. This one takes on a few more steps than the shiny one since it’s supposed to look battle-worn.
The various metallic splattering techniques create some of the highlights of the battle-damaged helmet. It’s here that you get a look and feel of authenticity that using a simple spray can will never provide. After a few colors of splatter and sealing it with photo lacquer, we move on to creating some of the damage.
 (Polished metal base is spattered with spray... NEXT comes the art.)
There are techniques that include adding paint and using a wet rag to wipe it off to create damage, as well as even using a nail file coated in silver paint to create more scratches. Additionally, flicking alcohol from a brush creates a scorched look that immediately takes shape and looks fantastic. All of it adds up to a really incredible effect.

 (An emery board with fresh paint scratches into the base coat, creating realistic 'scuffs'. Then, oil 'spattering' with a chip brush.)
Creating a New, Glossy Metallic Helmet
From here, we move on to the shiny helmet. Jamie uses many similar techniques as before, but eliminates some of the more aggressive battle additions to create a glossy metallic helmet. On both helmets, the way he uses subtle color to create more of a pearly sheen is quite impressive and one that truly gives both of them character.
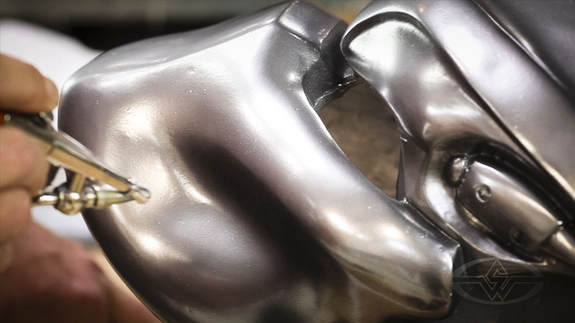 (An artist's trained eye sees the rainbow of colors, whereas the pedestrian eye sees grey metal.)
Adding Details to Your Predator Helmets
After adding some vacuform plastic lenses, both helmets are done. He even discusses when to realize that enough is enough. And here, it’s been enough. Both helmets look absolutely amazing. So enjoy watching these metallic painting techniques, and let this lesson on painting Predator helmets end your year right.
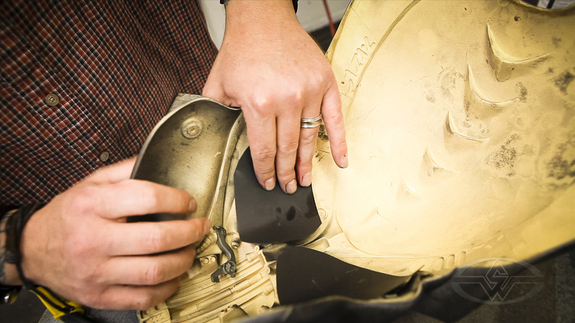 (Jamie demonstrates how a piece of flat clear Plexi-glass can become an Alien lens.)
Enjoy this one, folks!
-- Jeff Dixon
To check out PART TWO of the FULL LESSON just click HERE: METALLIC PAINTING TECHNIQUES-REAL METAL EFFECTS