
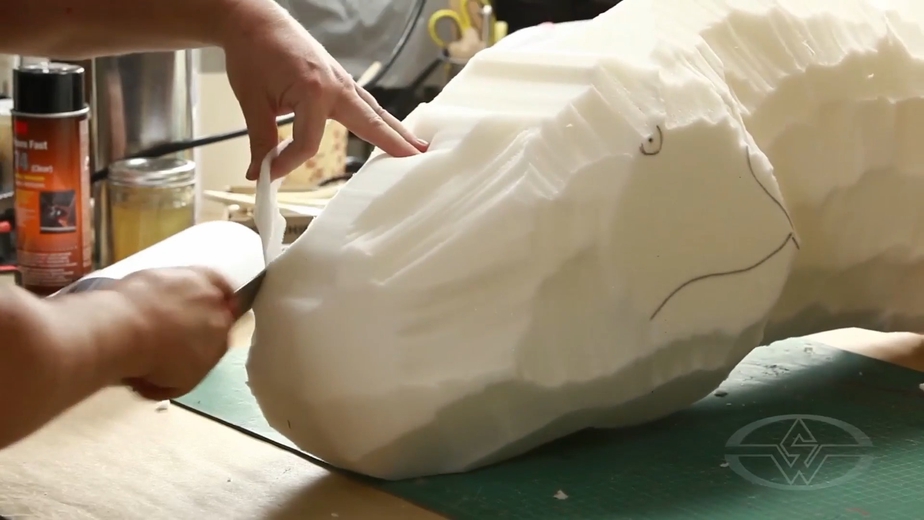
In this FREE excerpt from the Stan Winston School of Character Arts course, How to Make a Dinosaur - Part One: Design, Foam Carving & Fabrication, master monster maker and creature FX fabricator Ted Haines (Blade II, Cowboys & Aliens, The Muppets) breaks down innovative techniques and tips to sculpt a character—in this case, a full-size T-Rex head—using foam. (Yes, like the kind in your couch cushions!)
Jump To Section
- Planning Your Dinosaur Head Sculpture
- Tools and Considerations When Creating Creatures With Foam
- Safety Precautions and Solutions for Subtractive Foam Sculpting
- The Importance of Referencing Your Design When Sculpting
- Using Various Tools for Different Foam Sizes
- Visualizing Your Sculpt and Adding Details
To watch the complete instructional video, click the player above!
In this lesson, Haines demonstrates how to transform everyday upholstery foam into captivating, colossal creatures using just a few trusty tools and techniques that'll take you from "How?" to "Wow!" Here, you'll learn to carve foam safely, the importance of precision and balance, different tools to use, and much more.
Planning Your Dinosaur Head Sculpture
Having a reference is essential before you begin sculpting. No matter whether you’re creating a dinosaur or any other character or creature, it’s best to figure out where you’re going to start your sculpt. Make sure you have multiple copies of the drawing you’re working with, as they end up getting cut up a lot.
For this project, you’ll want to take the drawing of your dinosaur’s side profile, place it on top of your foam, and use a retractable utility knife to cut the drawing, taking the head off at the jawline and removing the lower jaw.
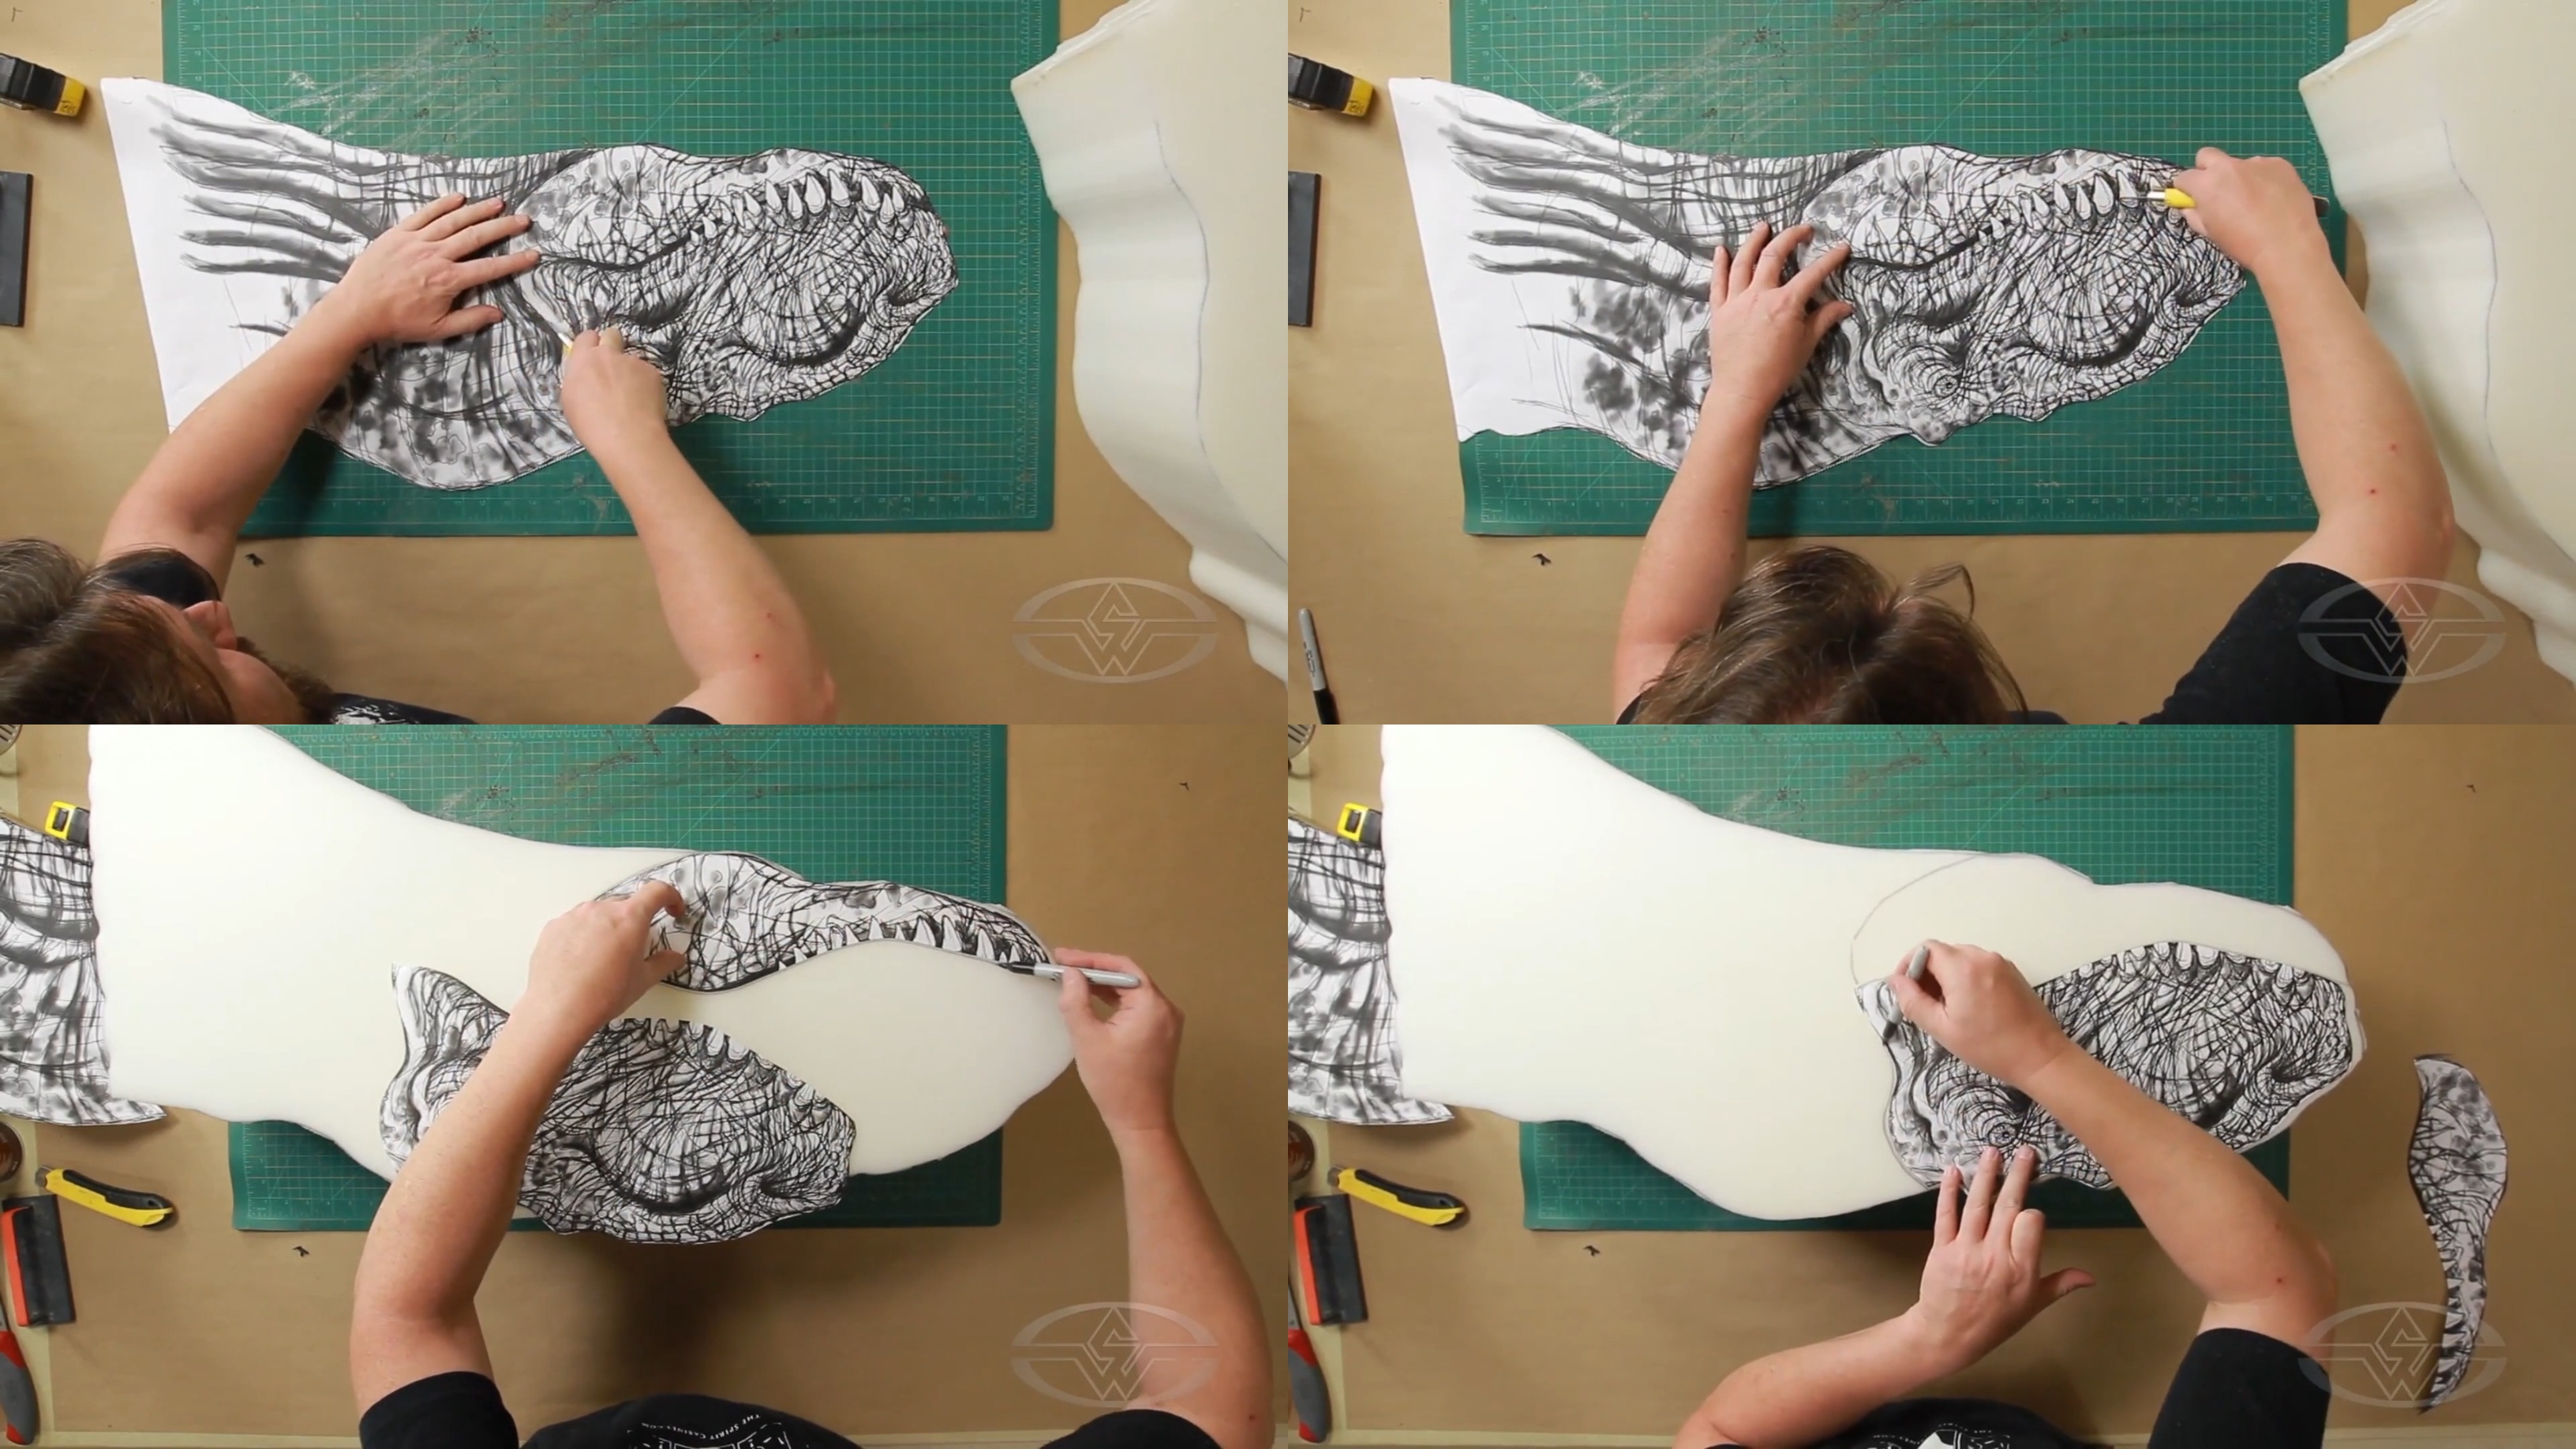 (Ted Haines places his reference drawing on the foam and traces the outline of the dinosaur head and jaw with a black Sharpie.)
Place the two cut-out pieces onto your foam--Haines uses 10-inch upholstery foam--and trace the outlines of each to plan your sculpt. These marks let you see where those key points from the drawing translate to the foam. You can also mark where your dinosaur’s eyes and nose bridge are.
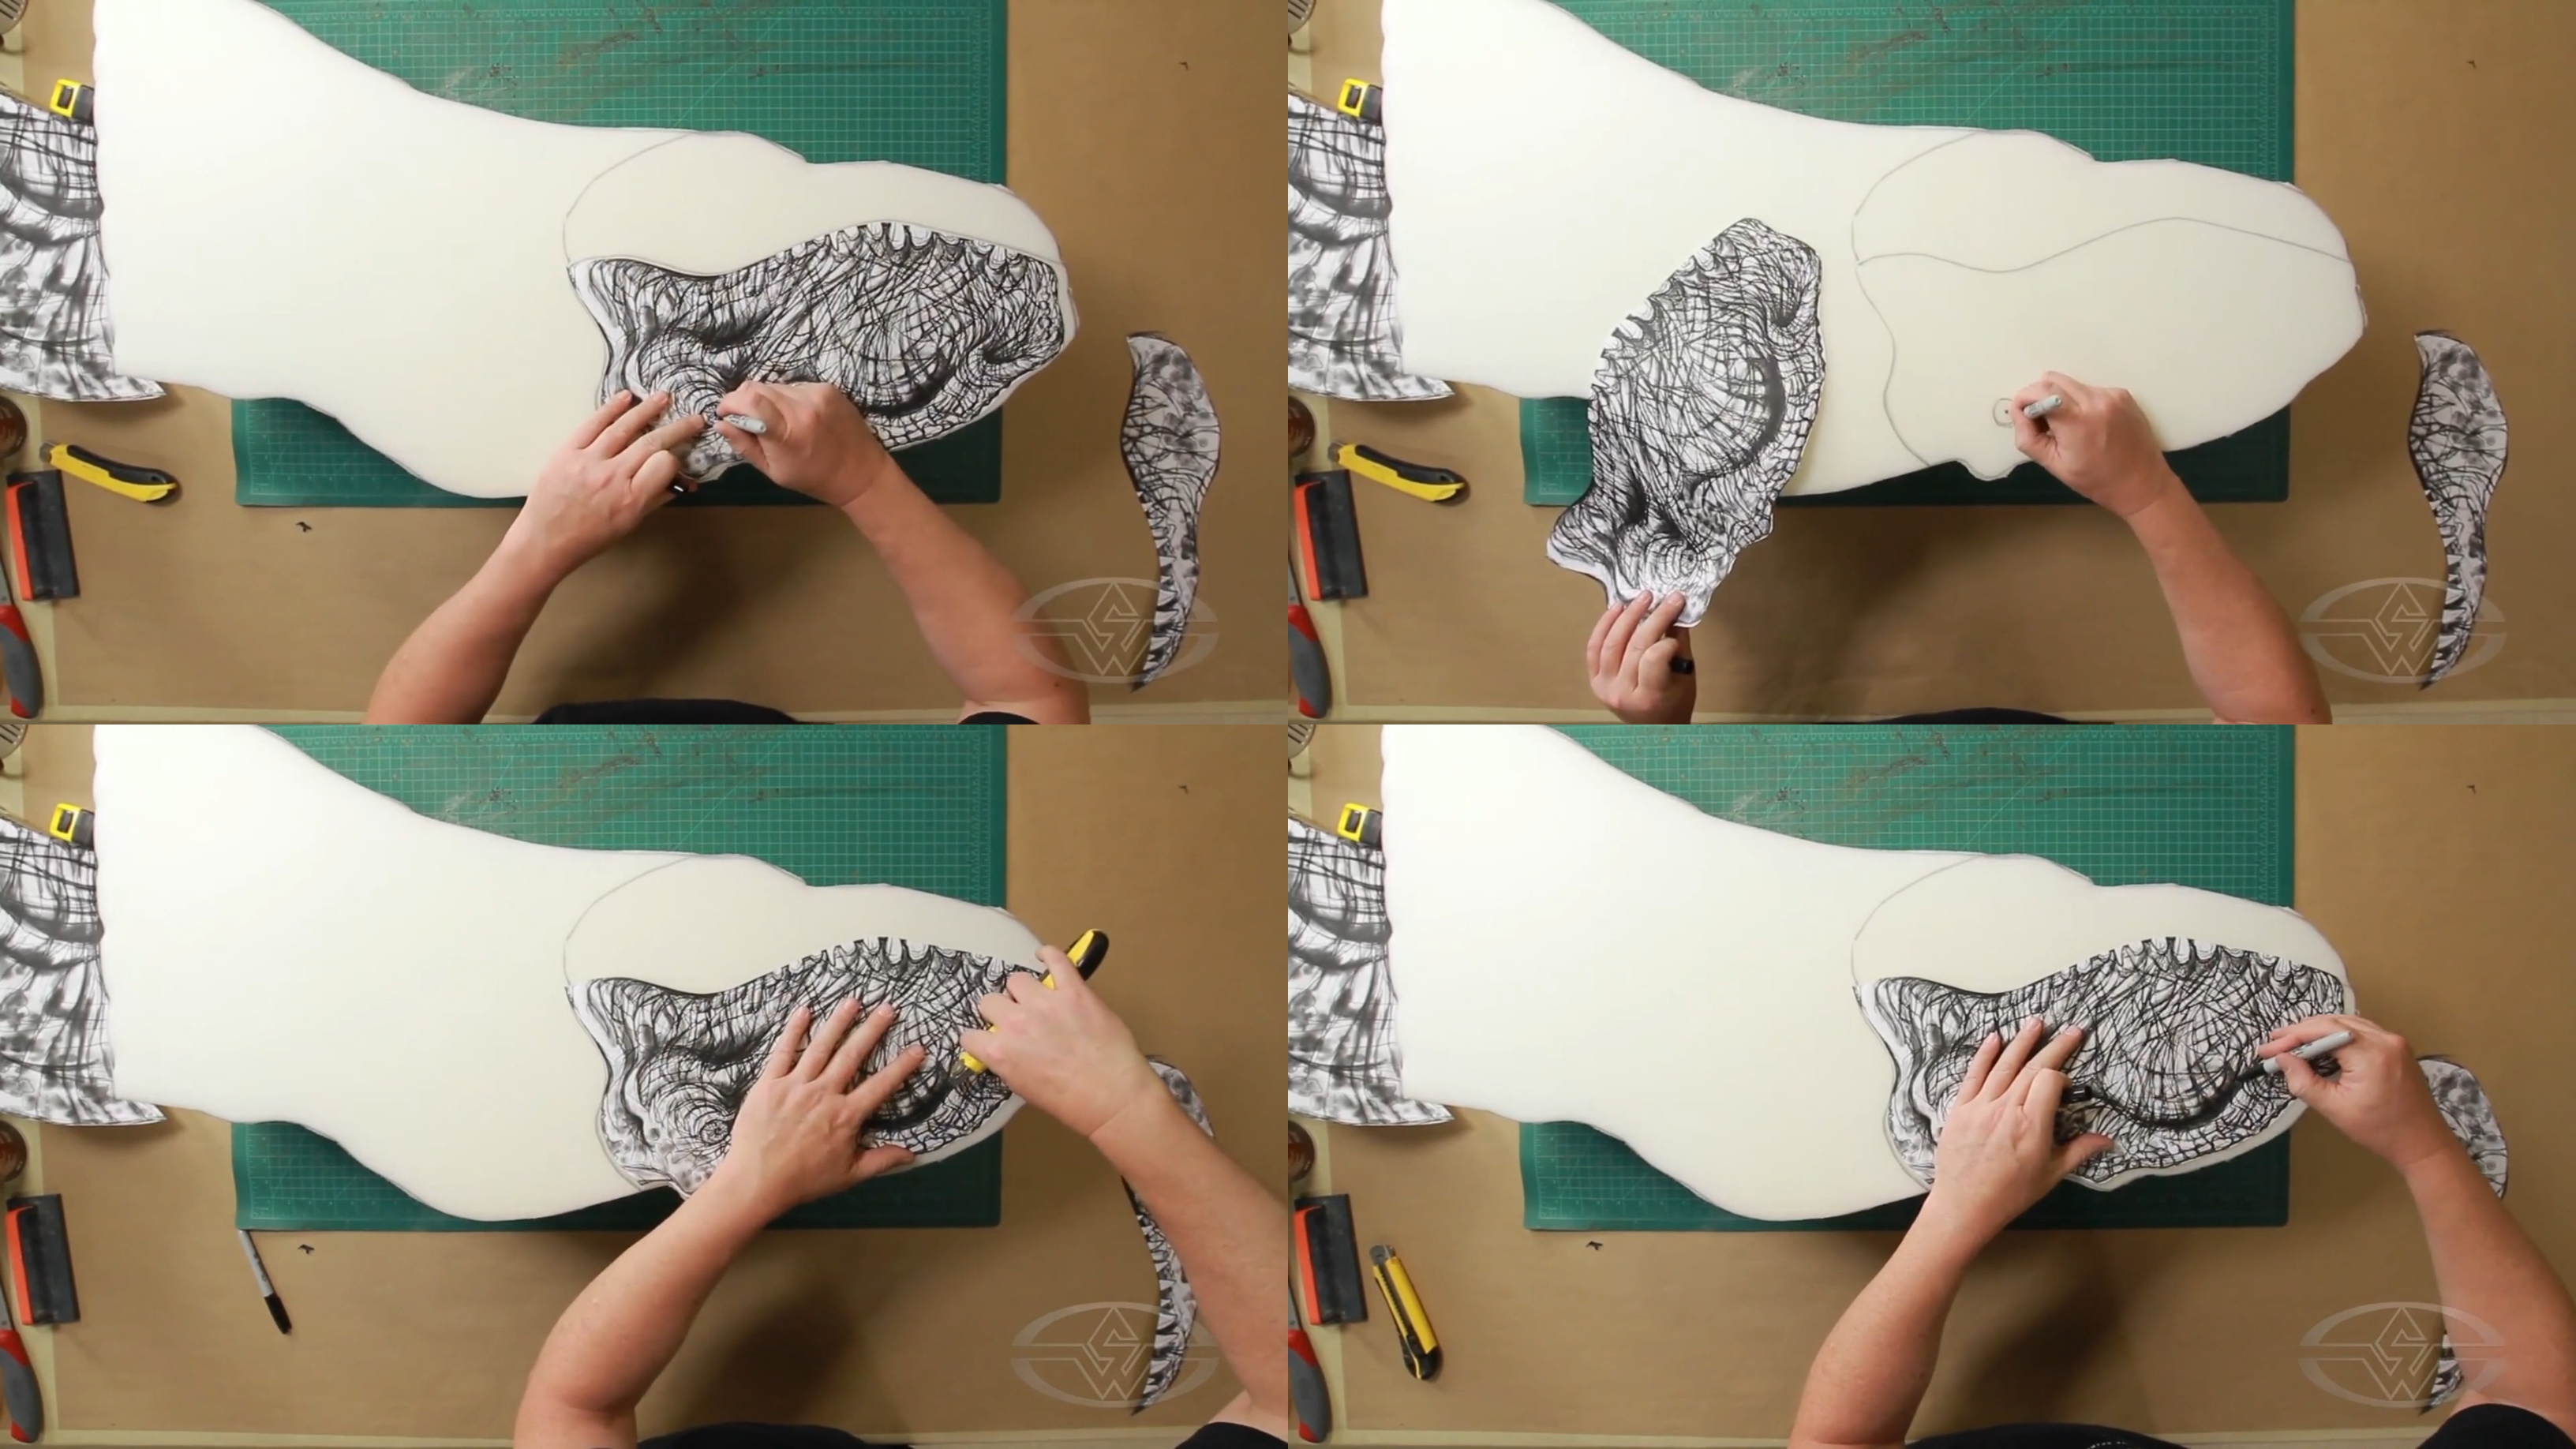 (Ted Haines marks the eye and bridge of the nose on his foam.)
The point of the marking-up is “to get as much information onto the foam before I start sculpting, just so I remember where everything is,” Haines says.
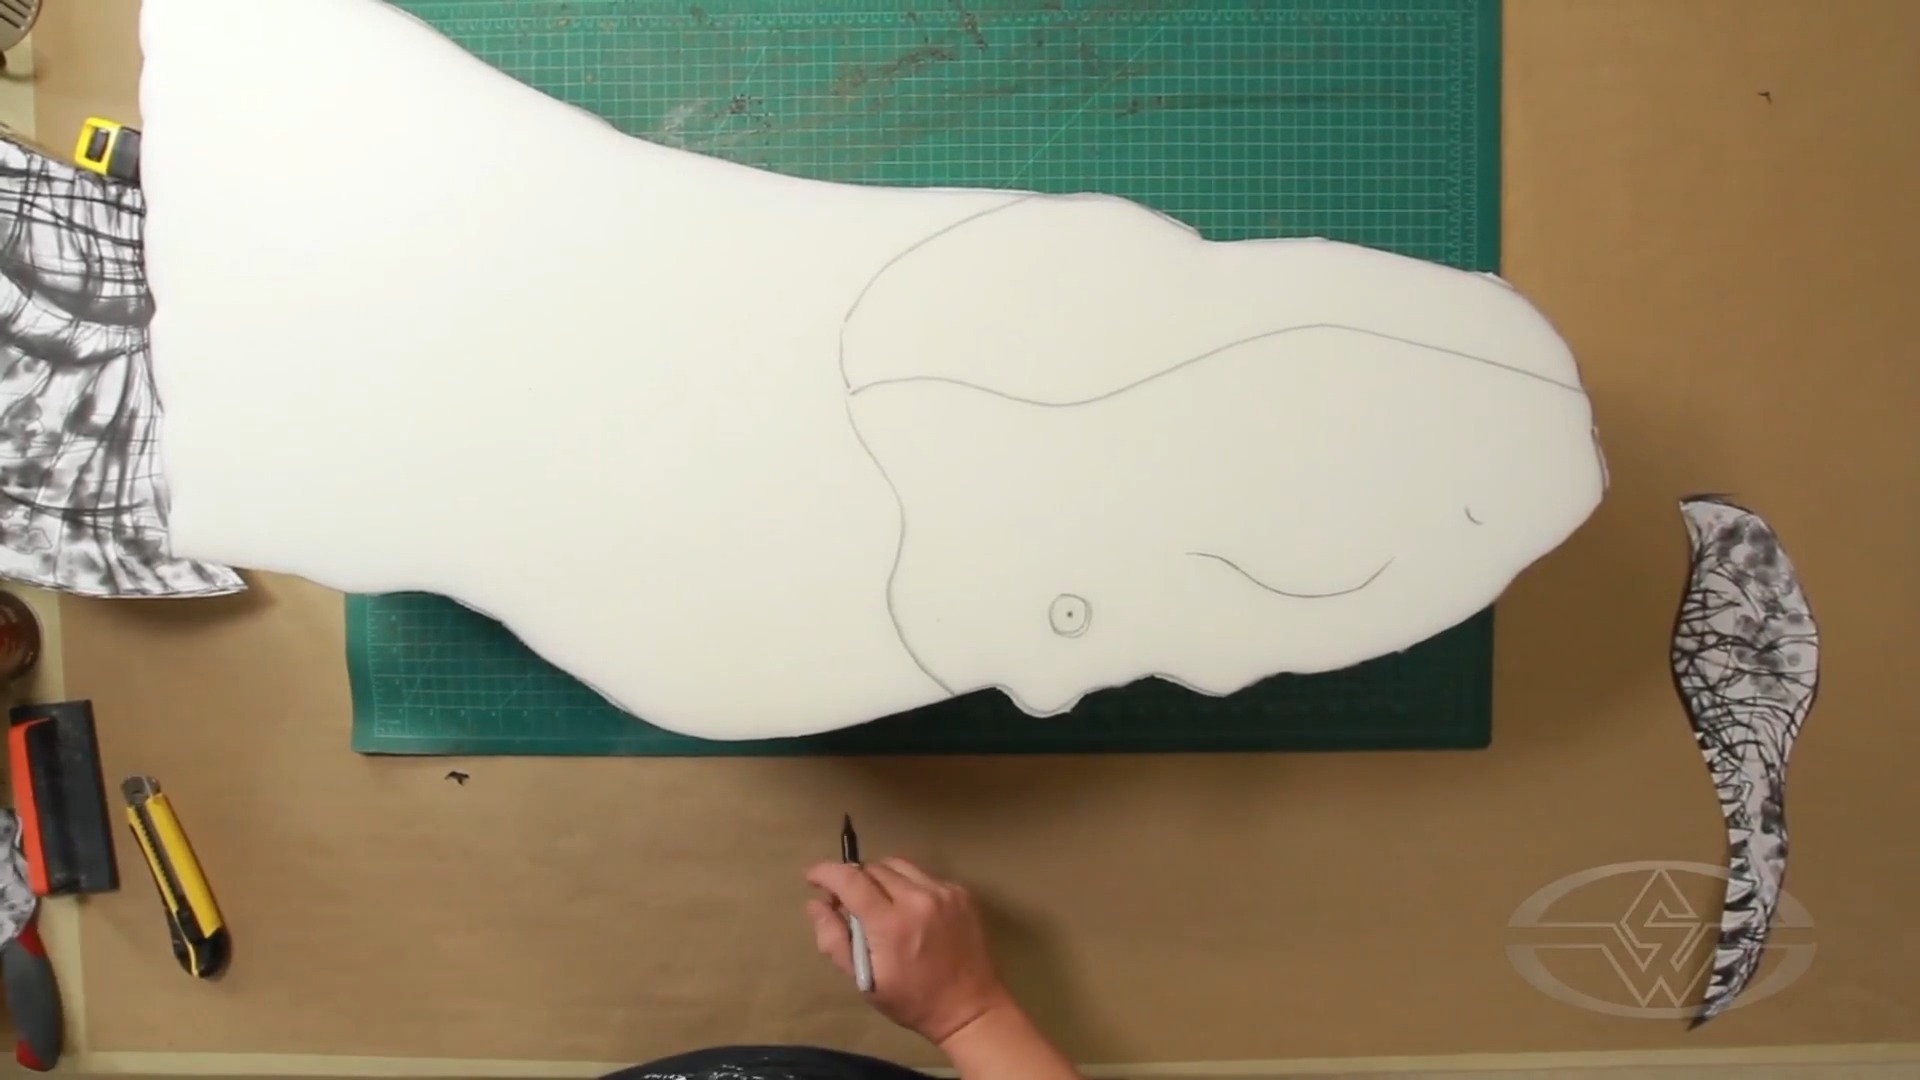 (The outline of a basic T-Rex head shape marked-out on the foam before carving begins.)
Now, you’re ready to start sculpting!
Tools and Considerations When Creating Creatures With Foam
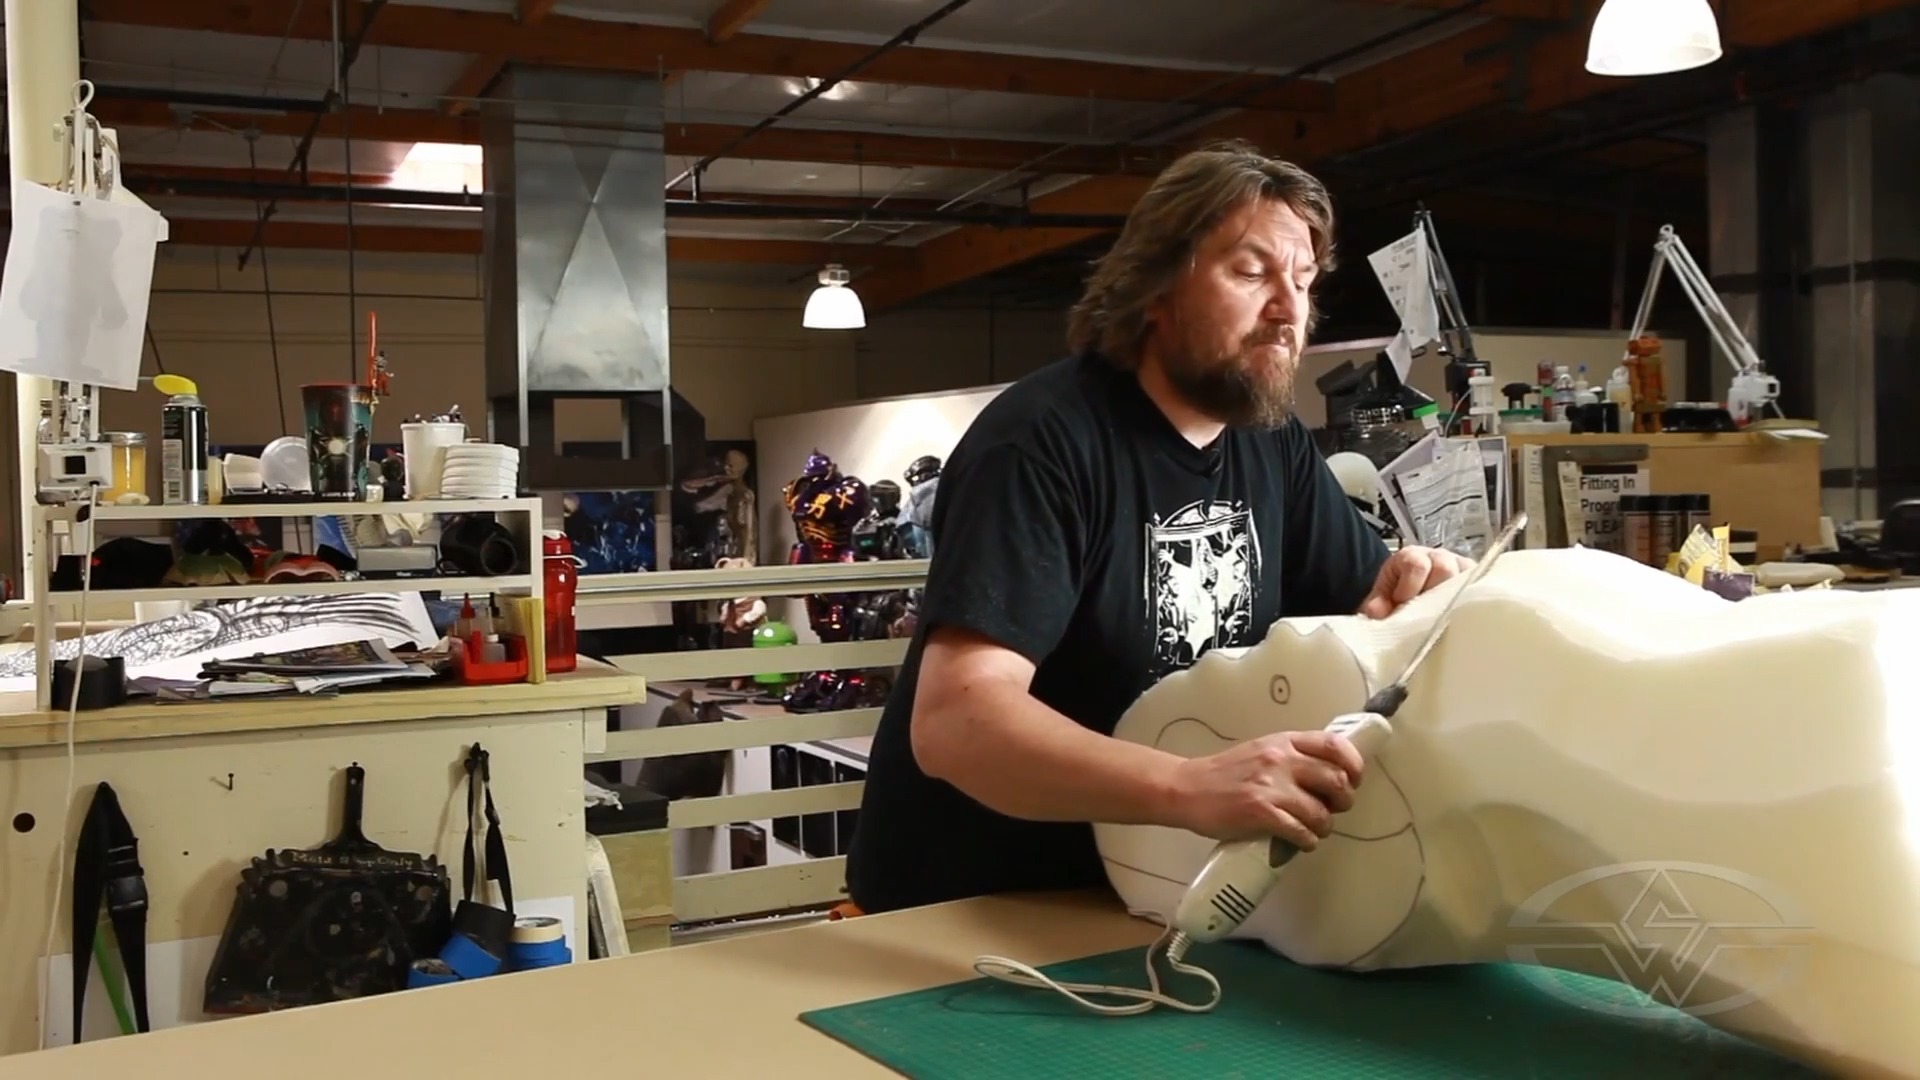
You can use an electric carving knife or a classic carving knife to sculpt the broad strokes. Haines prefers to start with an electric knife.
But safety is first. Always cut away from your body and limbs if you can when working with any sharp tools, but especially electric knives. “These are made for cutting meat. [Your hand] is made out of meat," Haines reminds us, electric carving knife in hand. Sarcastically, Haines adds, "And always remember to take this right out of your mom’s drawer and leave all the glue and foam bits on it, so the next Thanksgiving, you’re the one that’s going to be in trouble. Moms love it. Mine did."
When you cut with this type of knife, you’re going to focus on taking a lot of material off rather than finessing the foam. You’ll start by roughly shaping out the character by rounding off the corners of the foam, making a neck, and creating the head a little at a time.
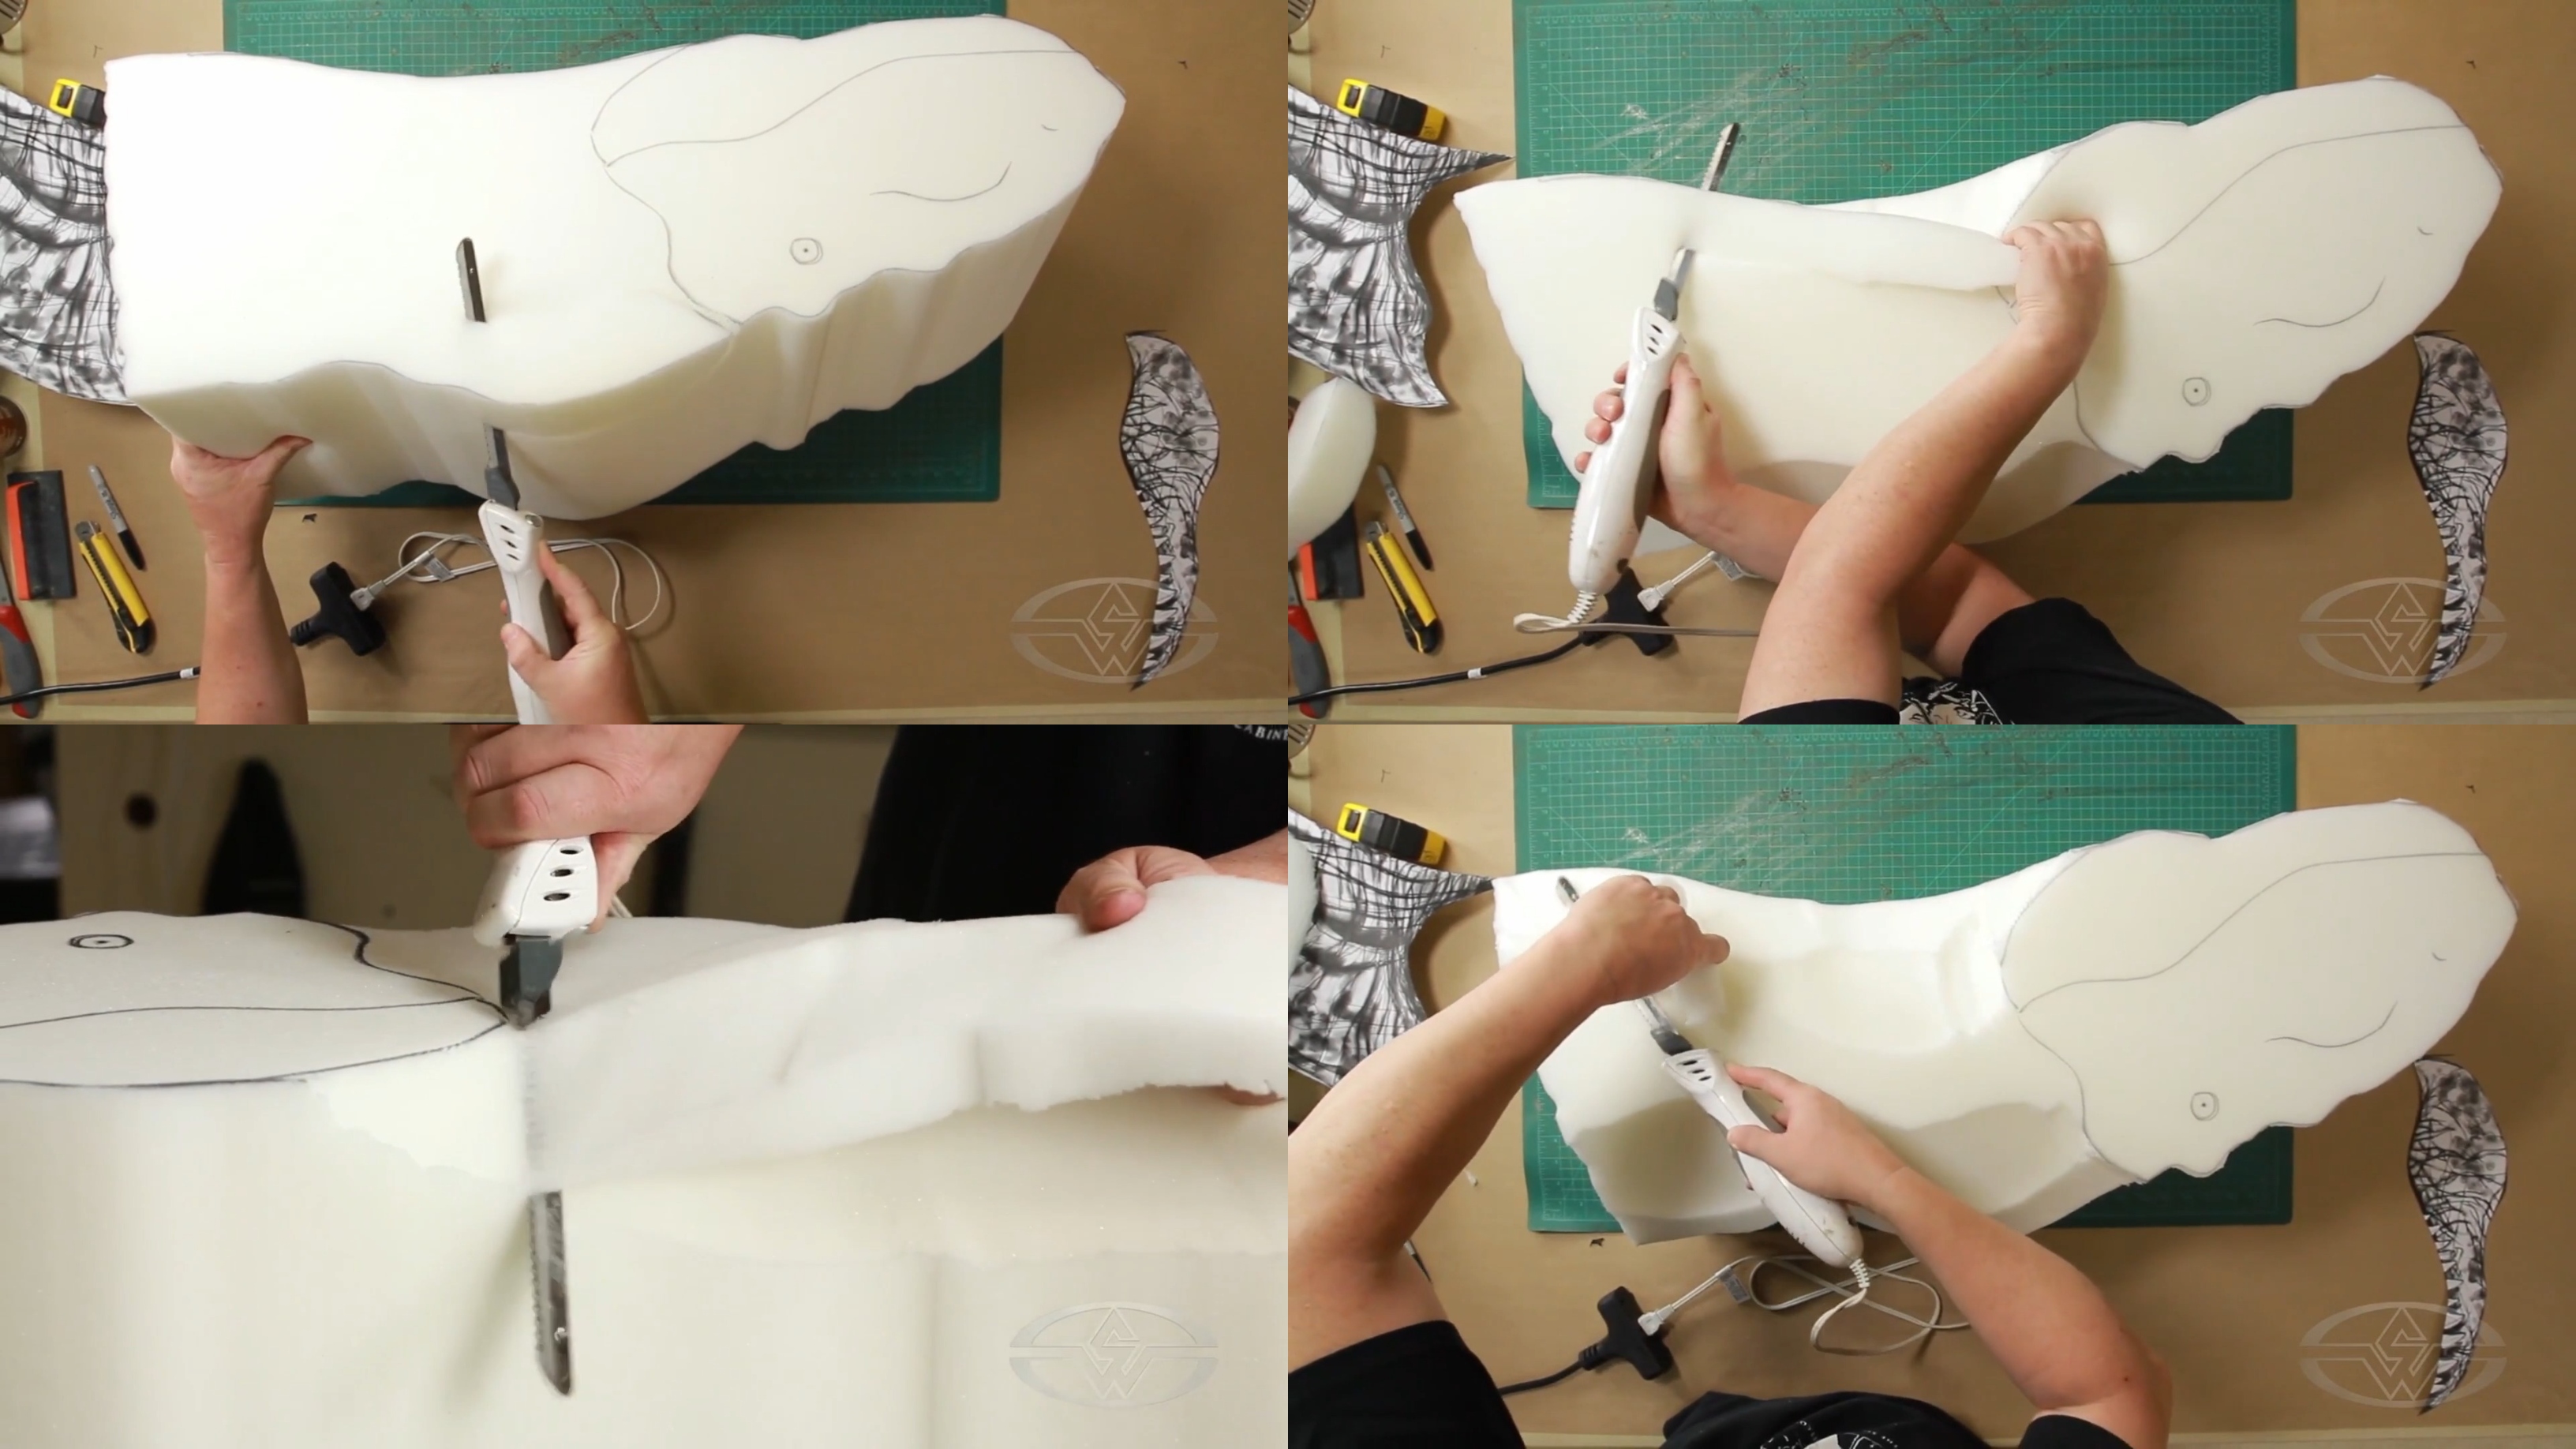 (Using an electric carving knife, Ted Haines cuts off big pieces of foam, little by little.)
Since you’ll be sculpting this all the way around, you’ll want to flip your patterns over onto the opposite side of the foam and repeat the tracing and carving process.
“You always want to keep flipping your project,” Haines says. “You don’t want to do too much on one side.”
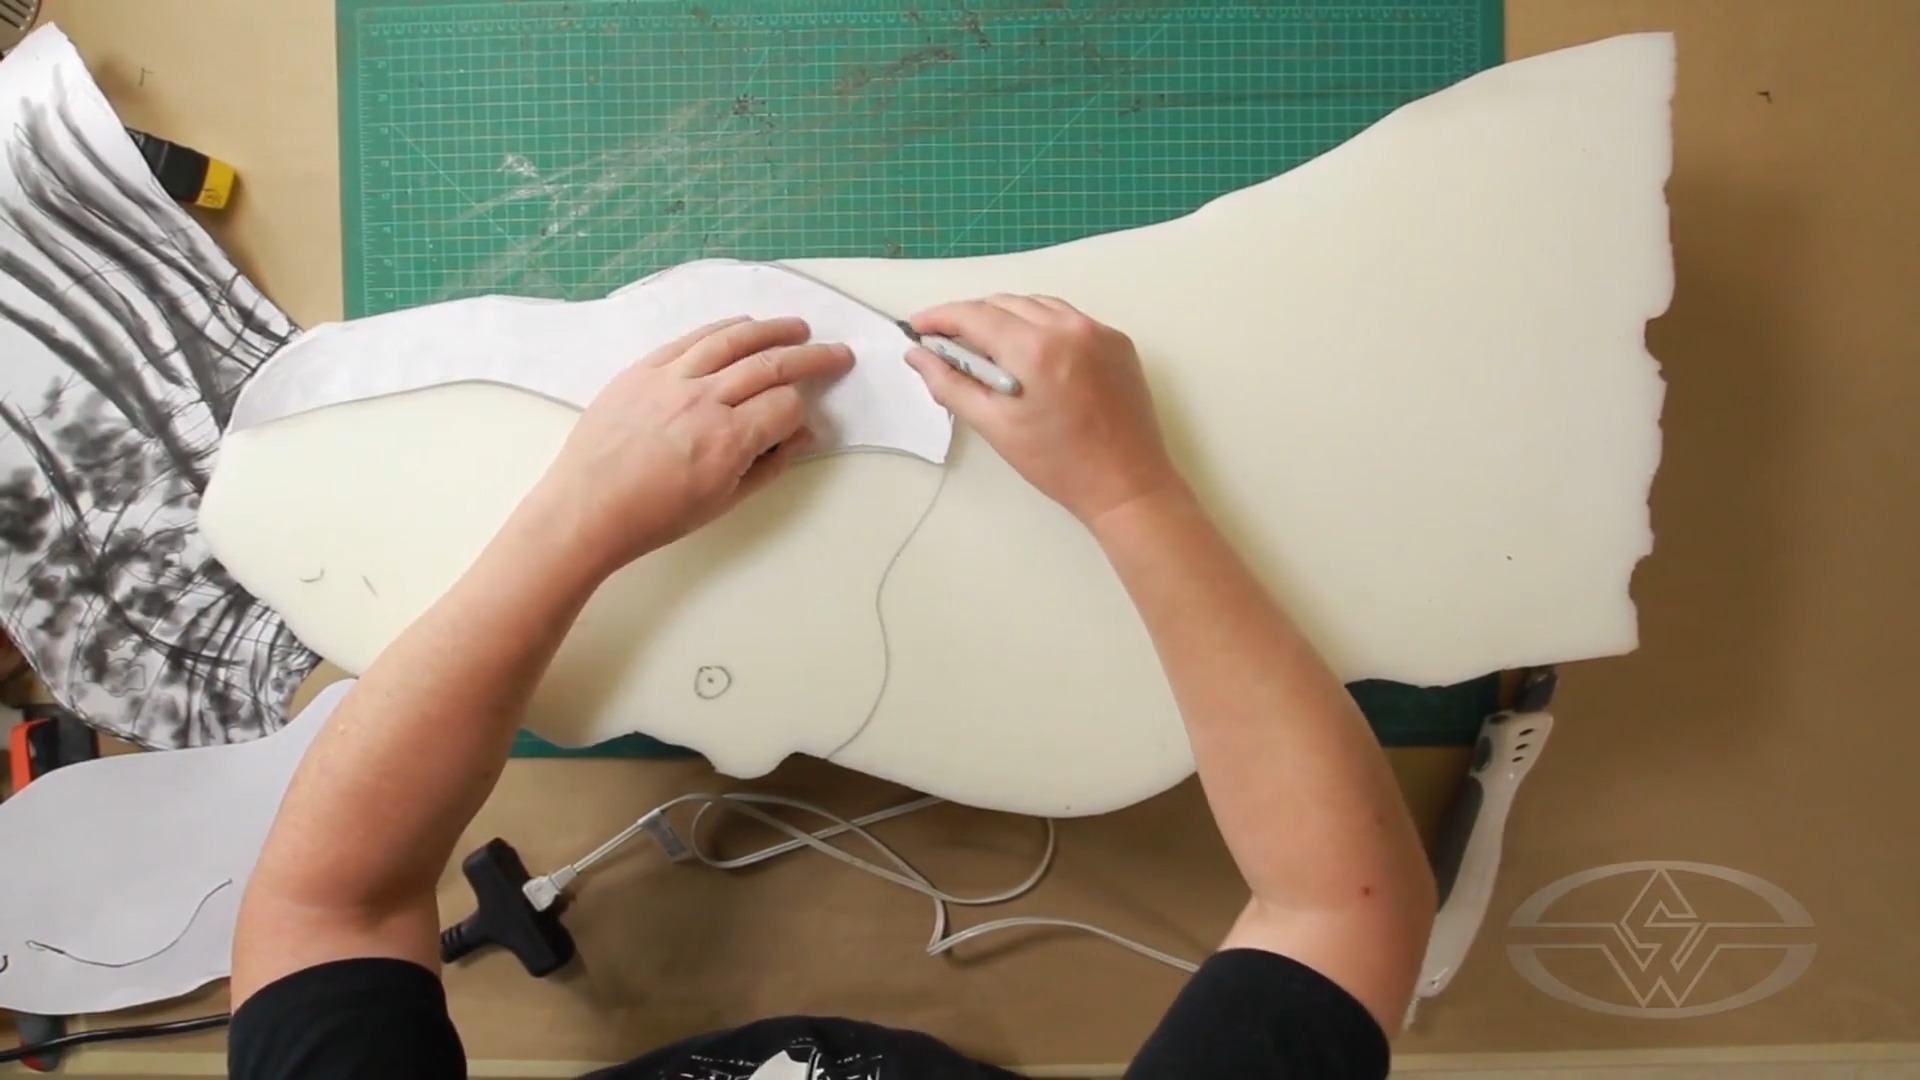 (To keep the sculpture balanced, Ted Haines flips the piece of foam over again, tracing the outlines of the jaw, mouth, bridge of nose, and eye before carving into it.)
Sculpting is the art of subtraction when you’re working with foam. For this reason, it's recommended to use some precision as you’re cutting and keep flipping your character.
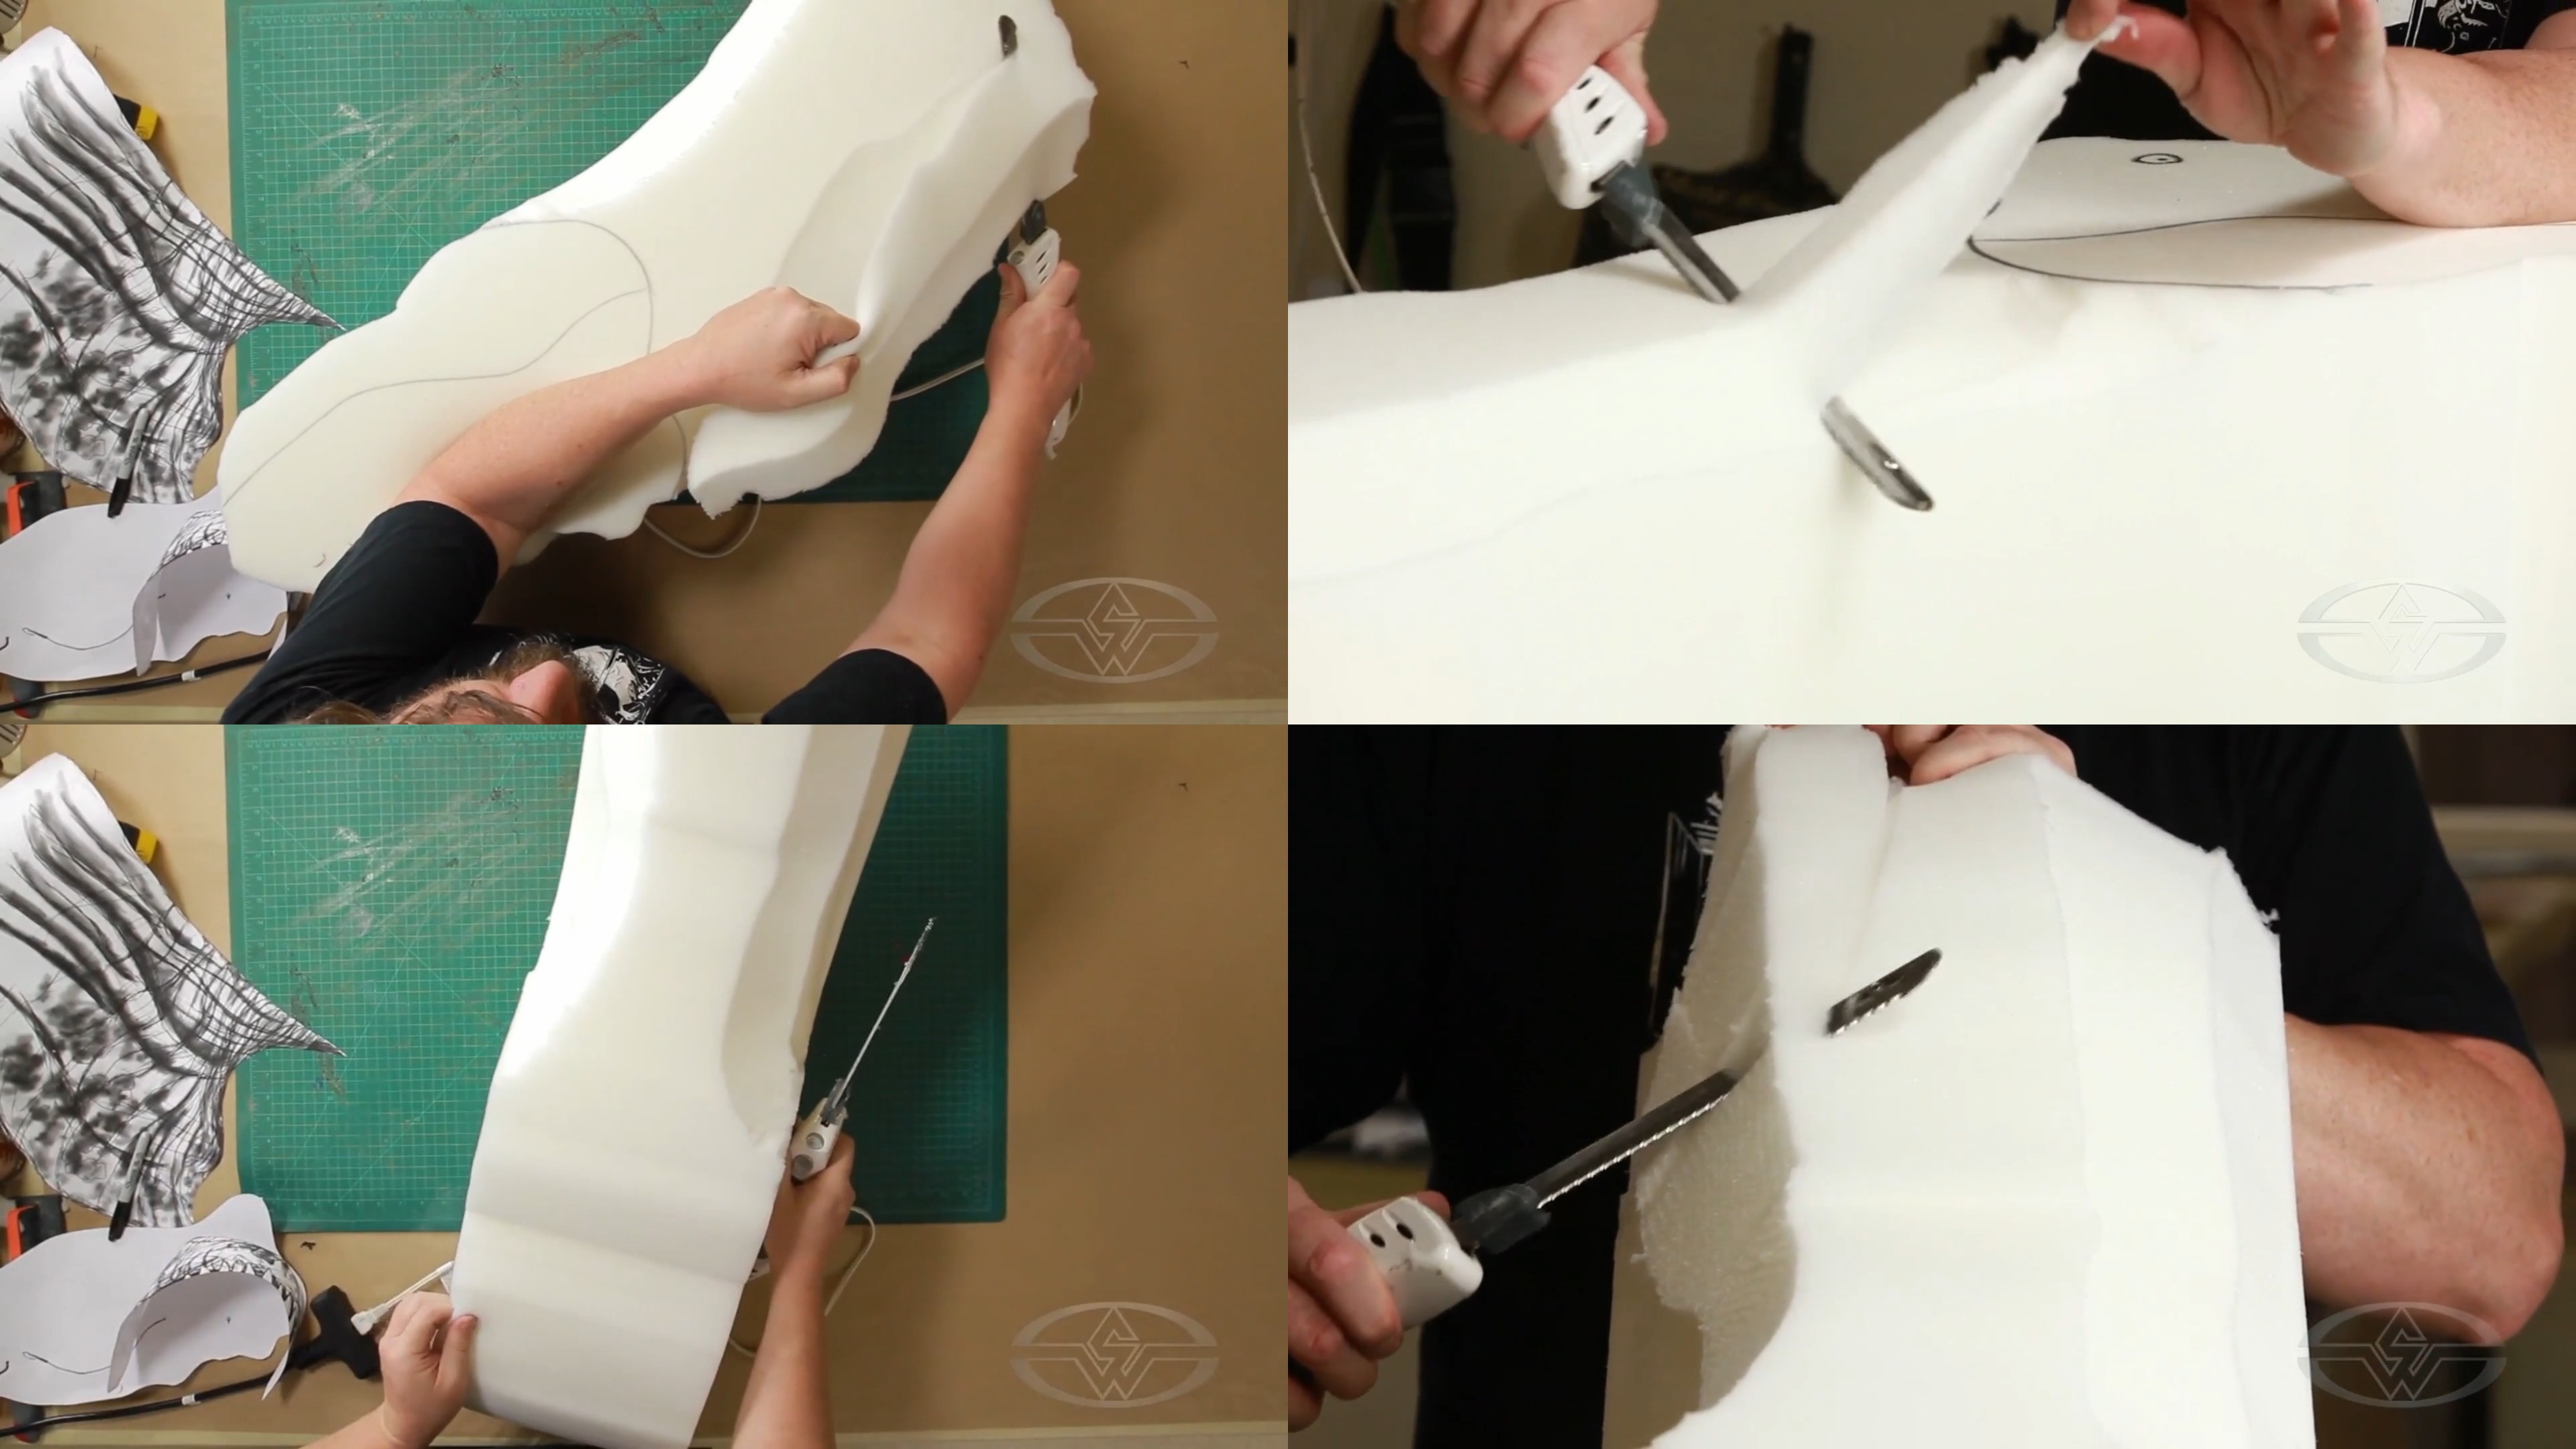 (Ted Haines gives tips on how to make the carving process easier.)
Pro-tip: When cutting using the electric carving knife, briefly carve into the foam, carefully hold onto the small piece that's been cut into, and pull it to help the knife slide through the foam more easily. This will give a similar effect to scissors gliding through wrapping paper.
Safety Precautions and Solutions for Subtractive Foam Sculpting
If you notice that you’ve cut more foam off one side than the other, examine and work with your foam at all angles.
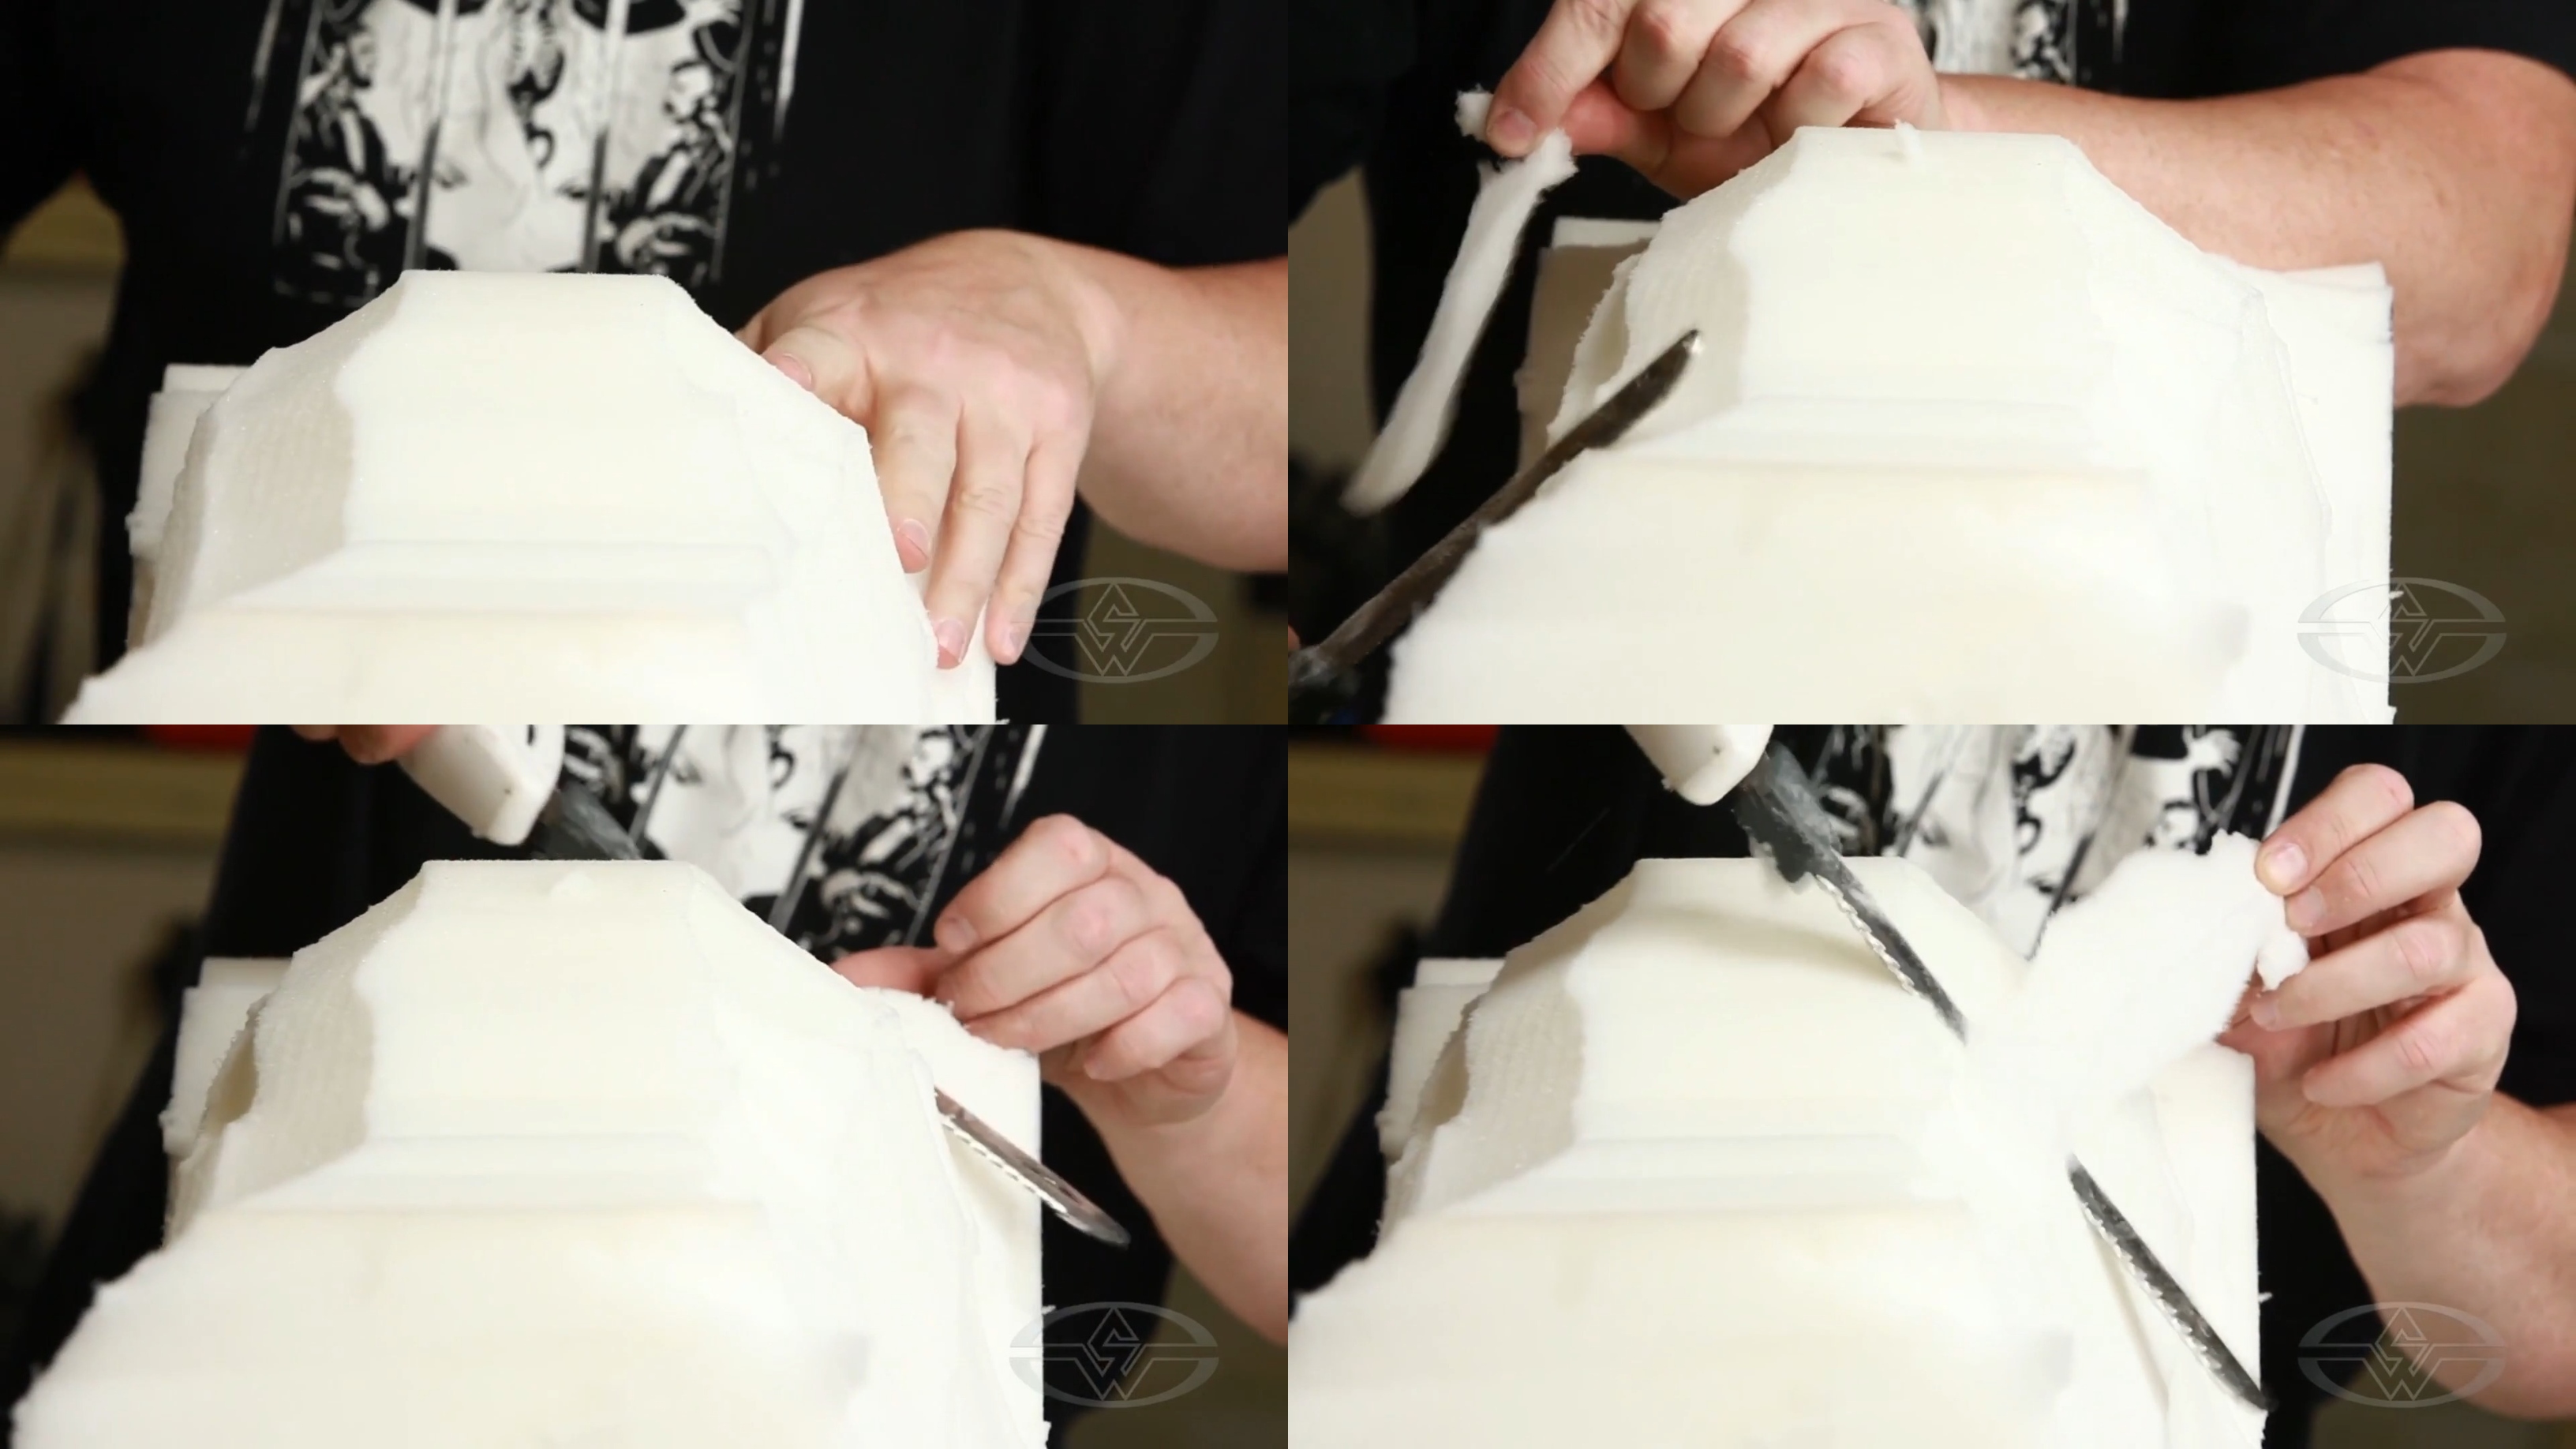 (Ted Haines removes small pieces of foam with his knife.)
It bears repeating that when using any cutting tool, make sure to cut away from yourself and hardly—if ever—toward you. Haines says that even though there may be times where you have to, and that’s what works, you want to get in the habit of cutting away.
In the event that you’ve cut more foam off than anticipated, one solution would be to scale your project down. This requires a little bit of math, but when you’re scaling up, instead of a ¼ scale, you could work with a ⅕ scale or ⅙ scale model.
Taking little bits of foam off at a time and being as careful as possible can help prevent errors. However, if needed, you can always add back onto the foam with some of the scraps you’re cutting.
“I started with a 10-inch-thick block piece of foam. You can always add on it a 1-inch or a quarter-inch piece if you really feel that you need to,” Haines says.
Pro-tip: Try to keep your worktable clean by placing any foam scraps on the floor or disposing of them. This is another way to prevent a potential injury. When you’re working with a lot of material and leave it on the table, tools, like Personna razor blades, can end up underneath bits of foam. This makes accidentally grabbing a sharp object a possibility when you're in the zone. Tidy up to stay safe!
The Importance of Referencing Your Design When Sculpting
Continuously referencing your design is key to turning out a sculpture that's absolute dino-mite.
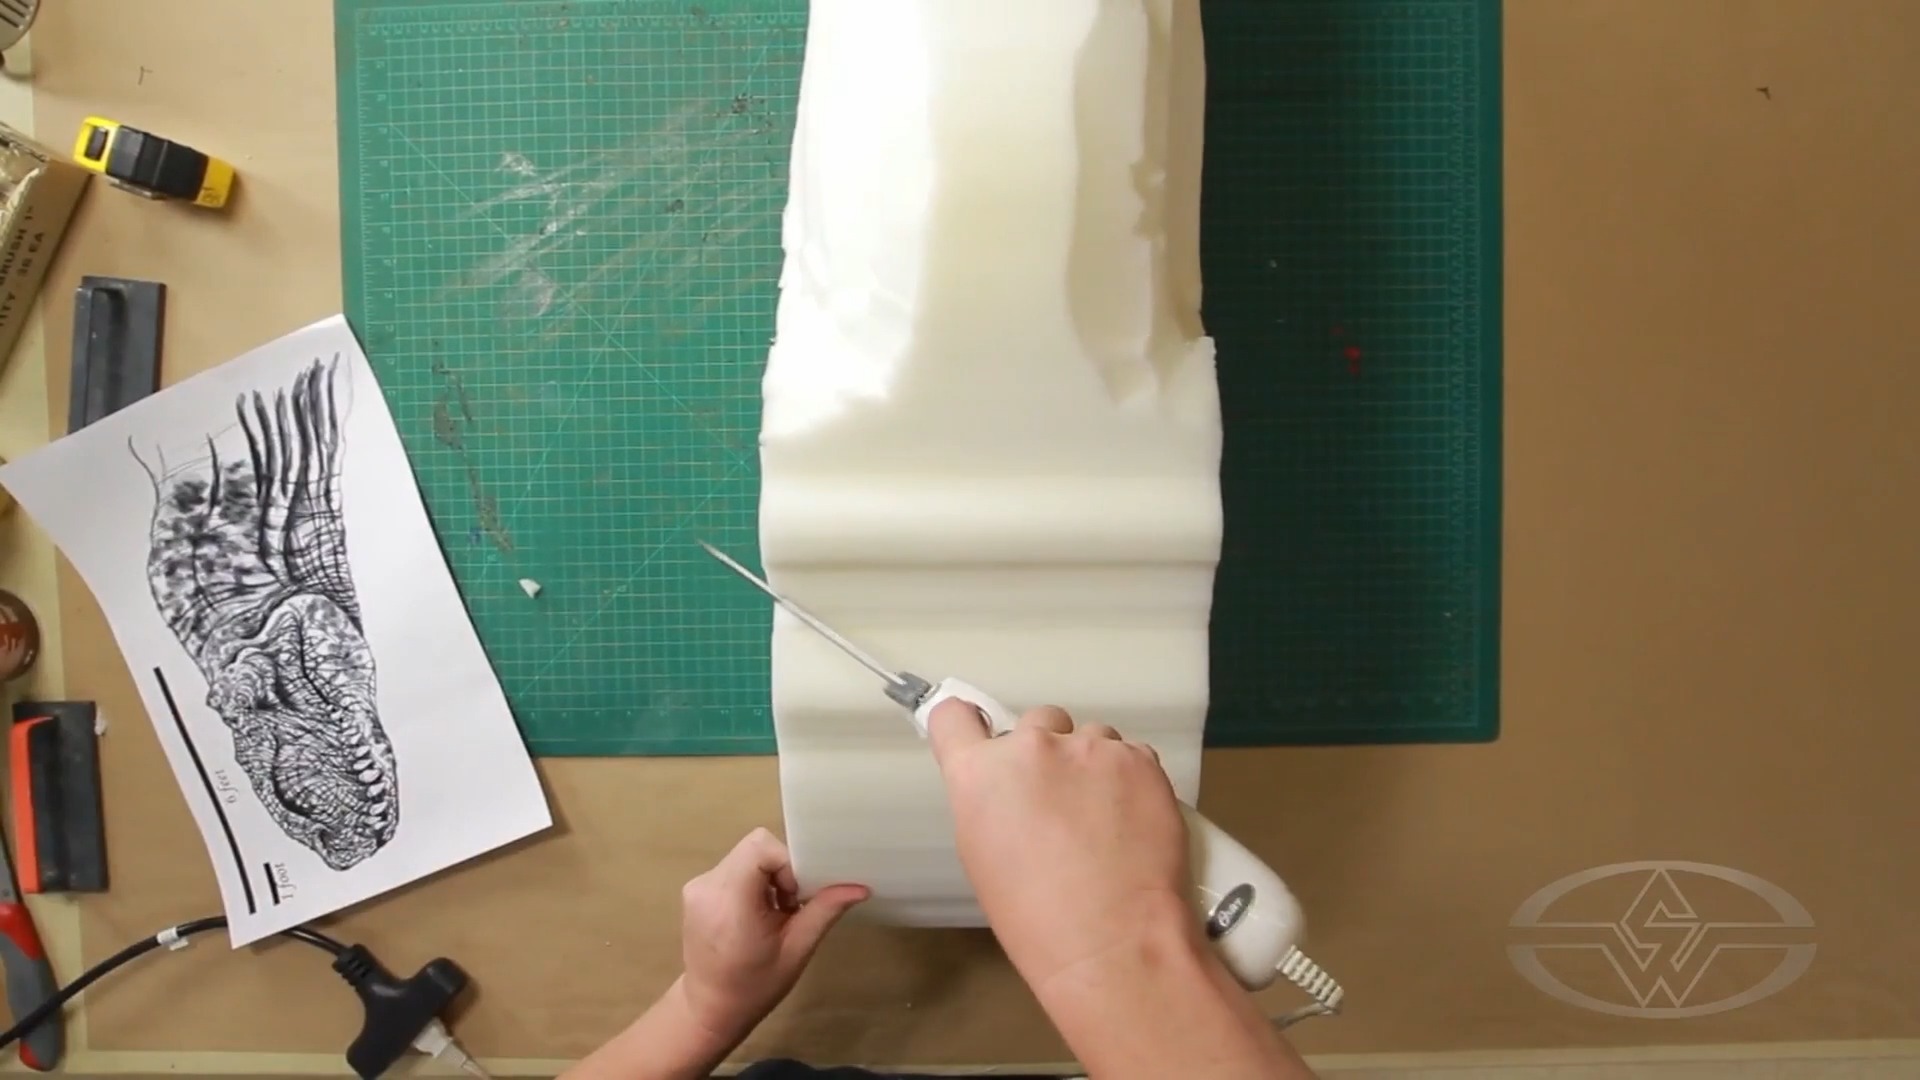 (Before Ted Haines carves the head, he references his design.)
In a professional setting, the design department will often provide various views of designs, like three-quarter, top, and front views. “The more views you have of your character, the better,” Haines says. He usually works with a profile so that he can cut the character's profile into the foam.
When you're working with only the side view, as in this lesson, you need to use your artistic eye to fill in the blanks since you don’t have a front view. Knowing anatomy, as well as how much you’ve previously carved and sculpted foam, will help tremendously in these instances.
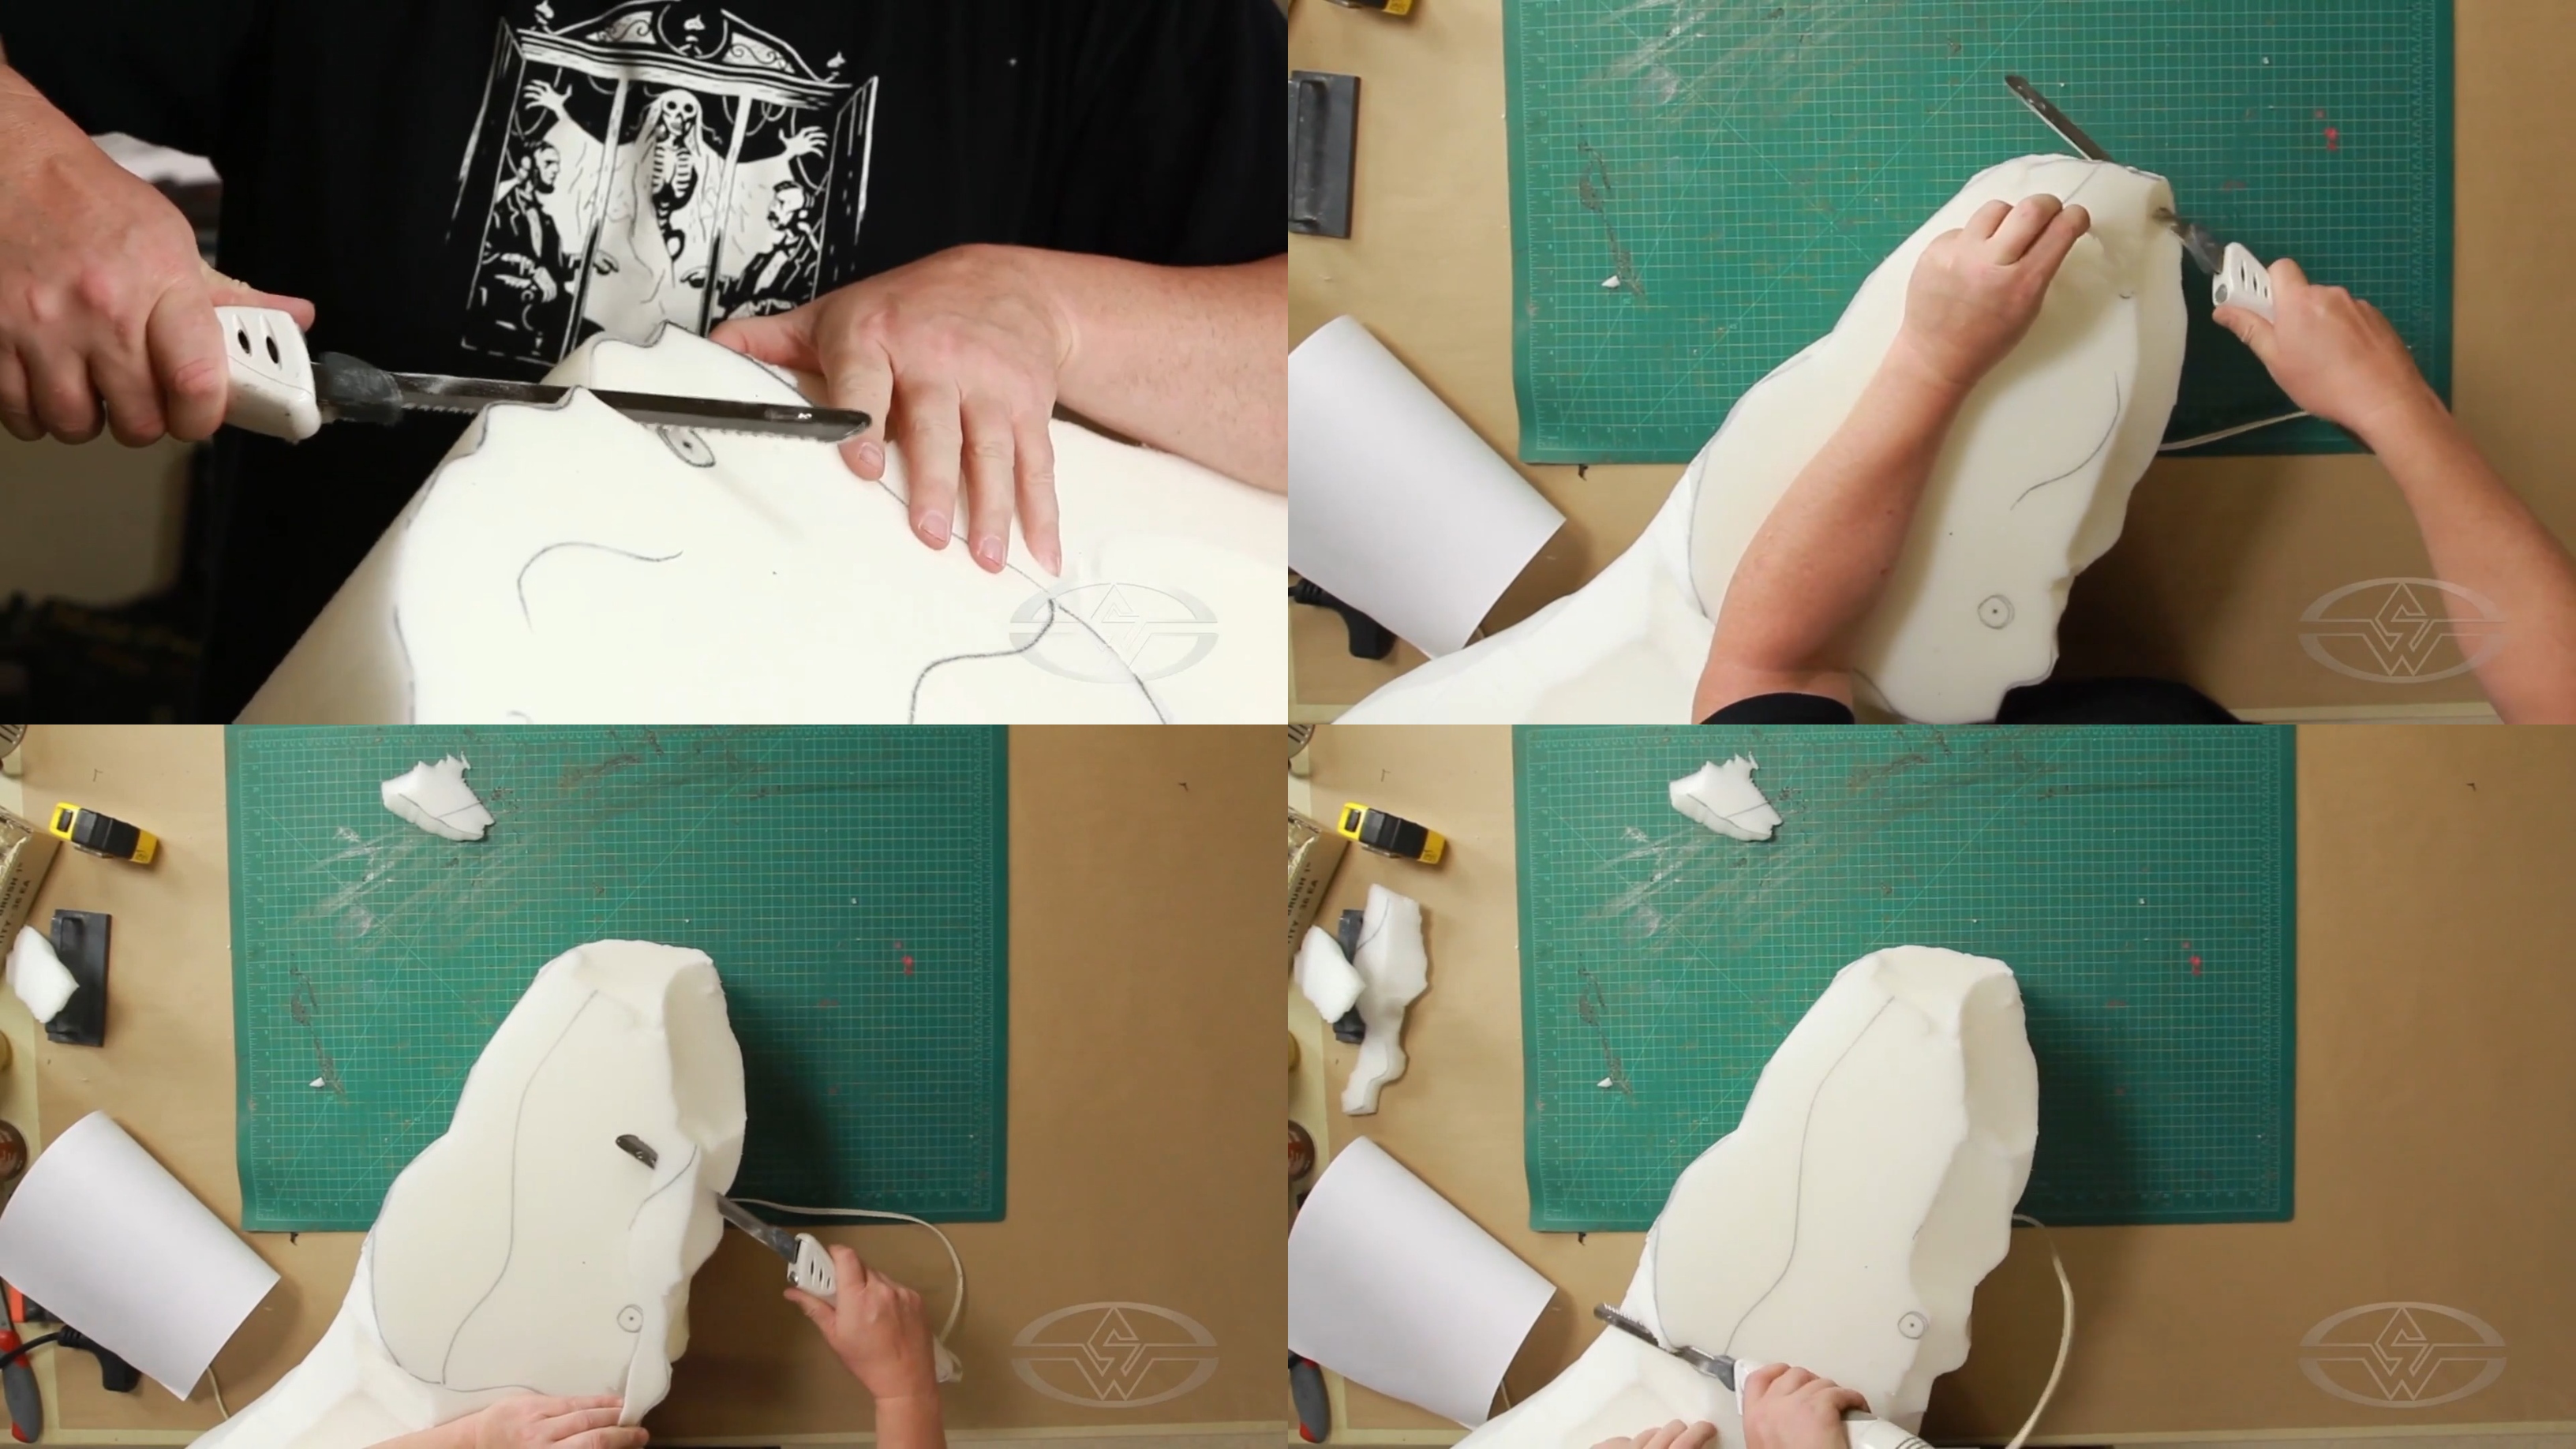 (Ted Haines carves away as he figures out how to create his character using a side view.)
As you’re carving, you’ll notice that you lose the original black lines you traced to use as a reference. Because you have the profile of your dinosaur, you can always lay the drawing up on the foam once you start losing the orbital bone, nasal carve, etc. to make more marks, or just remind yourself where these are.
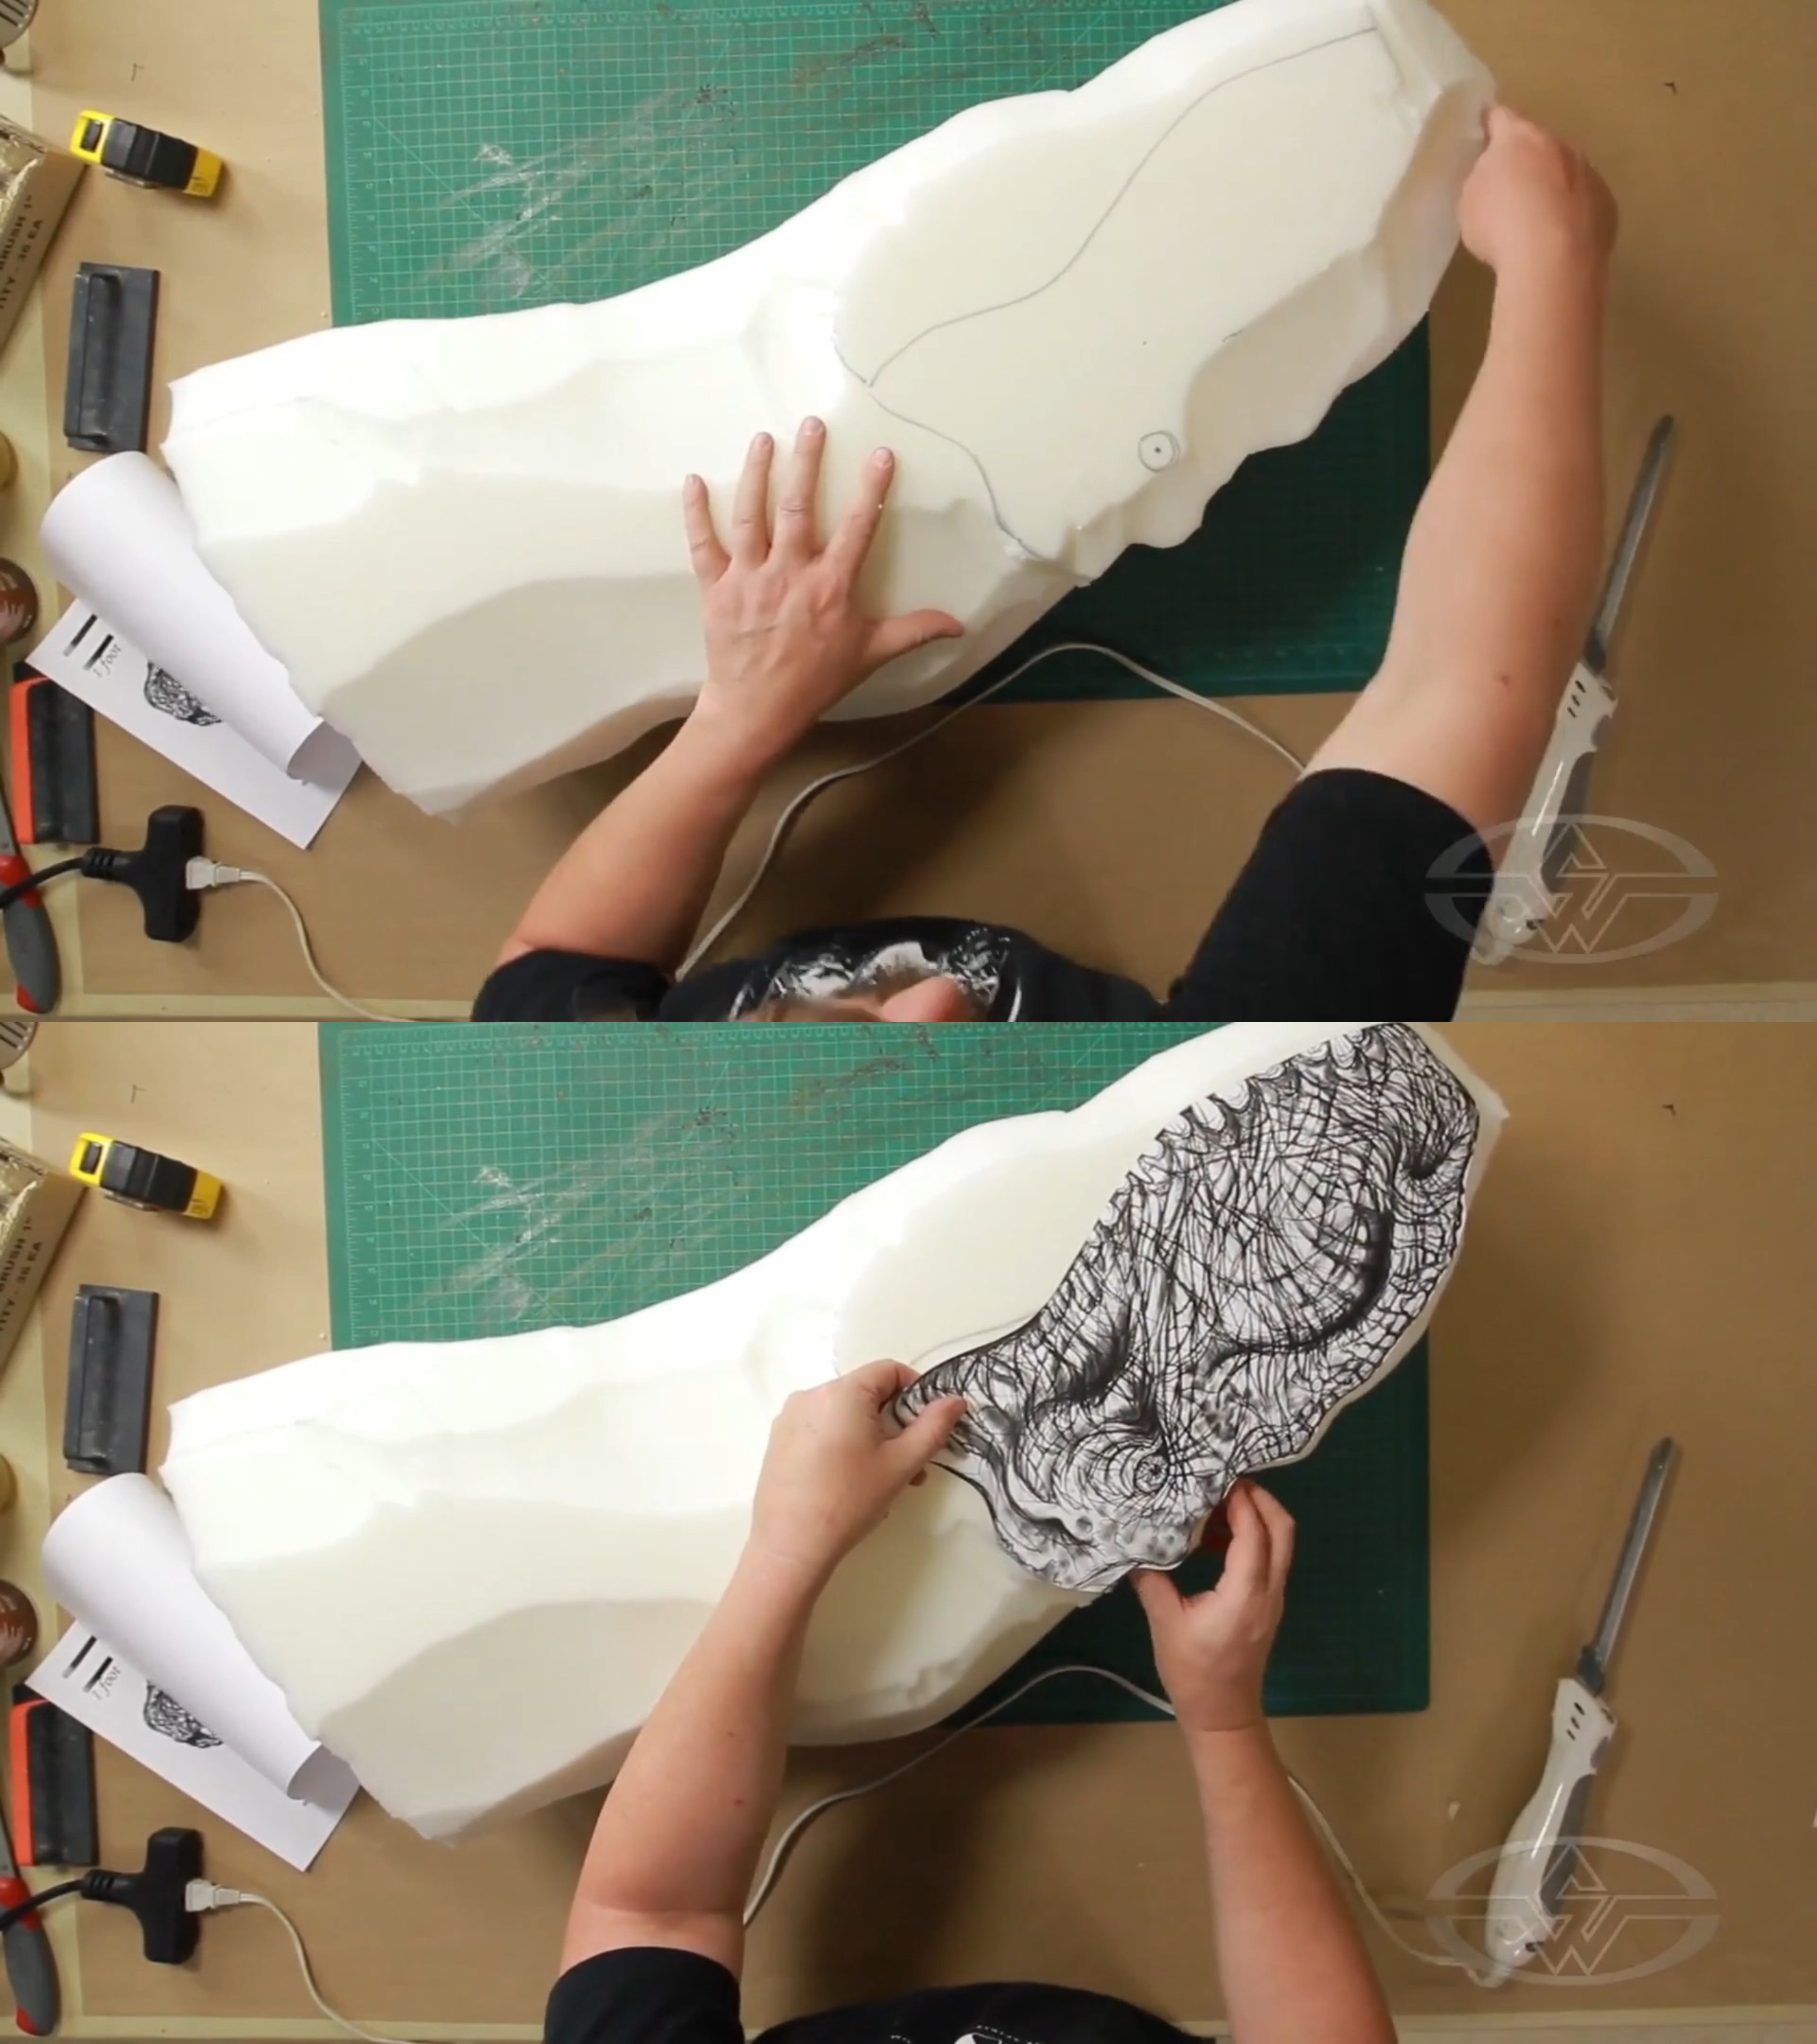 (Ted Haines places his design over the foam to remind himself where the dinosaur's features are.)
Using Various Tools for Different Foam Sizes
Always try to keep your hand behind wherever you’re cutting, no matter what tool you use. When Haines is working with something of this size, he likes to use the electric carving knife since it takes off the material quickly and in bulk. If you don’t have one of these handy, you can always use a regular, non-electric carving knife. These use a more back-and-forth action, are much quieter, and result in a smoother cut with less mess in comparison.
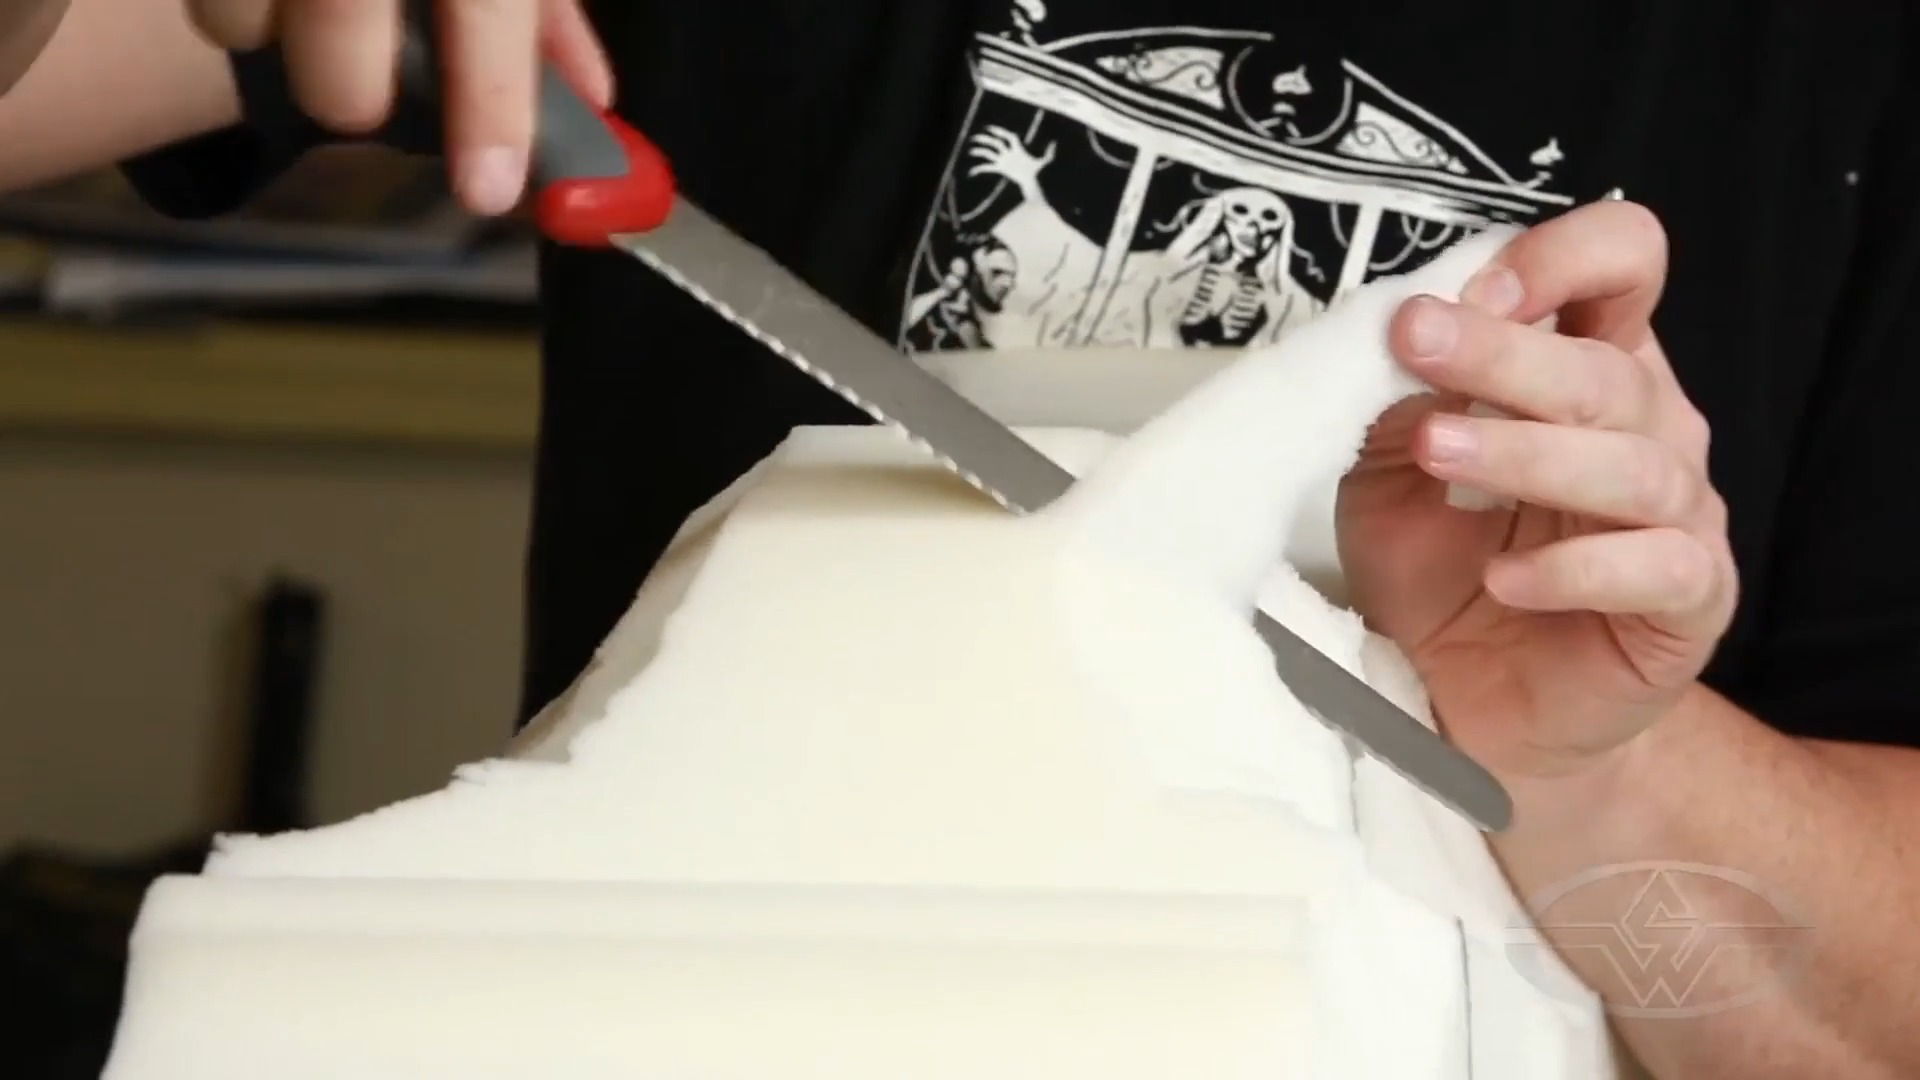 (Ted Haines switches from his electric carving knife to a regular carving knife.)
Haines has an array of tools he likes to use when sculpting large pieces of foam, such as an electric knife, hand knife, and large carpet knife. For fine carving, he prefers to use a Personna blade.
To prevent carving down one side more than the other or below the center point, you’ll want to be flipping your dinosaur shape constantly. Even if you're doing just a rough sculpt, it's important to keep symmetry in mind.
“You still want to make sure you’re relatively symmetrical,” Haines says. “There’s no symmetry in nature, but when you’re carving a monster or creature, there has to be some symmetry to the head—you can’t have it completely lopsided.”
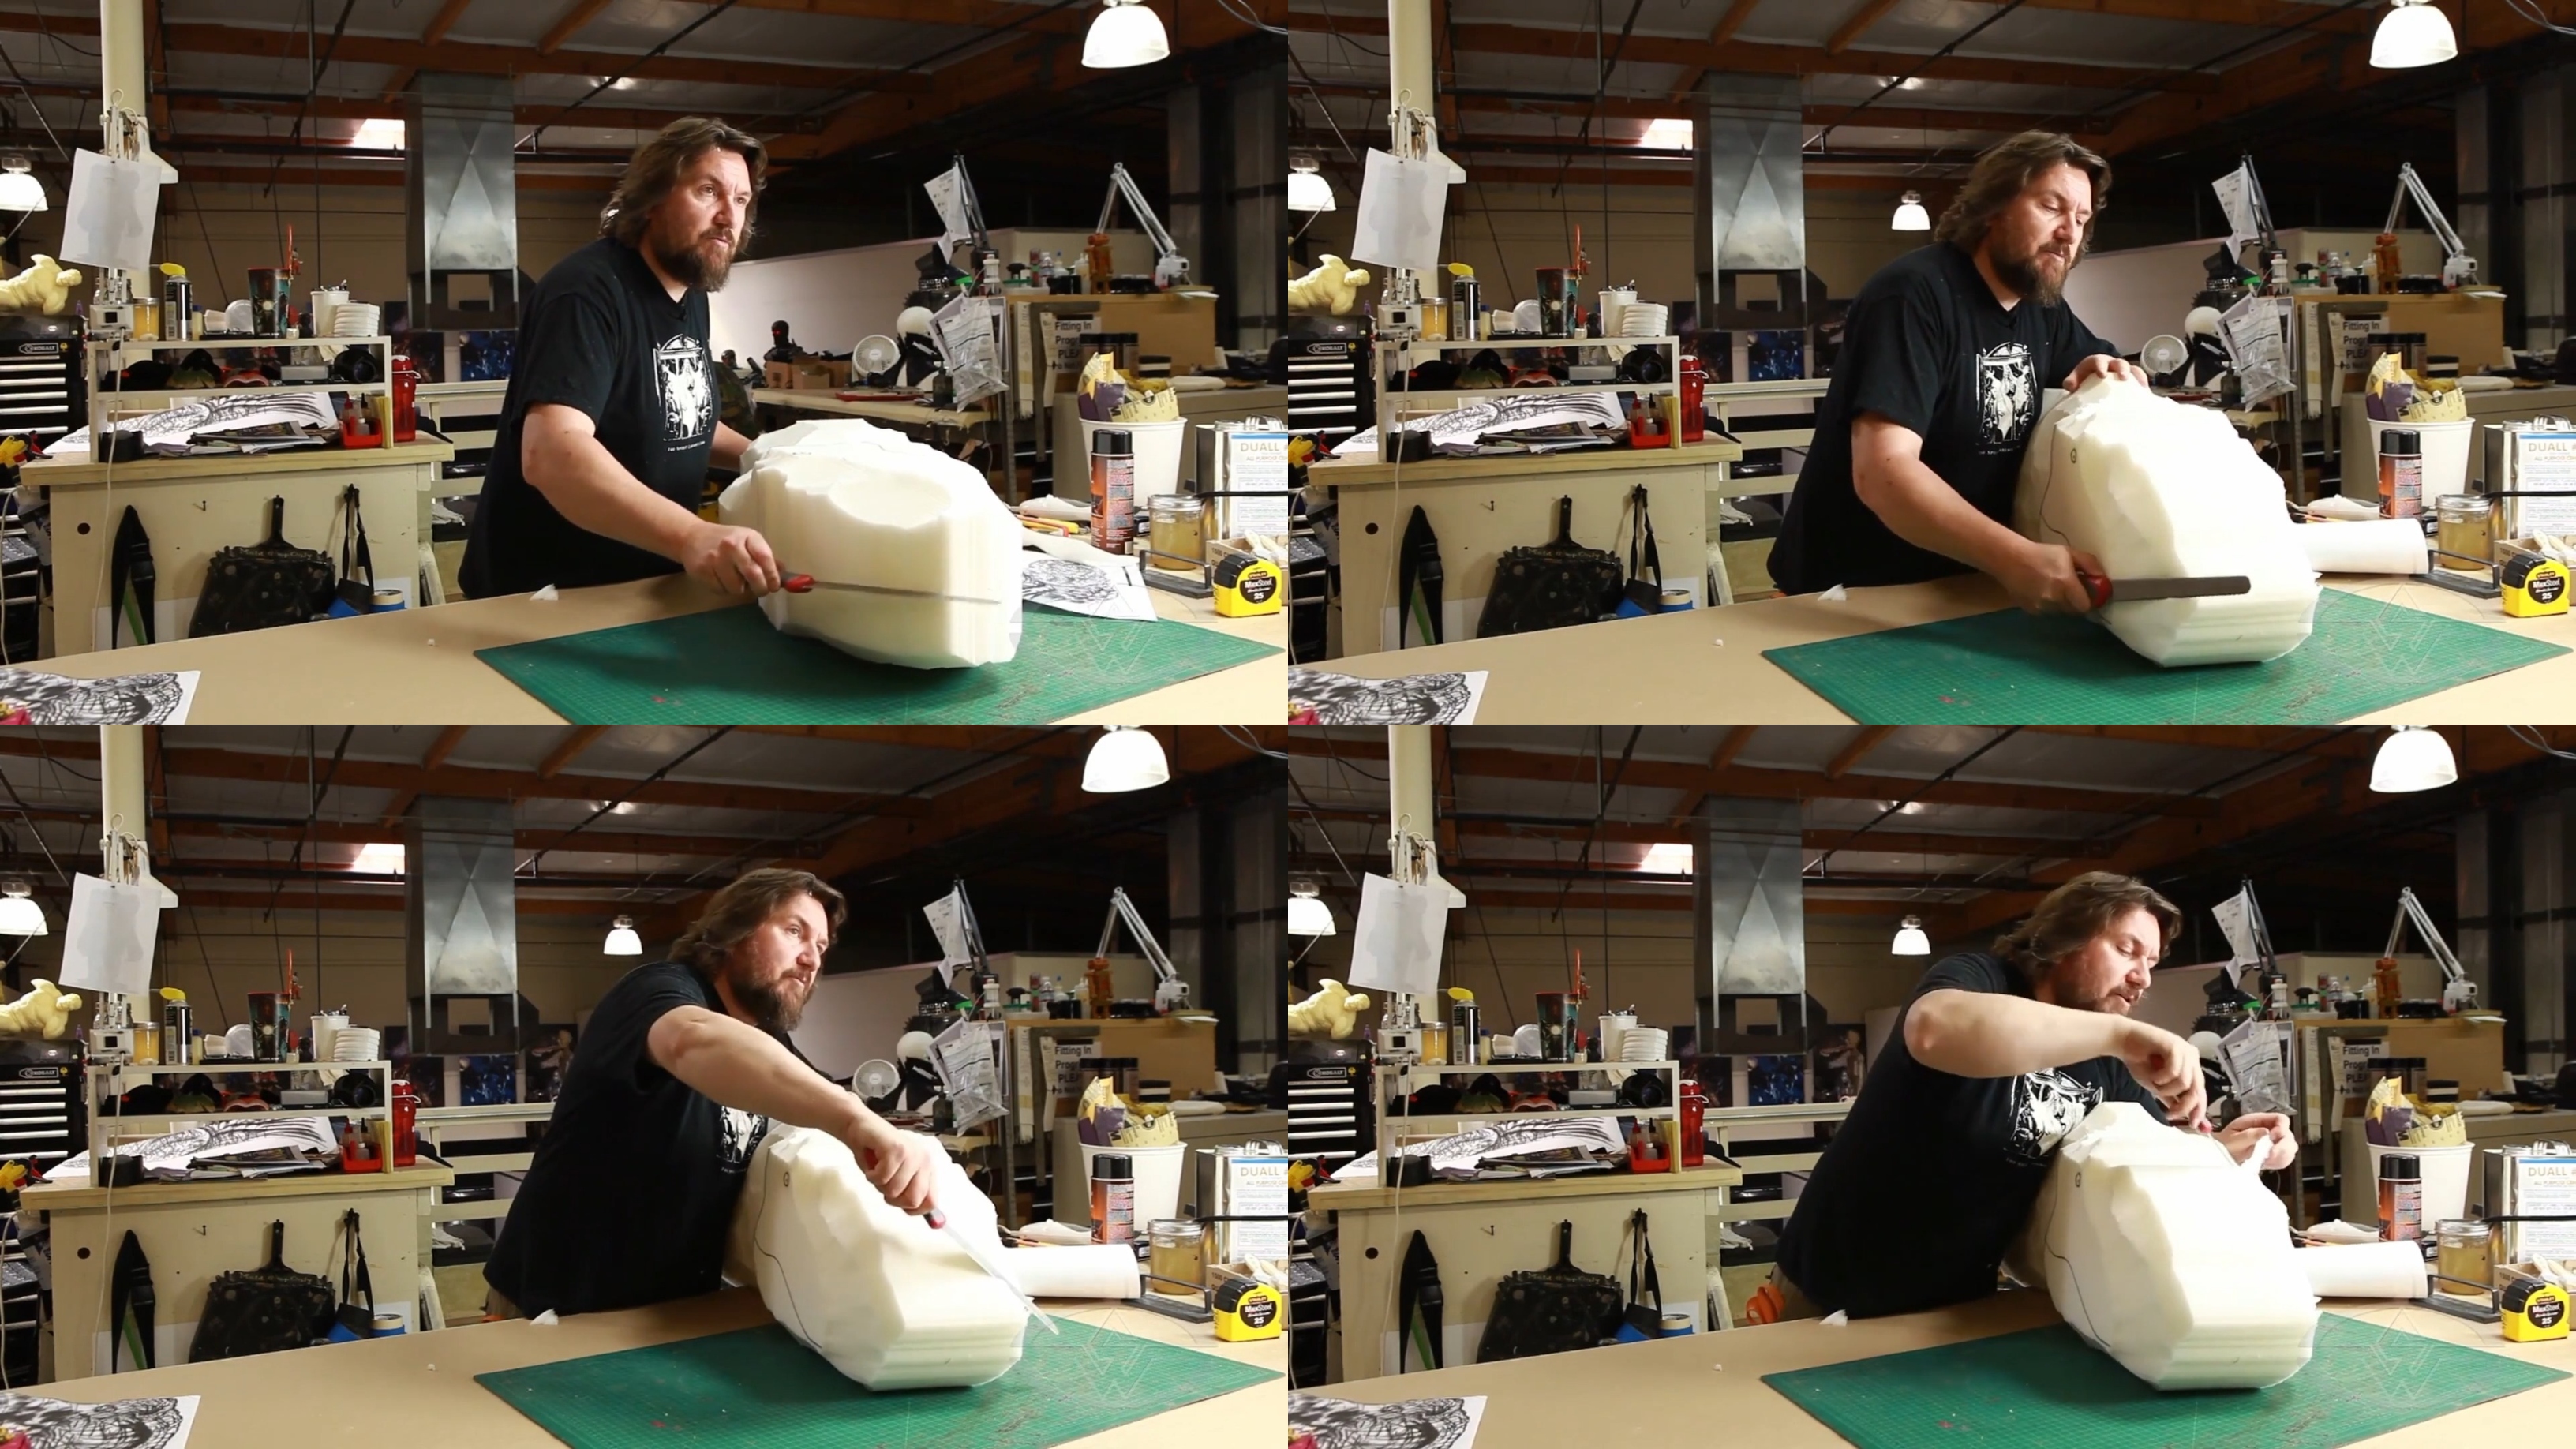 (By constantly flipping the sculpture as he works, Ted Haines makes sure that each side is carved down evenly.)
Working on a project like this you end up with lots of excess foam. It’s always a good idea to take your foam scraps to an upholstery store to be recycled whenever possible. Haines works with 12TF upholstery foam found in sofa and chair cushions. “I don’t recommend you opening up your parents’ couches or your own sofa just to use this foam because you’ll be left without a cushion, but to each their own,” he jokes.
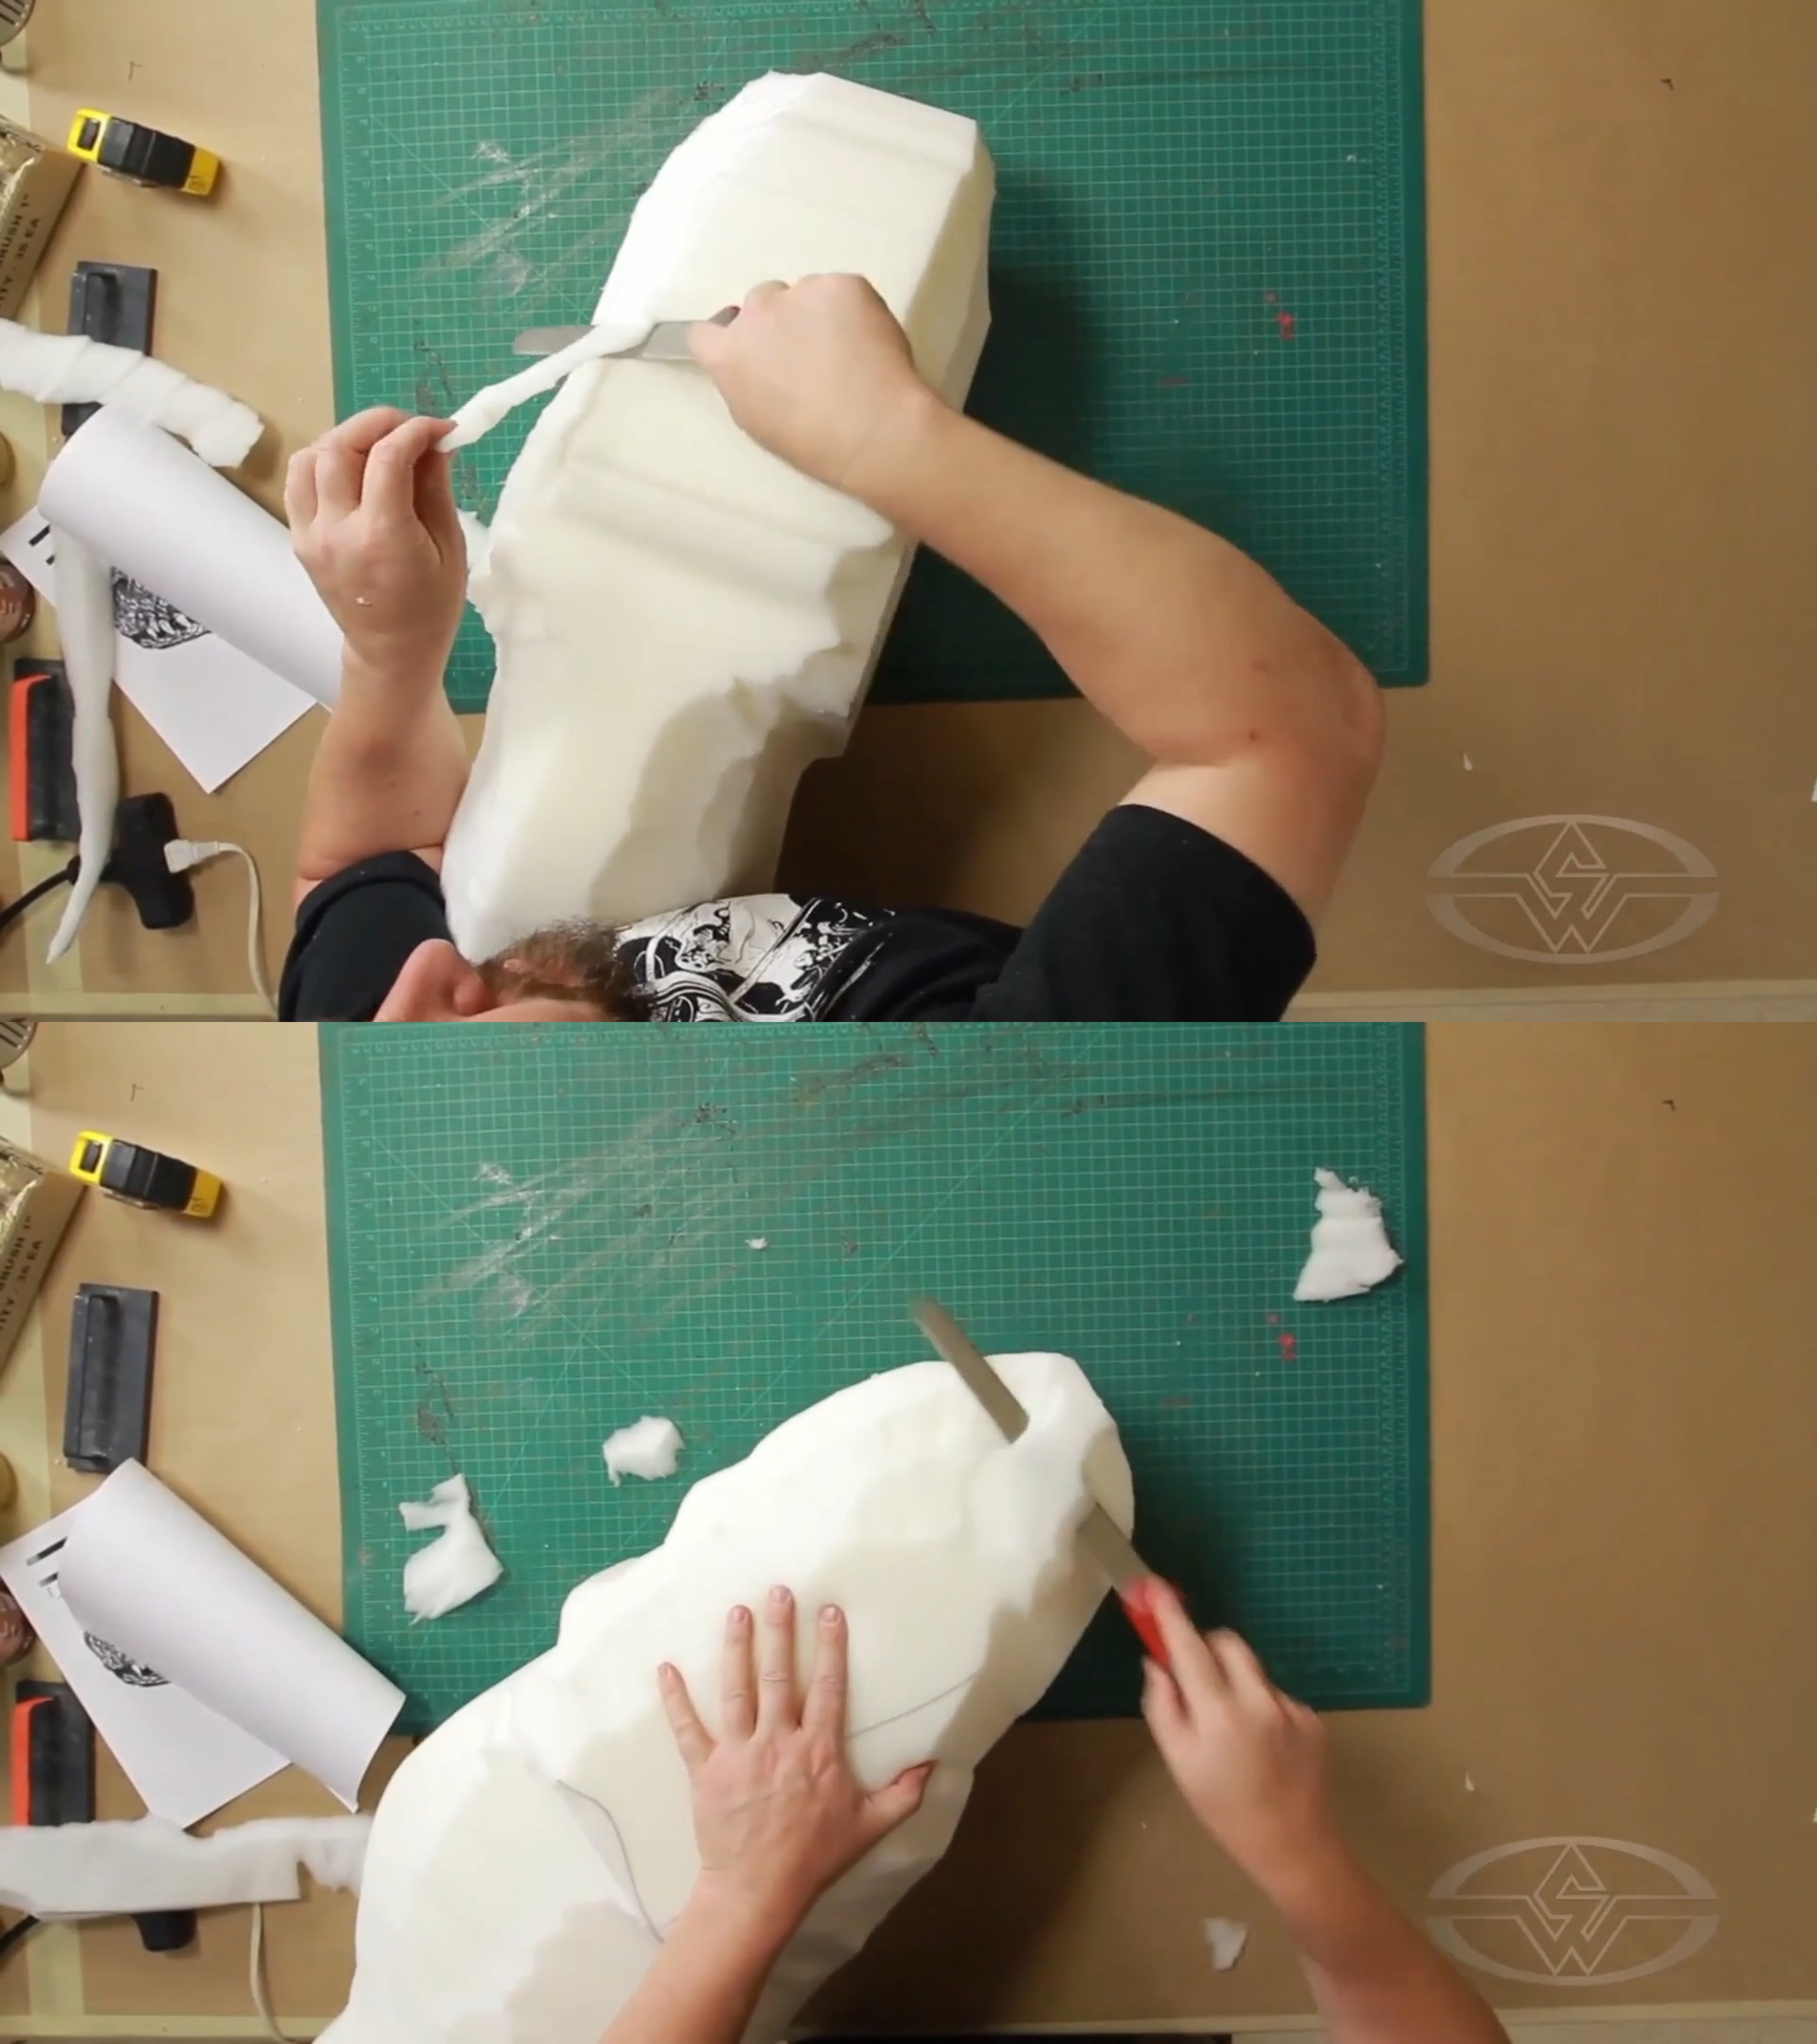 (Using his carving knife, Ted Haines continues cutting, revealing more of a dinosaur-shaped head.)
Pro-tip: Consider asking your local upholstery shops if they have any foam scraps to spare. According to Haines, when you’re doing something really weird and fascinating, they love helping out..
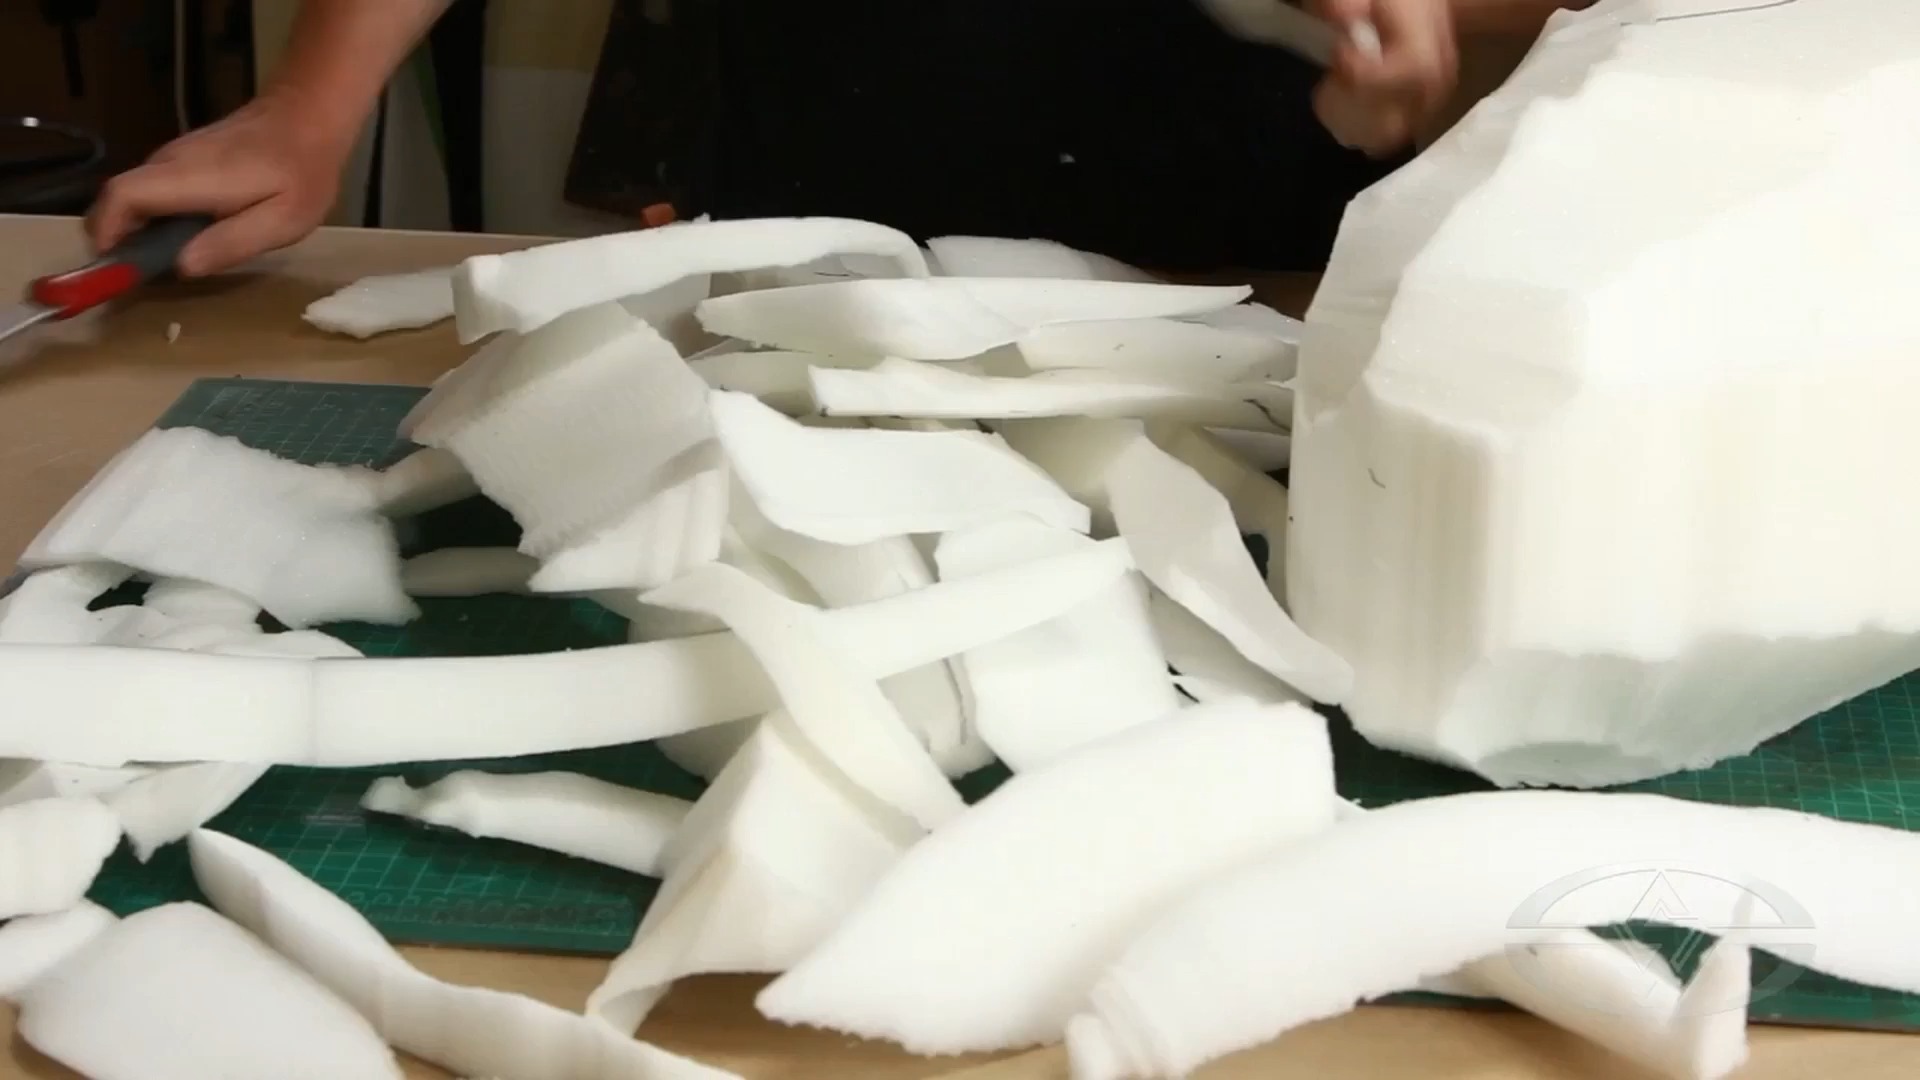 (Ted Haines places the amount of foam he's removed so far on his worktable.)
Visualizing Your Sculpt and Adding Details
Once you’ve carved a significant amount of foam, you’ll see your dinosaur head start to emerge. Visualize what your character would look like from different kinds of views, like a front or back view. Then, proceed to some of the detailing. You can use the big knife for that or the carving tool with which you have the most comfort.
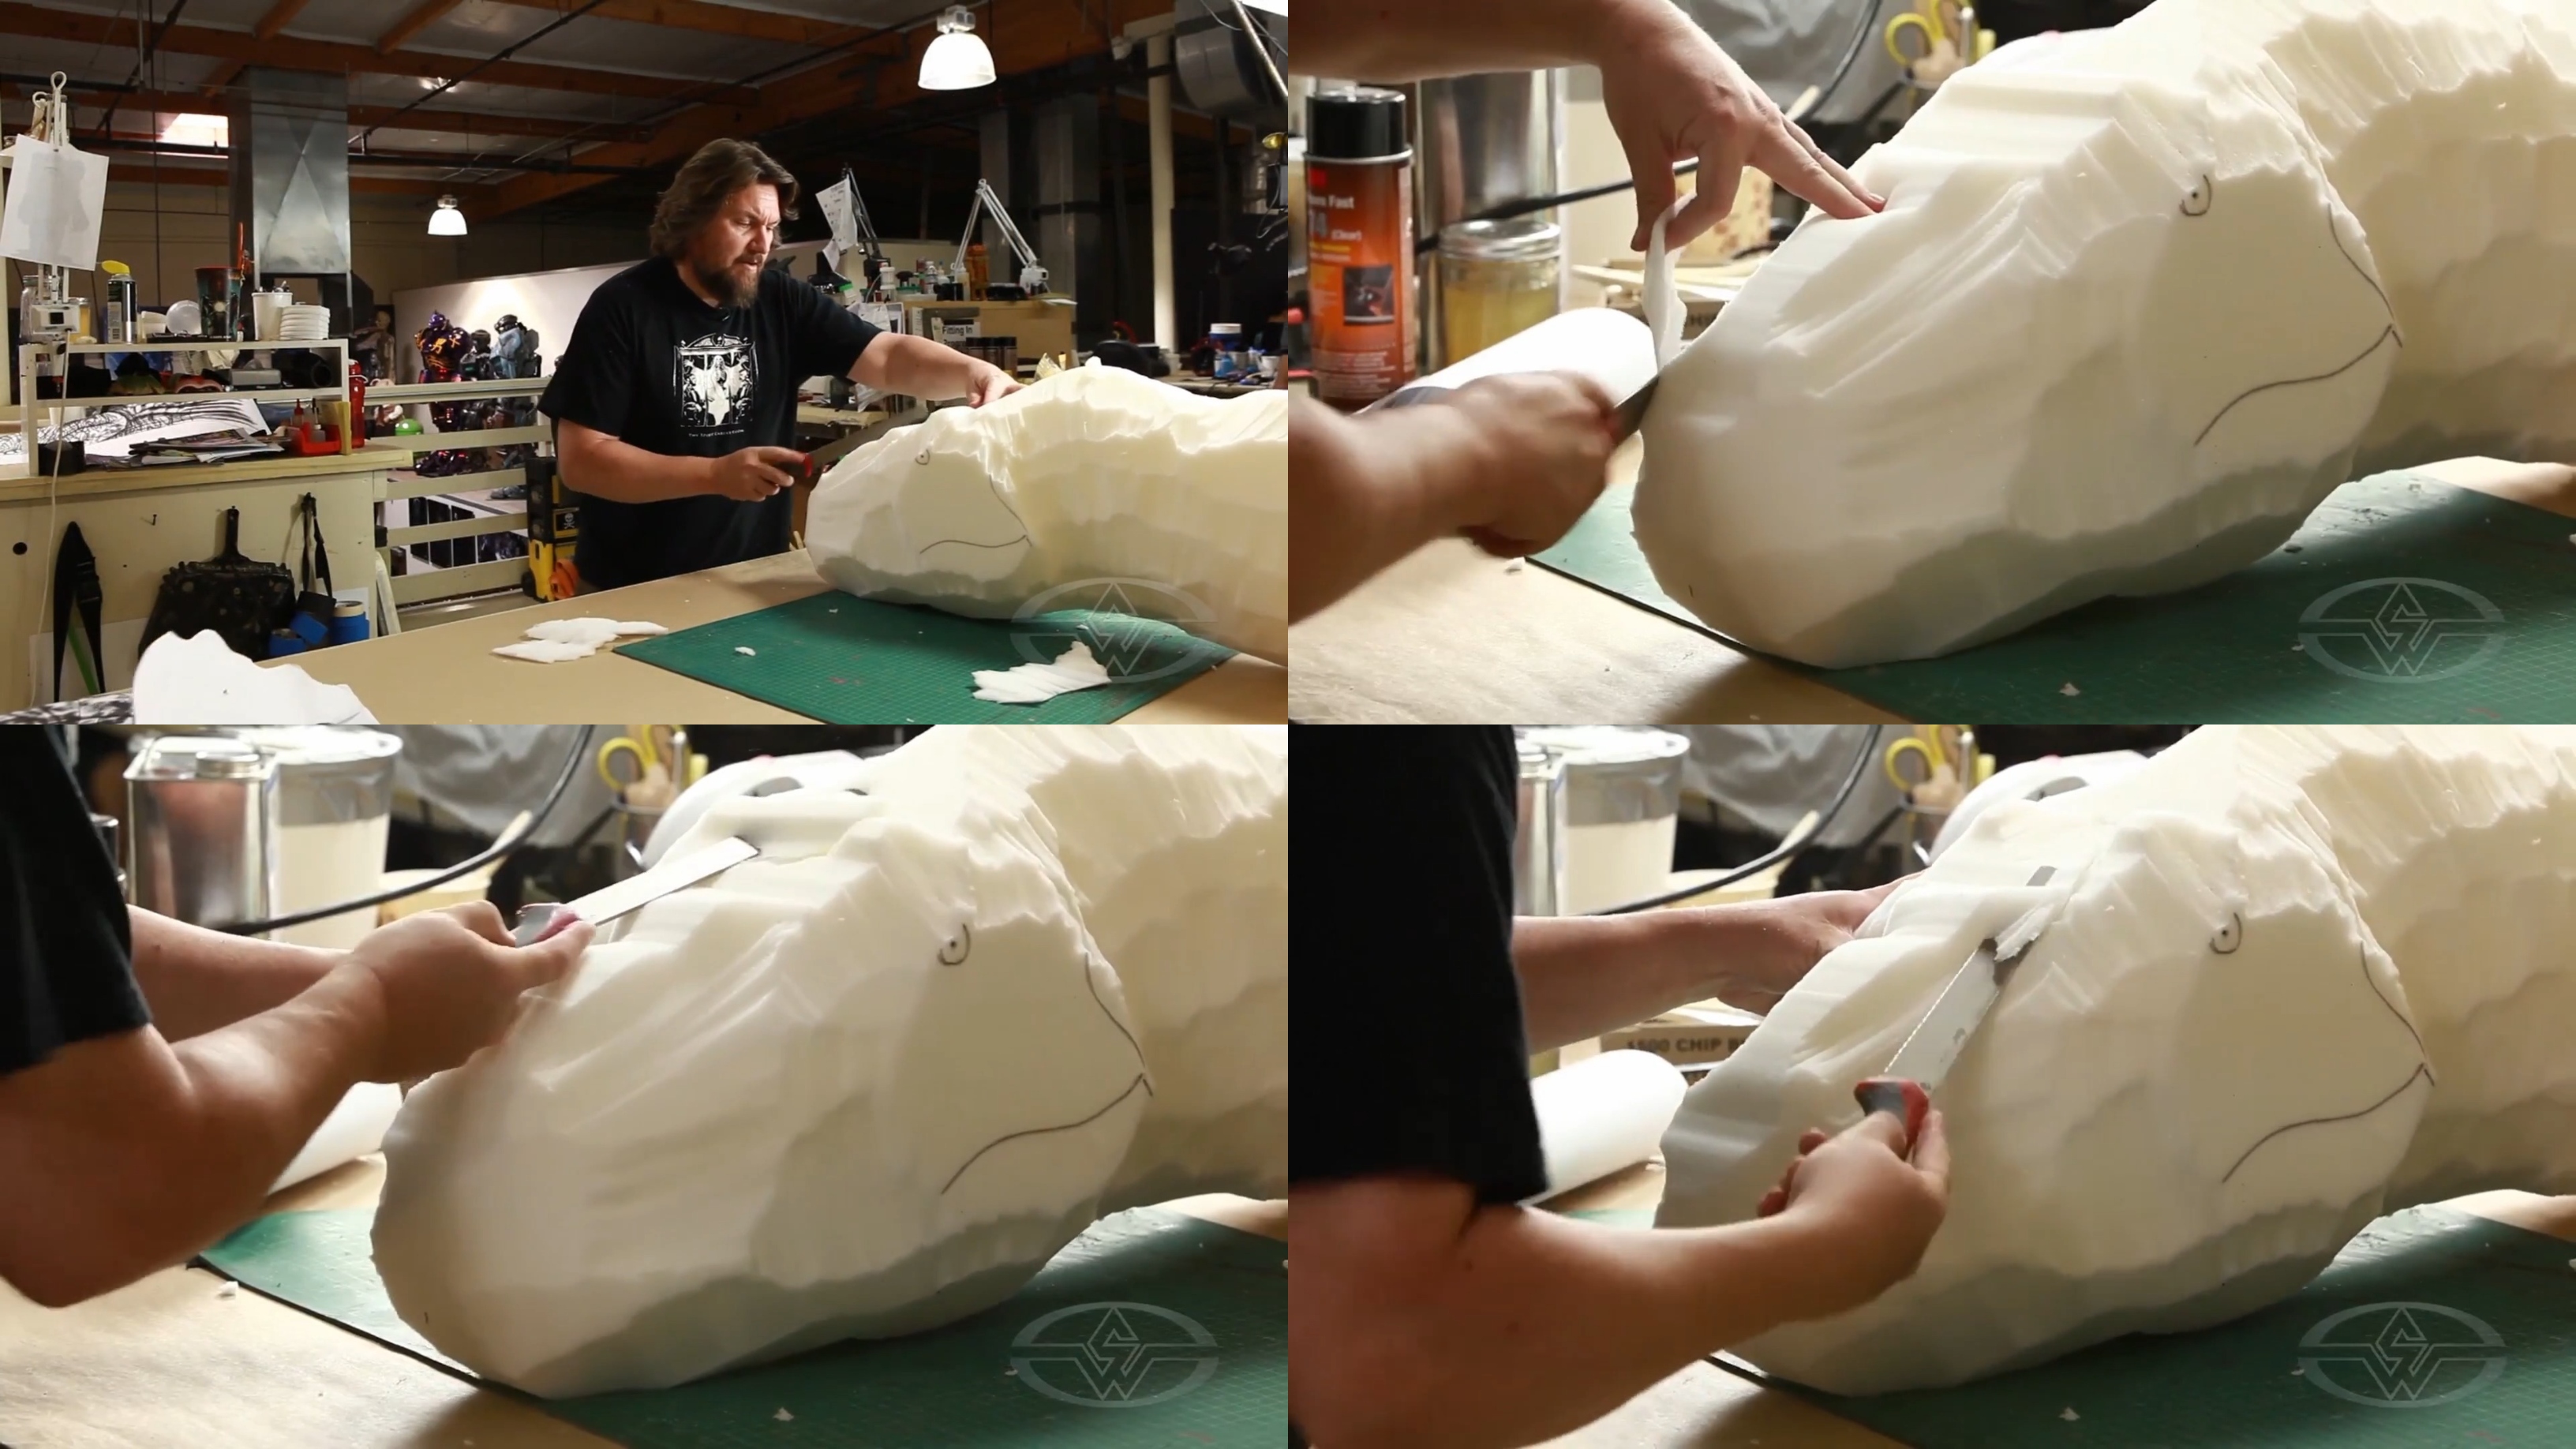 (Ted Haines removes foam as he begins to visualize what his dinosaur will look like from different views.)
“If you notice, a few of these times, I’m cutting towards myself. Sometimes, you just can’t help it, but you've got to do what you've got to do—just keep safety in mind. I still have all my fingers,” Haines says.
Focus on keeping the profile of your dinosaur and not removing too much material. Trace and line-up the eye and mouth on both sides, making sure both are positioned correctly and connecting at the front.
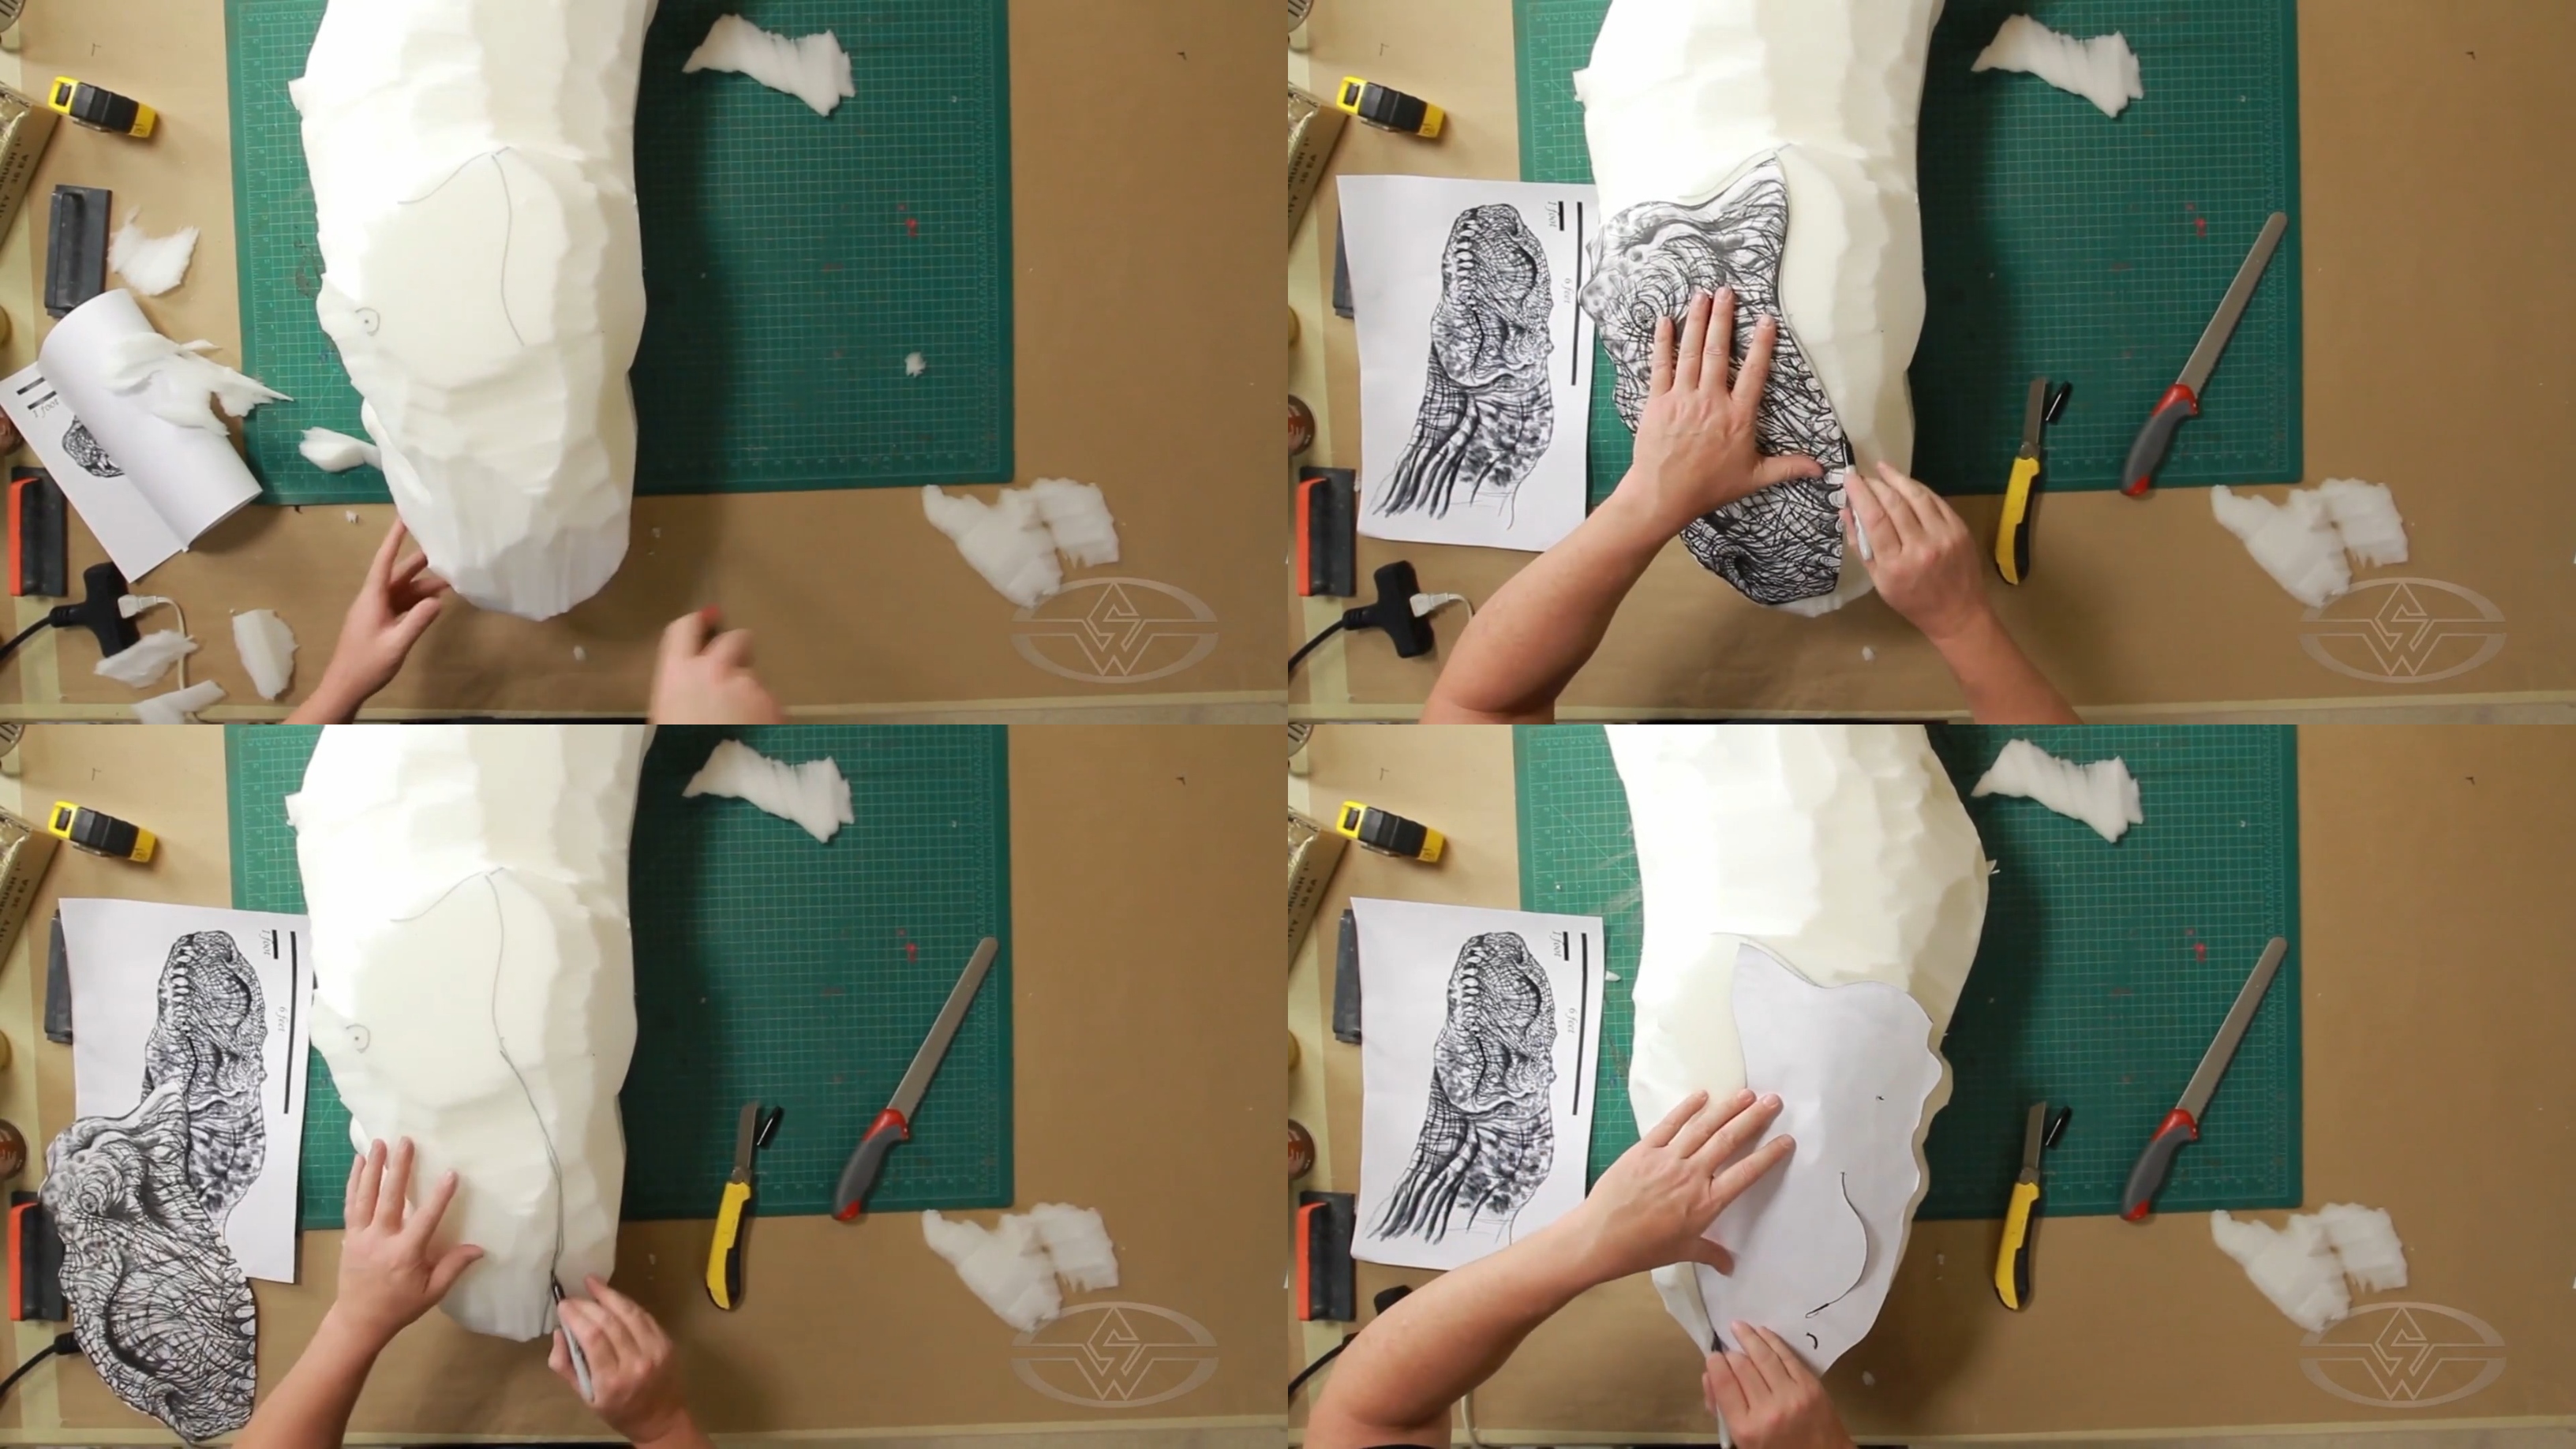 (Ted Haines shows the profile art and traces where his dinosaur's mouth will be on both sides, so they connect in the front.)
“At a certain point, your design is just going to be an aid for you to sculpt by. Your tracings on here are going to go away, and you really have to use your artistic skill to fill in all those blank spaces,” Haines says.
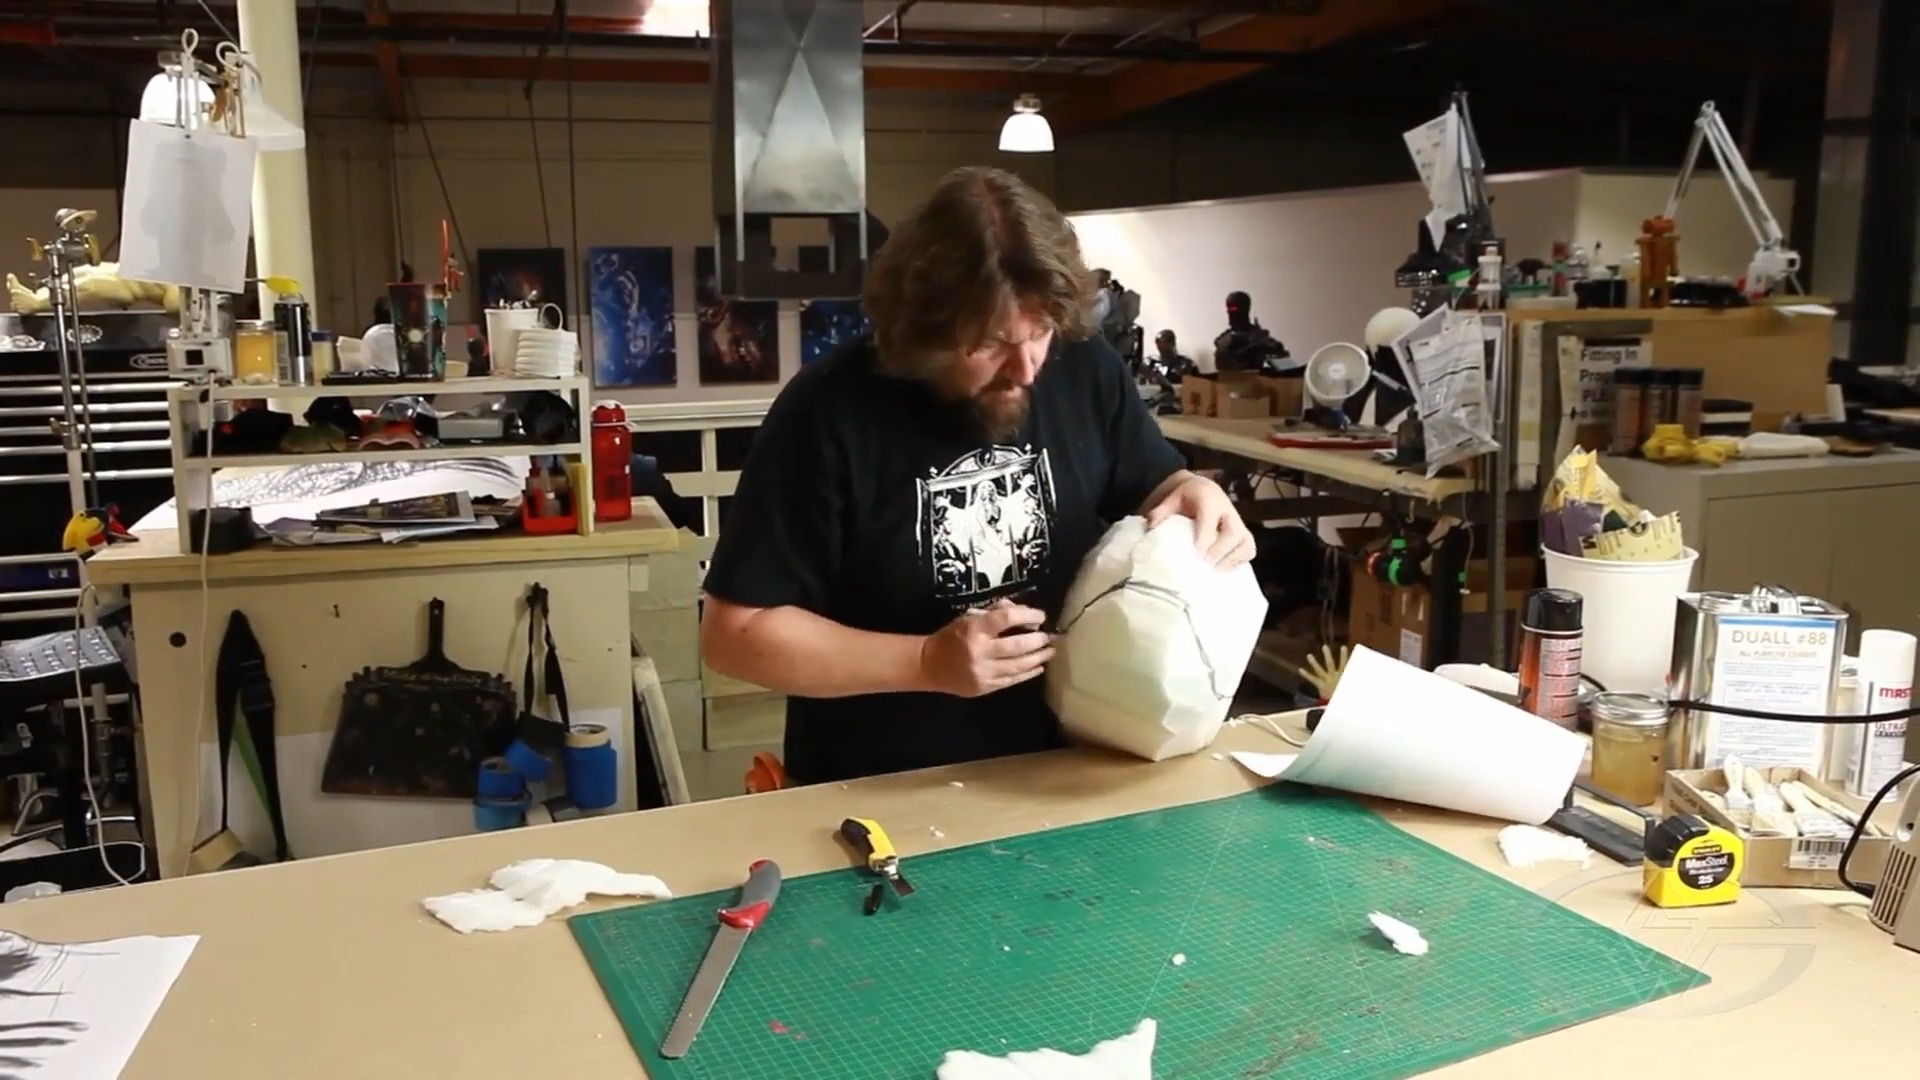 (Success! Both sides of the mouth meet in the front.)
Now, cut a line to give yourself an indication of where the mouth is. This will help serve as a reminder when you’re taking lots of material off.
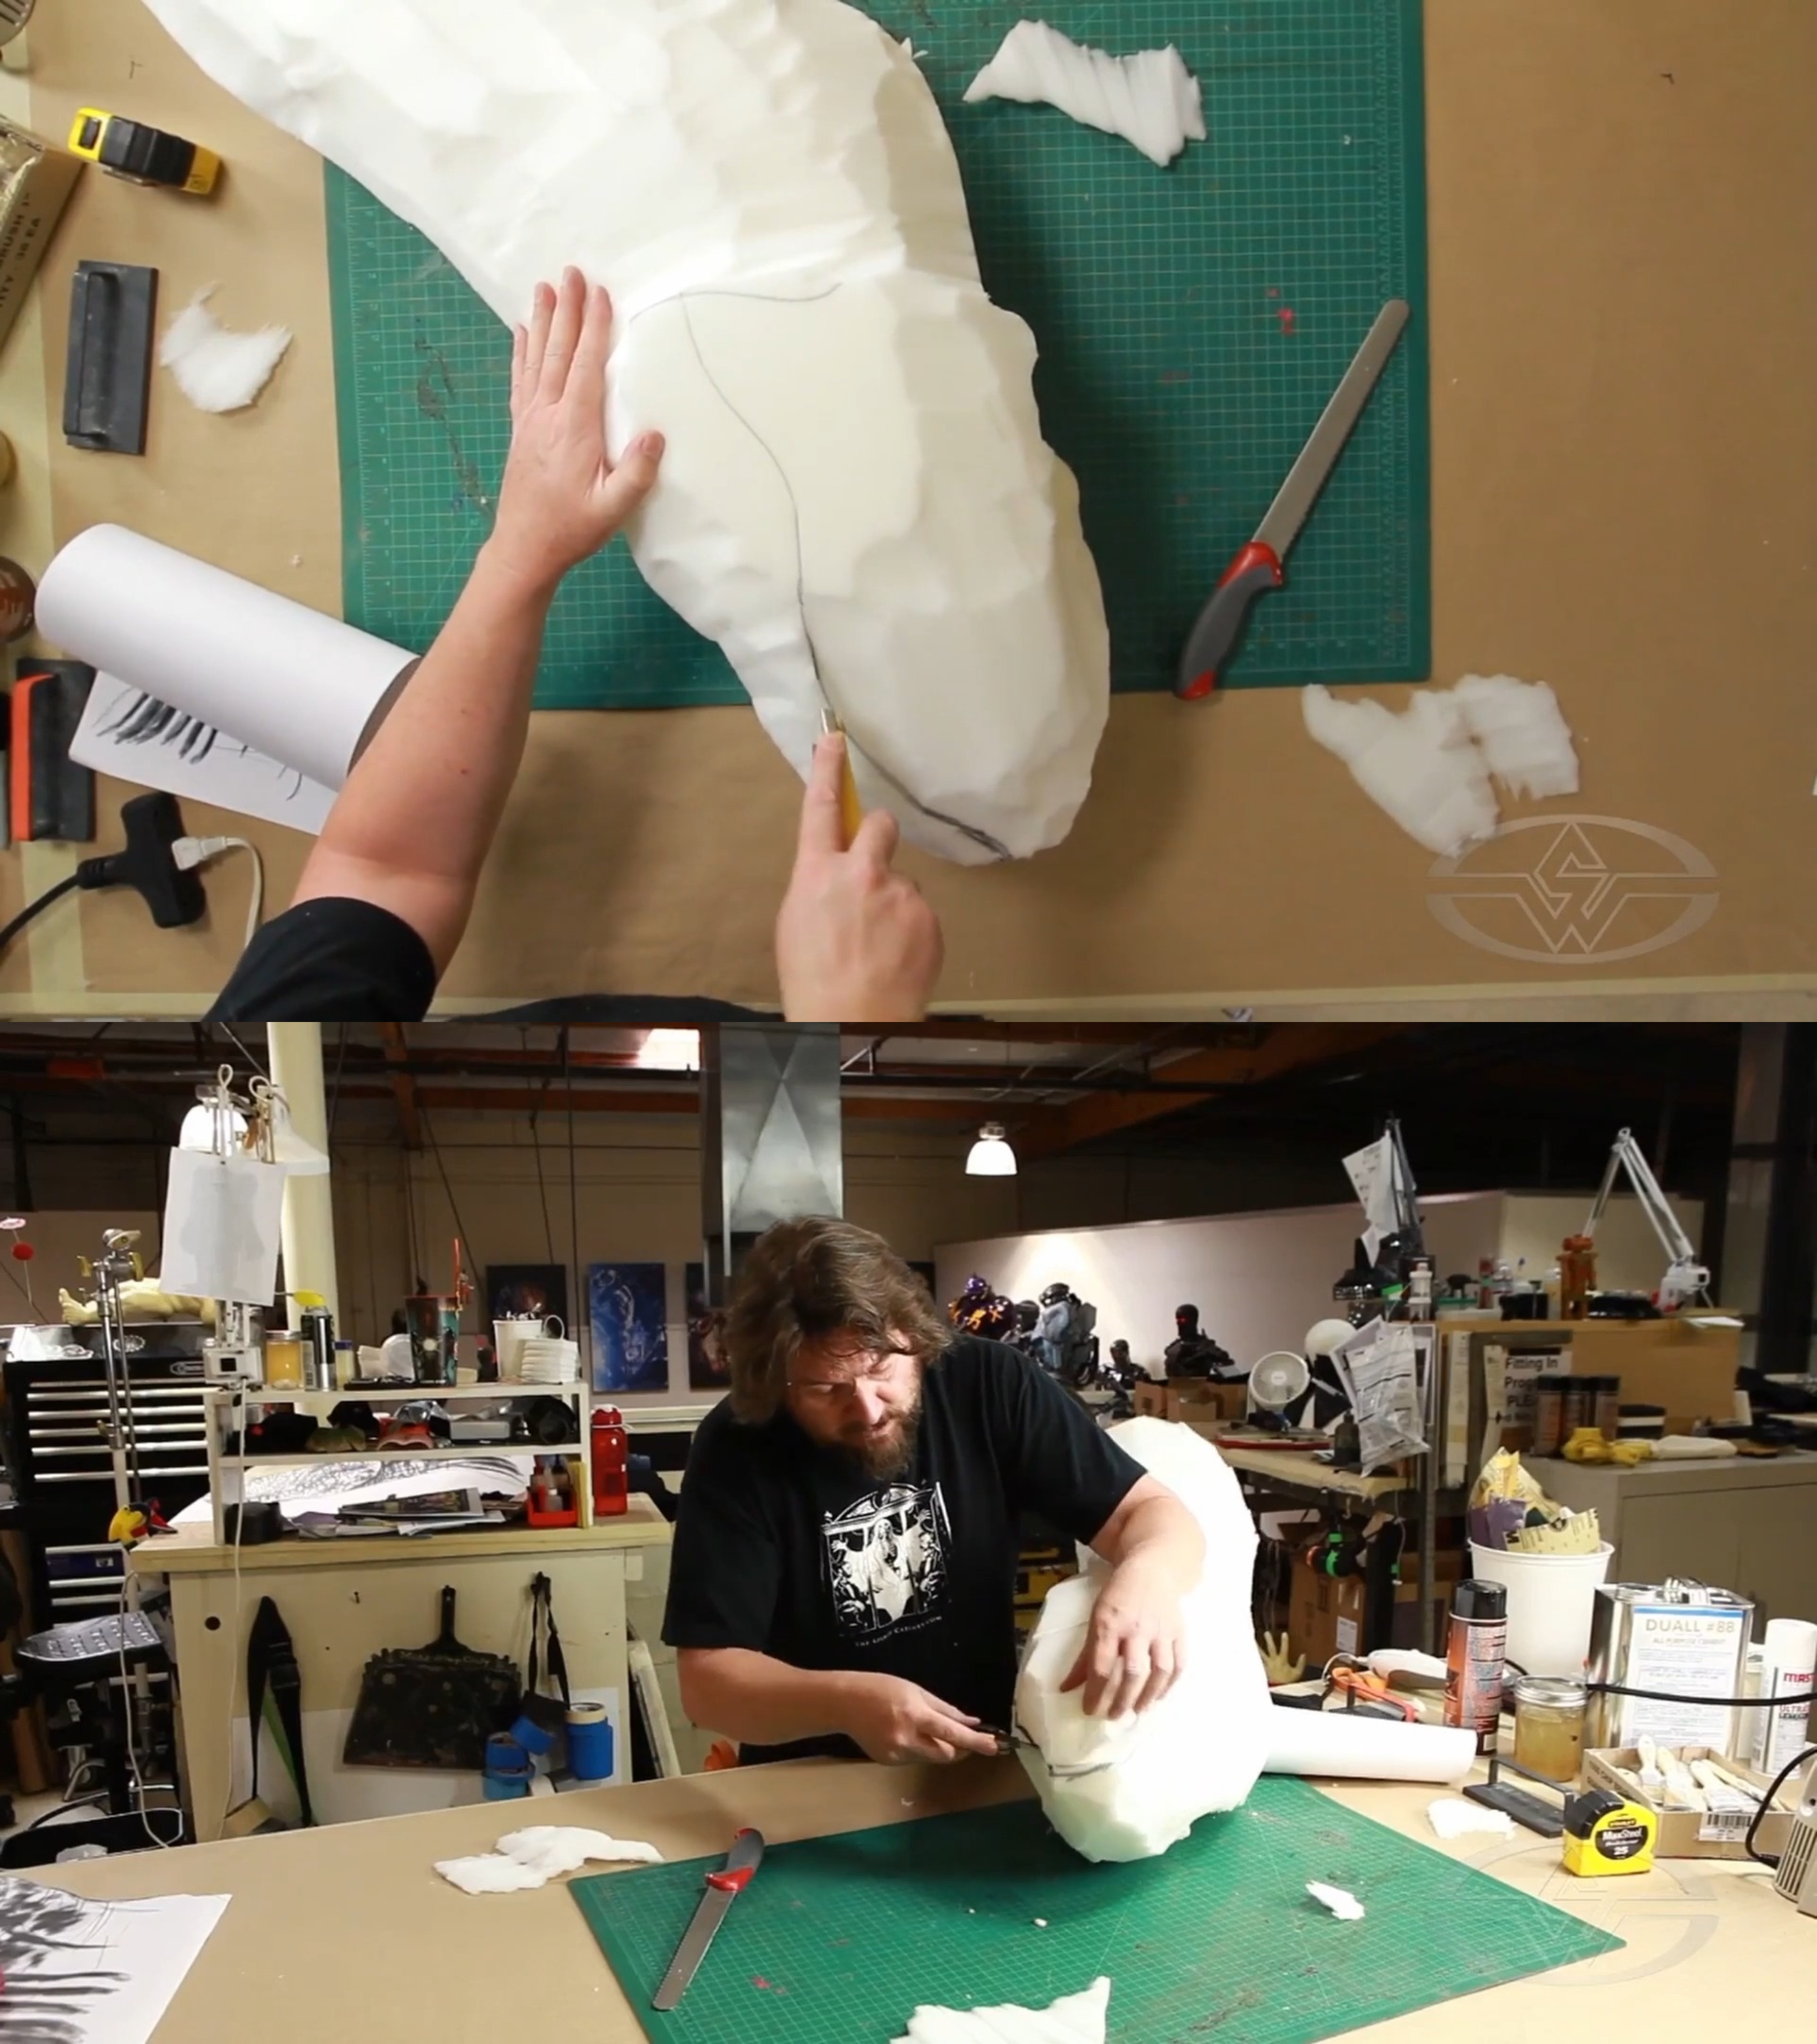 (Ted Haines cuts a line into the foam to show where the mouth is.)
With those handy dandy tracings marked, you can use your Personna blade to work on the orbital bone and mouth.
WATCH THE “HOW TO MAKE A DINOSAUR” COURSE WITH TED HAINES:
How to Make a Dinosaur - Part One: Design, Foam Carving & Fabrication
How to Make a Dinosaur - Part Two: Carving Teeth, Adding Detail & Texture