
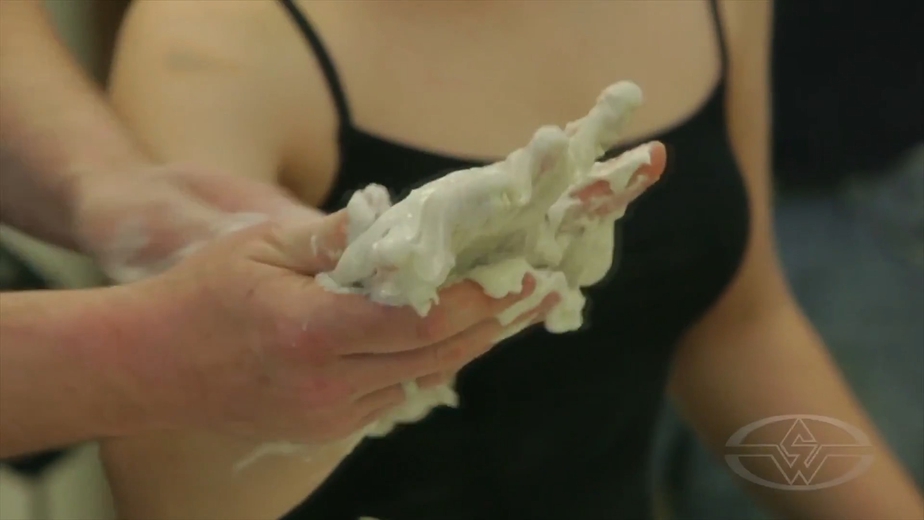
In this FREE excerpt from the Stan Winston School of Character Arts course, How to Lifecast: Head, Hands & Teeth, special effects character creator Mark Viniello (Alien: Resurrection, Stranger Things, Jurassic Park III) shares tried and true techniques on how to lifecast hands with alginate. You will learn how to copy human hands in plaster to capture the most microscopic details--skin texture down to the pores, fine wrinkle lines, and anatomical contours--providing a true custom fit for sculpting prosthetic pieces.
Jump To Section
- Controlling Alginate Setting Time
- Mixing and Applying Alginate
- Preparing to Pour Plaster
- Mixing and Pouring Hydrocal
- Preventing Air Bubbles in Plaster
To watch the complete instructional video, click the player above!
In this lesson, Mark Viniello demonstrates how to use alginate to create a realistic, three-dimensional lifecast of a hand from start to finish. This knowledge will come in handy for future SFX projects. (See what we did there?)
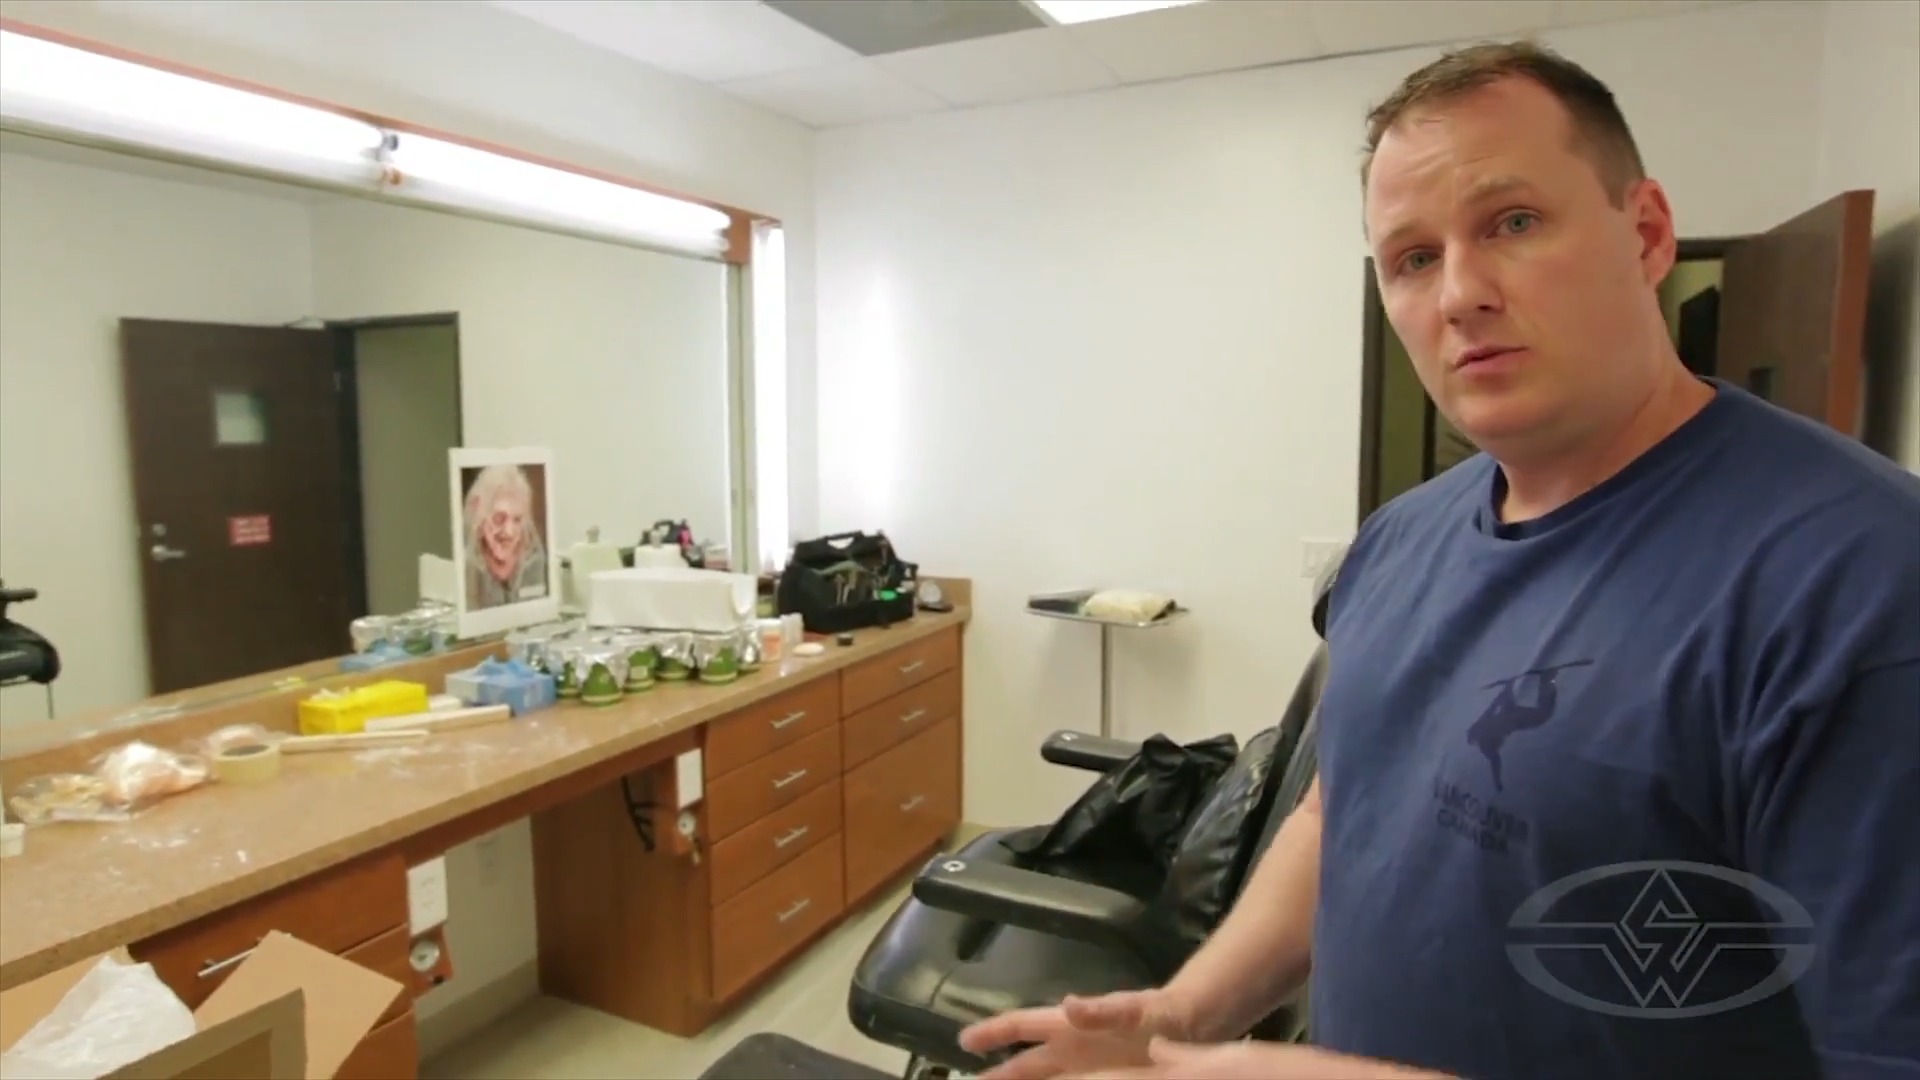
Controlling Alginate Setting Time
A derivative of seaweed, alginate is an impression material that been used for many years. (If you’ve ever had braces, this is the same material dentists use to make molds of your teeth...making it perfect for hands, too!)
When setting up your alginate mold, keep in mind that you can affect the set time of the alginate based on the water temperature. The warmer the water, the quicker the alginate will set. It's generally best to use cold water when doing a lifecast since it gives you more working time.
Pro-tip: If you want to be meticulous, do a small test batch with a candy thermometer to test the temperature of the water and keep notes on how quickly things set.
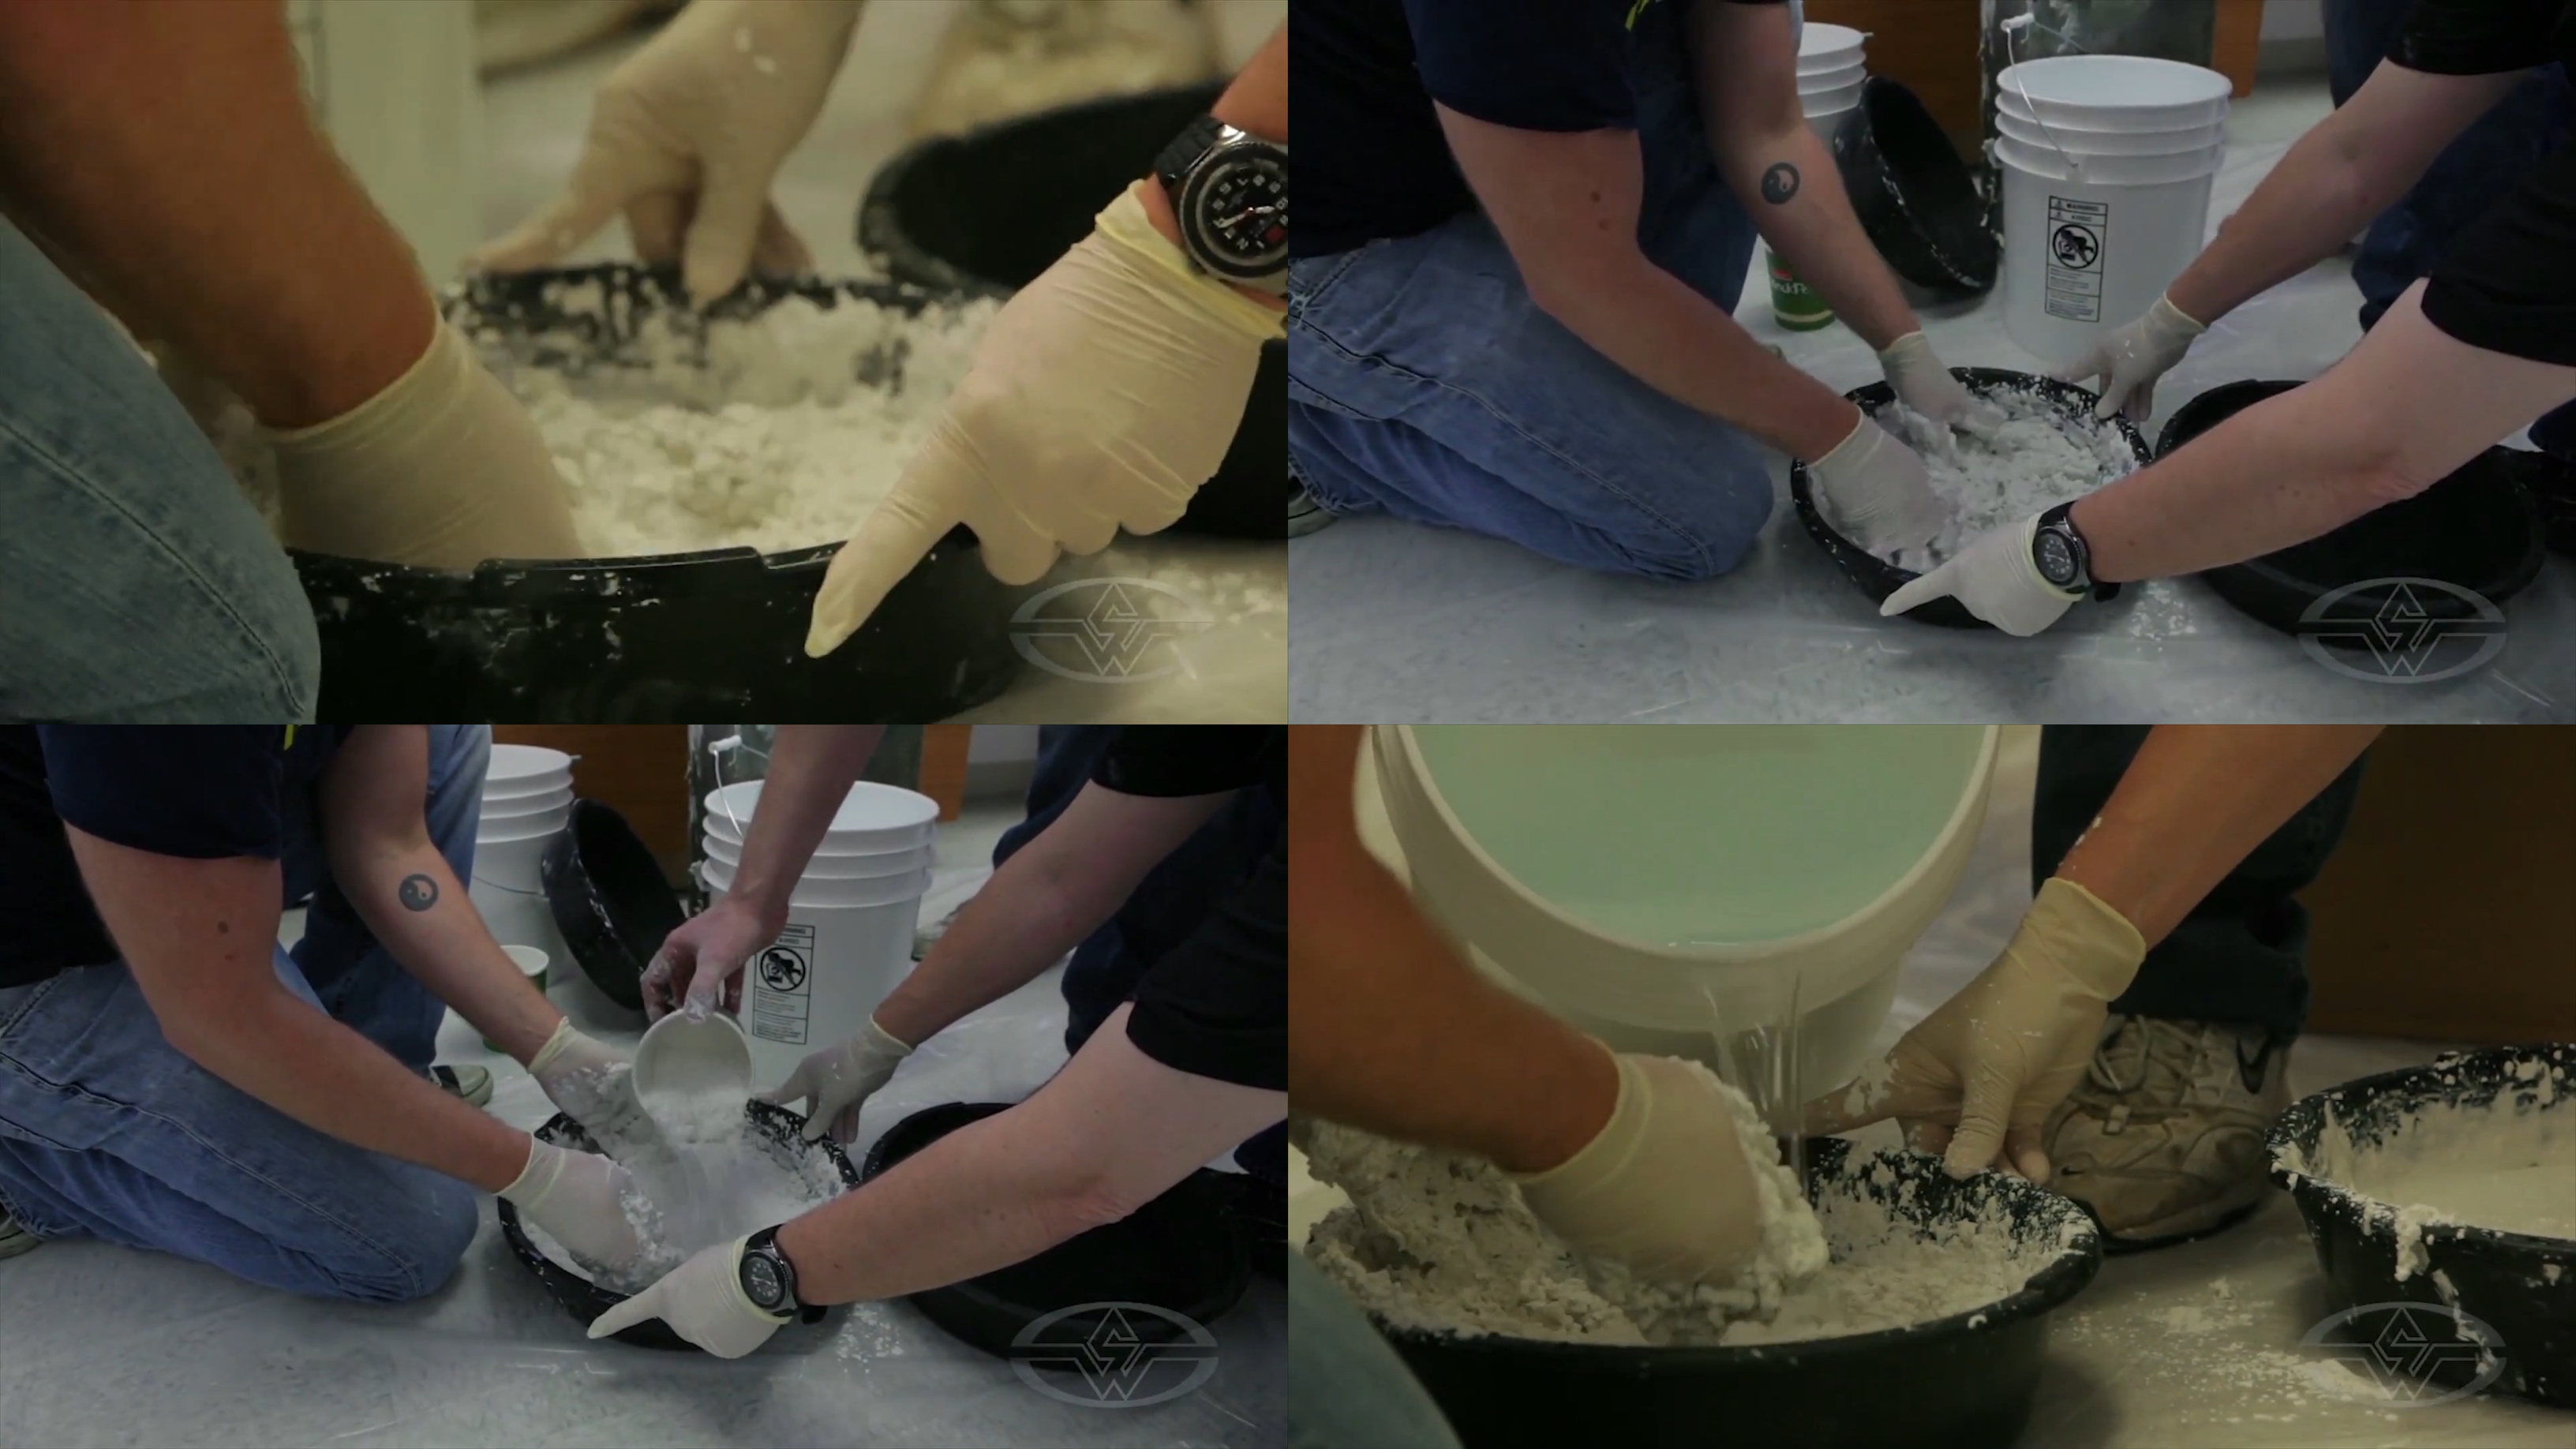 (Mark Viniello and master mold maker Cleve Gunderman work together to prepare and mix the alginate, gradually adding powder and water as needed.)
Mixing and Applying Alginate
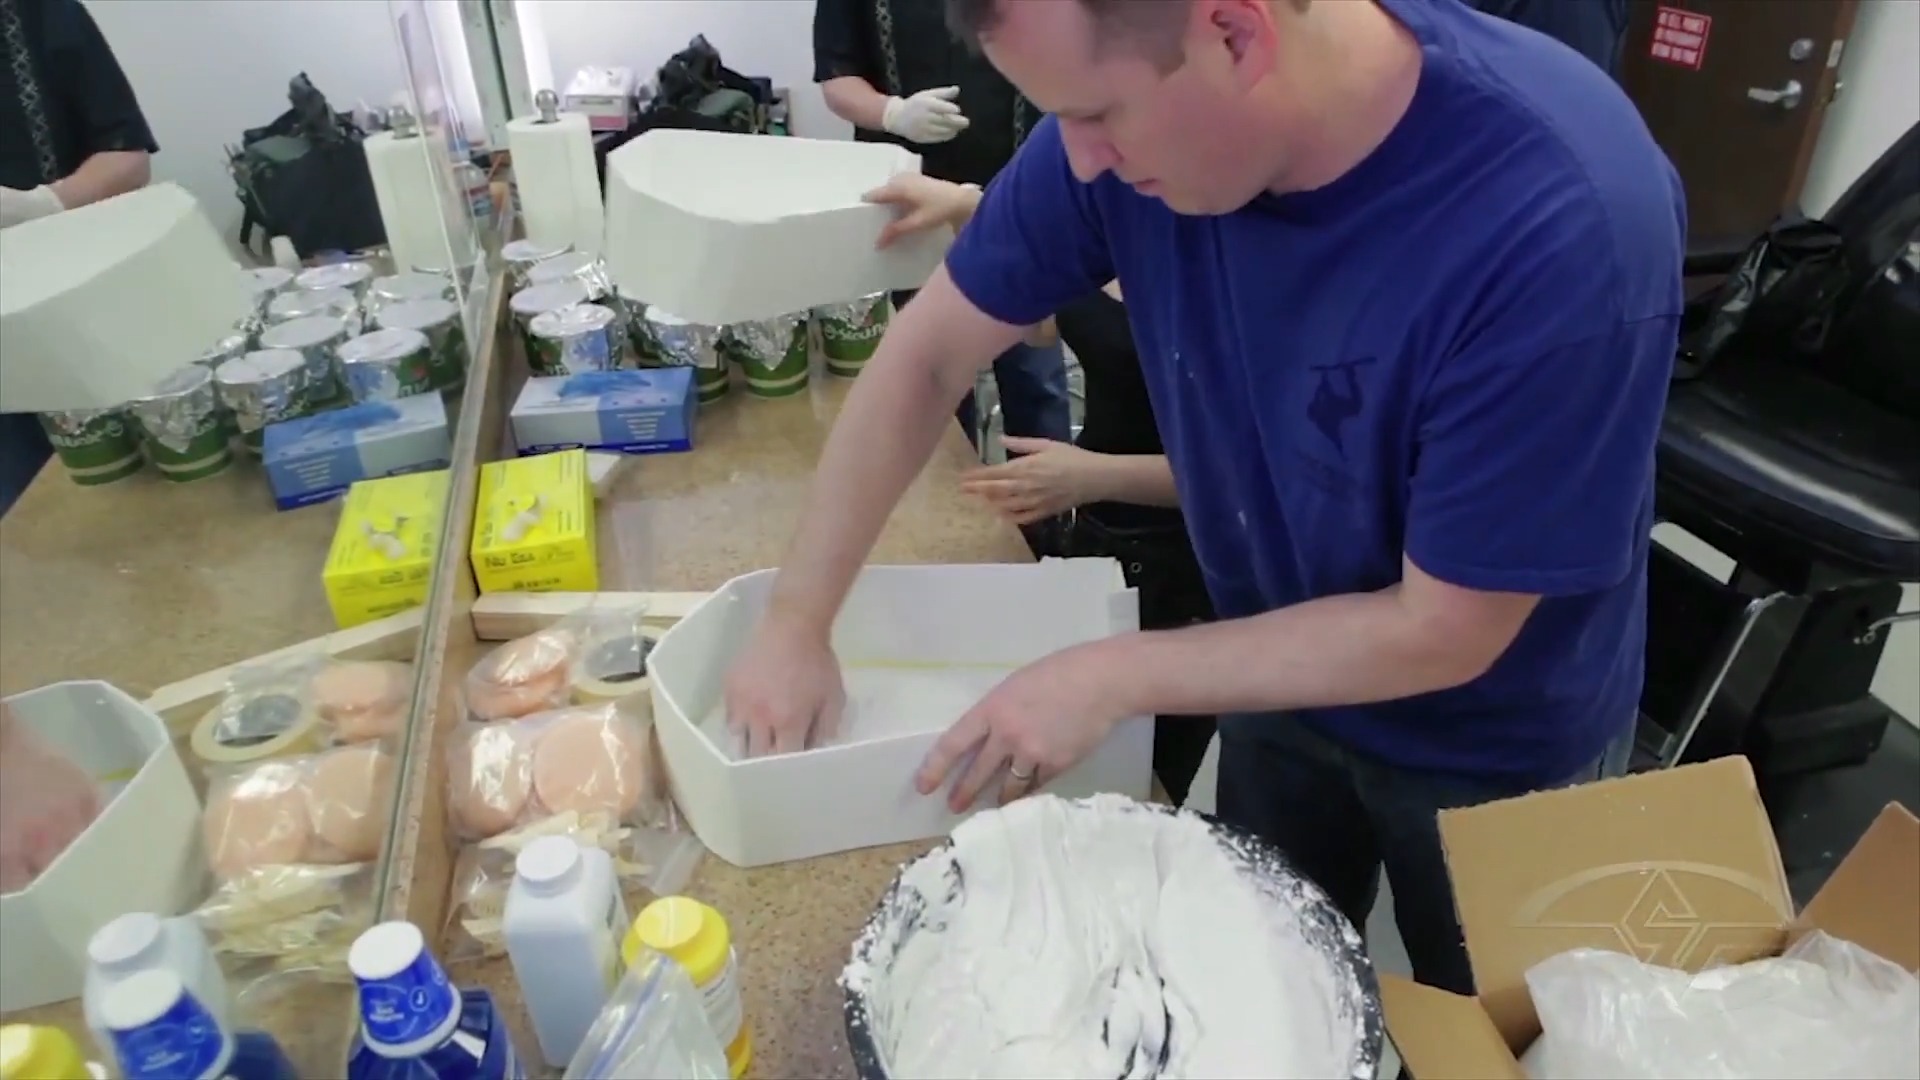 (Mark Viniello prepares the mold walls by spreading an even base of alginate before special makeup effects artist Cynthia Garza places her hand in it.)
Rub the alginate in to the part you're intending to mold, in this case the hand, in order to make sure you’re getting all the detail. Surface bubbles are your enemy, and rubbing the part your casting with alginate will help to eliminate them.
Once prepped, your subject should put their hand into the alginate completely flat and with their fingers spread as they comfortably can. They'll need to hold the position until the alginate sets, usually about five minutes. It's important that the mold wall or container allows enough room for the hand, or whatever body part you're molding, to fit comfortably.
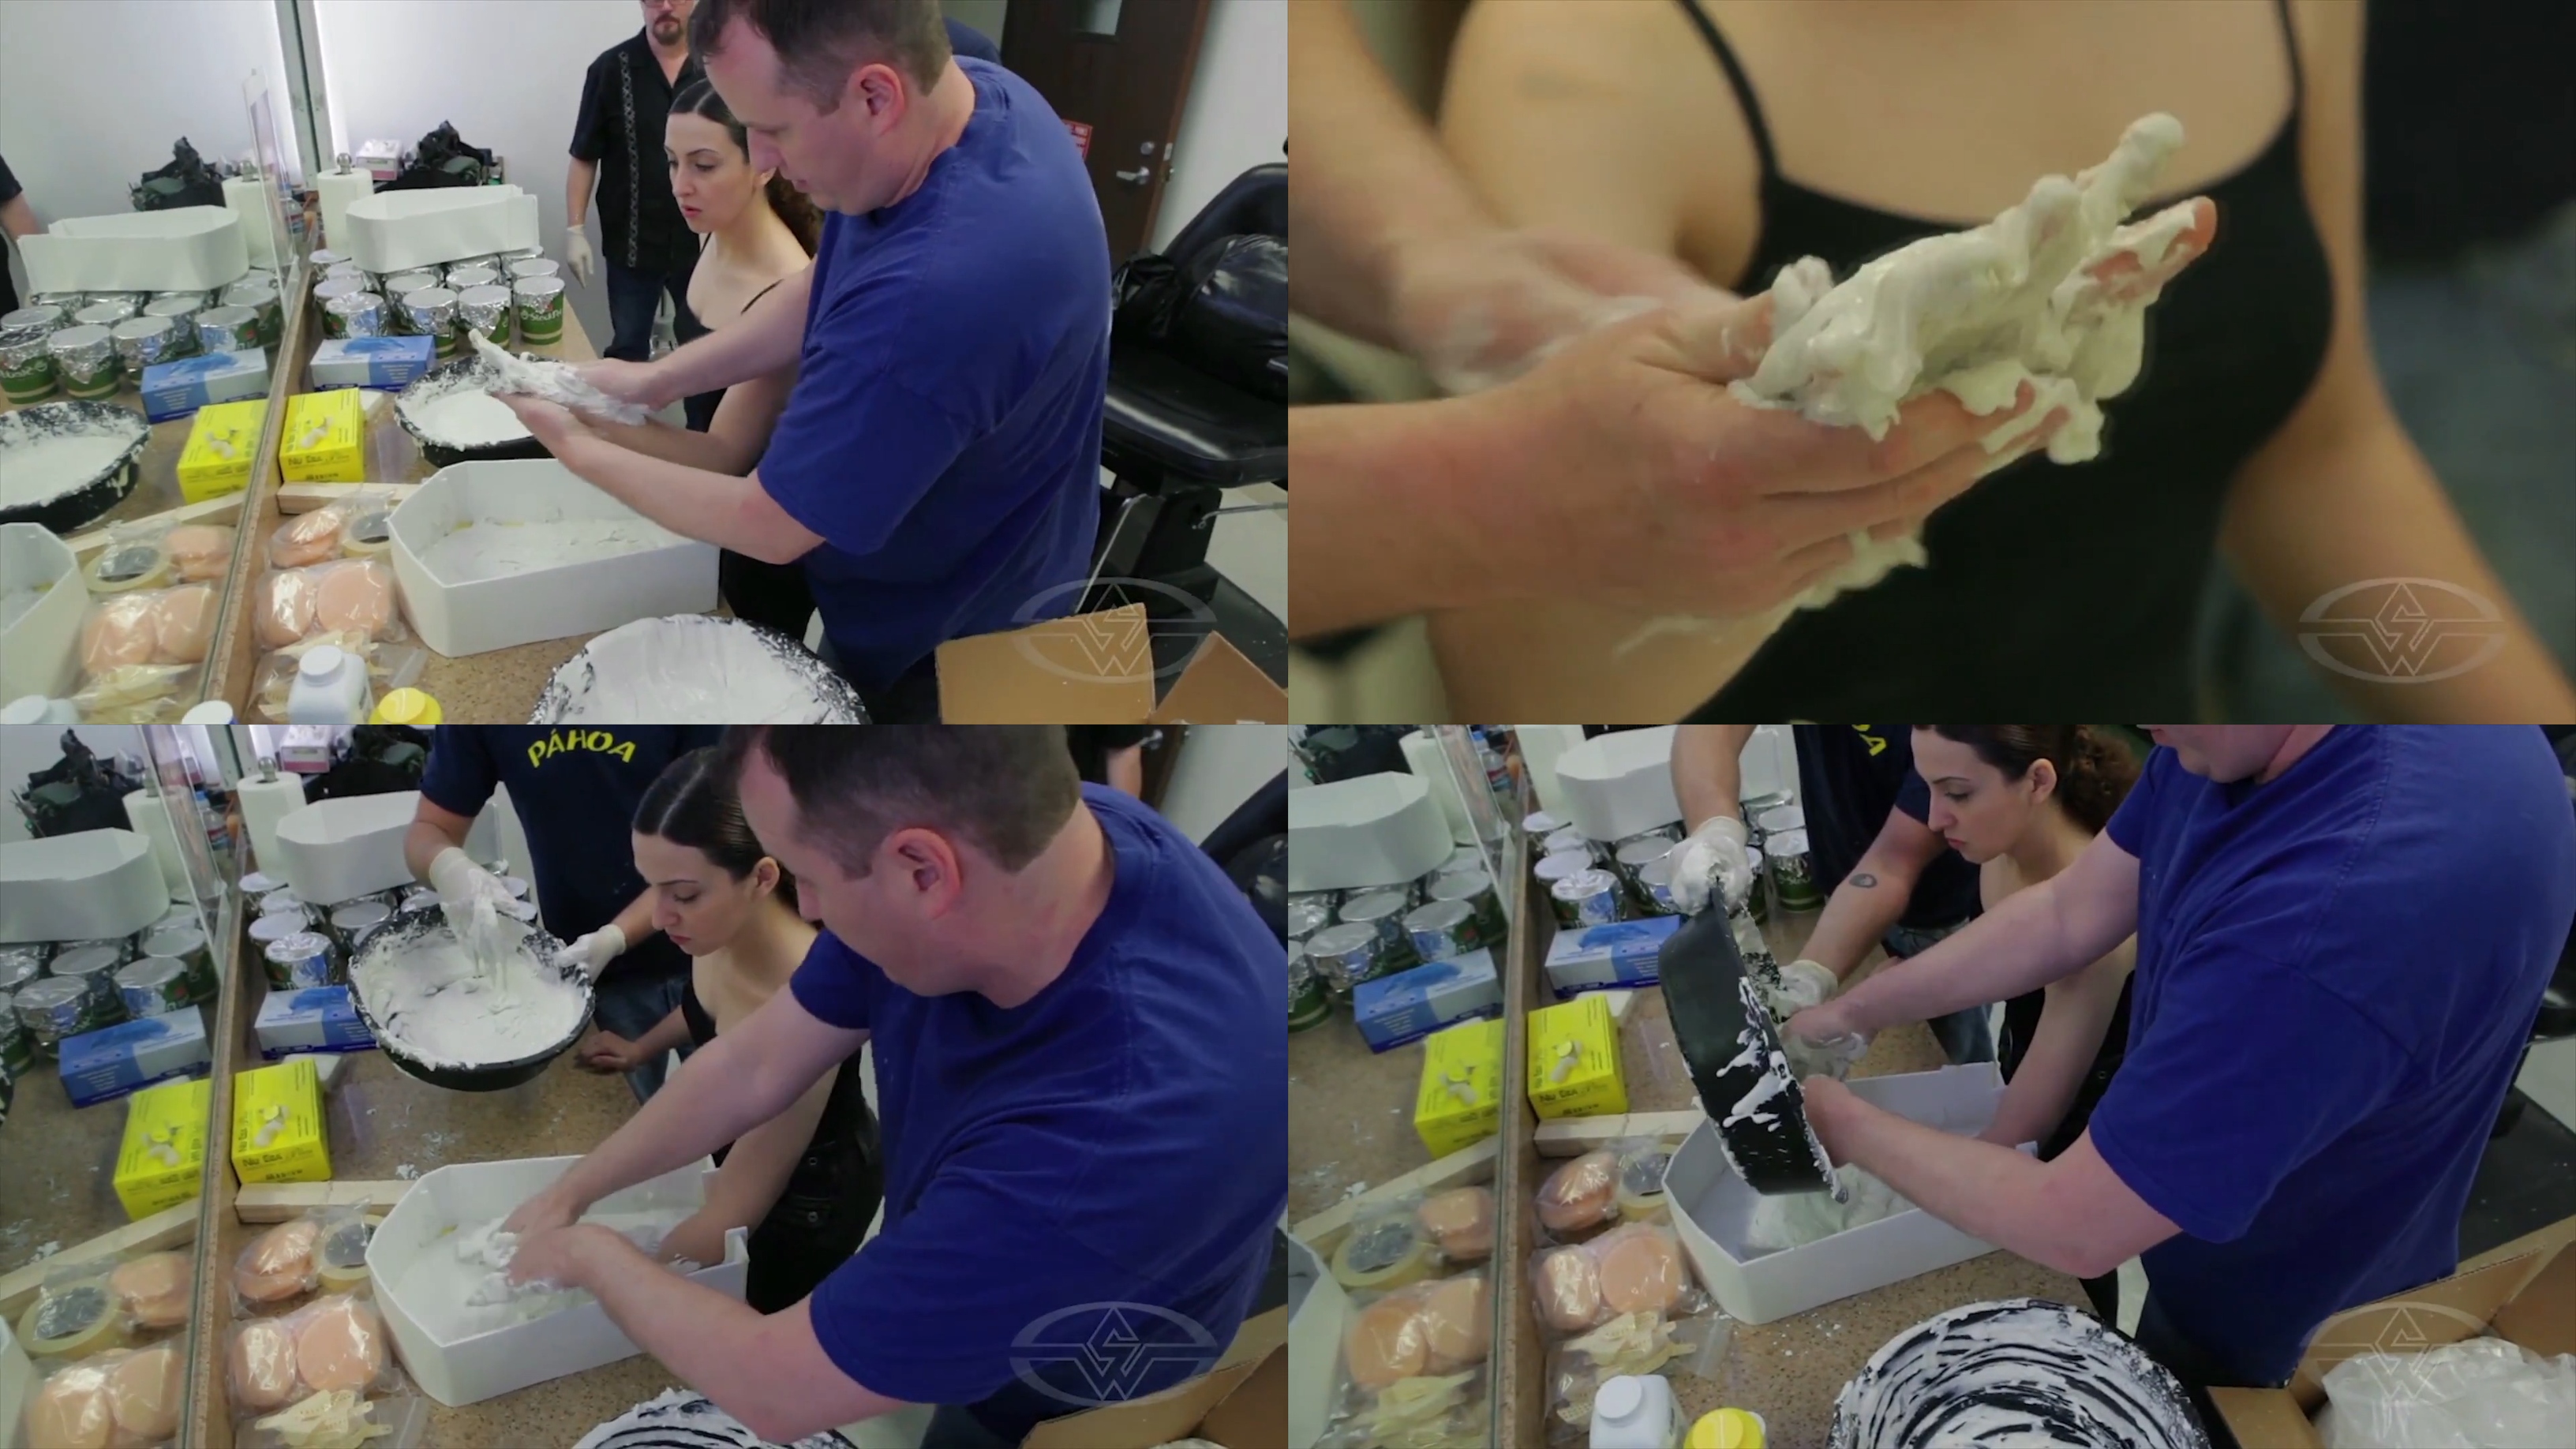 (Mark Viniello rubs in the alginate to make sure the mold captures all the detail from Cynthia Garza's hand before placing her hand within the mold walls.)
Positioning of the fingers is important. If the hand is positioned nice and flat, with separation between the fingers, it'll be easier to sculpt the detail. Curled fingers, or cramped hand positions will make the resulting cast more challenging to achieve.
Once the hand is set in the mold, you can fill in the mold with more alginate.
After a time, you'll notice the alginate start to set. Because alginate is temperature-sensitive, you'll find that alginate in contact with warmer areas of skin sets first. Eventually, the whole batch will set.
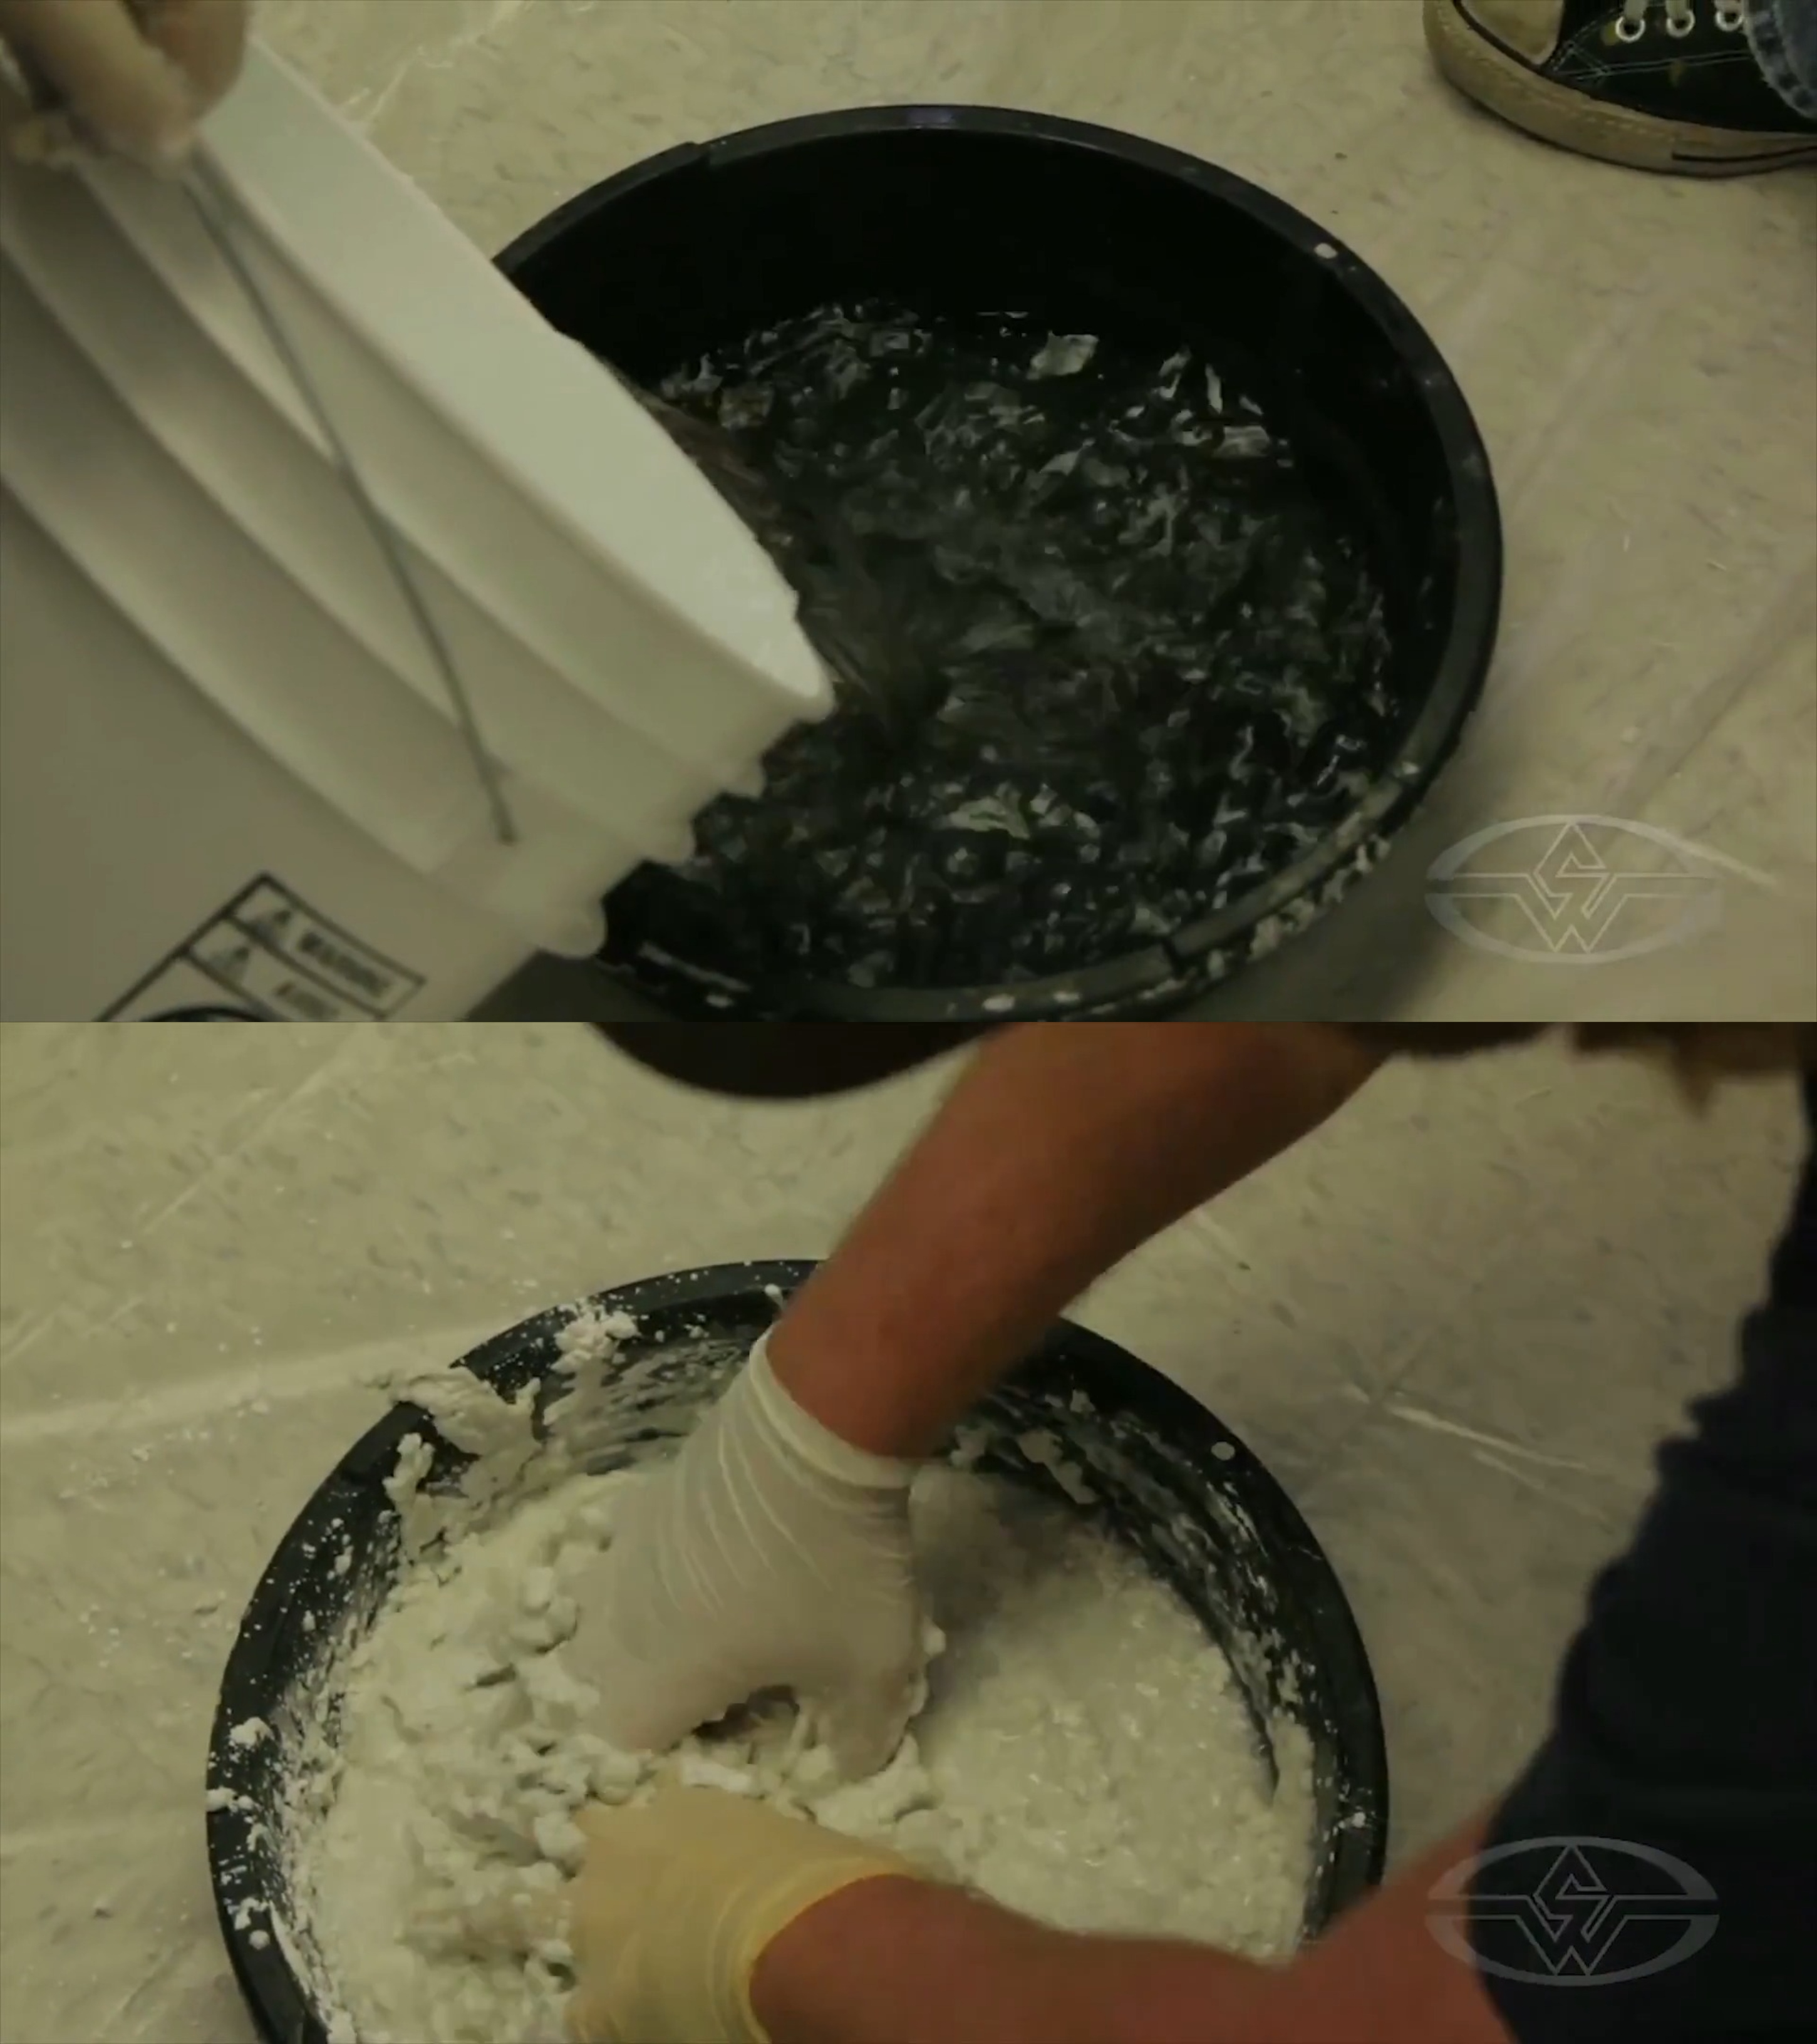 (Cleve Gunderman makes a second batch.)
If you run out of alginate before filling the mold, it's possible to quickly mix up another batch before the alginate sets.
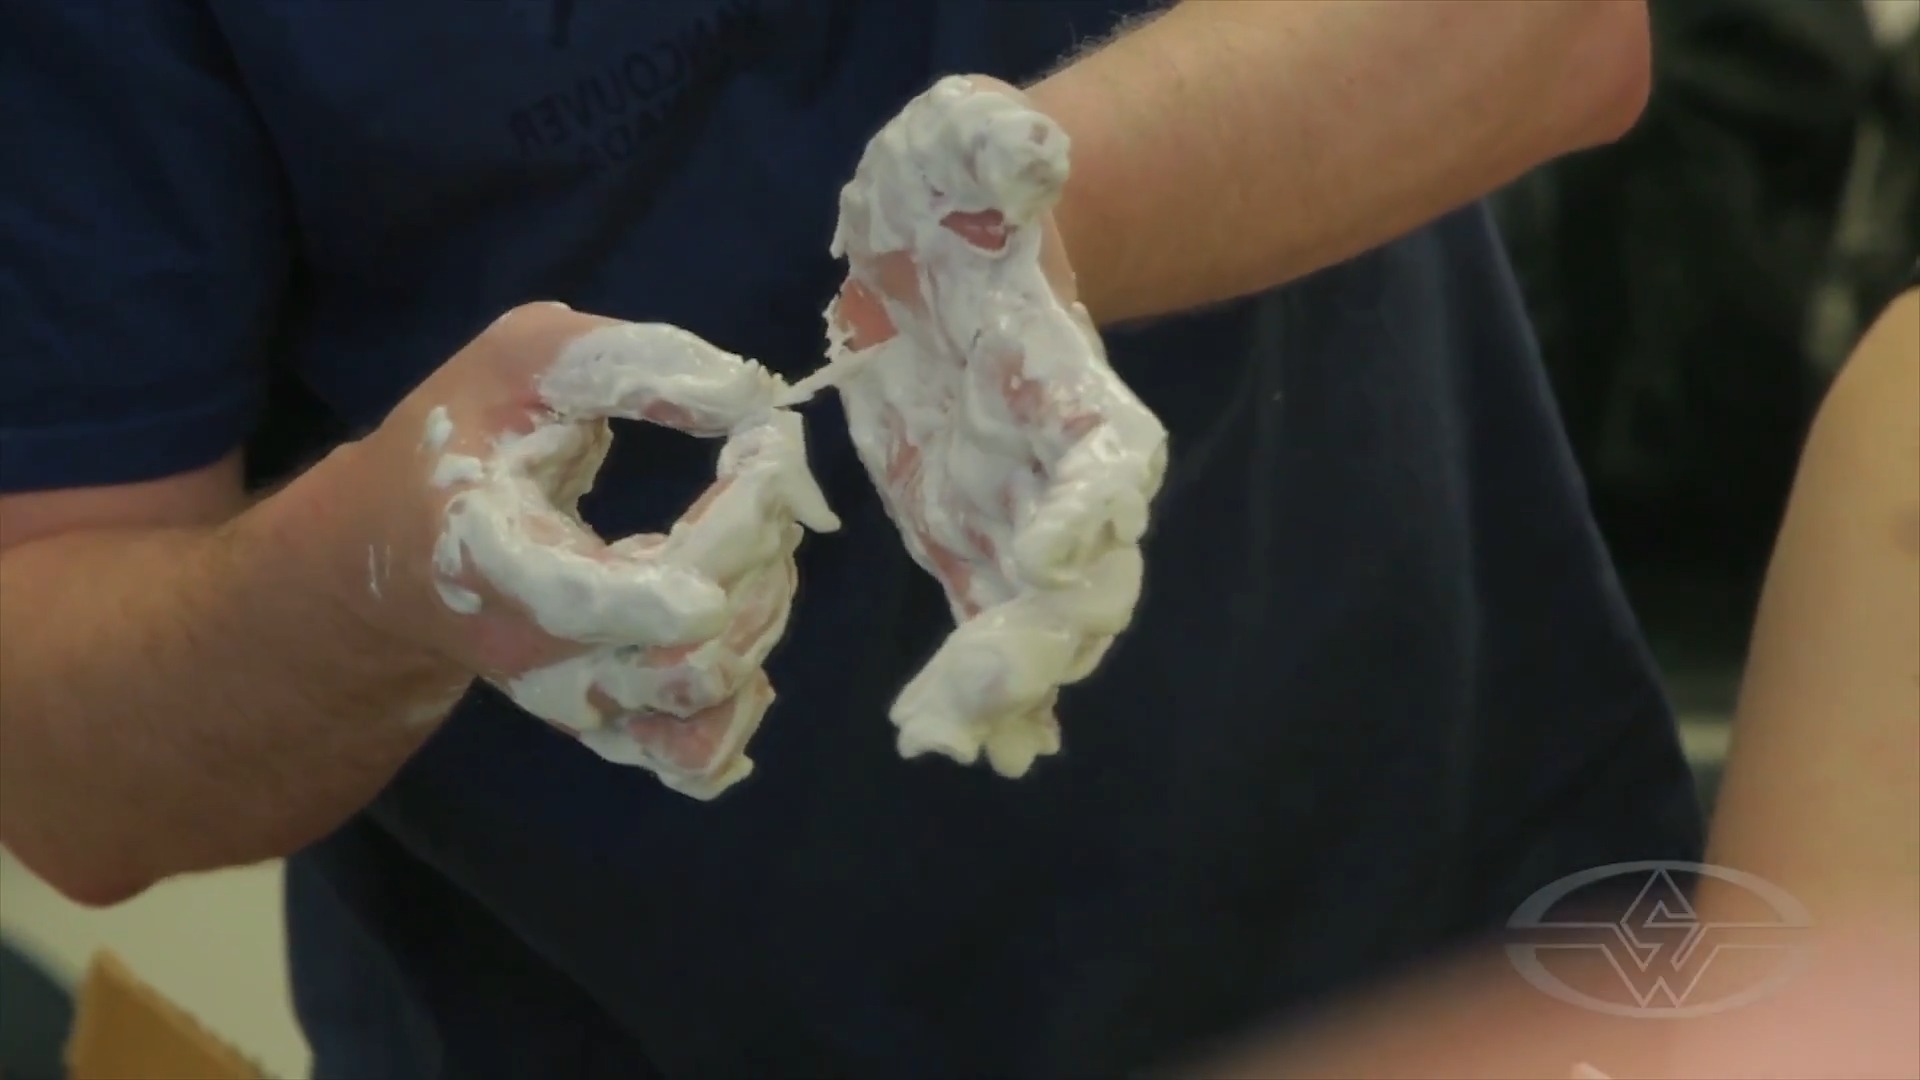 (Mark Viniello demonstrates how the alginate sets on warm skin.)
Though it's possible to blend separate batches before the alginate sets, you won't be as successful if you wait till the alginate sets. Wet alginate will not stick to alginate that’s already set.
You want to make sure your mold has enough thickness, if it's too thin between the body part and the mold surface, the alginate mold could tear.
Alginate doesn’t stick to anything, and when it sets, it transforms into an incredibly rubbery material. It picks up every detail of someone’s hand and fingers.
Once the mold depth is thick enough, you wait till the alginate sets before moving on to the casting process.
Preparing to Pour Plaster
It is natural that alginate will shrink slightly after setting. To minimize this, it's best to pour your initial plaster casts soon after removing the hand from the alginate.
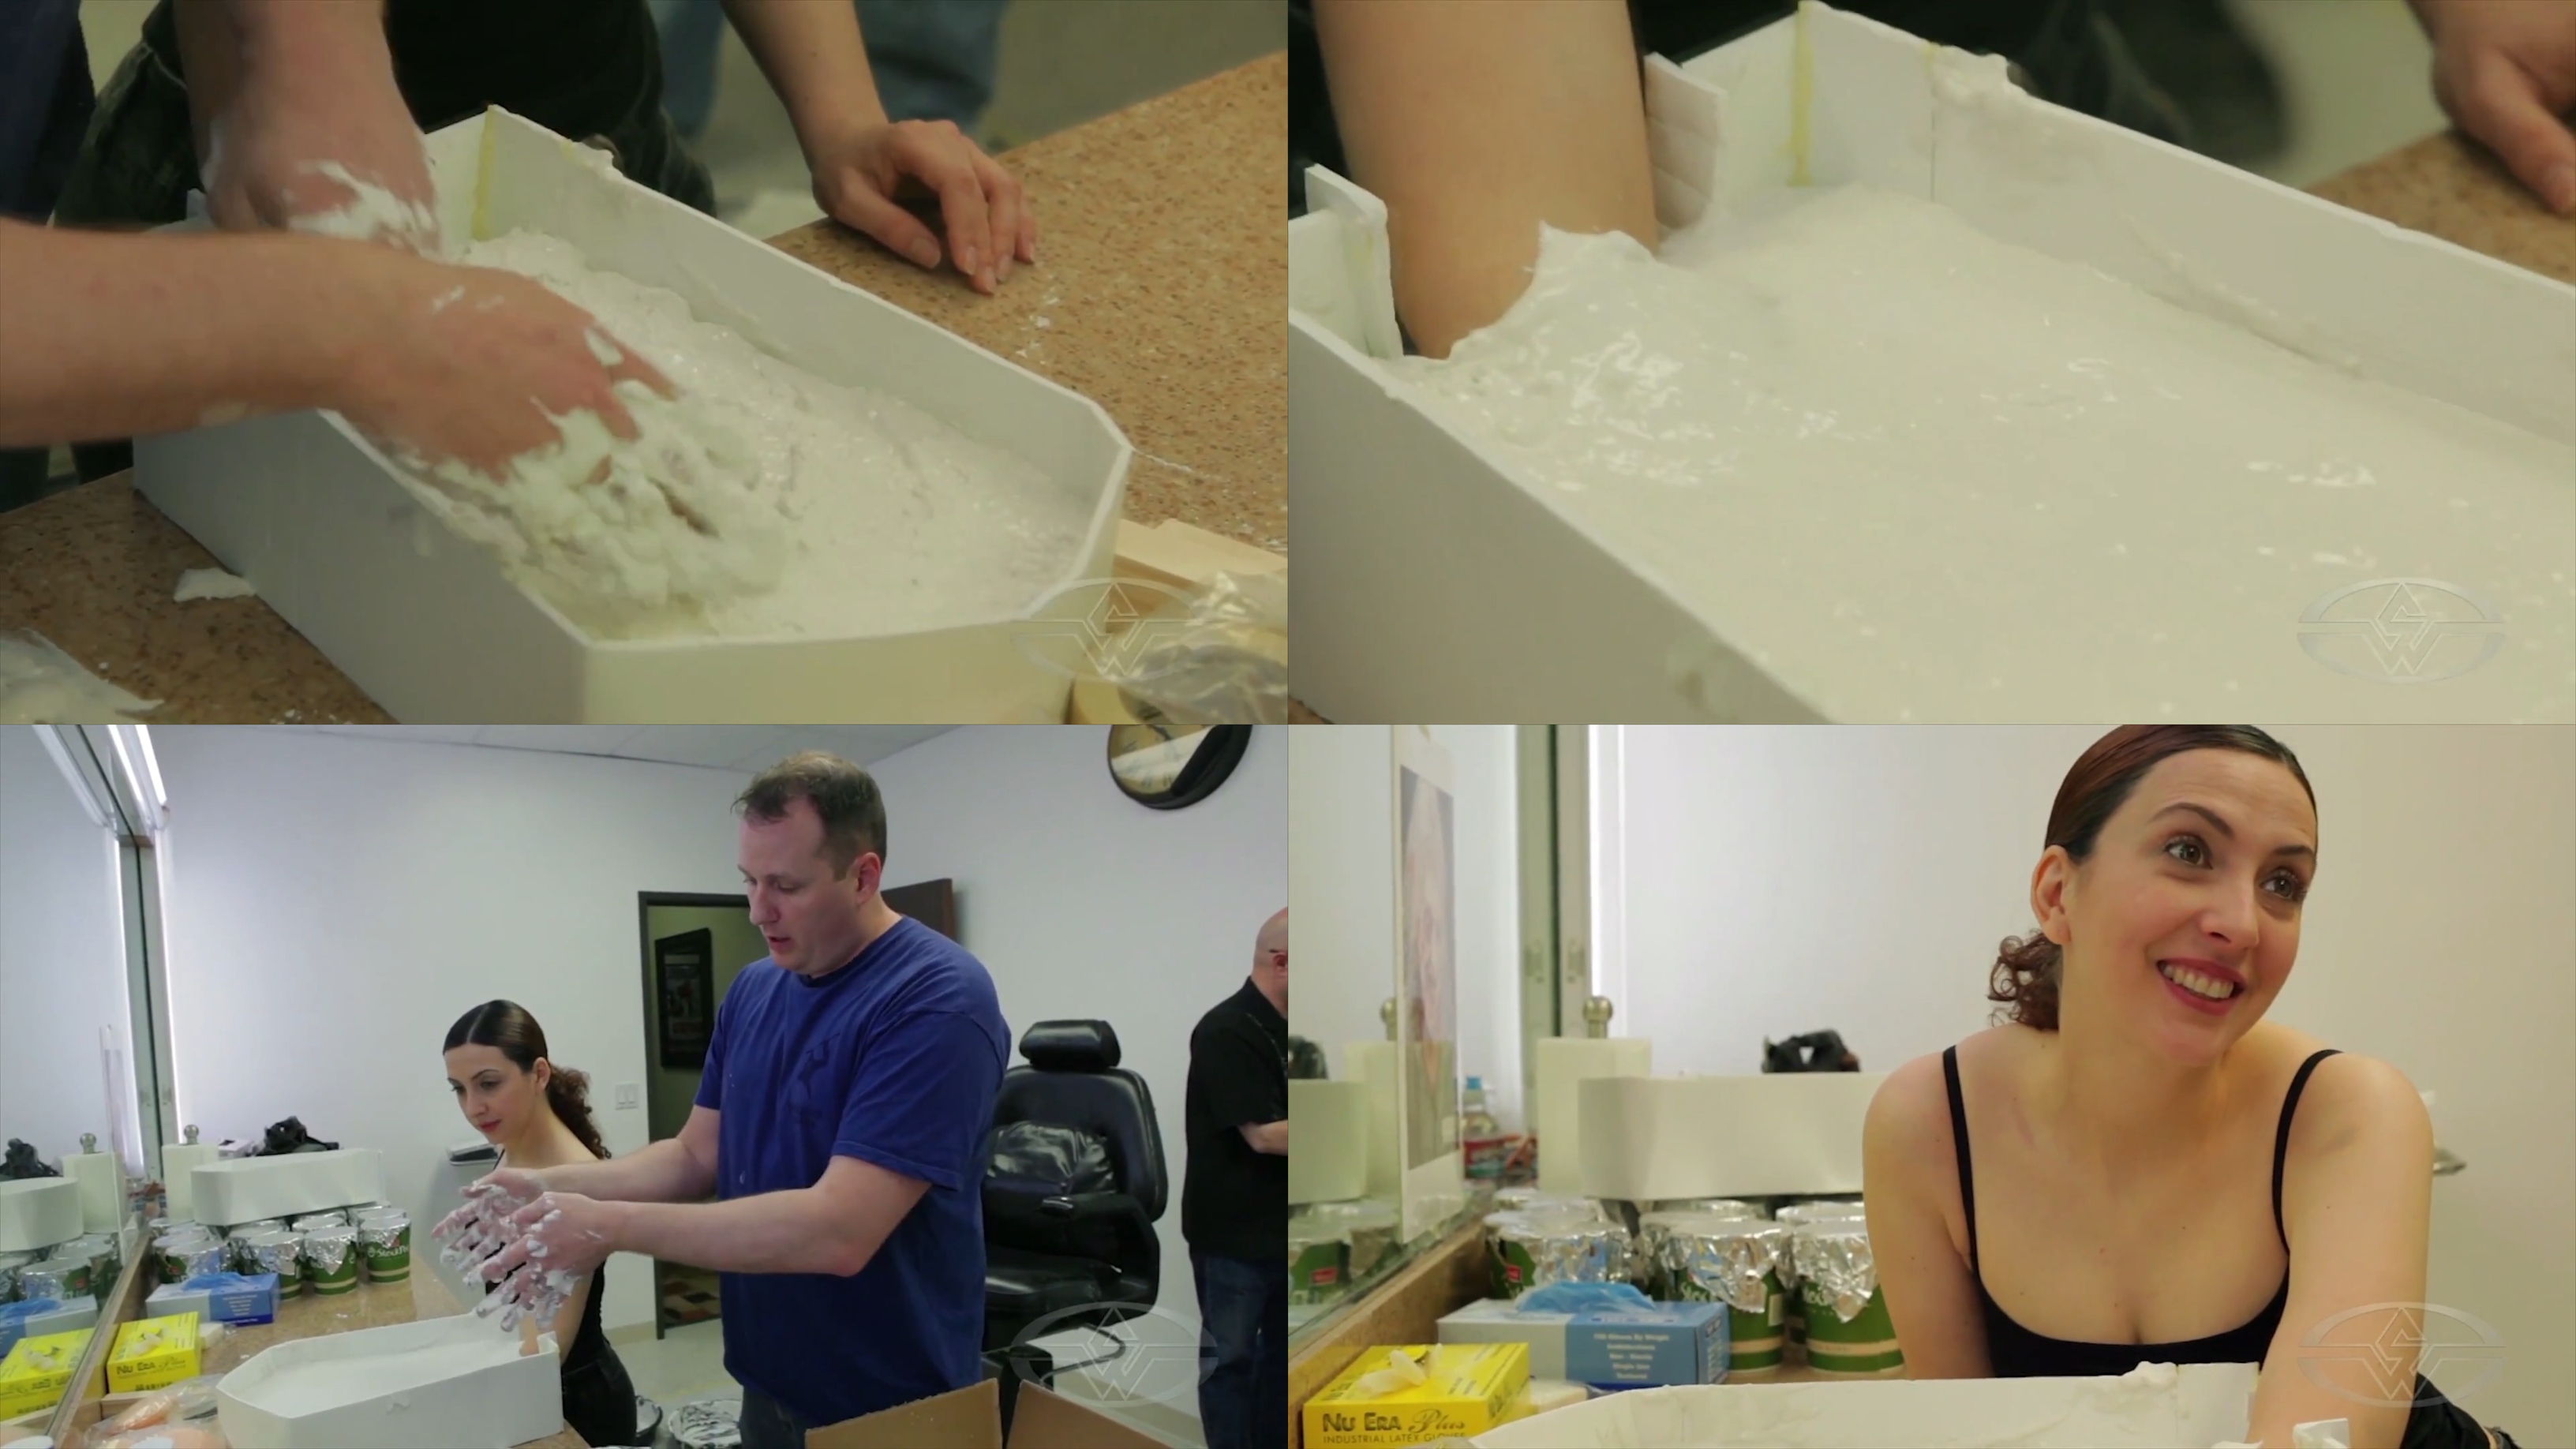 (Mark Viniello adds another layer of alginate while Cynthia Garza waits for the alginate to set.)
Once your subject’s arm is out of the mold, you can then start pouring the plaster. This will eventually create a perfect sculpture replica of the hand, wrist and partial arm.
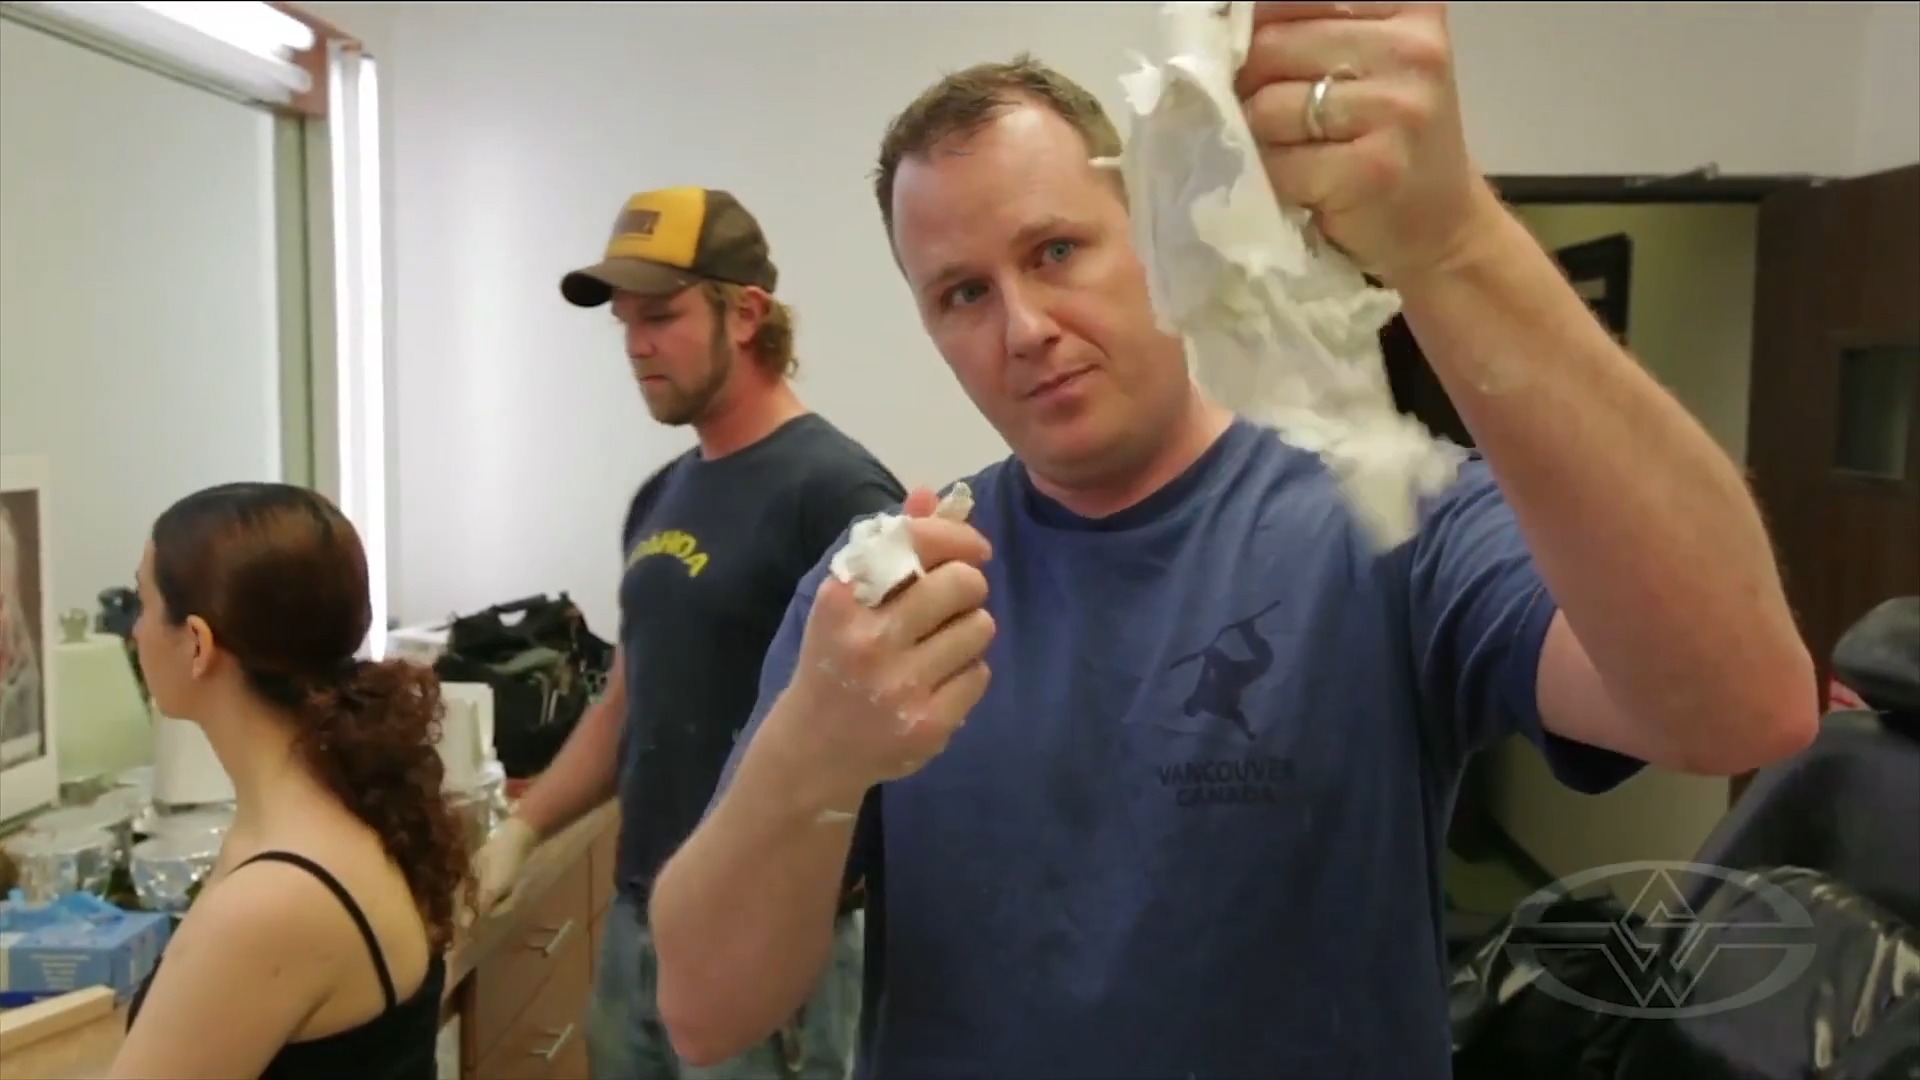 (Mark Viniello shows how rubbery alginate becomes once it sets.)
To demold the hand or other body part, have your model wiggle it, breaking the suction seal and allowing the body part to be gradually removed. Rapid movements aren't necessary as you don't want to risk damage to the mold.
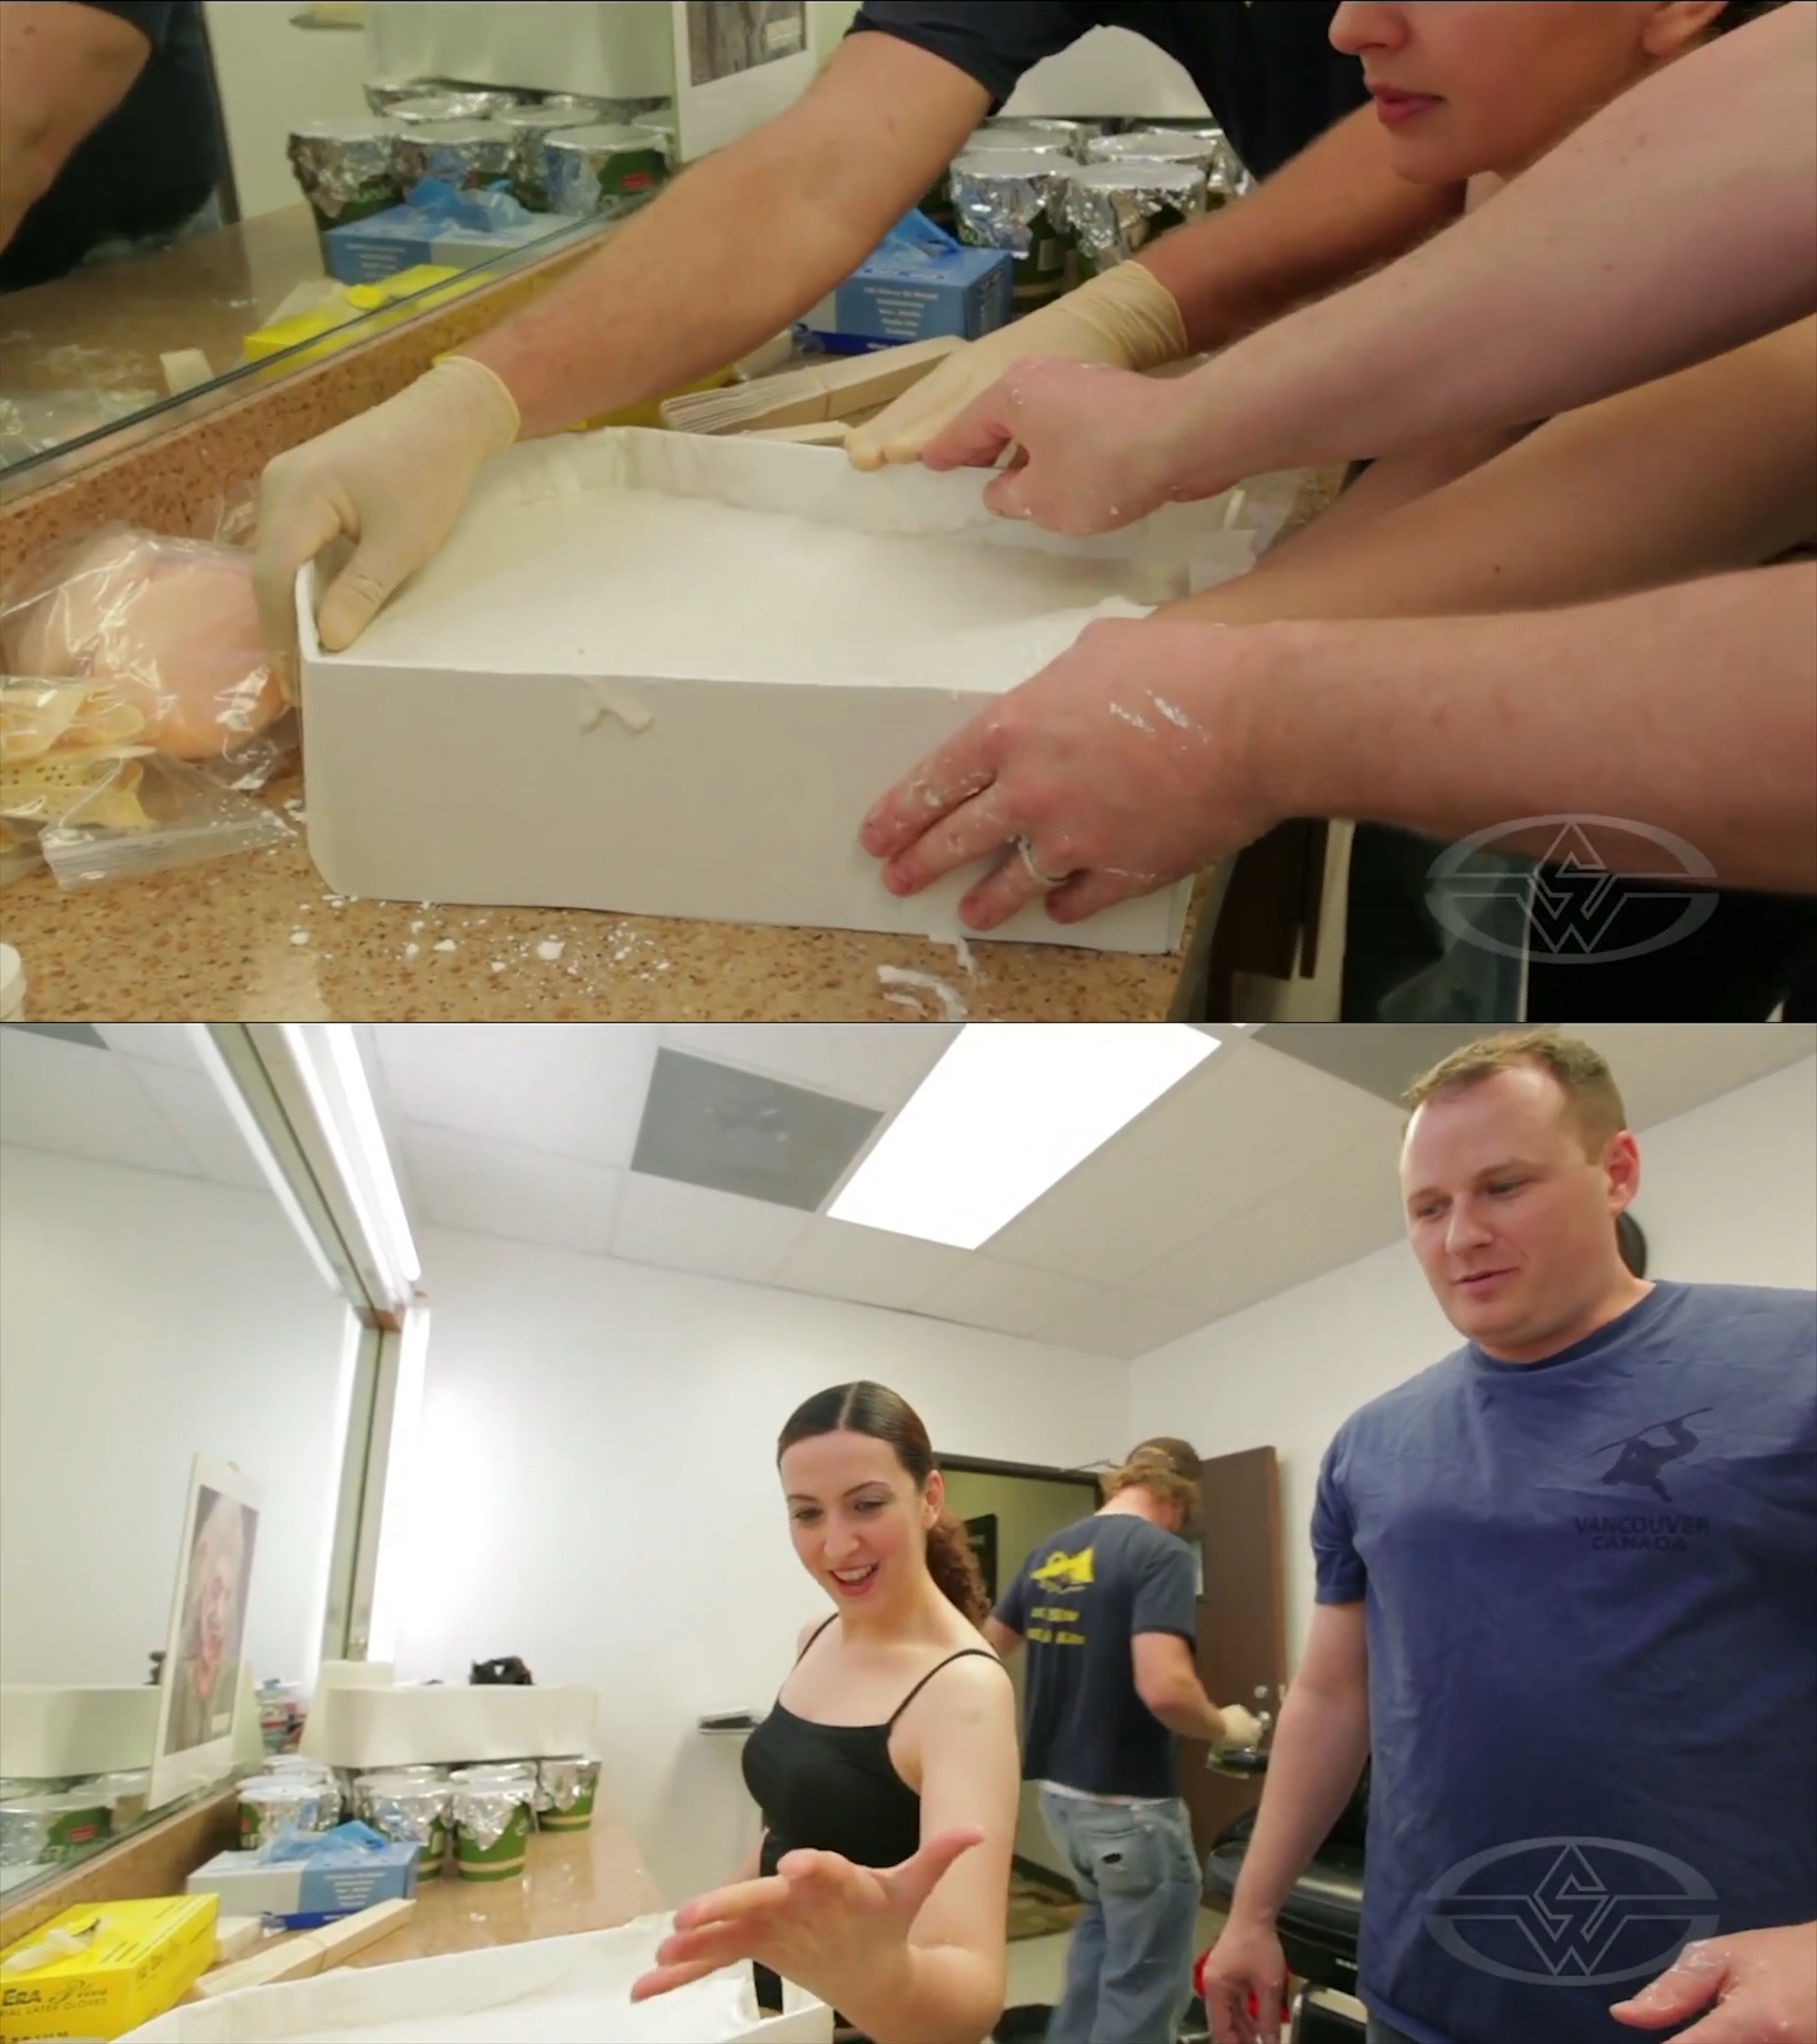 (Cynthia Garza slowly wiggles her hand from the mold.)
It's unlikely to have a model become stuck in the material. But in the extreme case where someone was having difficulties extracting their extremity from an alginate mold, you can easily slice the material with any knife.
The mold once the hand is extracted has become the negative space in the precise shape of the extracted hand.
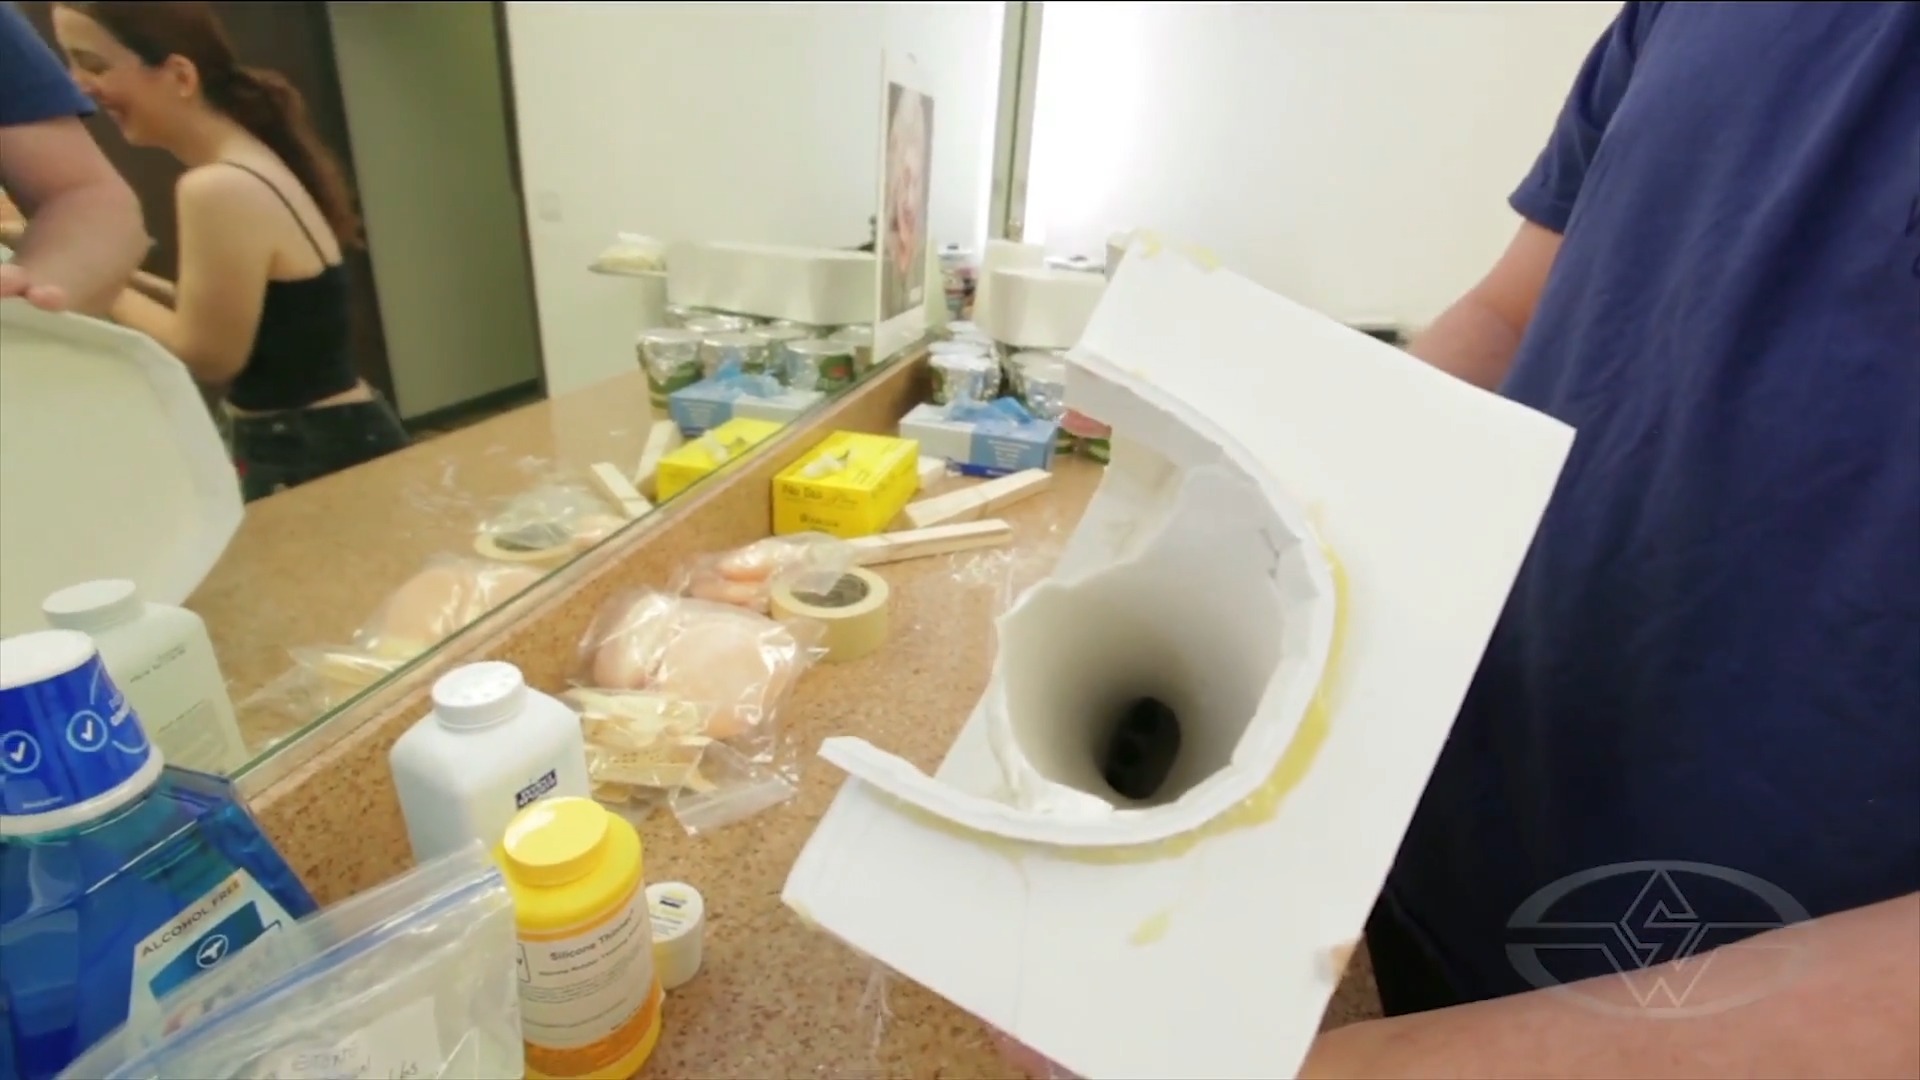 (Mark Viniello shows the negative space just vacated by Cynthia Garza's hand.)
That negative space is now ready to be filled with plaster.
Mixing and Pouring Hydrocal
Start with white, Hydrocal plaster. This high-strength, multi-purpose material expands ever so slightly and helps compensate for the minimal shrinkage in the alginate.
Note: You may hear “plaster” or “stone” instead of “Hydrocal” since these are generic terms for all types of gypsums. There are also subdivisions of Hydrocal, such as Hydrocal B11, Pottery Plaster, Ultacal 30, etc. Each of these have their own unique properties.
The first thing you want to do is fluff up your plaster so it has a light, floury consistency. Plaster in a bag settles into a compressed form that needs to be aerated.
Next, you will pour the plaster into water. Slowly sift the plaster into the water, always making sure to add your powder into the water and not the reverse.
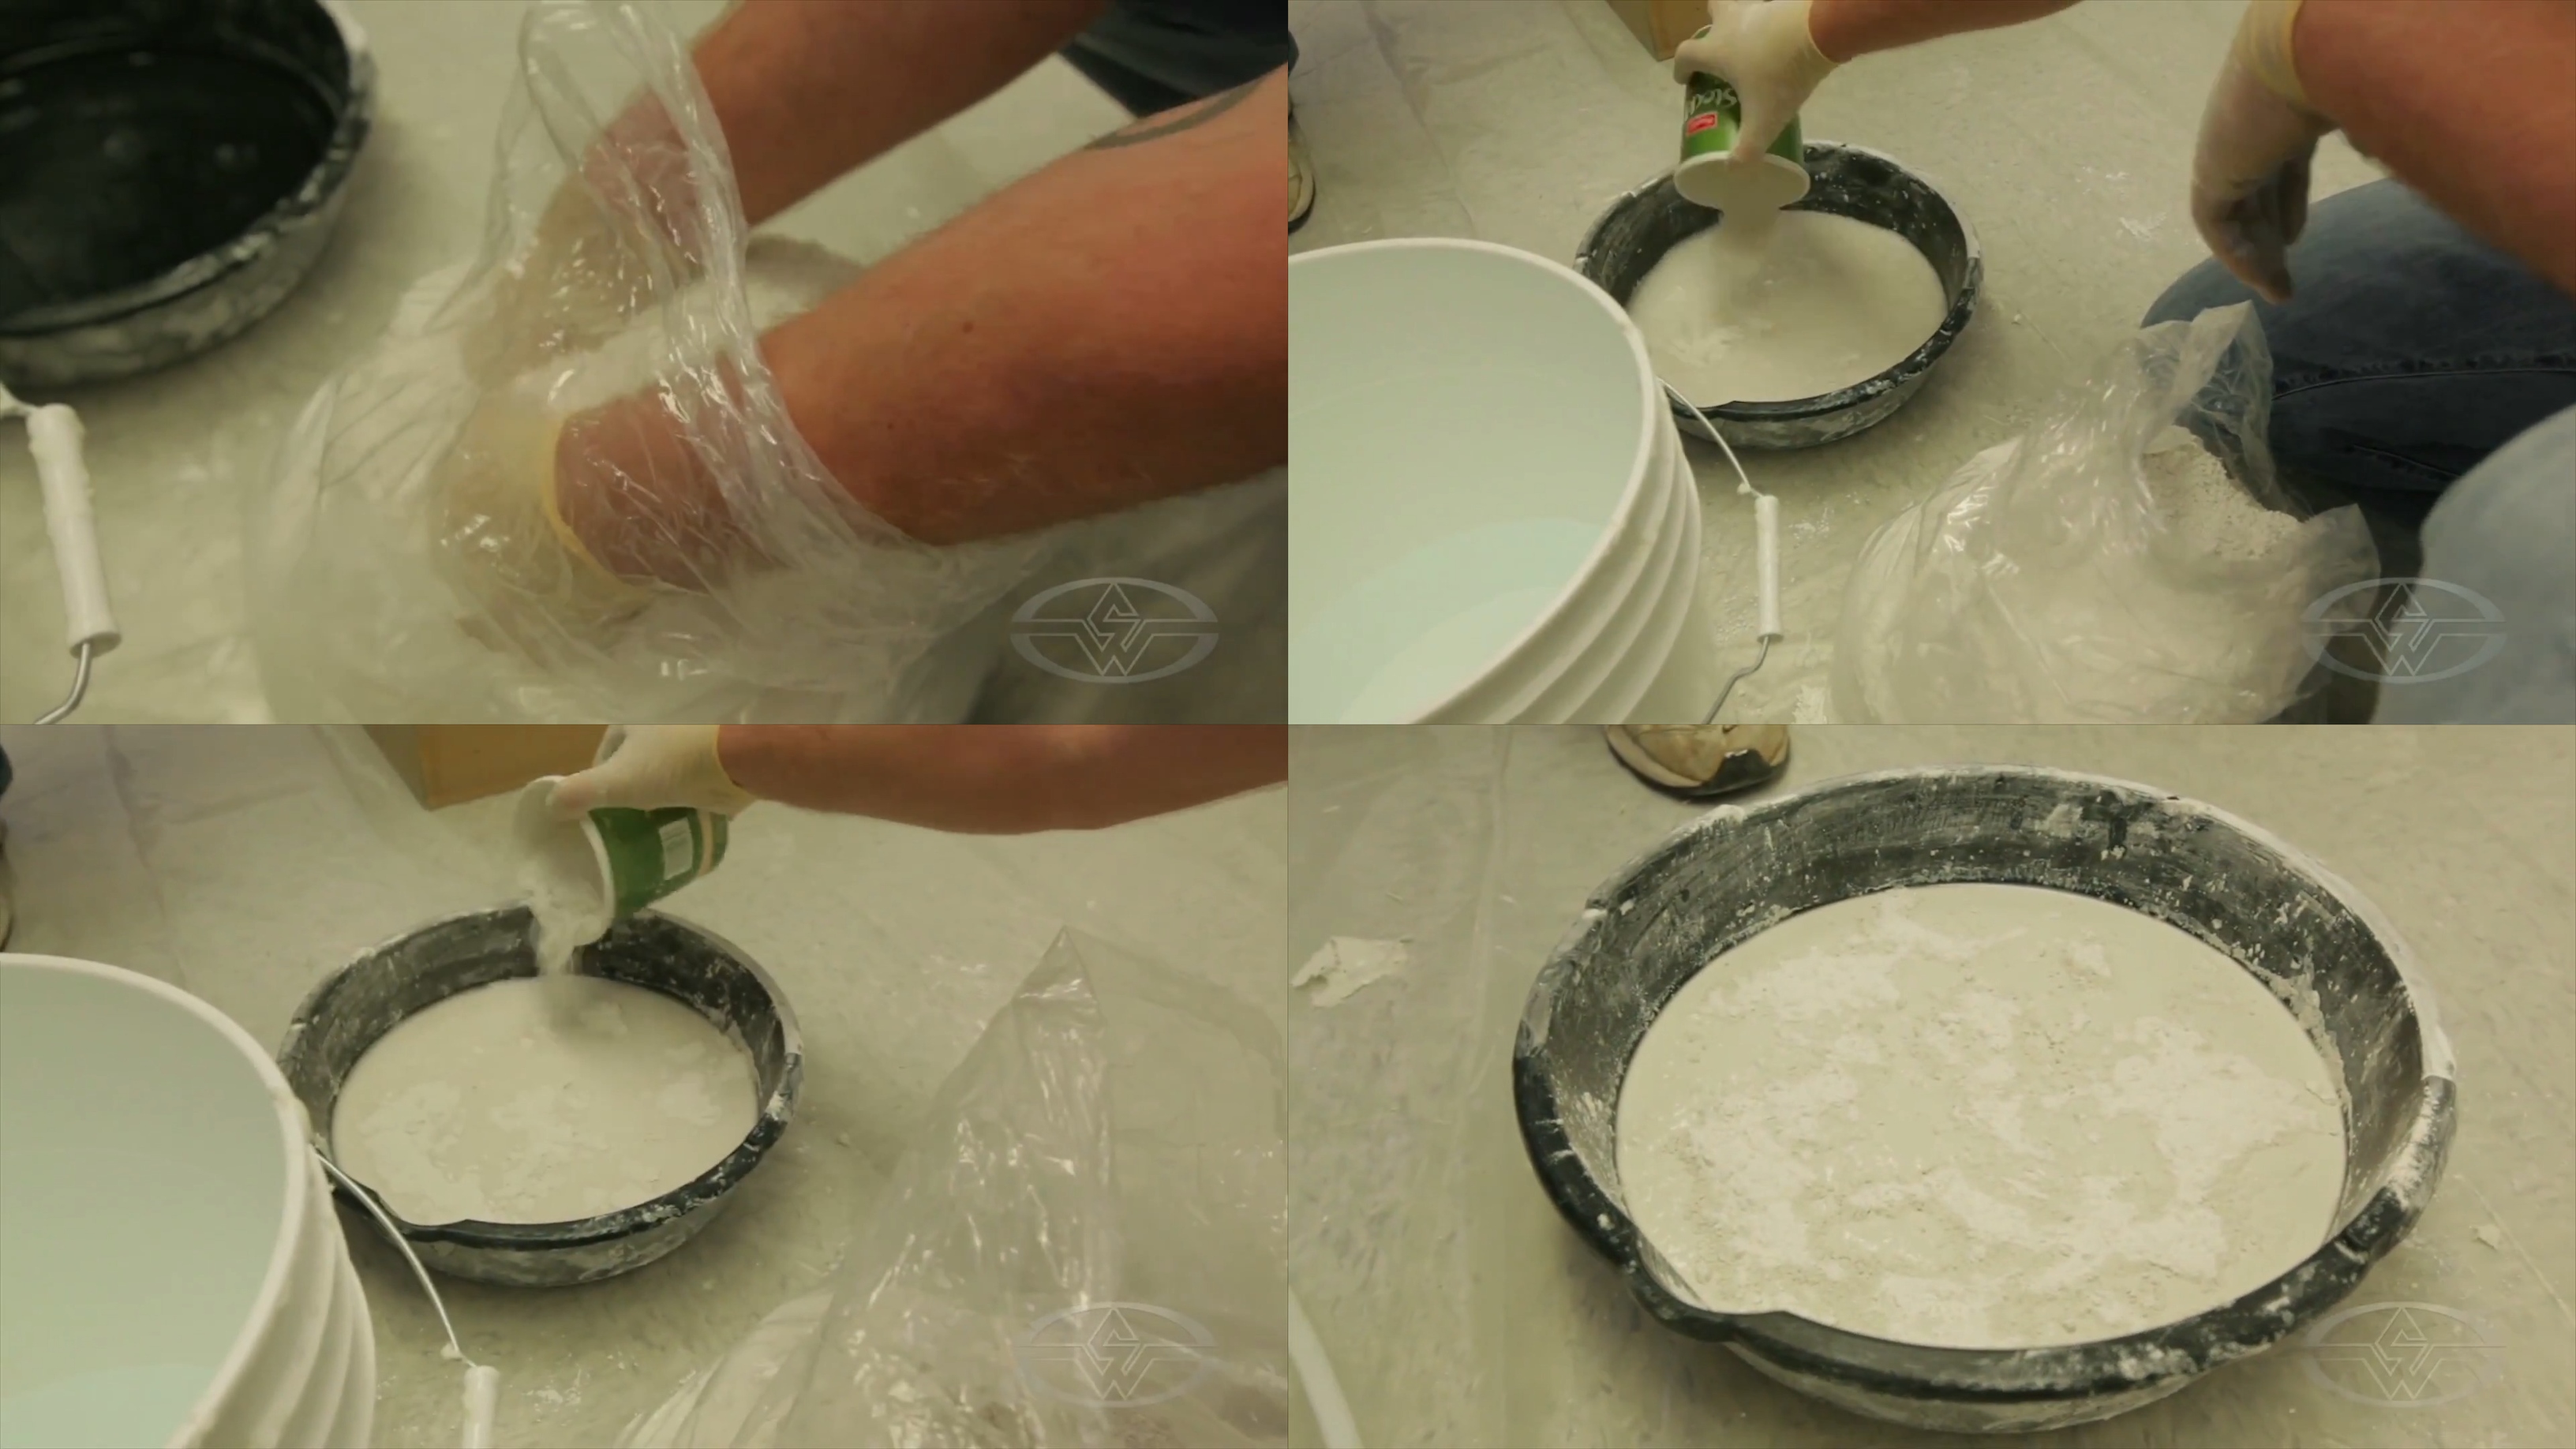 (Cleve Gunderman fluffs up the Hydrocal plaster before sifting it into the water.)
Even though Hydrocal looks the same as alginate, it’s a completely different material. If these materials are mixed up and used in a reversed order, this will lead to a failed mold. “You never want to confuse the two; you never want to mix up Hydrocal thinking you’re mixing up alginate,” Viniello says. “Be very organized. Be very careful about how you separate the two materials.”
You can weigh out your plaster based on specific instructions on the package, but once you've done as many plaster pours as Mark Viniello, it's pretty safe to eyeball it.
You’ll know your plaster is ready to mix once it’s a “dry riverbed,” aka when the water gets completely soaked in and it appears as though there are cracks on the surface. If it looks like this, you’re on the right path!
Like alginate, the temperature of the water affects how long it takes for the Hydrocal to set. Colder temperatures have longer setup time.
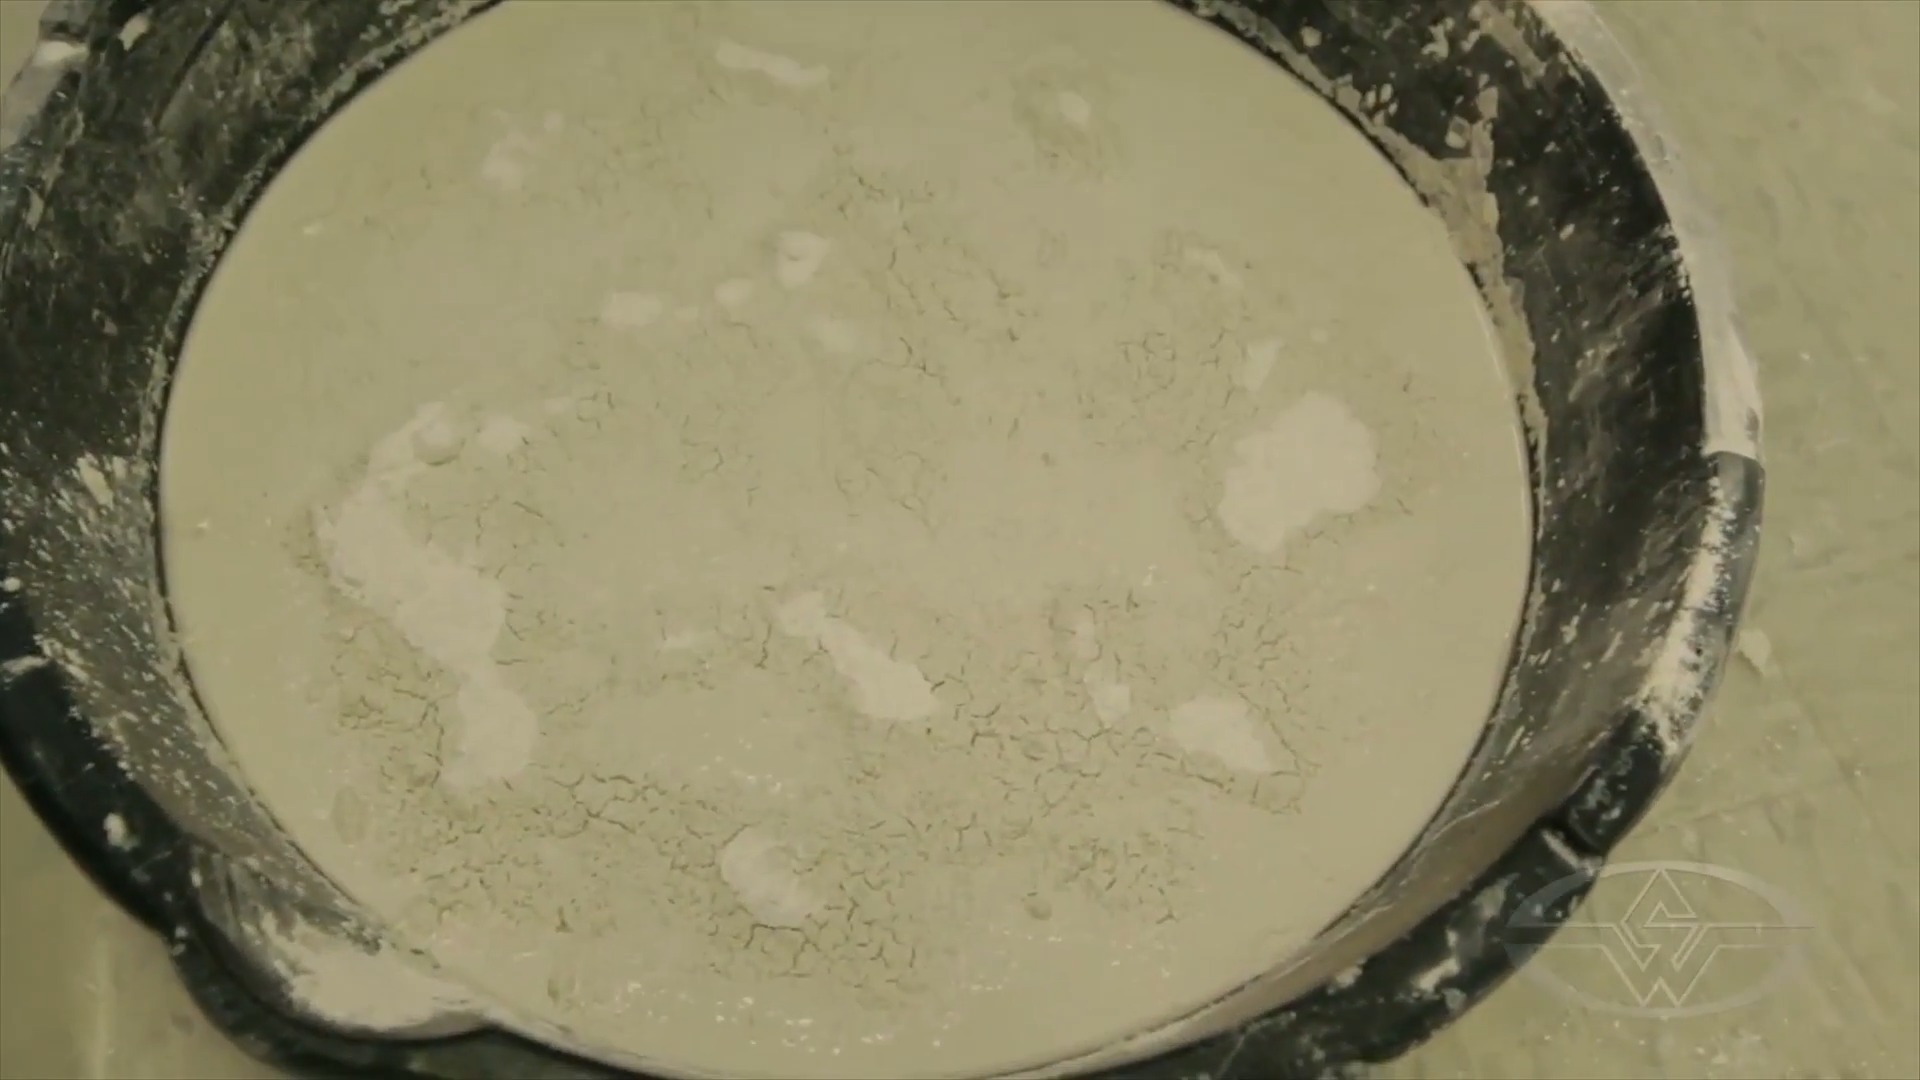 (Well-mixed plaster should have the "dry riverbed" look pictured here.)
You'll want to take your time mixing to avoid impacting the strength of the gypsum. You should aim to have all the white powders completely absorbed by the moisture. And then you want to mix it thoroughly by hand for a few minutes to give it a smooth, creamy consistency without any lumps.
The final step in generating your plaster positive is to pour your hydrocal into the mold.
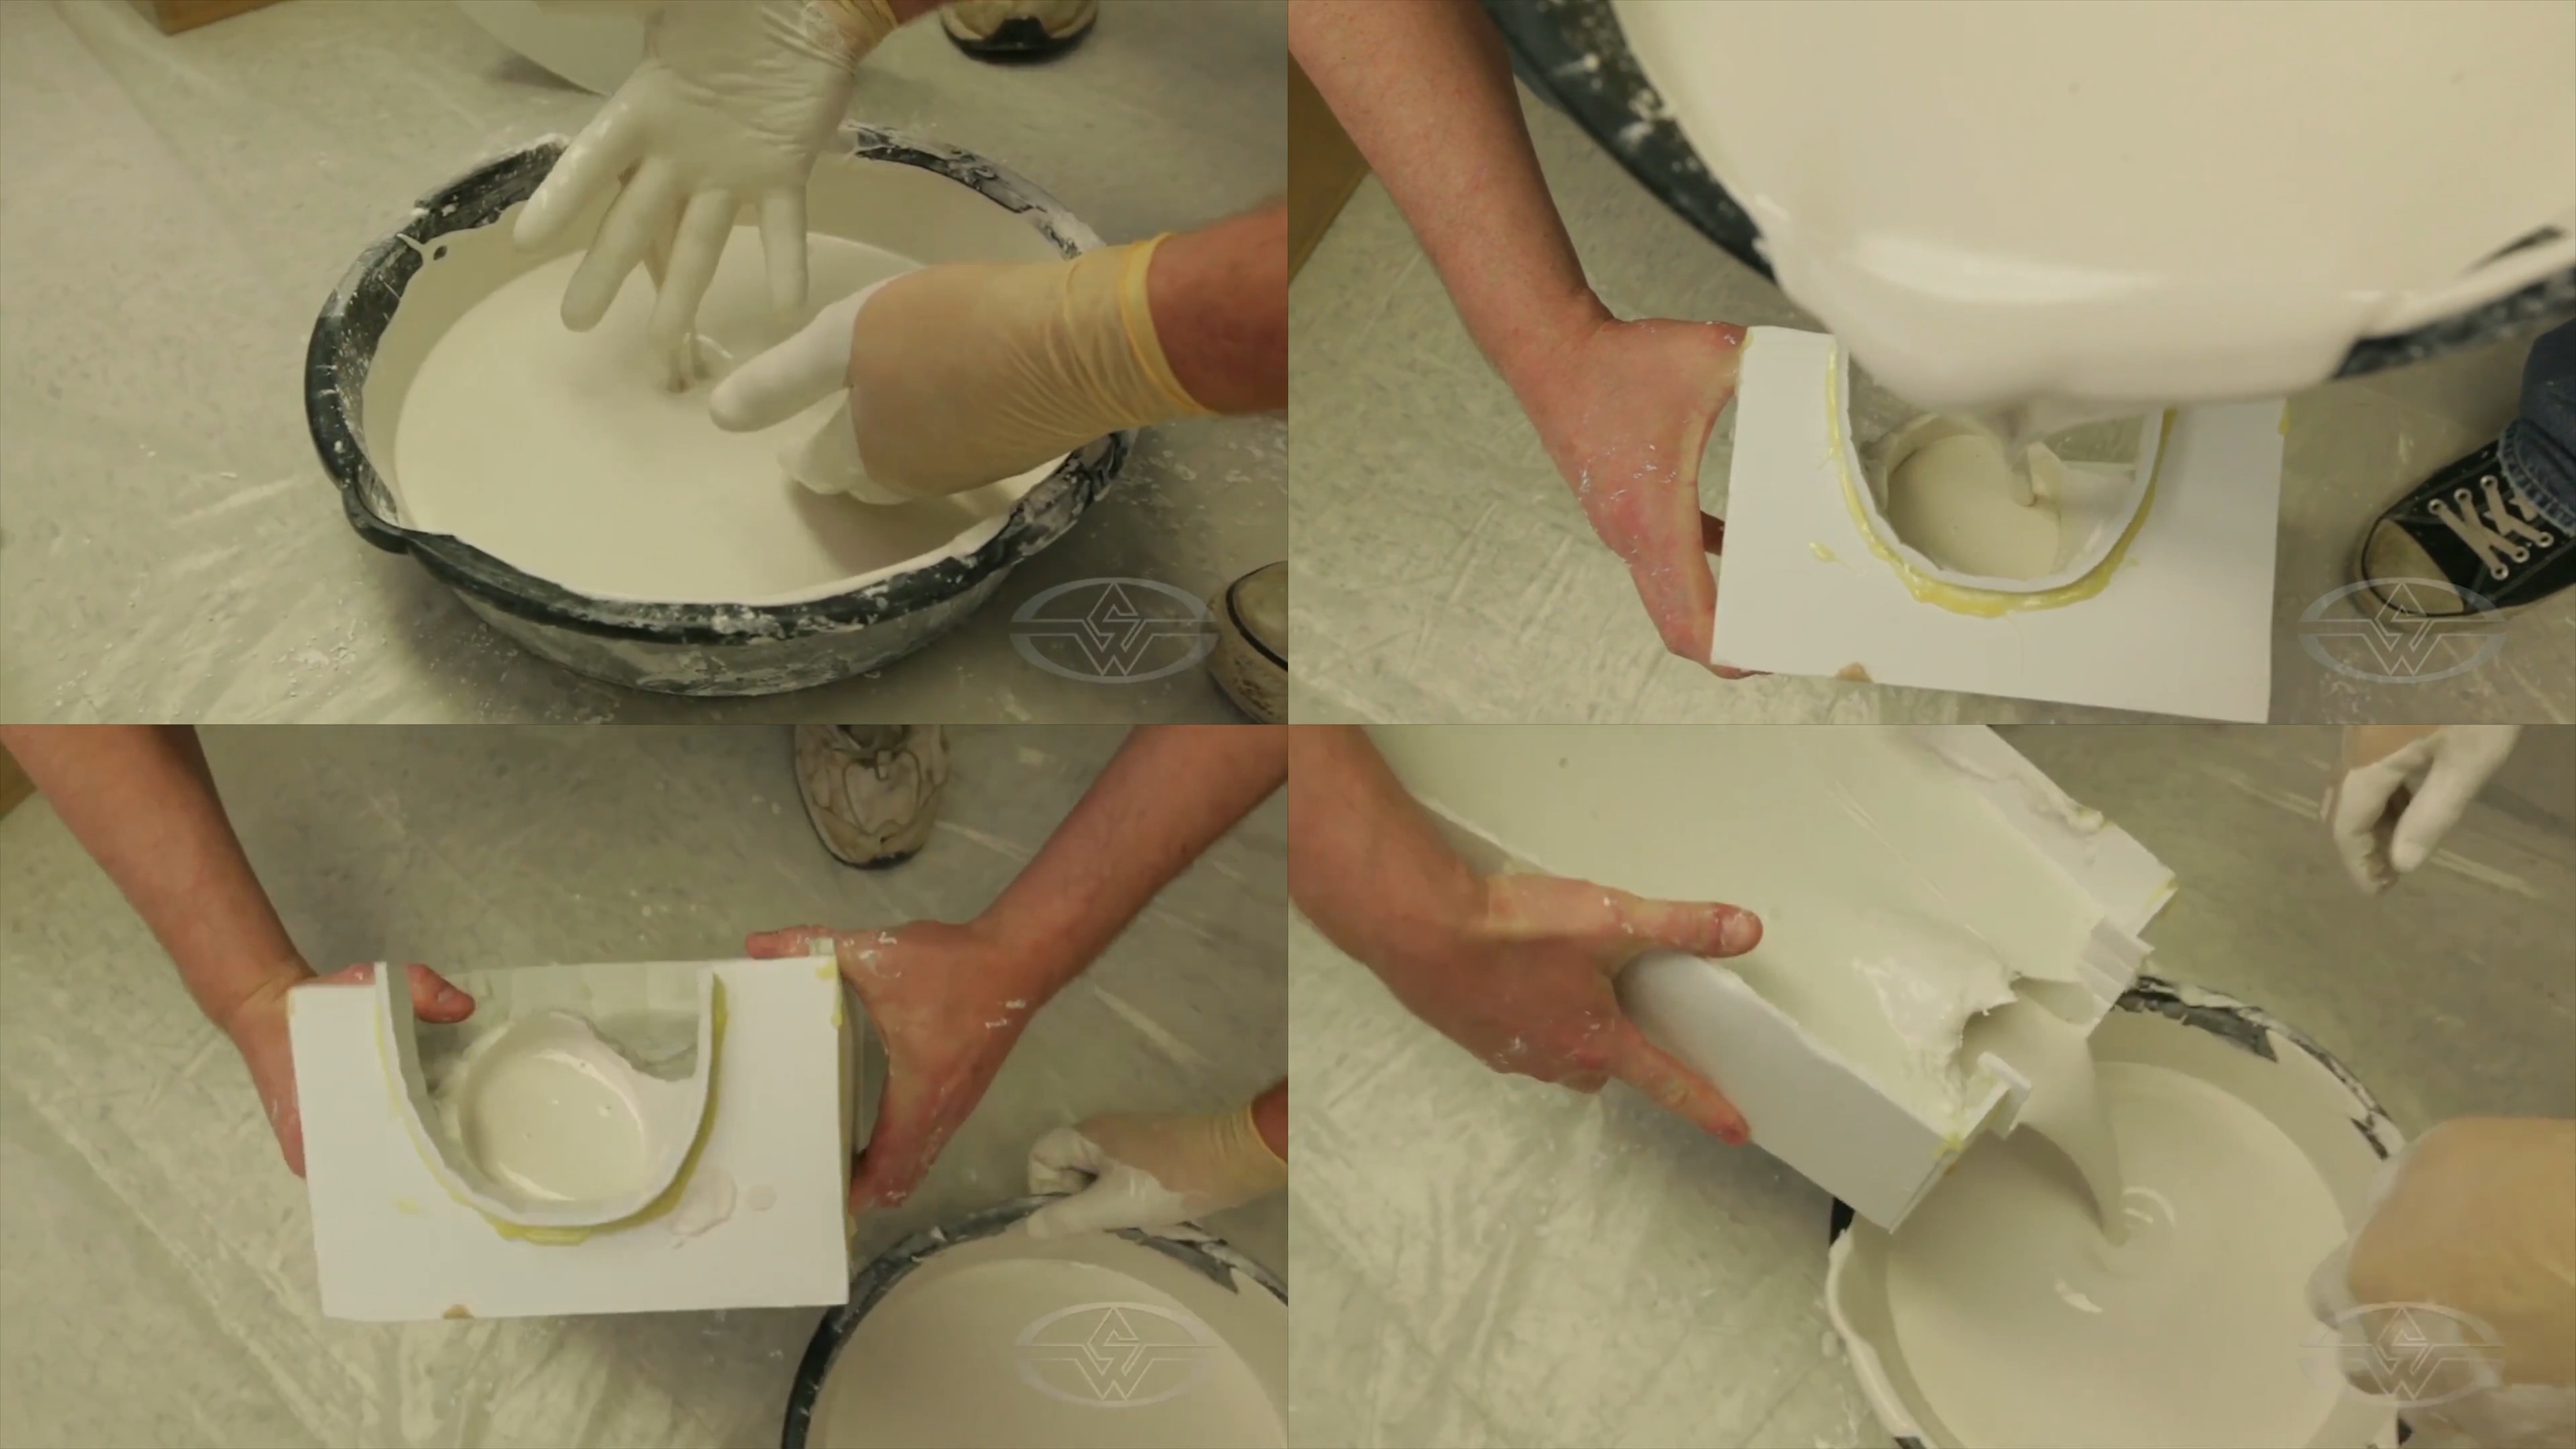 (Cleve Gunderman mixes the plaster by hand until it's lump-free before pouring it into the mold.)
Watch for any trapping of air as you pour the plaster in. Since plaster is a thick liquid, it’s prone to air bubbles, which can sometimes result in the tip of the finger not being filled or small surface bubbles on the positive.
You can reduce the chances of getting any air pockets by either: putting the mold on a vibrating table to move all the bubbles up, as well as pouring the plaster in, rocking it around, and pouring it out then back in, allowing the cavity to fill in layers.
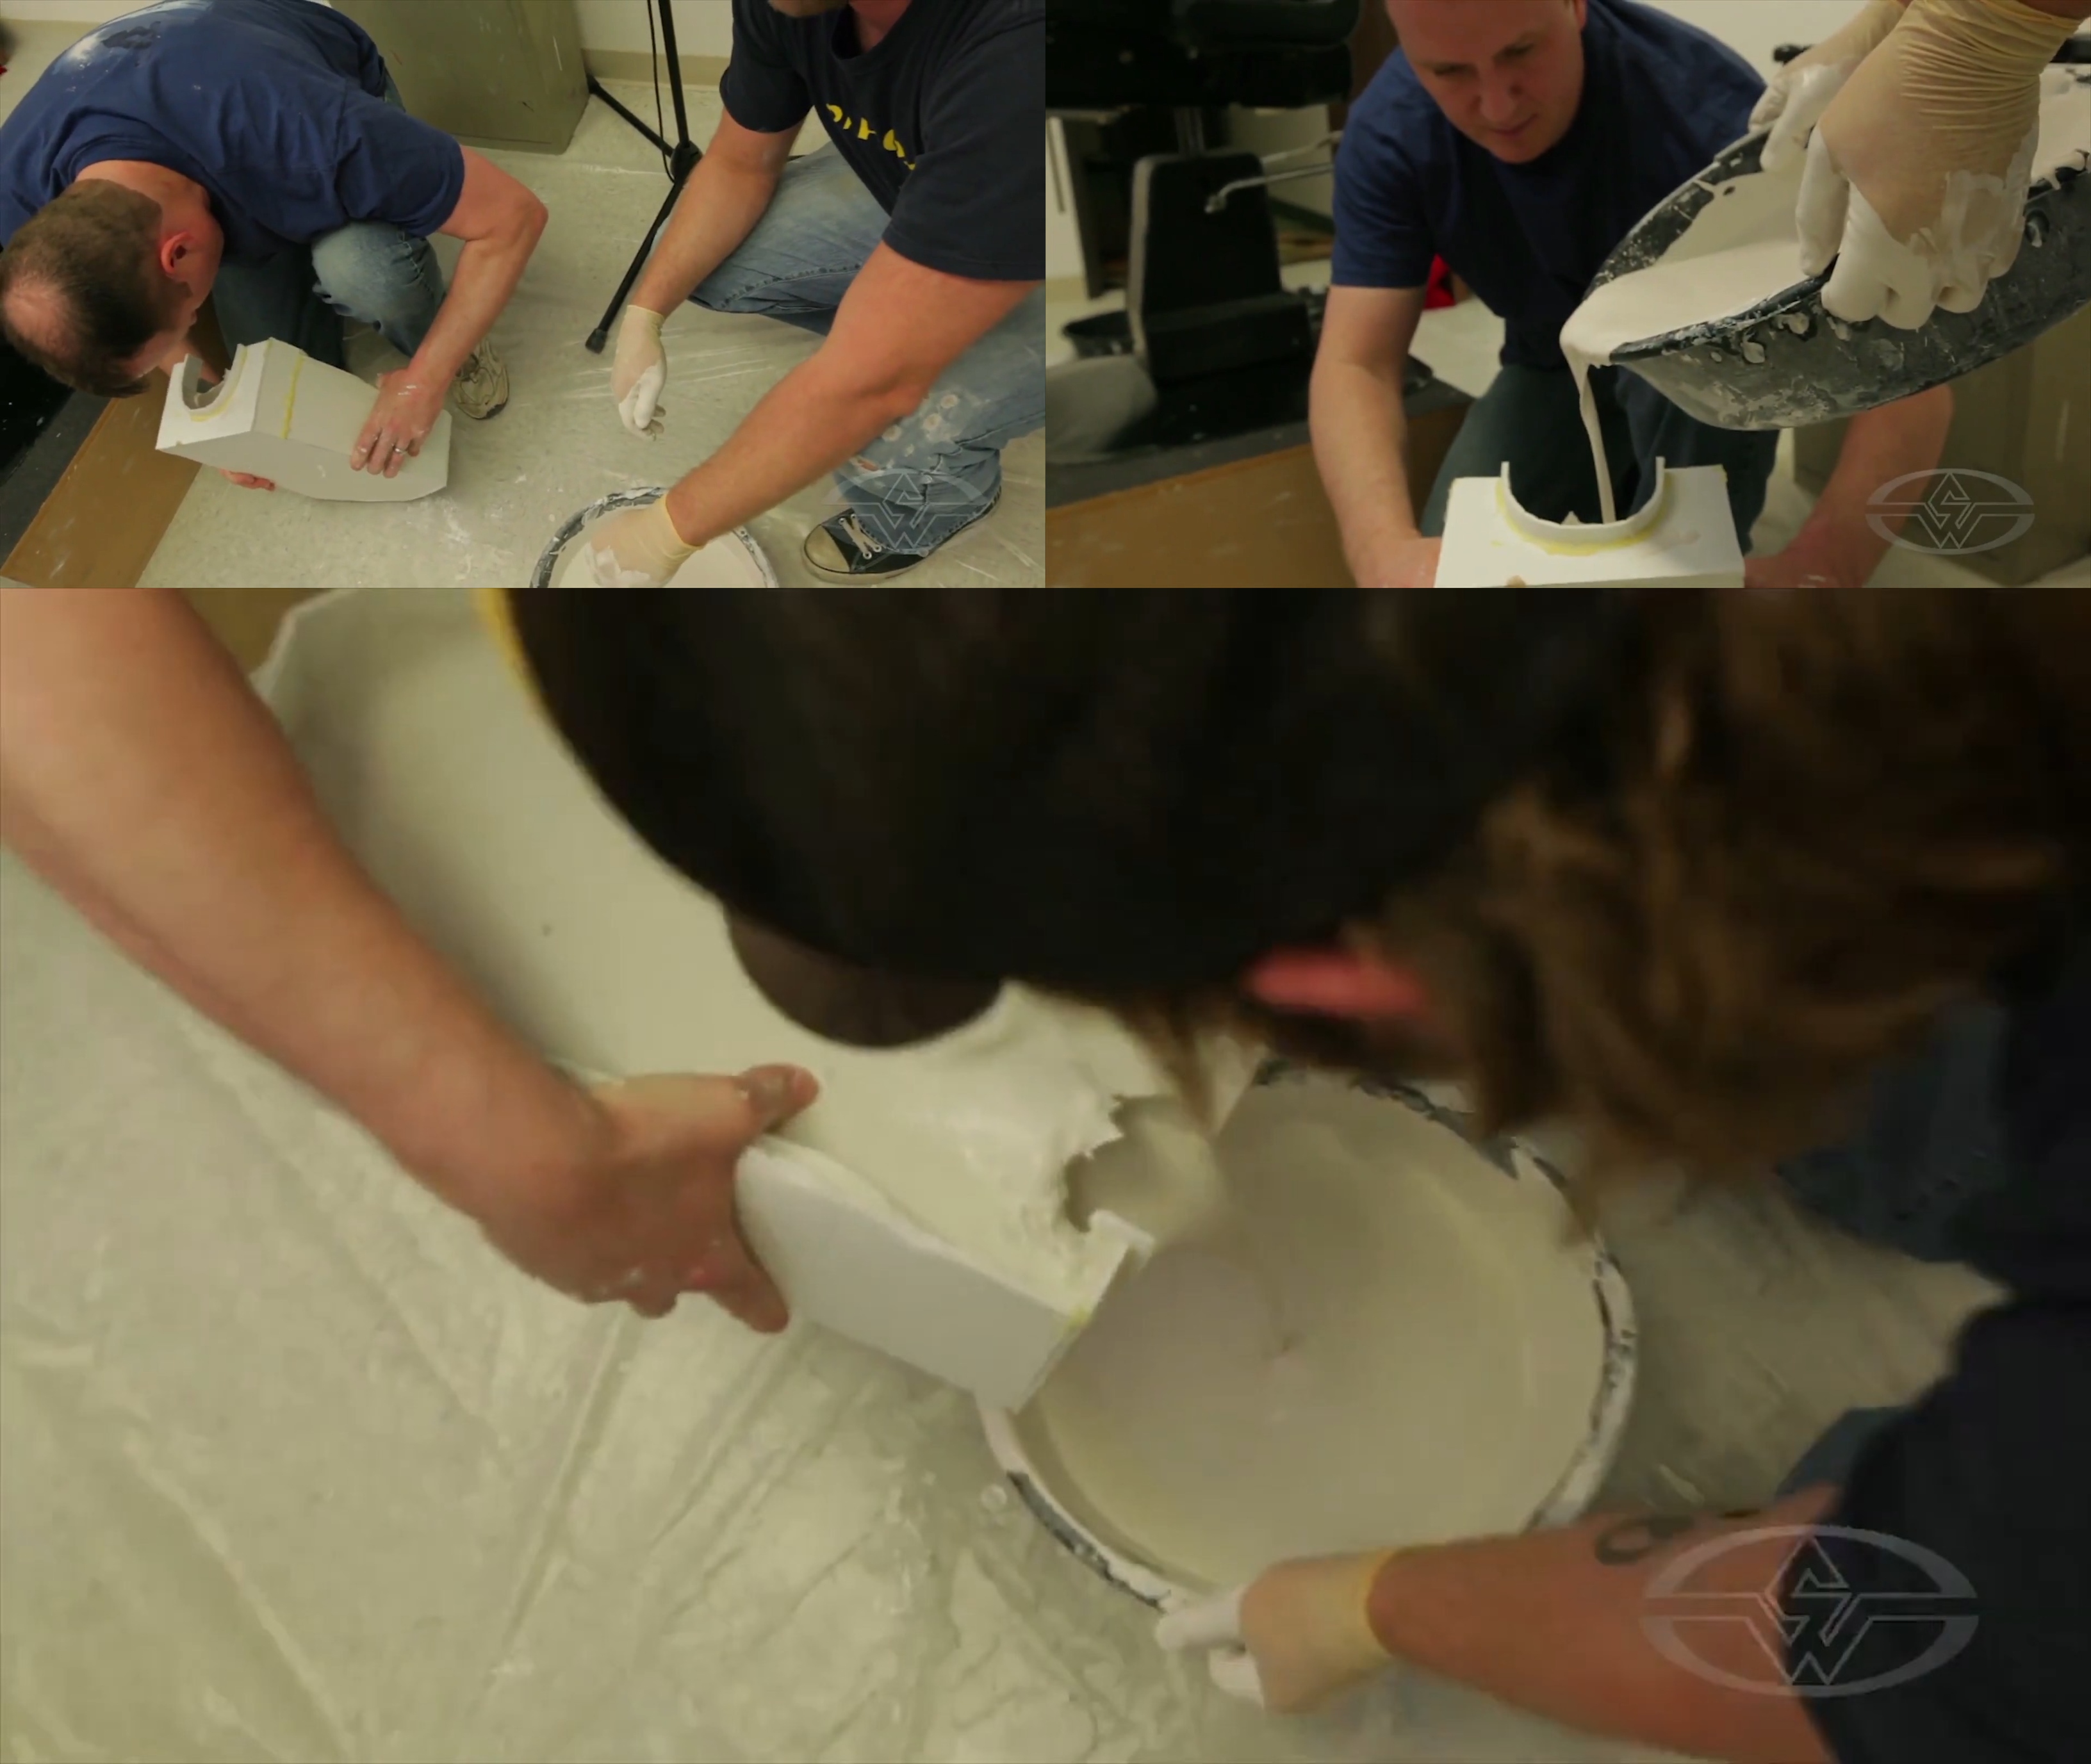 (Mark Viniello tilts the mold on its side before Cleve Gunderman pours the plaster into it.)
When mixing the plaster, the more you mix, the longer you mix, the quicker it’s going to set up. You'll know you're ready to pour when your mixture has a pancake batter-like consistency that’s neither too thick nor too thin.
Preventing Air Bubbles in Plaster
Identify the parts of the sculpture where the extremities of the fingers would be. You can apply a bit of force to allow any plaster that may be trapped in a cavity caused by a fingertip. Tap on the mold from different angles and look for tiny bubbles to make their way to the surface. When the bubbles stop surfacing, all that remains is to wait for the piece to set.
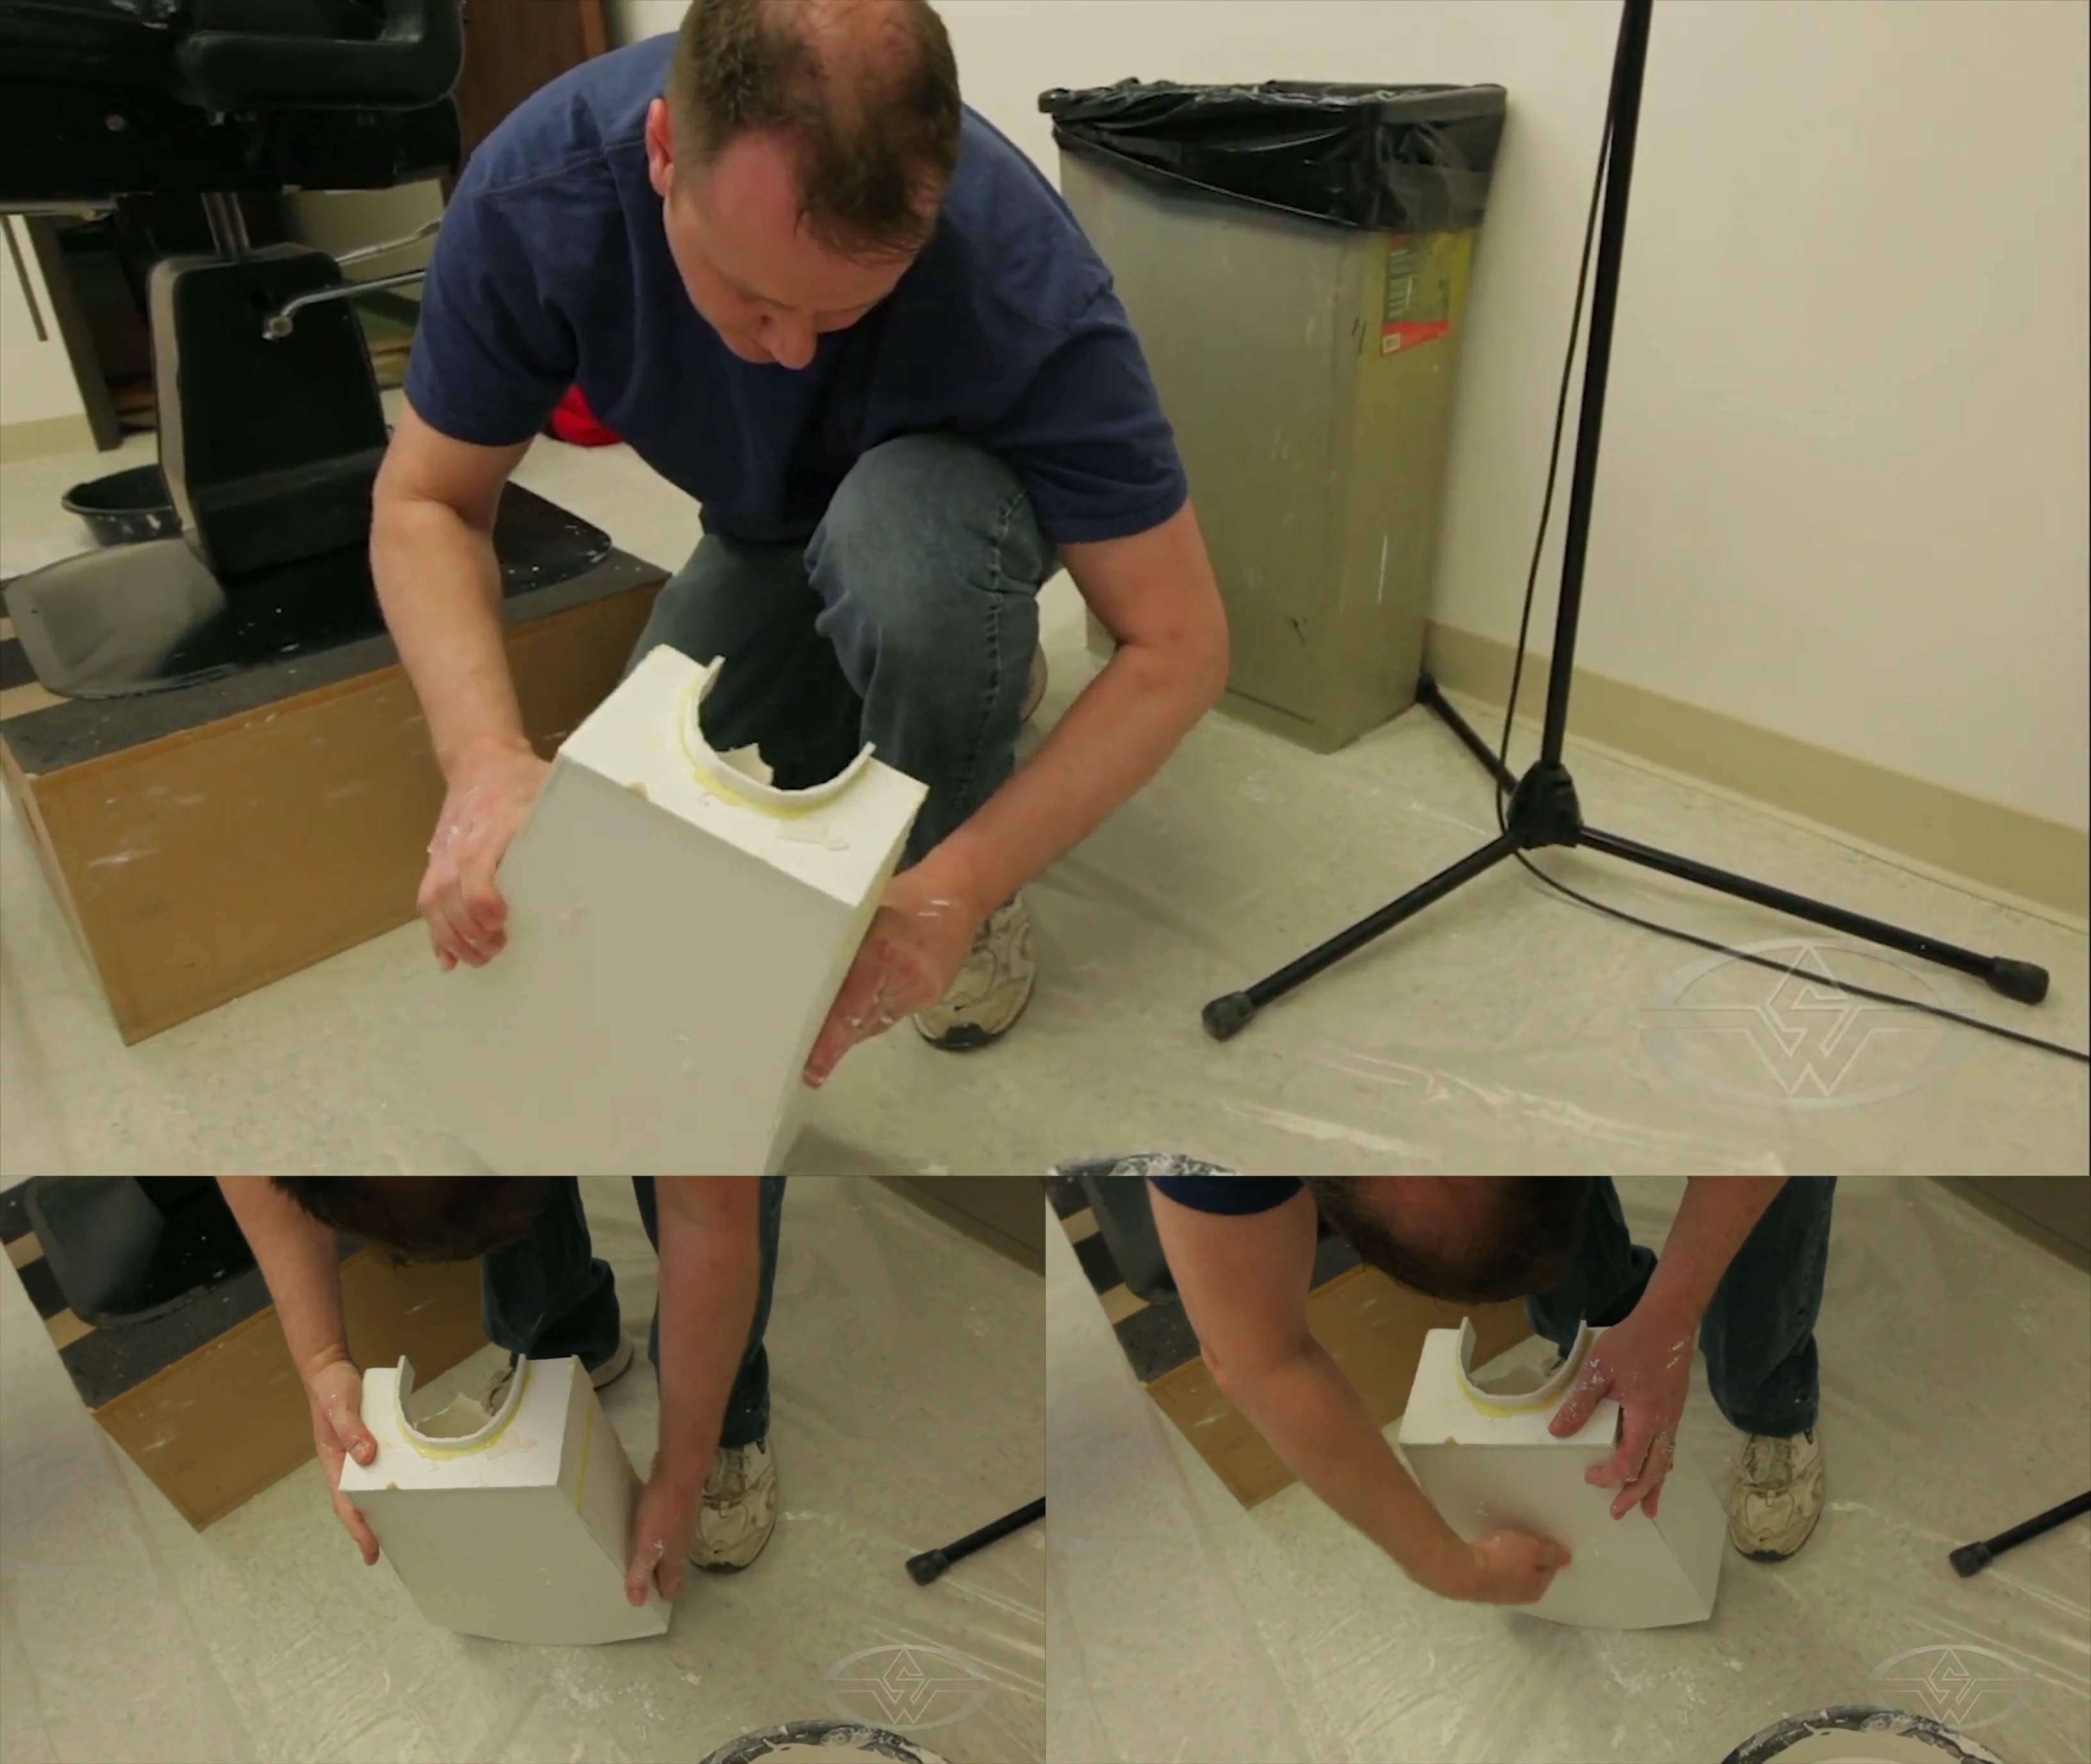 (To get rid of any air bubbles in the plaster, Mark Viniello knocks and taps the mold.)
The value of creating a sculptured prosthetic from a custom hand lifecast, as opposed a generic hand, ensures that your piece literally fits like a glove. Of course, generic hands are available, and you might get lucky sculpting a generic piece that might fit on someone’s hand. Although, because everyone’s hand anatomy is slightly different, from how their knuckles bend to the distance between their fingers, a lifecast guarantees the best fit possible.
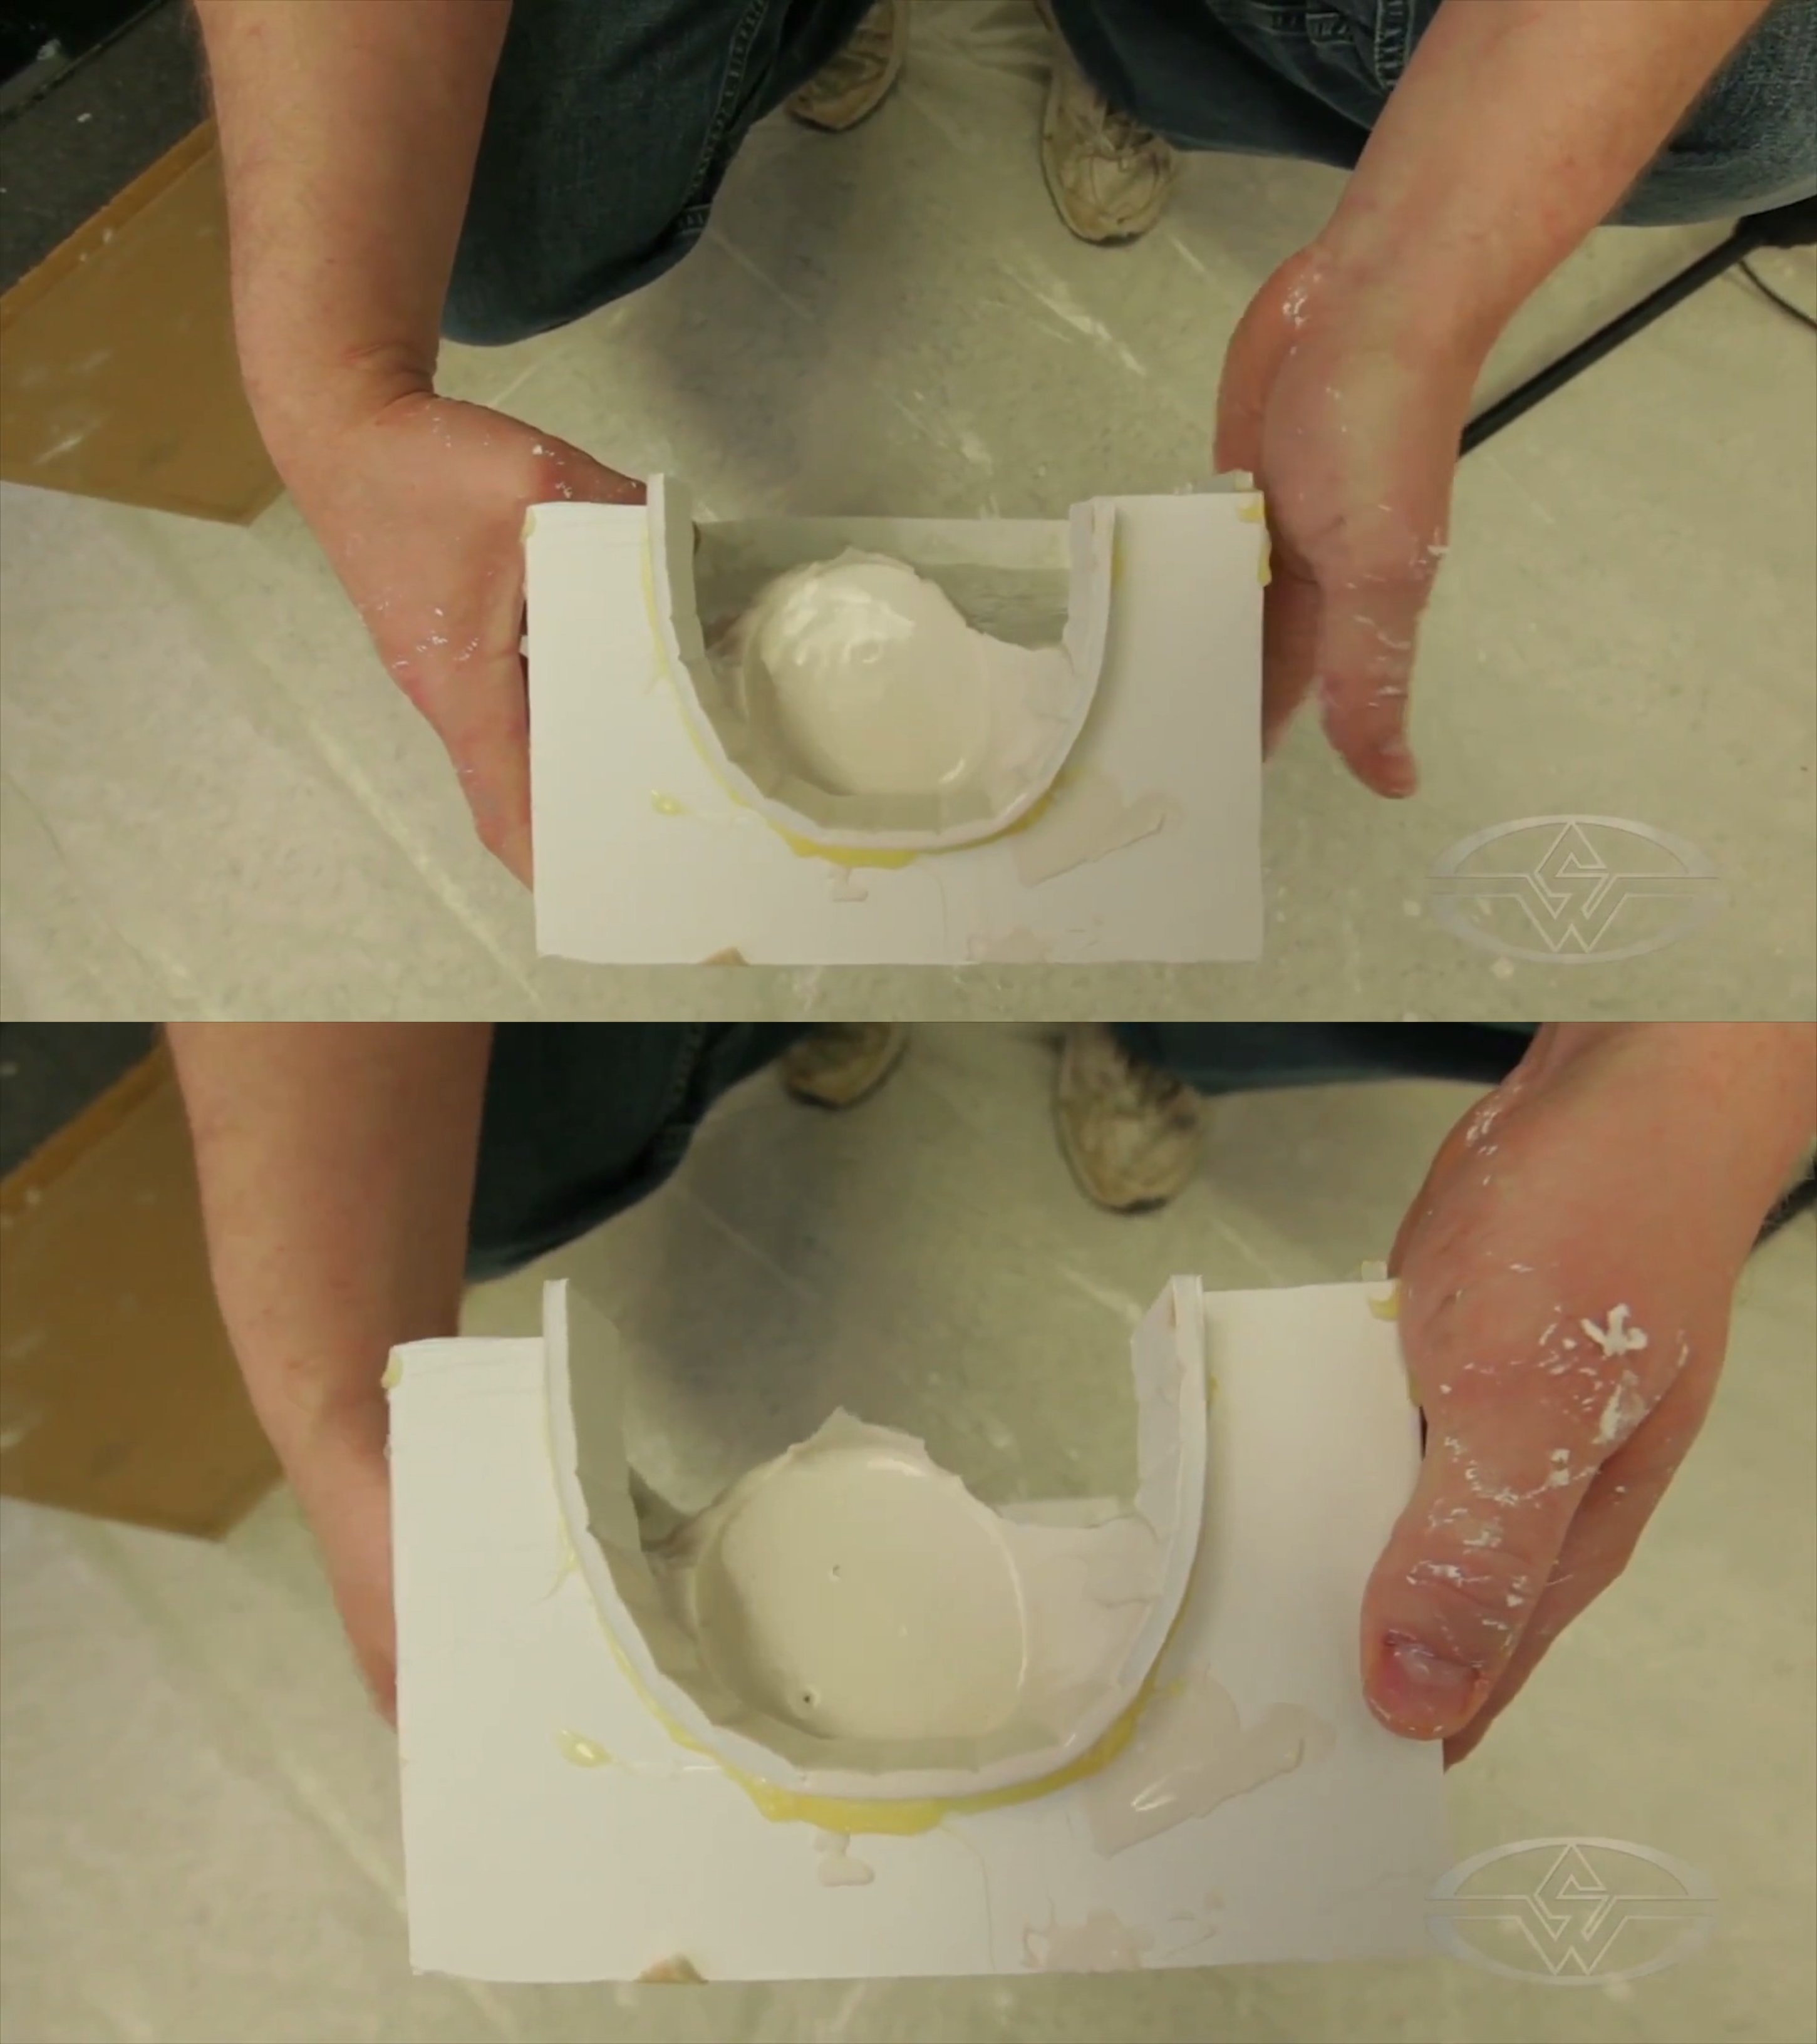 (Mark Viniello demonstrates how continuously tapping the mold on its sides helps reduce the amount of air bubbles.)
Continue tapping the mold to work out any bubbles you see. Once you’ve done that and the mold is filled, let the plaster set. While waiting, you can begin to repeat the process for the other hand!
WATCH THE “HOW TO LIFECAST: HEAD, HANDS & TEETH” COURSE WITH MARK VINIELLO:
How to Lifecast: Head, Hands & Teeth