
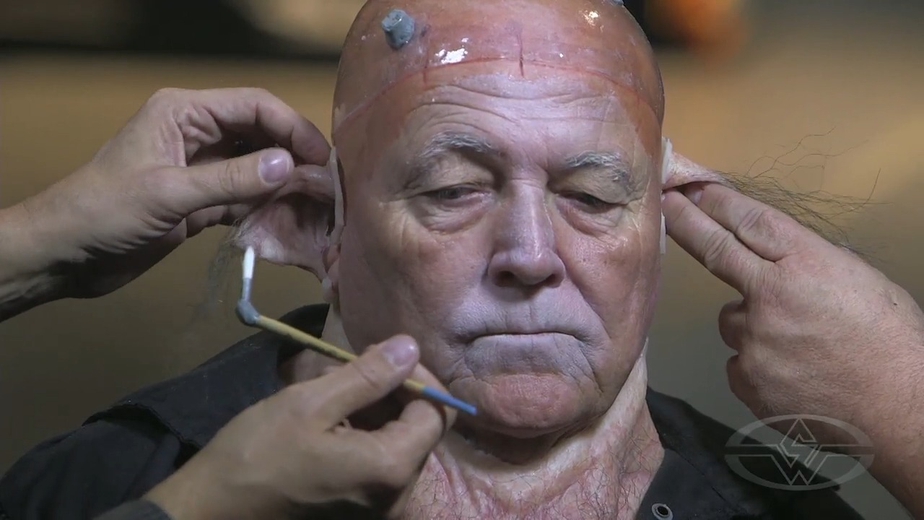
In this FREE excerpt from the Stan Winston School of Character Arts course, Creature Makeup - Multi-Piece Silicone Prosthetic Application, Academy Award-winning makeup effects artist Joel Harlow (Black Panther: Wakanda Forever, Hellboy, Star Trek) shares "ear-resistible" practical pointers for attaching a vacuform cap and silicone ears.
Jump To Section
- Setting Up a Vacuform Headpiece
- Attaching Silicone Prosthetic Ears
- Customizing Brushes for Prosthetic Makeup
- Setting Prosthetic Ears
To watch the complete instructional video, click the player above!
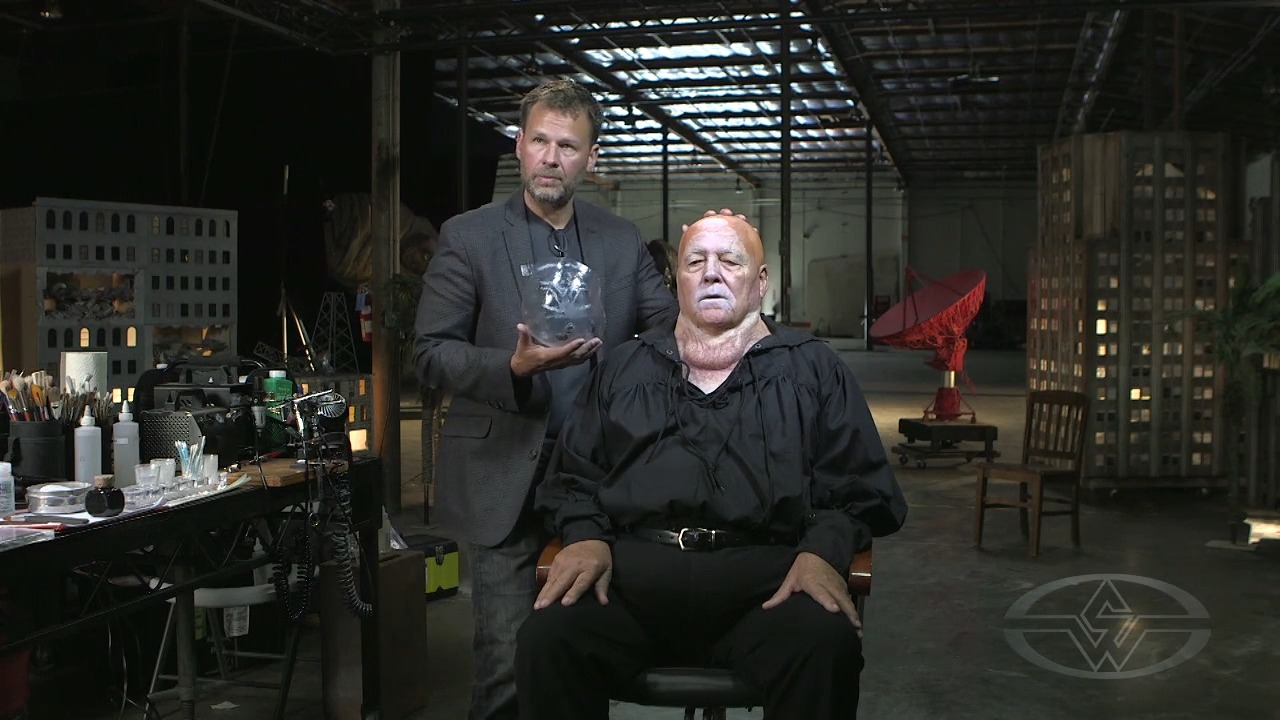
In this lesson, Harlow reveals his techniques on how to apply a vacuform cap and silicone ears to achieve a convincing effect for your prosthetic makeup projects.
Setting Up a Vacuform Headpiece
To get started, you'll glue the vacuform cap on your actor to the pre-applied bald cap. Joel has installed some flat rare earth magnets on the vacuform using Pro-Poxy. These magnets can serve as fixed mounting points for external prosthetic add-ons. In this case the character will ultimately have horns.
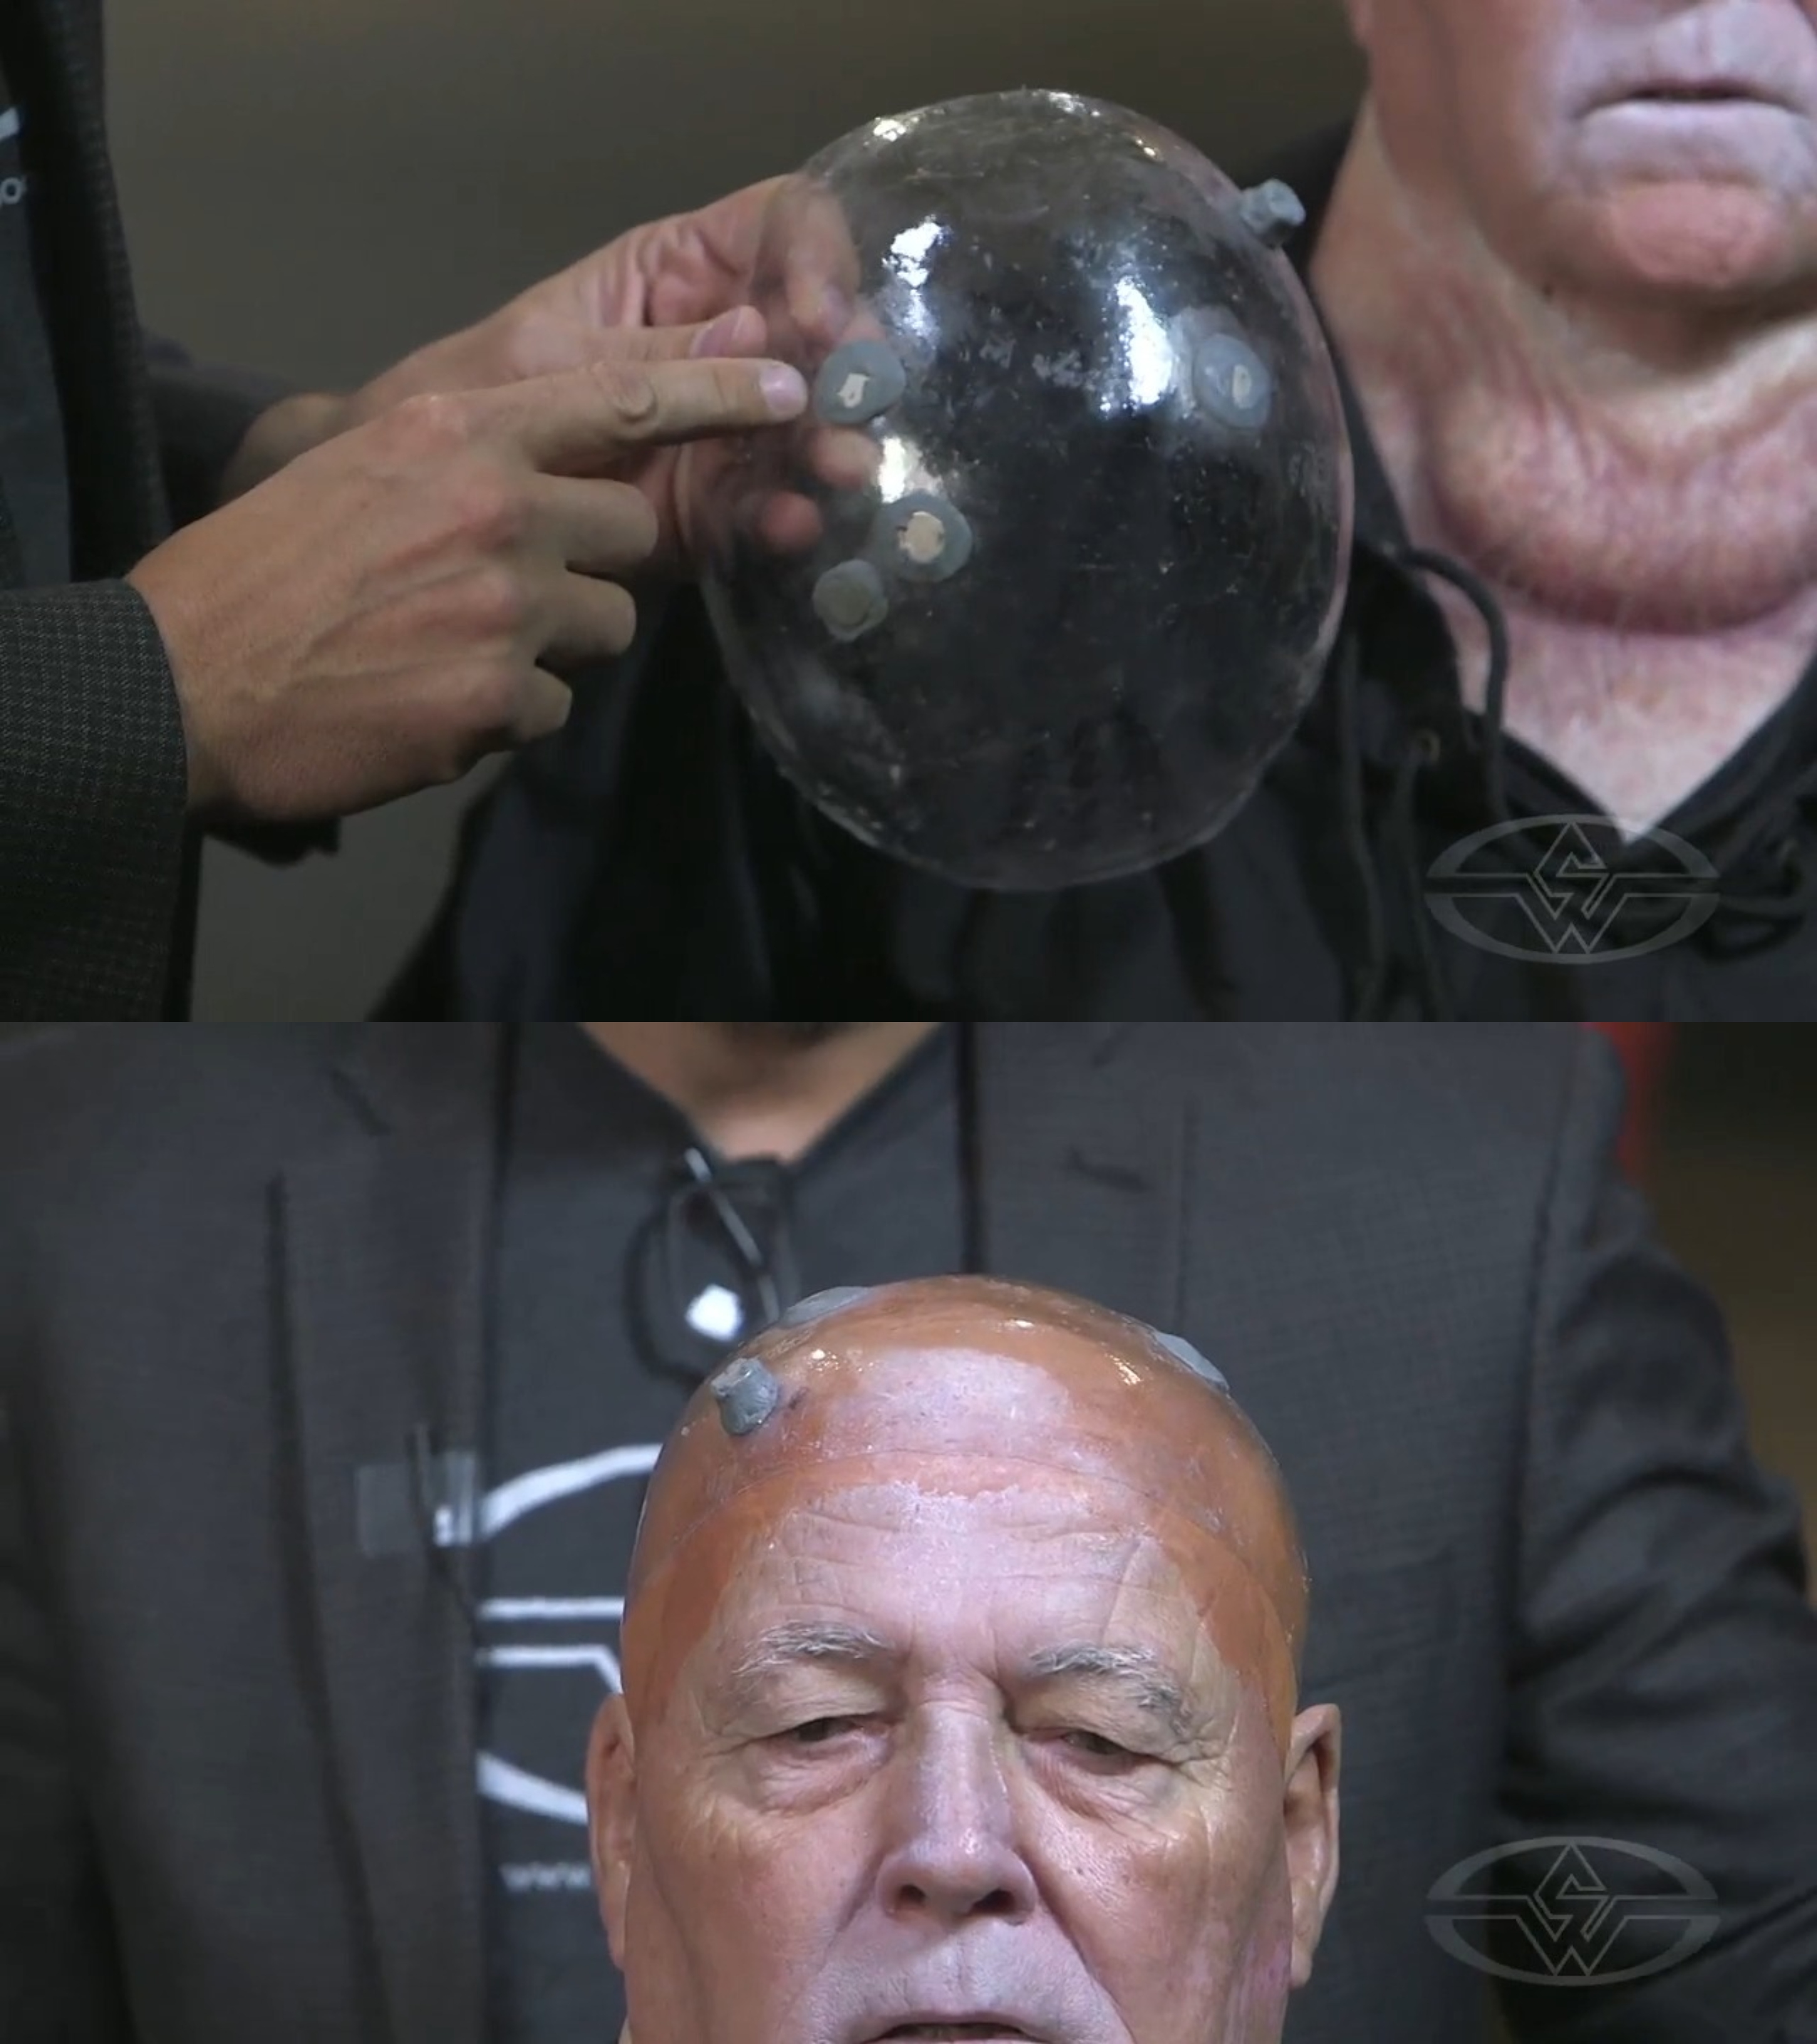 (Joel Harlow points out the magnets on the vacuform cap before placing it on the head of his father-in-law, Charlie Trent.)
Your vacuform cap will have been taken from a copy of your actor’s lifecast, but it’s still important to make sure it fits like a glove. Make sure to line it up with all the features where you want them before applying any adhesive.
If there are magnet connections, check your vacuform cap to make sure the magnets line up where the sockets are inside the headpiece and that everything fits both correctly and comfortably.
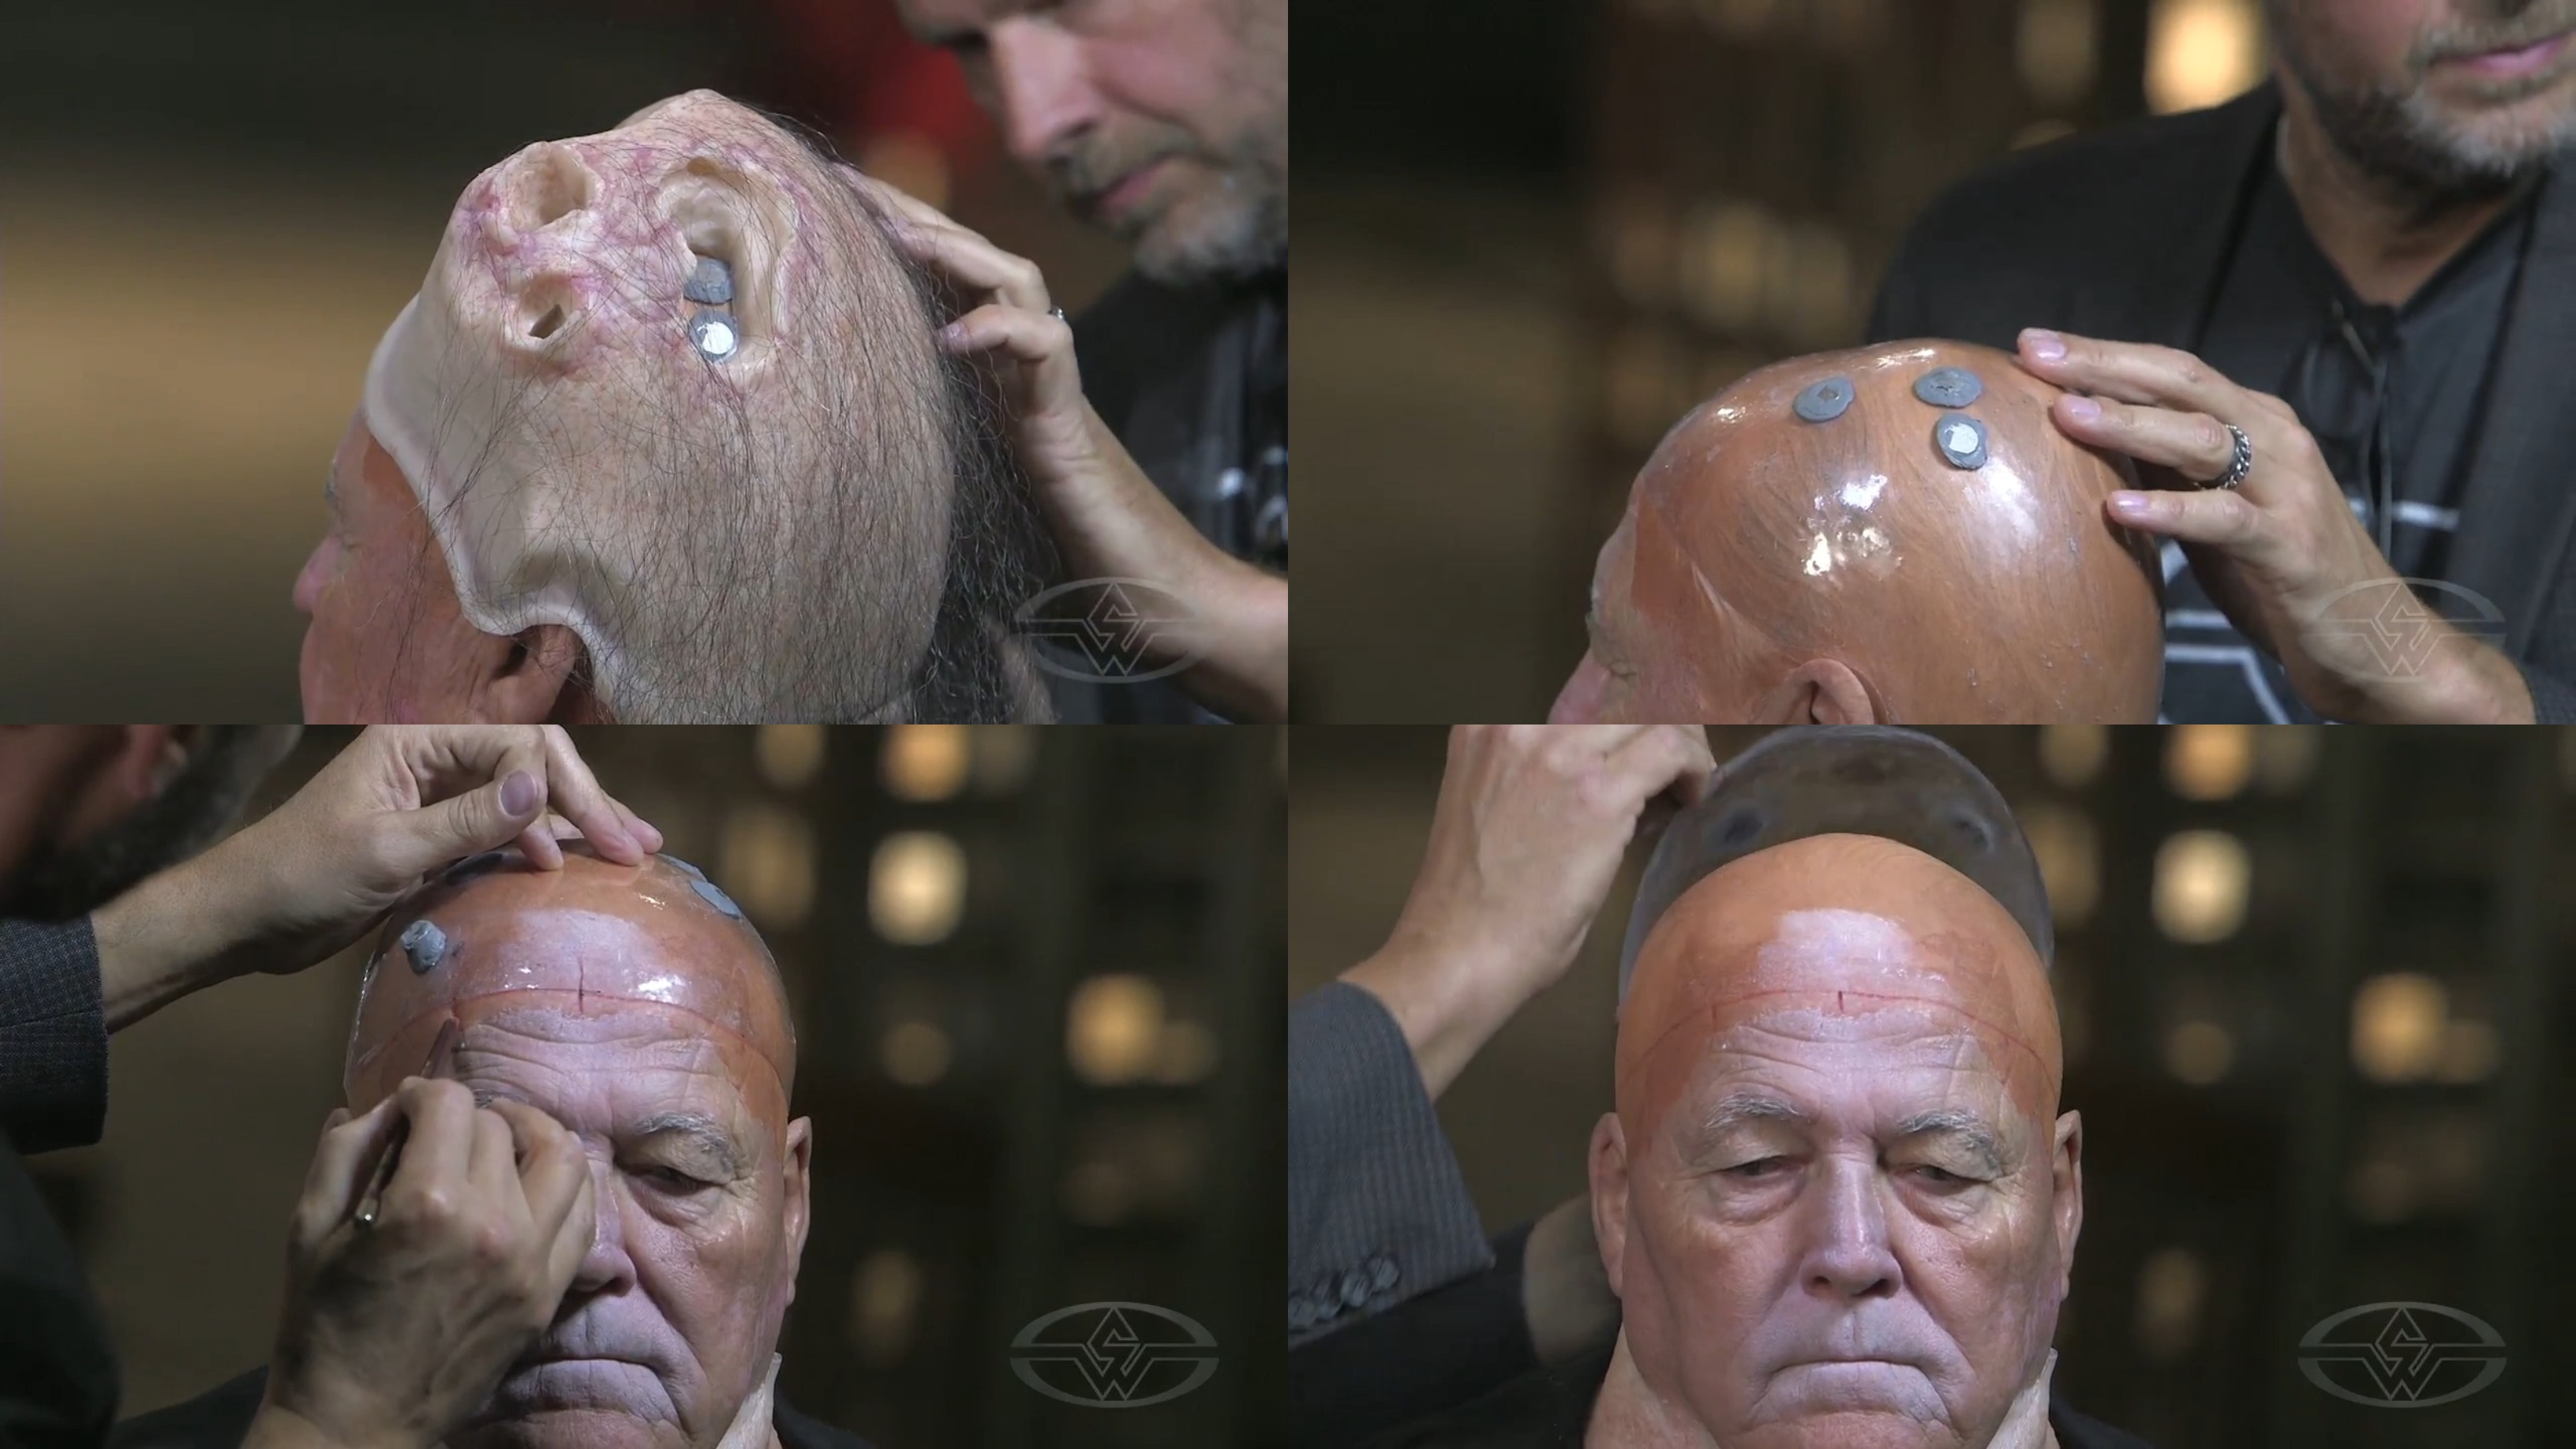 (Joel Harlow puts the head piece on Charlie Trent's head to make sure it lines up with the magnets before removing it, marking where the vacuform cap sits, and removing that piece as well.)
Pro-tip: Always ask your actor how the pieces are feeling so you can adjust accordingly if needed.
Once magnets and ports line up, you can rest assured that your vacuform cap is in the right place and remove the head piece.
Draw a quick line with a red cream pencil to mark where the vacuform cap sits before removing it for gluing.
Then, use a big glue brush and adhesive to prepare to lock the vacuform cap on.
Once you’ve covered the top of your actor’s bald cap with enough adhesive, set the vacuform cap into place.
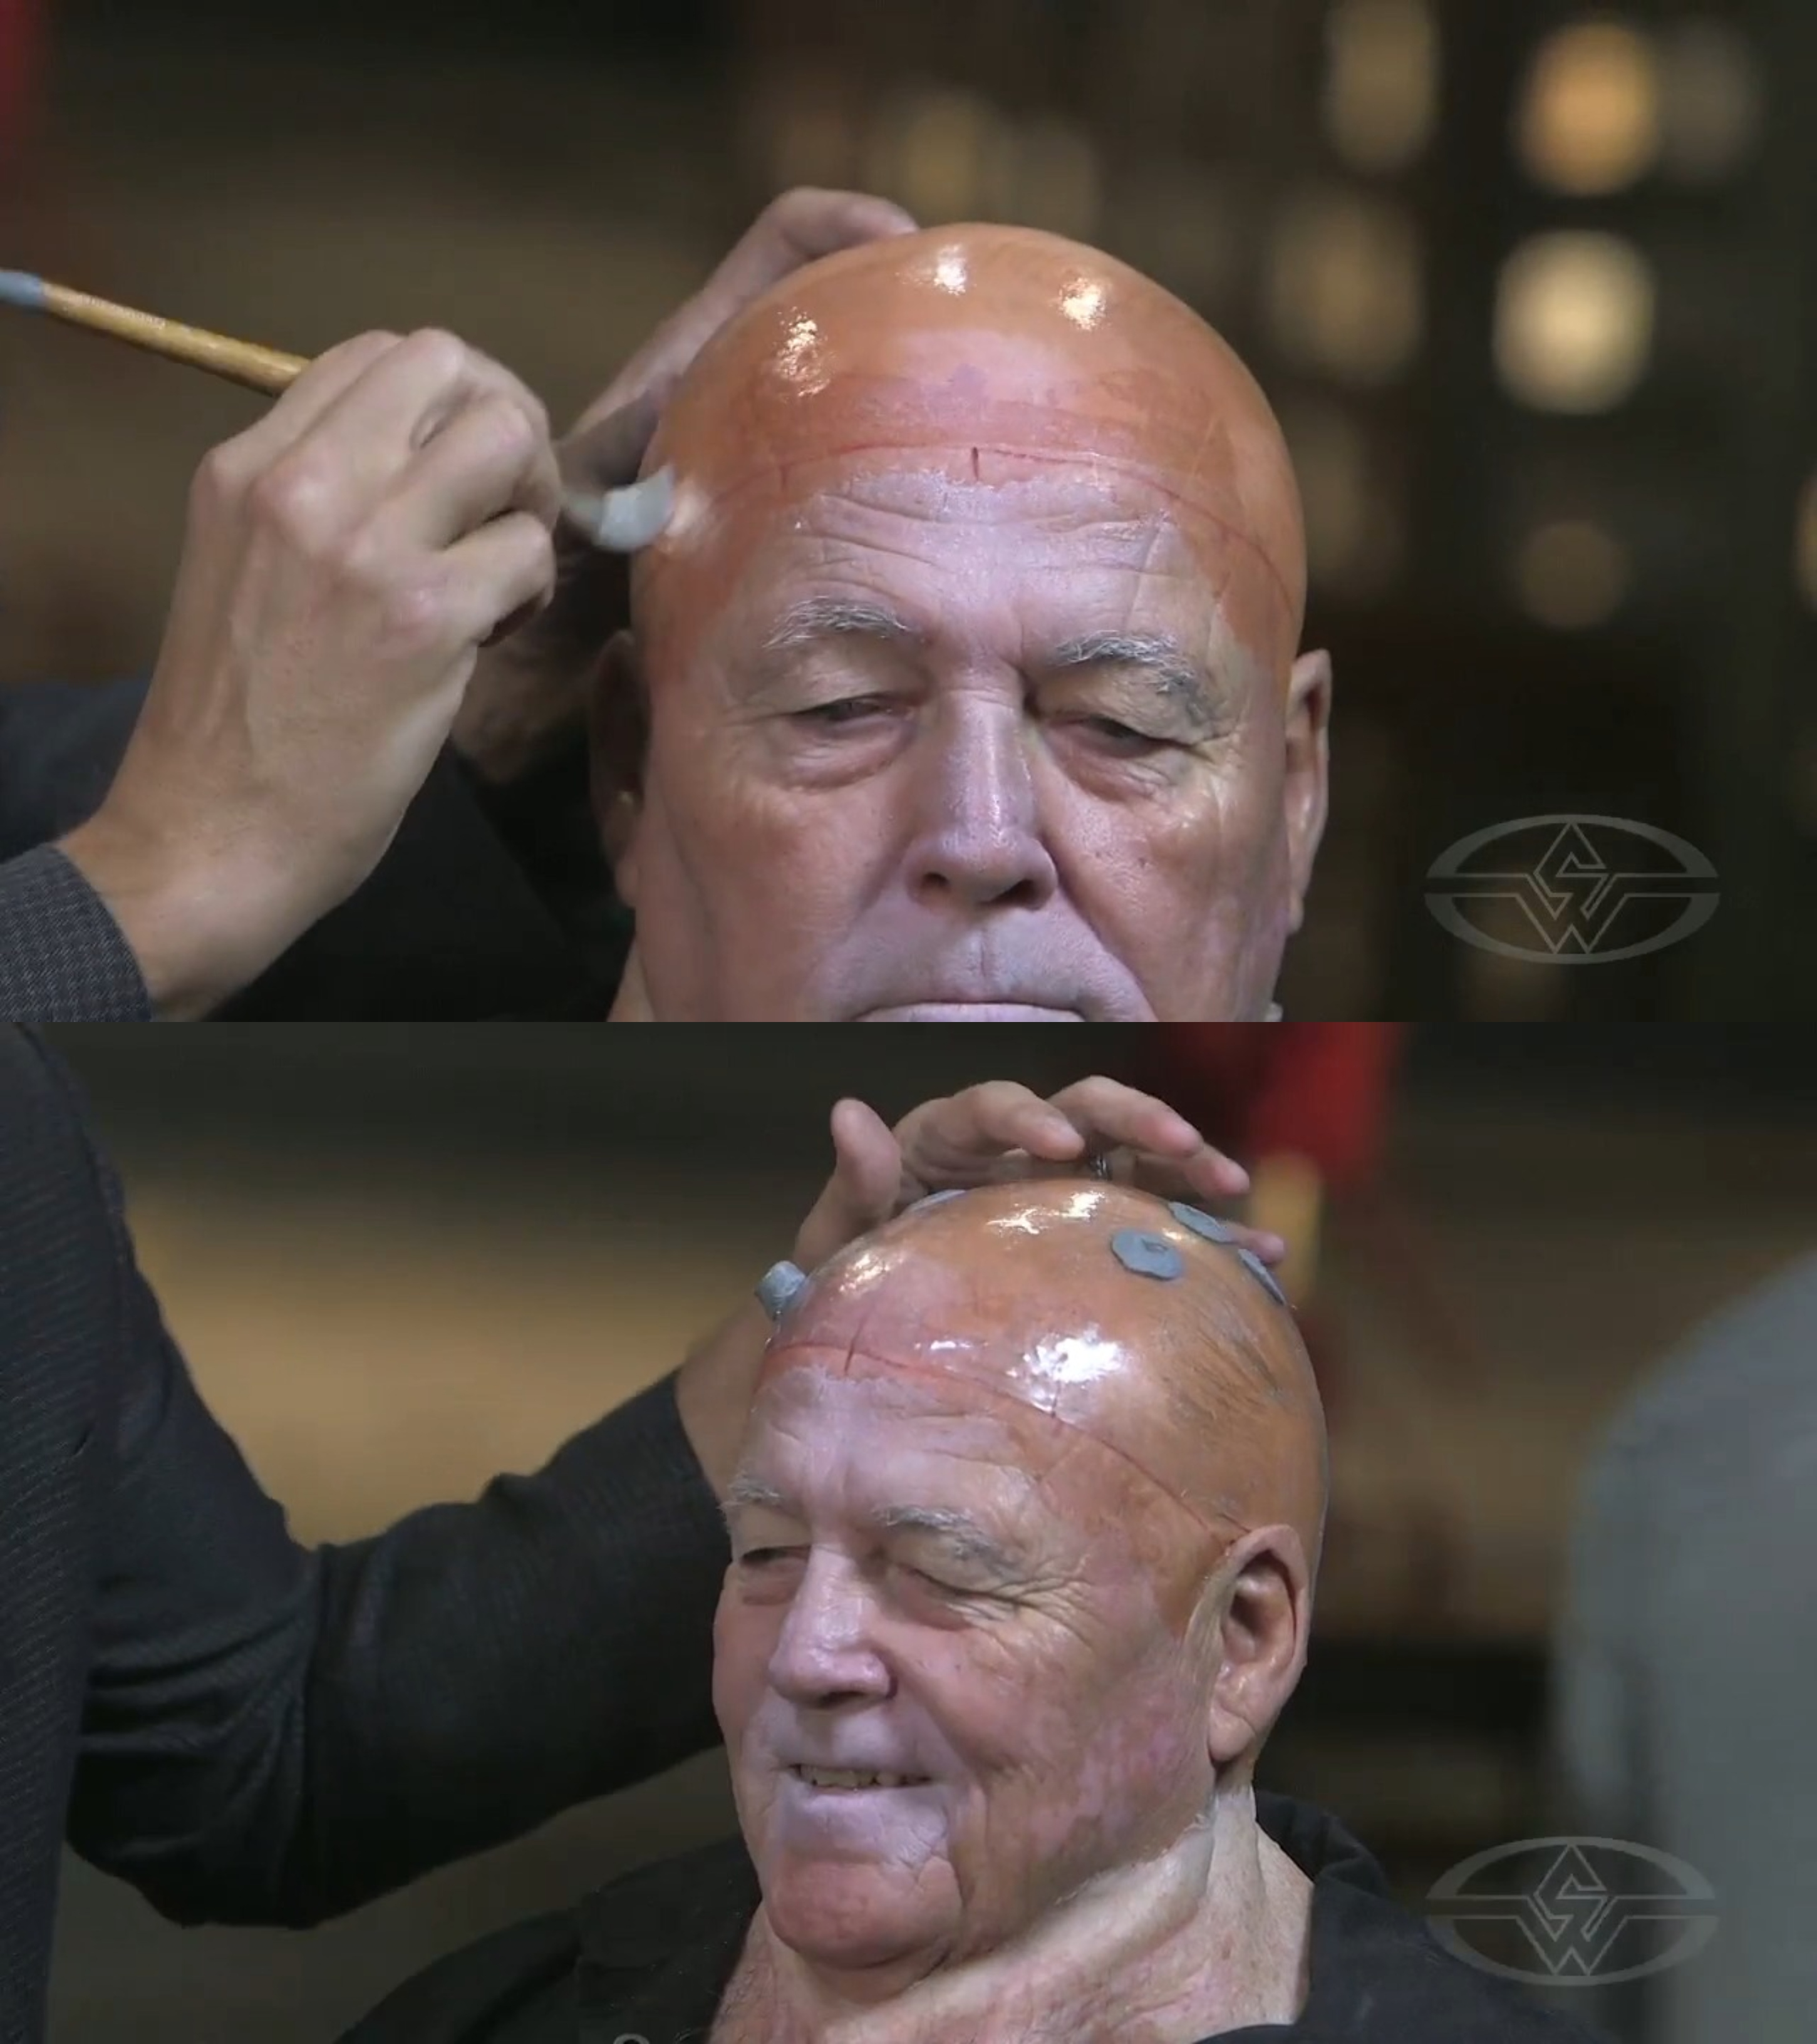 (Using a big glue brush, Joel Harlow applies some Pro-Poxy to Charlie Trent's head before placing the vacuform cap on top.)
Attaching Silicone Prosthetic Ears
Place each prosthetic ear in position on your actor’s ear before you apply Pro-Poxy. If all looks aligned, begin by carefully tacking the piece on the top edge and slowly work your way around the edge using up-and-under movements with the glue brush. “Ears are tricky things,” Harlow says.
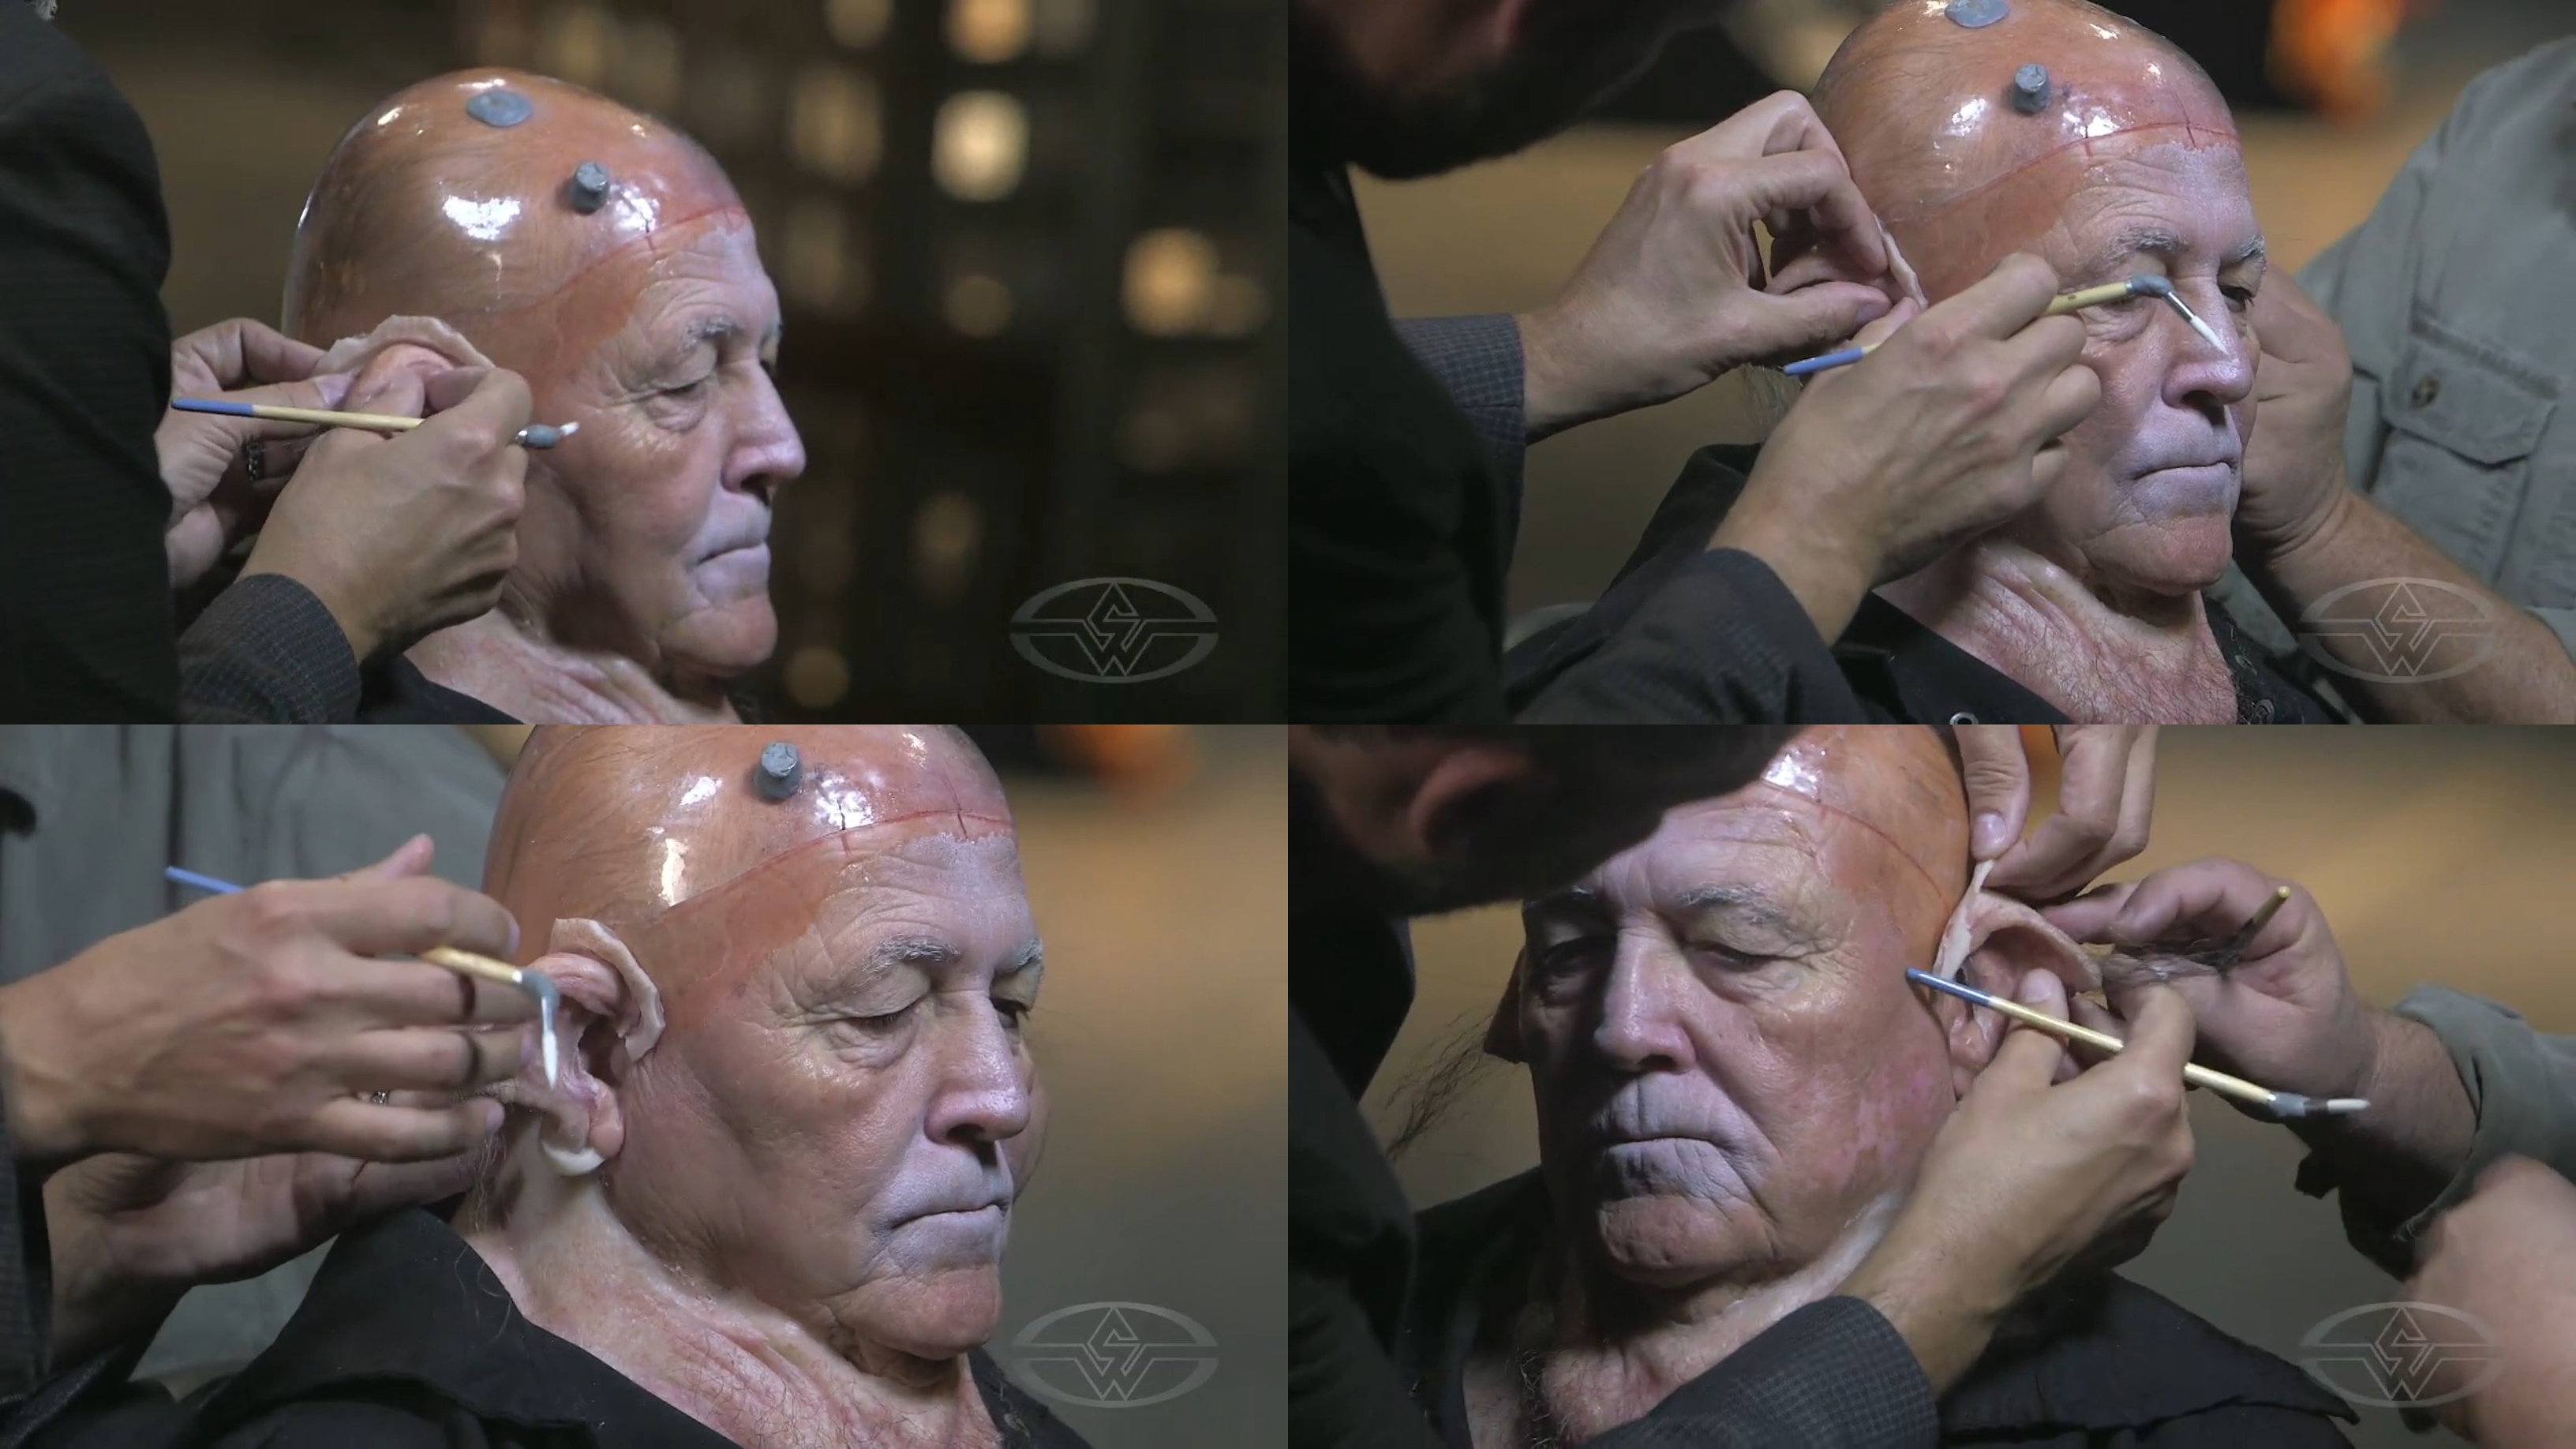 (Joel Harlow and fellow artist, Steve Buscaino start applying the prosthetic creature ears over Charlie Trent's ears.)
Press firmly while you attach the prosthetic so the adhesive bonds to the skin or bald cap.
As you work on attaching your creature ears, it’s best to look at it from all angles to ensure balance and symmetry.
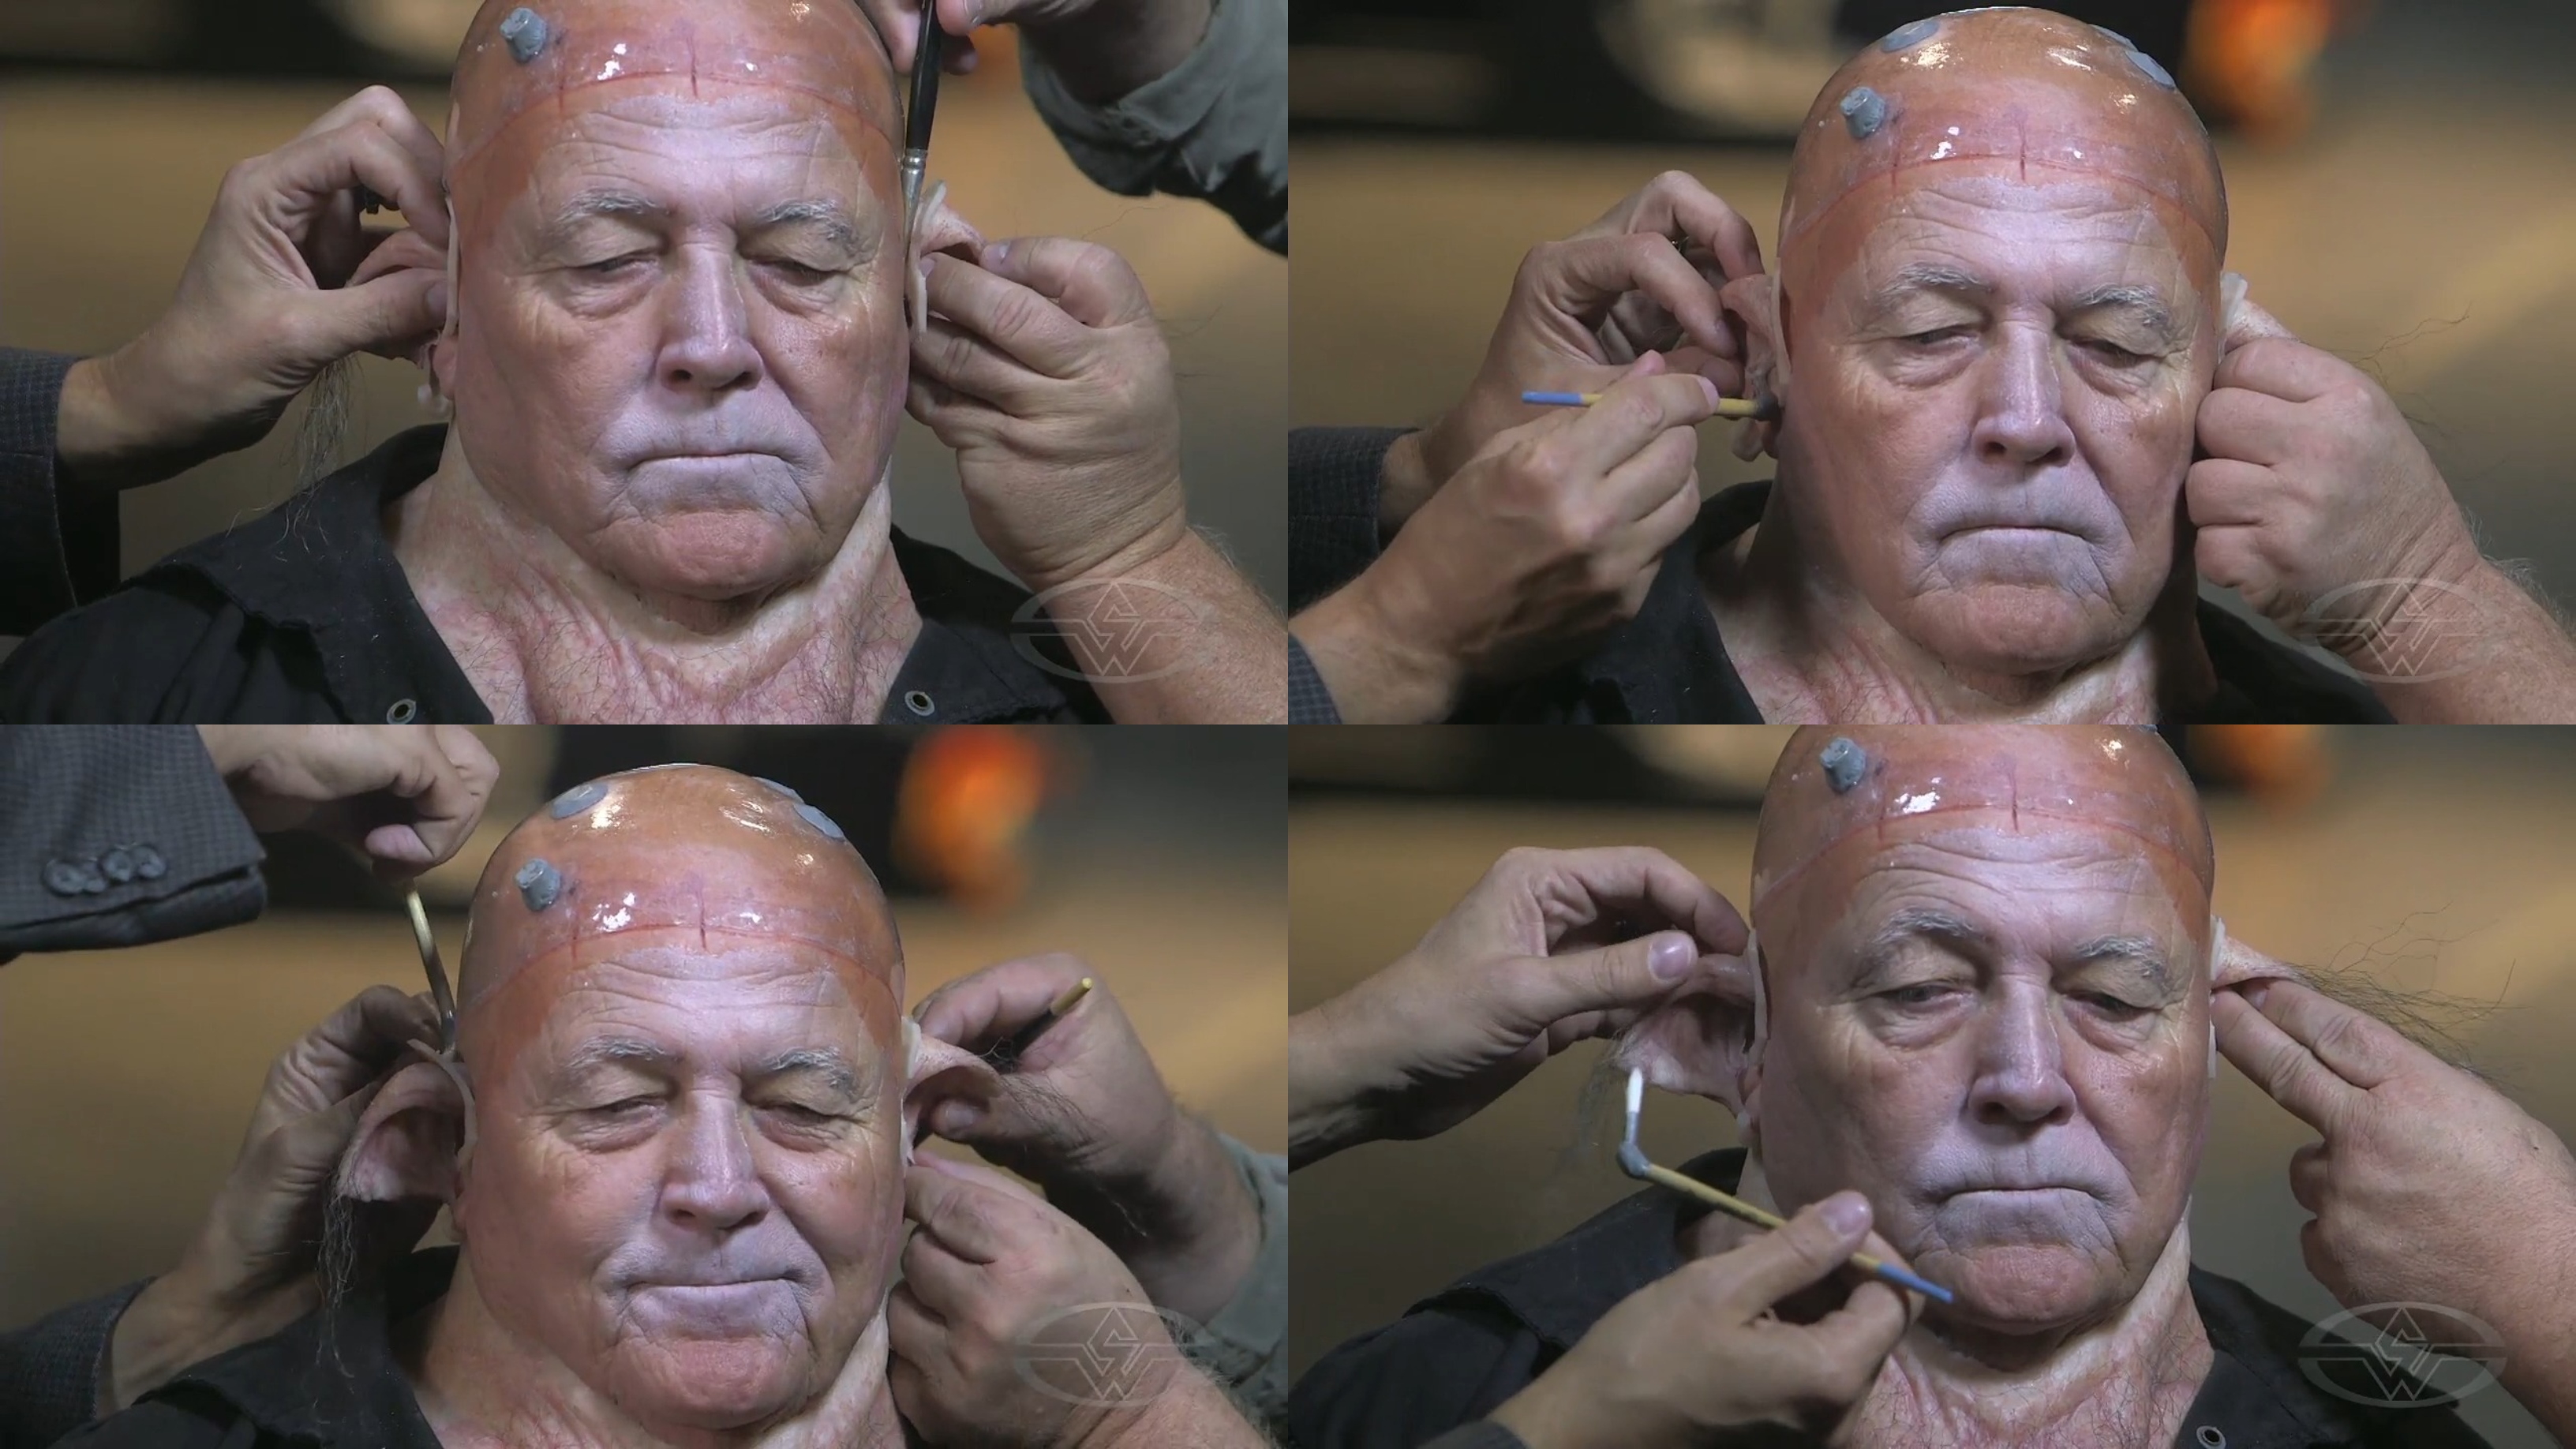 (Joel Harlow and Steve Buscaino continue carefully attaching the silicone ears.)
If you notice any edges, go in and dig in under the edge for a seamless blend between the real ear and prosthetic ear. After gluing, apply a small amount of powder with a brush and a stopper to knock down the edge.
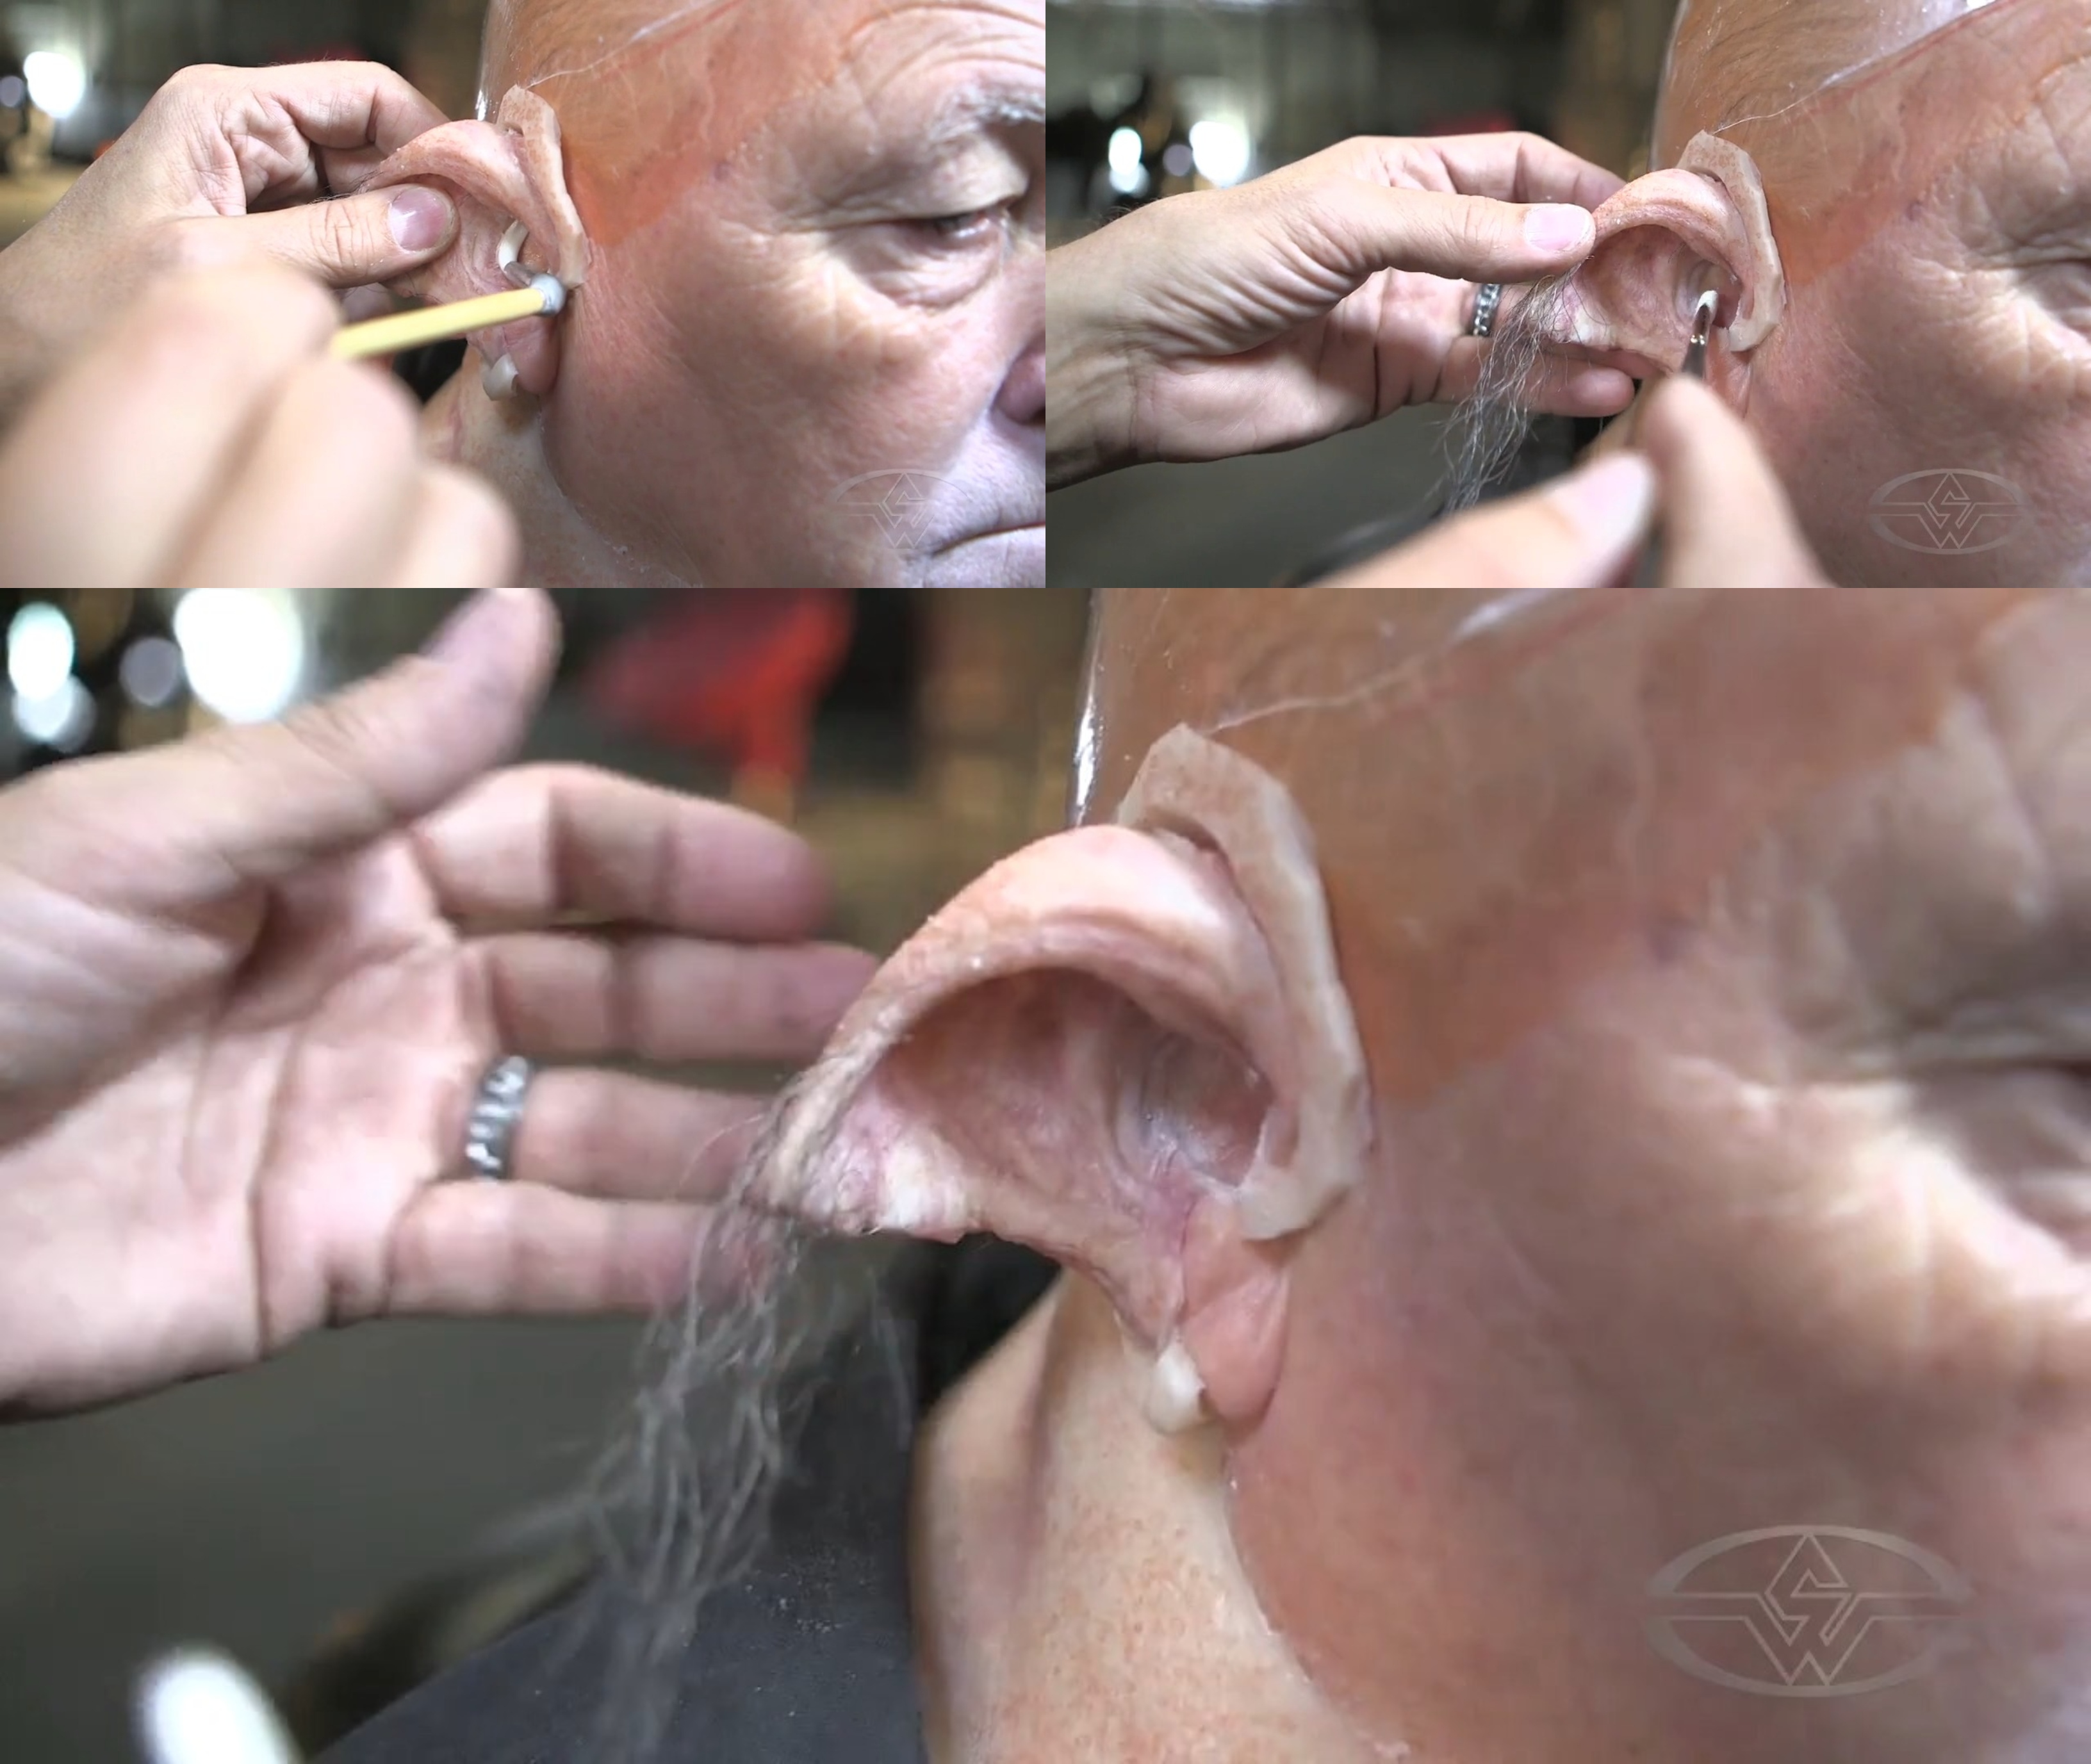 (Joel Harlow demonstrates how to create a seamless blend between the prosthetic and skin by digging in and under any edges, as well as applying powder to the area.)
Repeat the process for the other ear. Once both ears are set and glued, you can remove the flashing and repeat the edge blend.
Customizing Brushes for Prosthetic Makeup
As an artist, experimenting with different approaches, especially when it comes to tools, is part of what makes your work yours. To reach into tight spaces around the ear, Harlow has created a brush with an angled tip. He explains that he often bends or breaks brushes and then uses Pro-Poxy to reset them to the desired angle allowing him to reach areas that would be more difficult with a straight brush.
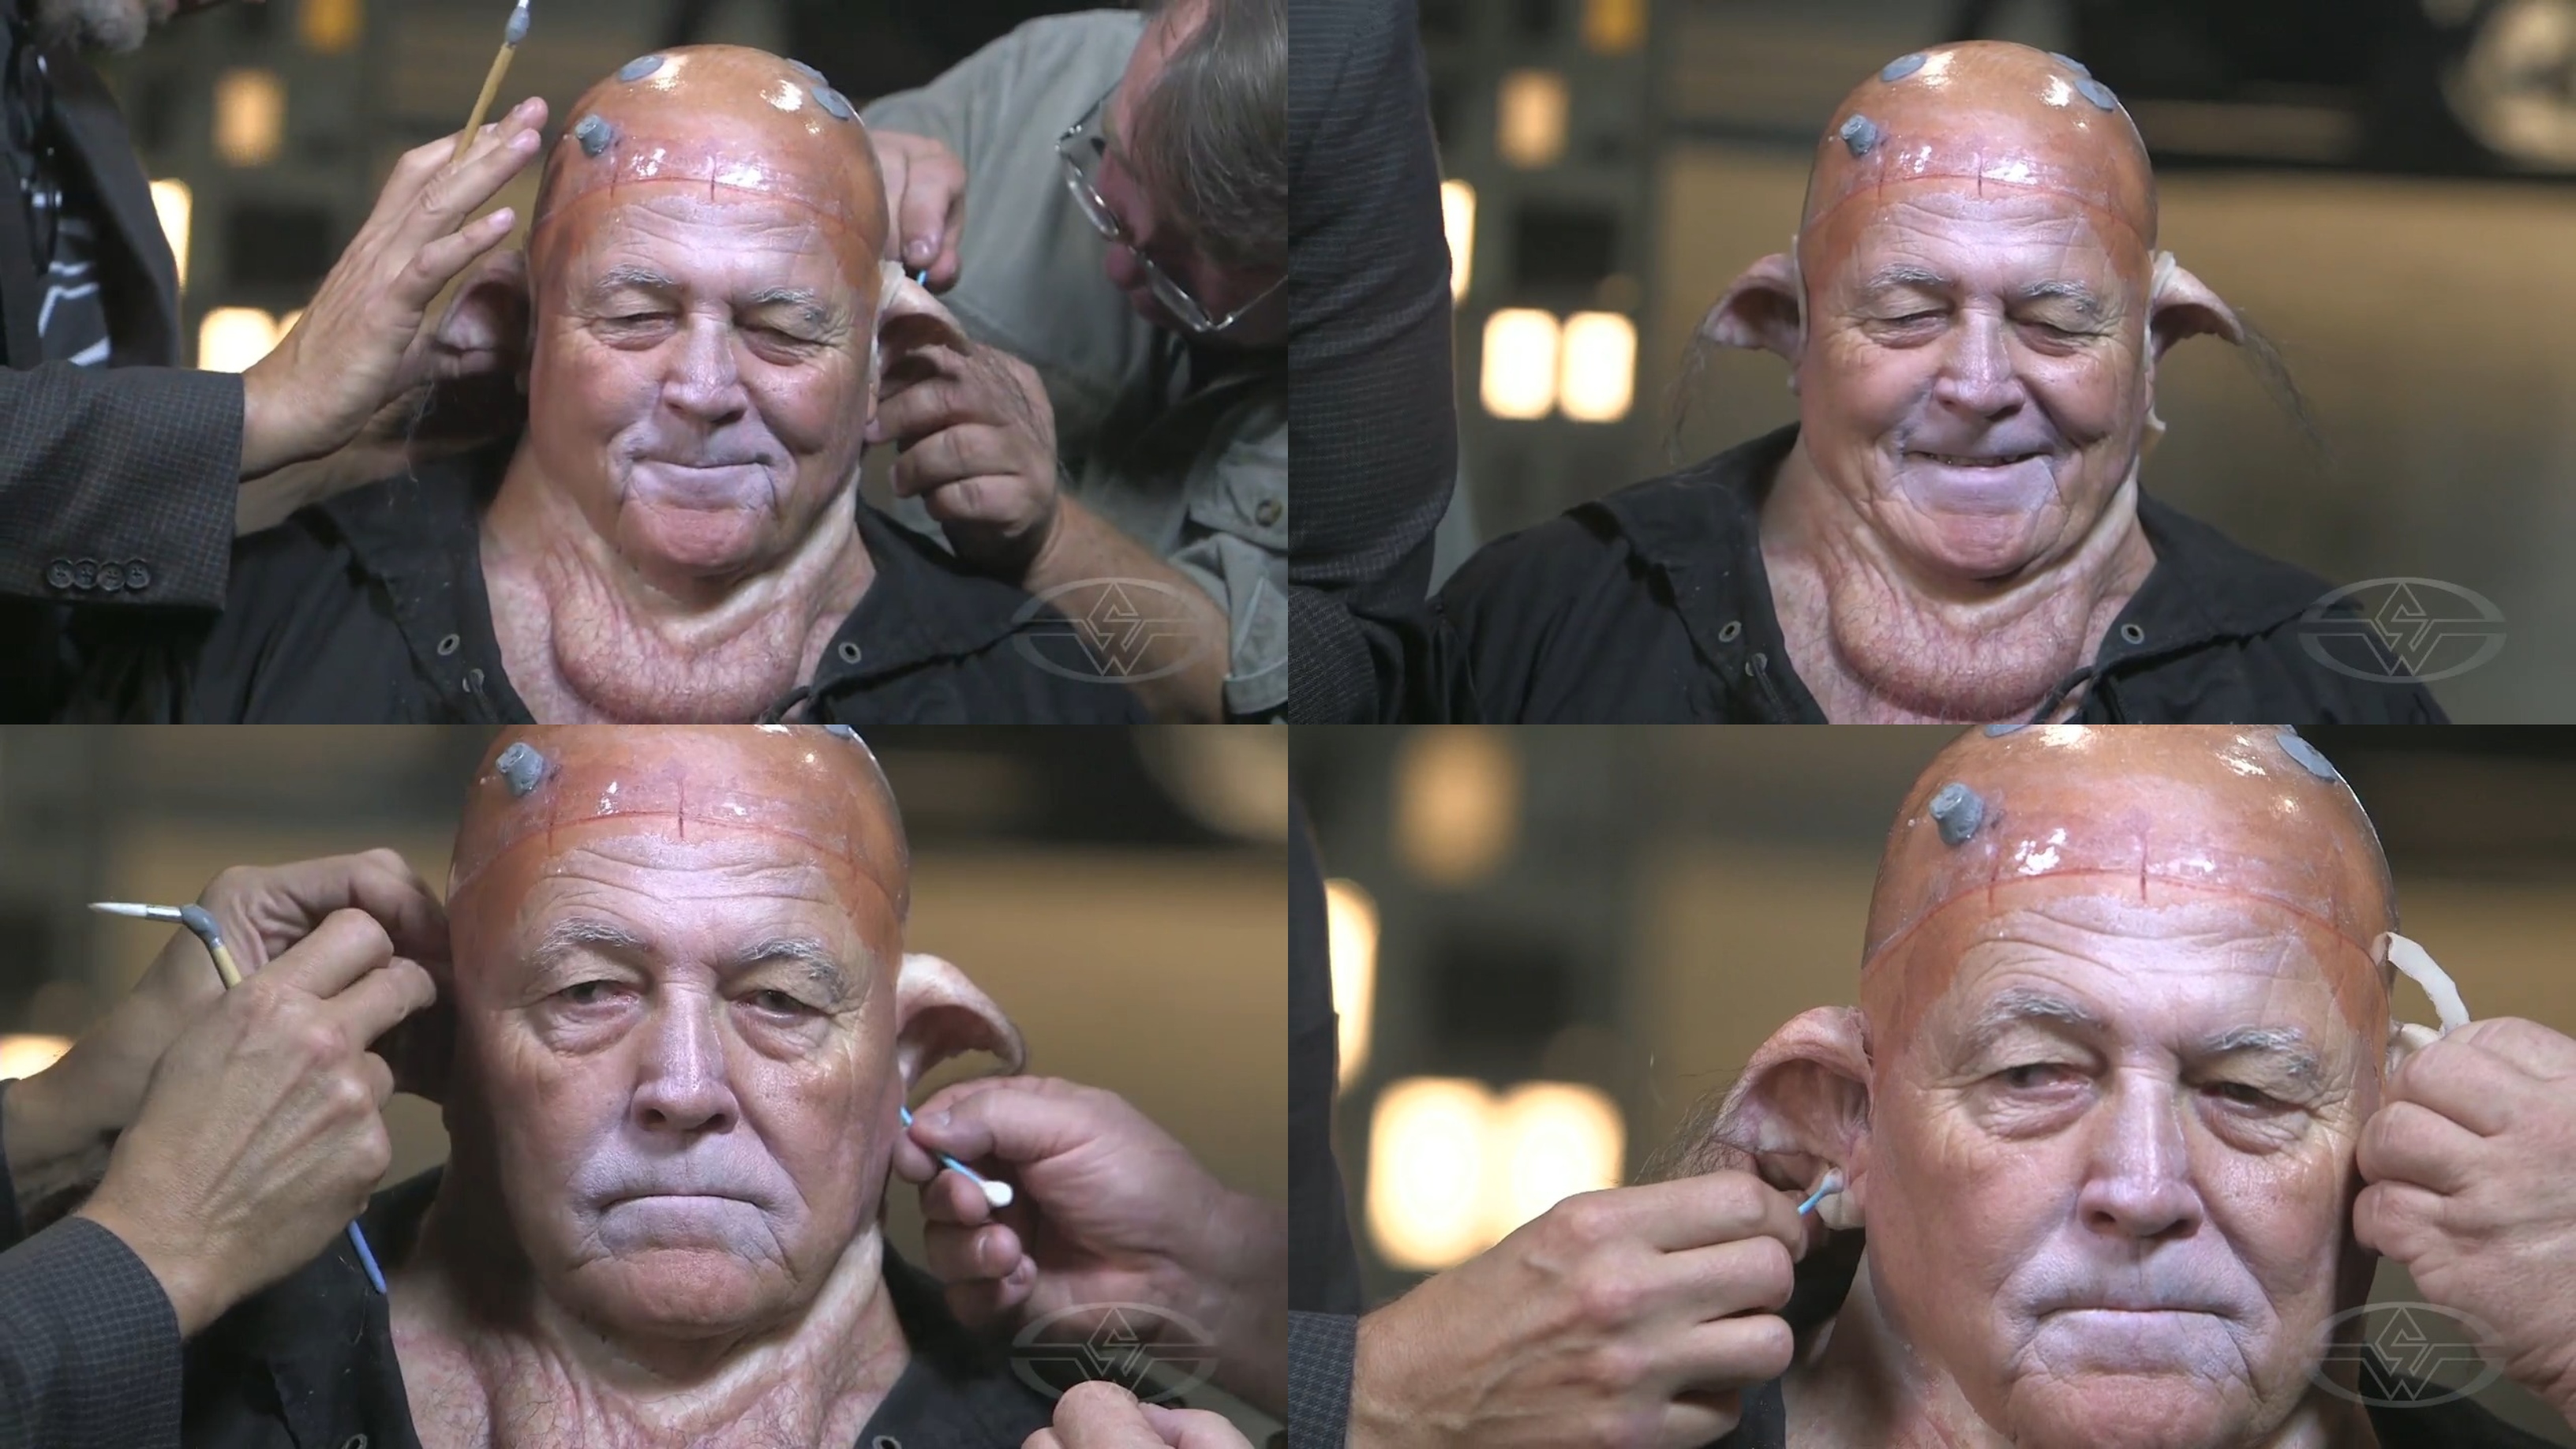 (Joel Harlow and Steve Buscaino make final touches to Charlie Trent's prosthetic ears.)
Customize your materials, equipment, and tools into any shape you need. You can grab your favorite brush, bend it, and superglue or Pro-Poxy it to transform it into a useful tool specifically tailored to your specific needs.
Setting Prosthetic Ears
When you’re happy with how your creature ears look, use a brush to apply powder to set them so they’re durable and comfortable!
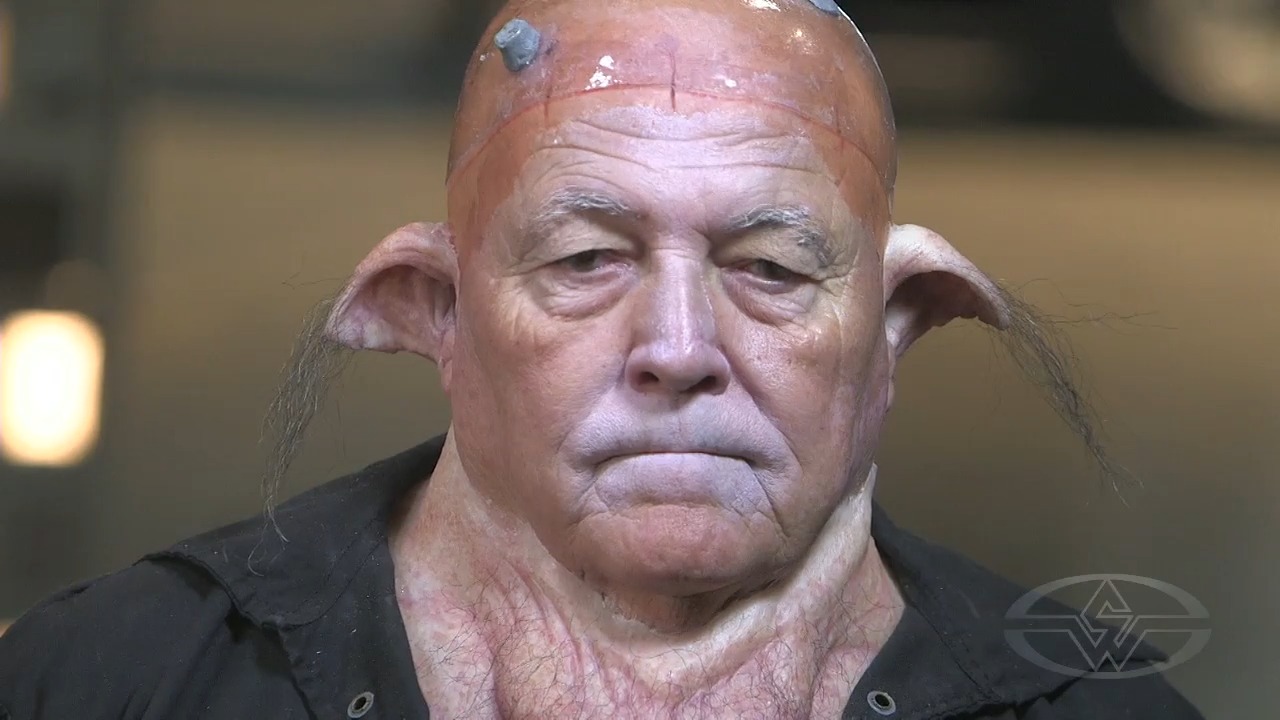 (Charlie Trent's mythical creature ears are perfectly attached!)
WATCH THE “CREATURE MAKEUP - MULTI-PIECE SILICONE PROSTHETIC APPLICATION” COURSE WITH JOEL HARLOW:
Creature Makeup - Multi-Piece Silicone Prosthetic Application