
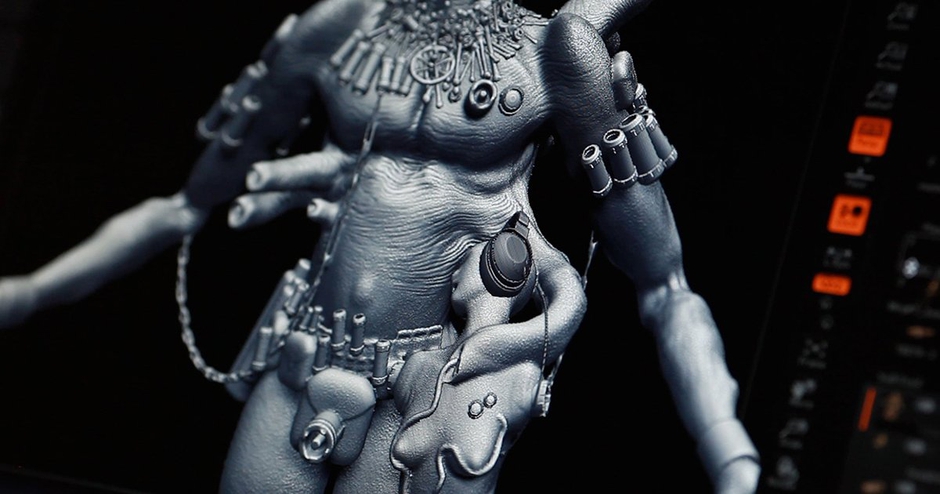
The Process Working in ZBrush With John Mahoney
We’ve talked about ZBrush before, and we’re going to talk about it again. Why, you may ask? Well, similar to working in any medium, it’s not about the medium itself, it’s all about how you work it. Just like with physical sculpting, every artist has a different style, technique, and valuable tricks of the trade. Here, we’re going to learn all about John Mahoney’s methods for working in ZBrush.
Jump To Section
- Adding Your Unique Voice to Your Character Creations in ZBrush
- Learning How to Design in ZBrush
- The ZBrush Software - Diving Into Pixologic's Crowned Jewel
- Using Subtools to Add to the Main Sculpture
- Creating an Original Character With Zbrush
 (John Mahoney's first lesson with us is all about workflow, inspiration, and digital 'kit-bashing.')
Adding Your Unique Voice to Your Character Creations in ZBrush
Every person’s background adds to his or her artistic style. With John Mahoney, his teaching background and how he works with his physical character creations are translated directly into how he works in ZBrush. There are many specific touches he does differently that can be extremely eye-opening to both novice and expert artists alike.
 (John Mahoney's maquette that inspires his digital creation.)
Learning How to Design in ZBrush
One of the first things John talks about is why and how he got started working in ZBrush. He’s quite honest about not wanting to initially work with it. He also says that after trying it for the first time, he didn’t return to it for a long time. But eventually, he put away any misgivings, dove in, and truly came to appreciate it. As with anything, if you keep trying, you’ll break through. What was a pivotal turning point for him was about speed. The speed at which a character can be designed in ZBrush is much quicker than using physical clay. He explains that there are so many ideas and monsters in his head that he wants to get out, and with ZBrush, he can purge as many of them out as possible.
 (A tortured artist? Maybe. But an artist, for sure. John Mahoney is super candid during his nearly 3-hour class in design.)
The ZBrush Software - Diving Into Pixologic's Crowned Jewel
As John begins the process with Dynawax, what is fascinating is how the program really resembles clay. It starts essentially as a chunk of sculpey, and you begin to stretch and form it, just as you would the real deal. As he slowly forms the torso, he talks about his history of figure drawing and sculpting from a non-anatomical studying method. This is one of those moments where every instructor brings something different to the table. I’ve heard many instructors in the past really hammer home the importance of studying anatomy, but here, John says something a little different. He says that instead of focusing on recreating anatomy, rather, try to make it up. Sometimes, enter into a stream of consciousness and think about something completely different. For instance, while sculpting, think about dinner, or shopping, or a movie. Just let it happen instead of keeping a constant focus on the figure at hand. You’ll be surprised at what you may create.
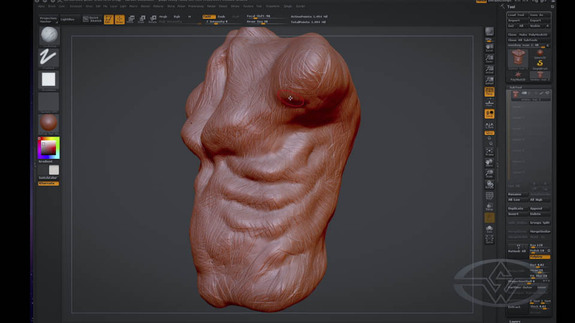 (Creating anatomy? YES. Not everything should look human. Play outside the normal parameters of the physical world and see what transpires.)
Using Subtools to Add to the Main Sculpture
As he proceeds through the torso, head, arms, and hands, many of his unique styles and methods bleed through. Each area really showcases different hints and techniques like mirroring, duplicating, and masking. But when it really gets fun, is when he enters into adding all the subtools to his figure. A “subtool” is basically just the terminology for all the extra pieces added to the main sculpture. These are all the rods, tubes, hoses, plugs, chains, buckles, and bones that really create multiple layers on his figure. It’s a dynamite showcase of how ZBrush can not only speed up a process but really make a character stand out with originality.
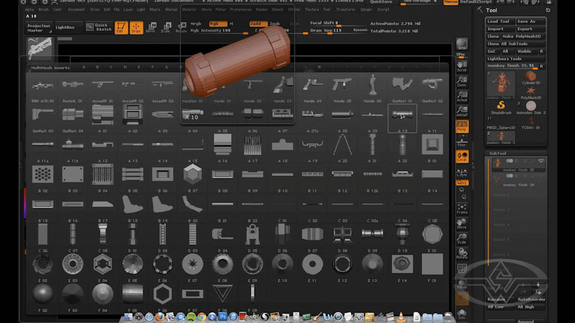 (A digital treasure chest of toys to start your brain off to a day of 'Kit Bashing.')
Creating an Original Character With Zbrush
Whether he’s using Z Subtract to add unique textures, or using Z Add to create popping veins, John will show you numerous ways ZBrush can be used to speedily create an original figure of your own. While he himself uses it to recreate his ape-like creature, who knows what amazing creations you could come up with.
Step outside your comfort zone, try a new method, and you’ll be surprised with what you may come up with. ZBrush is here to stay, and it’s growing with leaps and bounds. Time to give it a whirl.
Check out the full course: ZBrush Character Design - DynaMesh Sculpting Techniques