
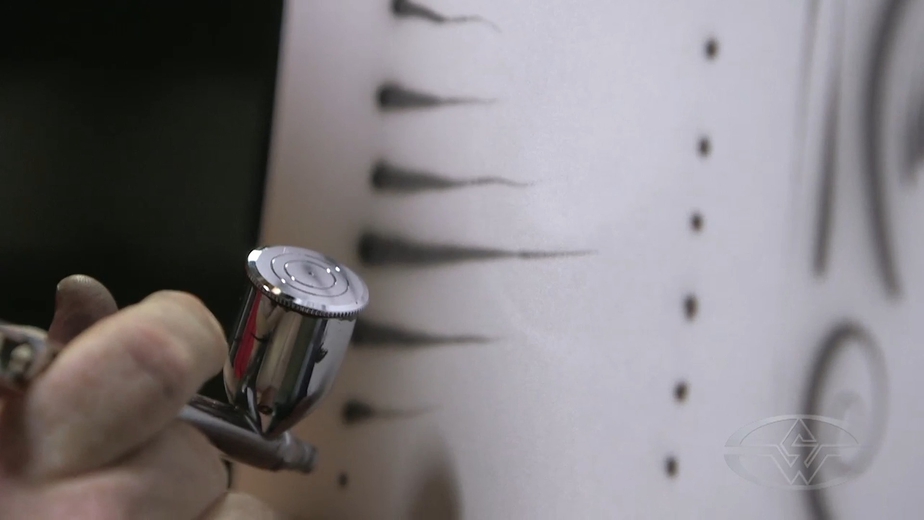
Airbrushing Dagger Strokes With Craig Fraser
In this FREE excerpt from the Stan Winston School of Character Arts course, How To Airbrush - The Art Of Painting With Airbrushes, airbrush painting master Craig Fraser breaks down the dagger stroke and explains why it’s an essential technique to learn for any airbrush project. Fraser is the author of the best-selling books, Automotive Cheap Tricks & Special F/X, and his vast client list includes names like Jesse James, West Coast Choppers, and Fender Guitars. His tips and tricks take the guesswork out of airbrush painting, so you can learn to paint like a pro!
Jump To Section
To watch the complete instructional video excerpt, click the player above!
In this lesson, Craig Fraser shares a key exercise for making dagger strokes, emphasizes the importance of dagger strokes in airbrushing, and reiterates how practice makes perfect. At the end of the lesson, you’ll walk away knowing how to effectively combine a trifecta of variables—your trigger, distance, and speed—to make successful and confident dagger strokes.
Mastering Airbrush Dagger Strokes
Dagger strokes, also known as rat tails, are a basic airbrush technique where you paint a line that goes from a thick line to a fine point. He calls the dagger stroke, “the most important technique known to airbrushing.” It is a combination of the three variables, distance, trigger pressure and speed. In order to make a dagger stroke, you’ll focus on starting from a distance with the trigger pulled out to create a big dot, then as you move your brush along, you get closer to the surface as you finish the stroke, and at the same time you are pushing the trigger forward and speeding up.
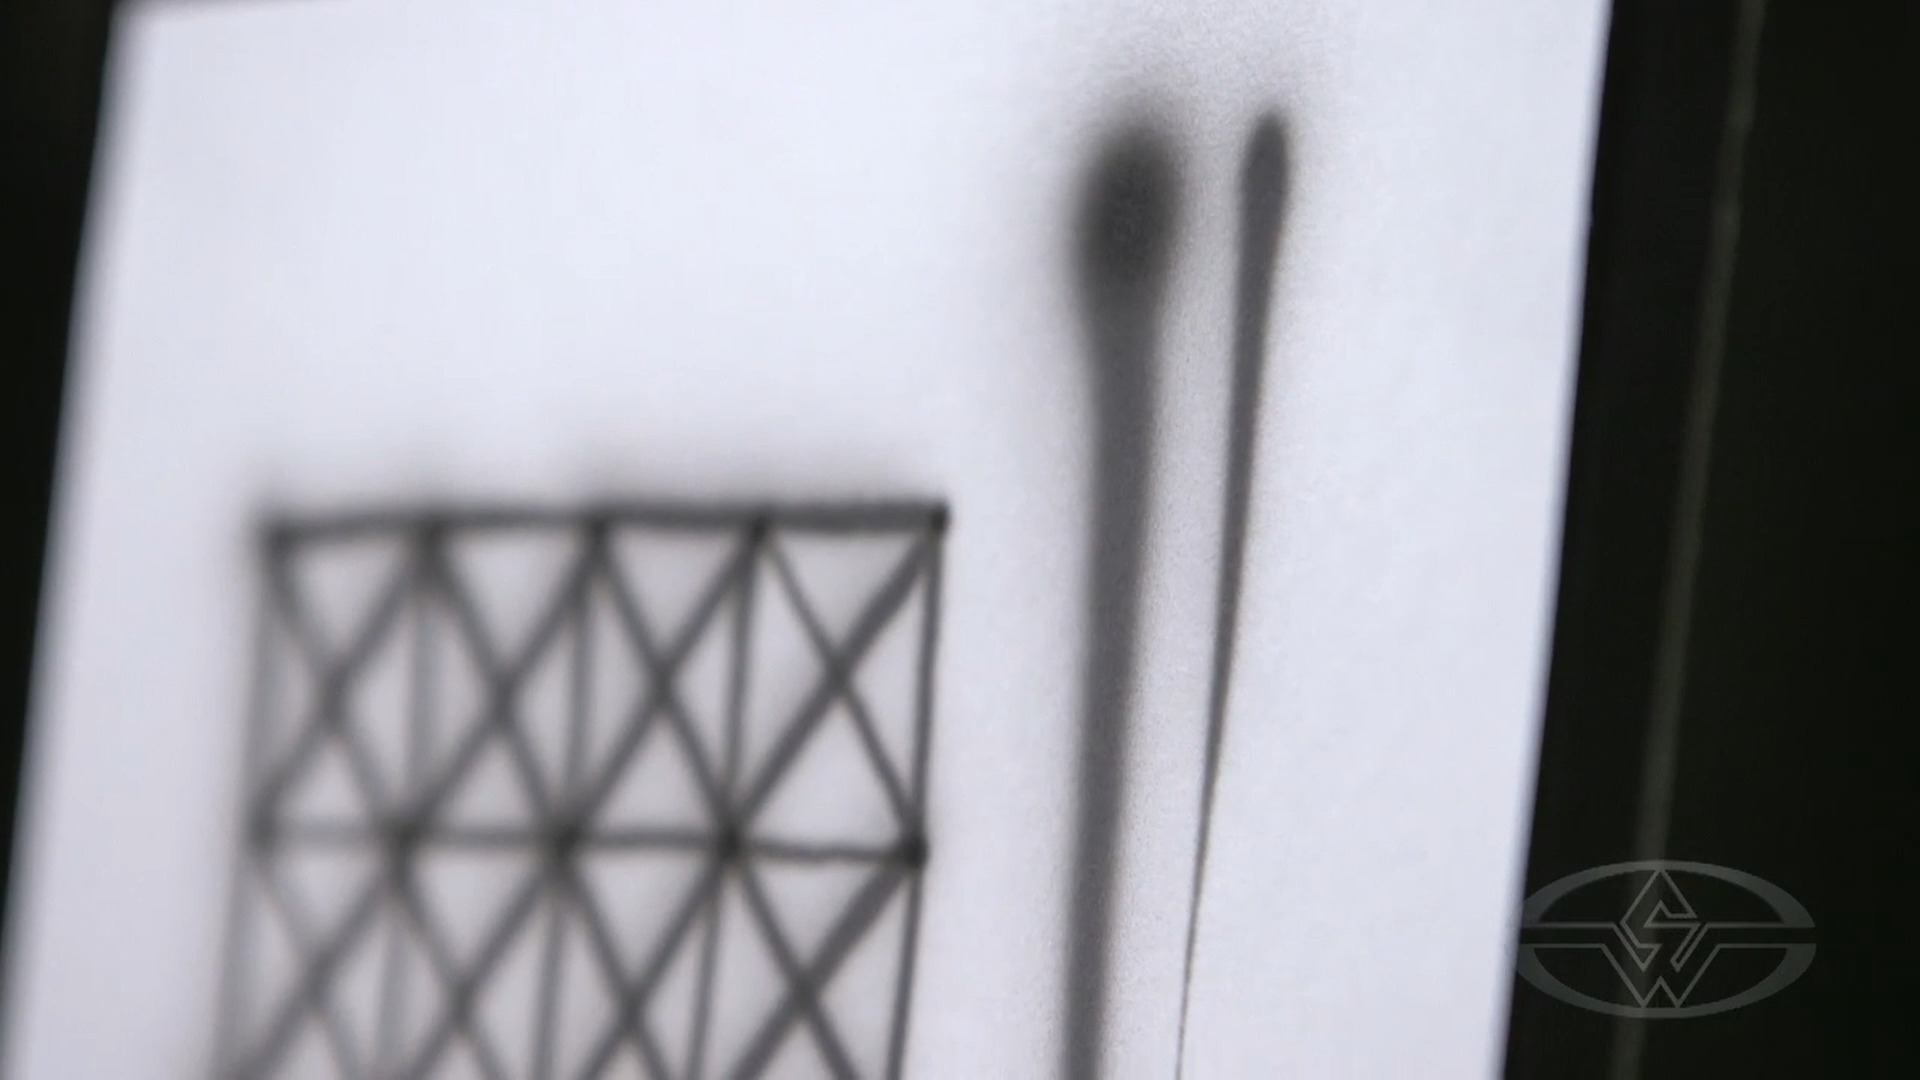 (Craig Fraser airbrushes a few different dagger strokes.)
A dagger stroke is essentially just a varied line. The stroke can be straight, wavy, a spiral, etc. For this lesson in particular, you’ll practice making dagger strokes in the four major directions.
After creating a box with nine dots along each side of the box, Fraser identifies the corner which he calls the “world’s shortest dagger stroke,” A.K.A. a dot. Starting from the next dot below, you’ll make a variety of dagger strokes going from long, longer, and longest until you reach the middle of your box, the fifth dot, and then descending in size again then to make them short, shorter, and shortest.
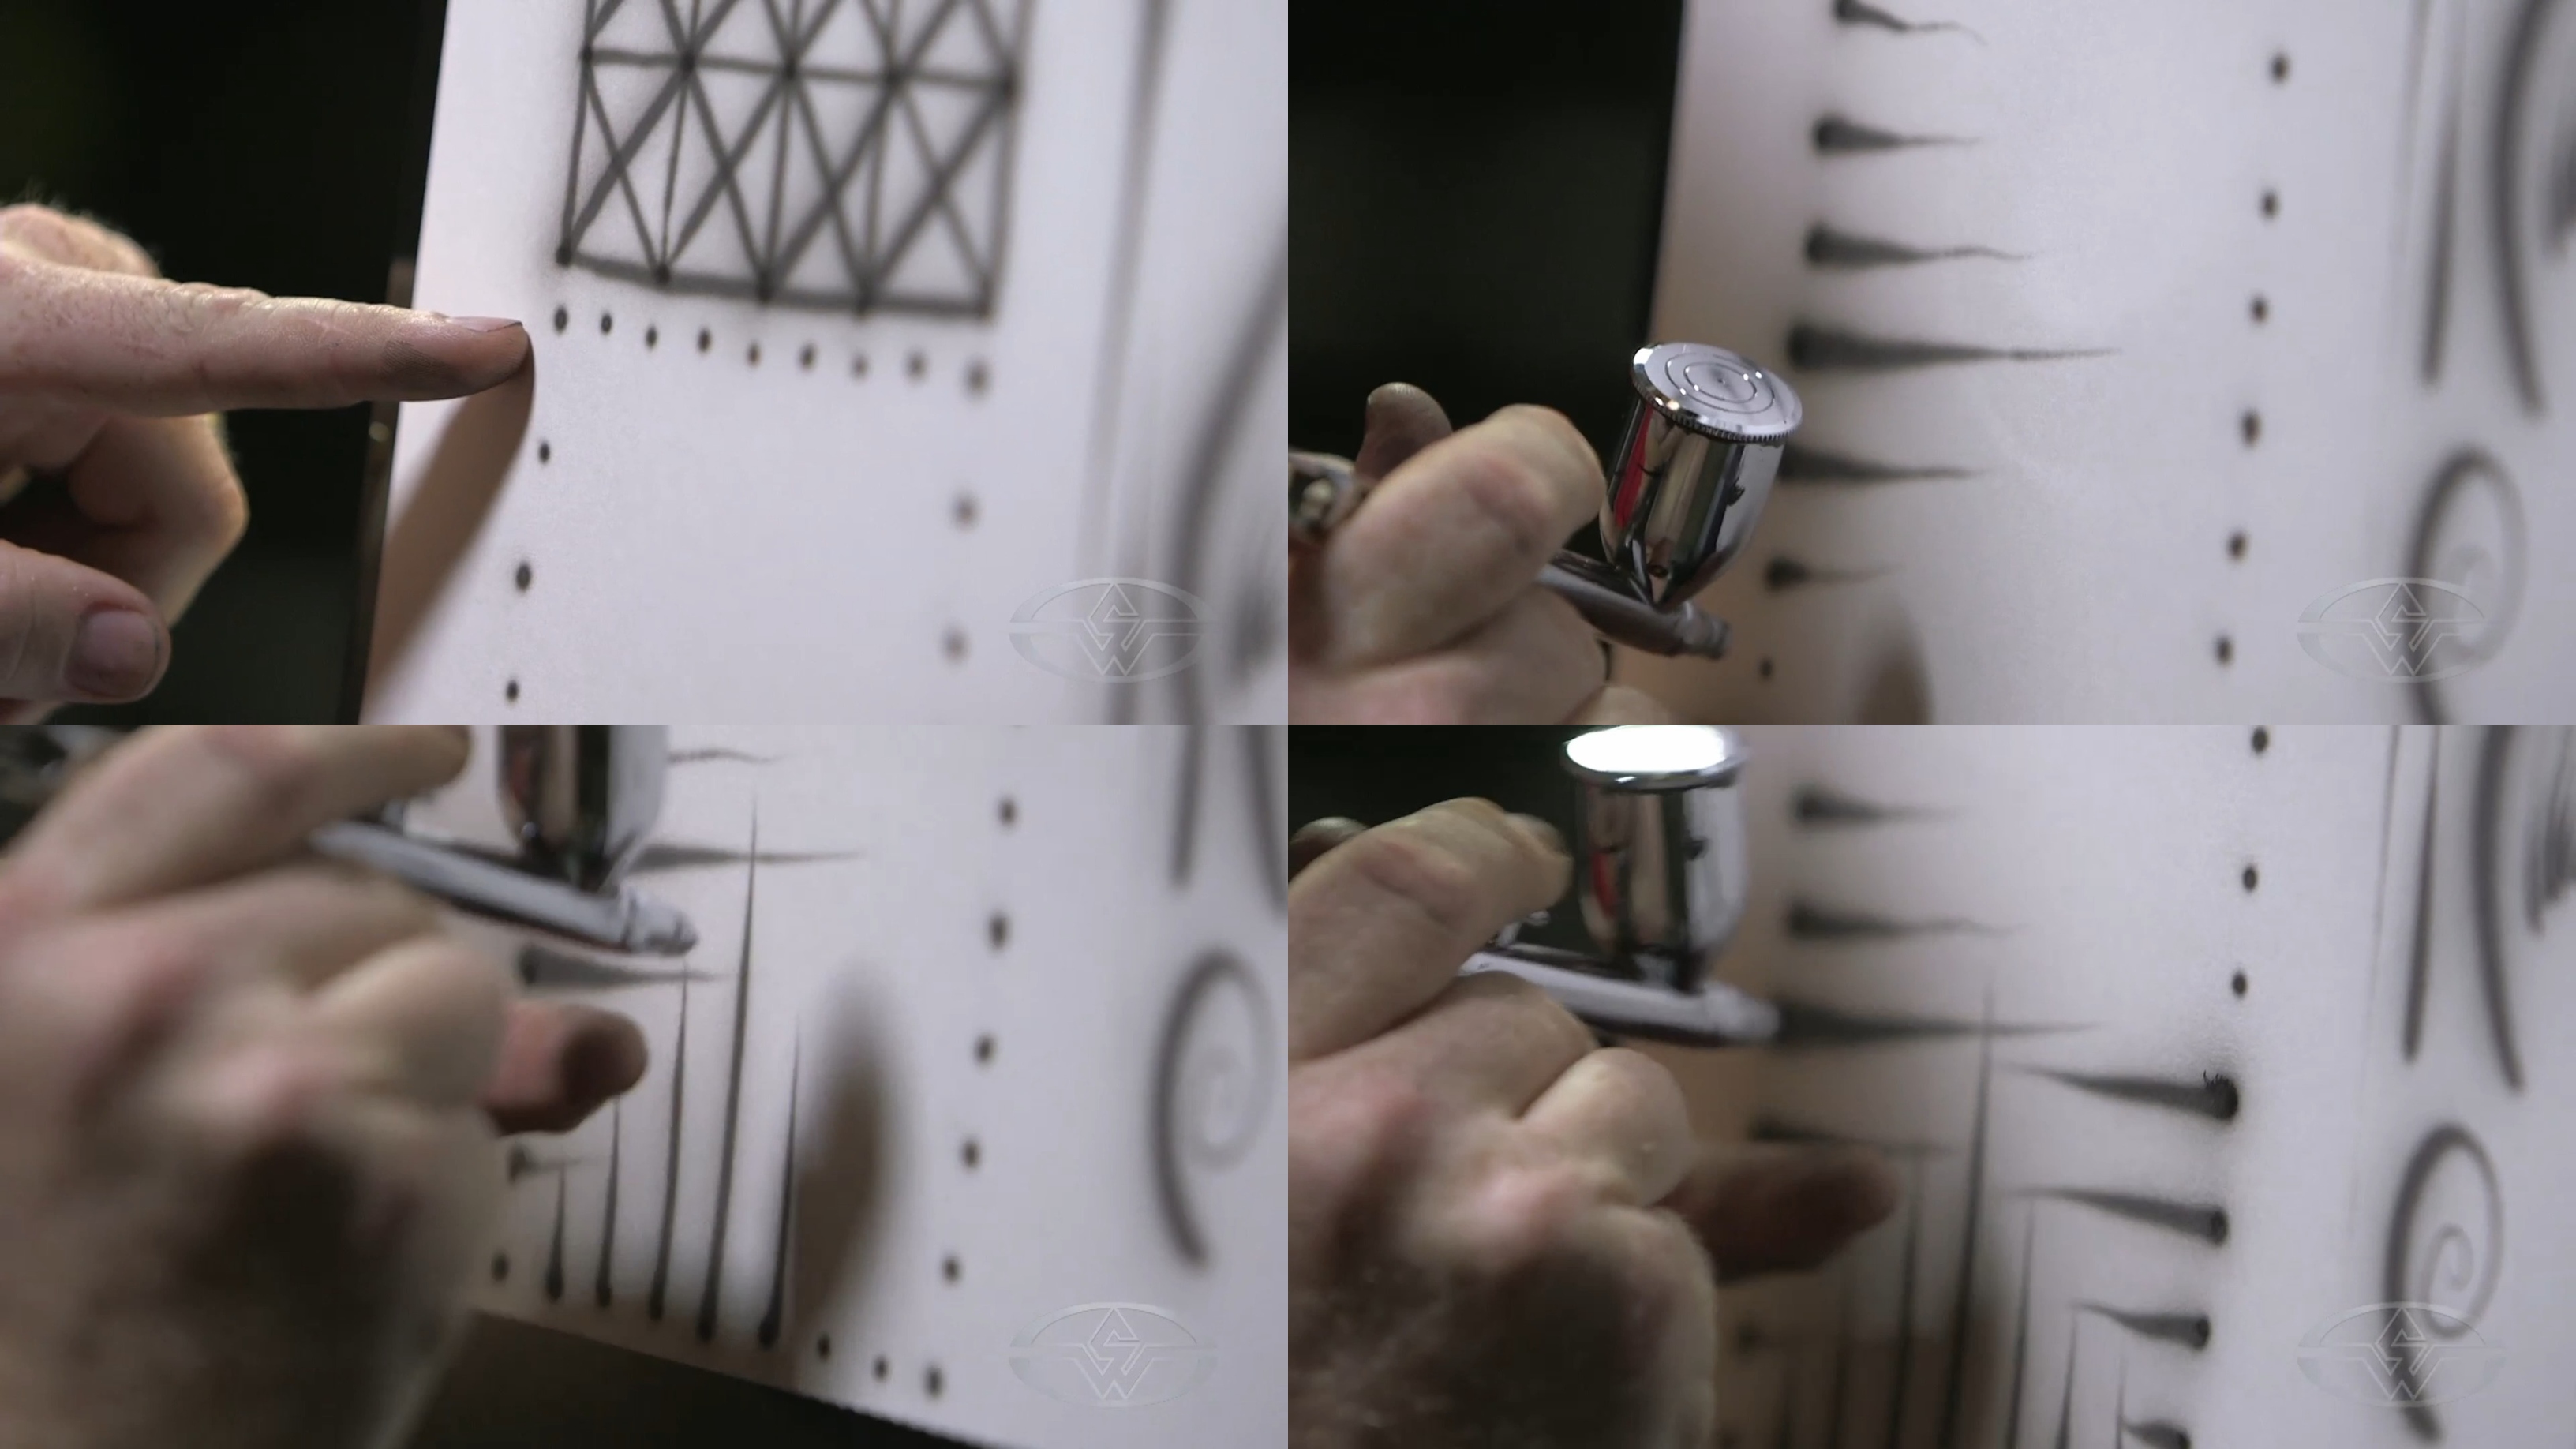 (Craig Fraser completes his dagger stroke box with a variety of long and short dagger strokes along all four sides.)
Using the dots along the bottom edge of your square, you repeat the pattern getting larger strokes up to the fifth dot and diminishing them again, but this time you're painting upward. You continue on the side of the box moving your brush from right to left, and finally the top row where your dagger strokes drop down from the dots.
As Fraser explains, “The key is speed. Now, speed is not just so you get it done fast and out the door so your boss is happy. Speed, in this case, gives you continuity. It gives you the ability of creating a straight line easier.”
Next, you’ll make another set of dagger strokes in between the ones you’ve already made, splitting the difference of size and distance.
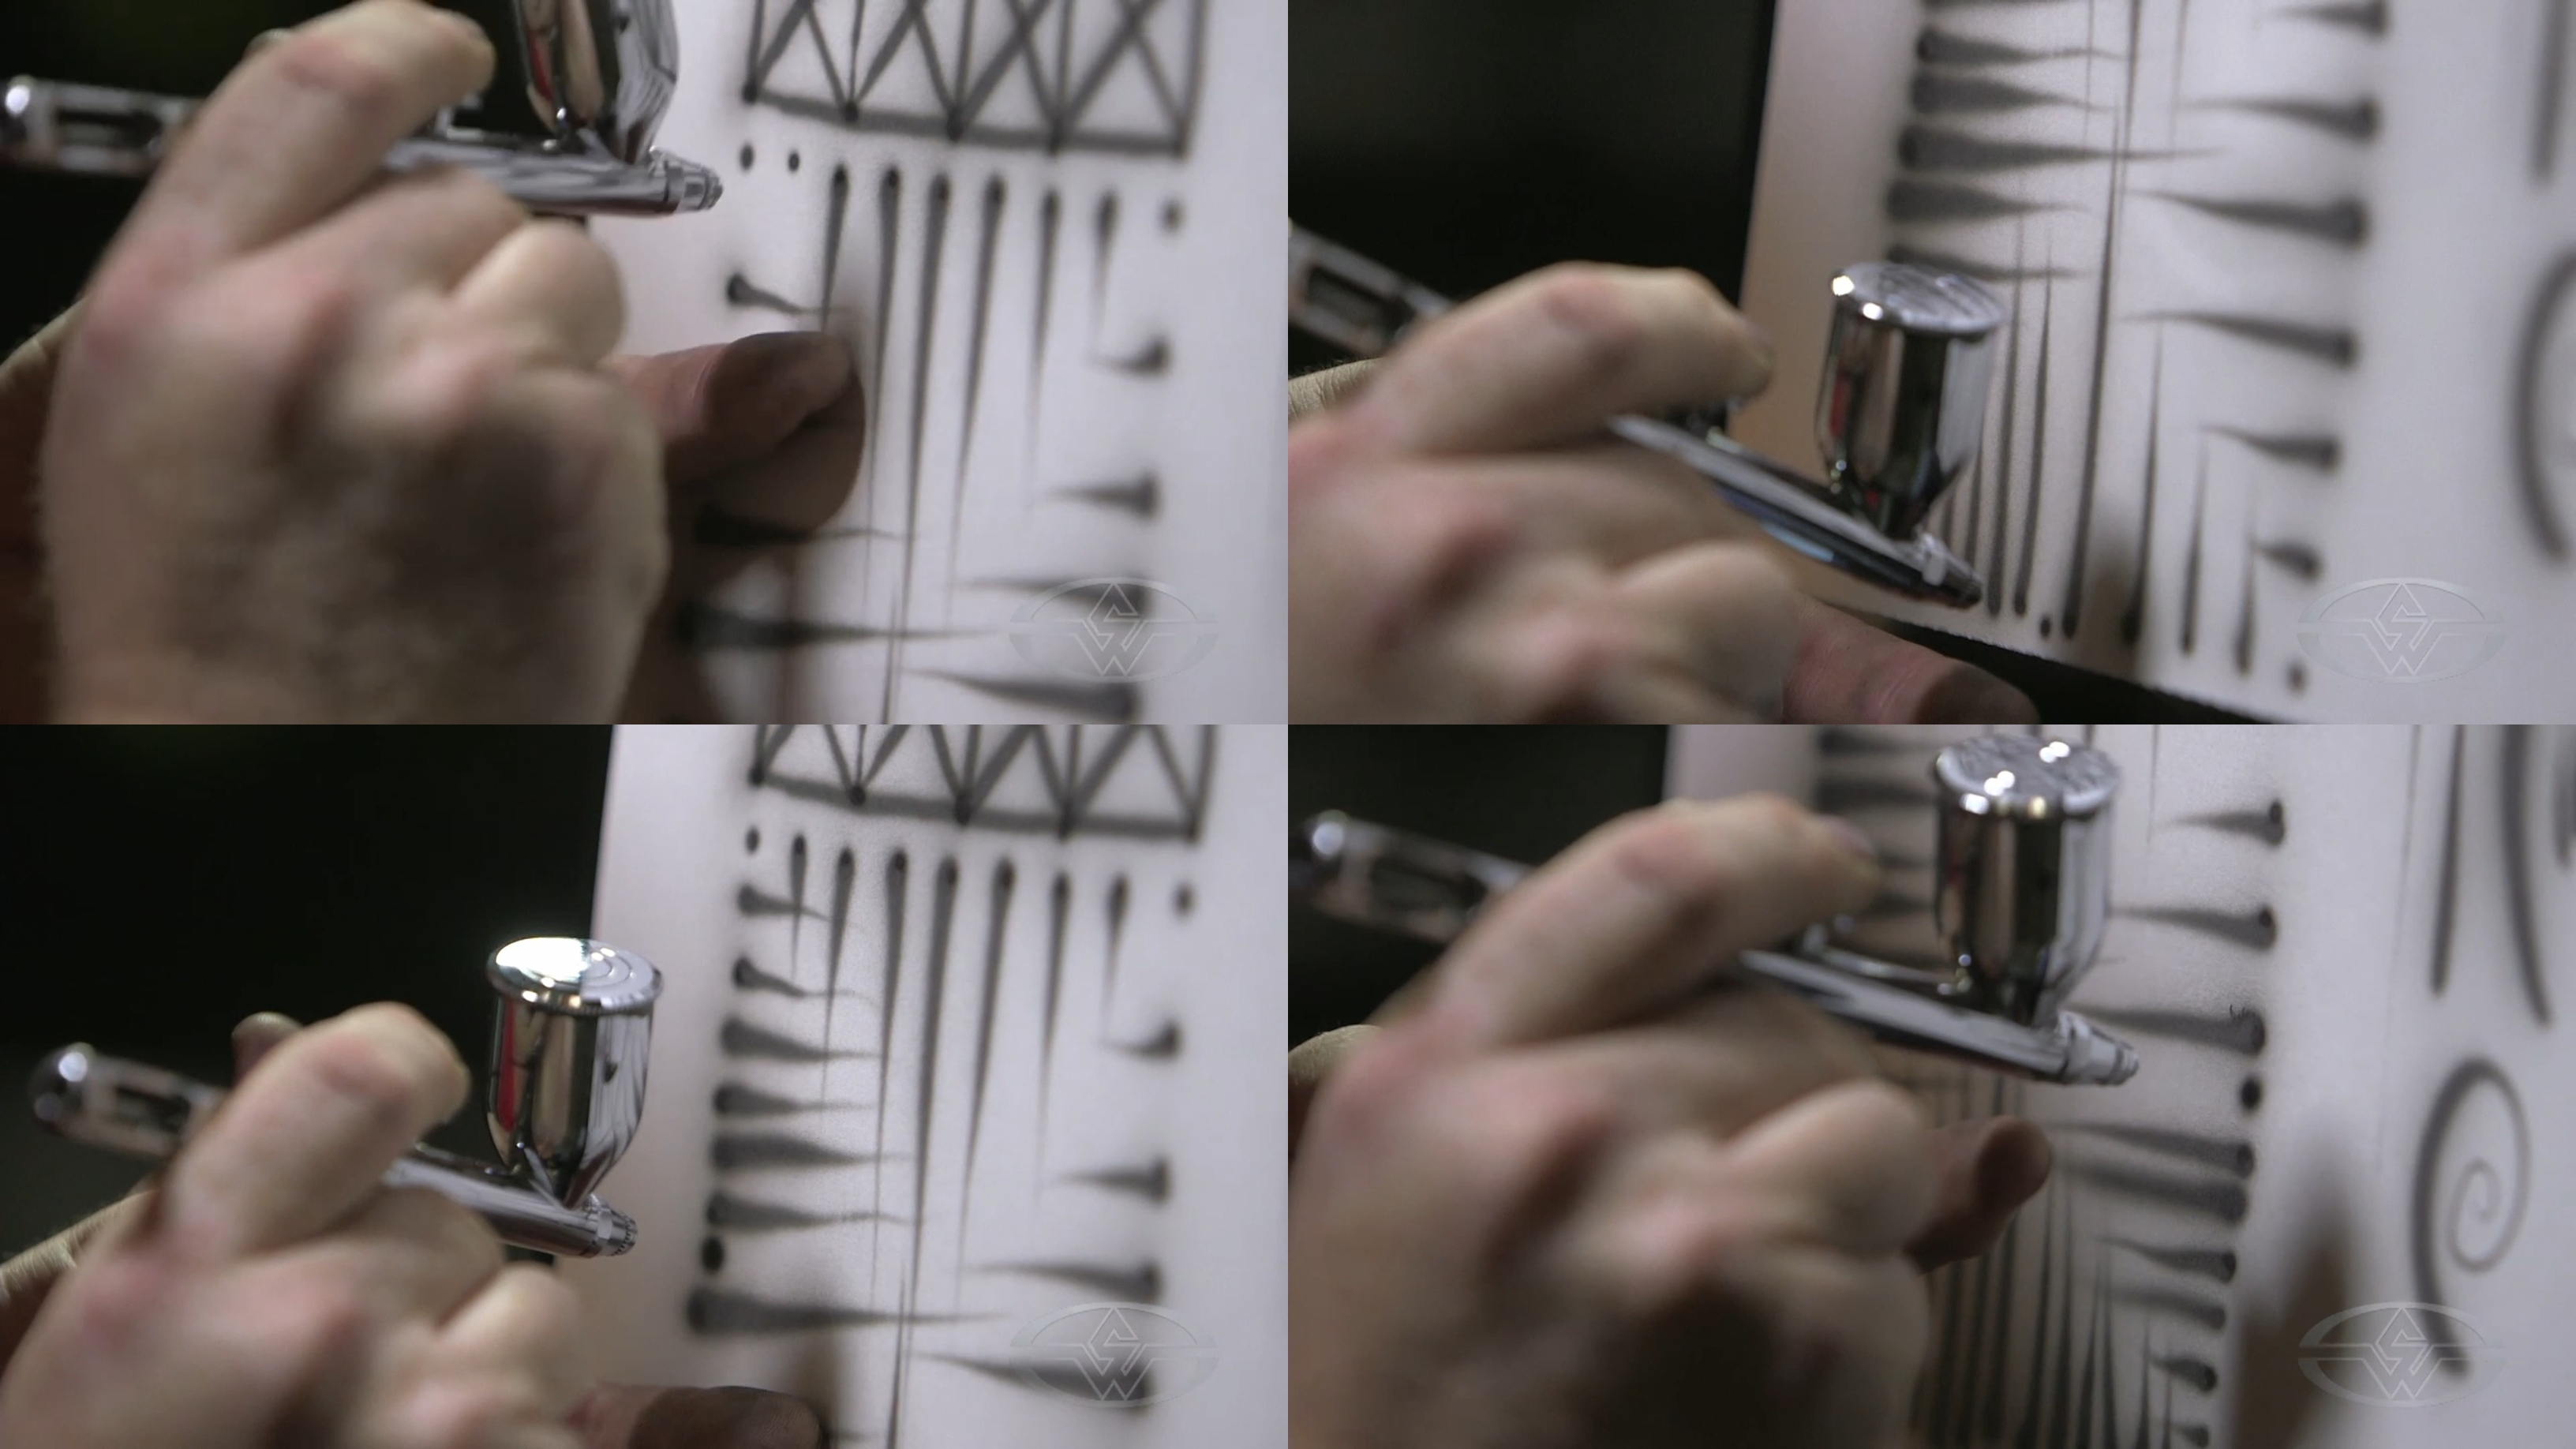 (Craig Fraser adds more dagger strokes in between the ones he's already made.)
As you finish your dagger strokes, around all four sides of your box, you should have seventeen strokes on each side, top and bottom, ranging from short on the edges to longest in the middle. You should see an X appear in the middle of your box.
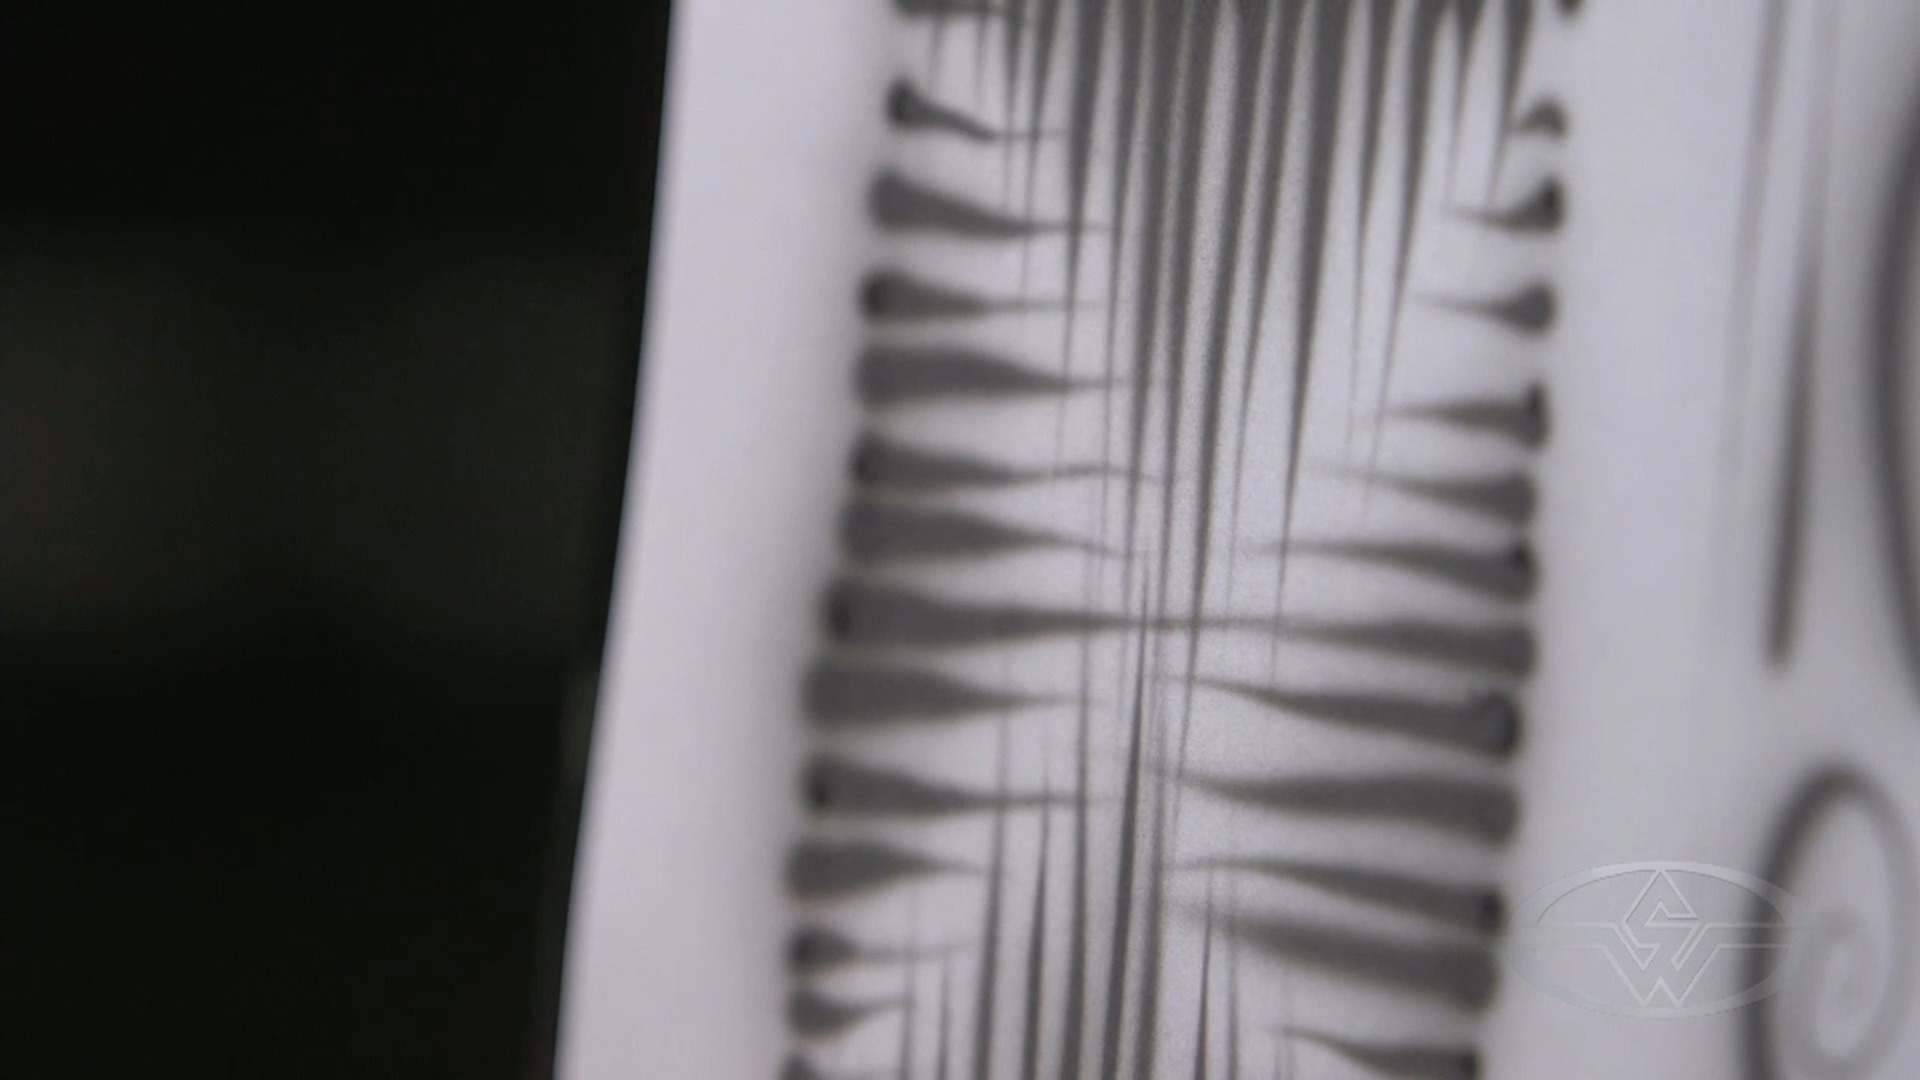 (X marks the spot! Your dagger stroke box should look like this once it's complete.)
The Importance of Dagger Strokes
To create great airbrush art, the magic is in mastering the basics. Dagger strokes are a must-learn, as you’ll ultimately use them more than you will linework, dots, and fades.
While many artists detest working with them, they’re a basic, ever-so-essential technique, especially useful for rendering various things, from calligraphy lettering to eyelashes or hair.
Once you master dots and lines, adding the dagger stroke to your arsenal of basic exercises will give you everything you need to warm up before your first painting session. You'll get more confident, the more you do it and you can contour and change the dagger stroke elements, just like he did!
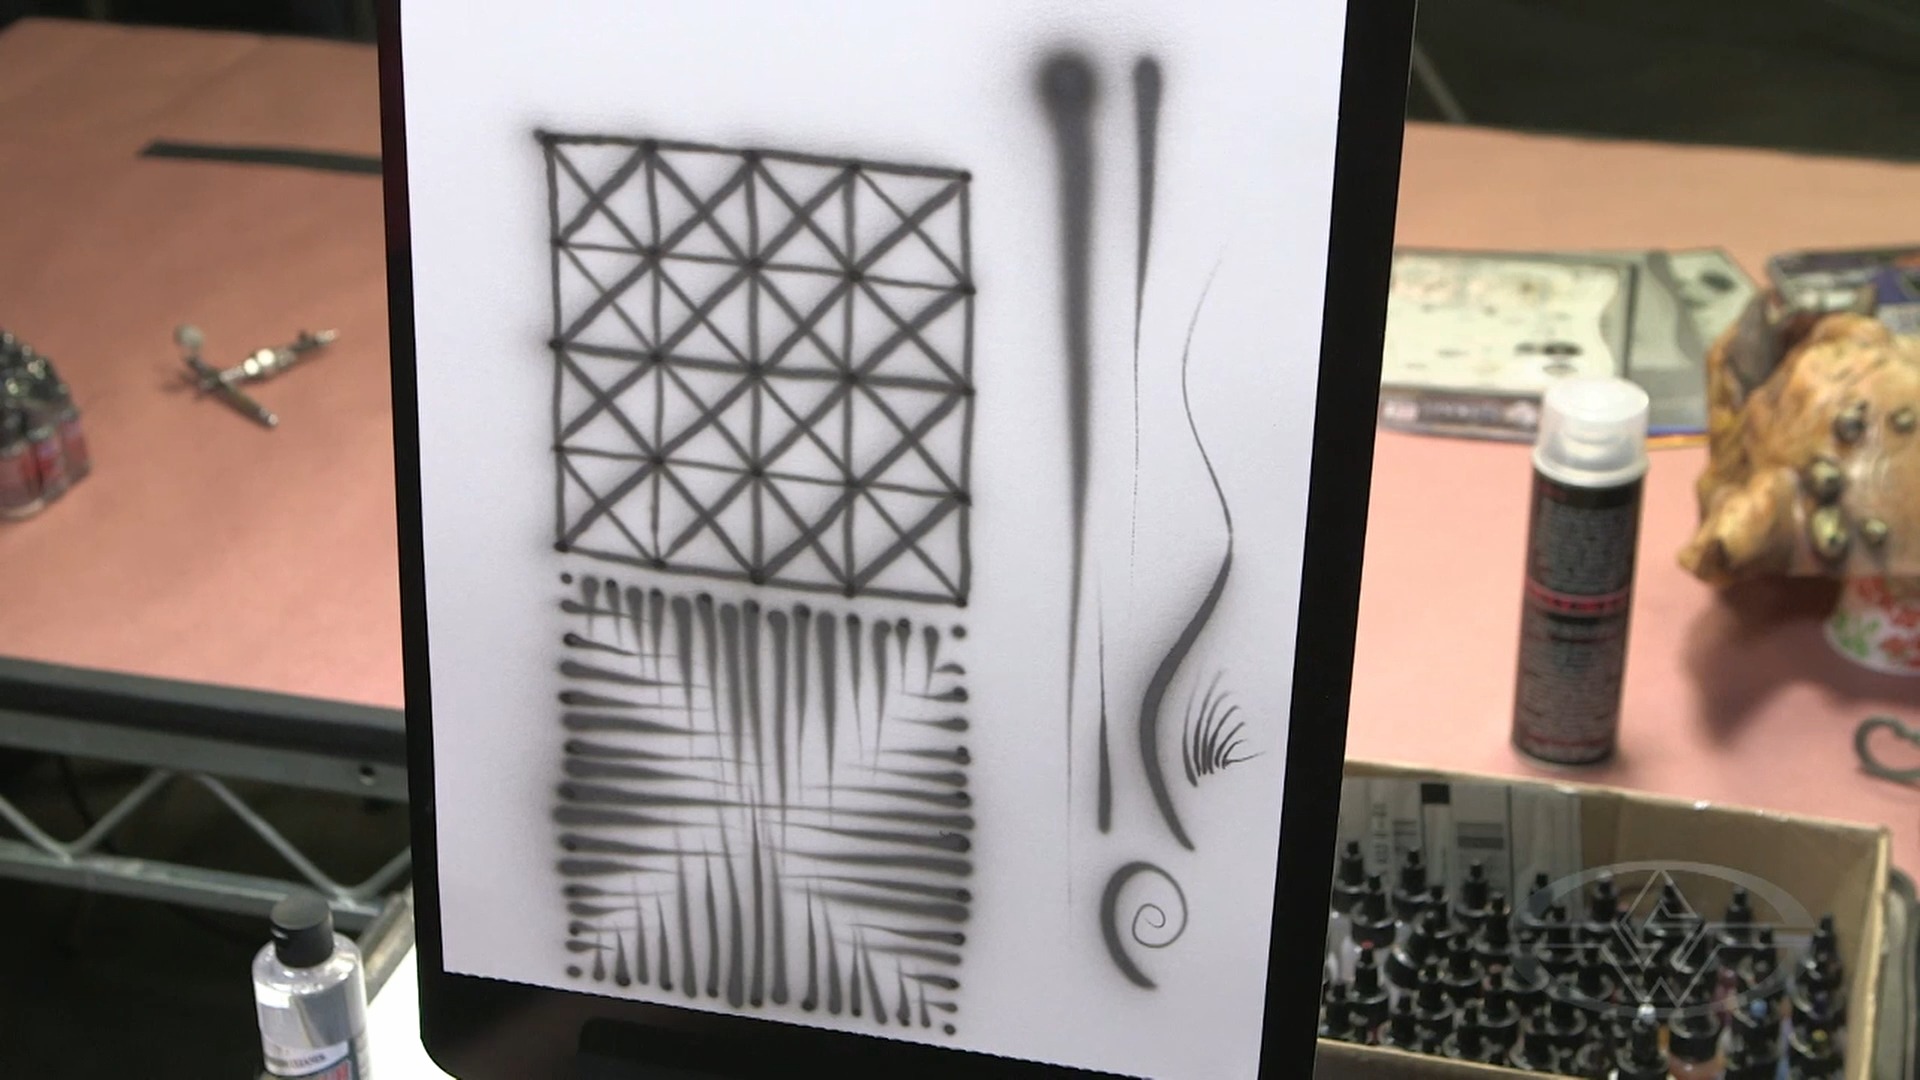 (Craig Fraser's canvas filled with his dot-and-line box and, below it, his dagger stroke box along with several examples of what dagger strokes can look like.)
Learning to get comfortable with the airbrush is important. It’s best to avoid starting a new project immediately trying to make your first mark on your intended hero surface. Fraser calls this "starting cold turkey" and it increases the likelihood of making mistakes. Starting with a practice such as the dagger stroke box allows you to make sure your airbrush is dialed in, your paint is being reduced correctly, and you're getting the right mix of air and paint to the nozzle before you mark your key art.
Frazer explains that his exercises are developed from “literally 30 years of watching, learning, listening to, sneaking in, or just overhearing techniques by artists not just in California, not just in the United States, but all over the world."
Practicing Dagger Strokes
Fraser encourages practicing dagger strokes this way every time you begin to airbrush, as well at the end of your airbrush session if you’d like.
“Do it as often as possible,” he says. “If you’re going to airbrush for 10 minutes one day, then take an extra 10 minutes to do this, and then do your 10 minutes of airbrushing. It makes a big difference. It’s about getting used to something.”
Fraser compares getting familiar with airbrushing to your first time driving a car. At first, it might be intimidating, but with time and practice, you’ll grow confident as you become more comfortable and relaxed, and that will help you do better at it.
Now that you've learned how to make dagger strokes, you can have the full set of tools to start any airbrush project effectively!
WATCH THE “HOW TO AIRBRUSH - THE ART OF PAINTING WITH AIRBRUSHES” COURSE WITH CRAIG FRASER: