

Happy Little Accidents
In this FREE excerpt from his Stan Winston School of Character Arts course, Styrofoam Prop Making Part 2: Hard Coating, Painting & Assembling, special effects character creator and master monster maker Tim Martin teaches you how to repair a broken piece of styrofoam and check the new and improved piece.
To watch the complete video, click the player above!
Jump To Section
- Using a Dowel to Connect Your Styrofoam Pieces
- Repairing the Broken Foam Piece With “Great Stuff” Spray Glue
- Waiting for Your Glued Styrofoam to Dry
- Creating a Clean Cut With a Razor
- Ways to Conceal the Line on Your Repaired Styrofoam
While you’re in the process of making your creature prop, there’s a good chance that you may run into the issue of a styrofoam piece accidentally breaking, especially when working with thinner foam parts.
You may think, ‘Oh, no! What now?’
Rest assured, it can be fixed!
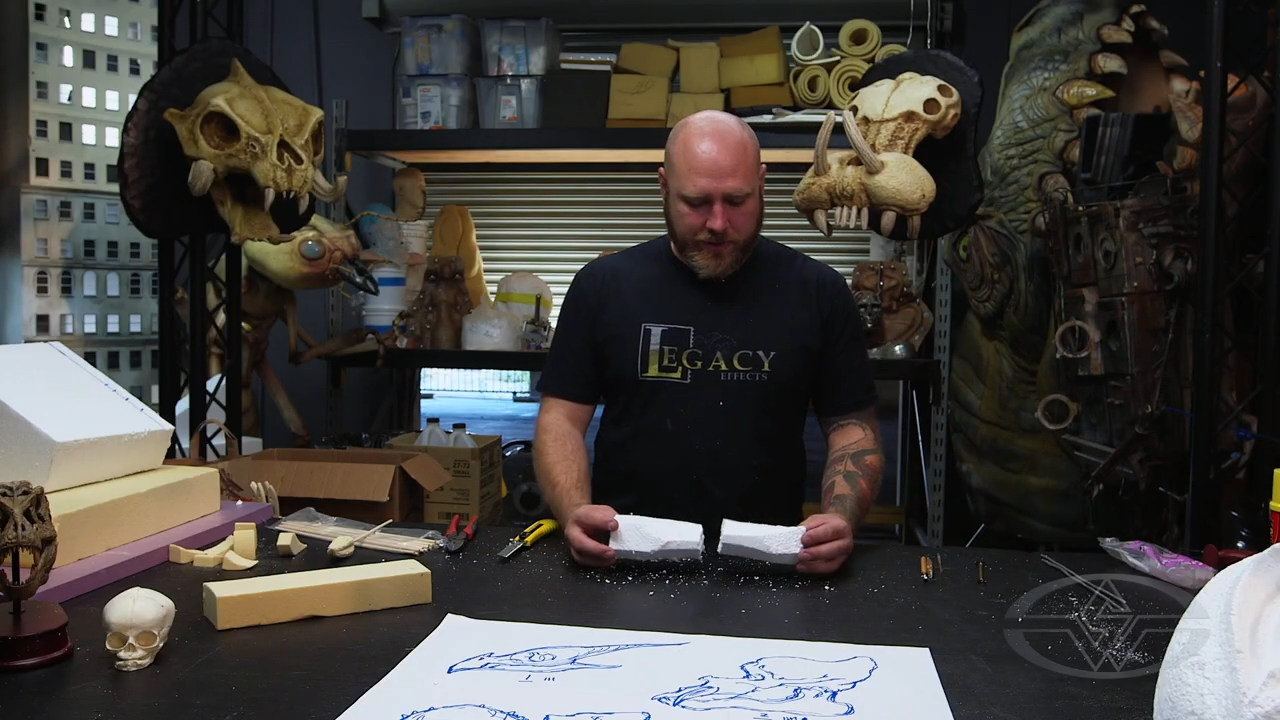 (Tim Martin and his broken piece of styrofoam.)
In this mini-lesson, Tim explains there are various methods and suggestions on how broken styrofoam pieces can be fixed. Fortunately, the process is essentially the same regardless of method used.
To get started, you’ll need wooden dowels, dikes, spray glue and a razor.
Using a Dowel to Connect Your Styrofoam Pieces
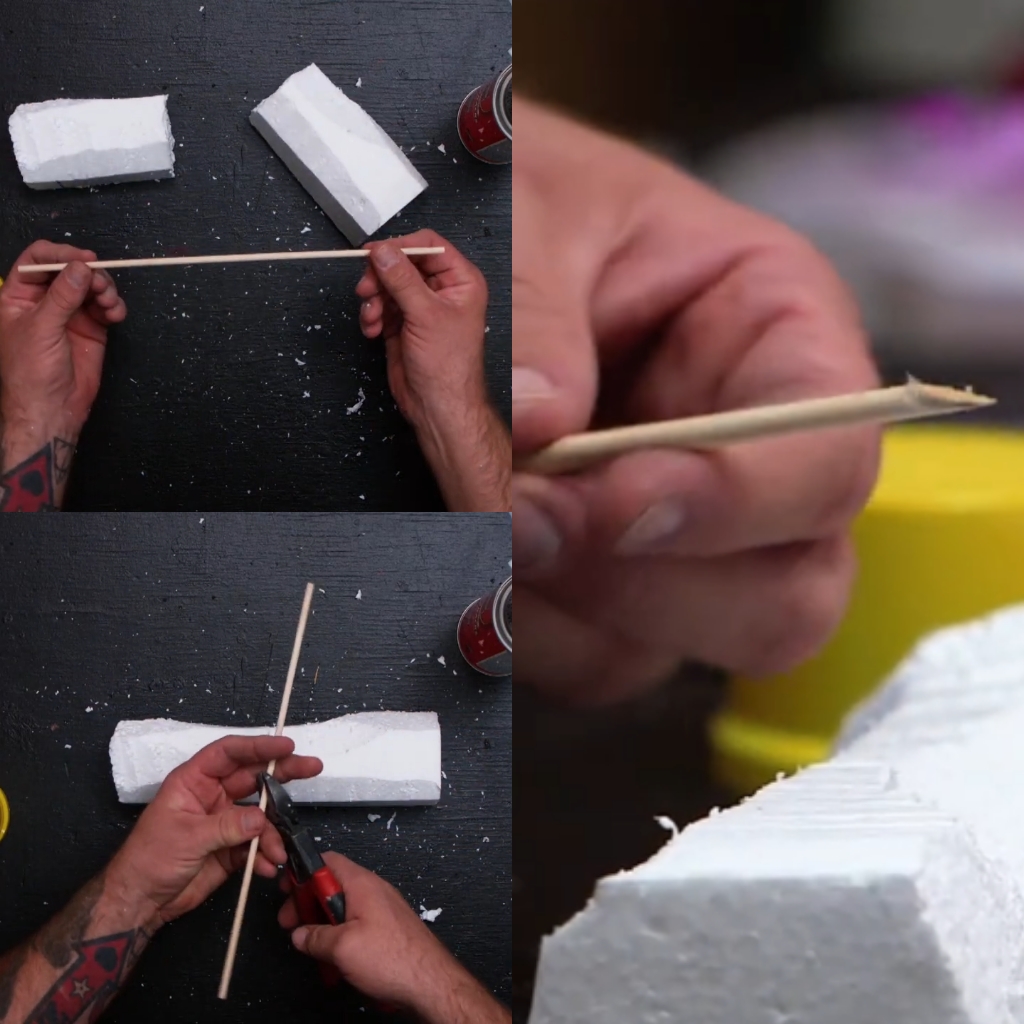 (Tim shows how to cut a wooden dowel.)
First, take a single wooden dowel for your piece. You can find wood dowels at most any craft store. Using a pair of dikes, cut the dowel at an angle to create a sharp edge. Your dowel should be long enough to extend a few inches into each foam piece.
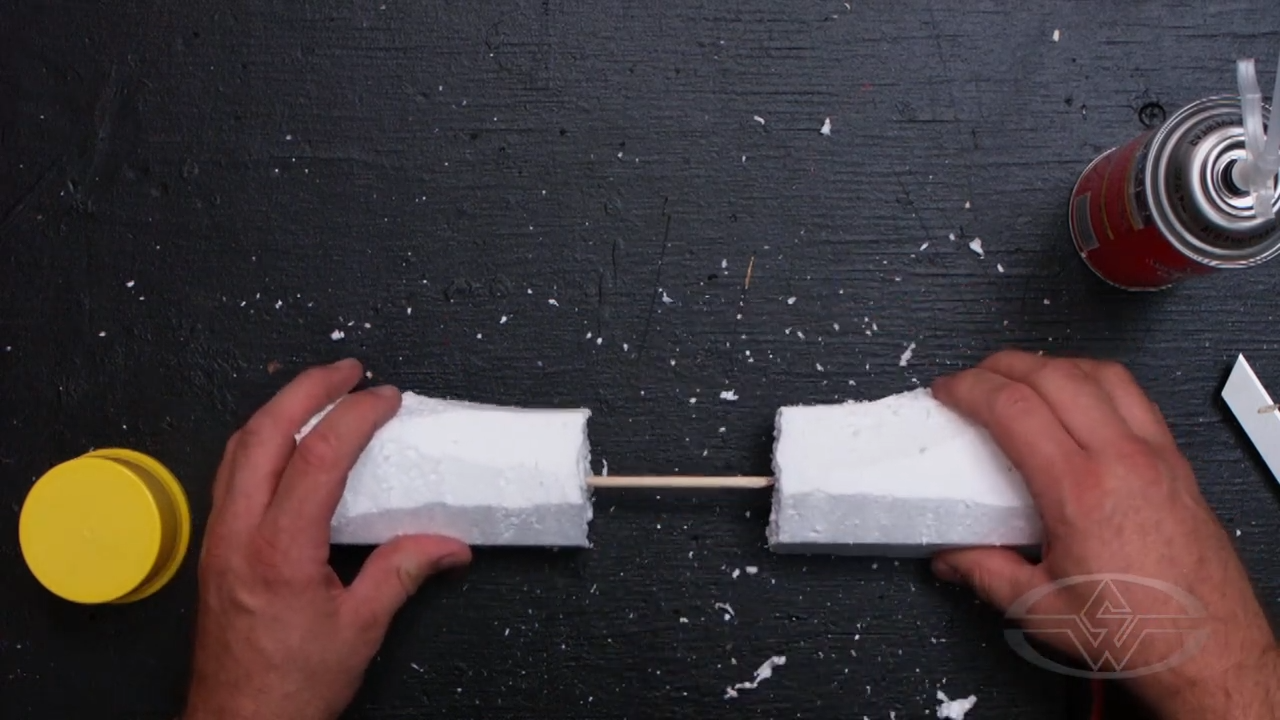 (Tim lines up the pieces of foam along the break.)
Next, insert the dowel into one side of the foam. Try to match the two ends of your foam piece as perfectly as possible. The dowel will restore the strength of your piece after the glue locks it into place, so that the break point will not be a weak spot once it's glued back together.
Repairing the Broken Foam Piece With “Great Stuff” Spray Glue
You can use any kind of spray glue to repair your broken styrofoam piece. If you'd like to use exactly what Tim uses, use "Great Stuff" brand insulating foam sealant 'for Gaps and Cracks.'
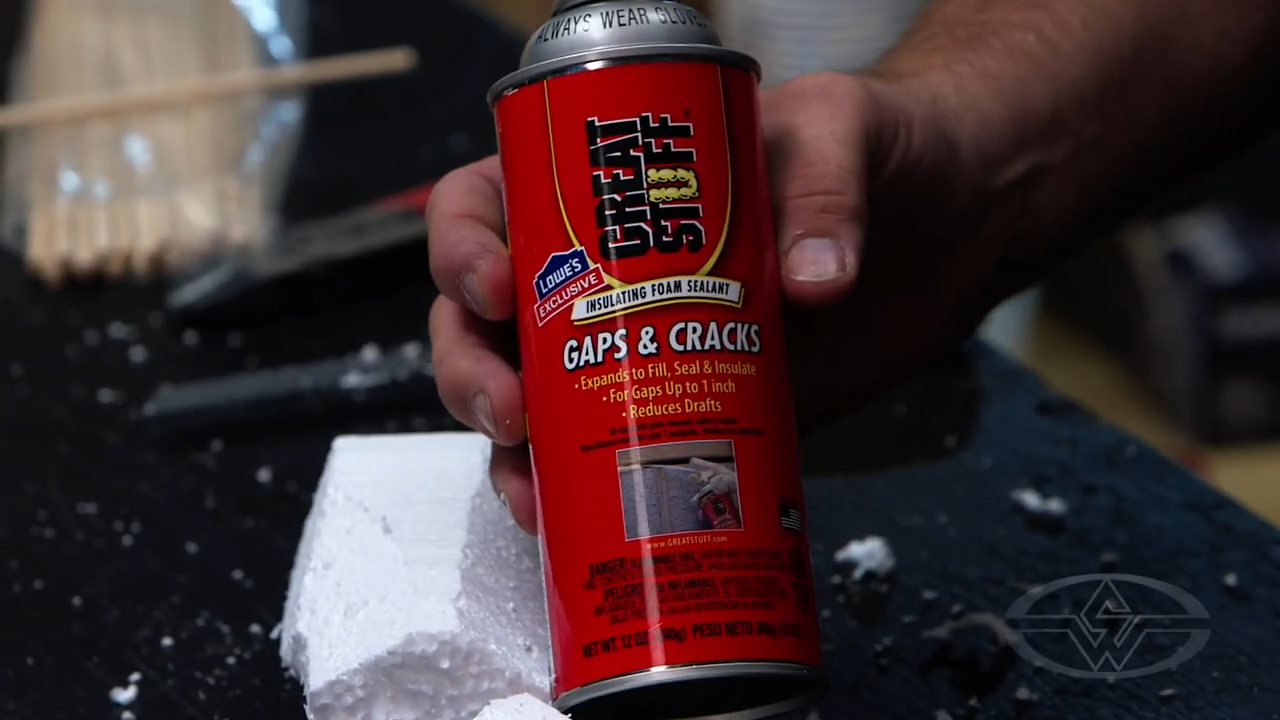 ("Great Stuff" is Tim's preference for gluing together broken styrofoam pieces. It's great stuff!)
Pro-tip: “Great Stuff" is a spray expanding foam typically used for home repair. Considering its name, it should come as no surprise that it’s also great to use on styrofoam. Tim finds this brand reliable for gluing together parts and/or filling big holes which he can then set aside to cure. Once it is set, you can even carve into it, just like foam!
Before you get started, make sure the straw on your spray expanding foam is on and secure.
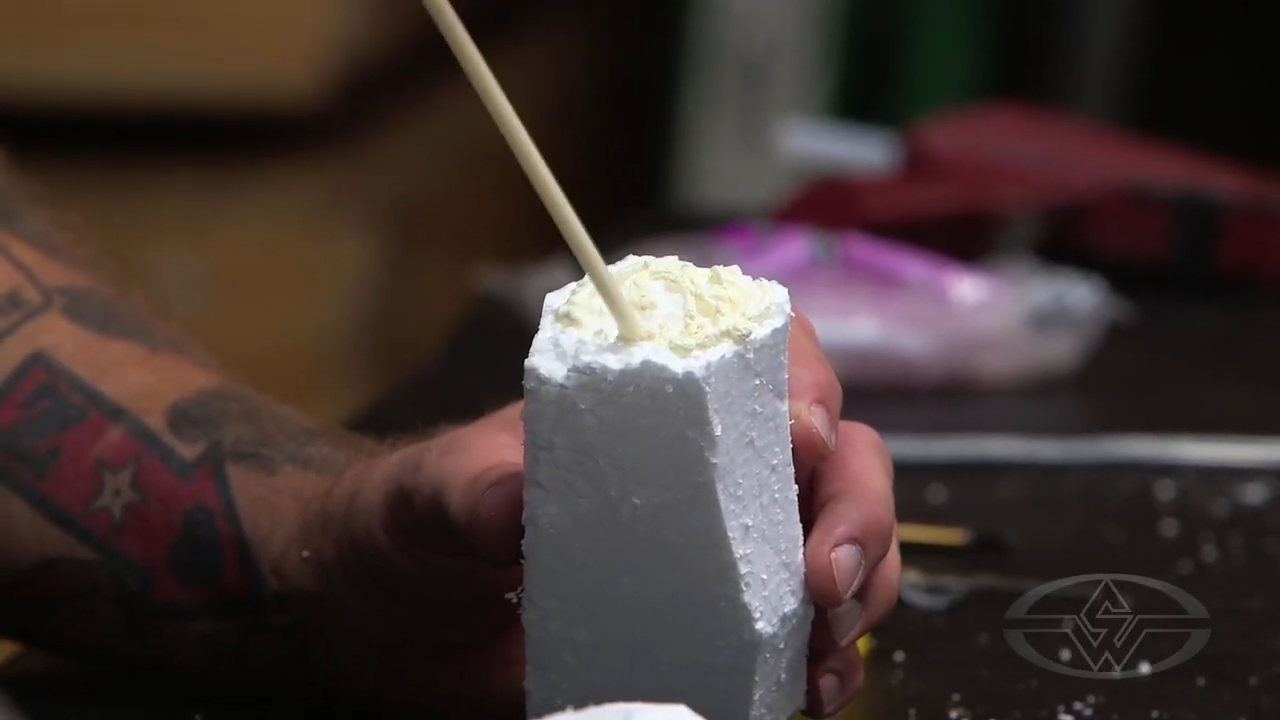 (A little bit of expanding foam goes a long way.)
Apply the foam to one side of the broken surface of the foam. You don’t need to use a lot of expanding foam, so use caution as you press the can’s nozzle trigger. Press too much, and there will be more foam than necessary.
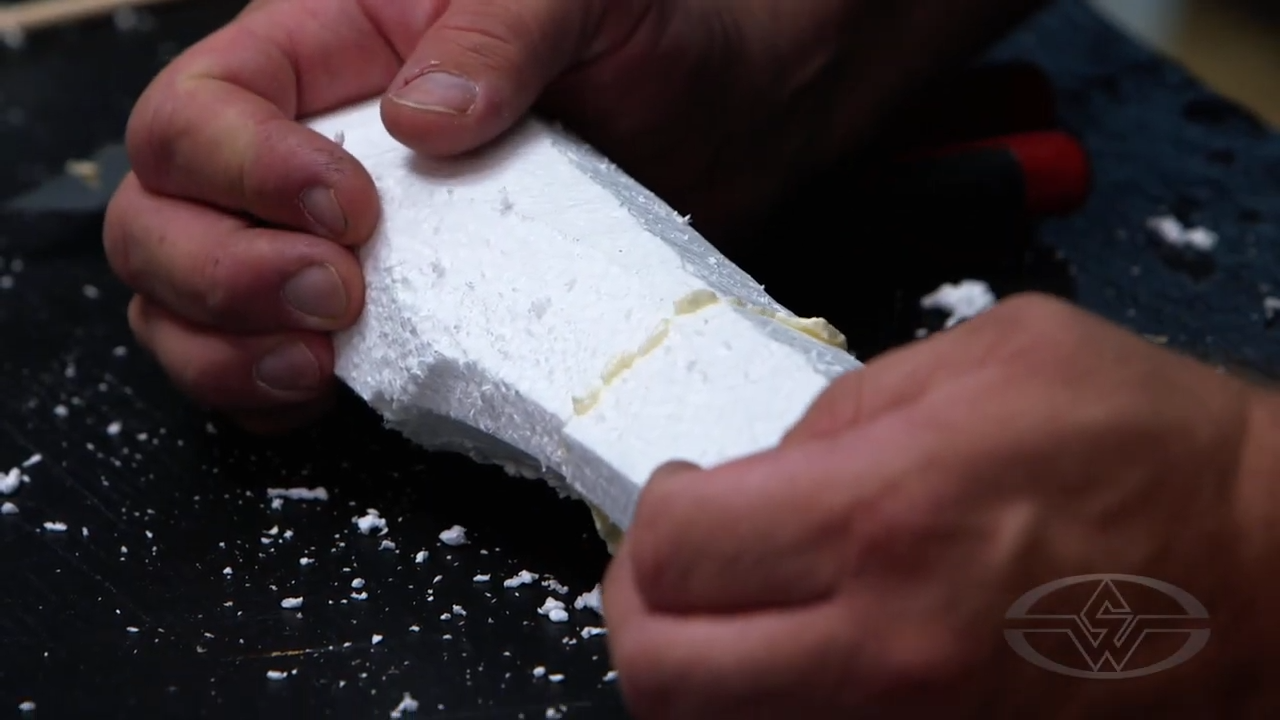 (Tim presses his foam pieces together so they're officially bonded.)
You’ll then press the two pieces of foam together with a light squeeze so the expanding foam sticks to both sides. You'll see a visible bead where the expanding foam comes out from the gap.
Waiting for Your Glued Styrofoam to Dry
Once you’ve placed the wooden pin inside your piece, sprayed the seam, lined-up the pieces, and squished them together, the glue will become rigid and give the piece integrity.
Set your glued styrofoam piece aside for about an hour. This will give it enough time to cure so you can then carve into it.
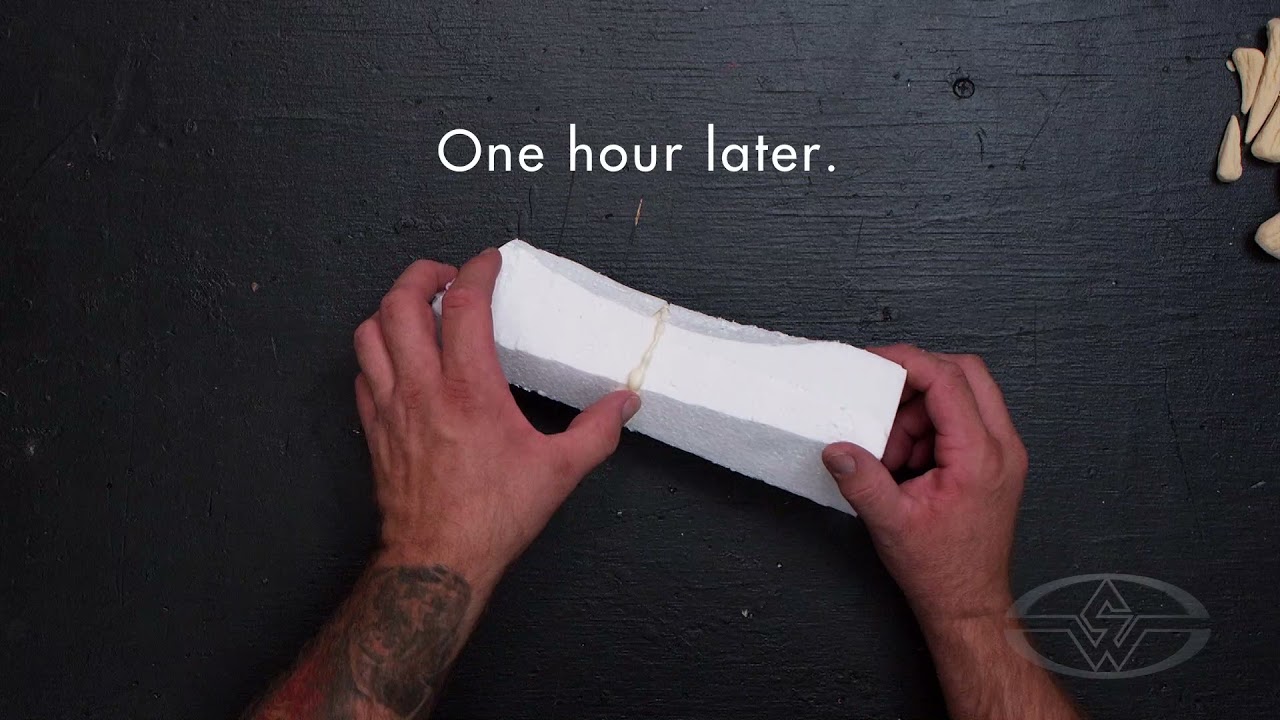 (Tim lets the glue set for roughly an hour to allow the glued piece to dry completely.)
Tim points out that the specific part of your piece where you've applied the foam will carve differently than the unbroken white styrofoam, and you might end up with an edge or visible seam.
The bigger of a mass you grow on to your glued styrofoam piece, the longer it'll take to completely cure. Depending on how thick the mass is, you may discover that the glue feels as if it’s cured on the surface but find that it is still sticky on the inside. For larger repairs, allow more time.
Creating a Clean Cut With a Razor
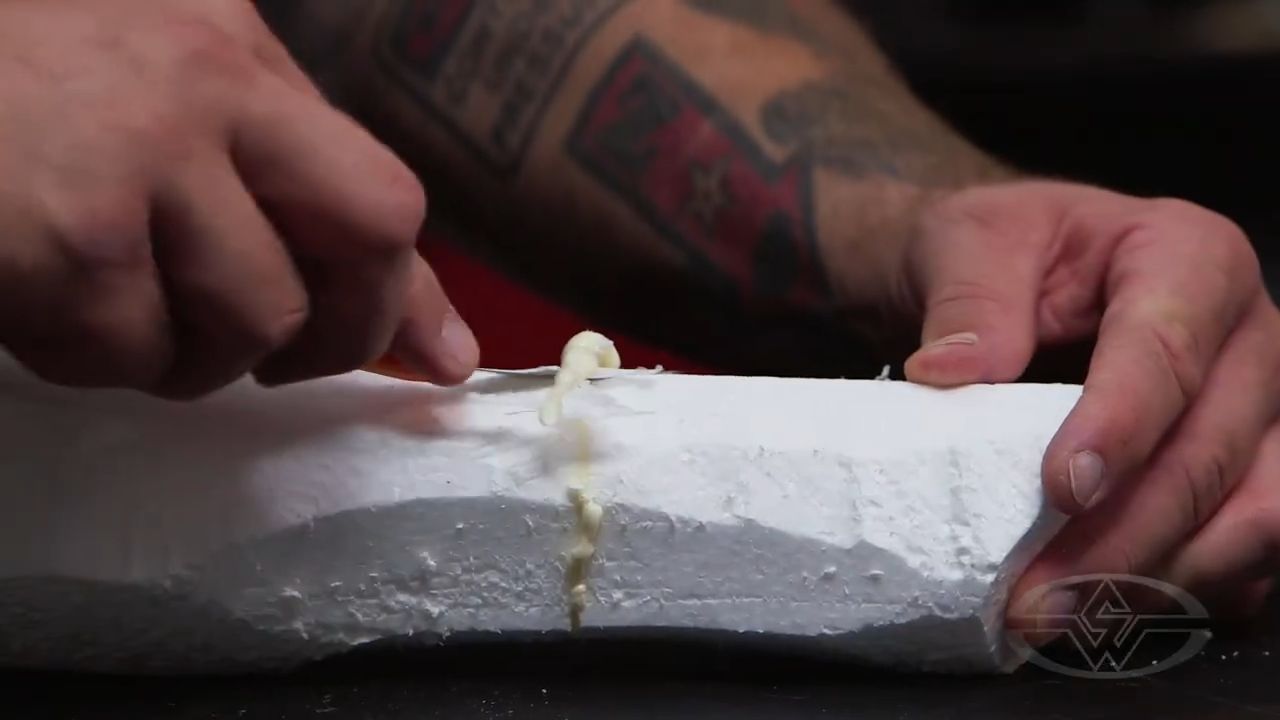 (Tim razors the cured glue from his styrofoam piece.)
Once you know your piece has cured, trim away the excess glue with a razor for a seamless look. Avoid rasping or sanding the foam since doing so will only end up revealing the seam or ridge.
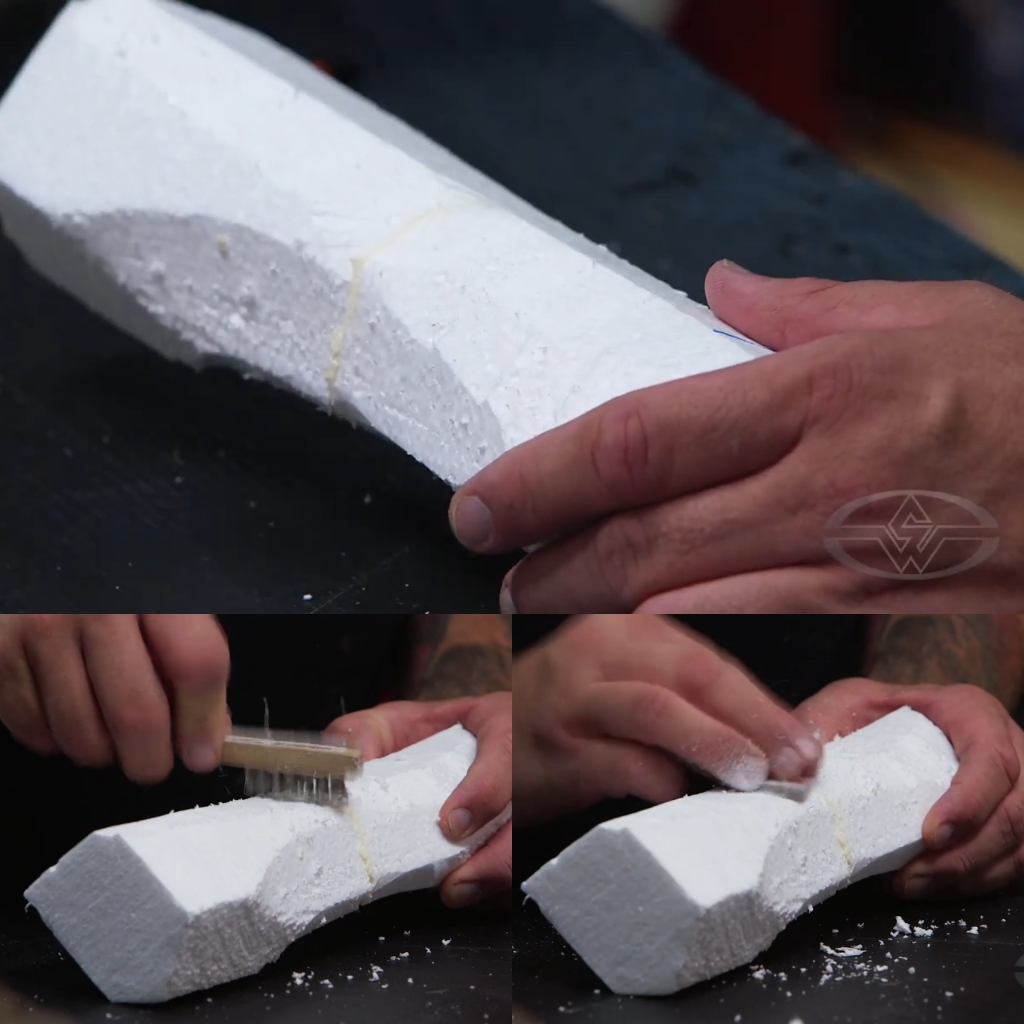 (Tim demonstrates the effect of razoring, rasping and sanding on the glued styrofoam.)
Note: Although there’s no way to predict when during fabrication your piece may break, it’s much easier to fix your sculpture if you don't still have lots of carving to do on the broken piece.
Tim says, “If you have a giant chunk you’re trying to glue together then sculpt from, that’s a little bit more difficult because this stuff will act differently than your white styrofoam will.”
Ways to Conceal the Line on Your Repaired Styrofoam
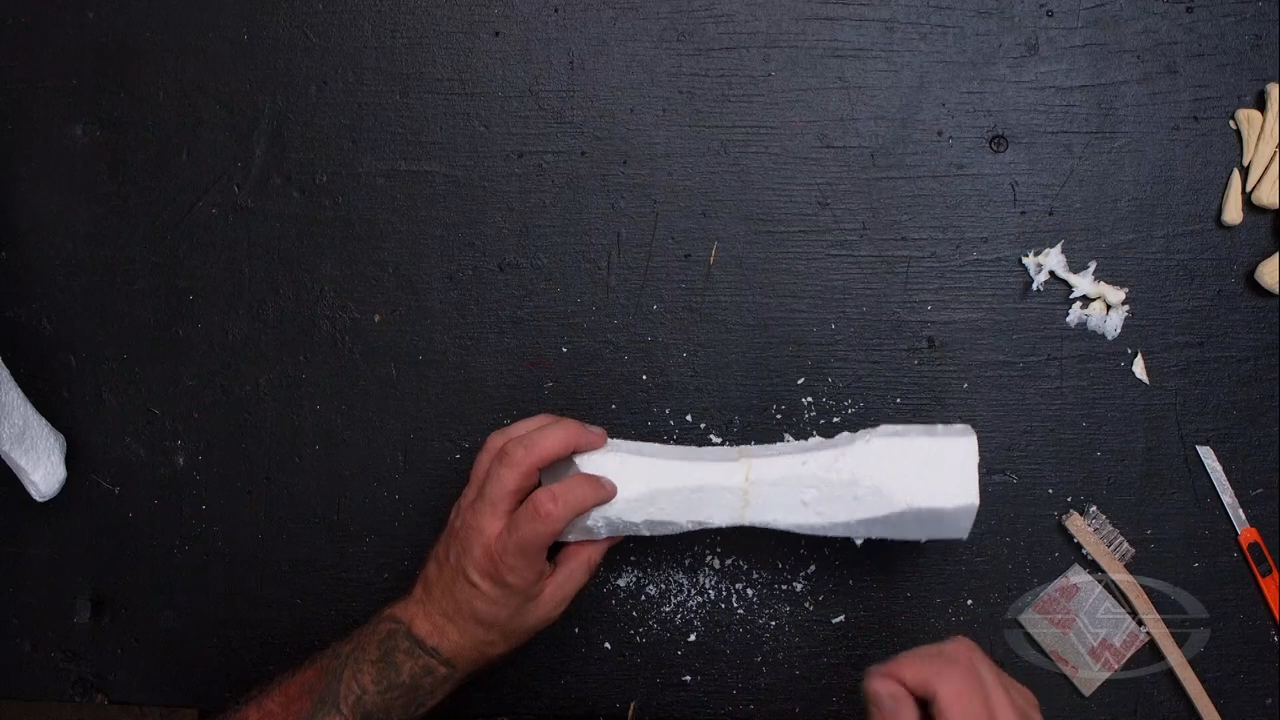 (After razoring away the excess glue, Tim is left with a thin line, easily covered up.)
There are a few methods you can use to conceal the line on your repaired styrofoam.
These include:
- Covering the surface in resin
- Applying stipple latex to the surface
- Using a spray glue as a surface coating
Keep in mind that your seam is going to look and feel a little different in the raw state compared to the rest of your piece and you’ll have to pay close attention to it. The main thing to remember is the way it carves will be different from the white styrofoam so be mindful of that area when you're carving it.
However, as far as the break is concerned--you've fixed it!
We can’t predict exactly when accidents will happen as we make our props. However, we can prepare and act accordingly when they do.
WATCH TIM MARTIN’S “STYROFOAM PROP MAKING" COURSE:
Styrofoam Prop Making Part 1: Designing, Carving & Texturing
Styrofoam Prop Making Part 2: Hard Coating, Painting & Assembling