

To check out the FULL LESSON, just click HERE: How To Make Prosthetic Transfers - Makeup Effects Innovation
Jump To Section
- Making Pros-Aide Transfers with Christien Tinsley
- Understanding the Need and Purpose for a Prosthetic
- Sculpting Wounds
- Molding a Tinsley Transfer
- Mixing the Prosthetic Transfer Material
- Placing and Painting the Prosthetic Transfer on the Actor
- Final Thoughts
Making Pros-Aide Transfers with Christien Tinsley
This week’s lesson by Oscar and Emmy-winning Makeup FX designer Christien Tinsley is an interview, a history lesson, and a step-by-step demonstration all in one.
We finally got the chance to sit down with him, and we sure got more than we ever thought we would. Chris Nelmes, one of our fans, put it this way, "Getting Christien Tinsley to give a lesson on 3D transfers. That's like Edison teaching you how to make a lightbulb!!!"
Join us and Christien for the amazing story of Tinsley Transfers.
 (Christien Tinsley's tutorial, fresh outta the box.)
Understanding the Need and Purpose for a Prosthetic
To understand the creation of the Pros-Aide Transfer, it’s best to know how and why it originated. It’s here that Christien begins the lesson, speaking about the innovative process itself.
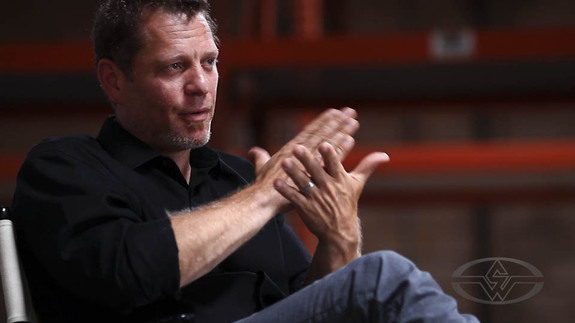
Christien explains that most innovation within the makeup effects industry has come from necessity. By using his own personal examples from The Passion of the Christ, he explains how the necessity for a prosthetic to be stronger from wear and tear, can battle water, and also create less time in the chair, led to creation of the prosthetic transfer. By experimenting with freezing glue, he discovered that its properties can change. This was the spark. And it’s this historical knowledge that provides the foundation for everything to come.
Sculpting Wounds
After his initial discussions about the spirit of innovation, and the origin of the prosthetic transfer, Christien takes you through the process itself. He begins with the initial sculpt. This sculpt is a multiple slice cut that resembles a rake mark. It’s a delicate sculpt that he creates with some oil-based clay on a block of laminate. He carefully crafts each wound, smoothing down the edges to be as feathery as possibly. After the final touches of skin texture, it’s time to mold.
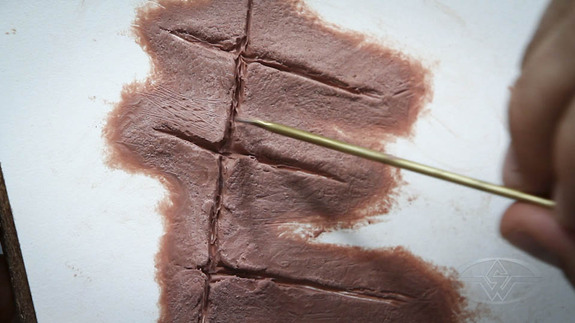 (Christien masterfully sculpts a wound. Learn how to envision the blow that created it in this chapter.)
Molding a Tinsley Transfer
The mold itself is an interesting thing to watch on such a small scale. We’ve seen large molds before, but this is a different animal. Building the flashing has a specific technique, as well as constructing the border. Even after the silicone is mixed and poured, Christien shares a specific technique for getting rid of air bubbles by using a spray can directly on the silicone. He’s very specific about it, and it’s good to watch.
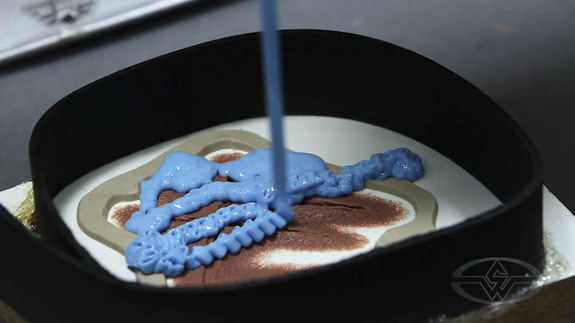 (Blue Catalyst silicone. NO substitutes.)
Mixing the Prosthetic Transfer Material
Next is the mixing of the prosthetic transfer material. Now, this section has a lot of secrecy to it, as the reasons why are specifically pointed out by Christien. But he still provides you with a basic recipe for this material. And while it won’t be exactly the “secret recipe” that he has perfected over the years, it still provides a good place to start. After the PTM is cast, and it’s put in the freezer, we now have a completed piece. It’s time for application.
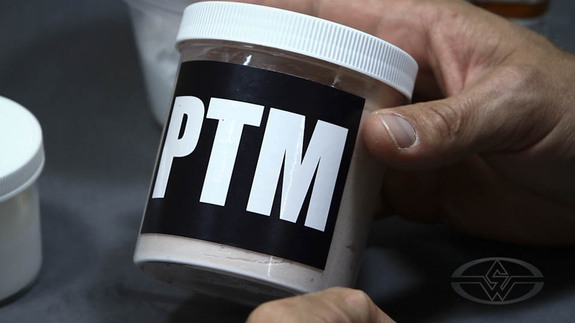 (Prosthetic Transfer Material in a jar.)
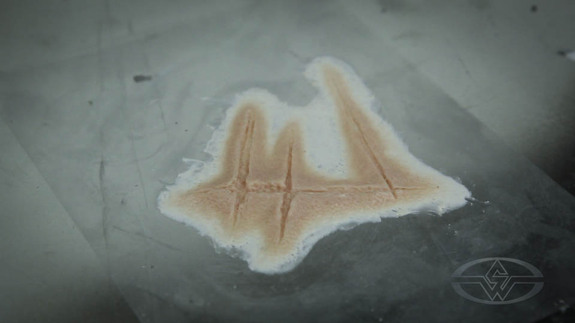 (Tinsley Transfer right out of the freezer.)
Placing and Painting the Prosthetic Transfer on the Actor
Matt Winston is the victim in this lesson, getting some nice-sized gouges across the forehead. Christien places the prosthetic transfer on, and it essentially works like a temporary tattoo, just sticking directly onto the skin. Easy as pie. Now it’s time for makeup and blood.
Christien has many tips for how to paint flesh better. Yes, there are many pre-bottled colors you can buy to achieve various skin tones. But he suggests that you learn how to create all types of skin tones by simply using primary colors and black and white. This way, you know how to heat or cool colors and basically learn the process instead of just buying something that may or may not perfectly match. After he matches the skin tone and adds blood, the wound is finished. It looks like Matt took one to the forehead from a gardening claw.
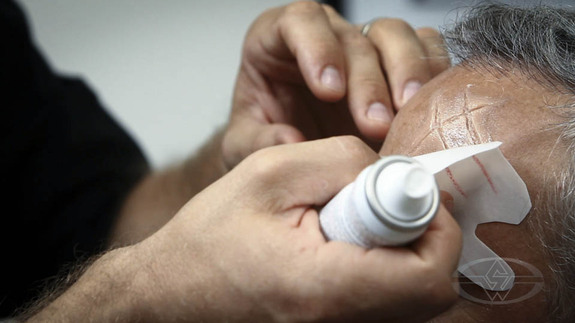 (Christien peels back the acetate on a fresh transfer.)
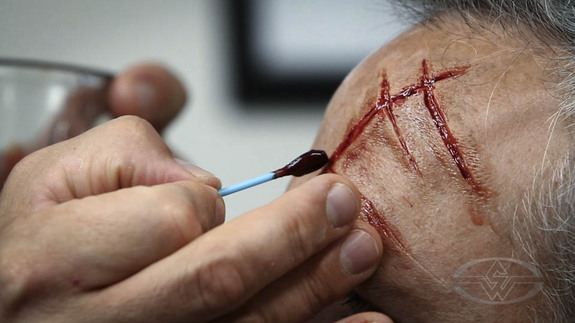 (Christien paints in the deeper blood.)
Final Thoughts
Christien concludes by a bit more of the interview process and advice to anyone wanting to break into the makeup effects industry. All in all, from beginning to end, this is as thorough of a lesson on prosthetic transfers as you’ll ever see. Dig in.
- Jeff Dixon
To check out the FULL LESSON, just click HERE: How To Make Prosthetic Transfers - Makeup Effects Innovation