

Filling Gaps with Free Form Habitat Black
In this FREE excerpt from the Stan Winston School of Character Arts course, Silicone Mask Making Part 1: Epoxy & Fiberglass Molding, master mold maker Mike Cooke explains how to fill undercuts using different types of Free Form.
Jump To Section
- Measuring Epoxy, Free Form Air, and Habitat Black Ingredients
- Applying Epoxy Gel Coat
- Applying Free Form Habitat Black
- Brushing the Excess Resin
- Applying Fiberglass Sheets
To watch the complete instructional video, click the player above!
In this lesson, Cooke discusses an important process used to make a durable epoxy and fiberglass mold for a high-quality — dare we say, immortal — mask.

Materials needed for this lesson include:
-
Free Form Habitat Black Epoxy putty (Smooth-On)
-
Free Form Air sculpting Epoxy dough (Smooth-On)
-
EpoxAmite 100 (Smooth-On)
-
CA Accelerator Insta-Set by BSI
-
6 ounce fiberglass cloth
-
10 ounce fiberglass cloth
-
Soft brushes
-
Digital scale
-
Black nitrile gloves
-
Wooden mixing sticks
Ready to take your mask-making skills to a professional level?
Let's dive in!
Measuring Epoxy, Free Form Air, and Habitat Black Ingredients
As your EpoxAcoat finishes curing, you’ll want to start with measuring the sculpting epoxy dough known as Free Form Air (a two part epoxy) along with epoxy putty in the form of Free Form Habitat Black (which also comes in two parts).
First, pre-weigh 300 grams of the epoxy resin, EpoxAmite 100, with a digital scale.
 (Cooke pours 300 grams of EpoxAmite 100 to use before applying Free Form Habitat Black.)
Next, it’s time to measure your Free Form Air.
 (Cooke weighs Free Form A and B in advance for later use.)
You’ll want 350 gram batches of parts A and B, which will be enough for around the flange and the bottom of the core. The two parts have different colors (white and gray) that will help you tell when they’re completely mixed. Set both parts aside for later use.
Next weigh out 150 grams of Free Form Habitat Black Part B. You'll immediately notice that Habitat Black has more of a putty consistency compared to the Free Form Air.
 (Cooke's solution to filling gaps: Free Form Habitat Black! Part B pictured above.)
Cooke says it’s useful to have this putty-like consistency to fill in the ears, nostrils, and low points around the eyes before beginning the fiberglassing process. There are methods such as chopped fiber that could still get good results, but for efficiency, durability and ease, nothing beats the Habitat Black.
Now, add another 150 grams of Habitat Black Part A to the scale.
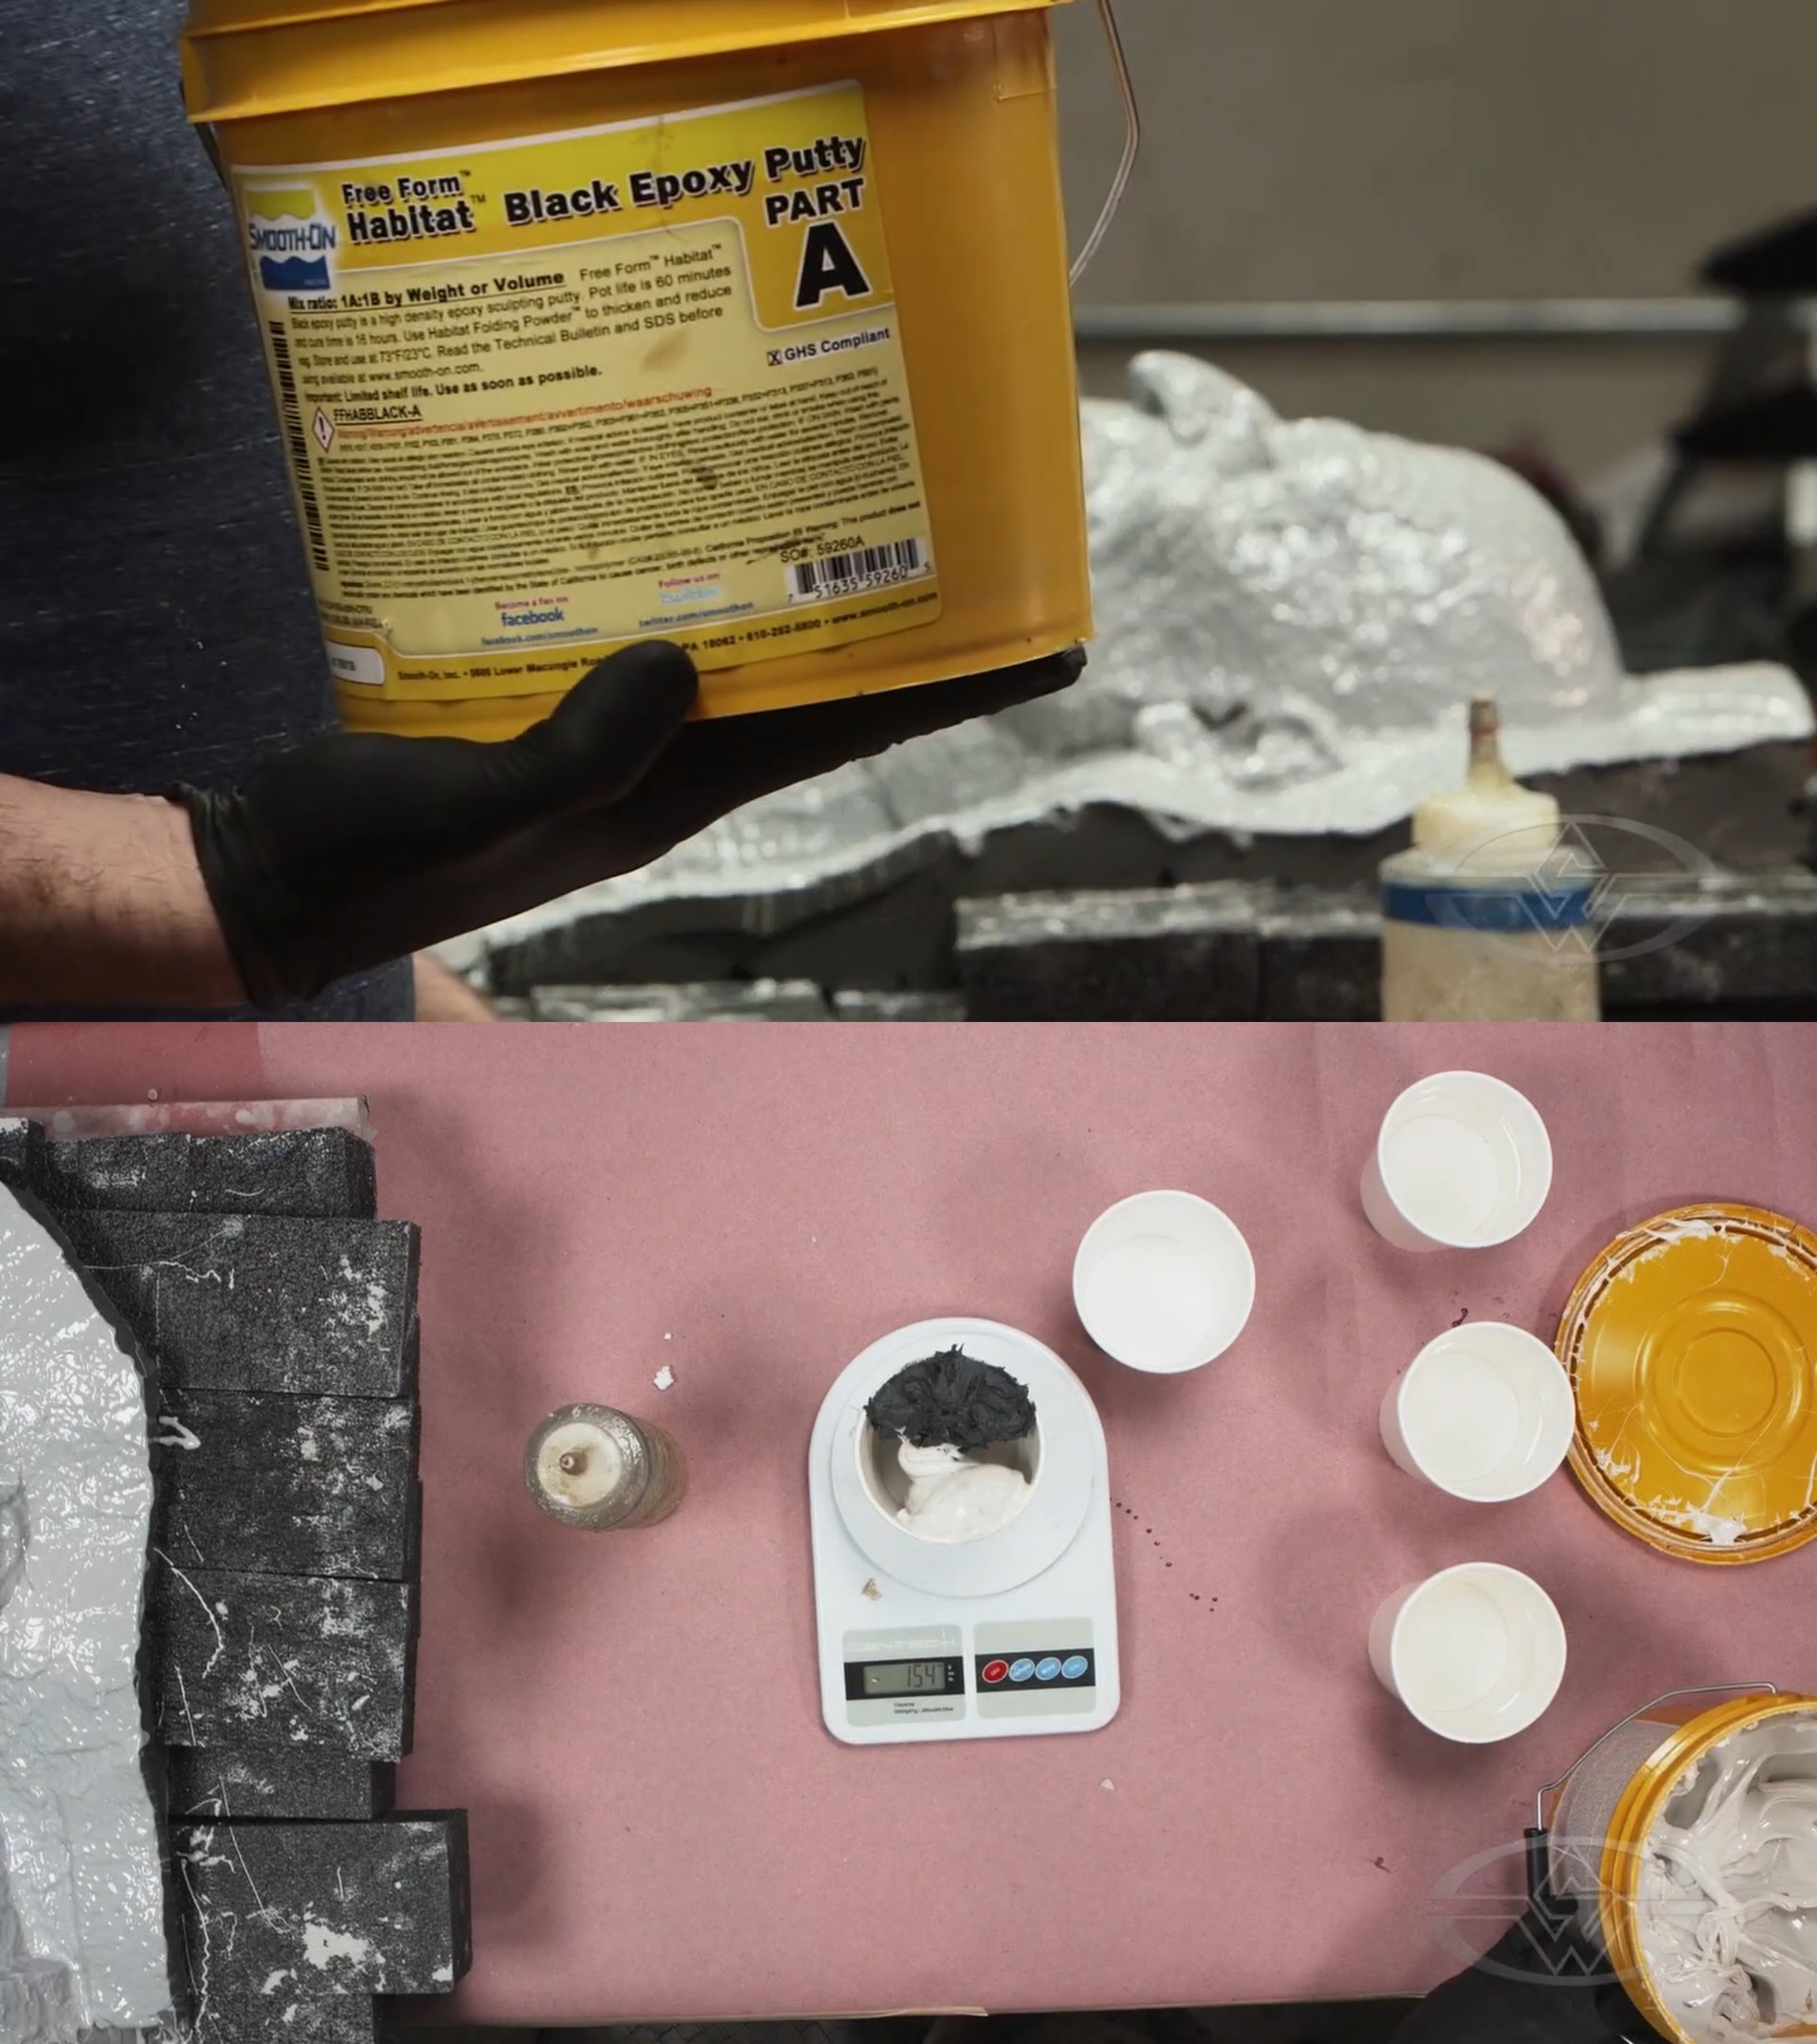 (Cooke weighs 150 grams of Habitat Black Part A and Part B each.)
Once the second layer of epoxy gel coat is all set up, begin mixing both parts of Habitat Black until it turns one consistent color. Cooke mixes until there are no streaks of black and white; a solid color tells you it’s thoroughly mixed.
 (Cooke mixes the two differently colored forms of Habitat Black until the mixture is one consistent color.)
Once your epoxy putty is fully mixed, you add the catalyst, CA Accelerator Insta-Set by BSI. Cooke adds 87 grams of the catalyst to the 300 gram batch in the scale for a 100:29 ratio.
 (Cooke weighs 87 grams of his catalyst, CA Accelerator Insta-Set by BSI.)
Applying Epoxy Gel Coat
Using a soft brush, brush the epoxy gel coat, and apply it over the entire surface of the mold.
 (Cooke applies epoxy gel coat all over the mold.)
EpoxAmite serves as a primer before plugging the nose holes and ear holes with the Free Form putty. Using the epoxy gel avoids any type of trapped air when it’s time to press it into the deep cavities of the mold.
Applying Free Form Habitat Black
After just a few minutes, the epoxy gel coat will have cured up enough to protect the sculpture from damaging it as you push in the Habitat Black.
Take a small amount of Habitat Black on your fingers and press it into your mold, making sure to massage it into place so you can really push it into the cavities.
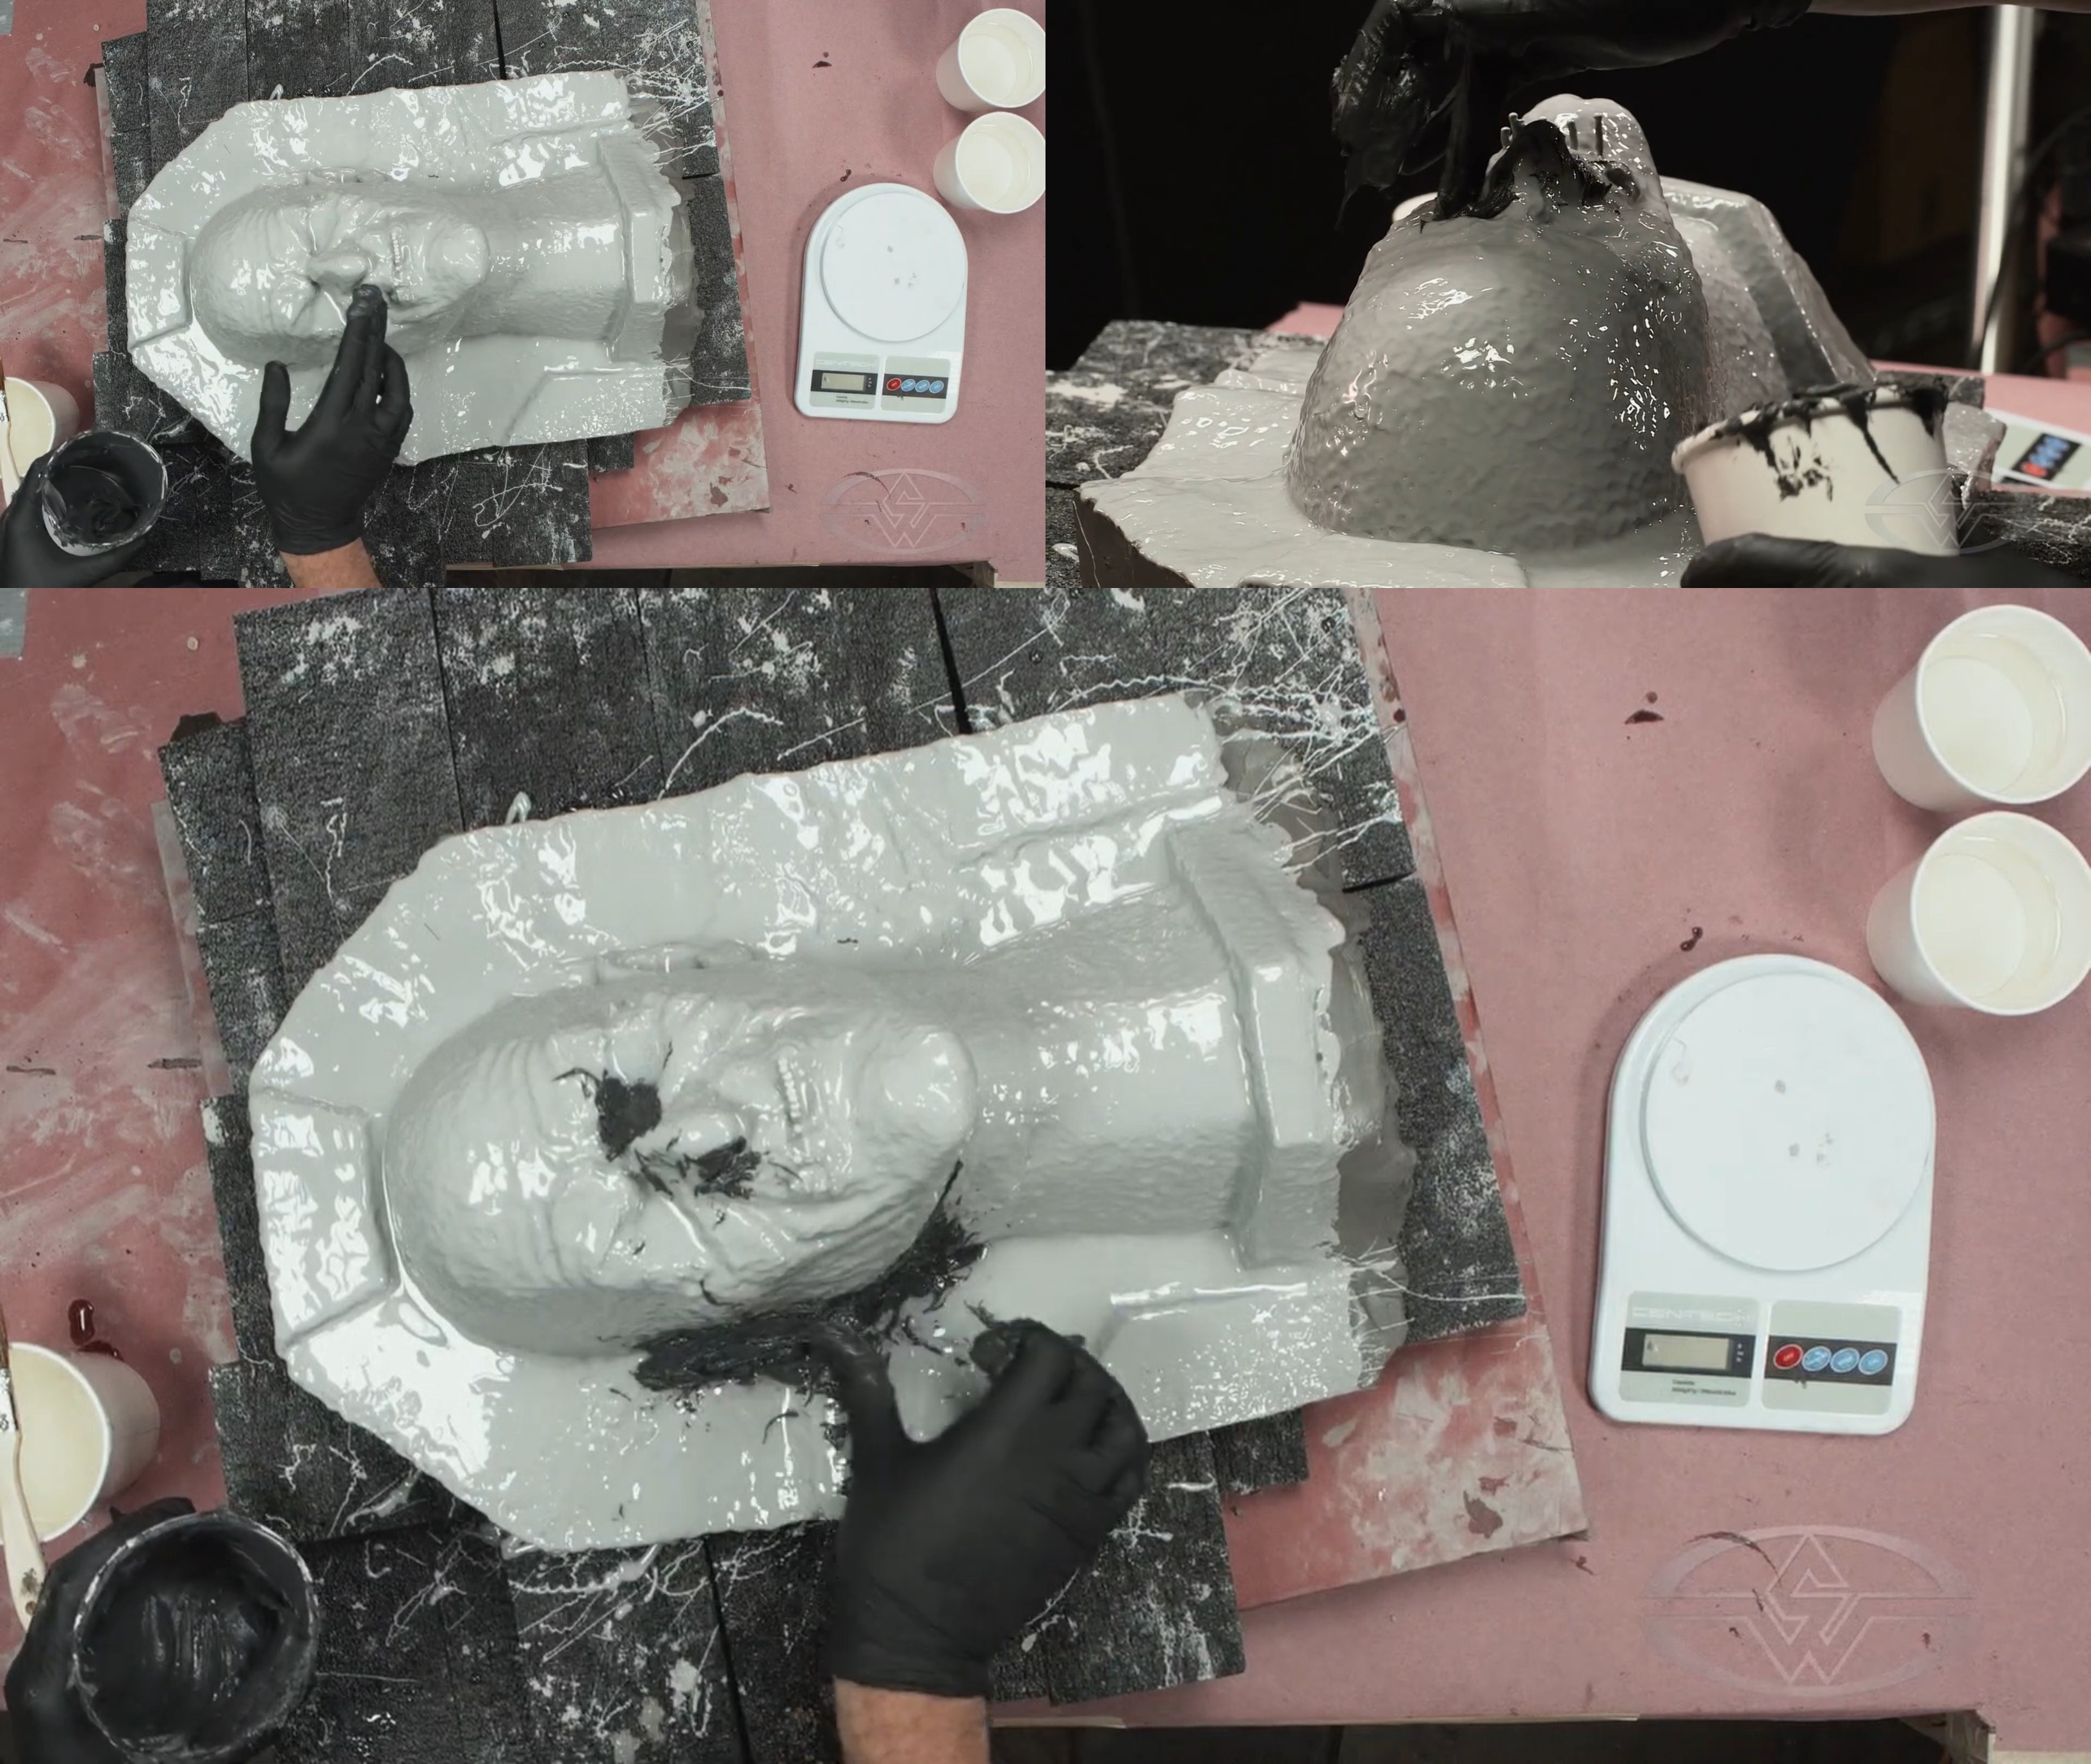 (Cooke uses Habitat Black to fill in hard-to-fiberglass spots, such as the nose and ear holes.)
Cooke narrates his procedure, “I’m not pushing in too hard just because I don’t want to crack the gel coat or create a divot just because it is still soft. It’s not fully cured. But it is at that point where you can touch it without agitating it.”
Add more Habitat Black to the eyes, mouth, and ears.
 (Cooke continues to fill gaps in his mold to reduce the chances of an air pocket forming.)
The epoxy putty is used for the deep spaces between the jaw and clay wall, as well as beyond the earholes. Epoxy putty works by helping to grab onto the fiberglass and lessen the risk of an air pocket.
Anywhere you have undercuts or potentially hard-to-fiberglass areas, add more Habitat Black just to be safe.
 (Cooke's mold after applying Habitat Black.)
Brushing the Excess Resin
Prepare to brush off the excess resin on top of the Free Form Habitat Black to encapsulate it and the laminating resin. (You can use any kind of soft brush to brush a coat of epoxy resin.)
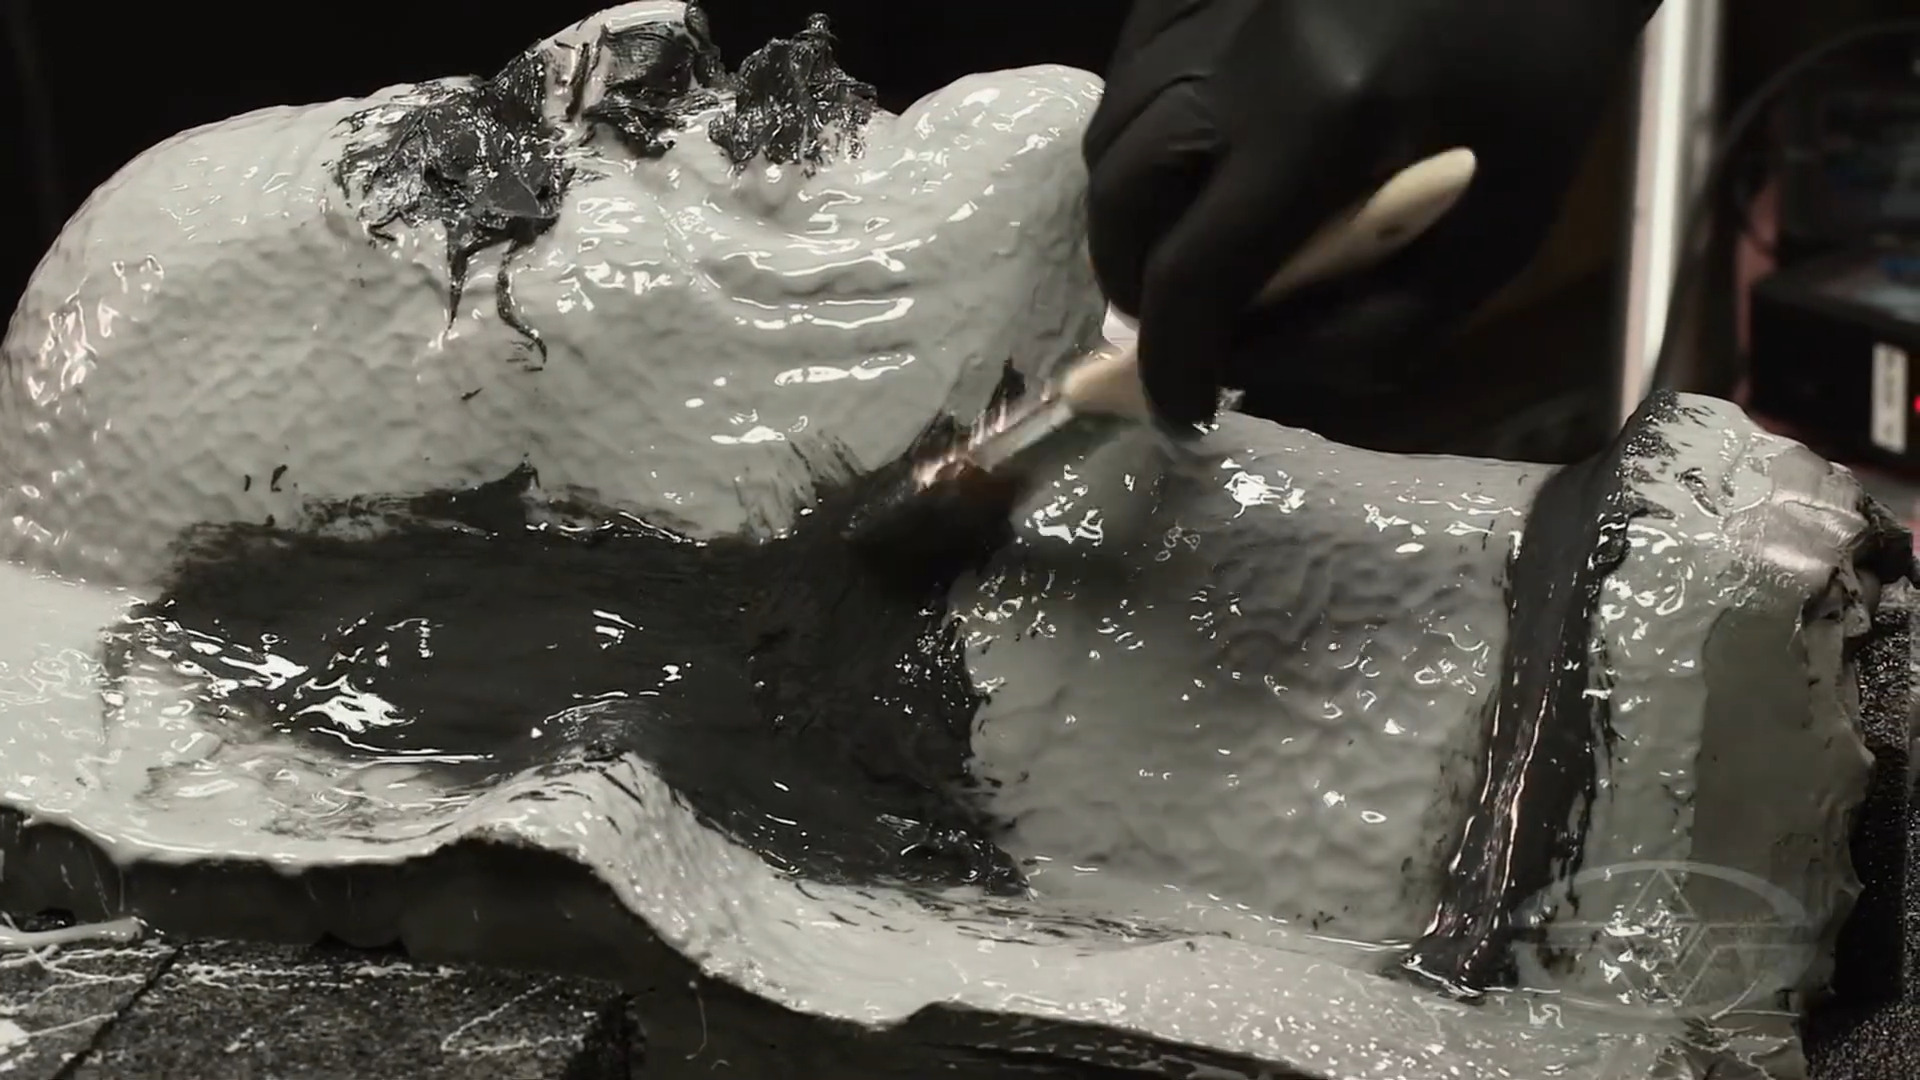 (With all the gaps now filled, Cooke brushes away the excess resin.)
As you brush away the excess, focus on what’s settled onto the flange. You won’t need to pull any more Habitat Black from your cup.
As Cooke explains, deep indentations, or undercuts in sculpture, can pose a challenge, “the nostril cavity, since it’s vertical, it’ll be really hard to get fiberglass. For our molds here, it’s easier for us to go in with a firmer epoxy putty and pre-fill those.”
Applying Fiberglass Sheets
Next, you will begin laying down fiberglass sheets. Lightly press them along the areas where Habitat Black was applied.
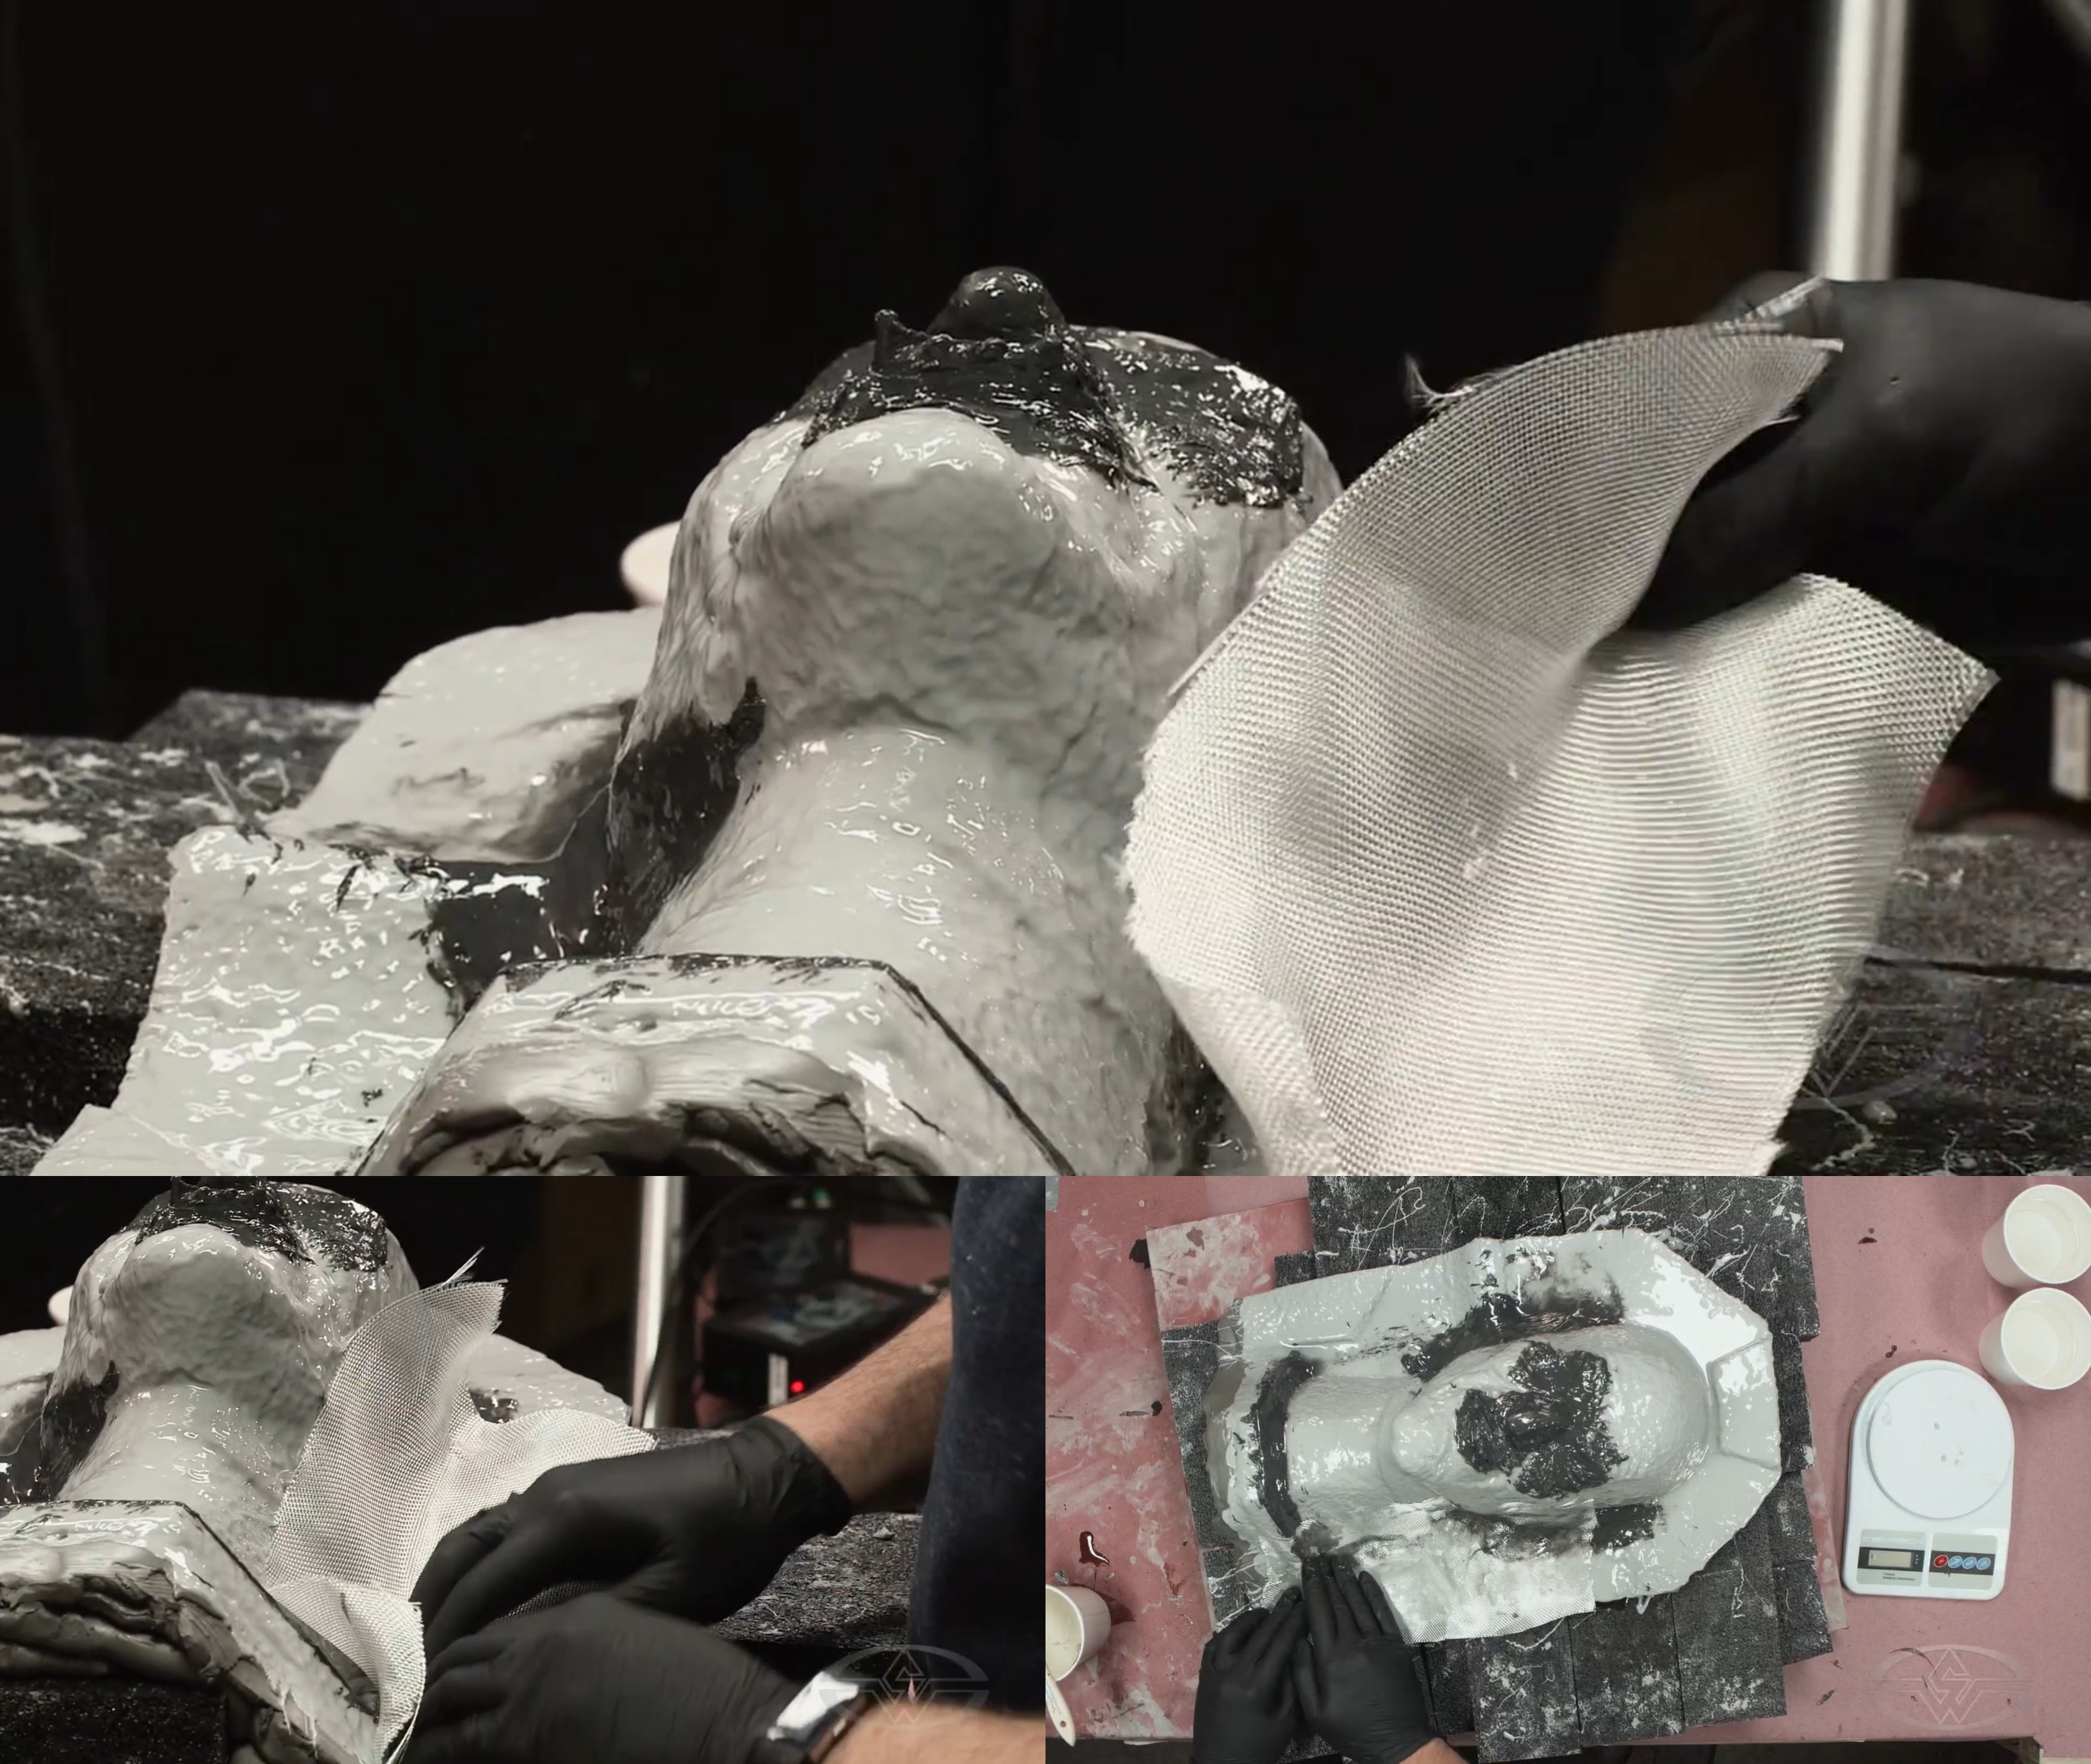 (Cooke places fiberglass sheets around the mold.)
Finally, you will add another layer of epoxy gel coat where the fiberglass sheets were placed.
 (Cooke brushes on another layer of epoxy gel coat over the applied fiberglass sheets.)
Now, you’re ready to layer fiberglass to further reinforce your mold!
WATCH THE “SILICONE MASK MAKING” COURSE SERIES:
Silicone Mask Making Part 1: Epoxy & Fiberglass Molding
Silicone Mask Making Part 2: Finishing The Epoxy & Fiberglass Mold