

How to Make Whiskers for Animal Puppets
In this FREE excerpt from the Stan Winston School of Character Arts course, Fur Transfer, Electrostatic Flocking And Hair Punching, master creature FX hair and feather artist Deborah Galvez (Life of Pi, Where the Wild Things Are, Dr. Dolittle 2) shares over three decades' worth of creature effects hair work techniques to help you make whiskers and attach them to create your very own lifelike animal puppets.
Jump To Section
- Whisker-Making Techniques for Fantasy Characters
- How to Attach Whiskers to Your Puppet
- Tips on Creating Realistic Traits for Other Animals
To watch the complete video, click the player above!
In this lesson, Deborah Galvez and master wig maker and hair artist Connie Grayson Criswell demonstrate the best methods for making the perfect (or, in this case, purr-fect) whiskers and adding them to your puma puppet. The beauty is in the details, and these little details can elevate your work to achieve an even more true-to-life look.

Whisker-Making Techniques for Fantasy Characters
To create whiskers for your puma puppet—or any other animal with whiskers!—use feathers. Galvez uses white hackle and white turkey flat feathers in particular.
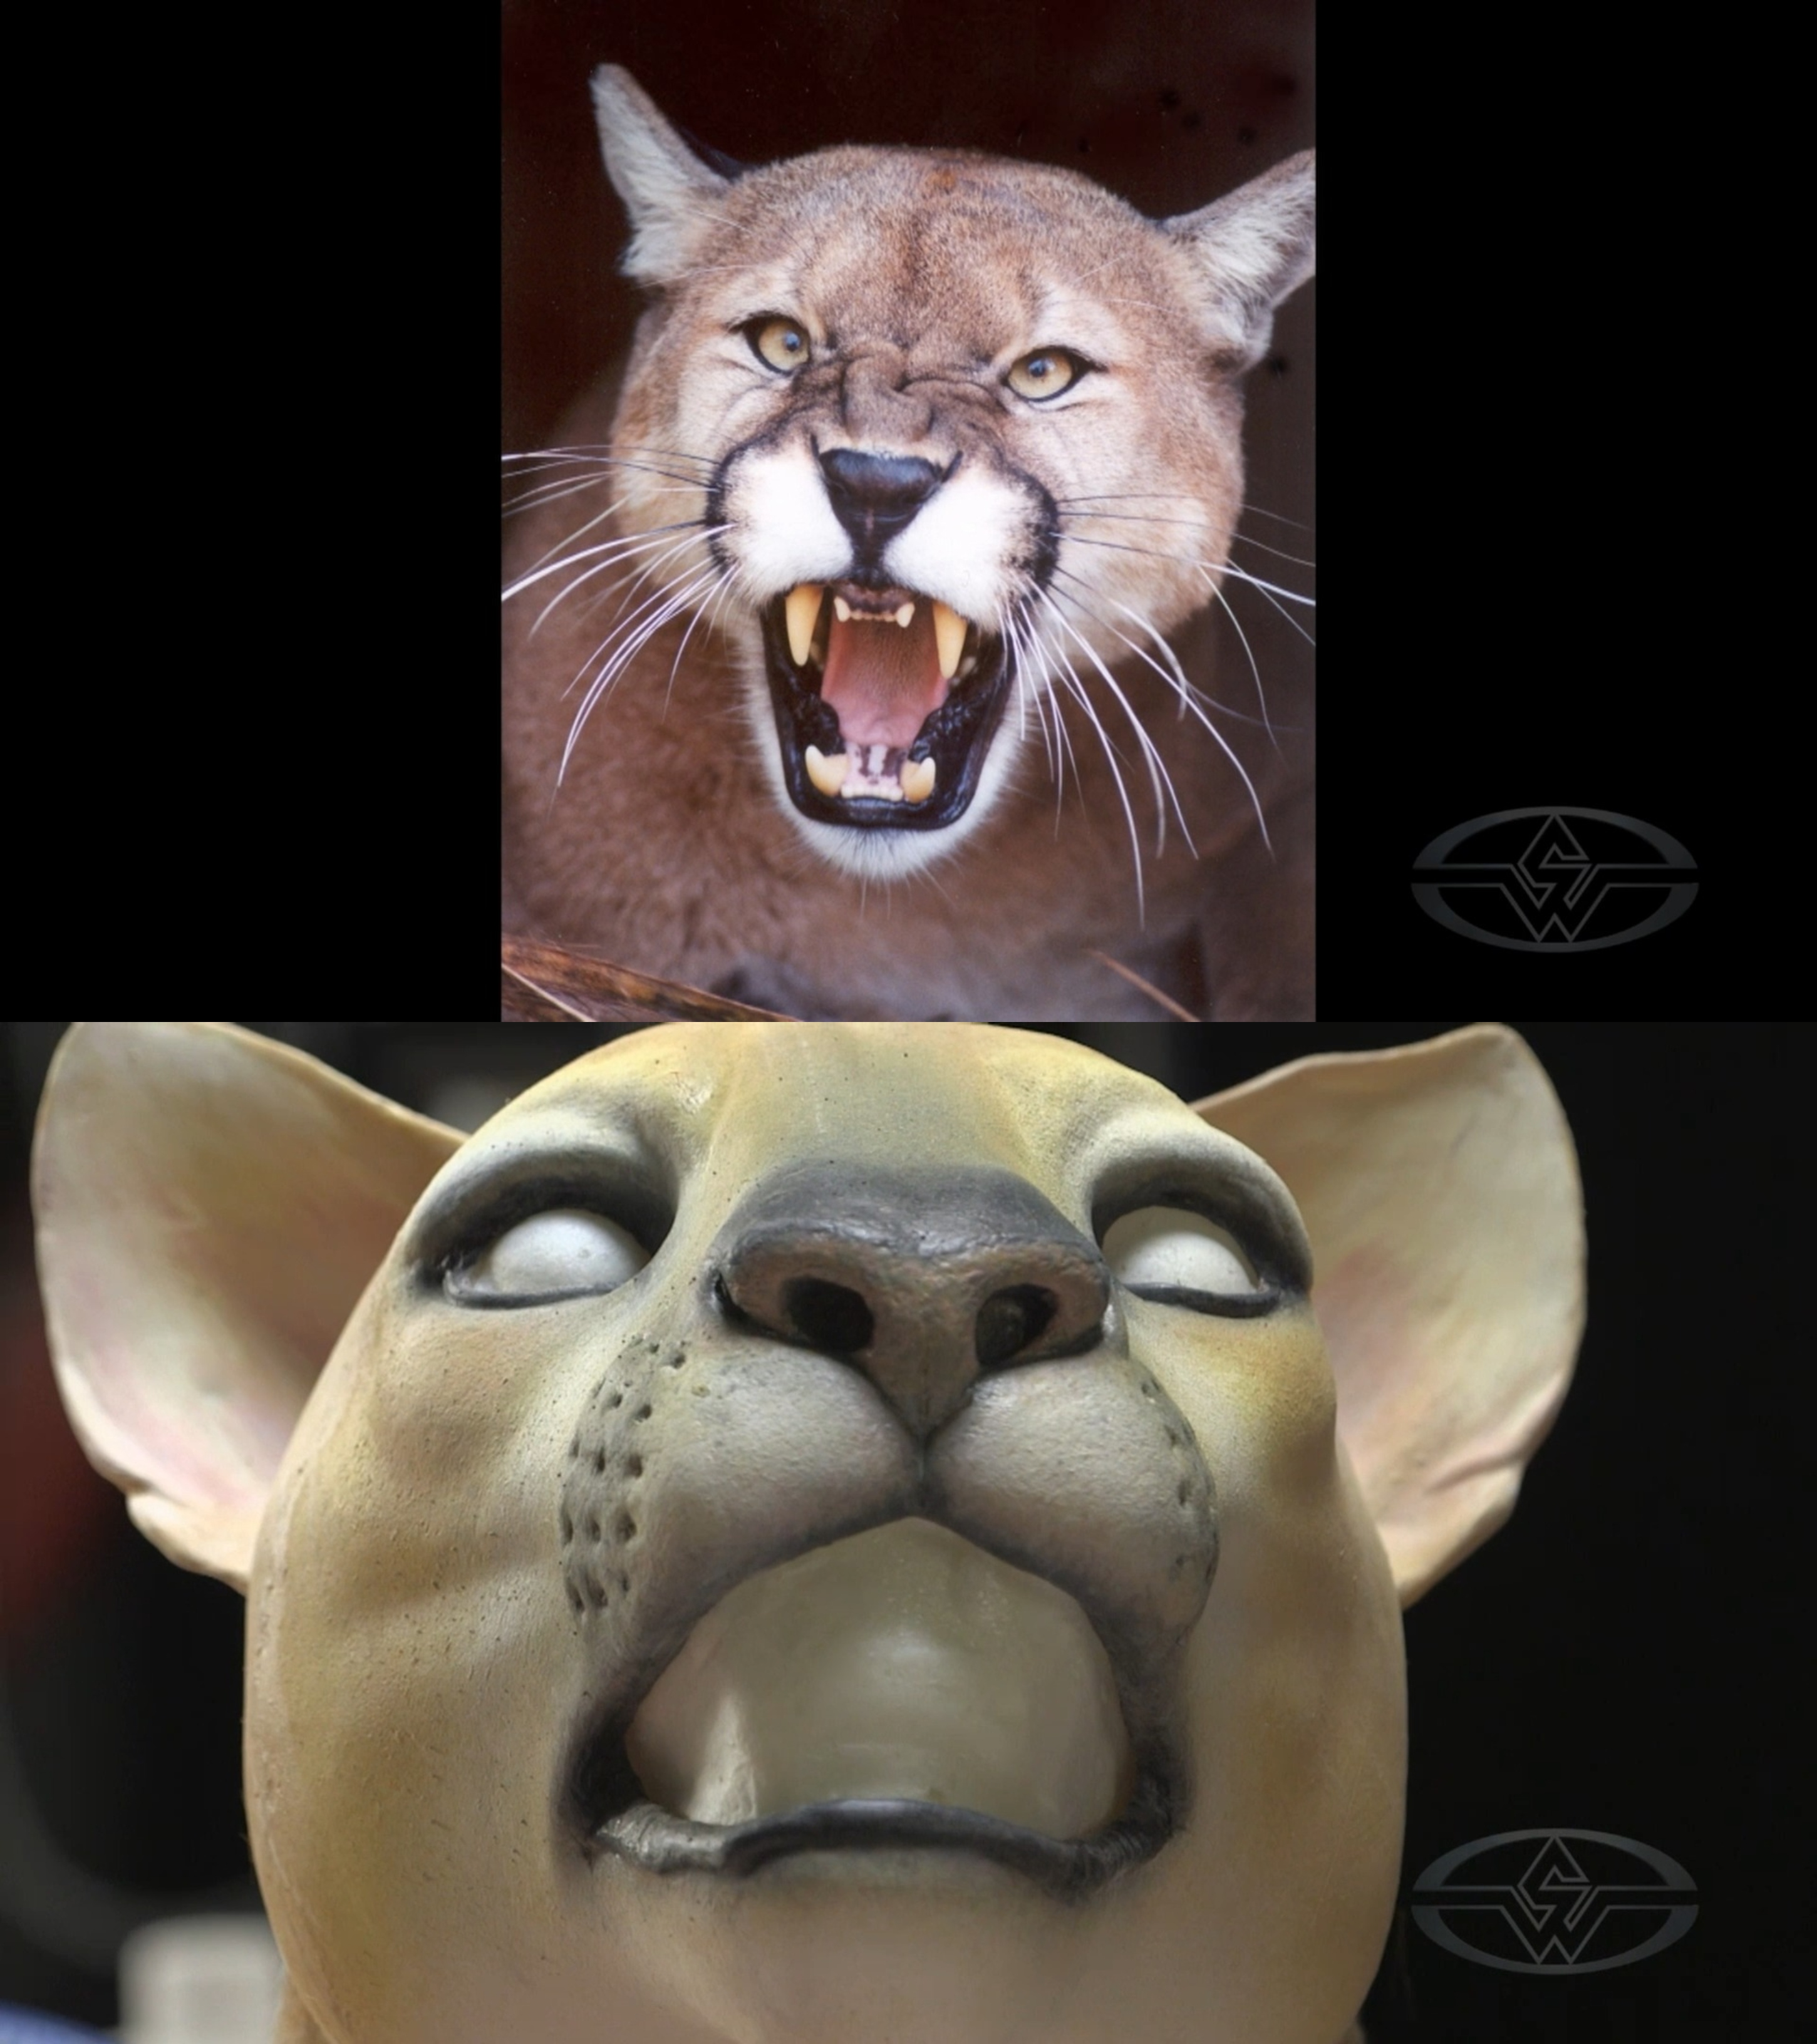 (Top: A reference photo for puma whiskers. Bottom: Deborah Galvez's painted foam latex puma before adding fur and whiskers.)
First, you'll strip each feather entirely of its fluff, leaving only the shaft. Galvez acknowledges that while this technique is time-consuming and messy, it results in making the best whiskers since the feathers already have the curl you want in whiskers.
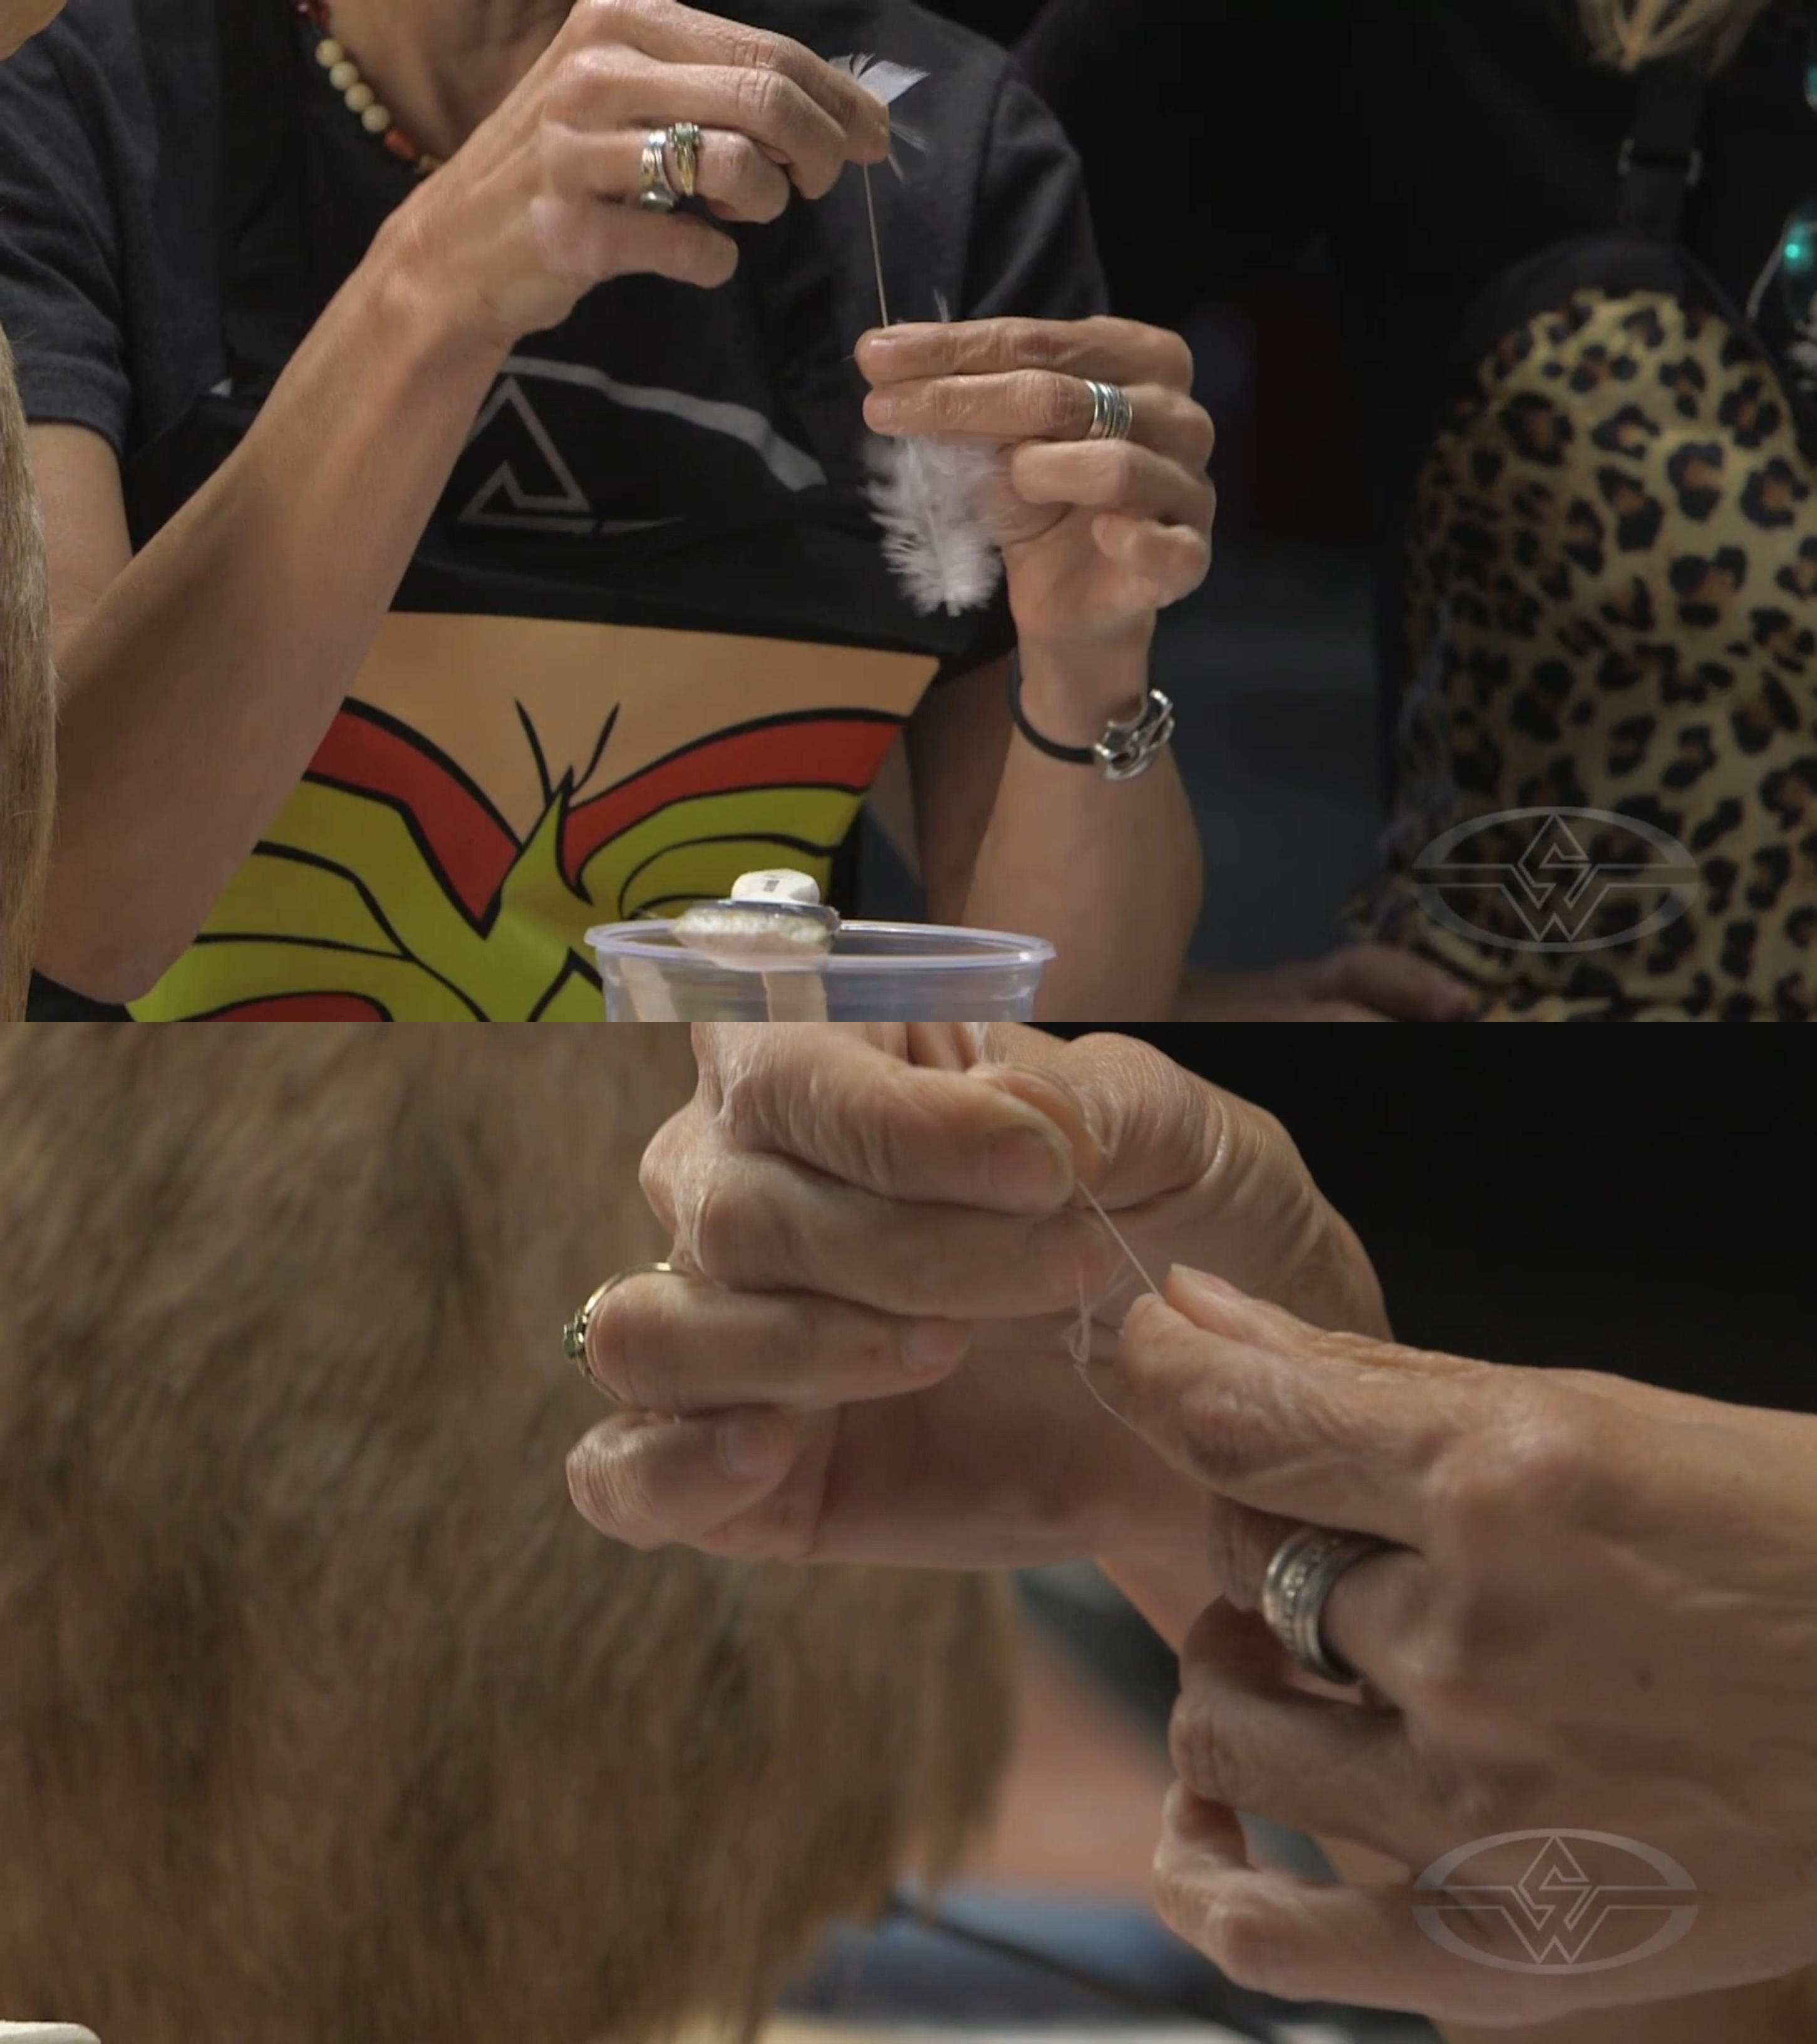 (Deborah Galvez strips each feather of its fluff to turn it into a whisker.)
As Galvez finishes removing the fluff from the feather, she presses her fingers together from the middle to the end of what's now a puma whisker to give it an extra little curve.
 (Deborah Galvez accentuates the curve in her whisker by applying gentle pressure with her fingers.)
Next, she cuts her whisker to add variety—and an element of realism—to the length. She'll do the same to the other whiskers, so they're not all one length.
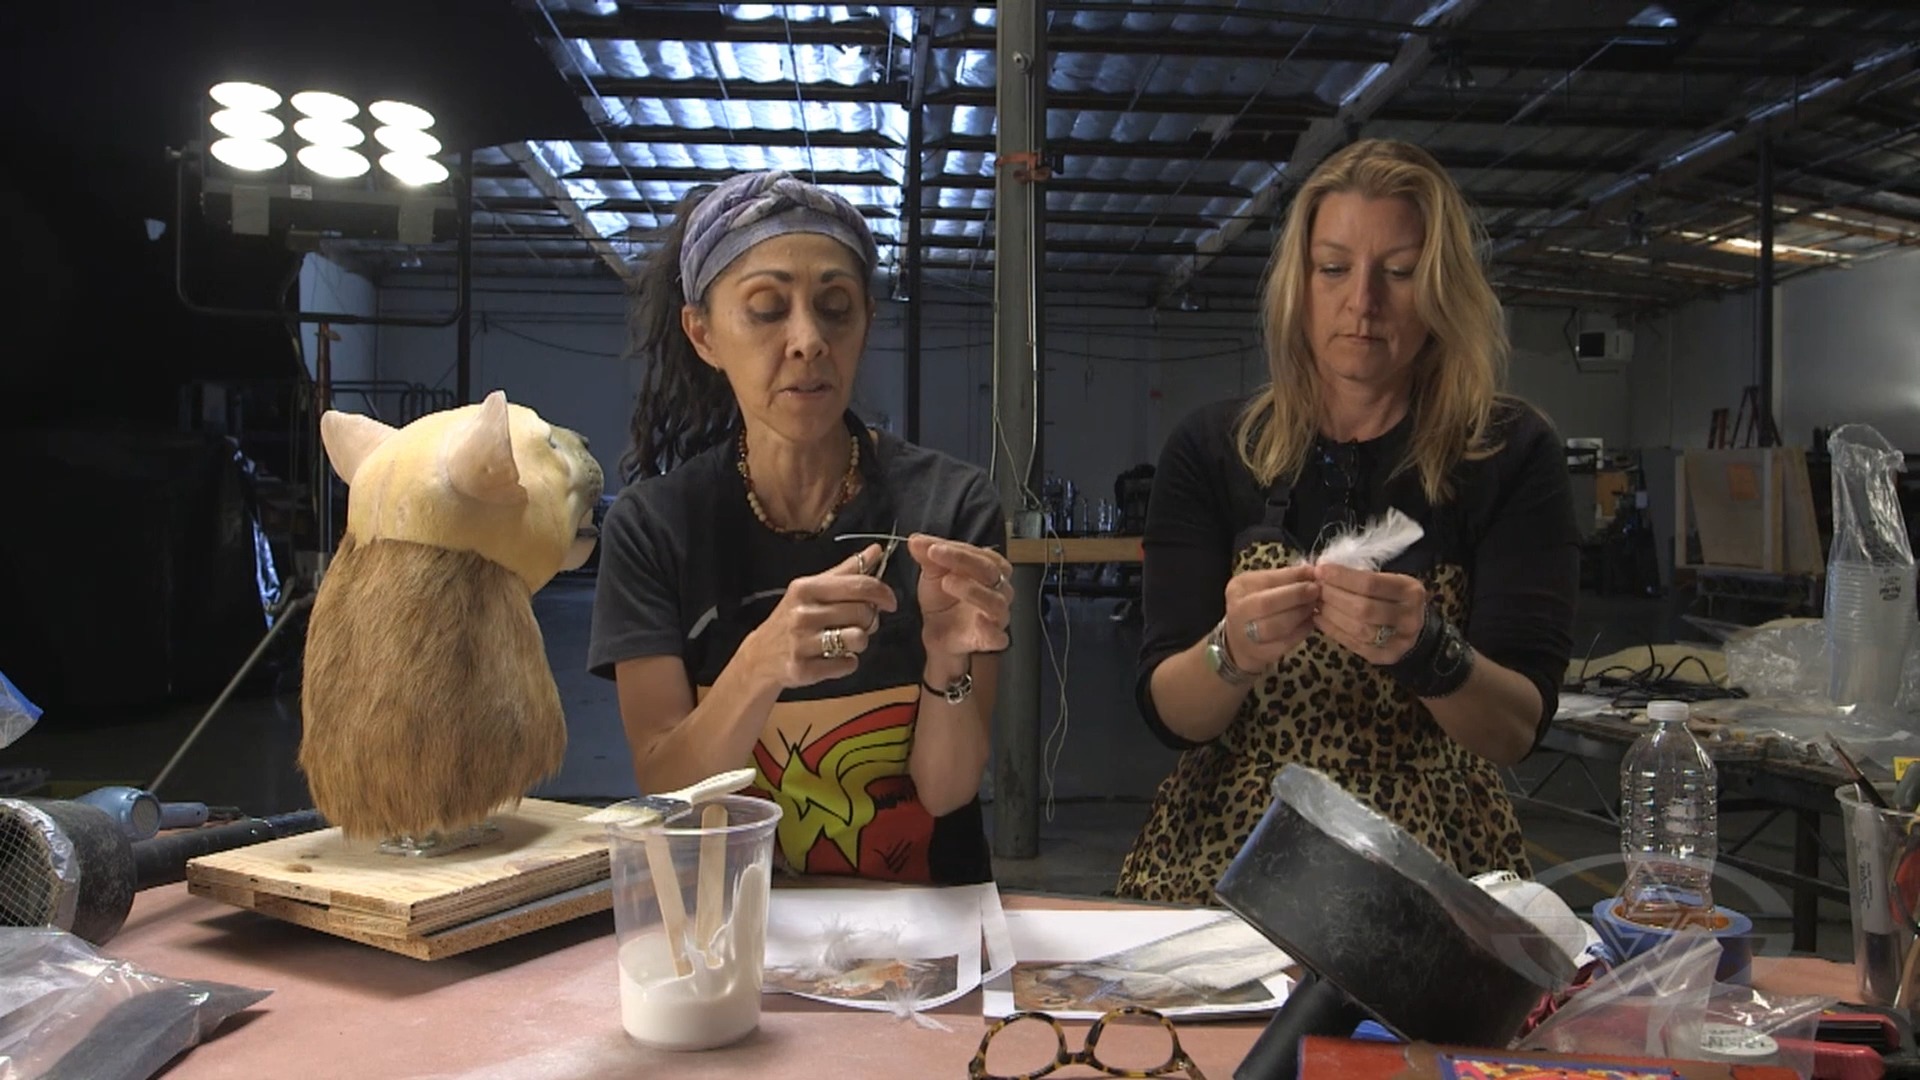 (Deborah Galvez cuts her whisker so all the whiskers differ in length, while Connie Criswell strips a feather.)
And voilà! You've made a whisker!
If you want to make black whiskers and don't have black feathers and are in a pinch, Galvez recommends simply coloring your white feather shafts with a black Sharpie. To darken your feather shaft and give it a nice curl at the same time, apply pressure with your Sharpie while simultaneously giving a slight pull upwards with your other hand.
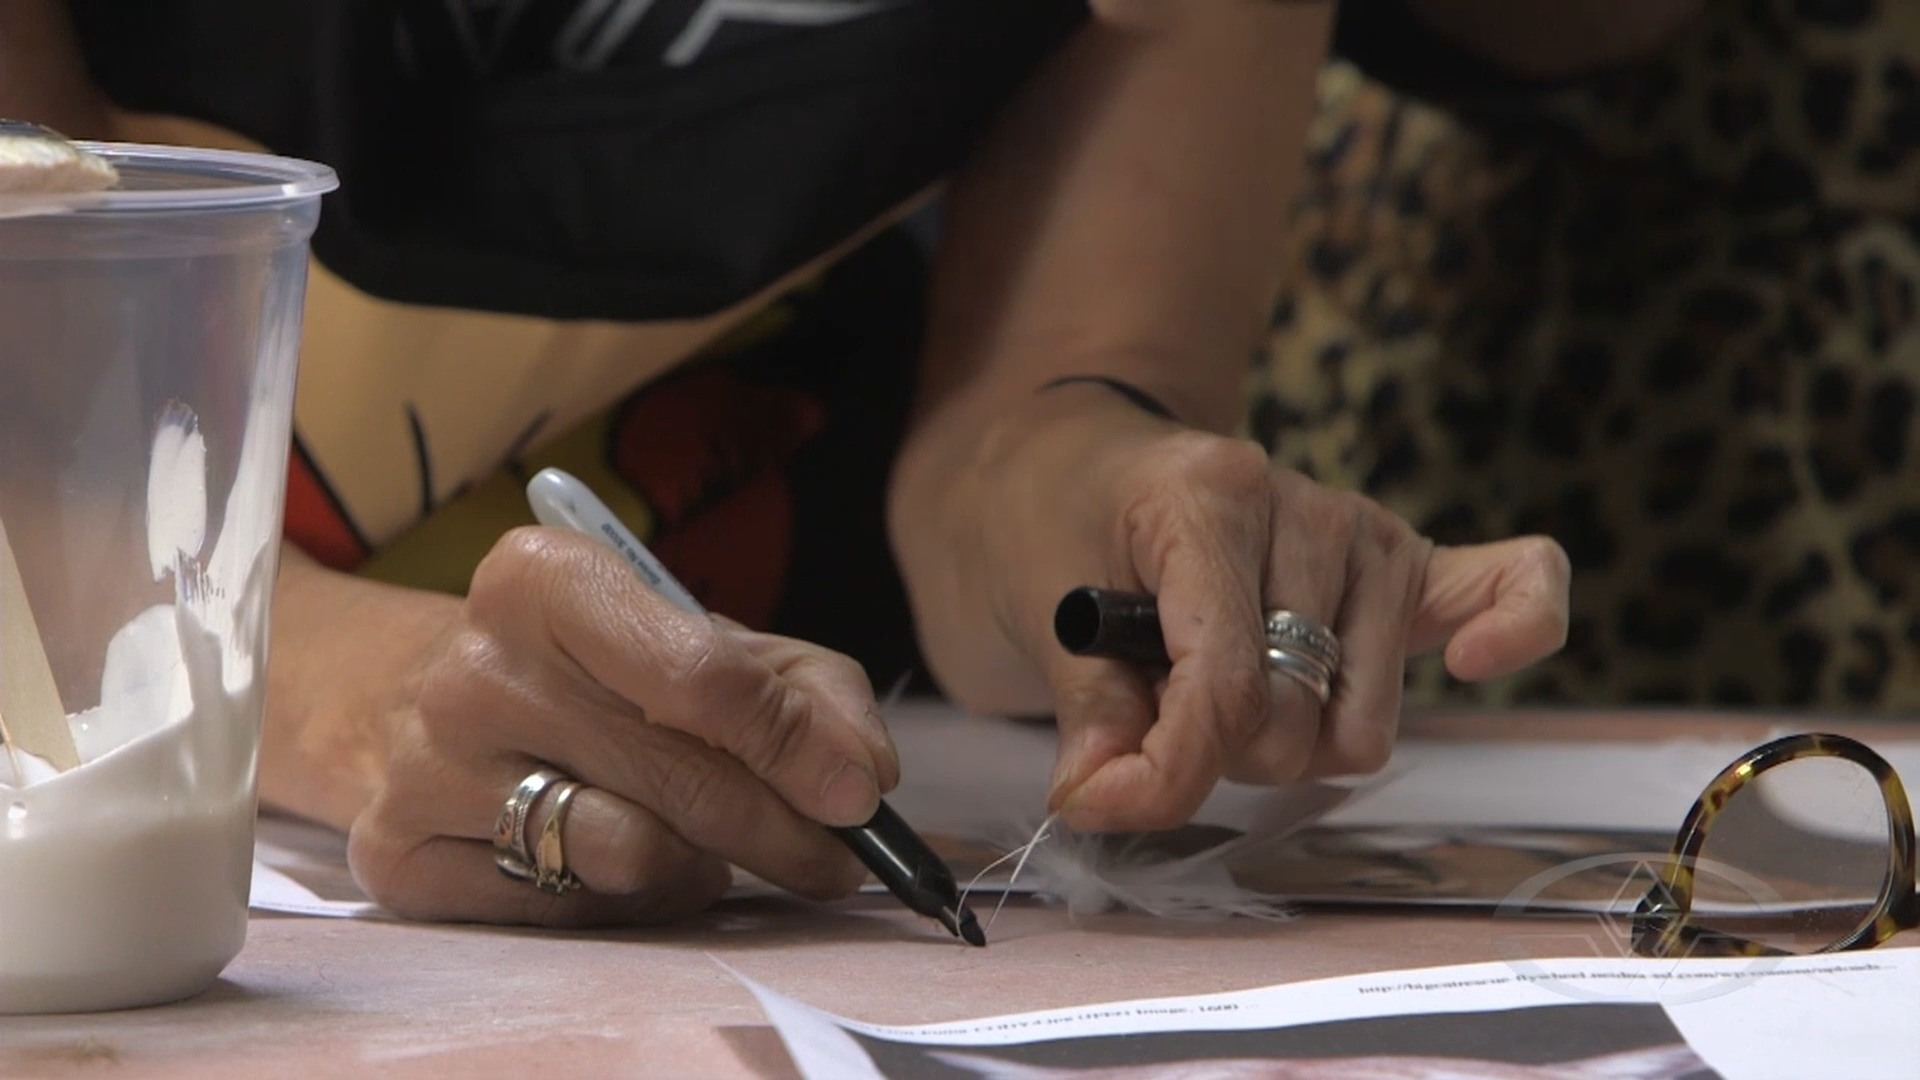 (Need black whiskers but don't have black feathers readily available? Use a Sharpie to make your own.)
"Animals have different textures and colors," Galvez says. "Nothing's all one color. There's always highlights and shadows."
She continues coloring her puma whisker to give it a photorealistic look and explains why patience is essential at this point in the process.
"It's the prep that takes the longest, but don't get discouraged or frustrated. It's all part of the process," she says. "But it's worth it because when you see it at the end, it's gonna be so fun, and you're gonna say, 'Wow, that's really cool. I did that.'"
 (Deborah Galvez and Connie Criswell hard at work making whiskers.)
Next, it's time to insert your whiskers!
How to Attach Whiskers to Your Puppet
The final step of creating your puma character is adding the whiskers.
To start, use a T-pin to pierce a hole in the foam where your whisker will go. It's important to use a big needle since a regular needle won't be thick enough. You can also use a big pair of scissors to make an even bigger hole for a large whisker.
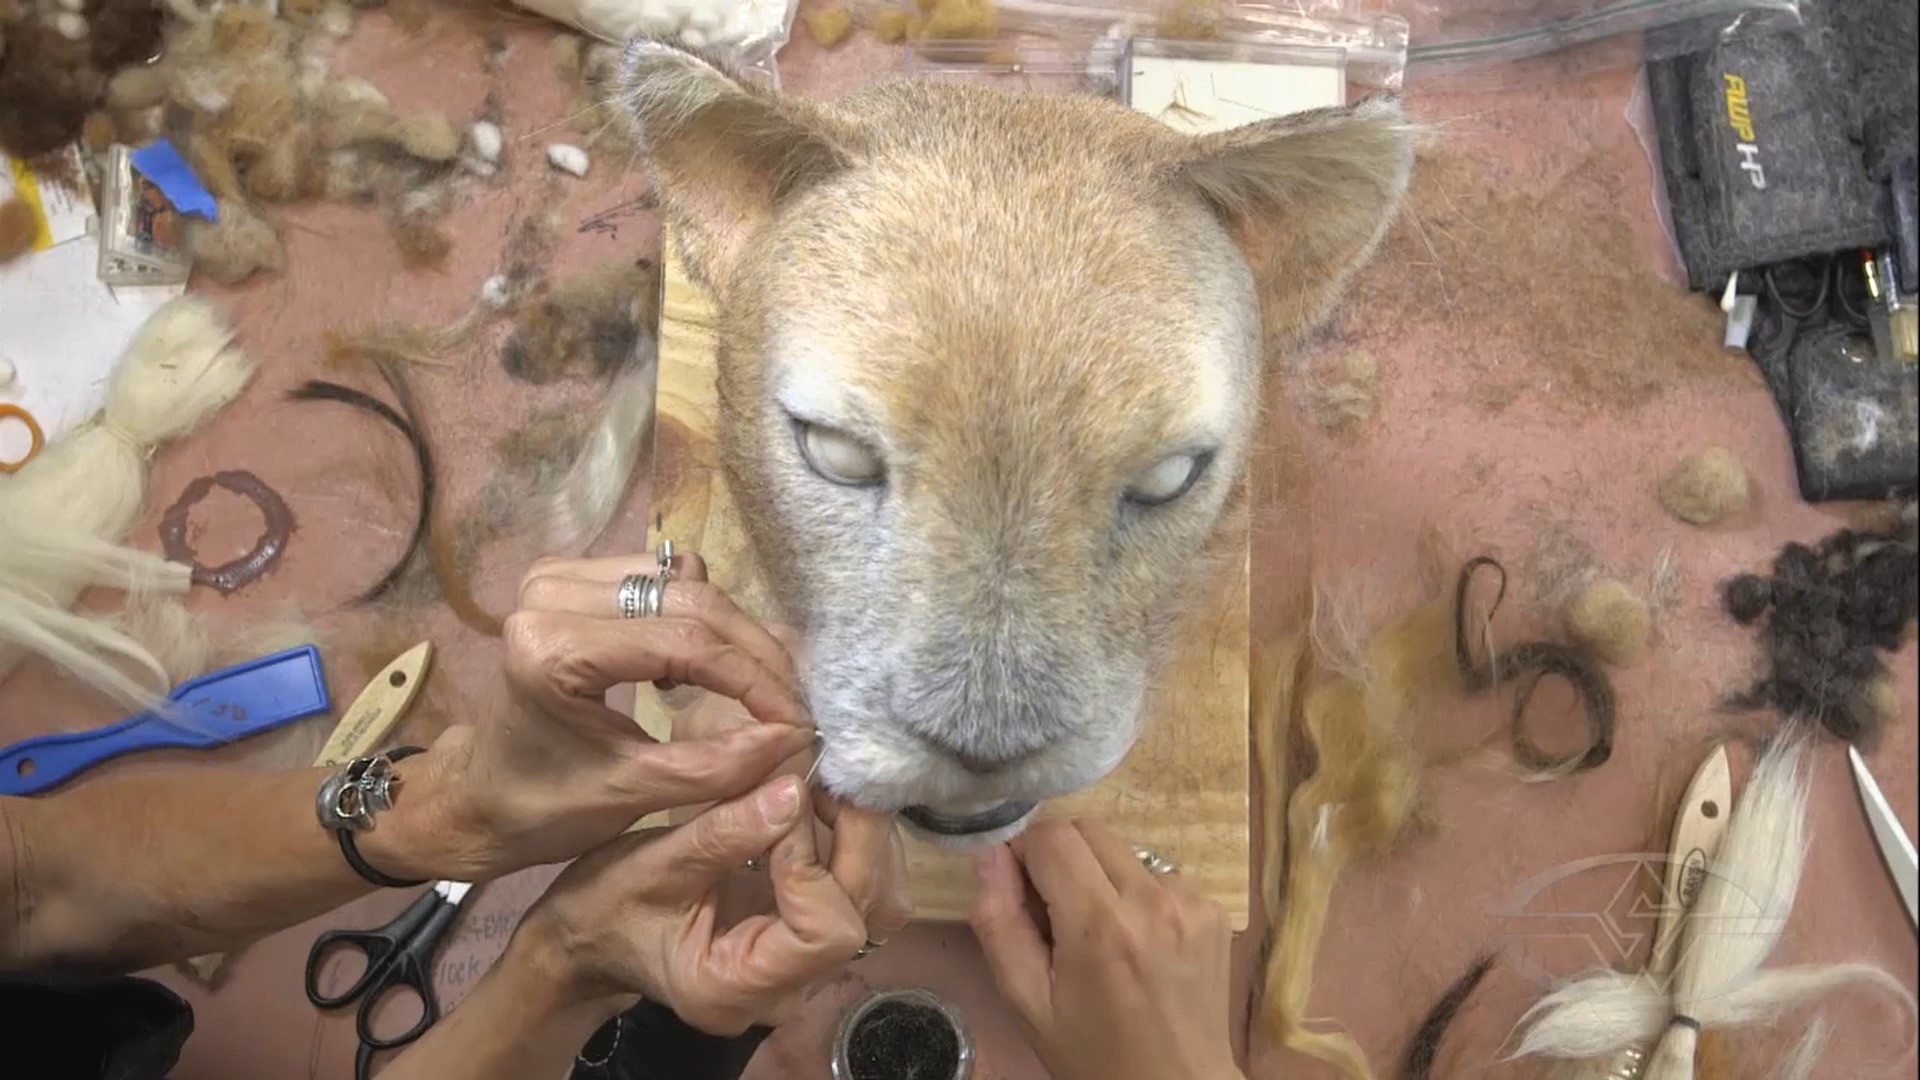 (Deborah Galvez decides where her whiskers will go and pokes a hole using a T-pin so she can insert them one by one.)
Then, slide your whisker into the hole you made with the T-pin.
 (Deborah Galvez slides the whisker into the hole she poked into the foam latex skin.)
Repeat this process using whiskers of different lengths and sizes.
Pro-tip: If you don't like how your whisker looks, you can always pull it out!
Galvez's reason for adding final touches, like whiskers, last is that she prefers to do so after the puppet's silicone skin has been peeled back to be placed over the mechanism and glued down.
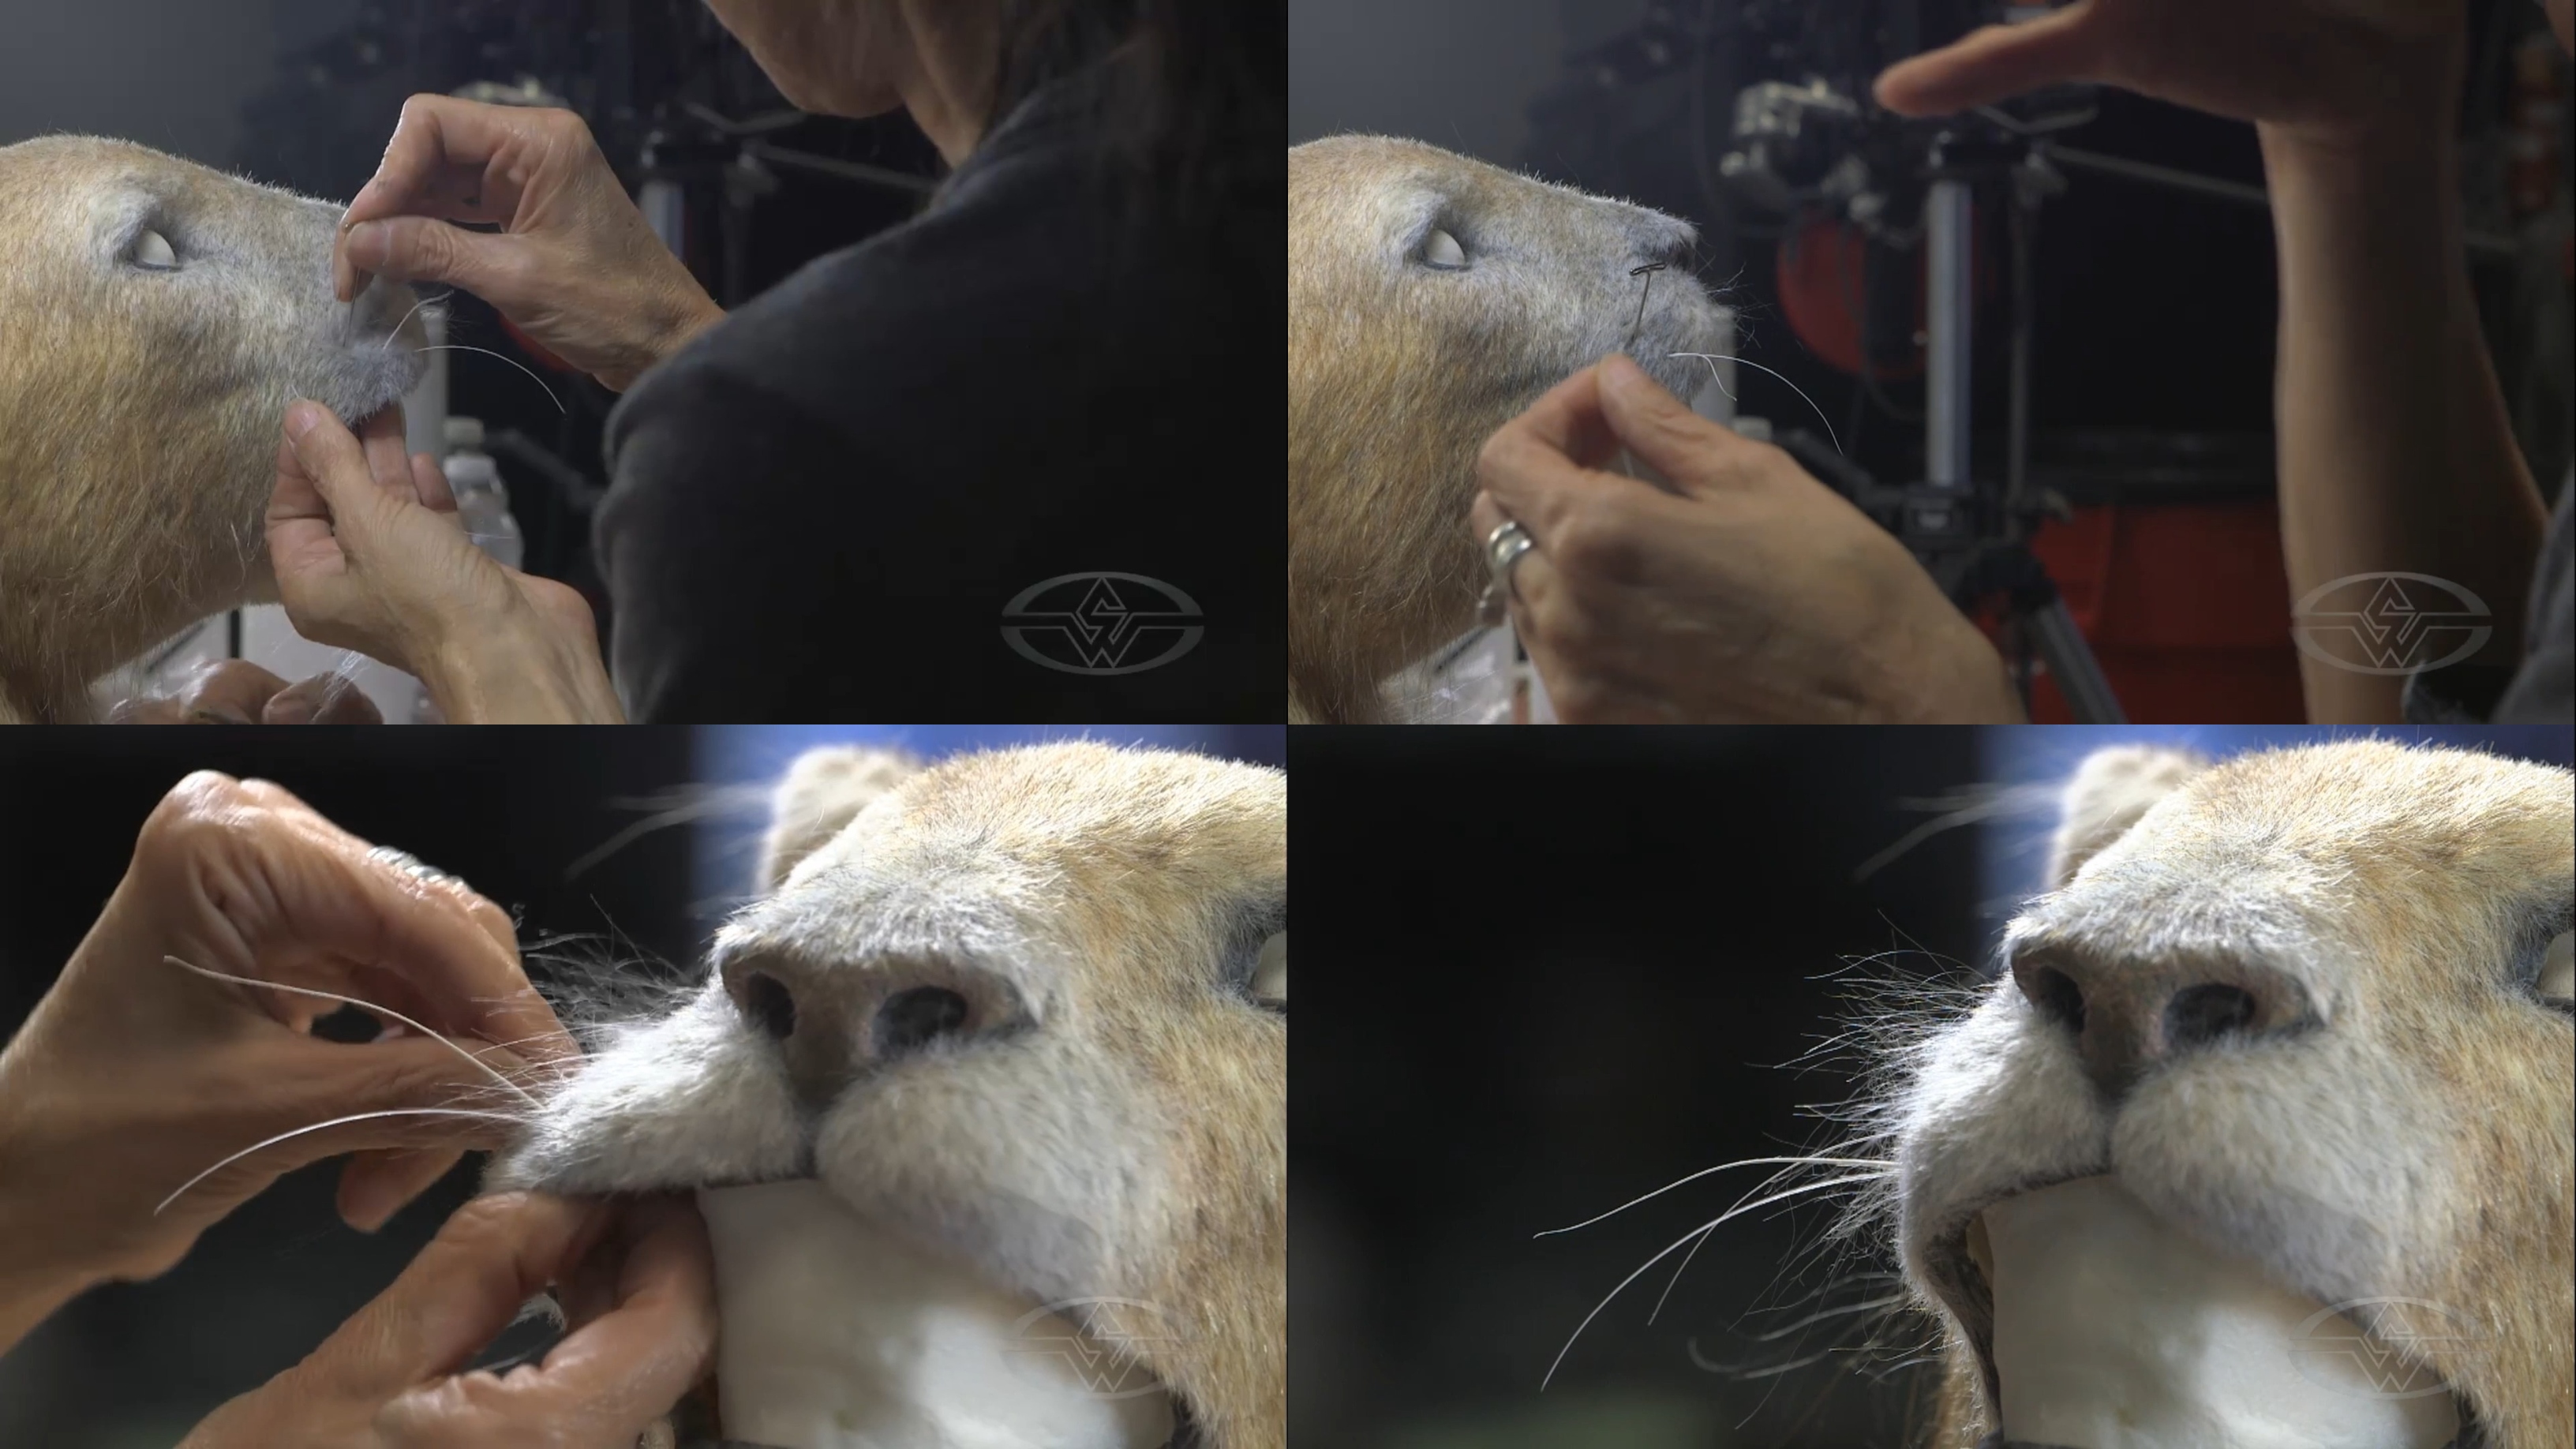 (Another look at how to attach a whisker to your animal animatronic.)
Tips on Creating Realistic Traits for Other Animals
What's great about these techniques is that they're versatile and can be applied to all kinds of animals. Though this particular lesson is on pumas, the same feather technique can also be used to create hedgehog quills, for example.
"If I wanted thicker whiskers, I would use the fatter turkey flats," Galvez says. "There's different types of feathers for different types of whiskers. I've even used paint brushes as whiskers."
You can also mold needles to use as quills and find faux fur that closely resembles their appearance. You would insert the quills into the skin just as you would the whiskers.
 (With each whisker, Deborah Galvez's already incredibly realistic puma puppet looks like it's ready to purr—or pounce—at any moment!)
WATCH THE FULL "FUR TRANSFER, ELECTROSTATIC FLOCKING AND HAIR PUNCHING" COURSE WITH DEBORAH GALVEZ: