
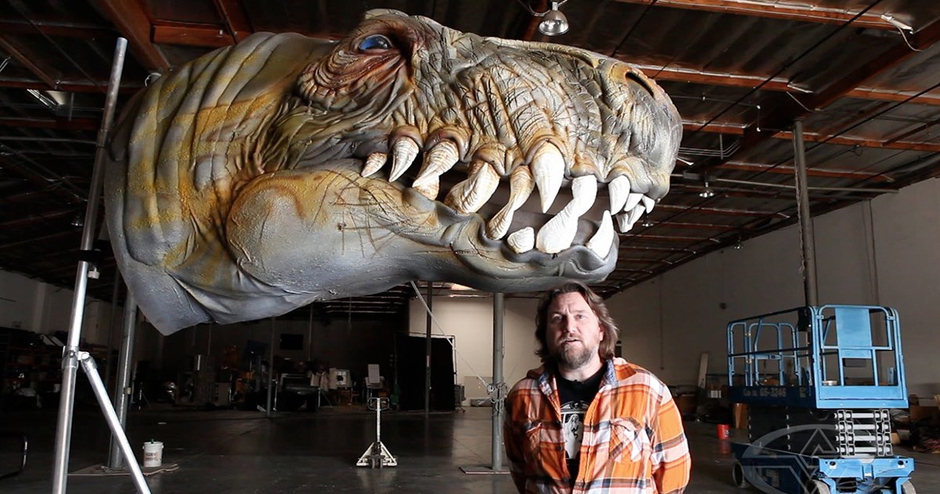
How To Make a T-Rex With Ted Haines
If you joined us for part one of this massive journey through the world of foam fabrication, then you’ll be elated to hear that part two is now up. Master monster maker, and wacky t-shirt enthusiast, Ted Haines continues to work tirelessly in his mission to create this enormous T-Rex made solely for the members of the Stan Winston School of the Character Arts.
This week we continue with PART TWO of the FULL LESSON - MAKE A DINOSAUR - T-REX FOAM FABRICATION PART 2.
Jump To Section
- Prepping for Secondary Processes for Your Dinosaur
- Making T-Rex Teeth
- Adding Texture to Your Dinosaur’s Skin
- Constructing the Under Skeleton of Your T-Rex
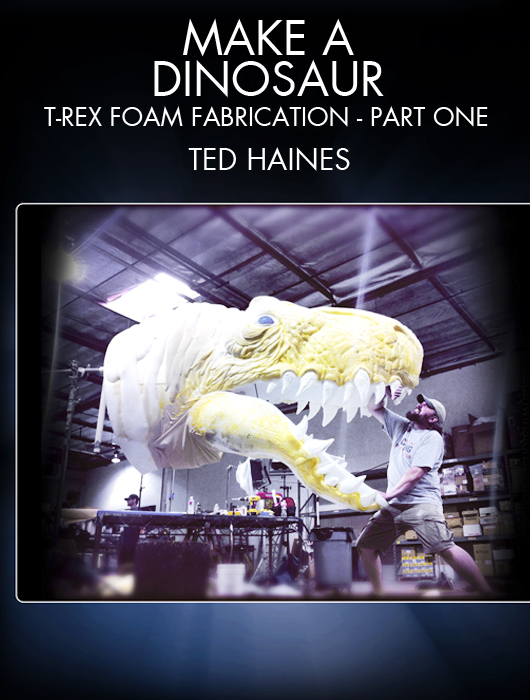 (Part ONE. You've got to see it. It's BIG.)
Prepping for Secondary Processes for Your Dinosaur
Part one gave us all the steps for the initial construction of the T-Rex head. We saw the structure go from a Photoshop sketch to an initial foam sculpture, to sectioned patterns, to blown-up larger pieces, to form what is essentially the skeleton and shape of the beast. Part two continues from here and takes us through all the secondary processes like textures, facial features, and even jaw movement.
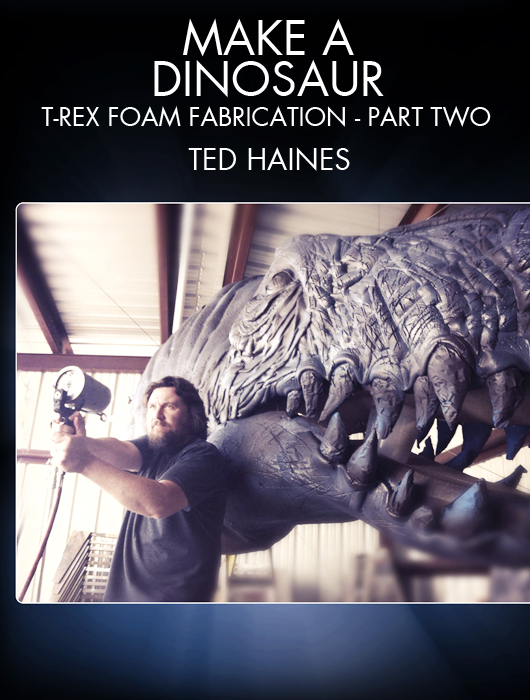 (Foam Solo takes on the Imperial Army with his new friend, Rex. Teeth, texture adhesive coat, and LATEX are covered in PART TWO.)
Making T-Rex Teeth
Starting right into it, we see Ted go to work on the teeth. One thing you’ll definitely notice in this lesson is a character trait of Ted’s that you see with most great artists and craftsmen. Ted doesn’t take shortcuts. While it would be so much easier for Ted to make all the teeth similar, you’ll see how he takes individual time and effort on every single tooth. There are all different sizes and all different shapes and textures. He even has a story behind some of the teeth. He talks about striations that were created when this tooth bit through bone. Or another one where the bottom has broken off of it because of age. It’s always a great thing to see when no corners are cut and no shortcuts are taken. To Ted, each tooth is as important to the next. And in a way, each tooth is a metaphor for the entire project itself. No one component is less important than the next. If one part looks bad, it’ll take the whole thing down a notch. A true master craftsman knows this, and you can see it in the way Ted works.
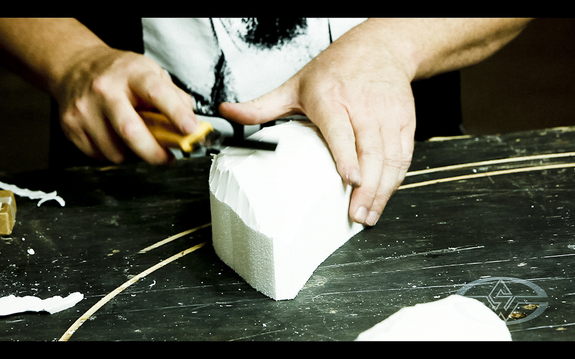
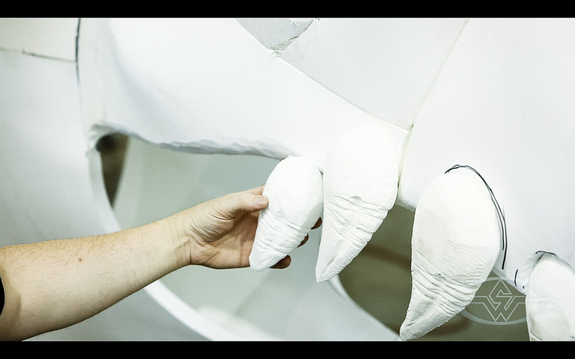 (Using his blade, Ted sculpts a rough shape for a MEDIUM tooth. Then, attaching it to the L-200 underskull, he plots the layout of 25+ chew machines.)
Adding Texture to Your Dinosaur’s Skin
Continuing from the teeth, Ted moves into the skin textures. To me, this is where this lesson really shines. Watching him create different aspects with foam will literally have you furrowing your brow with constant, “I had no idea you could do that with foam” moments.
First off, the gum line is something that will take you by surprise. The simple act of trimming thin foam, gluing and rolling over one side of it, then placing it meticulously and carefully across each tooth, is seriously fascinating. This is the first time you realize the type of fine detail work you can actually do with foam. Ted shows you with great detail and makes it appear that anyone can do it at home. And I honestly believe you can.
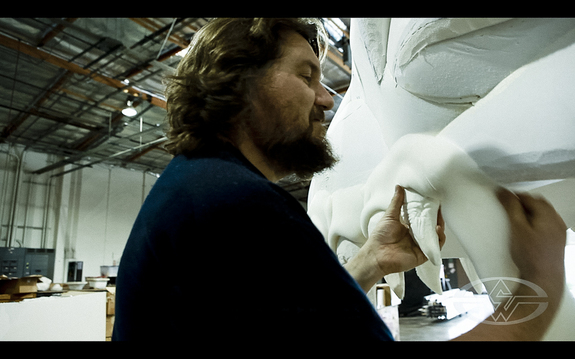 (Ted introduces you to the joys of upholstery foam, and BOOM, you're off to the races.)
From the gum line, he continues with the skin texture itself. Simply by cutting and pasting individual strips and chunks of foam, realistic wrinkled dinosaur skin literally begins to appear before your eyes. He continues to show you even further techniques of adding texture like using a Dremel tool and a soldering iron to create lines and creases in the foam itself. All these tricks of the trade combine into a rugged old T-Rex that you’ll want to reach out and feel.
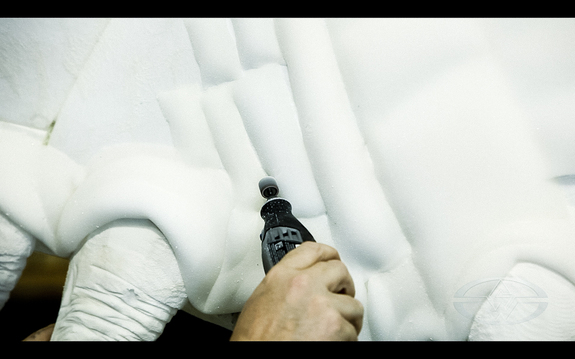
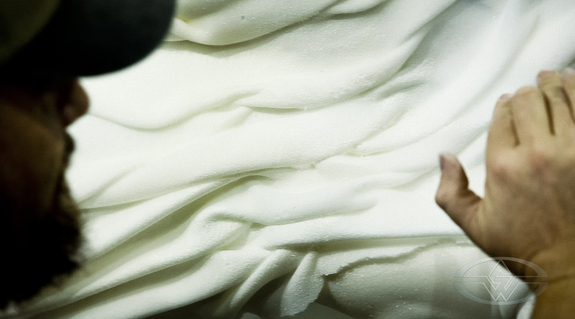 (This ain't all... Ted shows you a whole bag of texturing techniques & tools that can ONLY be collected over 20+ years of experience. You get them in less than 4 hours.)
Constructing the Under Skeleton of Your T-Rex
Once all the textures are mostly completed, Ted takes you through the process of constructing a PVC pipe understructure and even uses bungees to make the lower jaw move. Watching this all take place on such a large level is just an amazing thing to see. It can not be easy to work this large and yet Ted seems to have no problem with it whatsoever. In the end, when you see the connected jaw on his beast move, you can’t help but nod your head with gleeful approval.
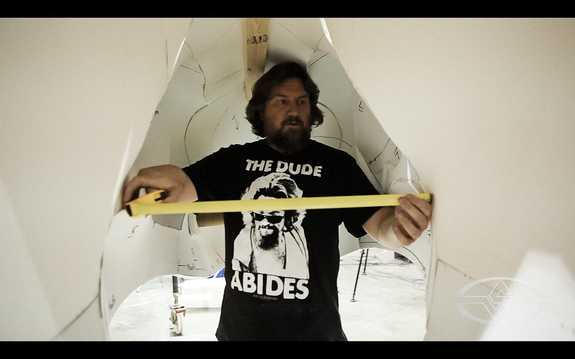
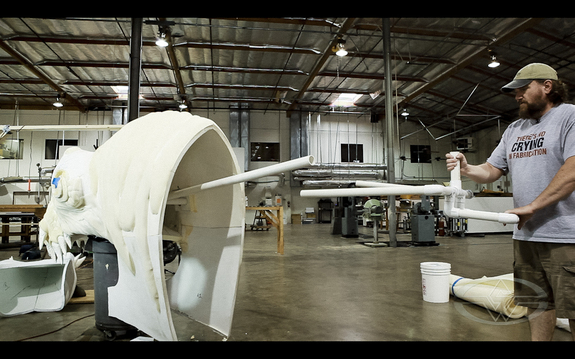 (Ted measures for strut placement and the beginning of the jaw mech. Now that it's in place, Ted tests the lever position before he puts them together.)
As part two comes to a close, you can’t help but yearn for part three. Rest not; it will be up soon. And even though each individual part holds its own incredible techniques and lessons, once all three parts of this monumental journey are up, that’s when everything will really shine.
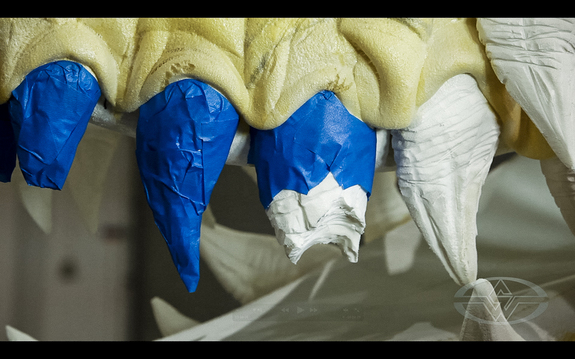
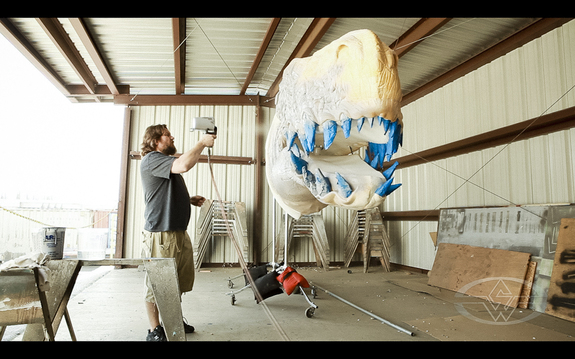 (Before the latex spray-gun attack, Ted masks the teeth off with painter's tape and coats the entire beast in adhesive spray. Then out to the booth. FUN!)
Have fun, and stay tuned for PART THREE!
--Jeff Dixon
To check out PART ONE of the FULL LESSON, just click HERE: MAKE A DINOSAUR - T-REX FOAM FABRICATION PART 1
To check out PART TWO of the FULL LESSON, just click HERE: MAKE A DINOSAUR - T-REX FOAM FABRICATION PART 2