
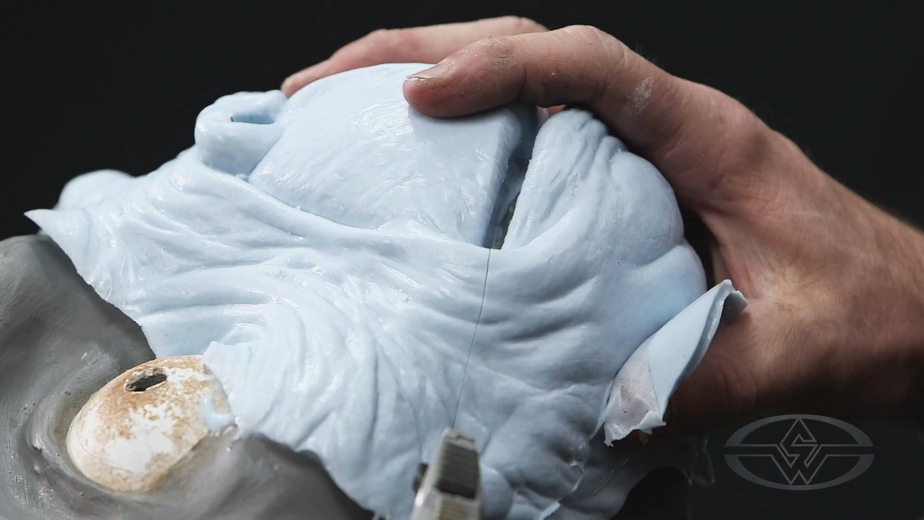
Building Animatronic Characters
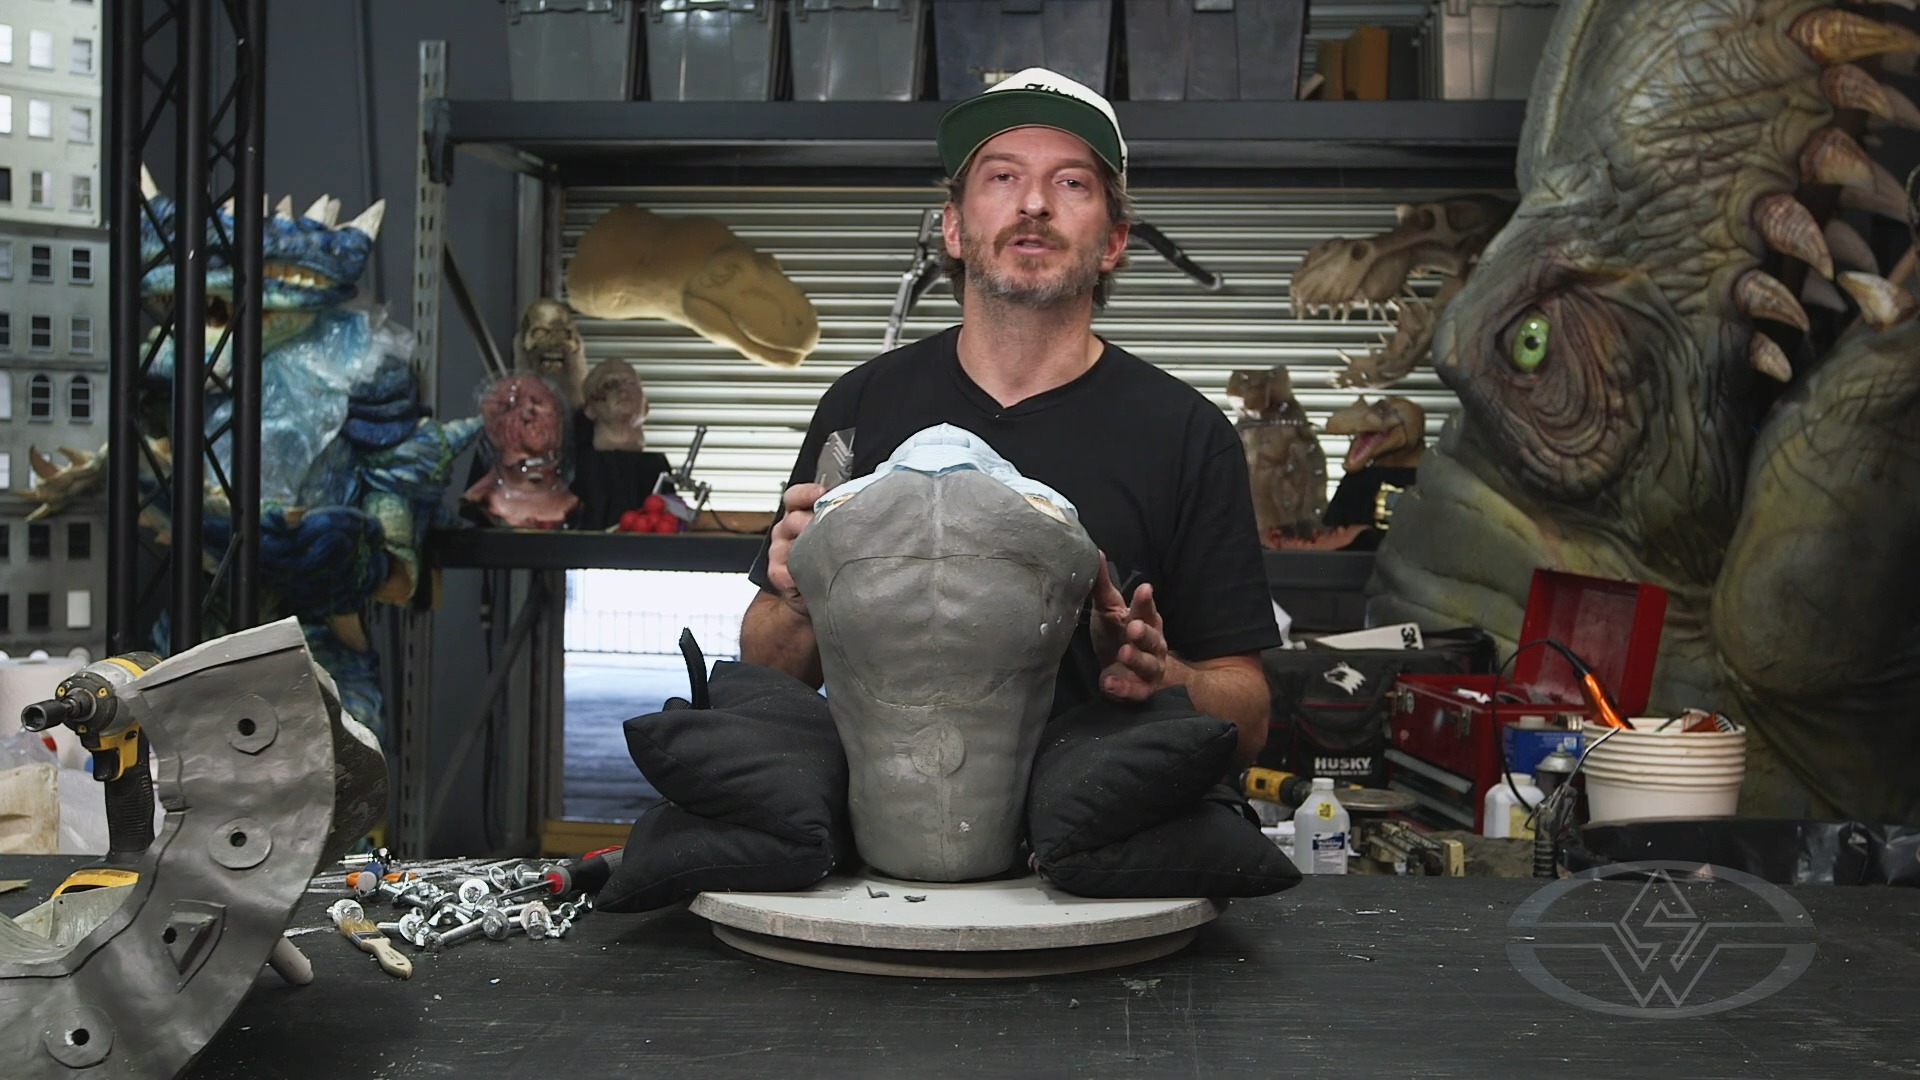
In this FREE excerpt from his Stan Winston School of Character Arts course, Lab Work For Animatronic Characters Part 1: Making A Mechanical Core, master foam and silicone technician, Cory Czekaj (Avatar, RoboCop, Captain America: The Winter Soldier) teaches you how to open the mold for your animatronic character and inspect an alginate skin.
Jump To Section
To watch the complete video, click the player above!
Animatronics create an illusion of life by looking and behaving as realistically as possible. Quality lab work is essential to achieving this kind of result. The lab technician is asked to do a variety of things in the shop: running foam, molds, pouring silicone, fiberglass, alginate, and many other processes. If you're looking to build convincing mechanical characters, good lab work is essential.
In this lesson, you’ll learn from one of the industry’s most highly respected lab technicians on how to create lifelike animatronics. Cory Czekaj shares a variety of must-know techniques that will get you and your team ready to run skins for an animatronic character.
In our excerpt, Cory shows you how to check an adjusted alginate skin to make sure the skin will work for the eventual animatronics.
Let’s get started!
Opening the Mold for Your Animatronic Character
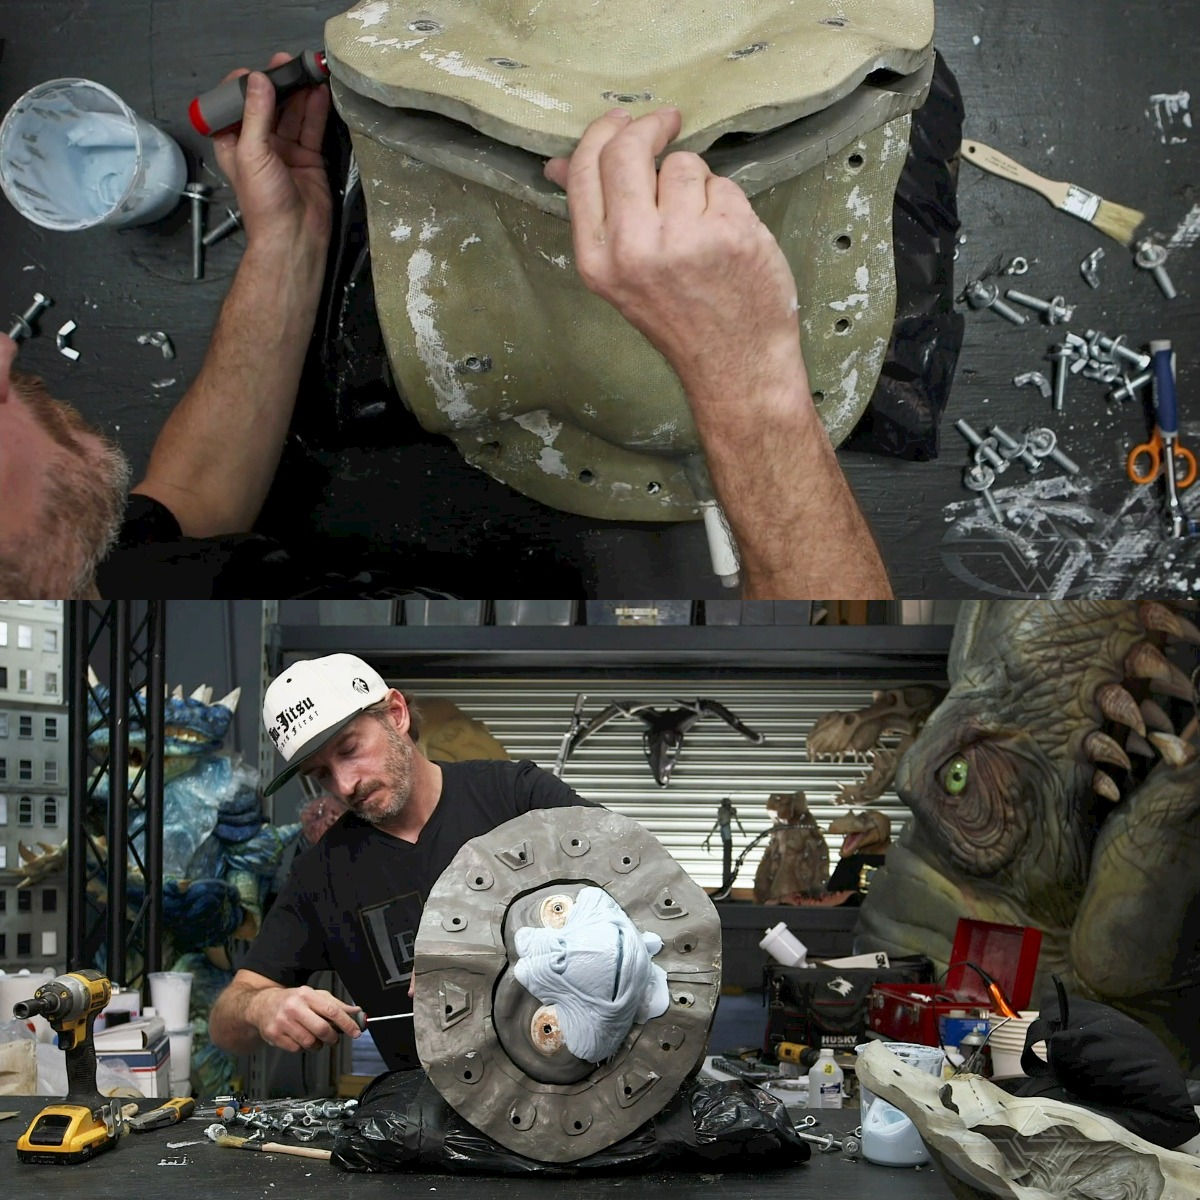 (Cory Czekaj uses a flathead screwdriver as a wedge ot pry the mold apart.)
For his lesson, Cory is using the mold of a certain iconic 1980's "Extra Terrestrial" but his process informs how you would work with any mold. The first step is to carefully open your mold, prying the parts as necessary from the skin, beginning with the most detailed area; in this case, the face.
You can visually observe that you've captured all the key areas, in this case Cory's confirms that he's got the lips and part of the nose.
The epoxy added previously to the core is captured fully by the alginate. If you find that you don't capture all the necessary areas, your only recourse is to redo your alginate. Luckily, here that is not the case.
“So far, it looks good,” Cory says. “We won’t know until we start cutting here.”
Cutting the Alginate Skin
Use a matte knife to cut the skin into sections working along obvious detail lines. Cory prefers his DeWalt utility knife, but an X-Acto blade or any razor edge utility knife works just as well.
With each section observe the thickness of your alginate. The "correct" thickness will depend on the needs of the animatronic designer. In this lesson, the mechanical effects designer is Bud McGrew (Wolf, A.I., Men in Black II). In order to get good lip movement, Bud has requested that Cory allow for paddles under the upper lip. Cory has created epoxy standoffs on the core behind the upper lip to reduce the thickness down to about a quarter inch. Check the thickness to see if you are in the ballpark of what your designer is looking for. Cory's blade goes in about a quarter inch, that seems like the right target for Bud's mechanics.
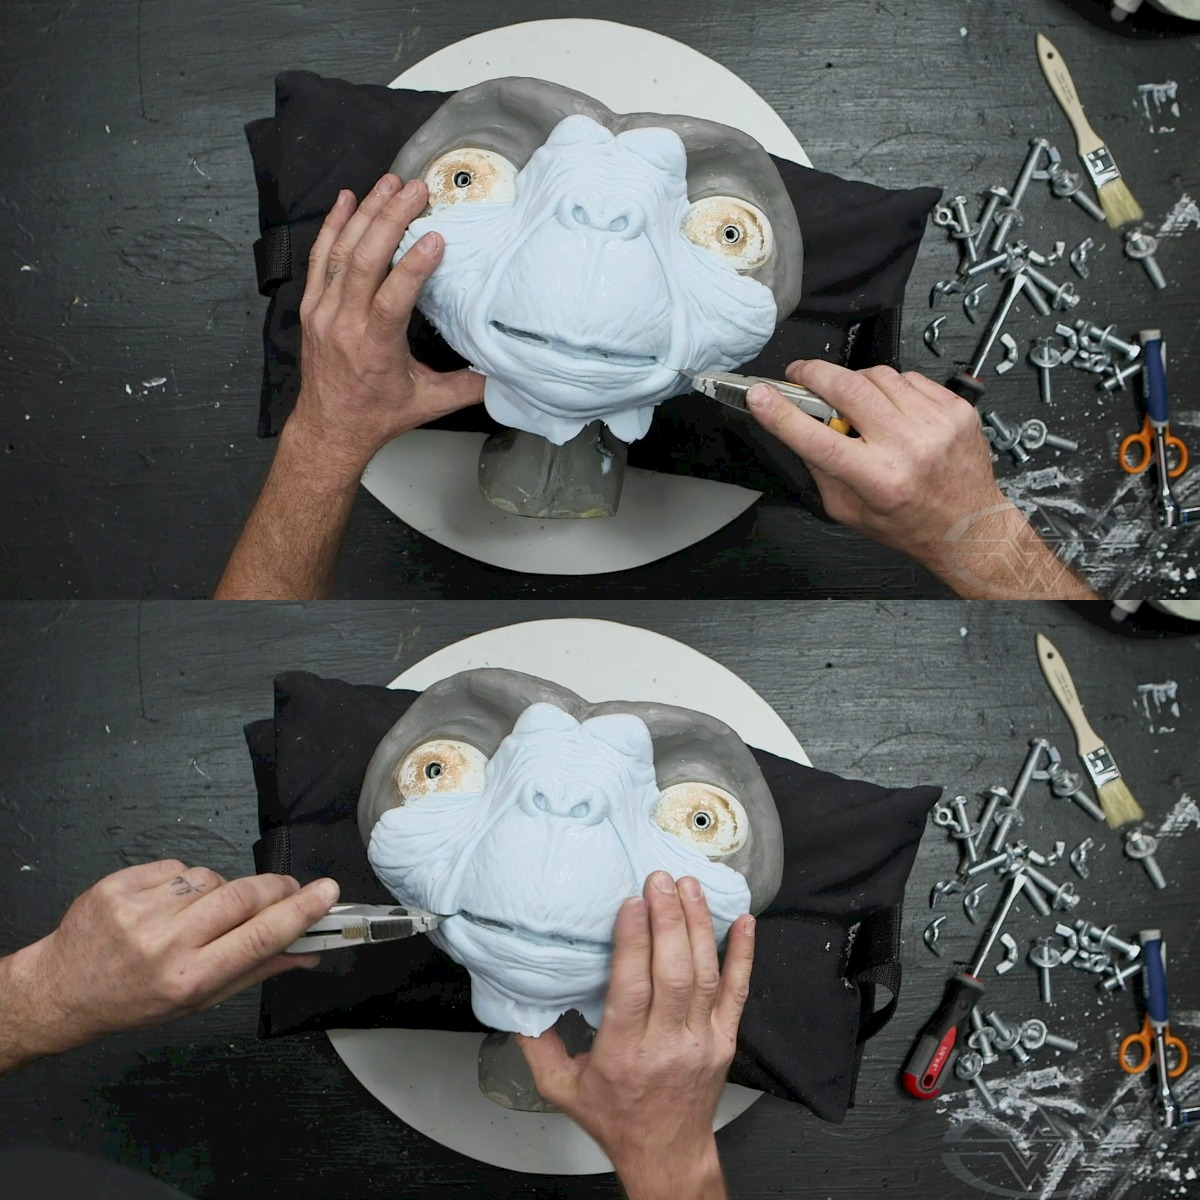 (Cory Czekaj cuts into the corners of the mouth where he put the standoffs.)
Check key areas in your mold. If there are standoffs to support understructure, make sure that the skin is neither so thick that it will be hard to manipulate, nor so thin that it could tear.
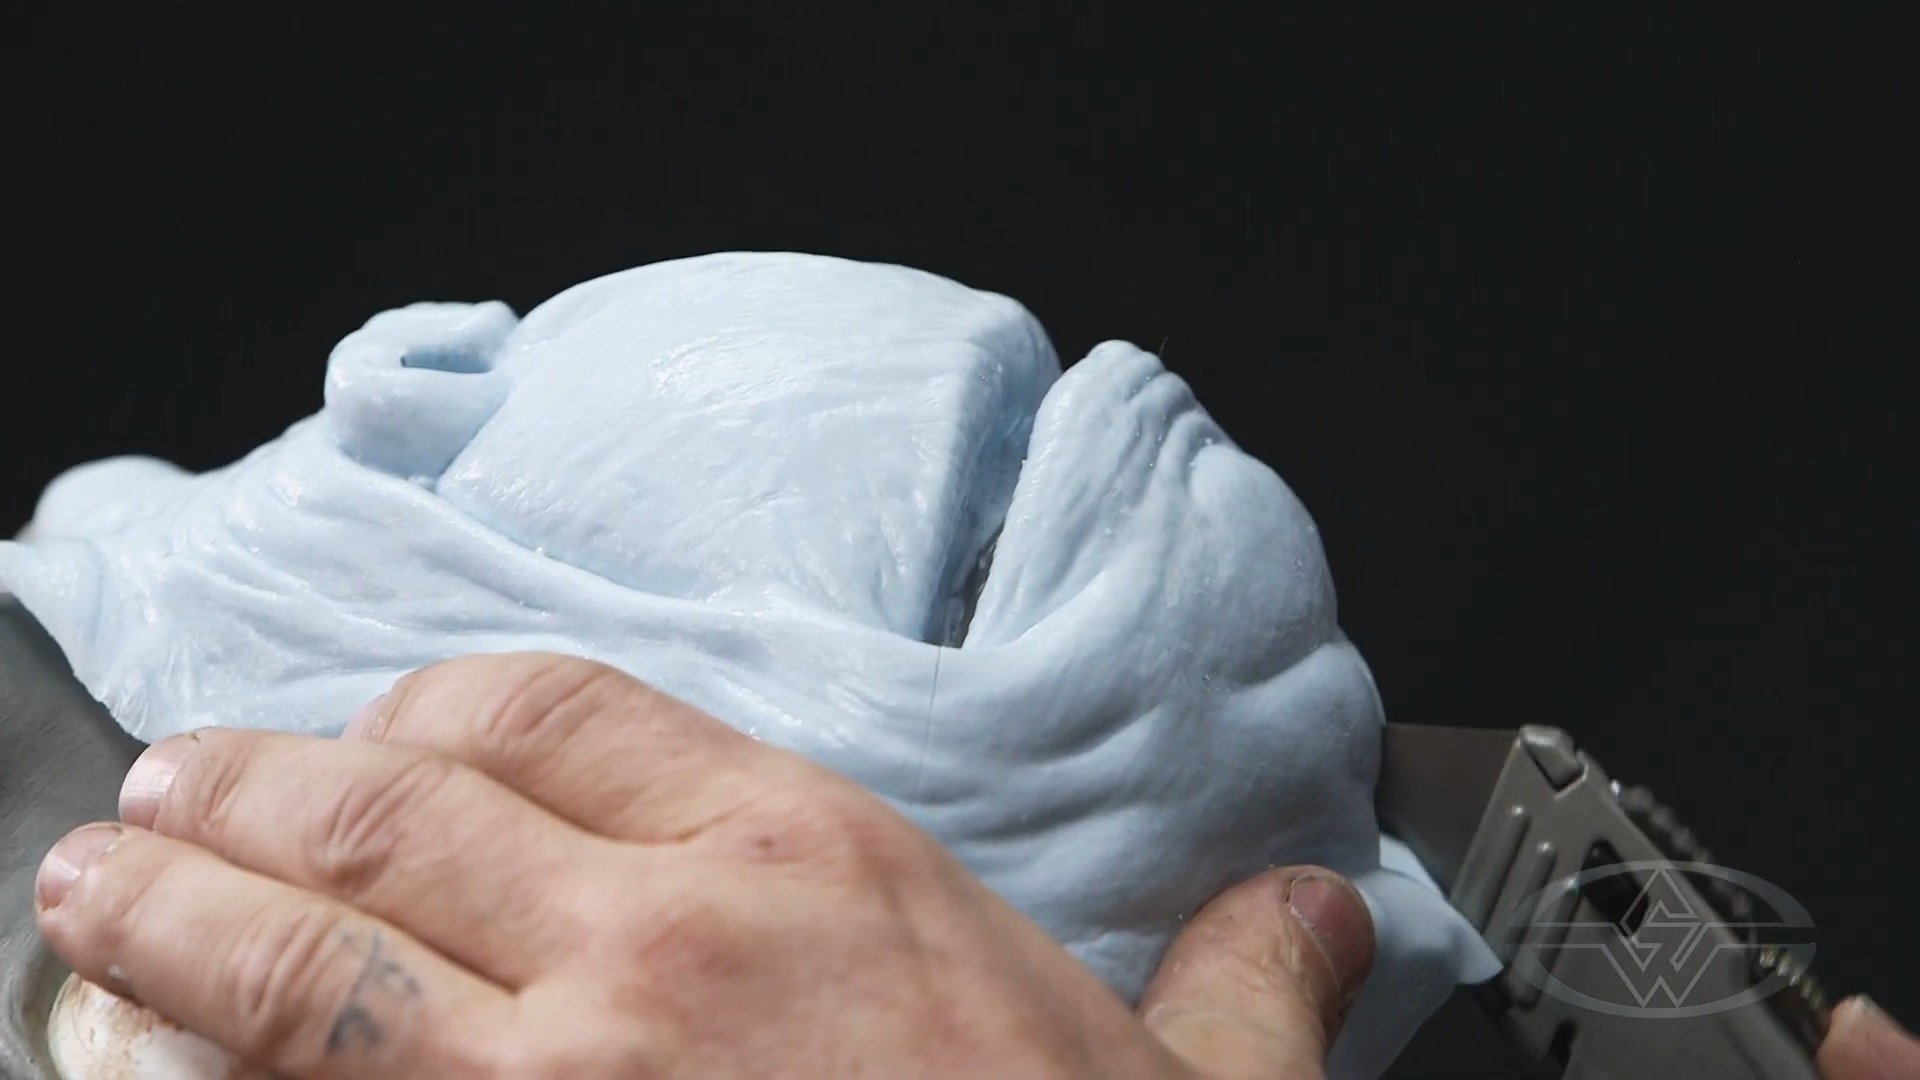 (Profile view shows Cory Czekaj cutting through the center line to check the depth in the middle of the lip.)
Another issue that can be solved in the lab is when you find pieces where the cutting edge of the skin--where the parts of a skin will ultimately join--are rough or jagged. If you've made adjustments to the cutting edges in your mold core, the alginate skin is the place to see if your work was successful.
Cutting the corner of the lower lip area will reveal the cutting edge.
 (Cory Czekaj continues cutting to reveal all the sections on the upper lip where he's modified the core.)
Next, make careful cuts along the areas of the upper lip that will have the new animatronics installed underneath them.
Inspecting the Skin
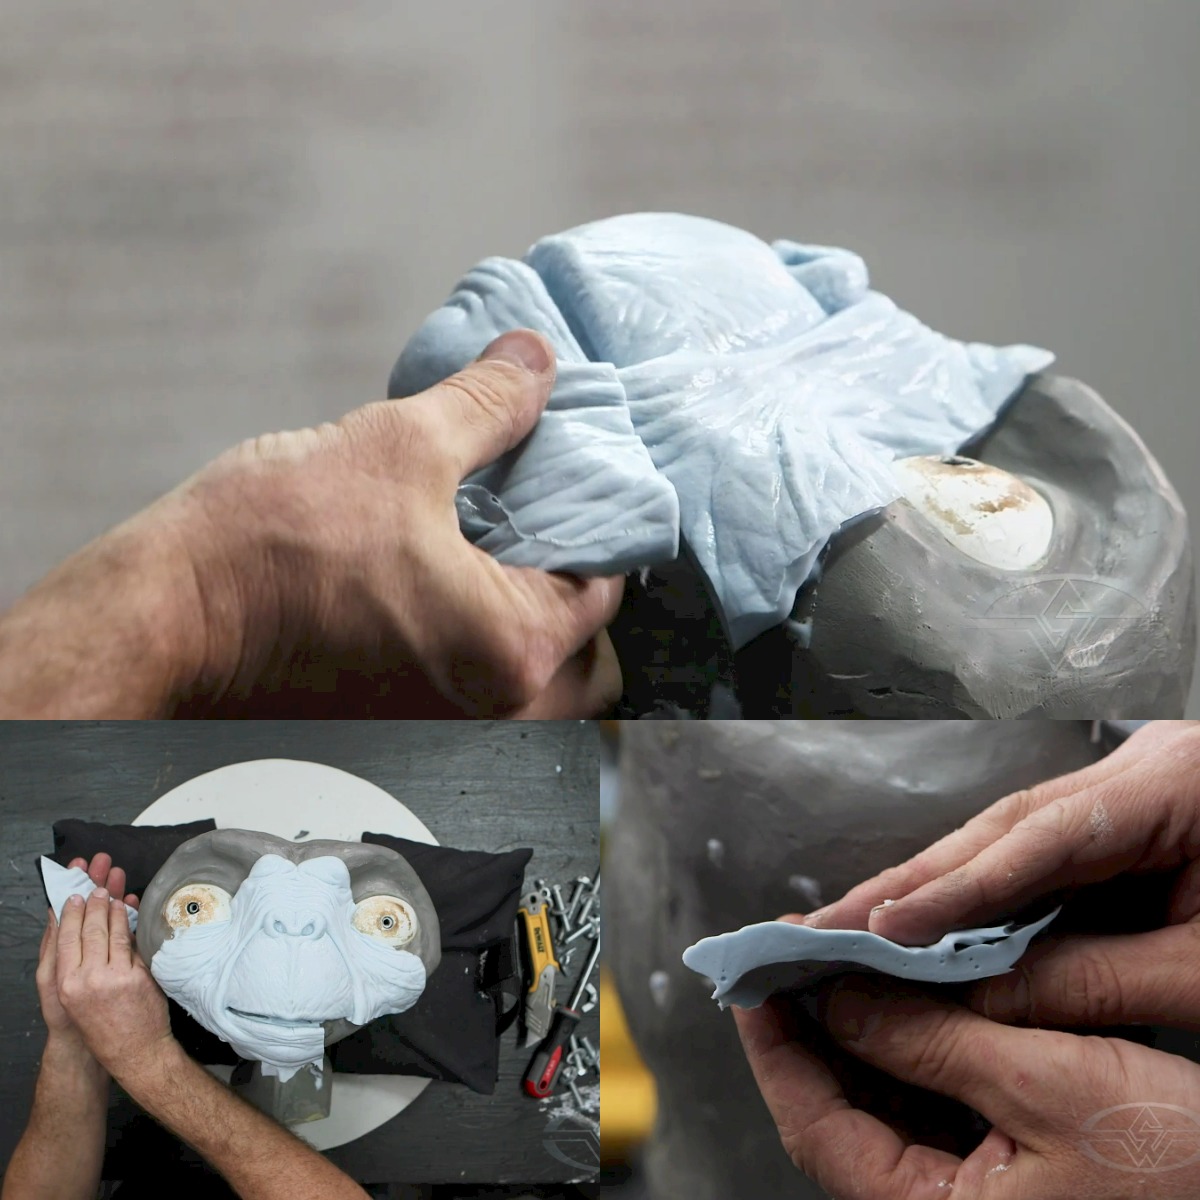 (Cory Czekaj displays the thickness of the alginate; he's happy with the result.)
Check the thickness of your alginate.
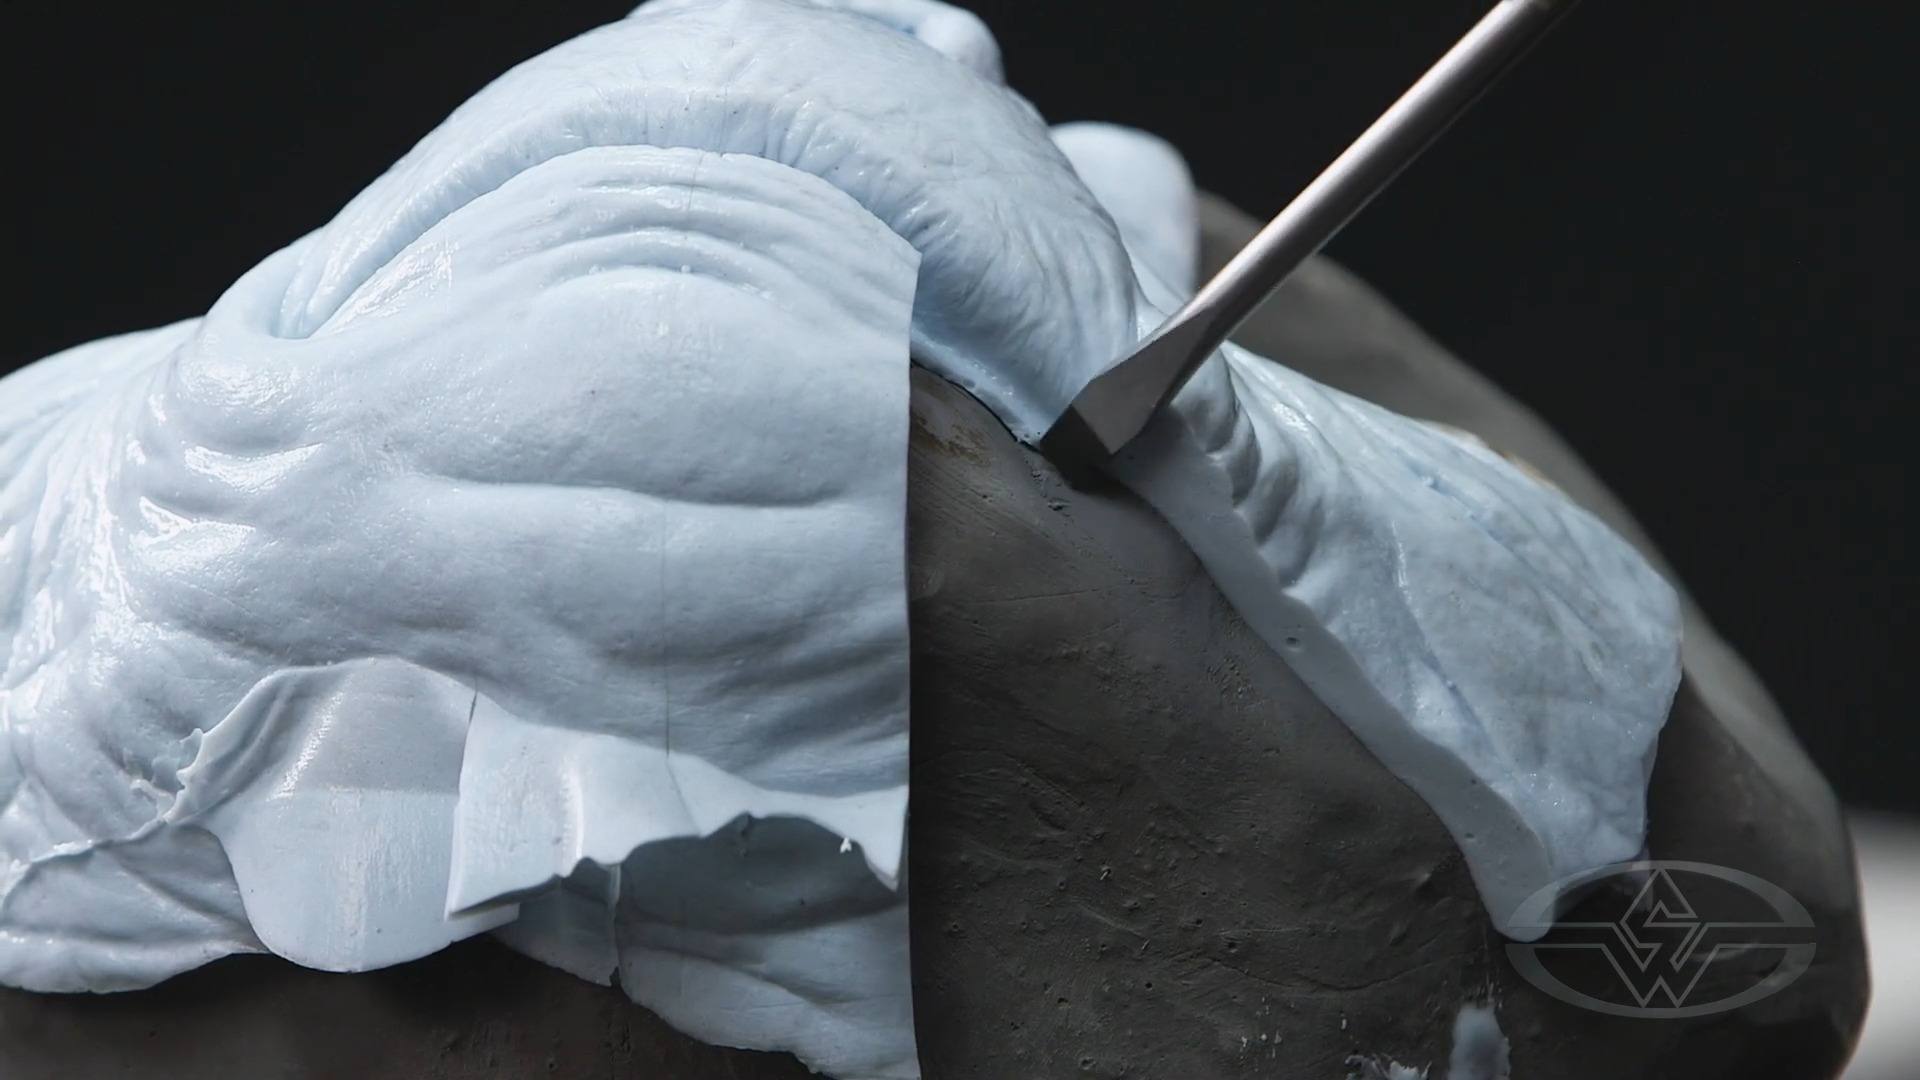 (Though difficult to see, Cory Czekaj indicates the area where he built up the core with pro epoxy.)
For any areas you've adjusted, be sure that the thickness meets your expectations, (and the needs of your animatronic designer, if that's not YOU.)
Cory describes his process and the result, “In Bud's video, he was looking for more of a standoff area right here for his paddles, which it's hard to see because it's gray on gray,” he says. “But if you look real closely right here, that is exactly where that pro epoxy is. So, we hit the mark on that.”
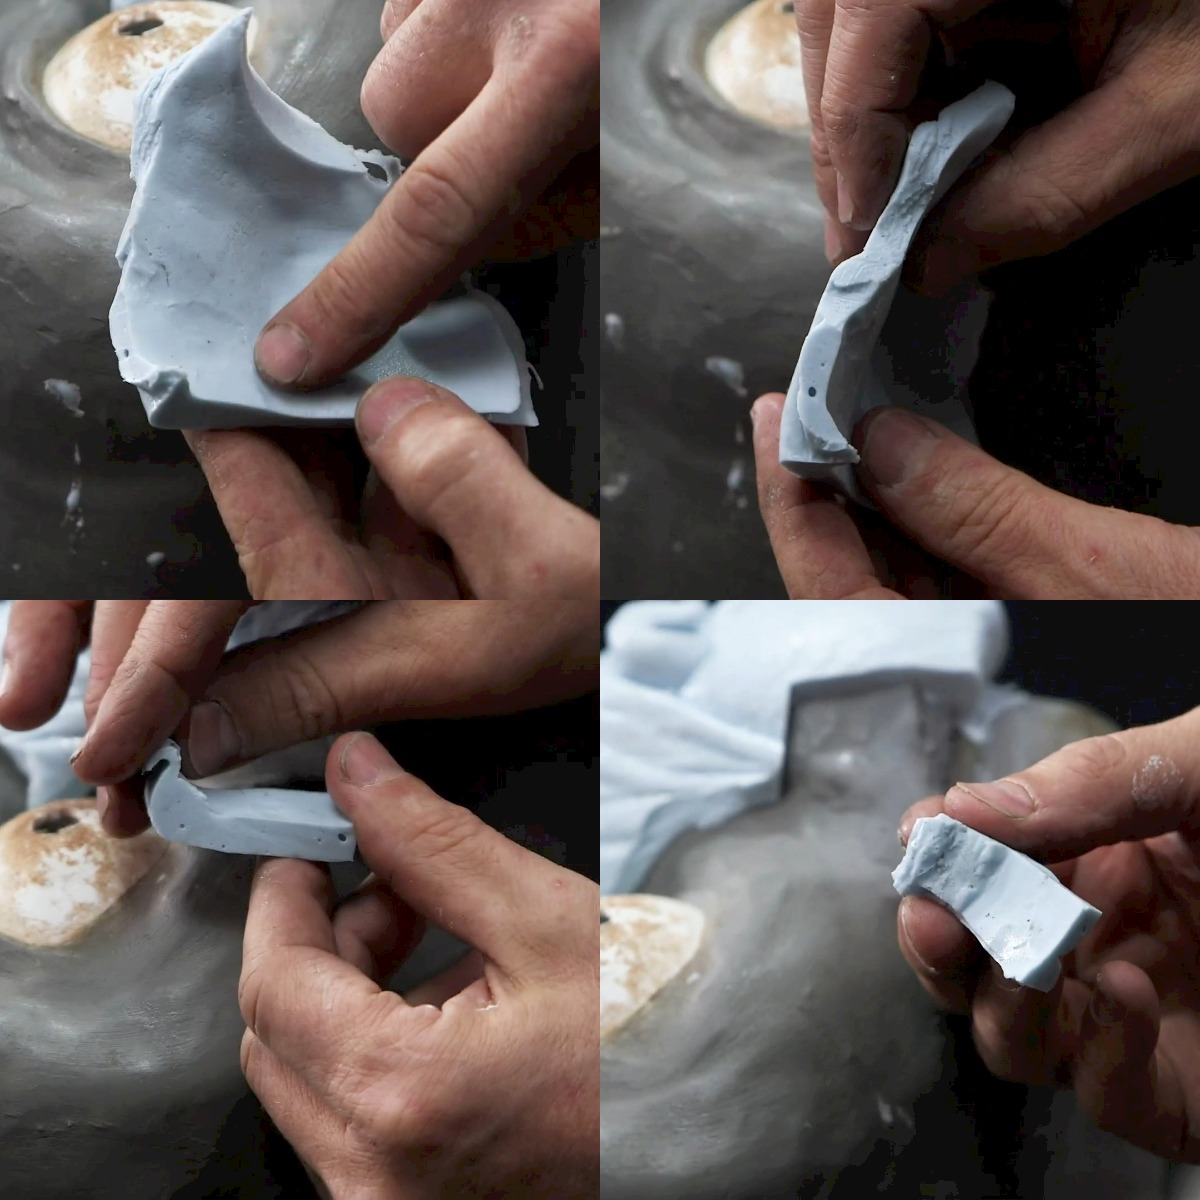 (The inside of the lower lip hasn't changed much, though the cutting edge is cleaner thanks to the build-up applied to the core in an earlier chapter.)
For areas where you've built up the core for a cleaner cutting edge, check that the result is as expected.
The thickness here in the lower lip hasn't changed, but Cory shows the results of the cleaned-up cutting edge on the lower lip. The goal for the lower lip, according to Cory, was not so much to change the thickness, but to clean up the cutting edge. As a result, the skin looks a lot cleaner than it did before.
Move on to cutting other areas of your skin.
As Cory cuts the corner of the lip, he points out where the new pro epoxy is and where the paddle is going to be. Make sure to check that any similar changes to your core are captured as you intended in your skin.
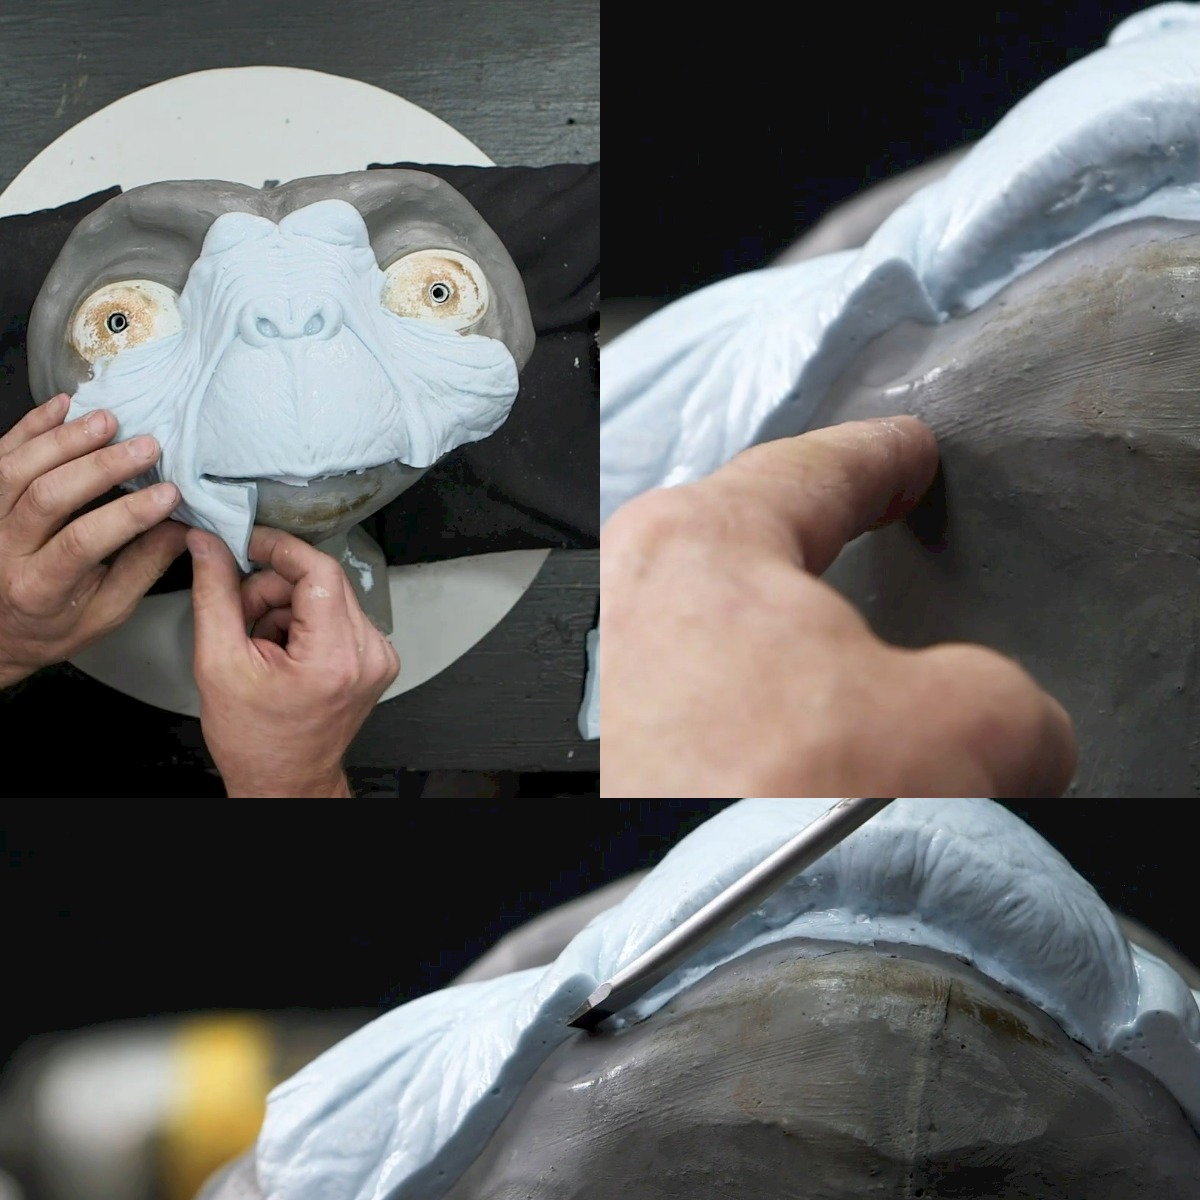 (Again, Cory Czekaj shows where he's changed the core slightly. The new alginate skin proves he's achieved the desired result.)
In addition to thickness, it's important to inspect the surface of both the inside and outside of the skin.
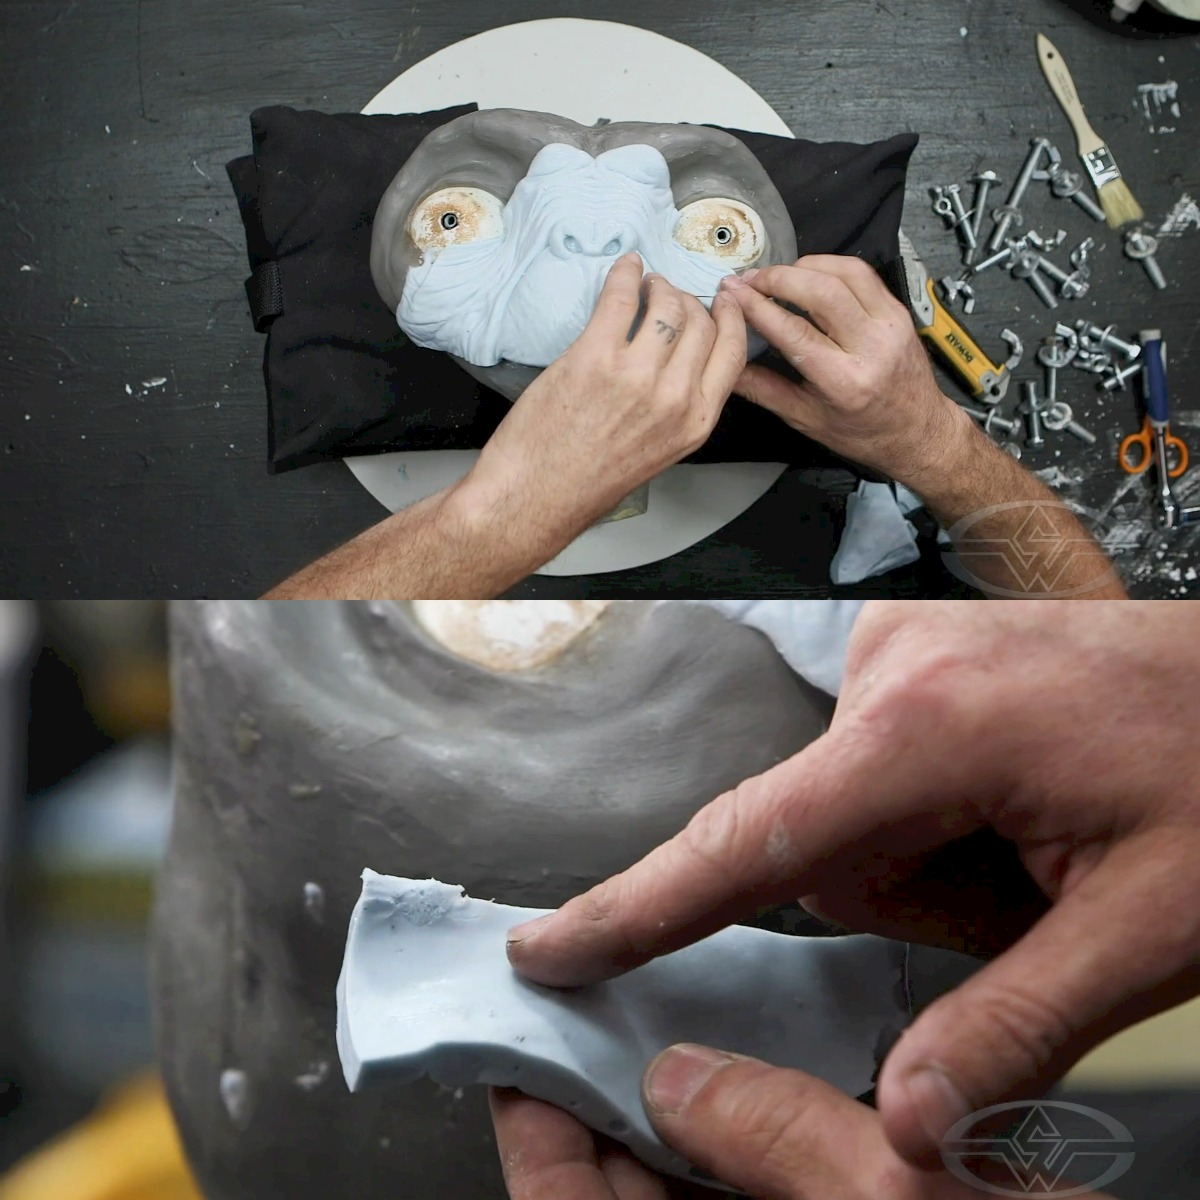 (Peeling off the upper lip, the thickness is now revealed to be thinner, this thinner skin should behave better once it is positioned over the proposed animatronics.)
Keep cutting and checking all the parts of your skin.
Cory can see in the sheen, that the underside of the skin appears to be more porous. The issue may be something to address further; but the undesirable thickness of the upper lip has been eliminated thanks to the pro epoxy build up on the core.
This result conforms with Bud McGrew's instructions. Will your skin perform well on top of any mechanics you've proposed? Experience will let you know, but it's always a good idea to closely follow the practice of the industry's most experienced lab technicians.
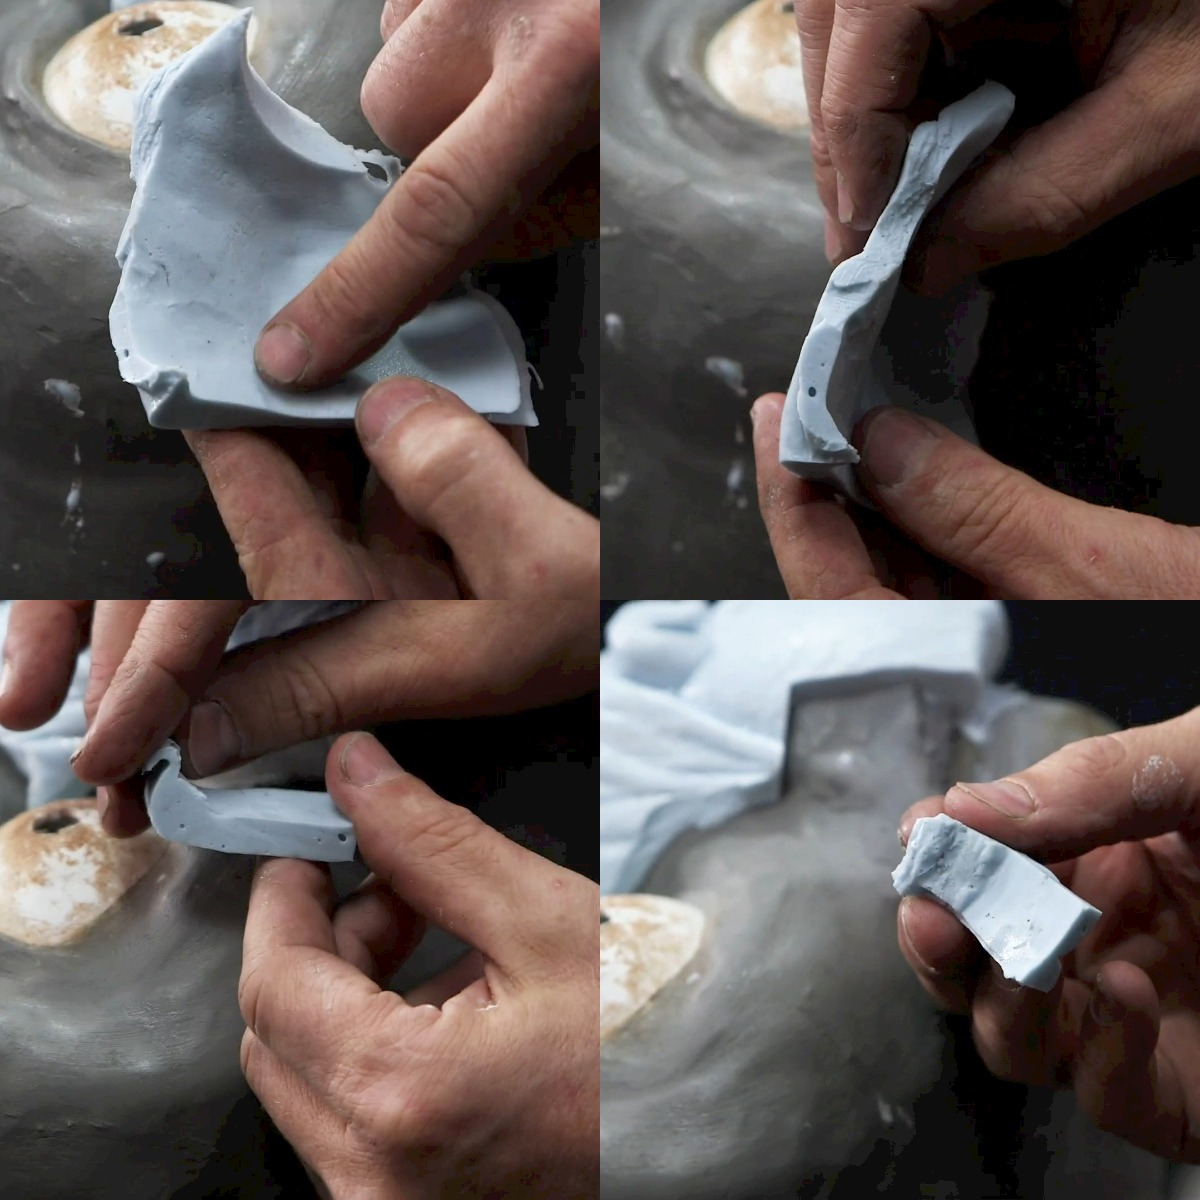 (Noticing a slight roughness in the alginate from the pro epoxy squish with the mold, Cory Czekaj offers suggestions for smoothing the core.)
If you notice rough spots in your work (as Cory discovered), you can sand the skin with a dremel and smooth it out, then do a fine sand using sandpaper!
Once all areas of the skin have the proper thickness and clean edges, you can move on to the next steps, though at any point if you find the skin doesn't conform to your needs or expectations, feel free to make adjustments and run your alginate again.
Once you're satisfied, the next step is the silicone!
After all, remember to make sure to enjoy your lab work and if something doesn't turn out as expected, don't be discouraged, make adjustments, remold and keep going!
WATCH THE “LAB WORK FOR ANIMATRONIC CHARACTERS” COURSE:
Lab Work For Animatronic Characters Part 1: Making A Mechanical Core
Lab Work For Animatronic Characters Part 2: Running A Silicone Skin & Casting Teeth