
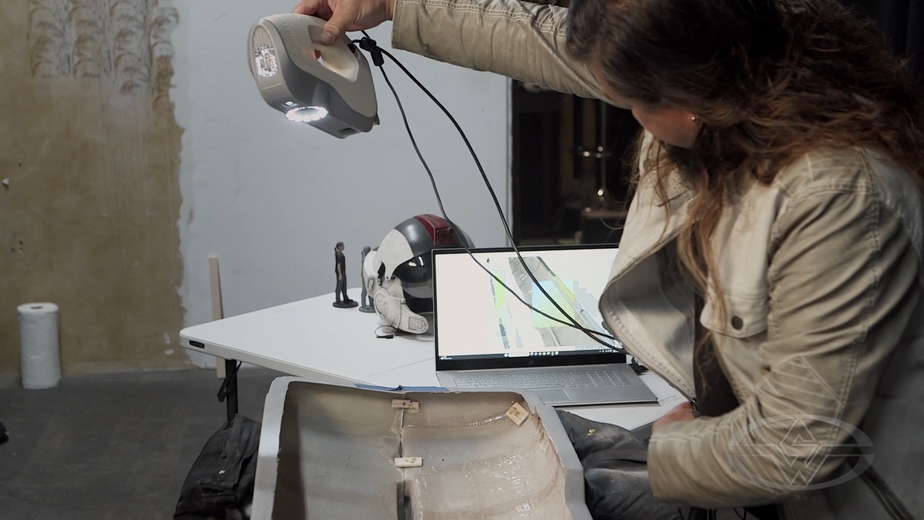
In this FREE excerpt from the 4-part Stan Winston School of Character Arts course series, Modern Miniature Effects Part 2: 3D Printing, Laser Cutting & Fiberglass Lay-Up, renowned FX artist and creative director Fon Davis (Star Wars franchise, Guardians of the Galaxy, Interstellar) breaks down how to 3D laser scan a miniature ship hull step-by-step, from setting up your space to achieving a seamless scan to cleaning up the scan.
Jump To Section
- Setting Up Your Space for 3D Laser Scanning
- Examples of 3D Scanning Projects
- How 3D Scanning Works
- The Process of 3D Laser Scanning a Ship Hull
- Reviewing and Editing Your 3D Laser Scan
- Finishing Your 3D Laser Scan and Next Steps
To watch the complete instructional video, click the player above!
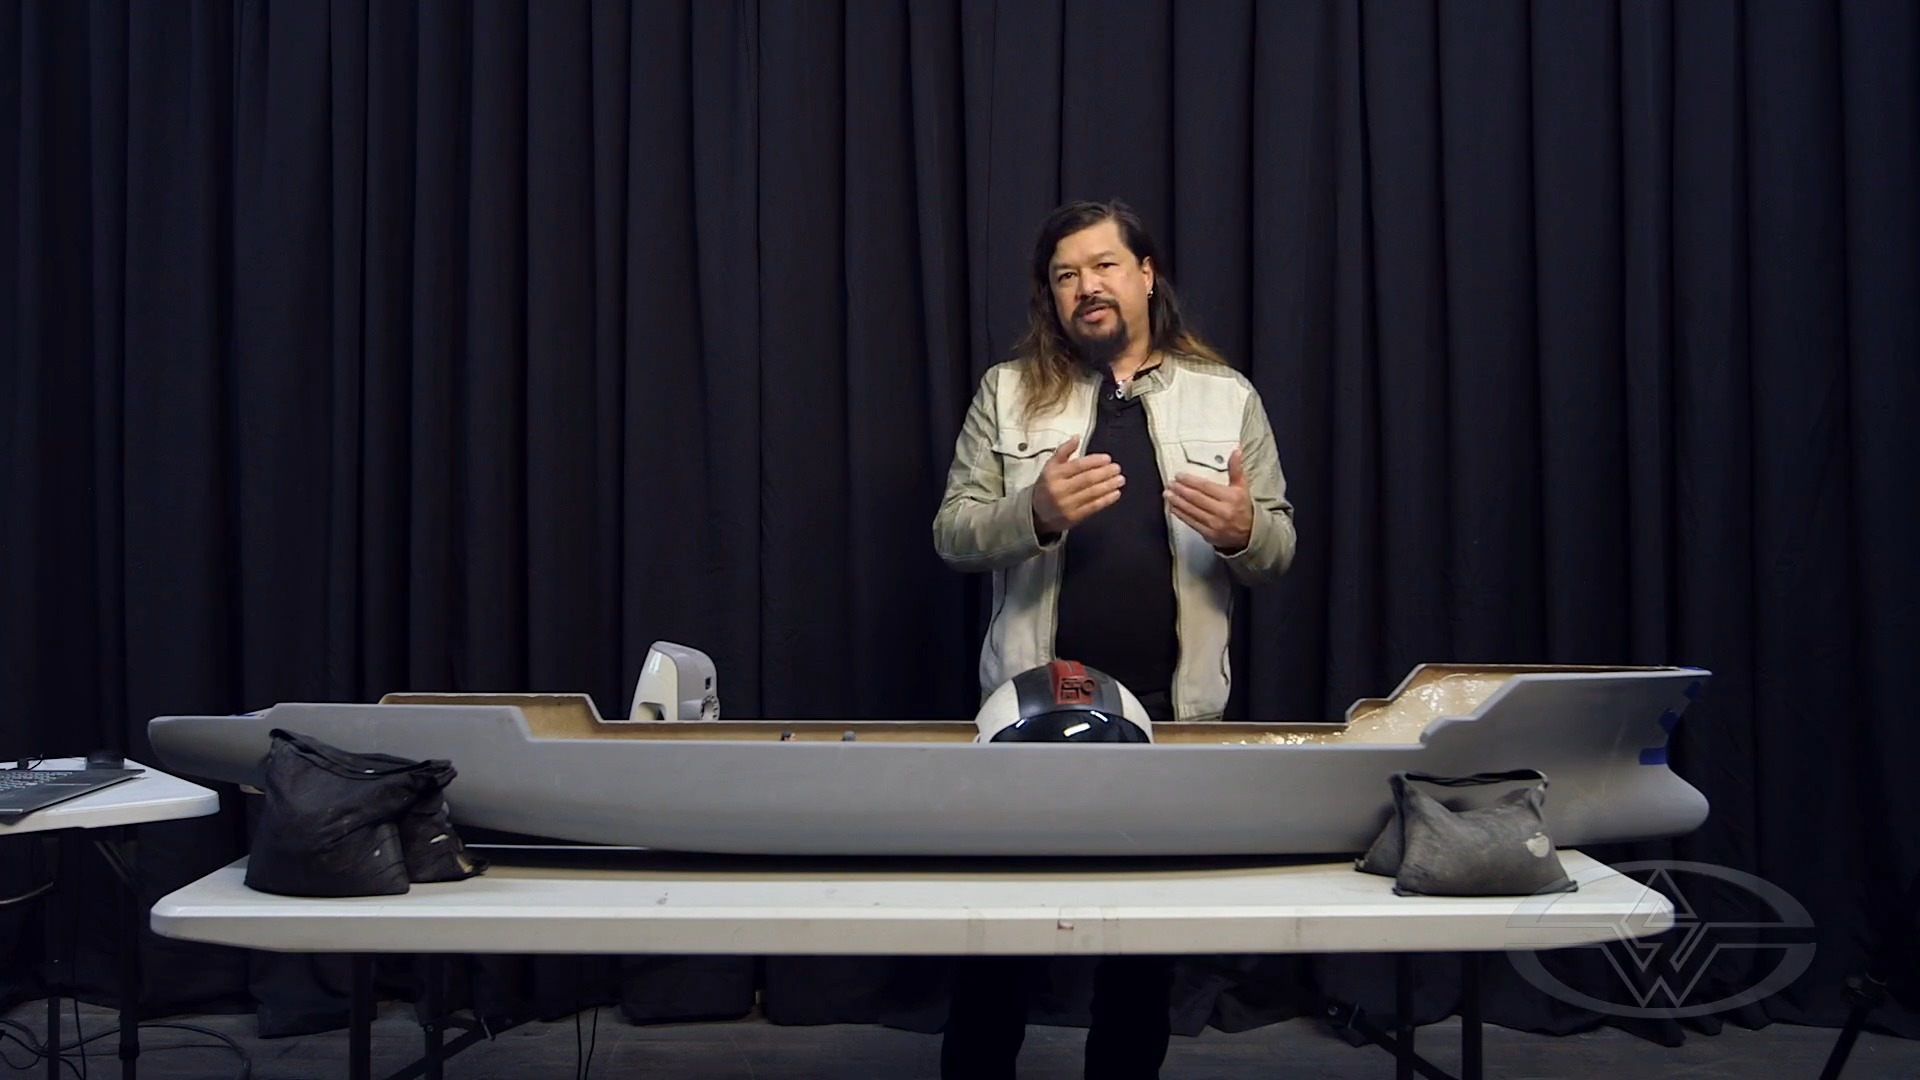
In this lesson, Davis explains 3D laser scanning: what kind of projects it can be used for, sharing tips and techniques on how to get the best scan of an object's geometry, and providing step-by-step guidance on how to effectively edit your scan. Using this information, you can bring your digital 3D models to life for miniature FX projects!
Setting Up Your Space for 3D Laser Scanning
When preparing for your laser scanning project, Davis recommends choosing an empty, uncluttered environment with a minimalist background for a large scan like this. Here, he is in none other than Fonco Studios’ screening room set up with black curtains as he prepares to 3D laser scan his ship hull.
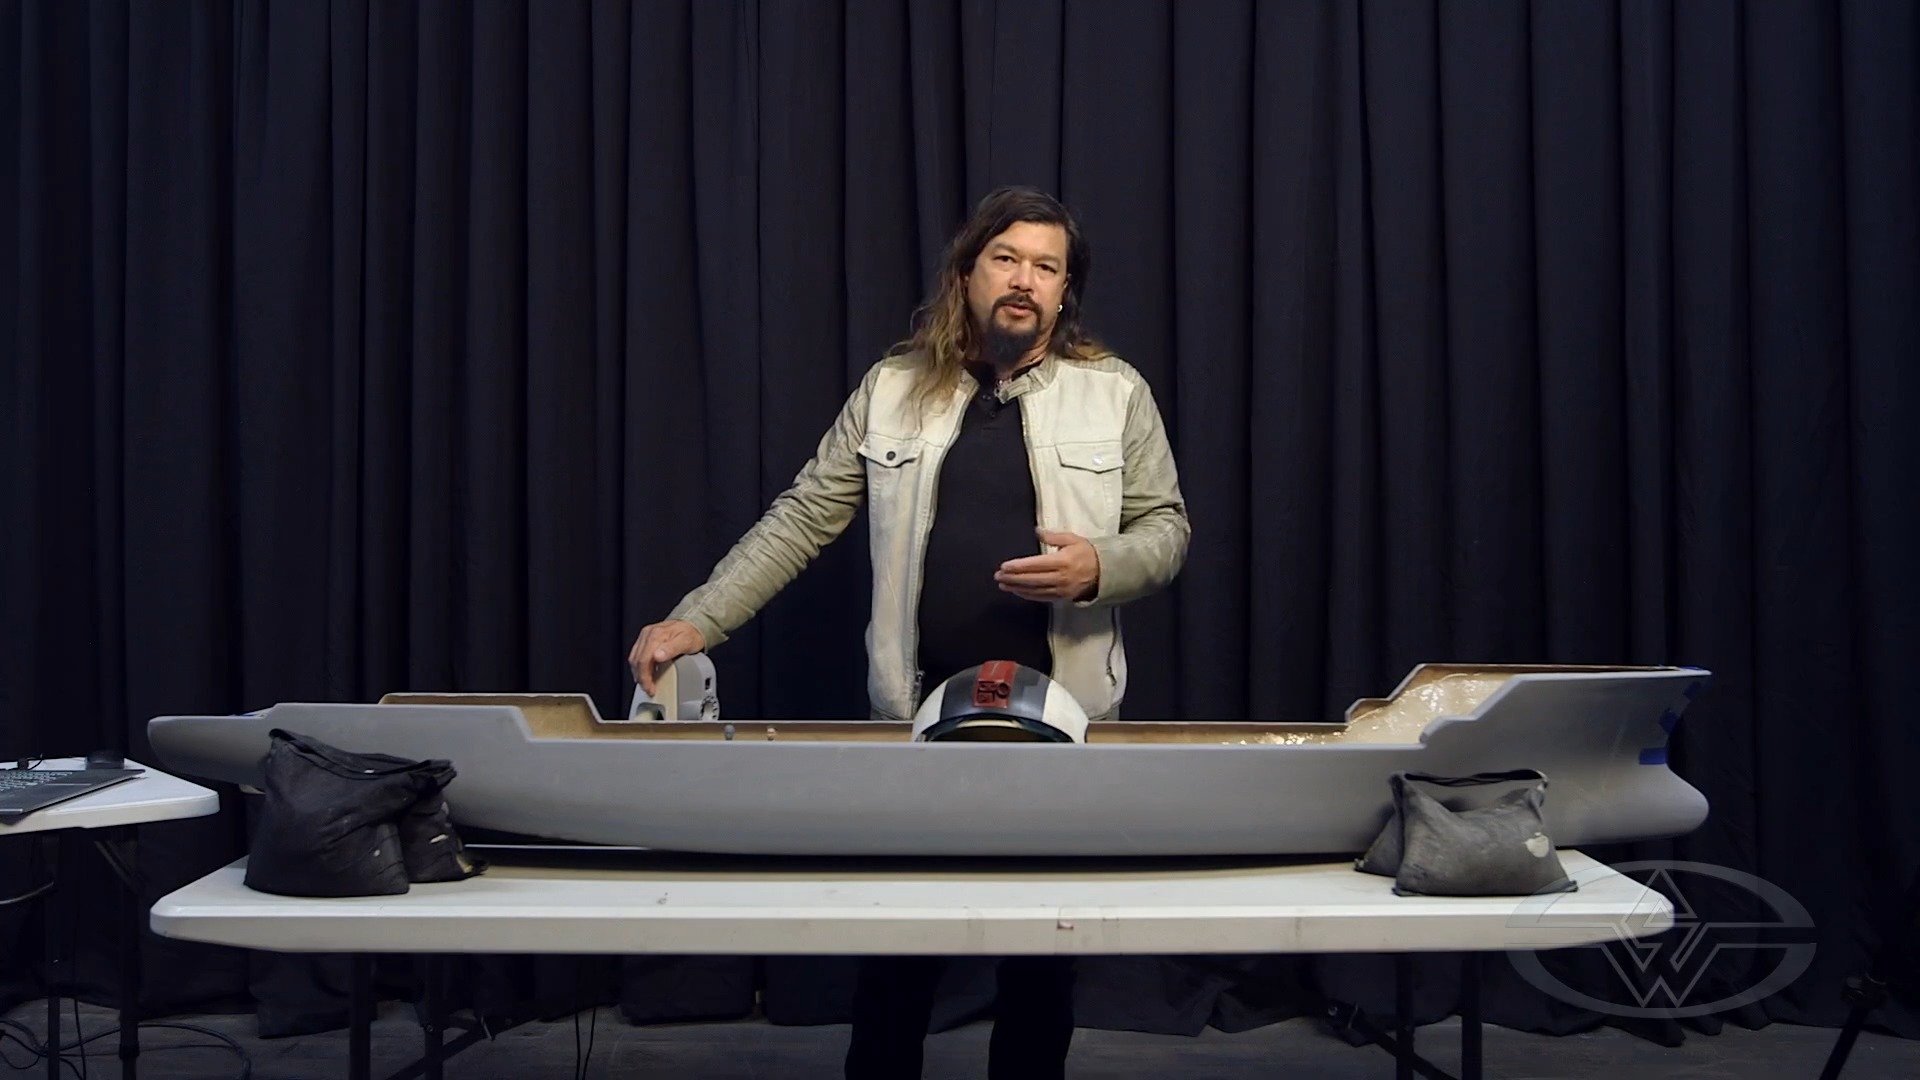 (Fon Davis explains that it's best to do laser scanning for larger objects in a low-lit area where there are no visible distractions in your background.)
You can do laser scanning just about anywhere so long as there's room to move and you can control the light, so the scanner's cameras don't flare. The Artec scanner has a combination of different technologies to scan using a strobe, there’s really no need to worry about special lighting. As long as you can see what you're doing, you can even scan in the dark.
Examples of 3D Scanning Projects
There are endless possibilities and uses for 3D laser scanning!
Need a quick, futuristic flight helmet? Davis and his team started with a standard surplus helmet but the challenge was how to add parts seamlessly to the helmet's complex, compound curve shape without laborious milling and seaming. 3D scanning provided the quick solution.
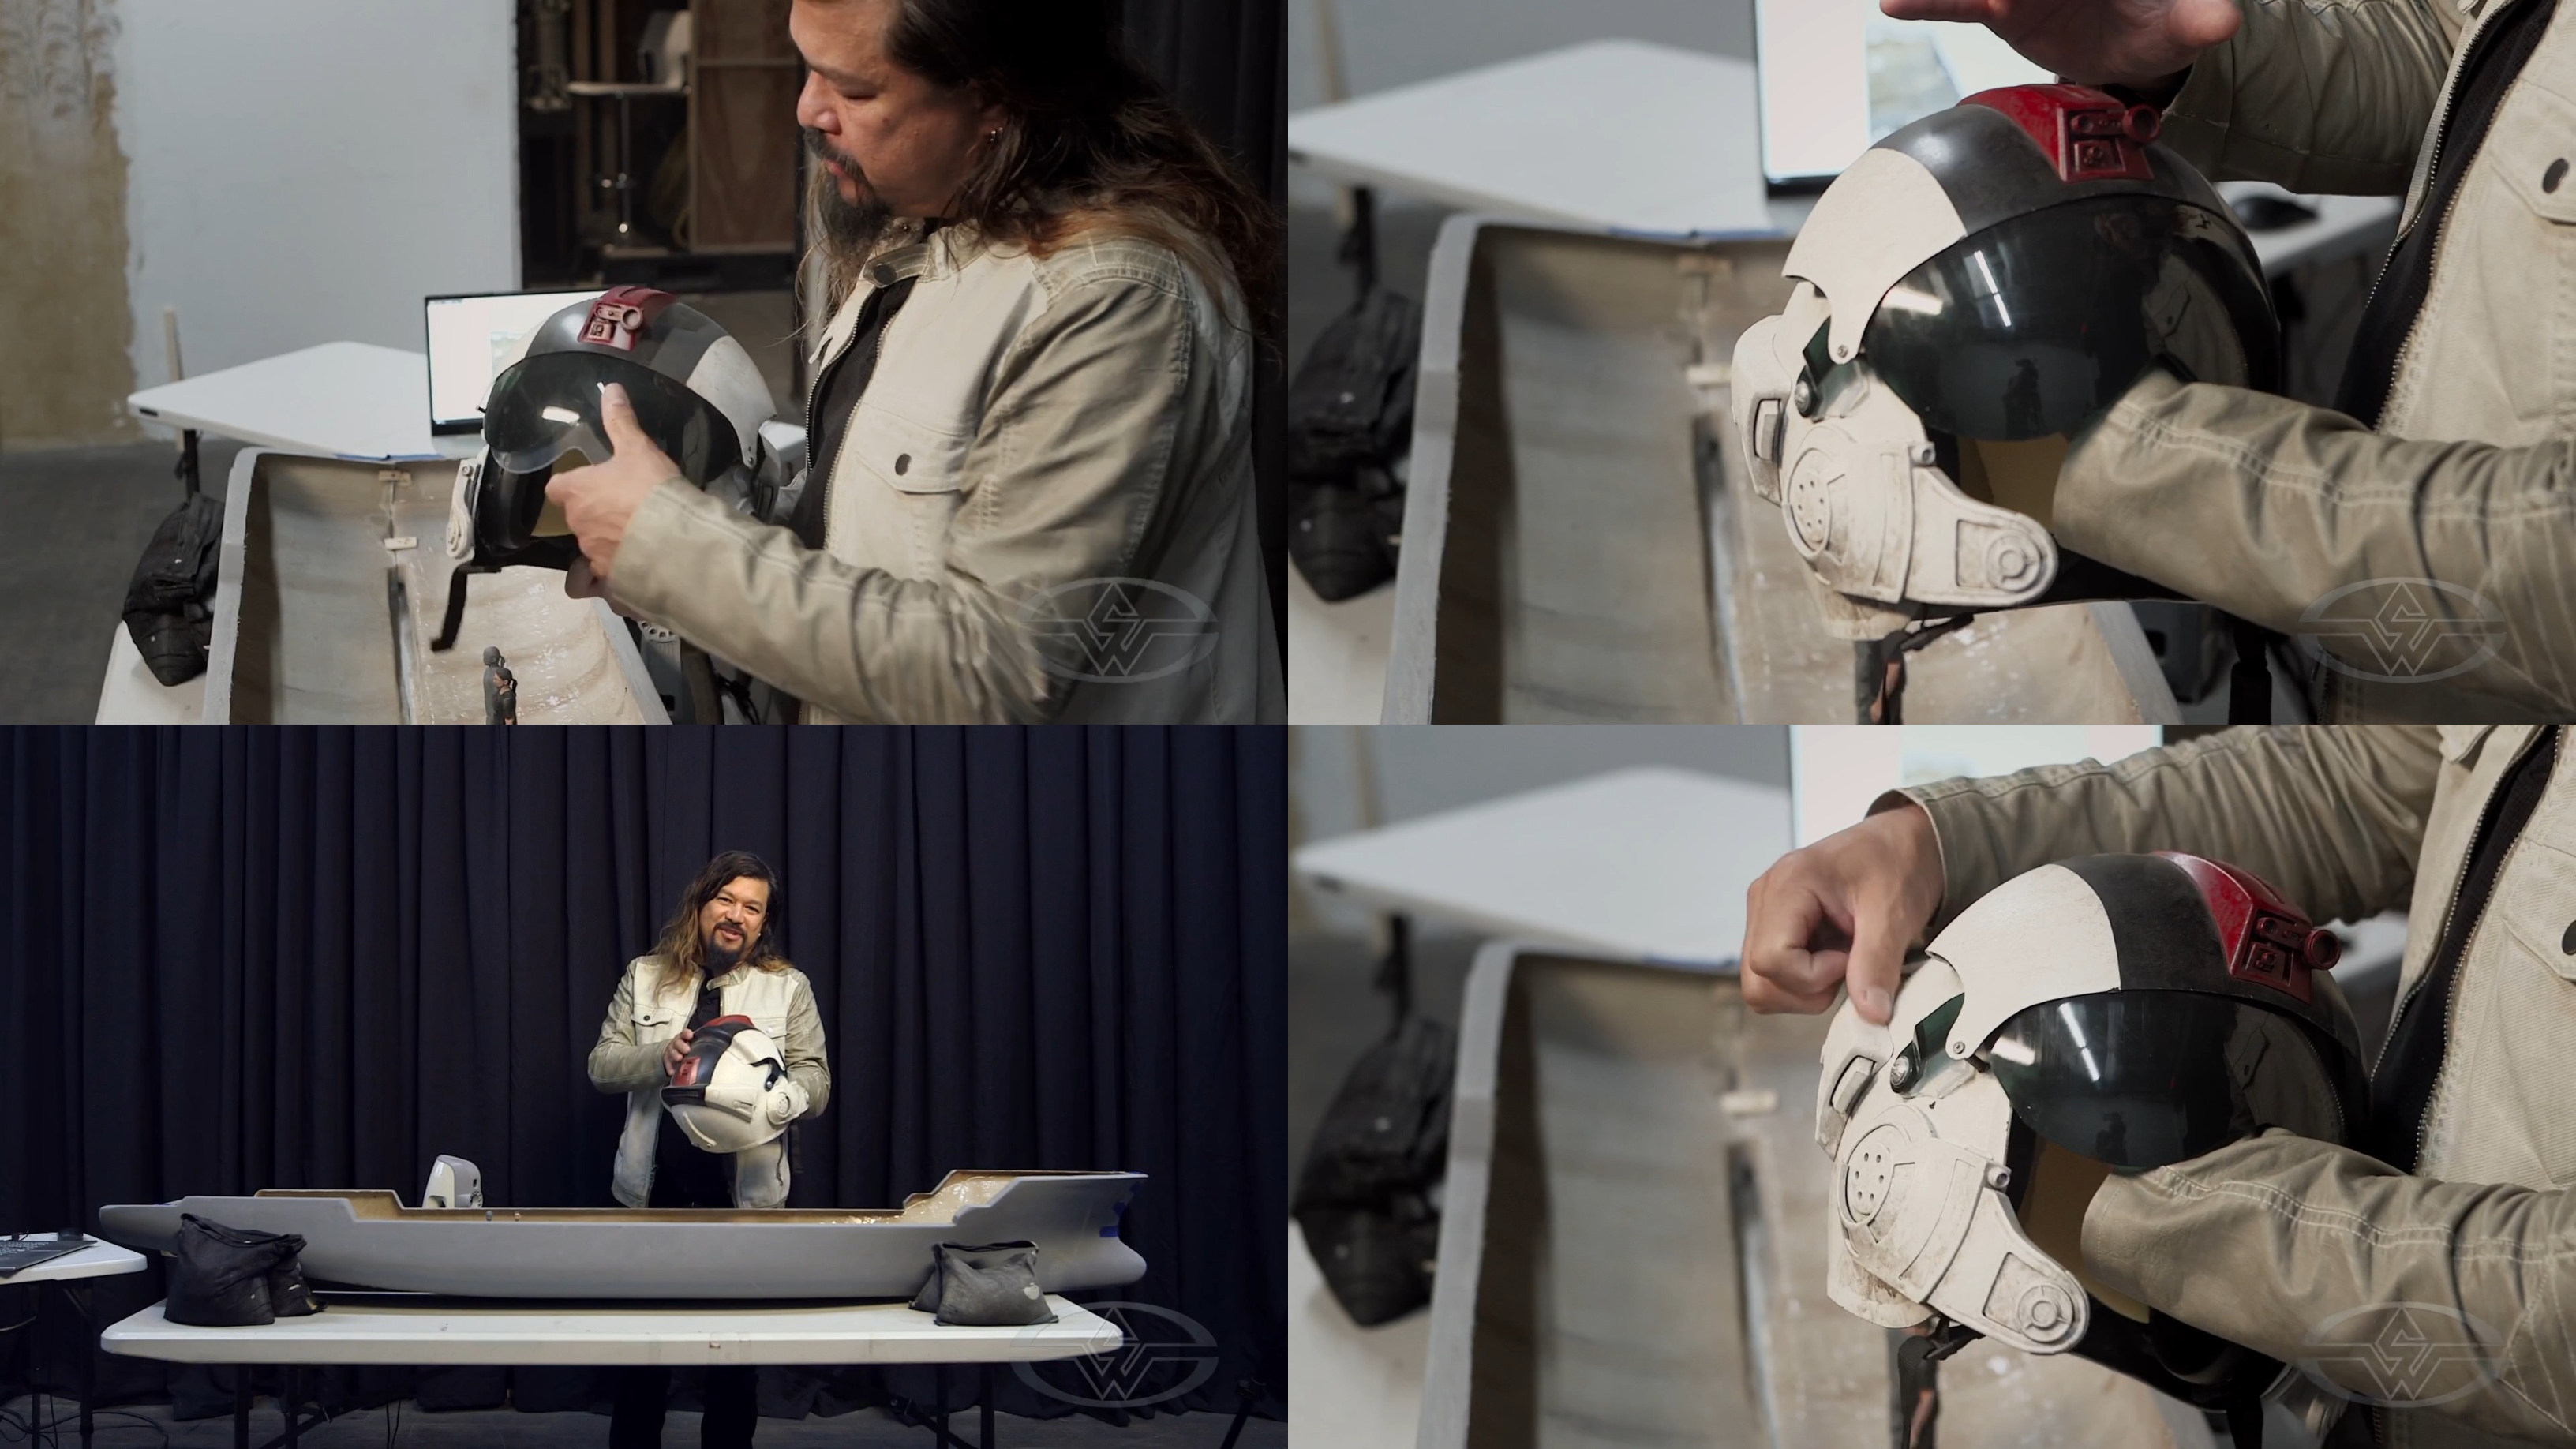 (Fon Davis shares how he and his team were able to use 3D scanning to quickly create precise, intricate parts for a custom sci-fi space helmet.)
To make custom details within a short timeframe, they 3D scanned the original helmet to create a computer-generated representation of it. Next, they designed small details (aka "greebles”) that would match and fit the helmet perfectly.
Since the digital version of the helmet matched its physical form in real space, they were able to 3D print the new parts with the precision shapes that allowed the parts to be glued right on “with almost no time or effort,” Davis says.
Without using a scanner, attaching custom details would involve rough fitting and seaming them. With a scanner, you’re able to avoid patching and simply paint the 3D printed parts, attach and go.
Another common use for 3D scanning is creating a three-dimensional representation of someone’s face or the human head.
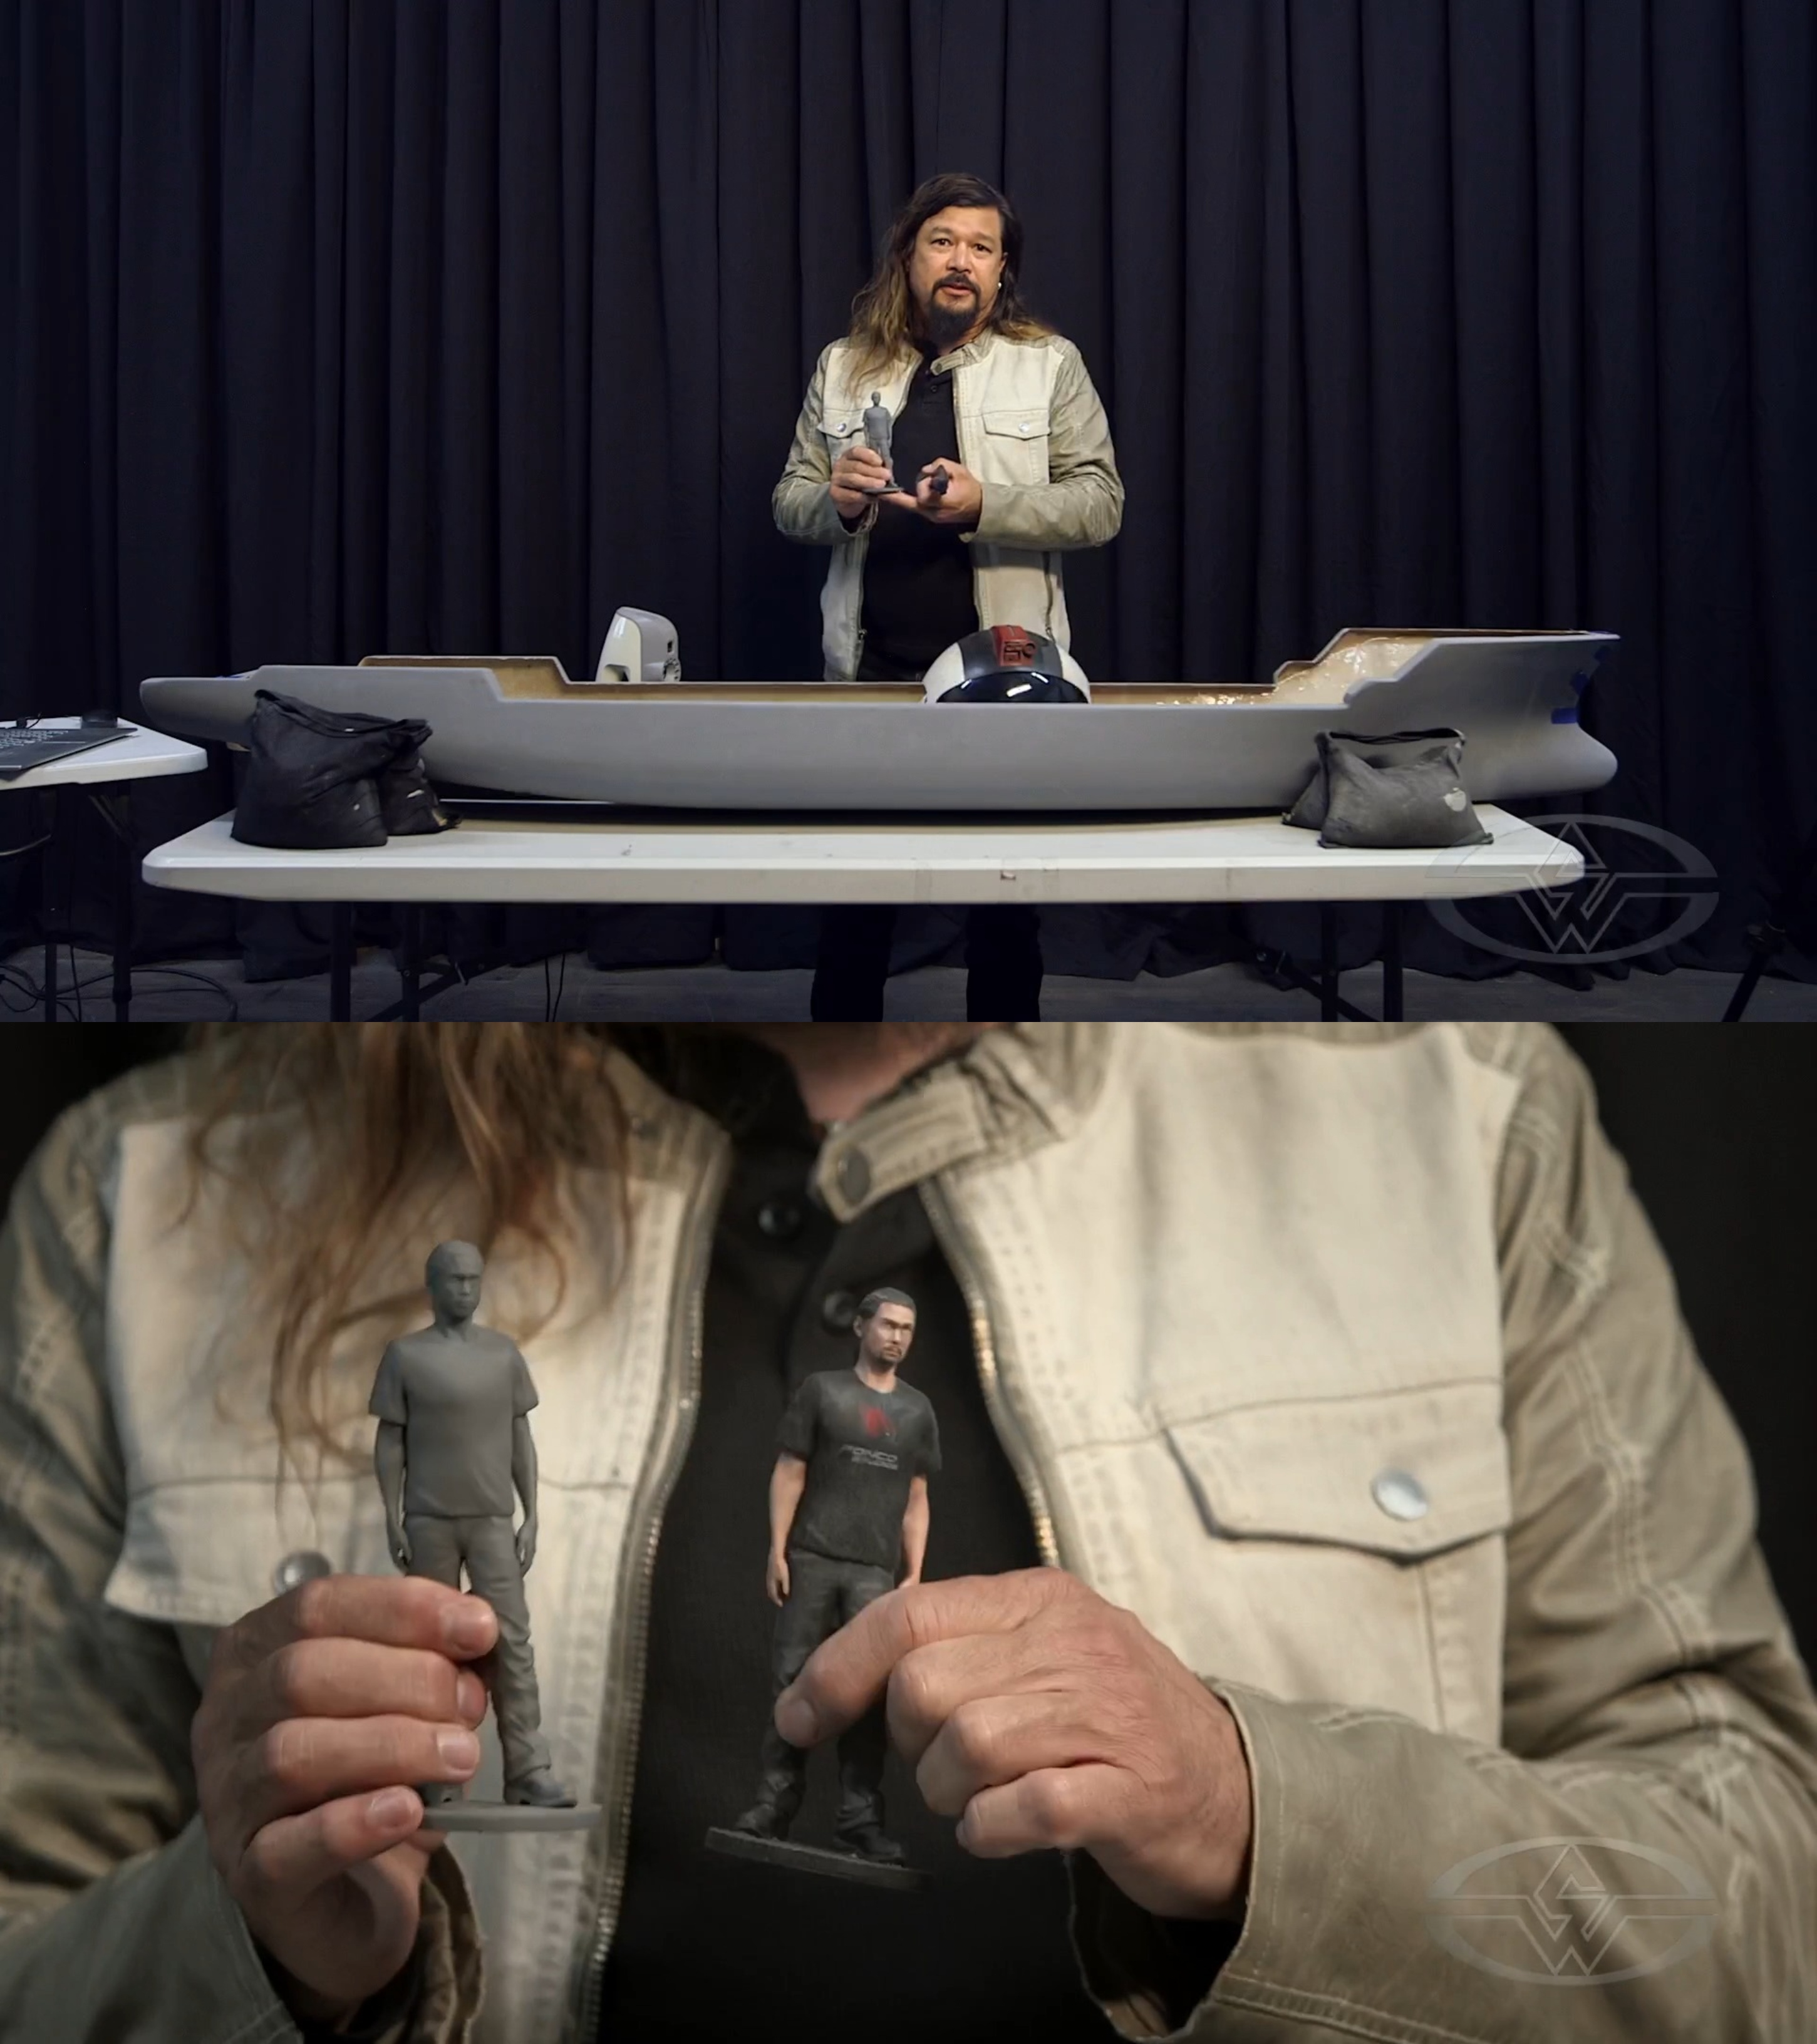 (Fon Davis holds up action figures of himself: one printed in gray resin and the other in color to show the results of scanning a human form.)
Anyone who owns a 3D scanner and printer will eventually want to create a custom action figure. It's such an irresistible demonstration that Davis considers it essentially a requirement.
Whether you're making masks, headgear, costumes, prosthetic heads, animatronic characters or dummy parts, there is often a need to replicate particular human faces.
“The physical form of someone’s face is very unique. It’s very hard to replicate. If you were to sculpt it, if you were to do a lot of different methods of live casting [someone's face] — even life-casting — you can get deformation of the face from the material you use to make the mold,” Davis explains.
This is where a 3D scan can be incredibly helpful in saving you time with an accurate, unaltered image.
How 3D Scanning Works
Laser scanning can be used for a variety of objects, no matter how complex or simple. Even with a ship hull that was initially created from 3D printed parts, there tends to be a degree of asymmetry involved that can complicate casting and result in inaccuracies.
Despite having a highly precise mold for the ship hull and casting it, Davis and his team find shrinkage can occur from the 3D model to the physical casting, and therefore custom parts, like the ship's decking, will fit more precisely when generated from a scan.
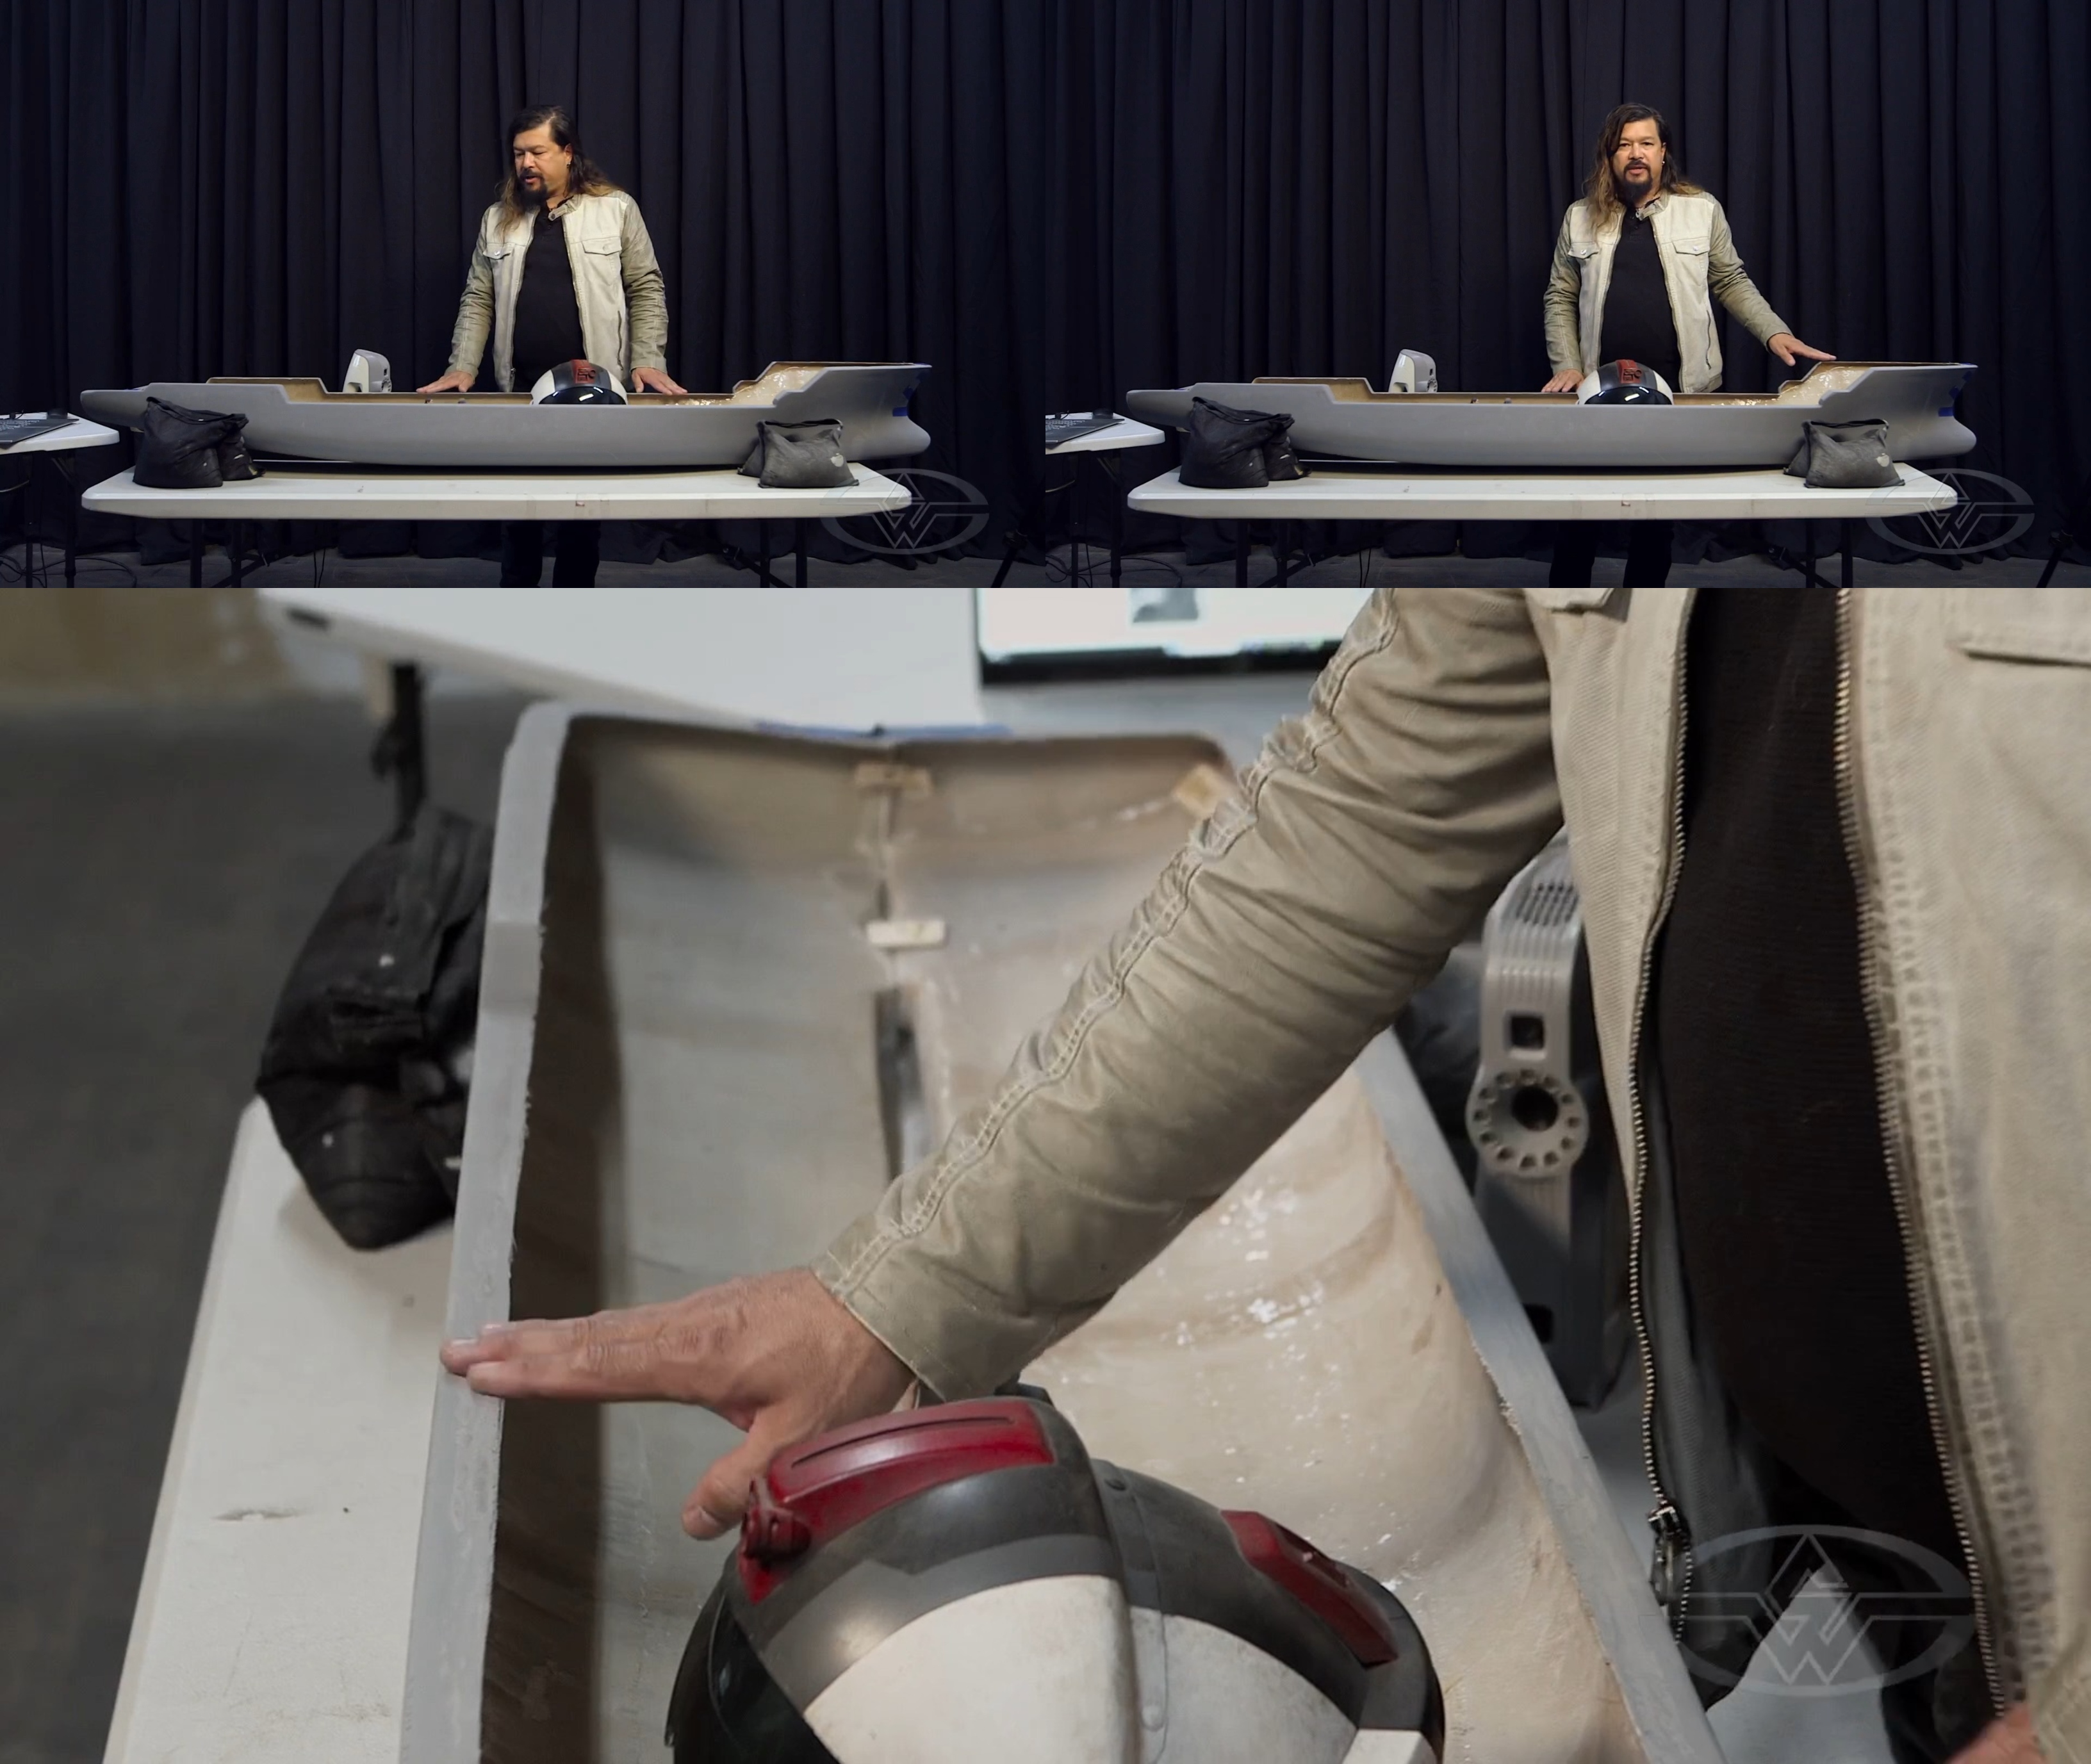 (Fon Davis notes that asymmetries and inaccuracies can still occur when casting large objects.)
Laser scanning is essential to finding the imperfections, inaccuracies, or asymmetries in the casting. This helps once it’s time to laser cut the flooring to match the casting perfectly.
The Process of 3D Laser Scanning a Ship Hull
Small objects are often best scanned with tabletop scanners. A handheld scanner like the Artec 3D scanner is ideal for larger objects, like our ship hull, where you can move around the object with ease. The Artec scanner creates geometry by using multiple cameras and taking a series of photos from all angles.
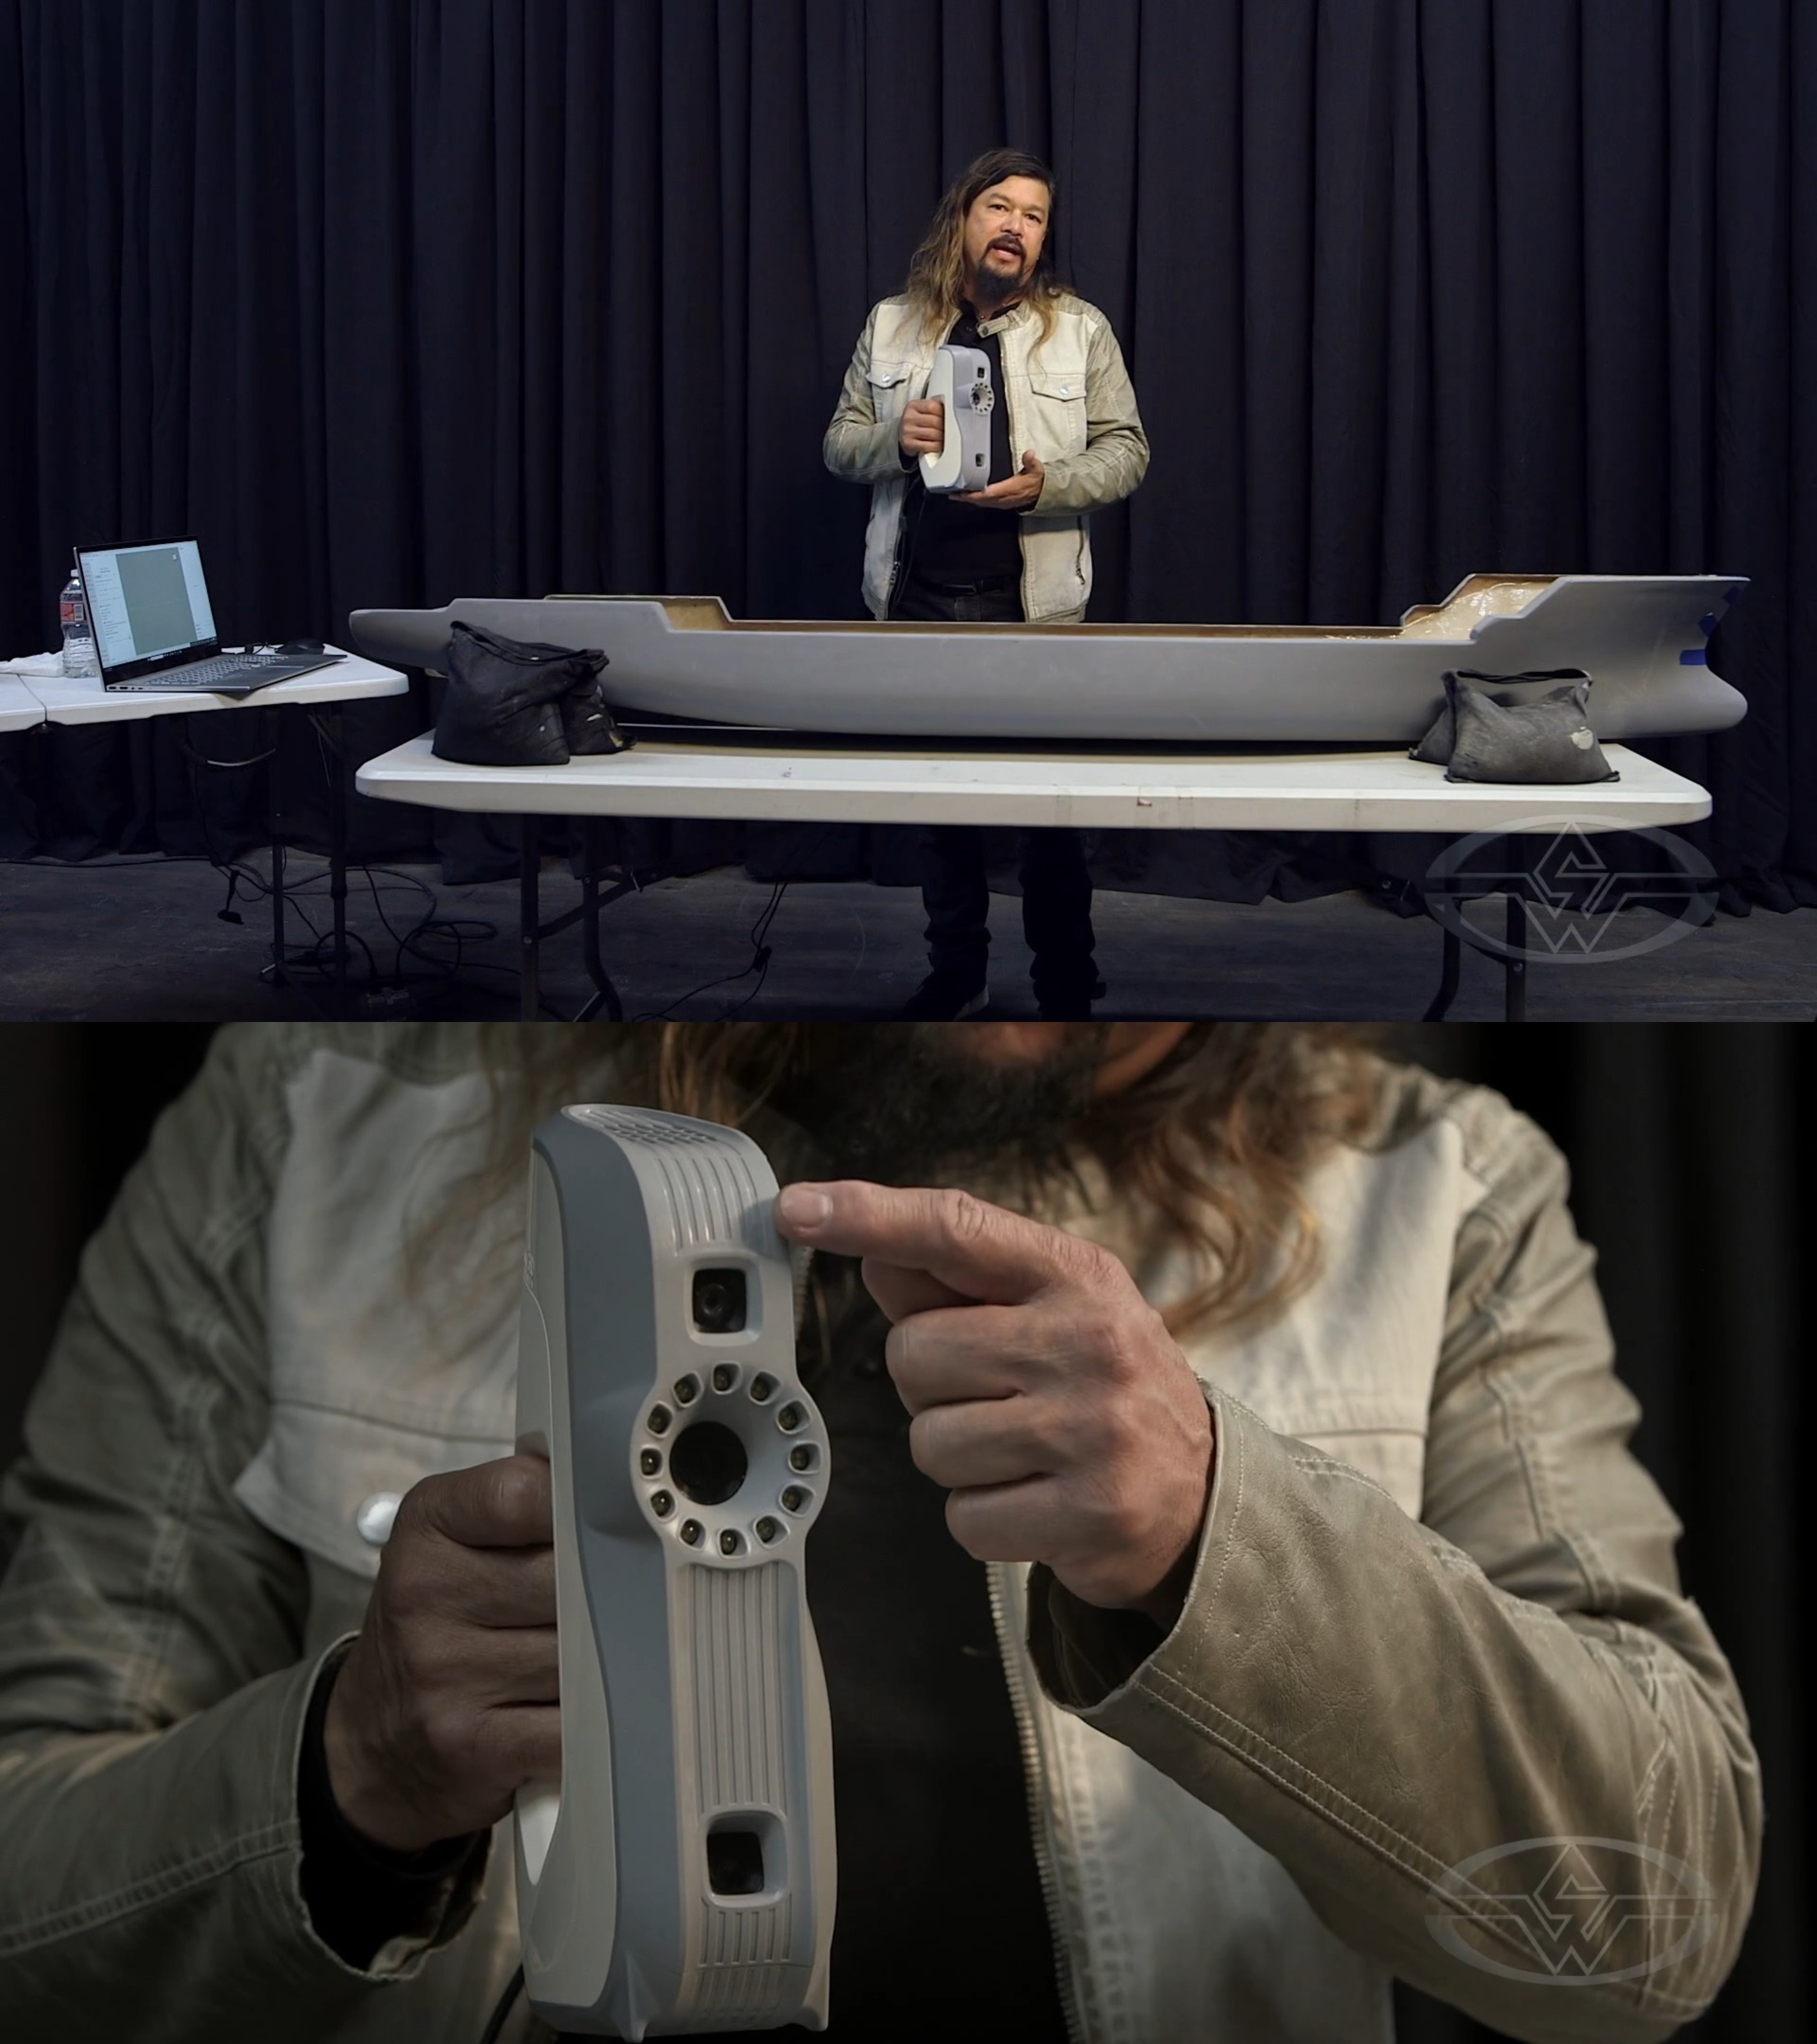 (Fon Davis uses his Artec Eva professional handheld 3D scanner and points out its multiple cameras.)
The scanner runs directly through its software known as Artec Studio. This program automates and processes your scan to create 3D mesh models of objects.
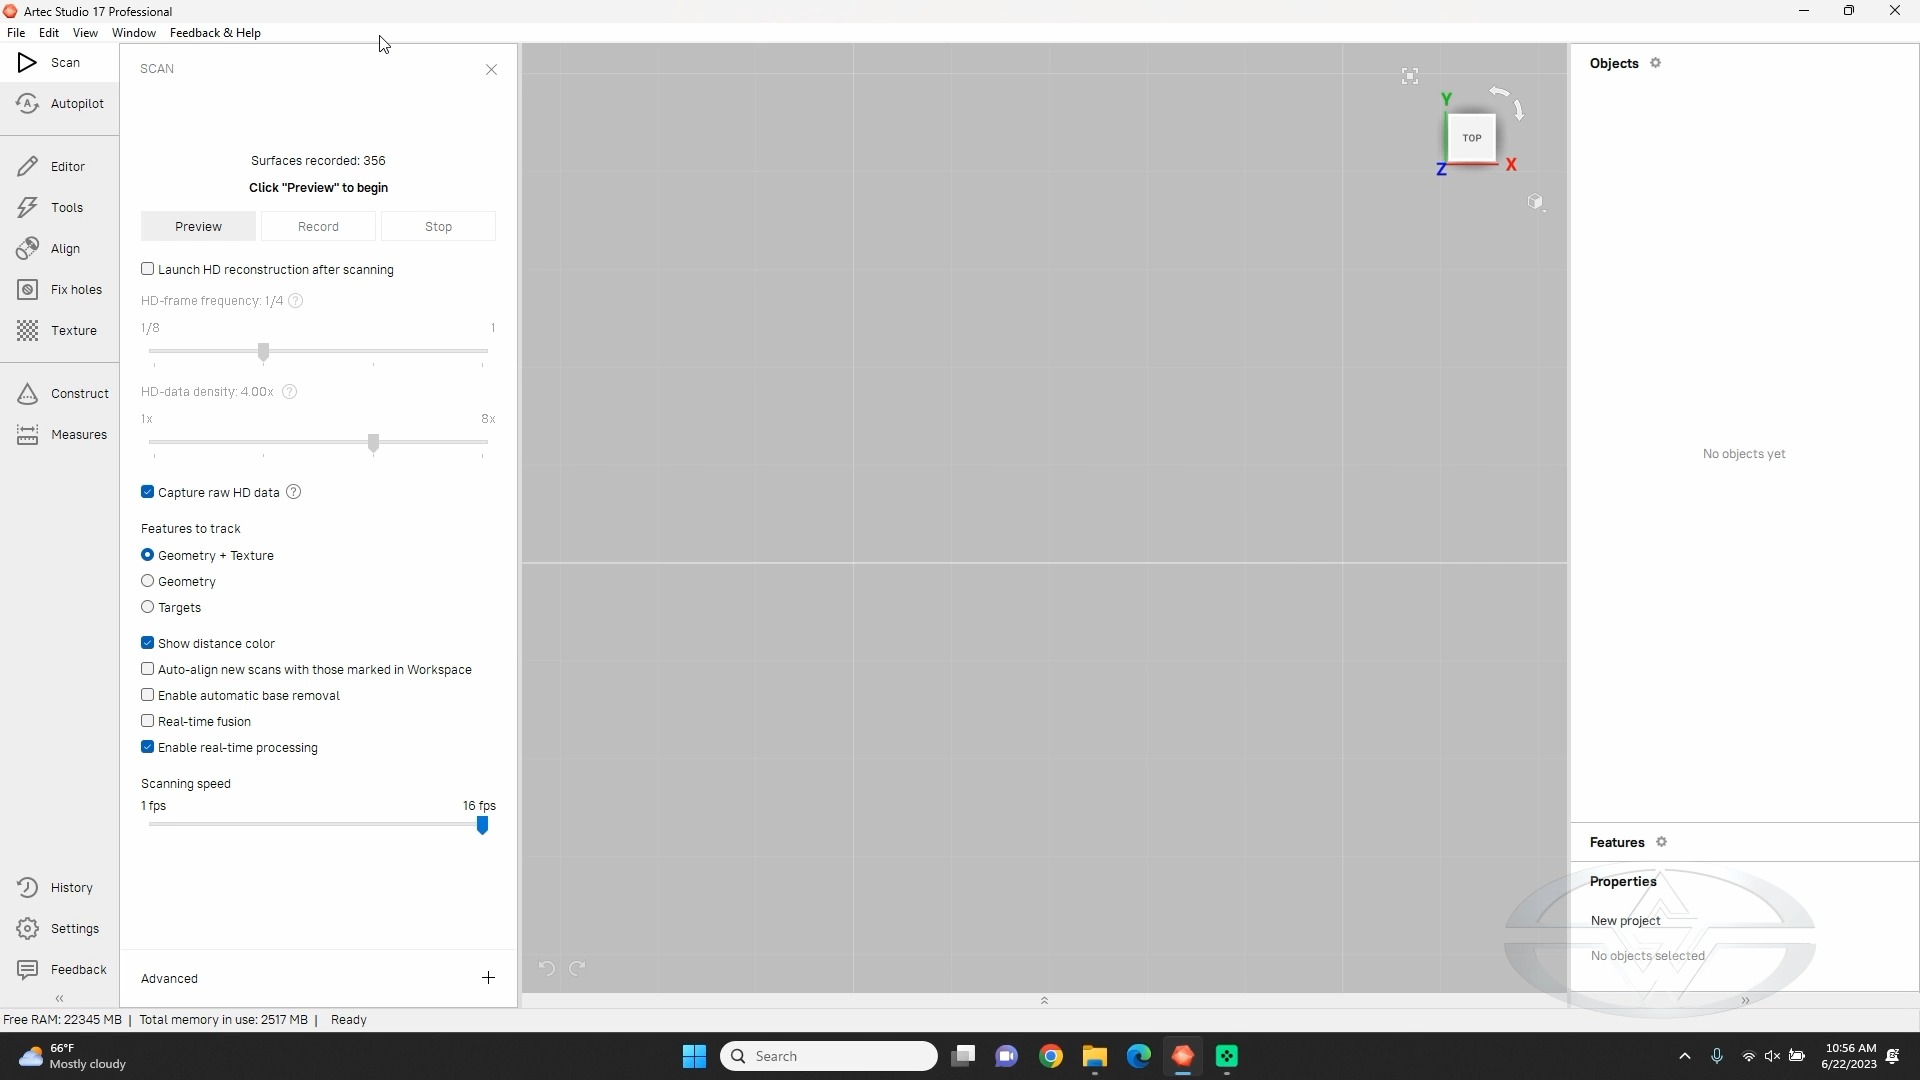 (The Artec 3D scanner is linked to its professional-grade software, Artec Studio.)
The software program provides a real-time preview of what you’re scanning prior to actually scanning it.
Pressing the “Preview” button gives you a sneak peek of your 3D scan and shows a graph telling you if you’re an appropriate distance away from your object for a good result. The software shows what kind of detail you’re going to pick up, and where you may need to physically move in order to capture everything you need.
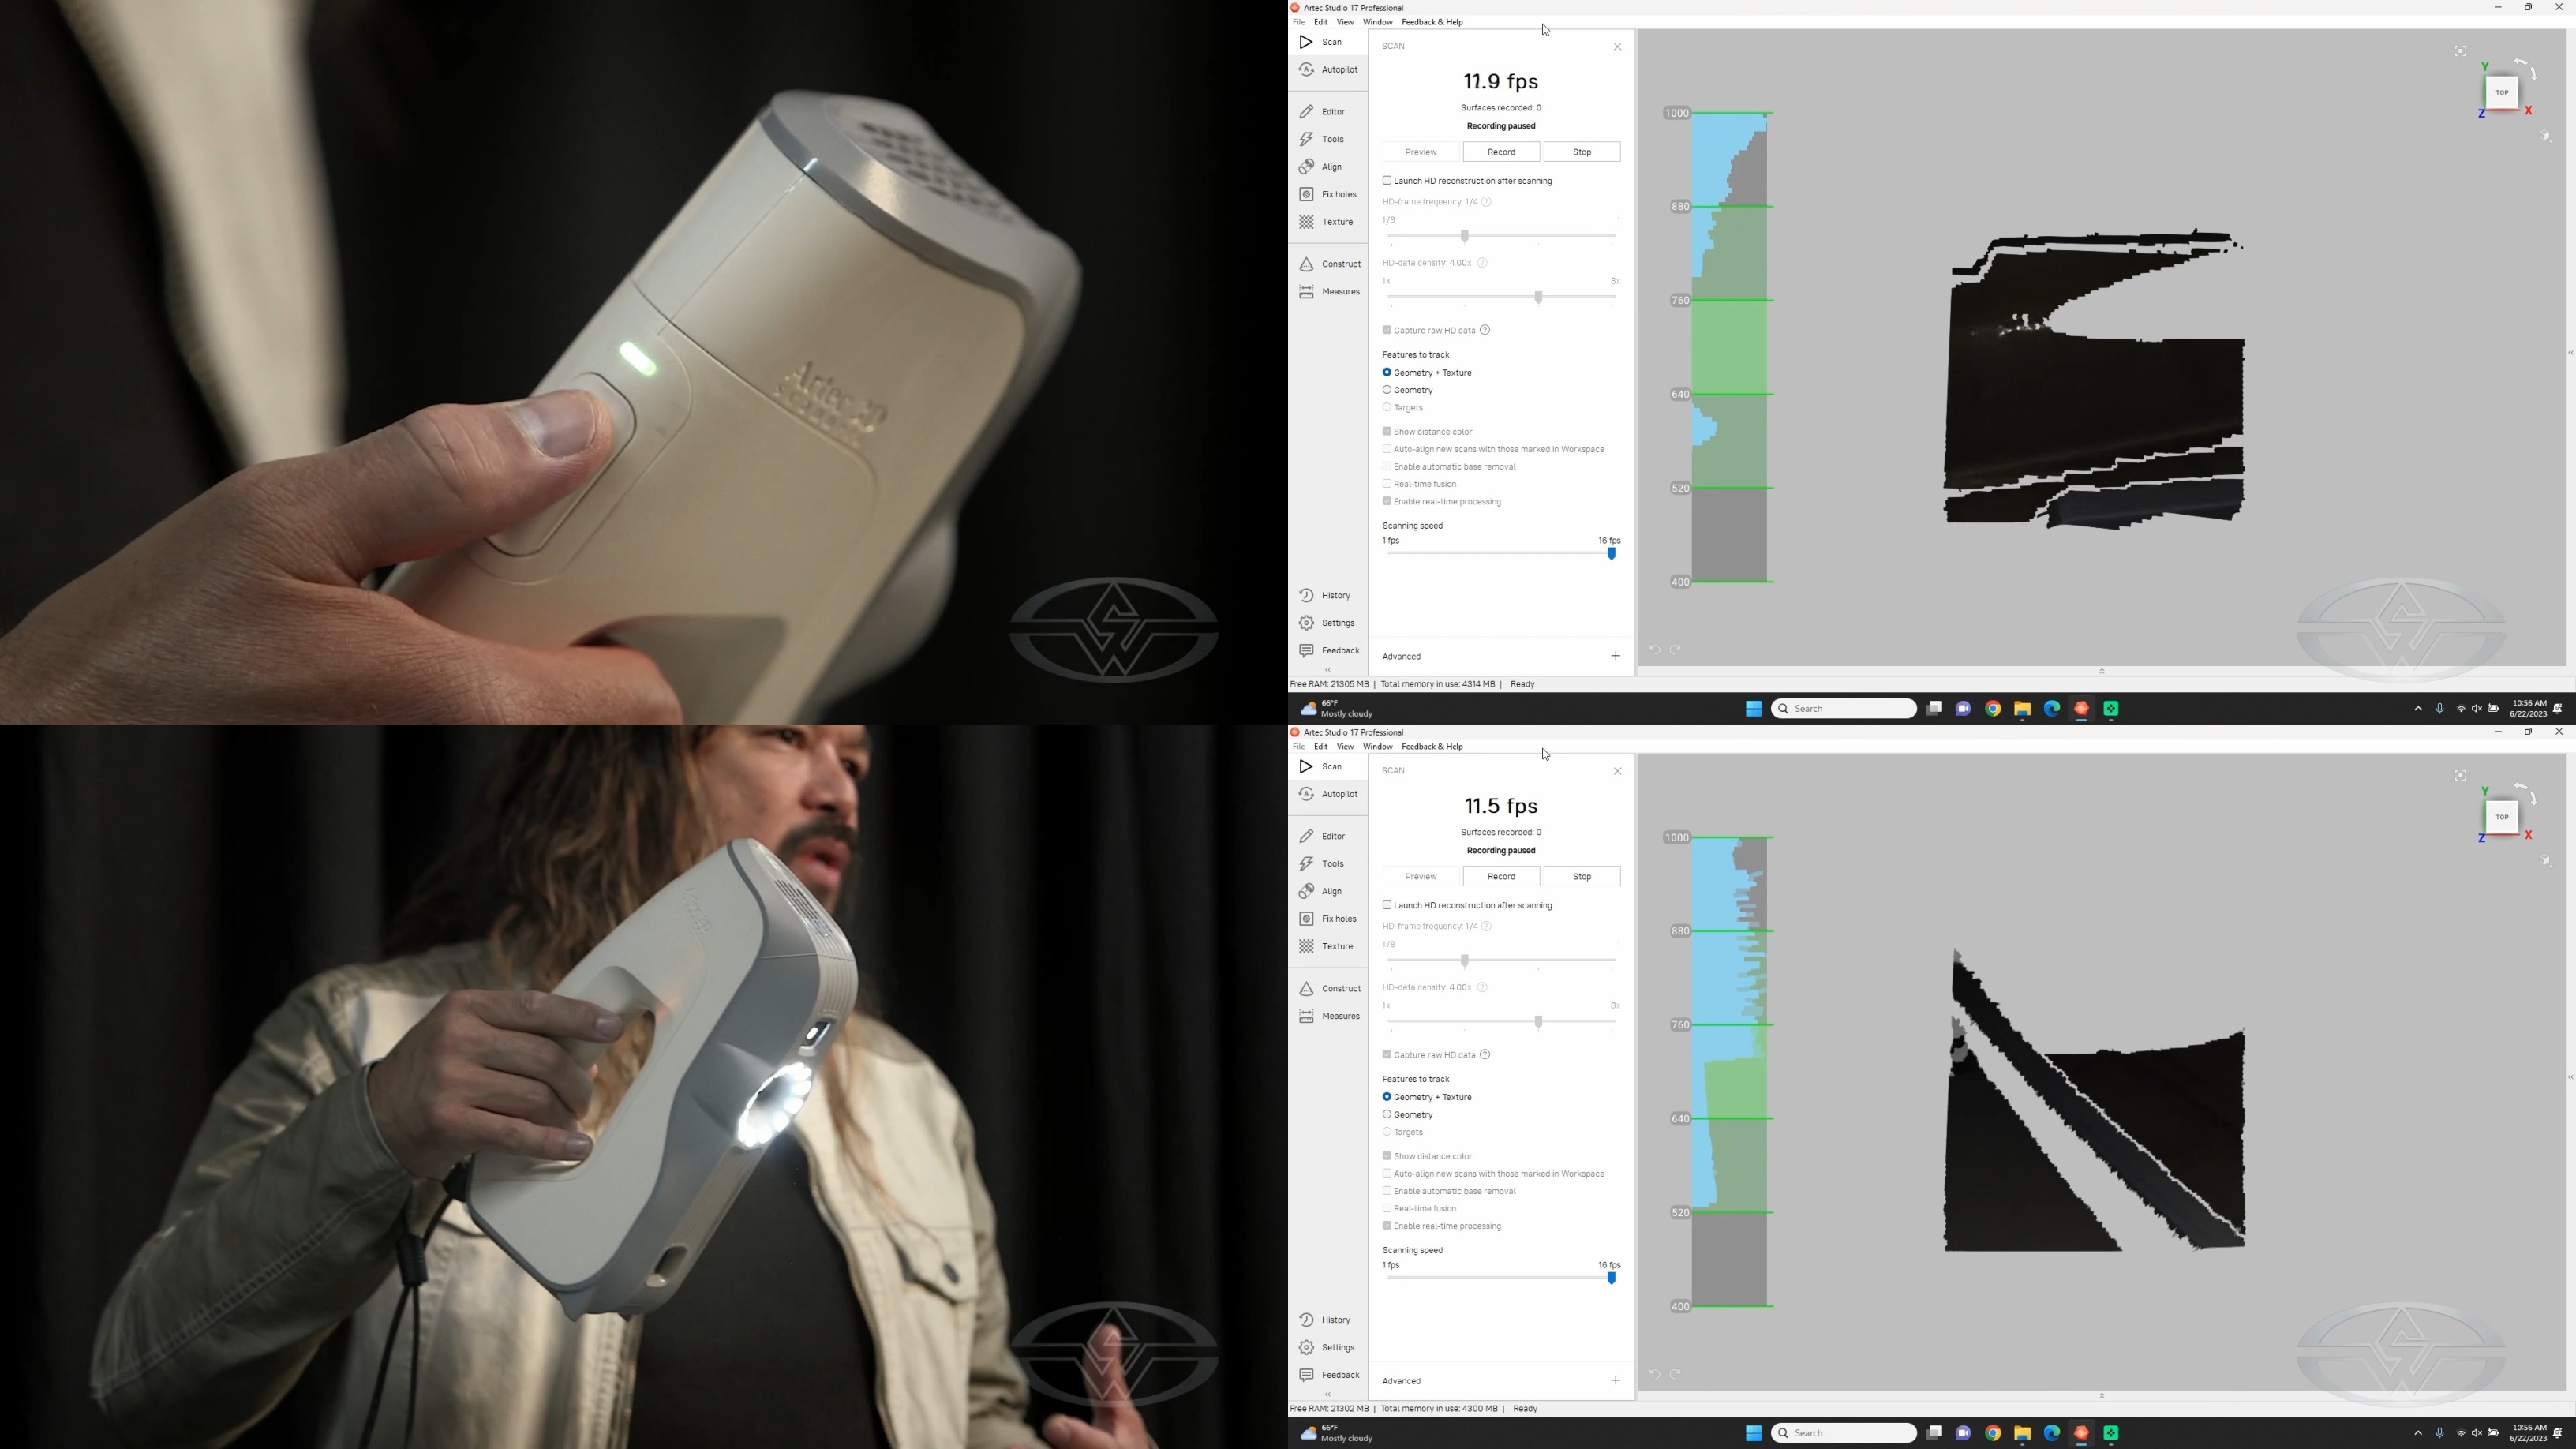 (Fon Davis presses “Preview” on the 3D scanner to make sure he's getting the information he wants in the scan.)
When you verify that you’re able to get the entire scan, press the “Record” button on the scanner to get started.
Begin by moving the scanner across the whole hull. Any time you’re scanning, work slowly and in small sections across the entire object — the edges, too! This, Davis says, ensures you’re capturing all the geometry.
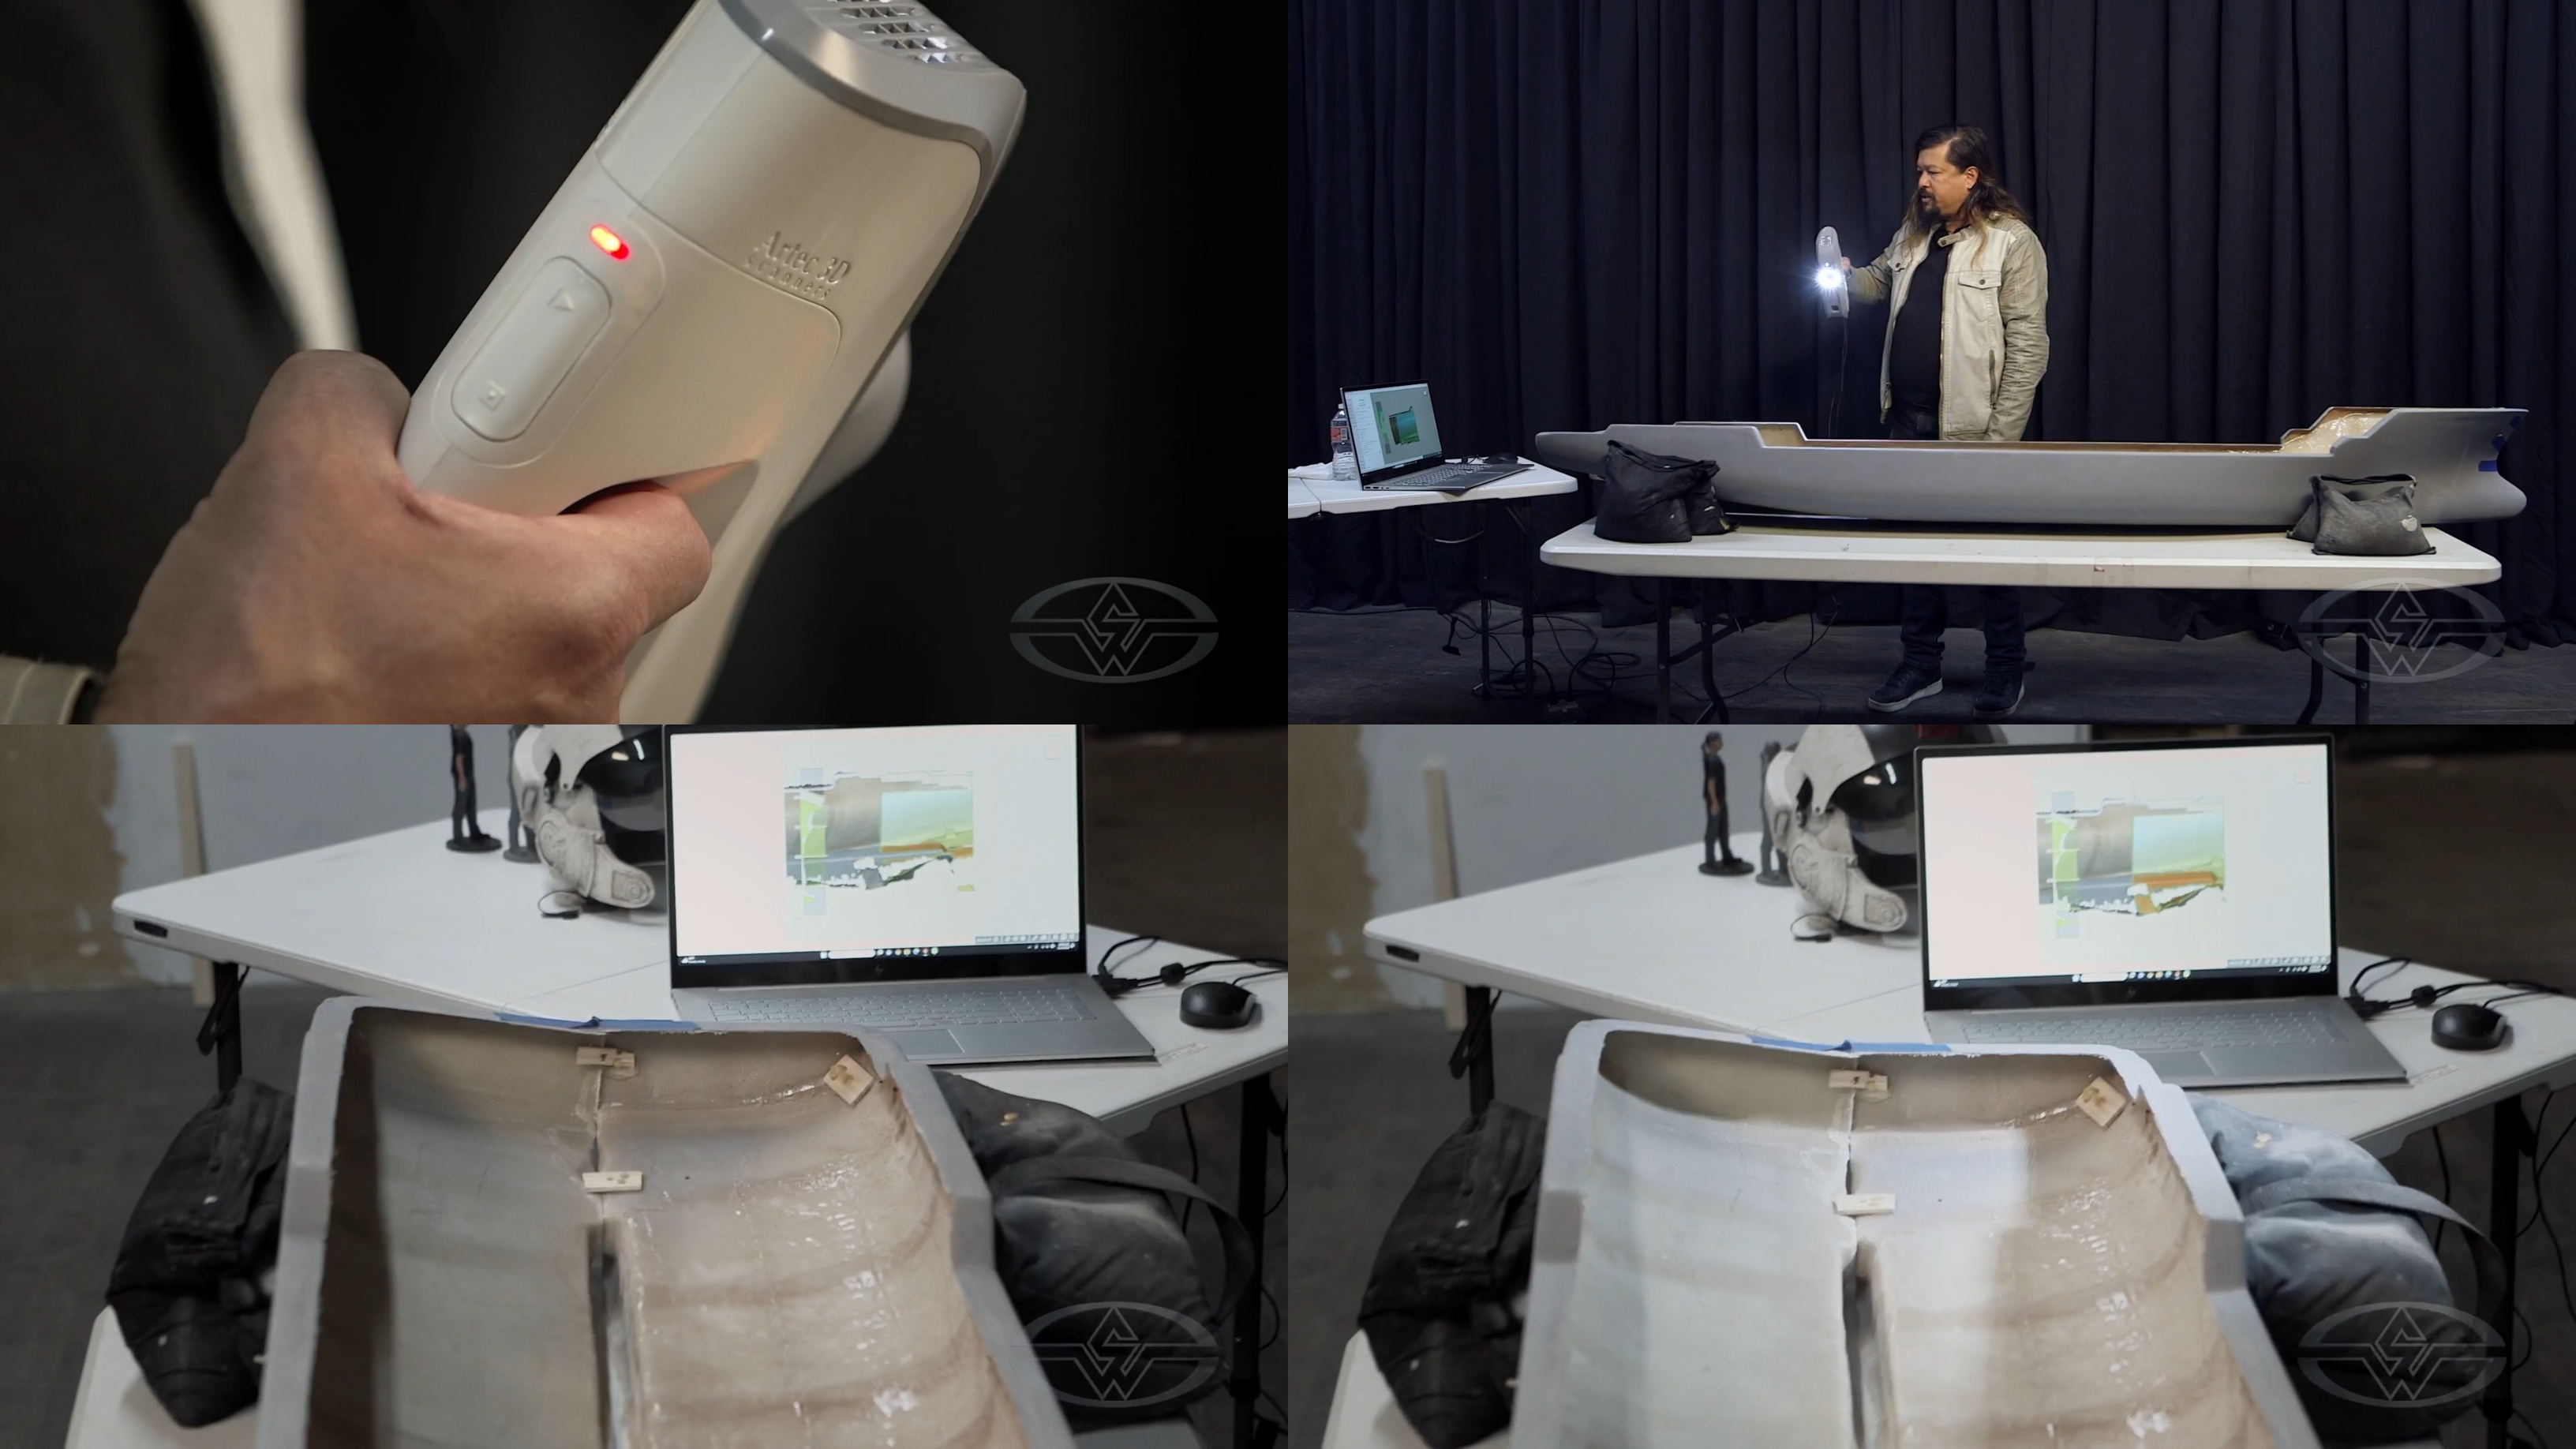 (Fon Davis hits “Record” on his Artec scanner to begin the 3D laser scanning process.)
As you’re scanning, watch the graph on your scanner to check where you should be in relation to distance from your object. For a successful 3D laser scan, the graph should be in the center of the “optimum capture location.” This helpful feature will let you know if your distance to the object is too far or too close.
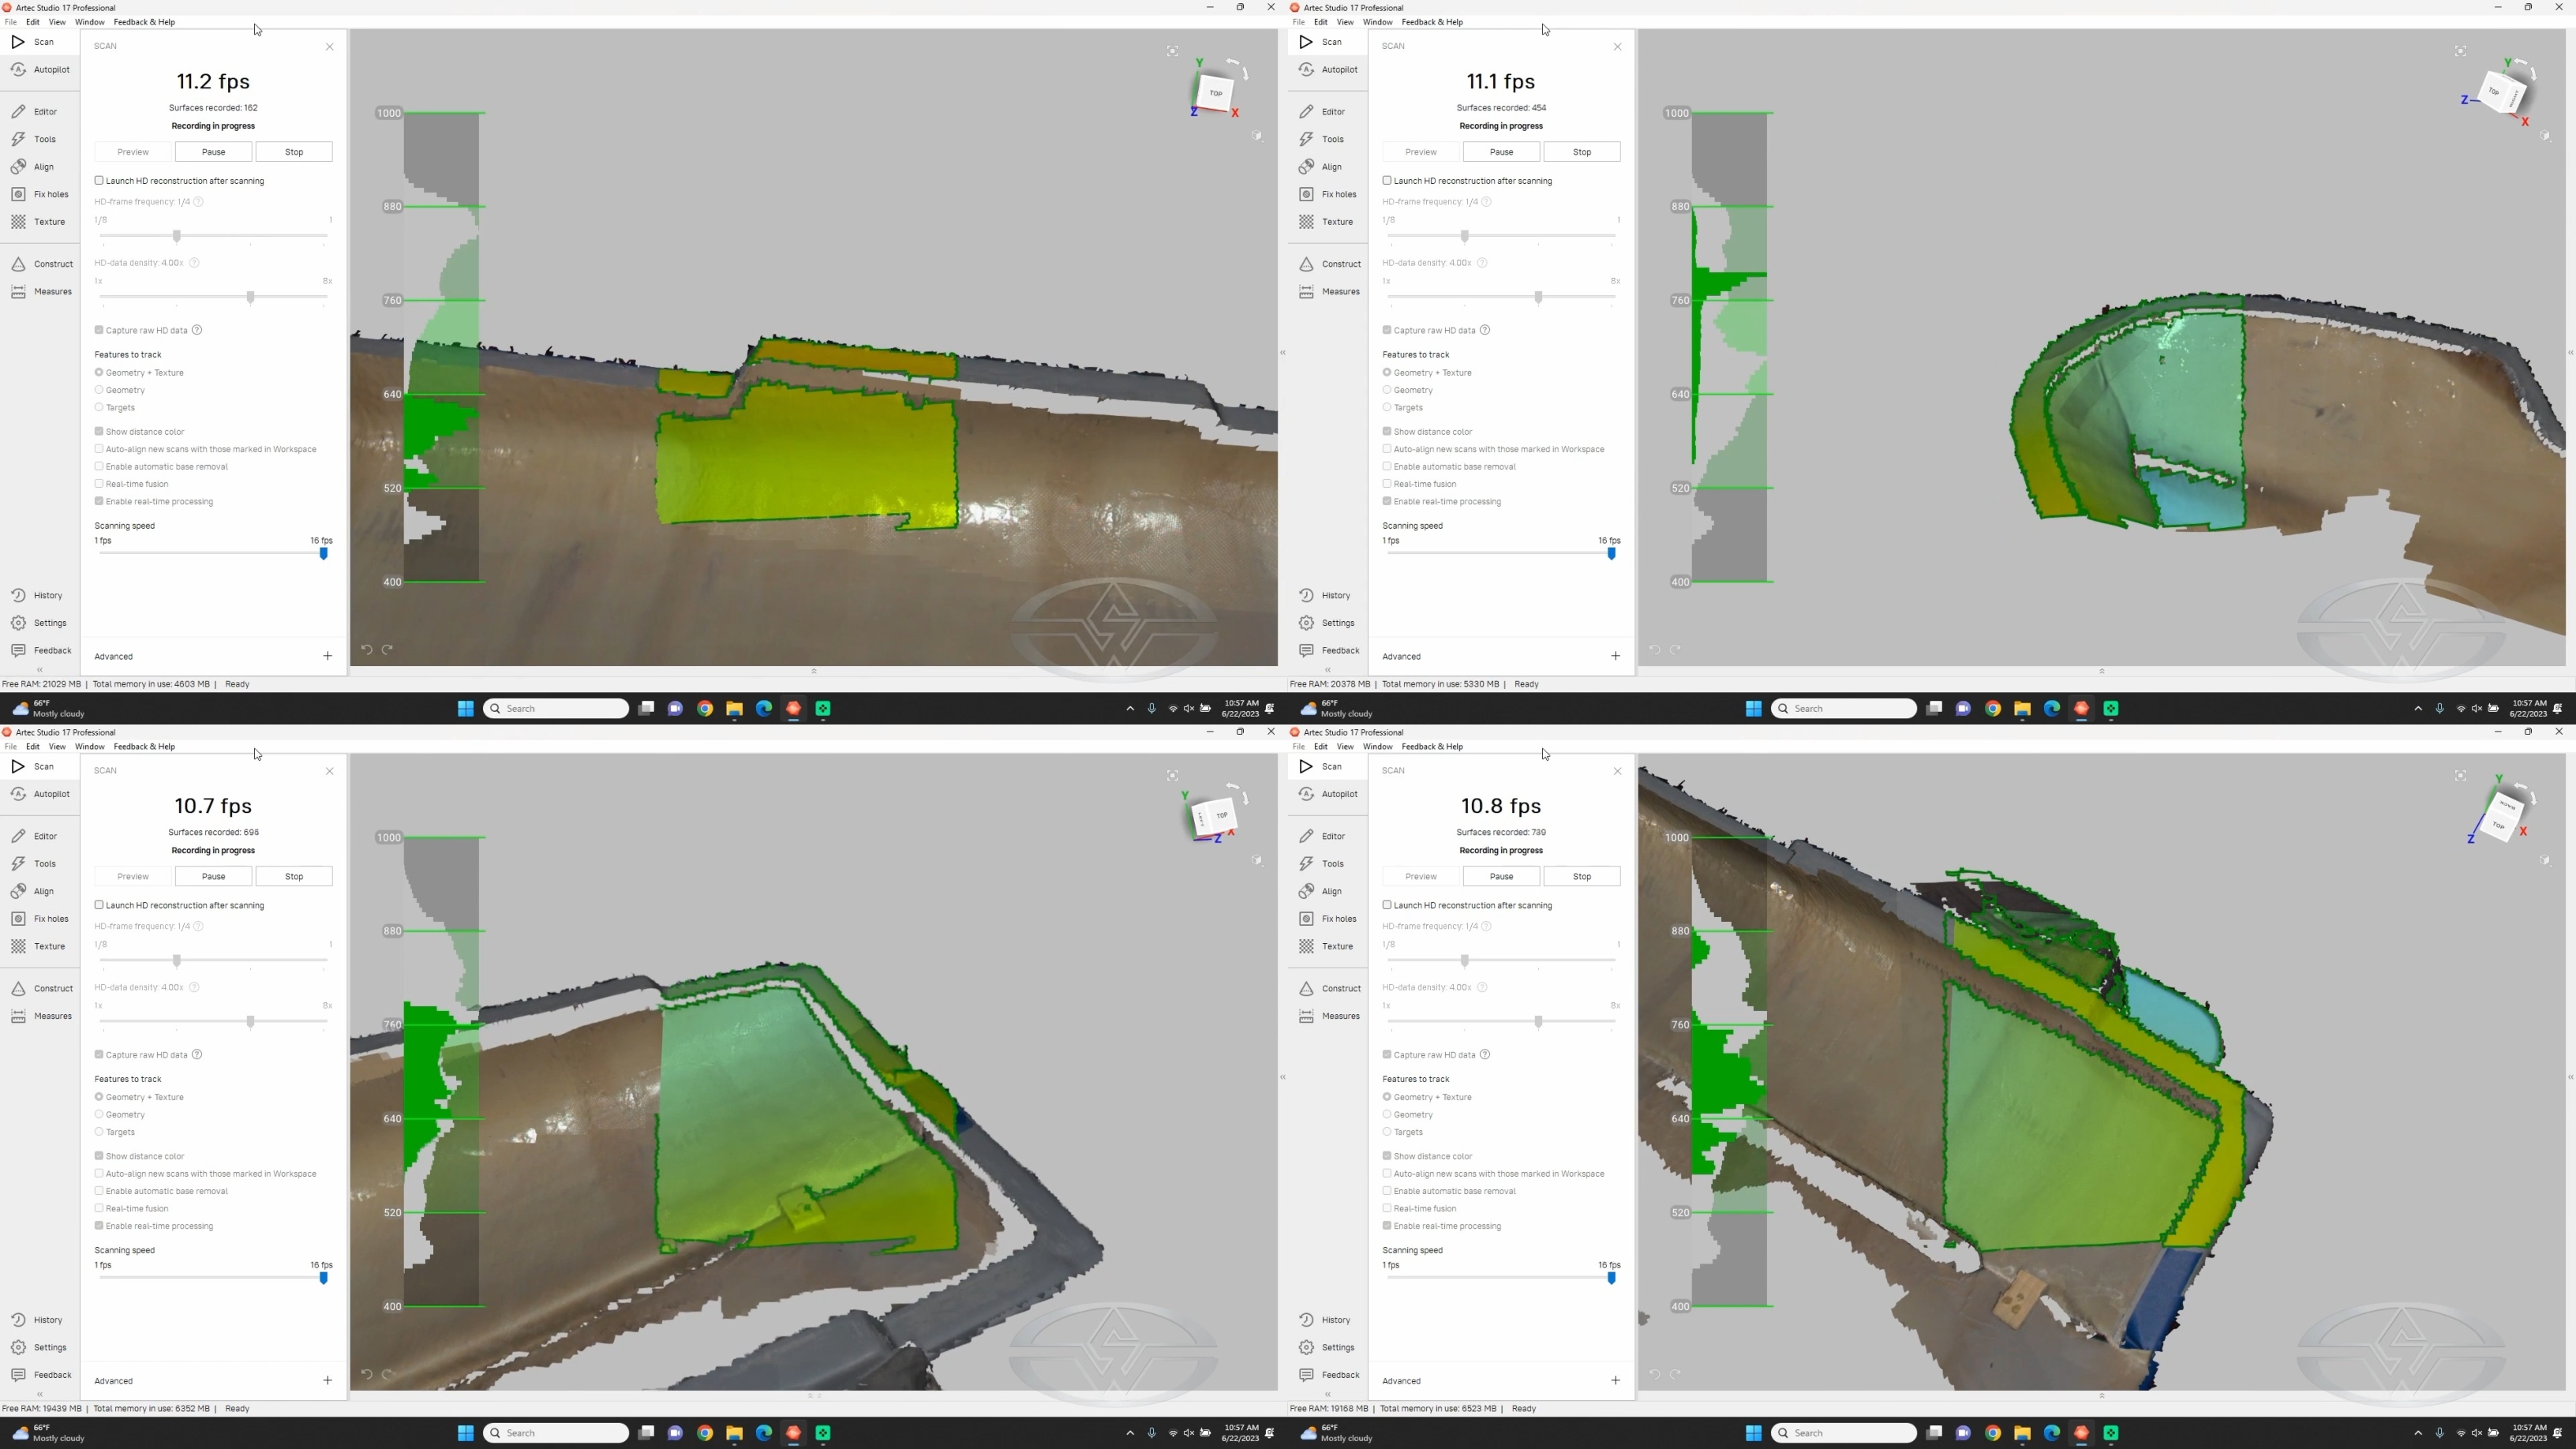 (Fon Davis makes his way across the hull slowly, scanning and checking to make sure he has every part rendered.)
You’ll see the scan begin to form as you make your way from side to side and capture every surface and edge. Take your time to get detailed geometry and stay within bounds.
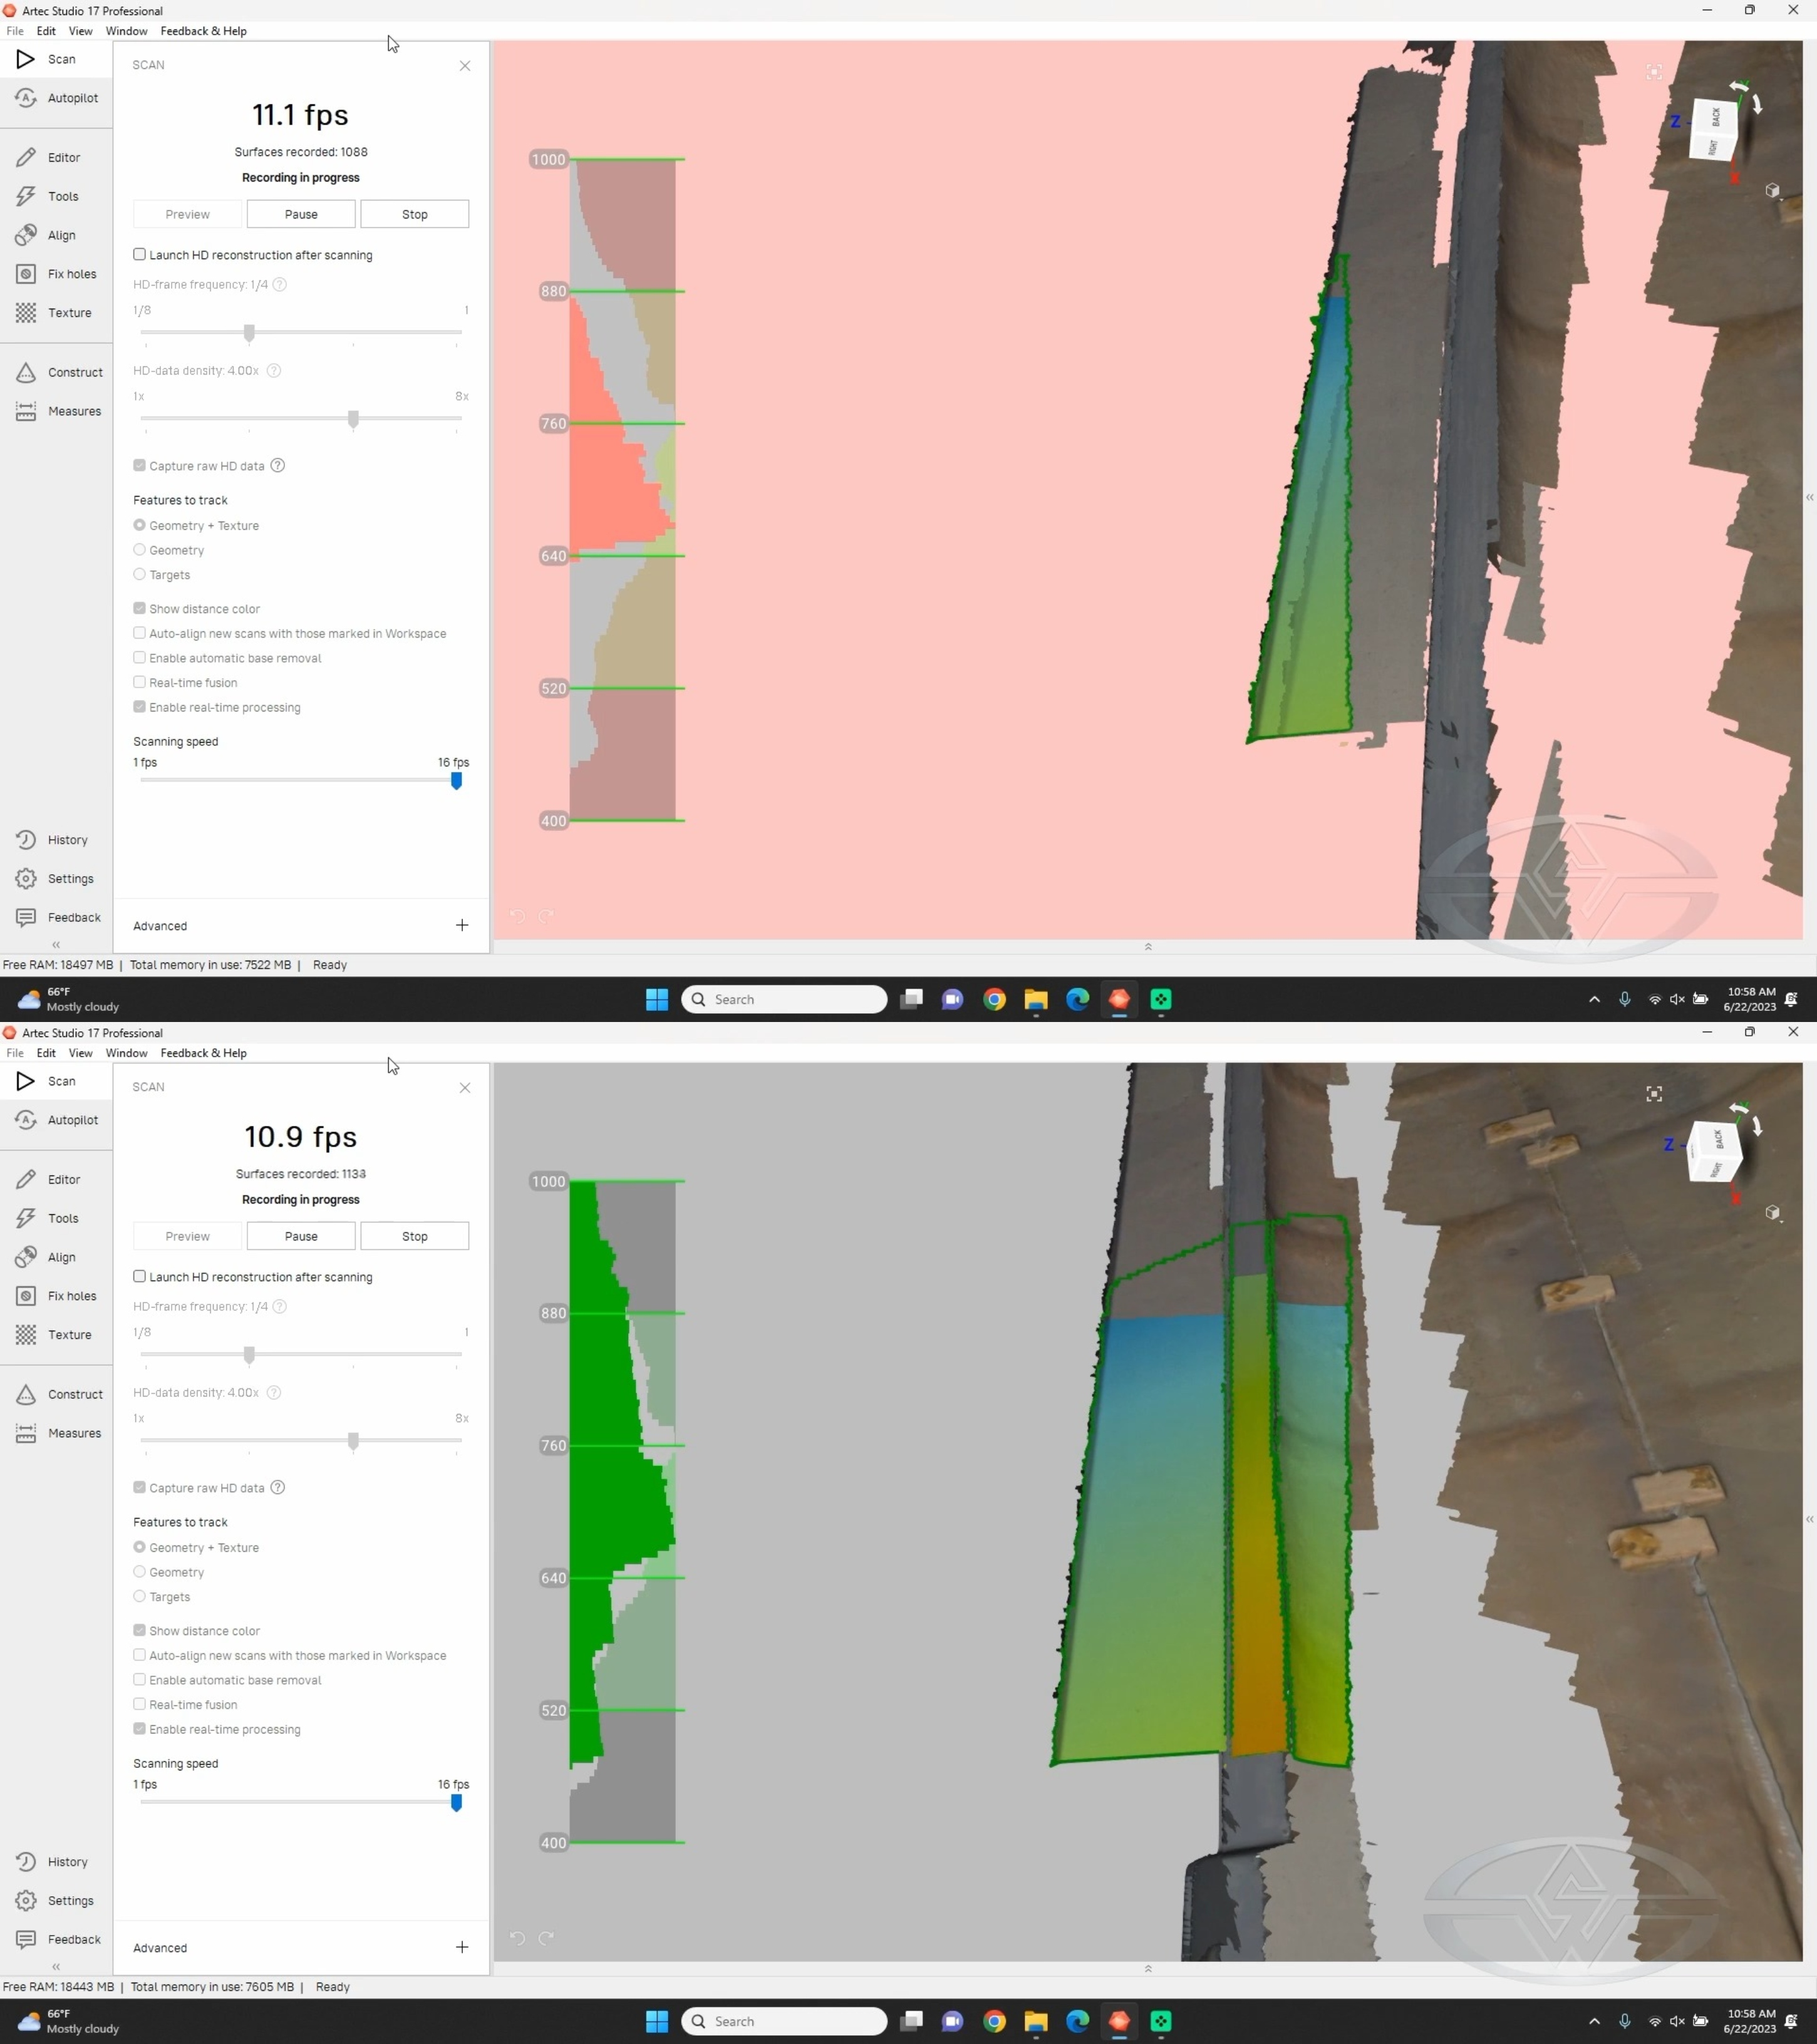 (Fon Davis demonstrates what happens when you move your scanner out of bounds, a brief pink screen.)
The Artec software will flash a pink screen if your scanner moves out of bounds.
“Luckily, once you go out of bounds, if you just get back to something you’ve already scanned, it will help you restart without having to abort your scan and start over,” Davis says.
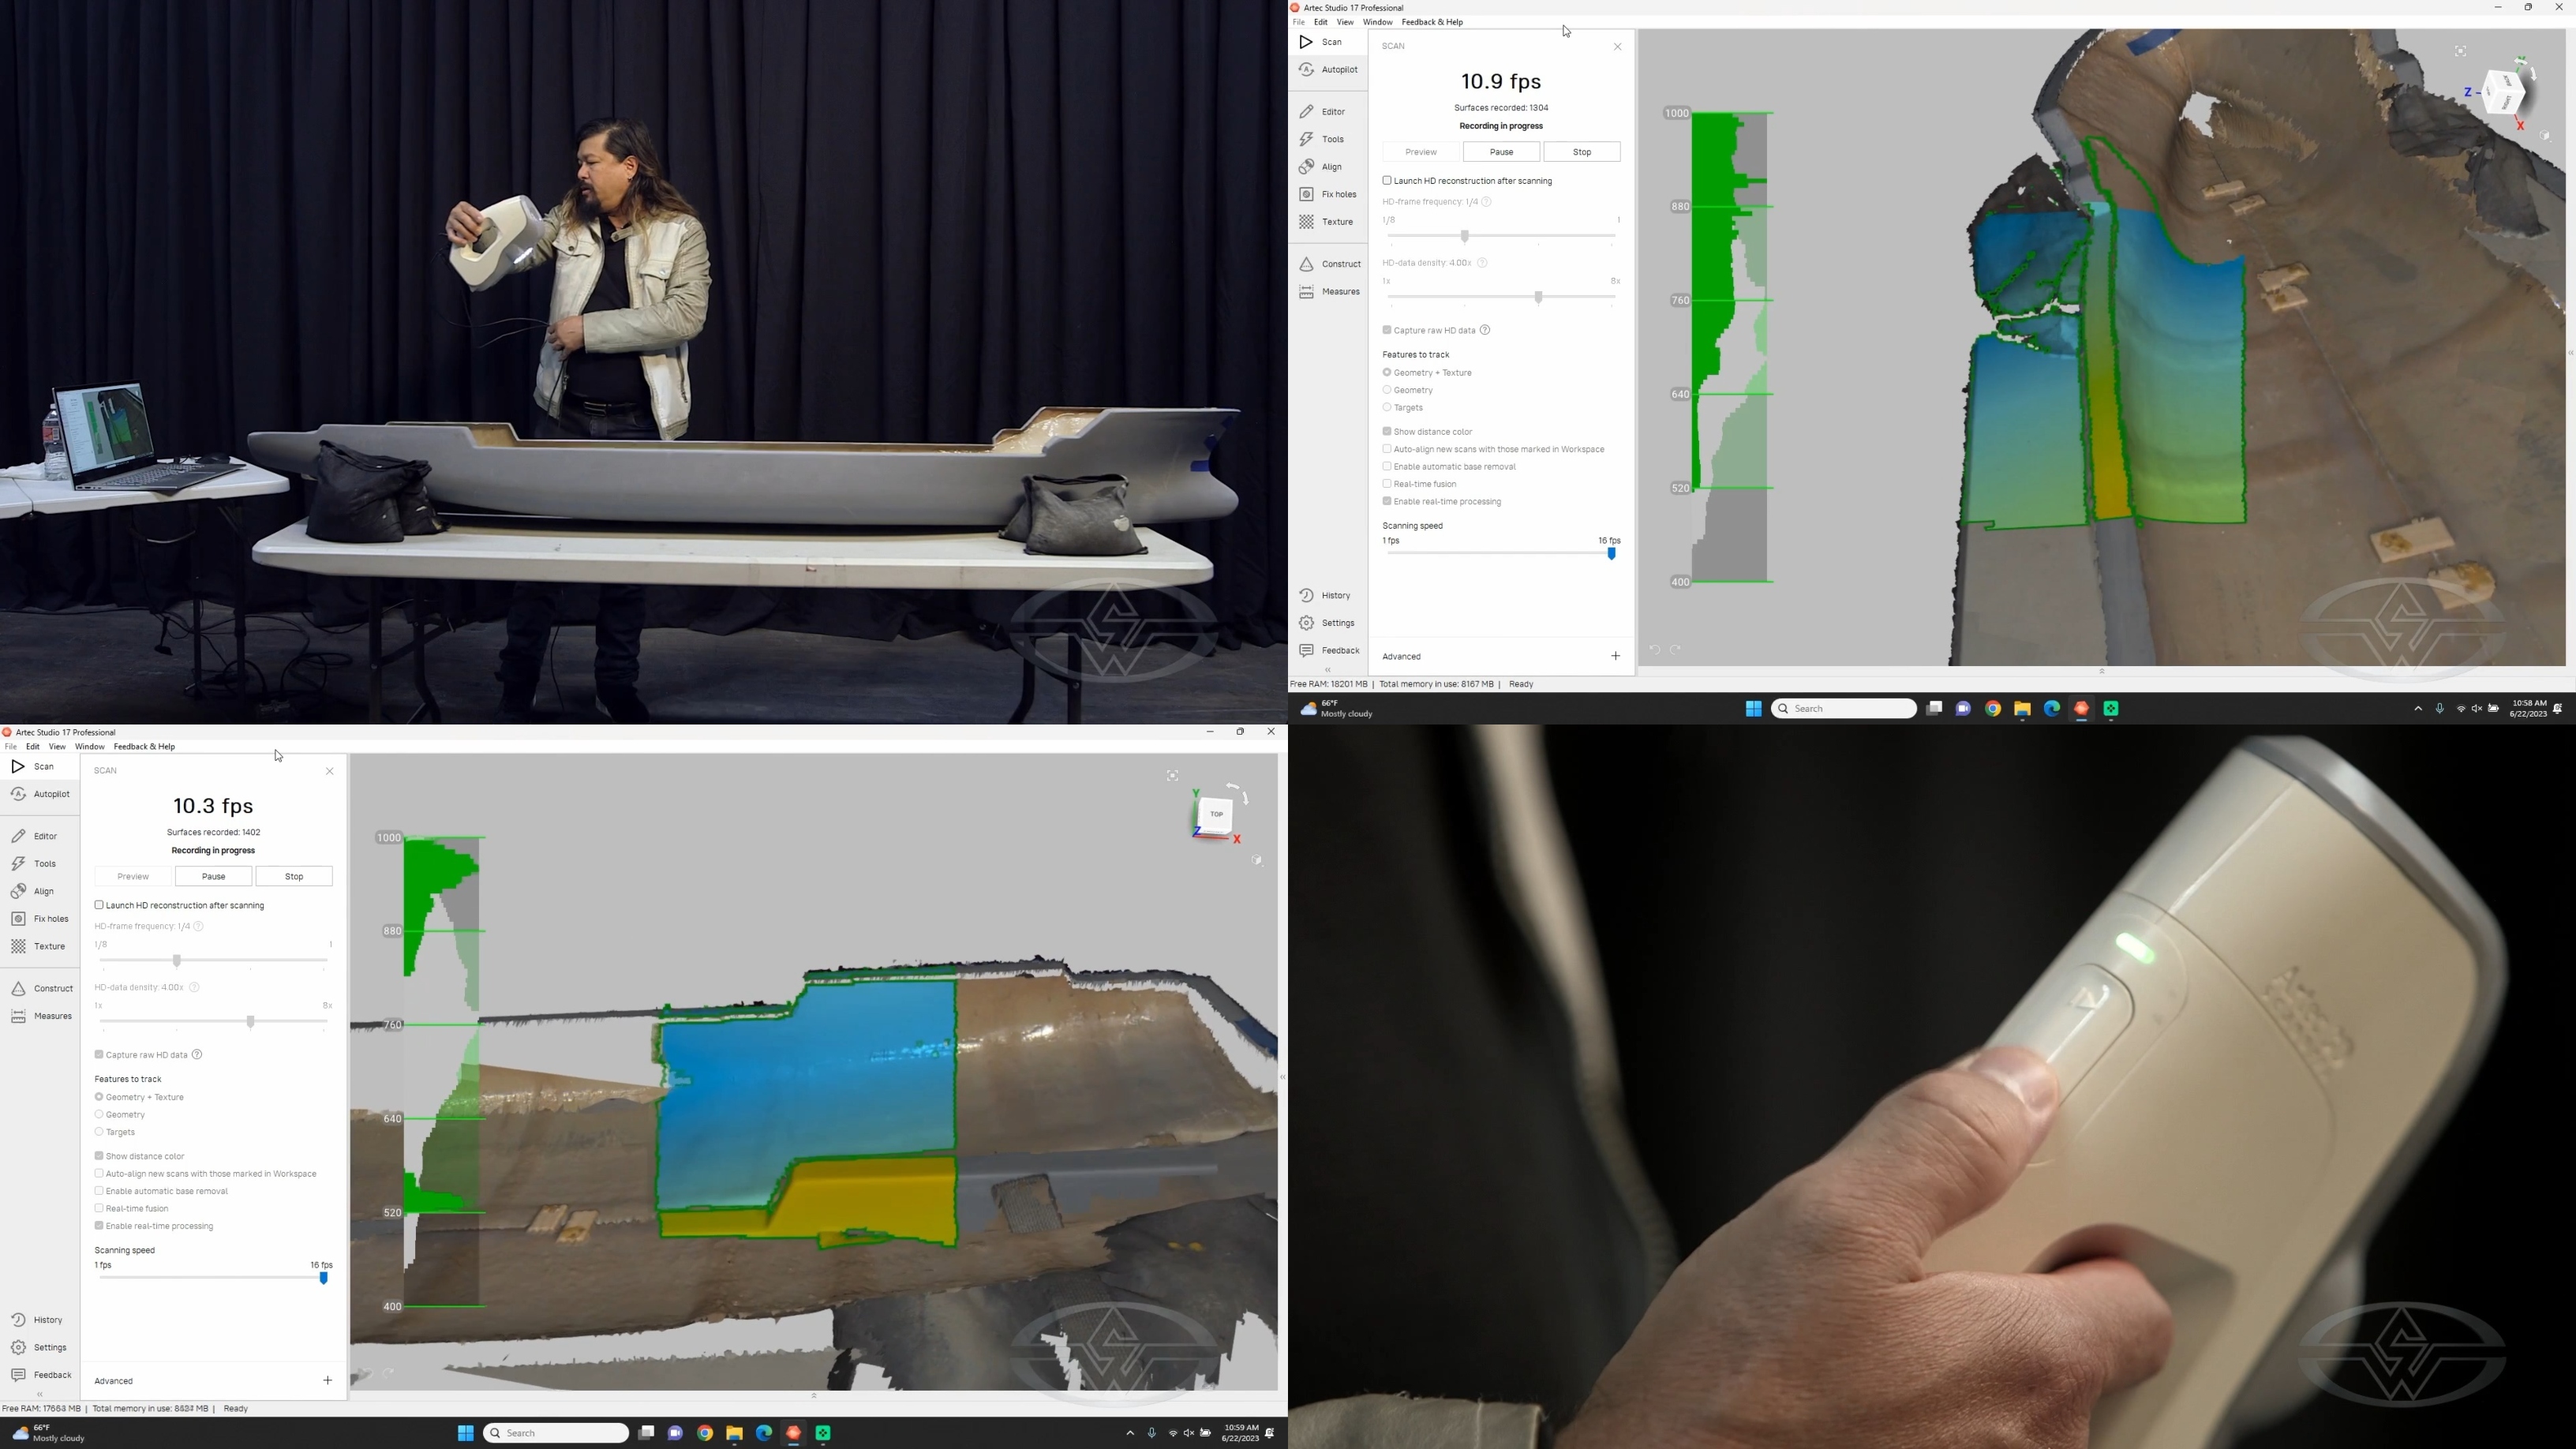 (After his scan is complete, including the interior of the hull, Fon Davis presses the “Stop” on his handheld scanner, completing the scan.)
Once you’re finished scanning, press the “Stop” button.
Now, you’ve got your geometry!
Reviewing and Editing Your 3D Laser Scan
At this point, it’s time to review your scan.
You may notice you’ve captured a lot of different items or surfaces you don’t necessarily need; there are sandbags to support the ship and the tabletop in Davis’s case. That’s OK — these can easily be removed!
The next step is merging the geometry together. “What happens is it collects a number of different surfaces and combines to create what we’re looking at now, but we want to simplify that,” Davis says.
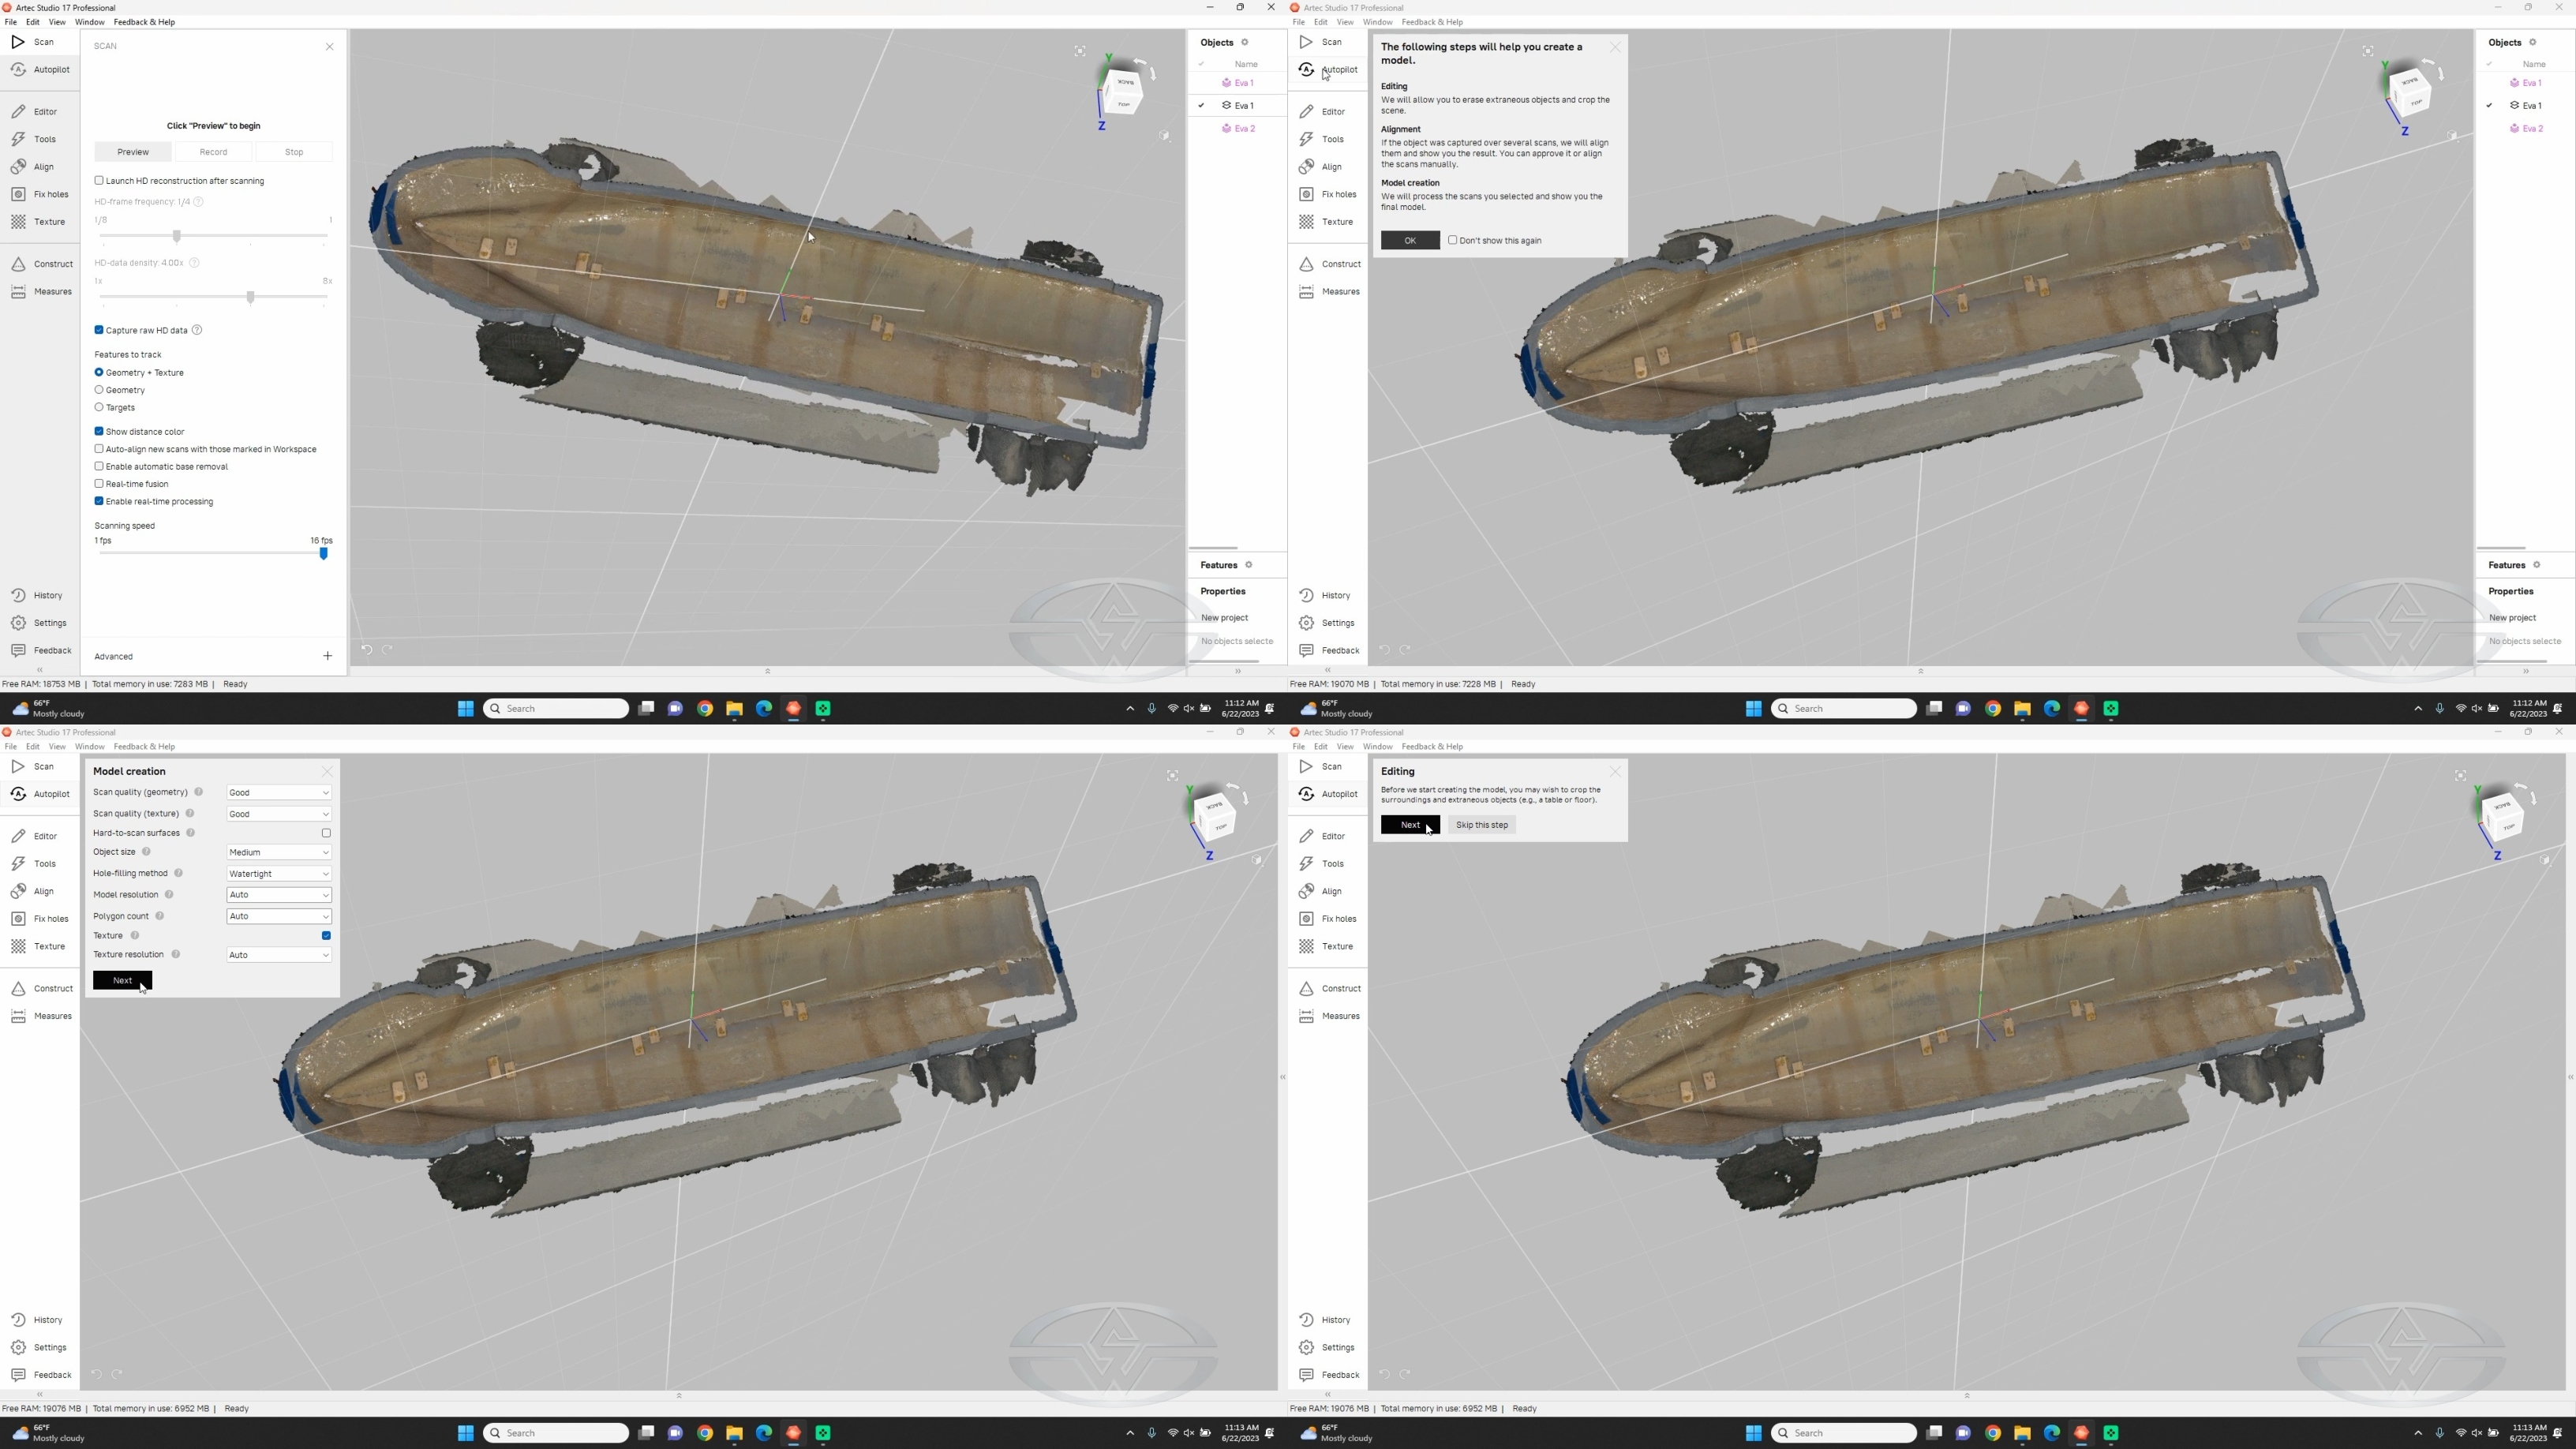 (Fon Davis confirms the details of his scan and merges the object's geometry using the “Autopilot” tool on the default settings.)
To start, select “Autopilot,” the editing and alignment tool in the Artec Studio software. You can use all the default settings as they are for the first pass, as this is how Davis approaches his scans. Then, if needed, he’ll adjust the settings to do some additional clean-up.
First things first: Delete any elements you won’t need. In this example, the tabletop and sandbags.
You’ll find a list of editing tools you can use to crop miscellaneous surroundings and objects. There are various selection modes to choose from depending on what you want to remove.
Start by clicking “Rectangular section” to get rid of supporting surfaces, the tabletop and sandbags. You can inverse your selection once you’ve selected it and also deselect by using the same tools, Davis explains.
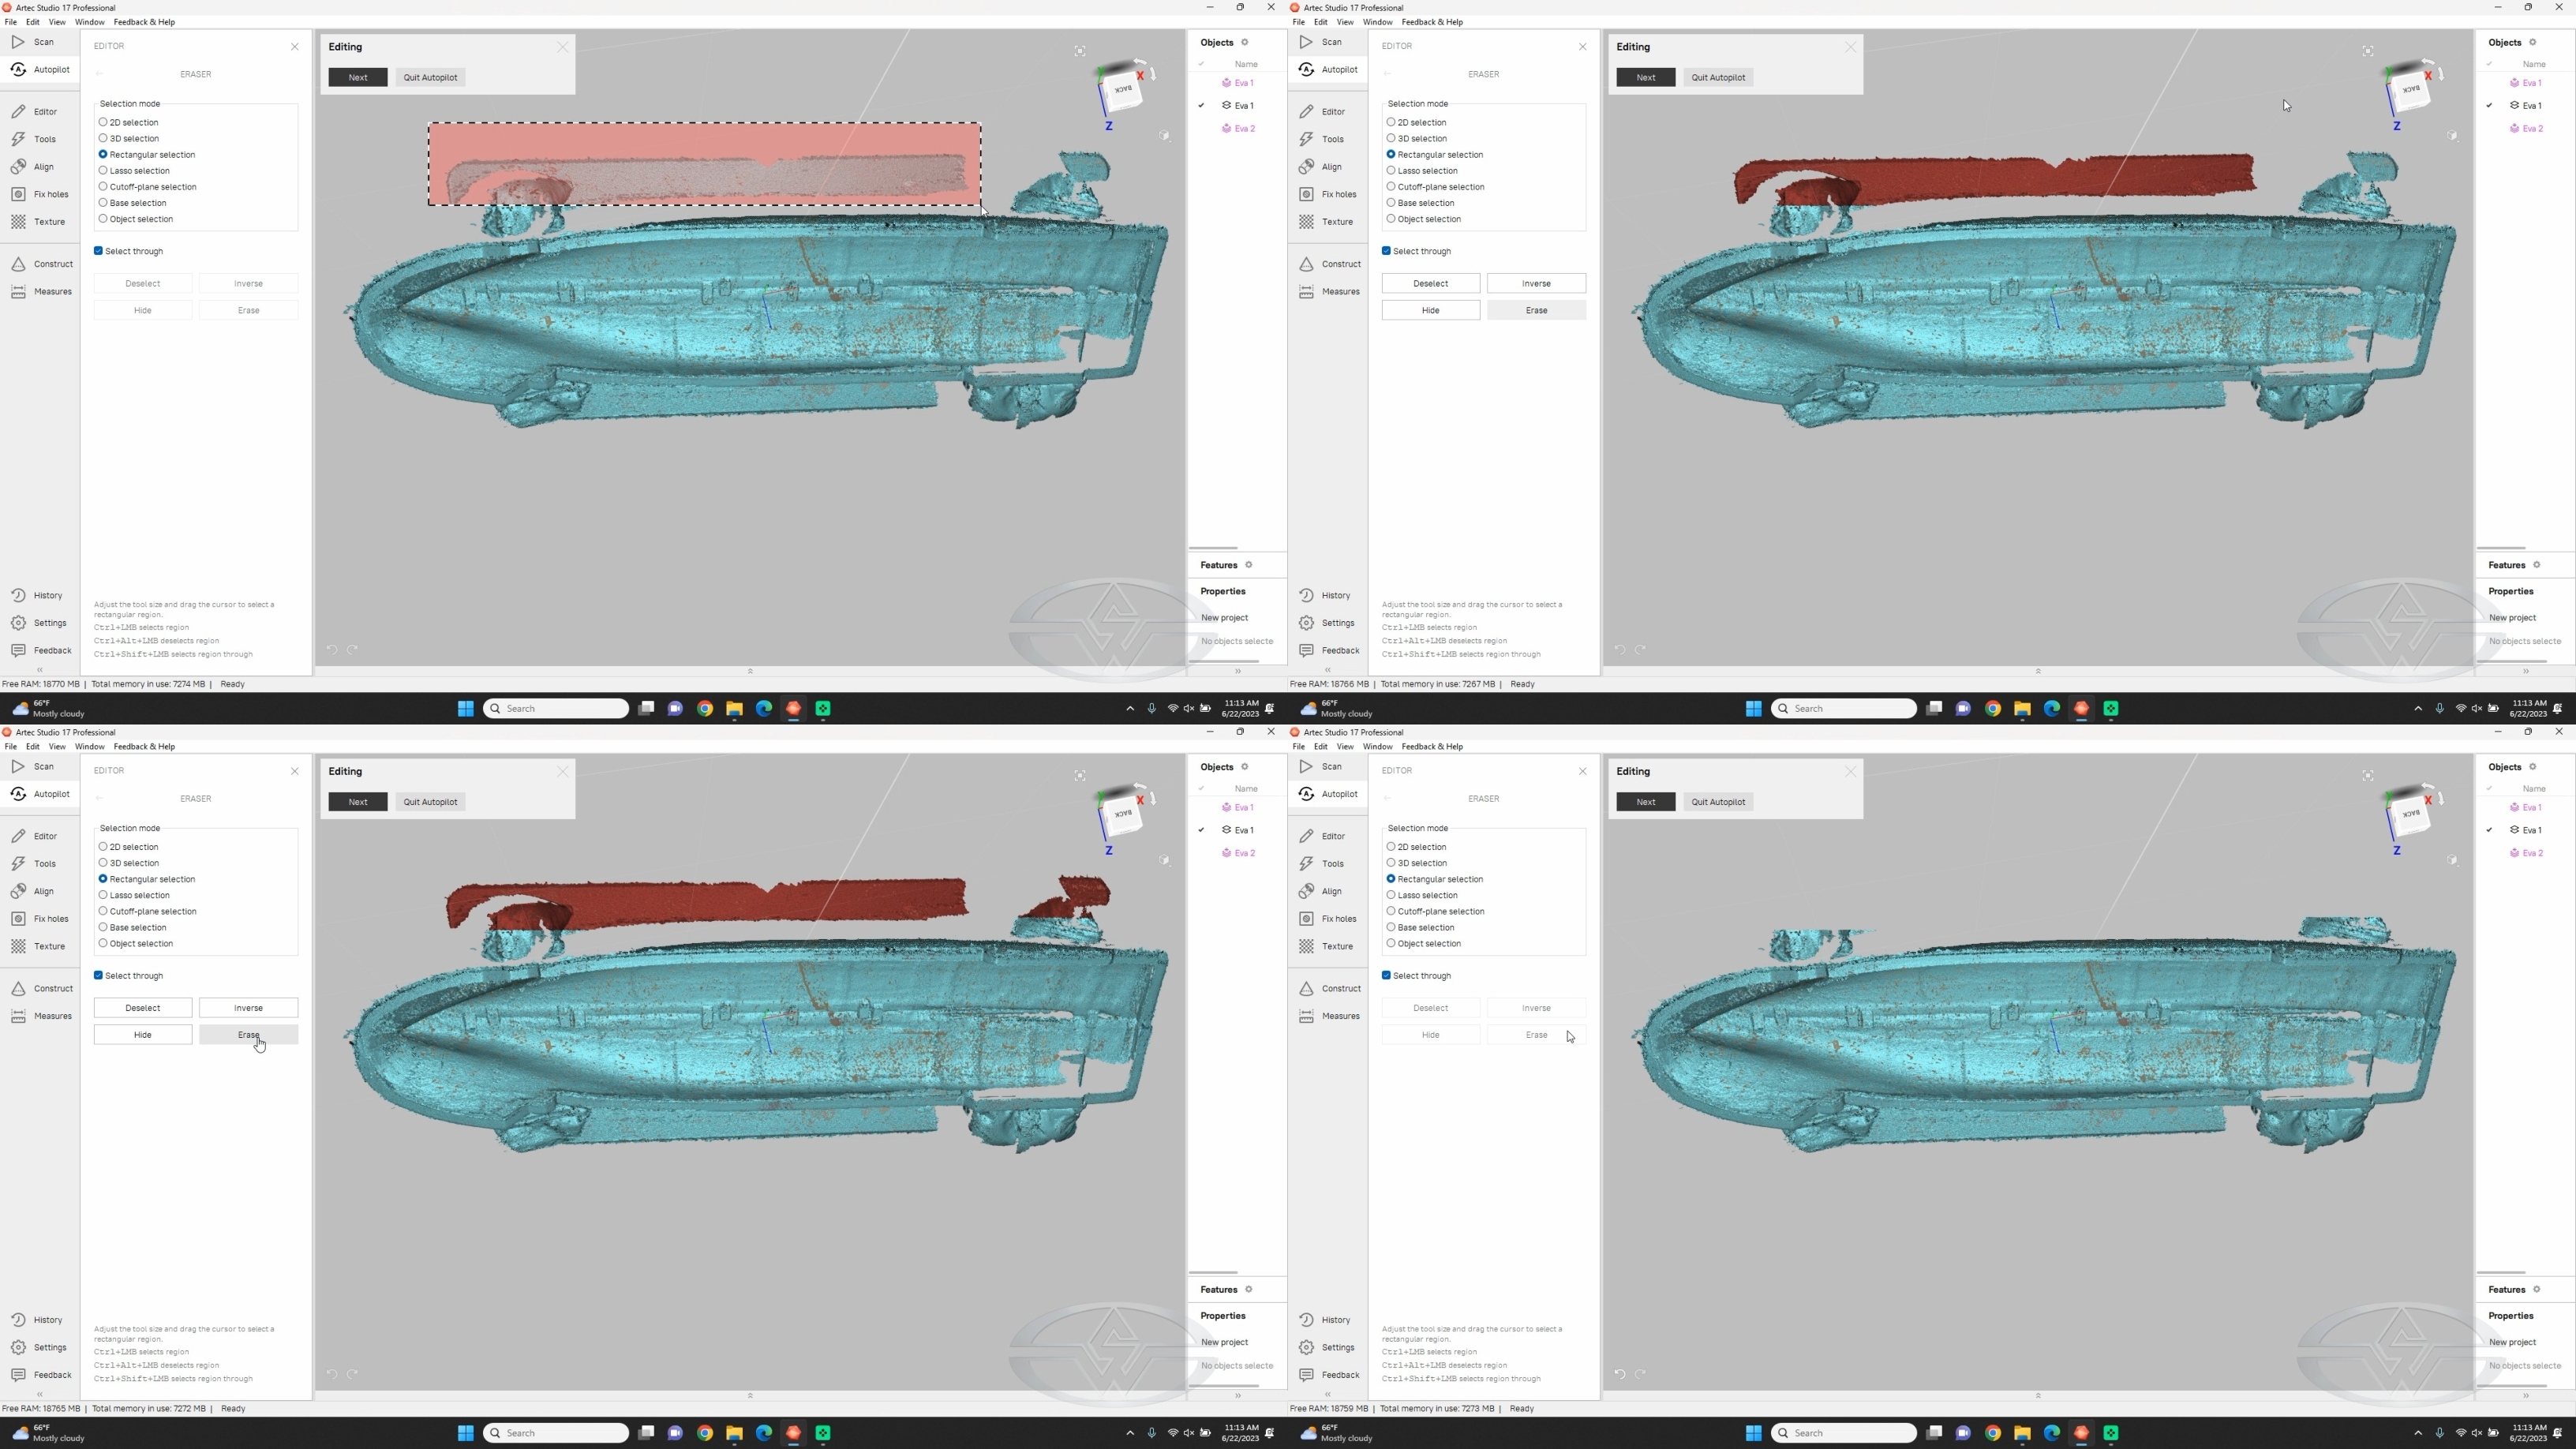 (Fon Davis removes excess elements with editing tools.)
Simply press “Erase” to remove the excess, and voilà!
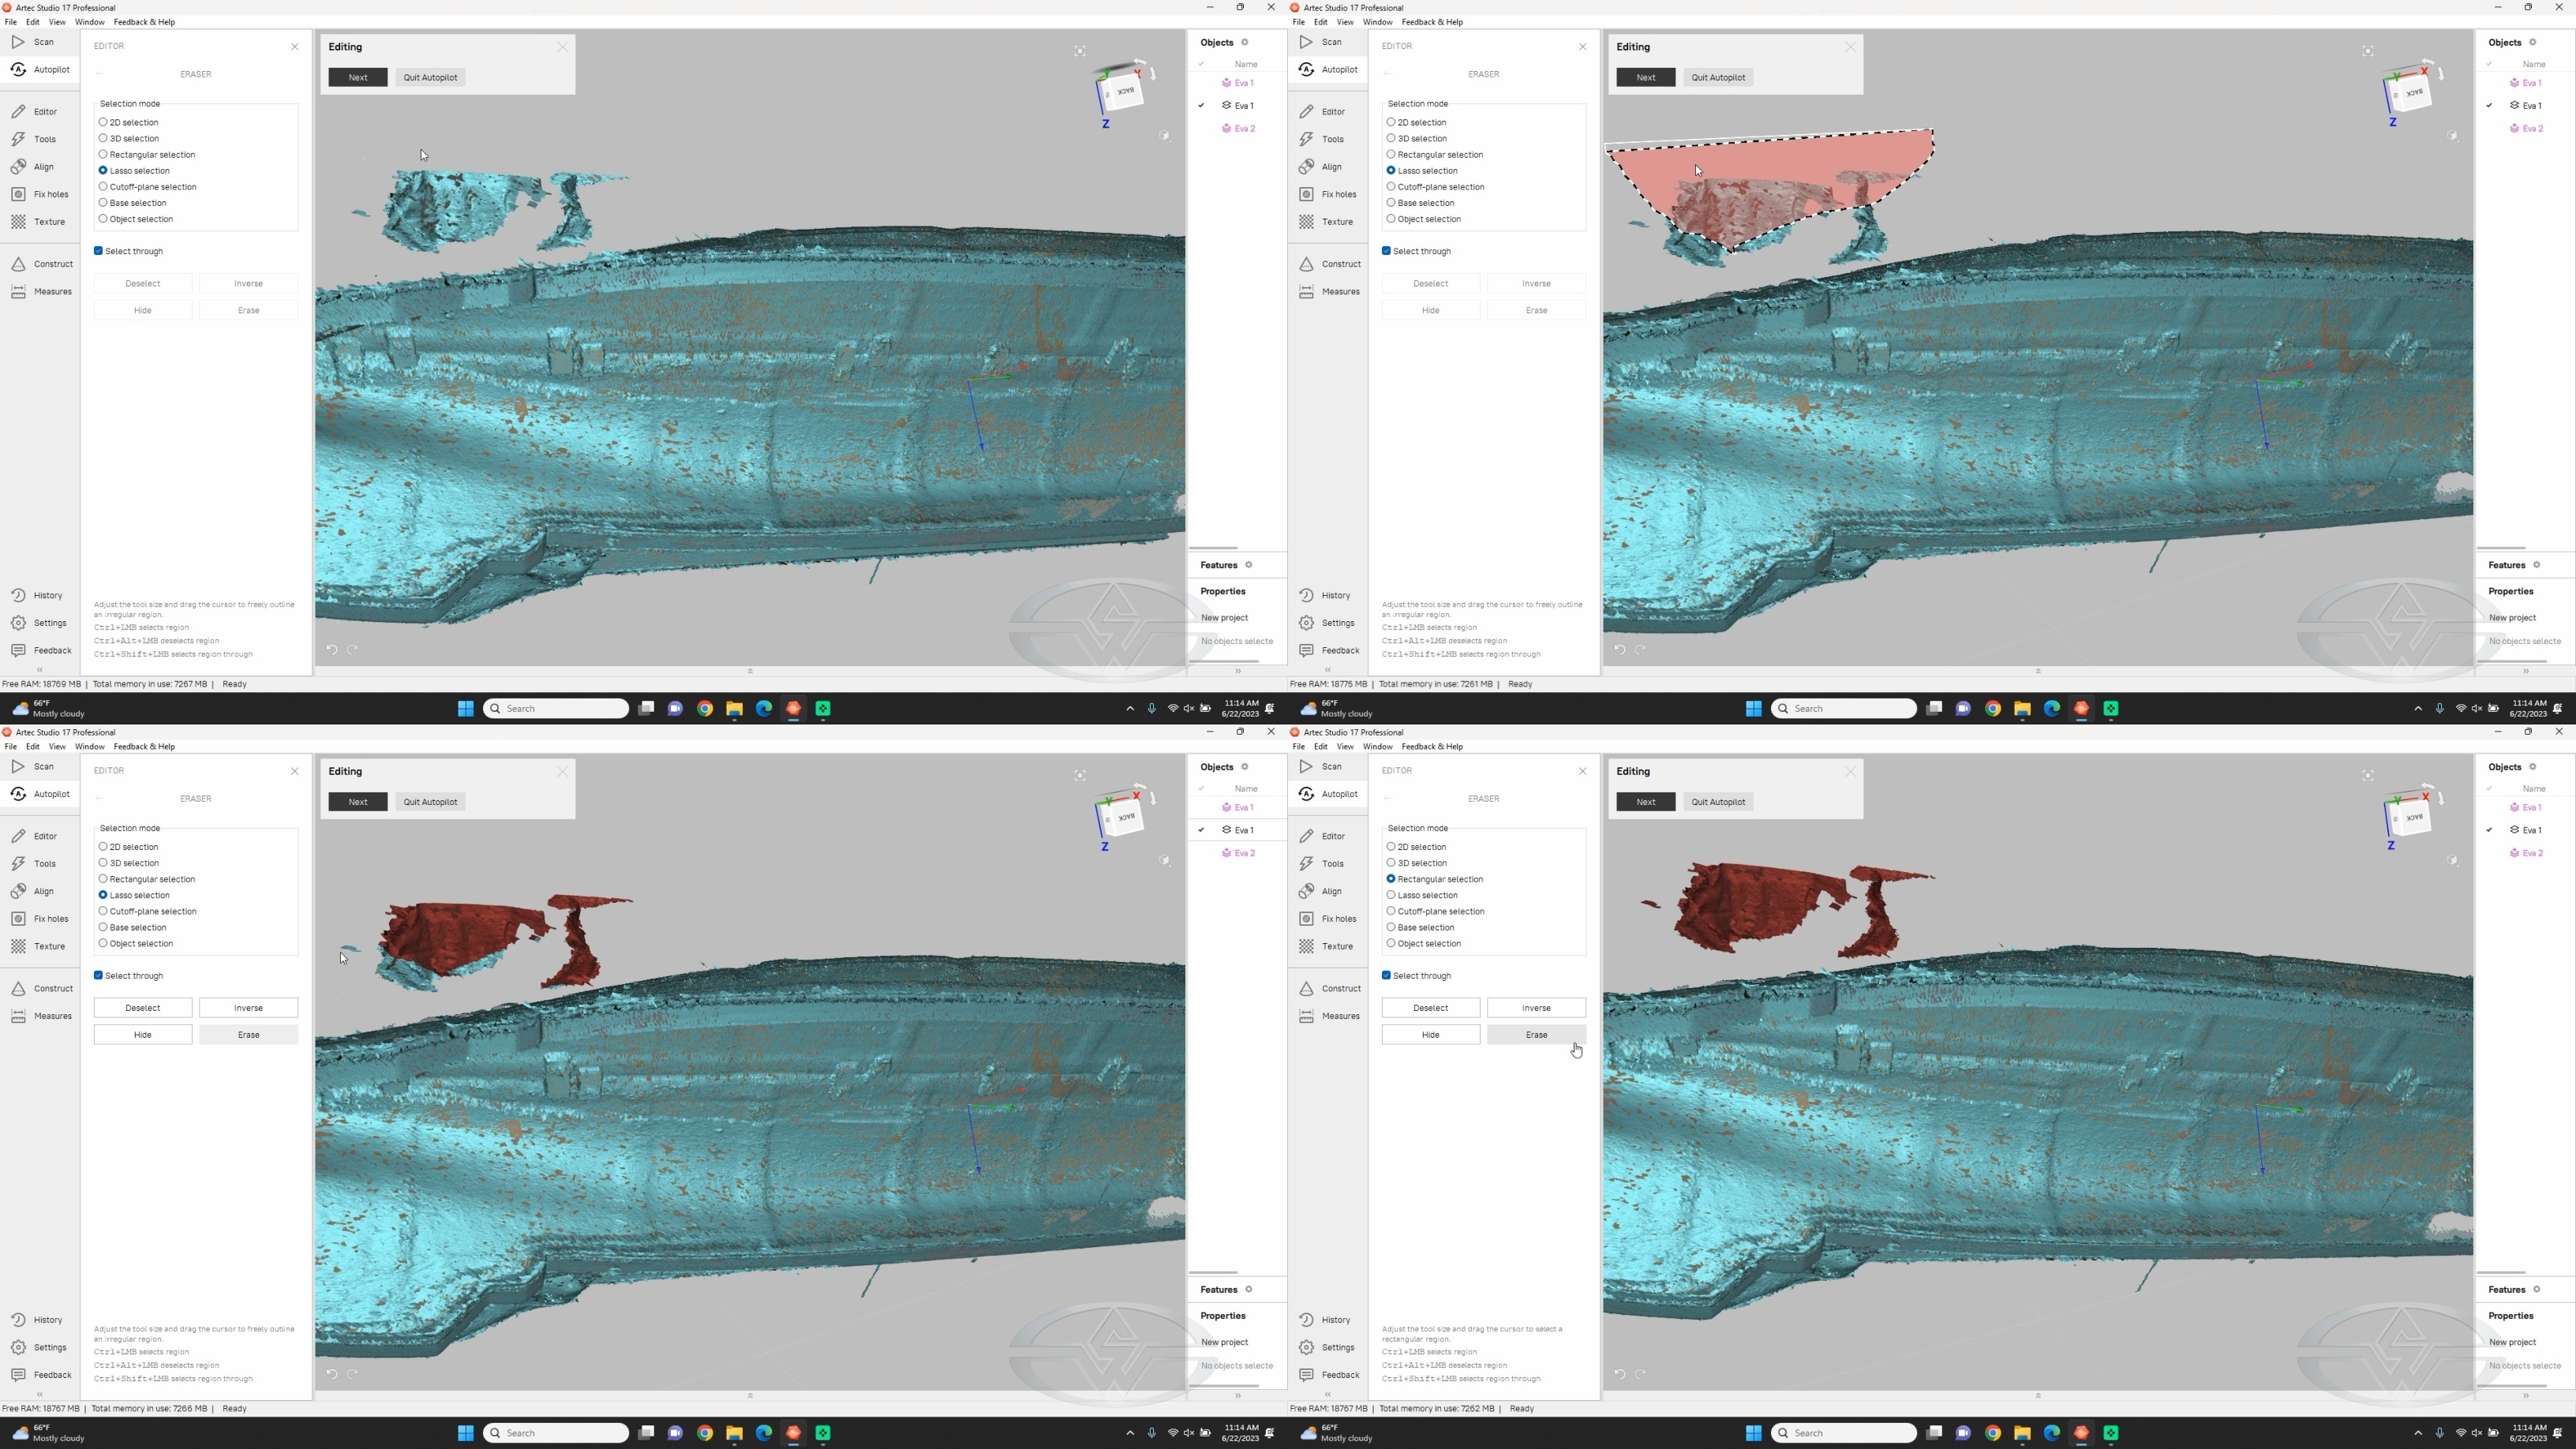 (Fon Davis uses the “Lasso” tool to remove part of a sandbag that was captured in his 3D scan.)
Next, select the areas that need cleaning up, and repeat. Rotating the image can help get a better angle on errant scan data and keep from accidentally deleting anything you do need.
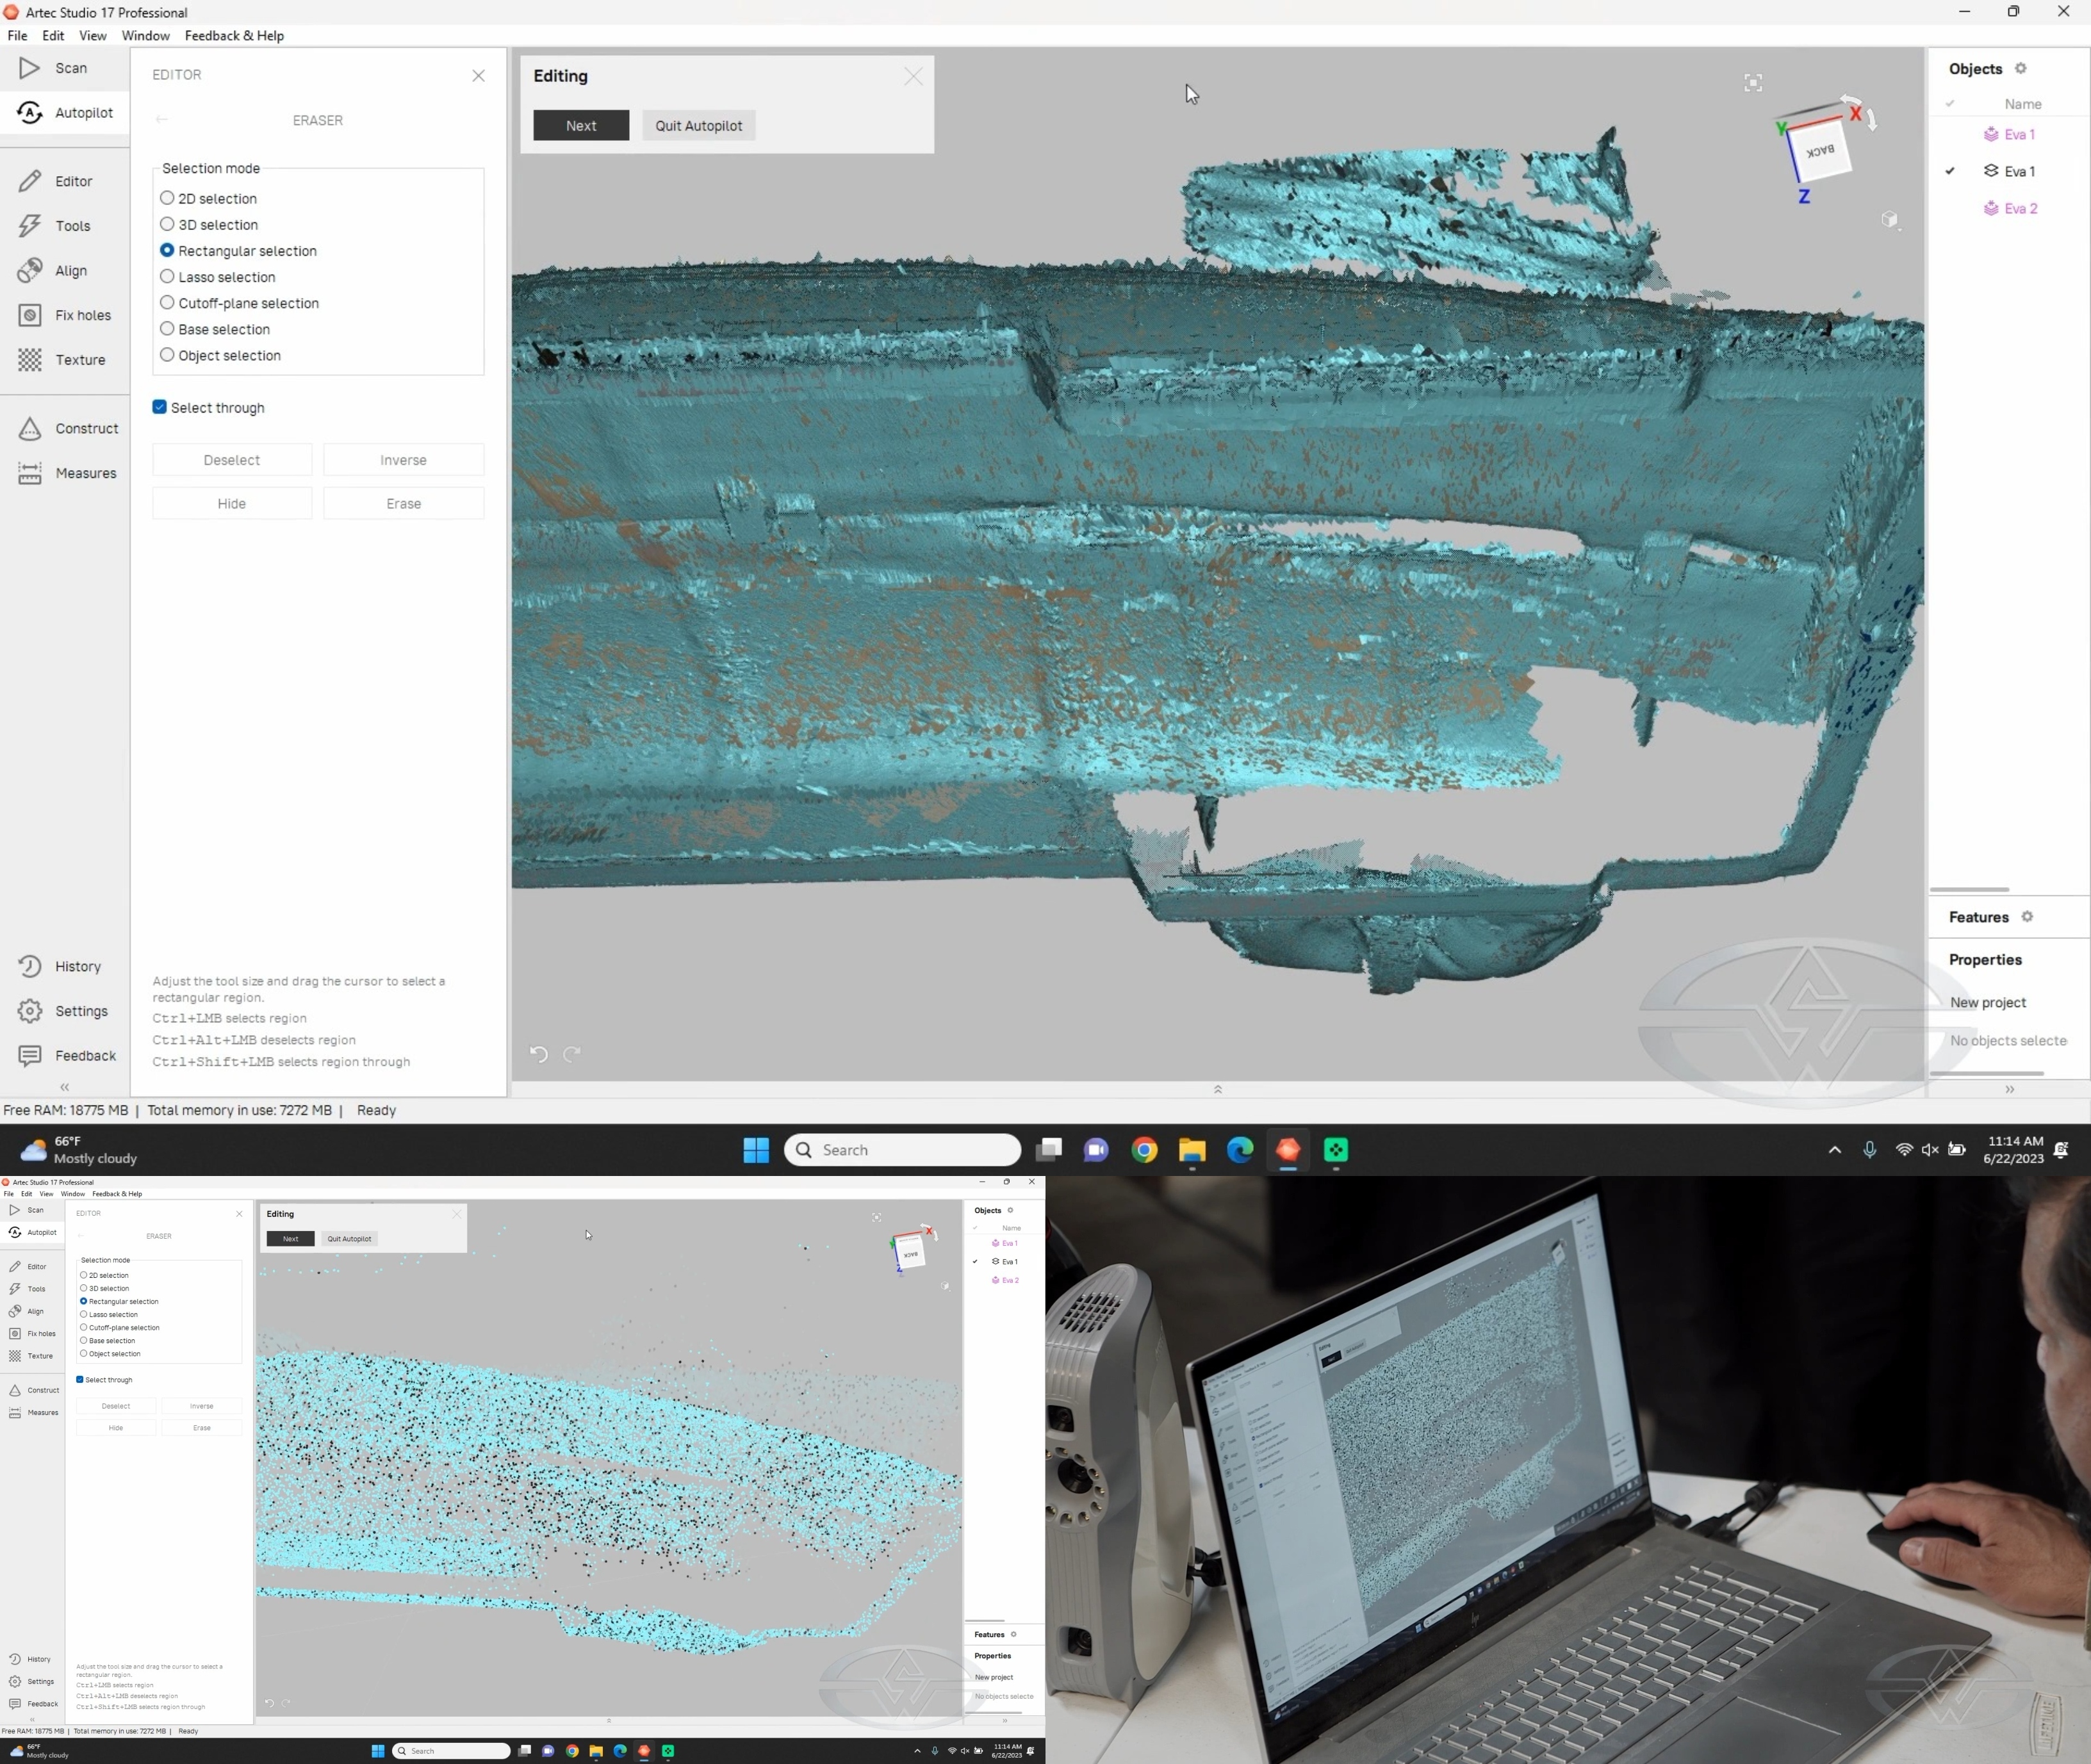 (Fon Davis rotates the image in the software to help clean it up to only essential elements.)
You can also remove any extraneous objects by paint outs.
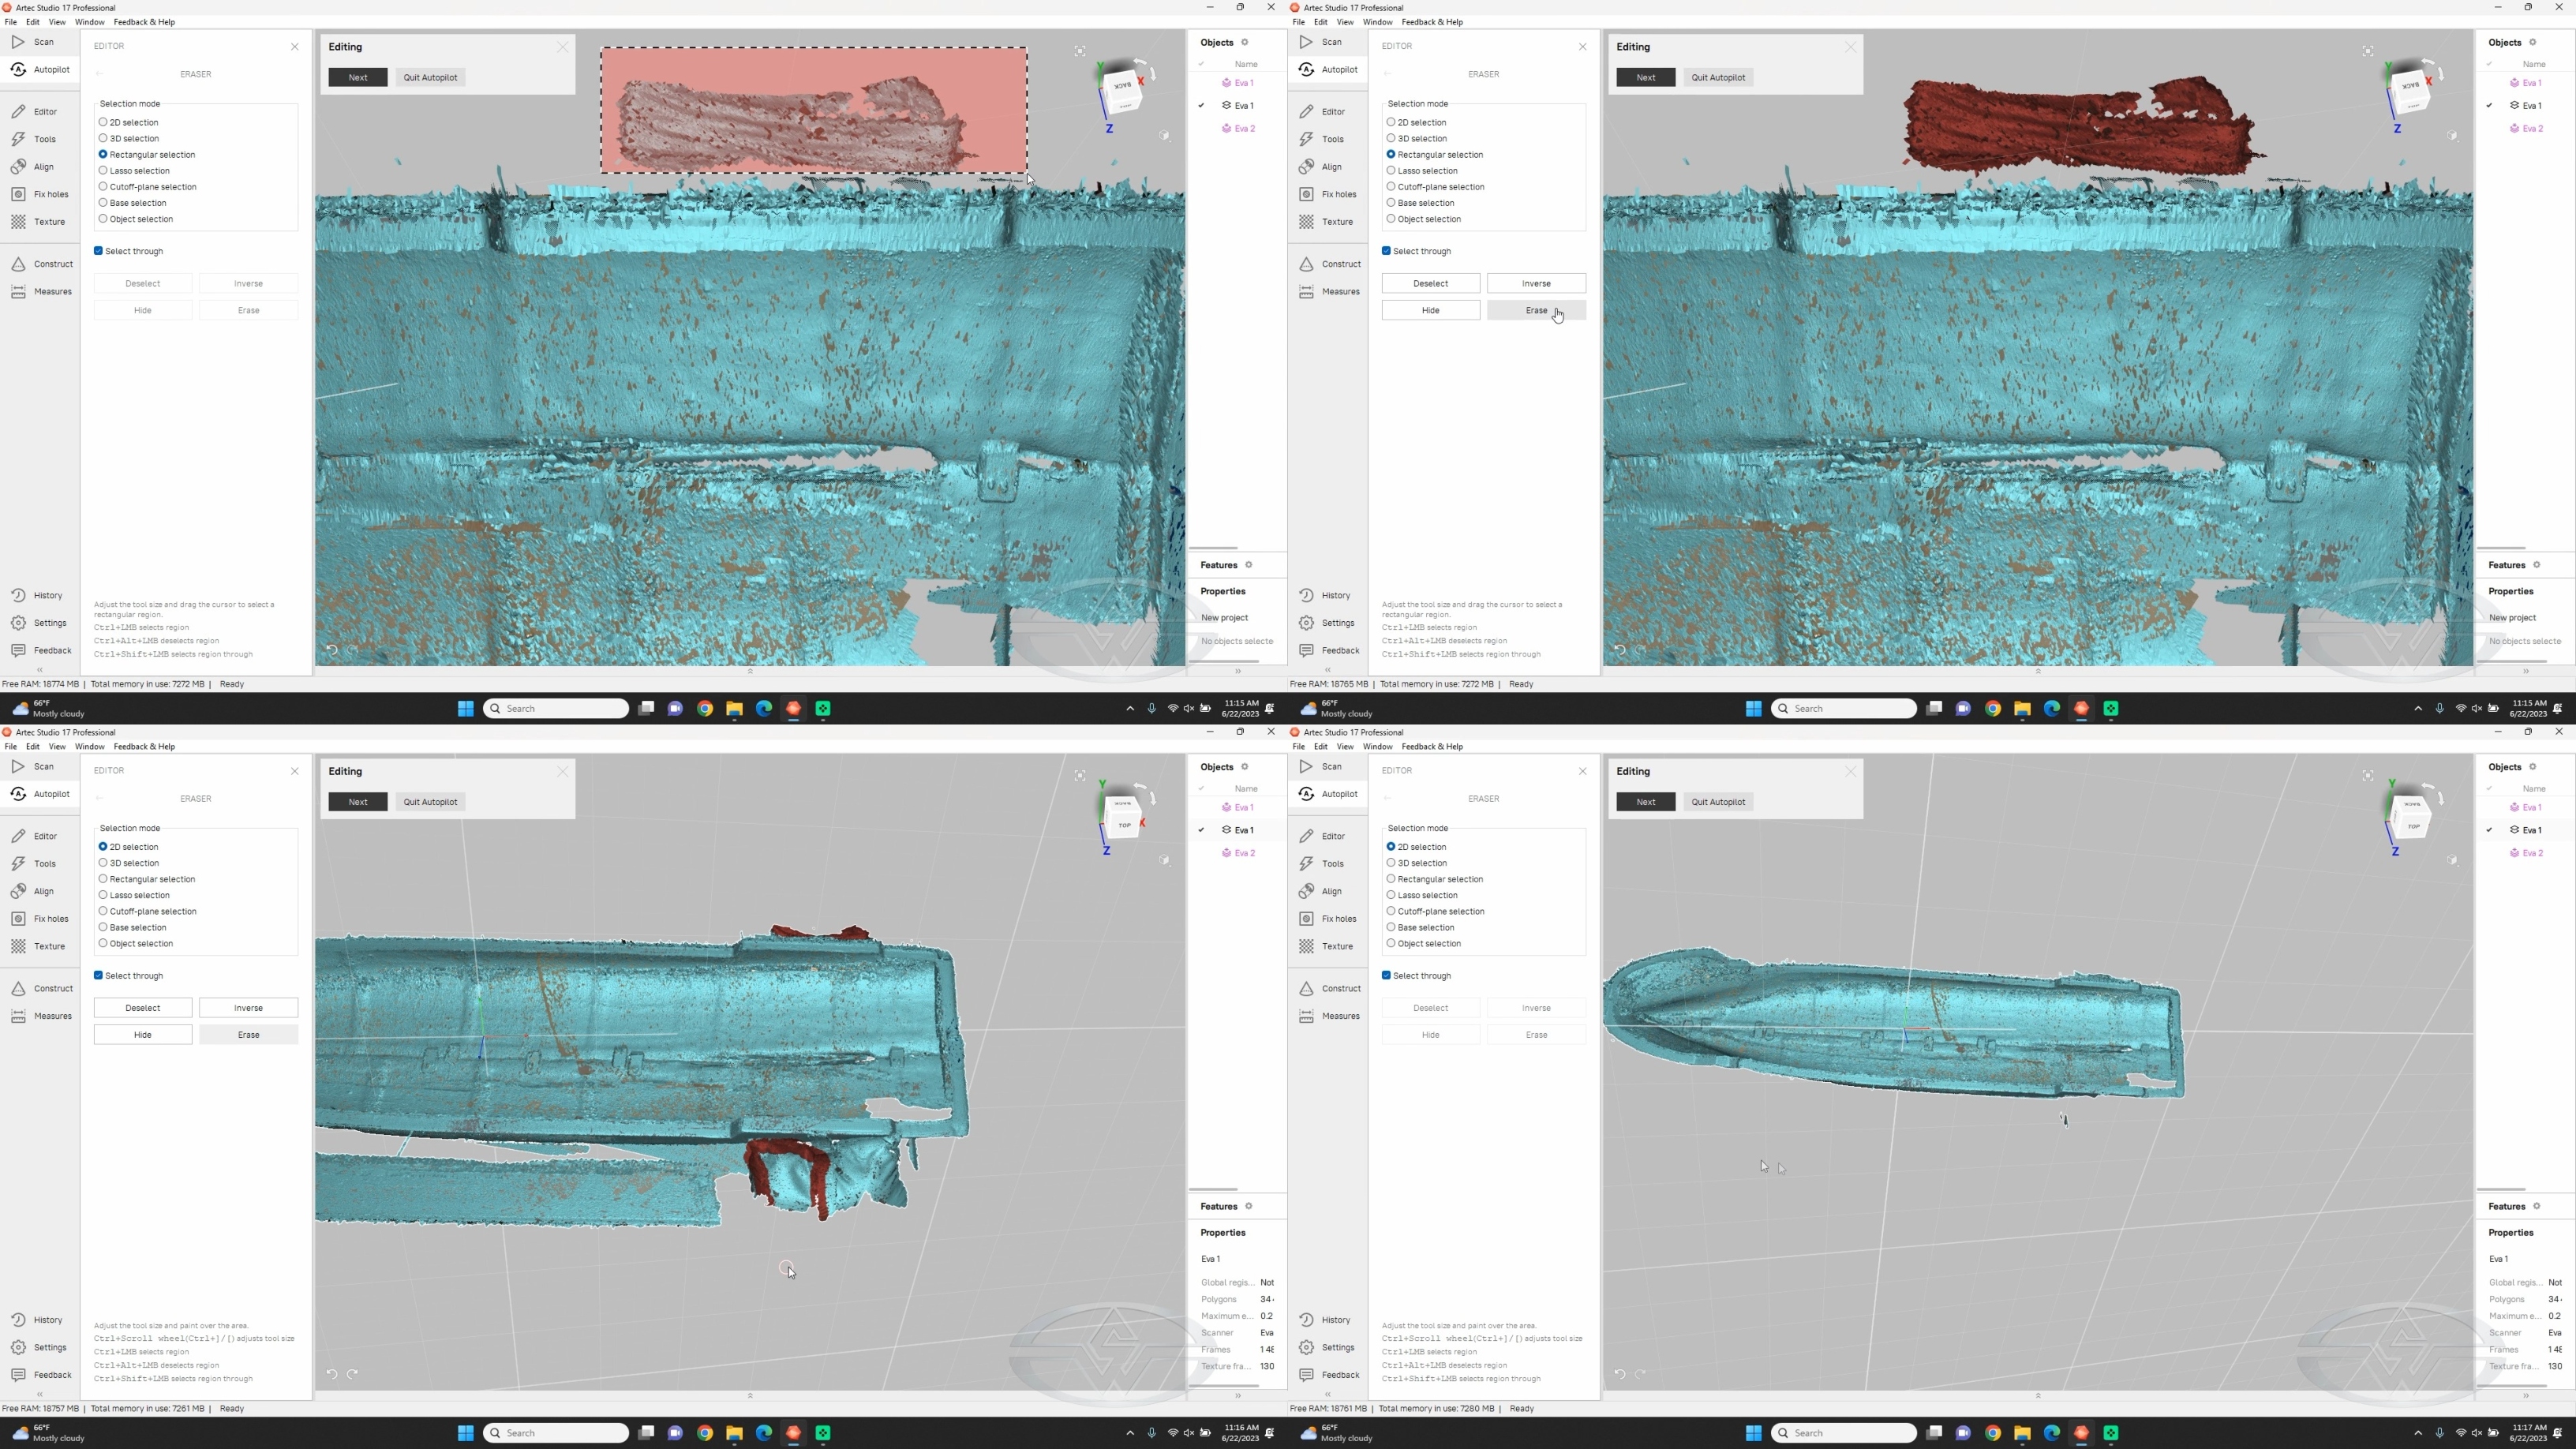 (Fon Davis uses a variety of tools to remove any 3D noise in his scan.)
Of course, you can edit as much as you’d like after you’ve done your alignment. The cleaner your data, the faster the alignment process since there won’t be as much to calculate.
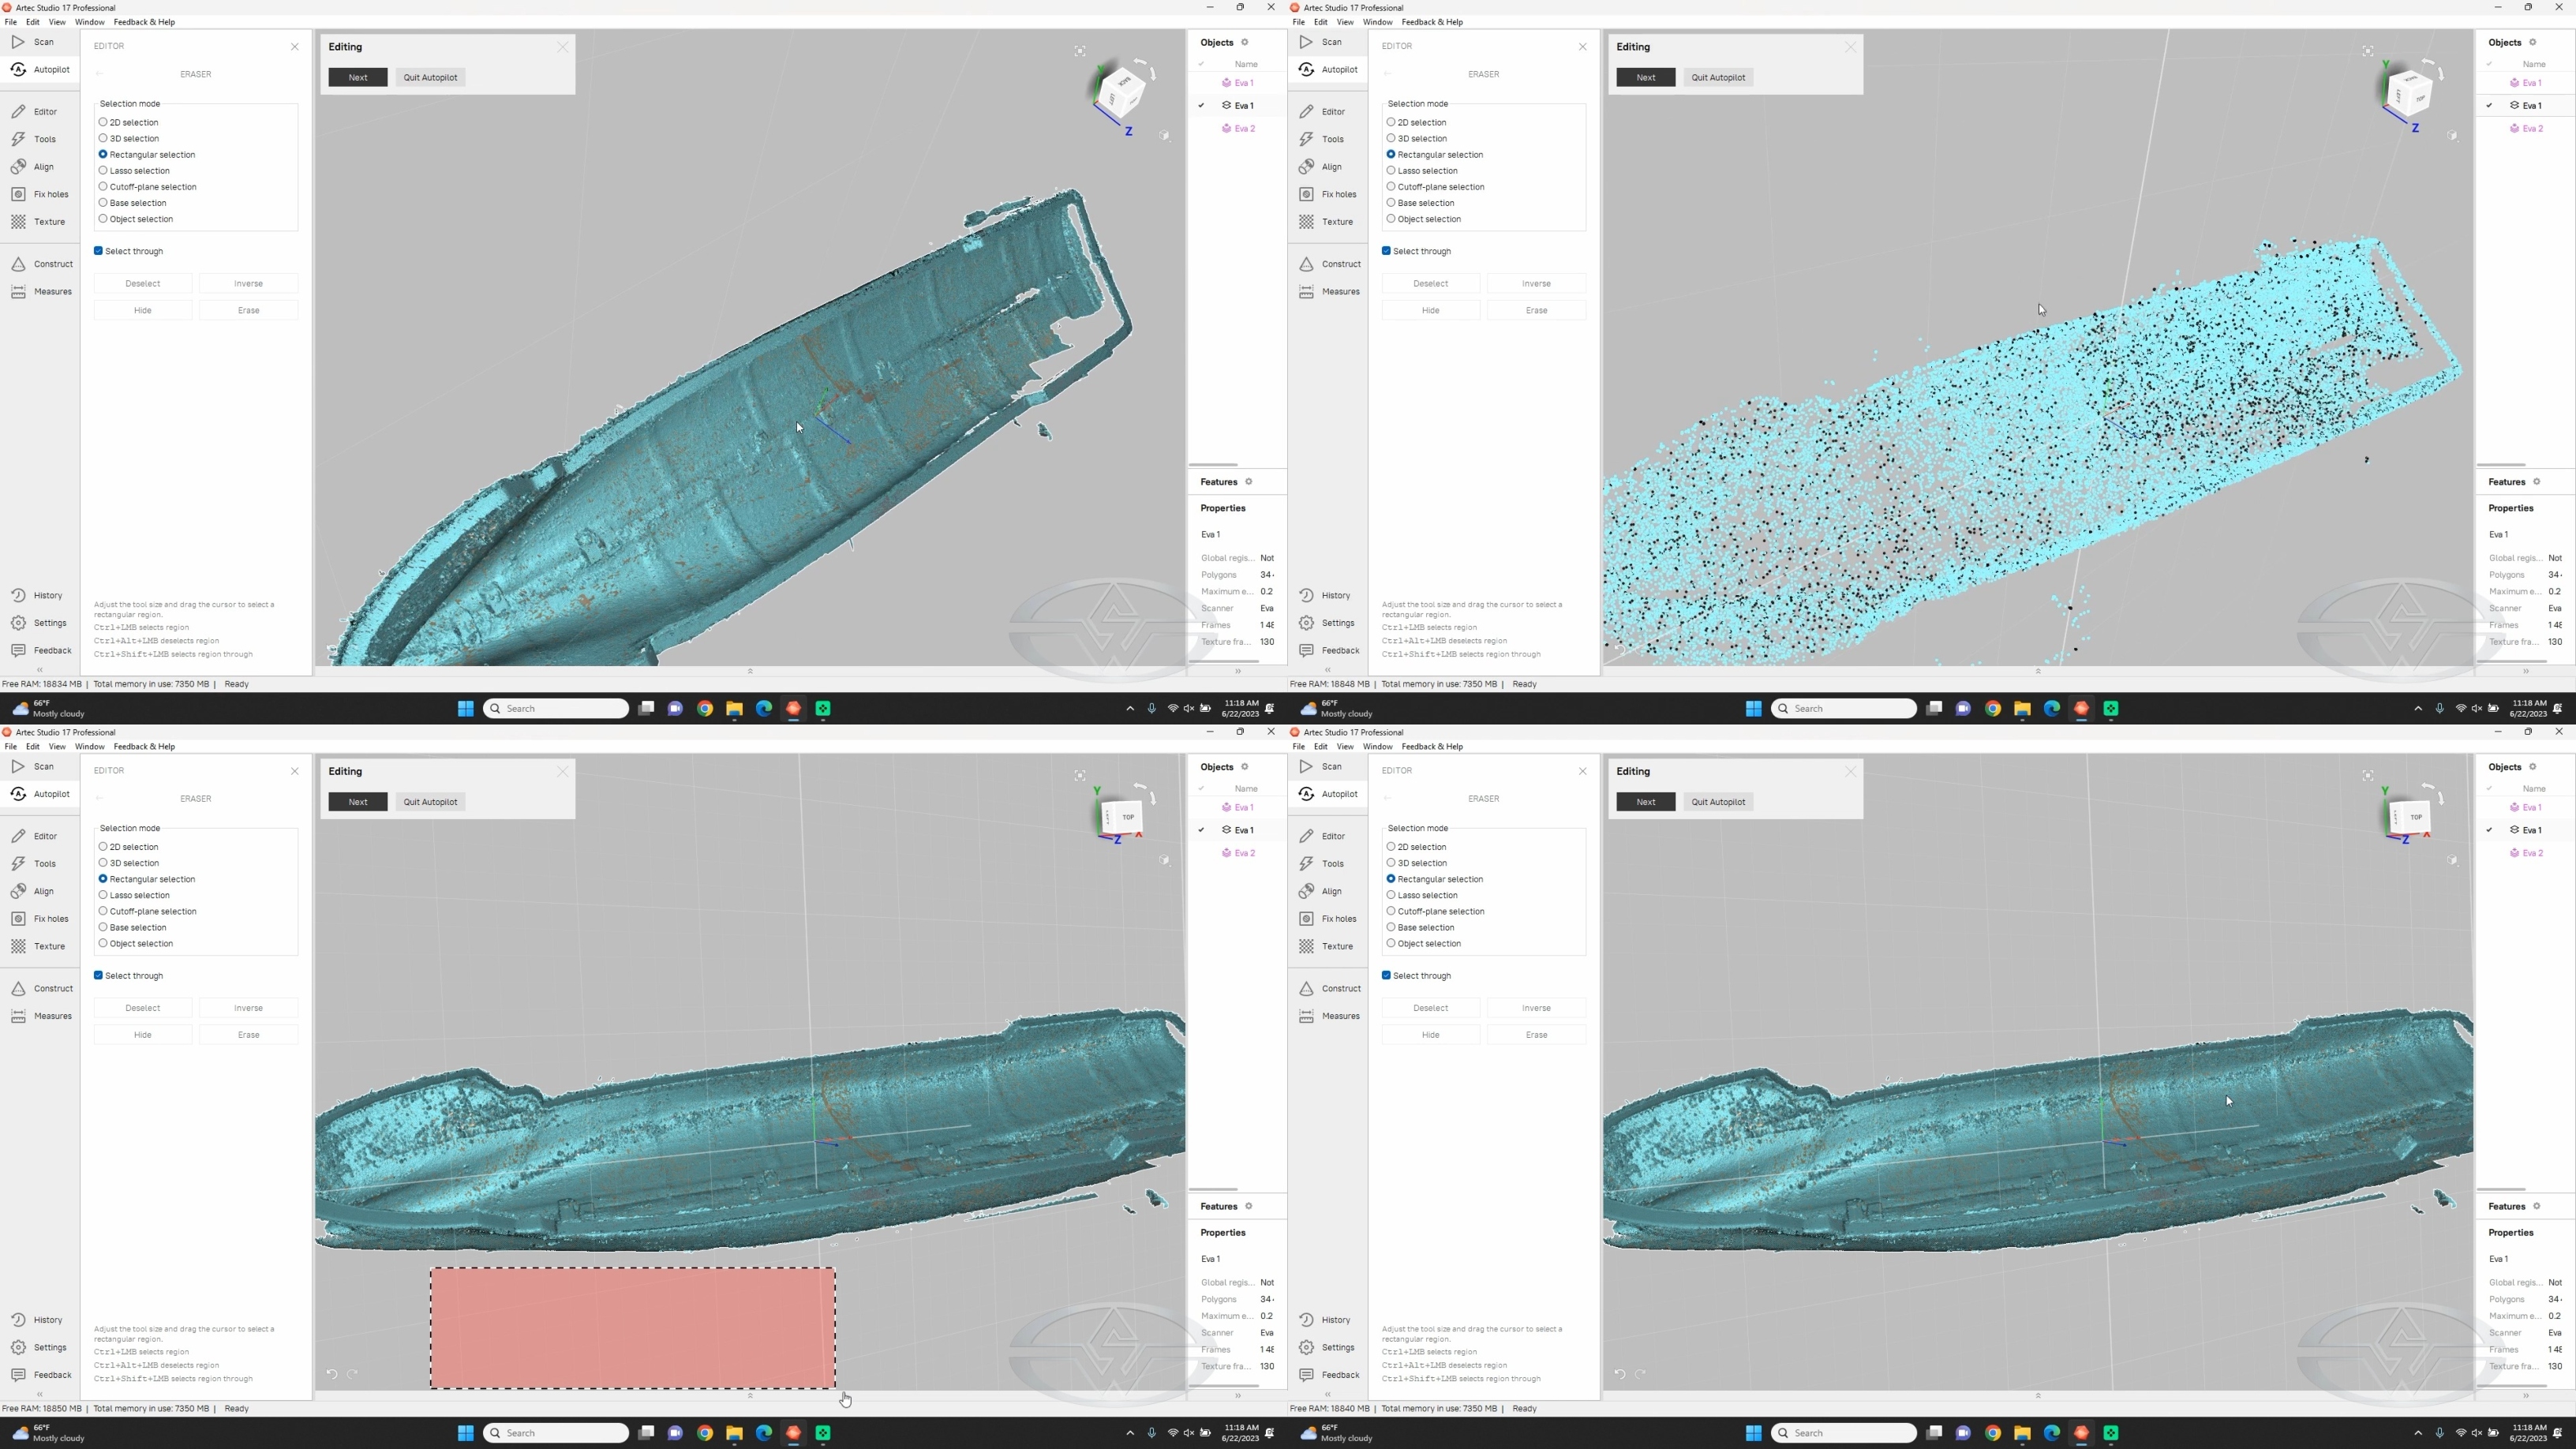 (Fon Davis makes final edits on his scan.)
Finishing Your 3D Laser Scan and Next Steps
For the final step, let Artec automatically create an alignment algorithm with the simple click of the “Next” button. Save the resulting file, and there you have your 3D laser scan of a ship hull!
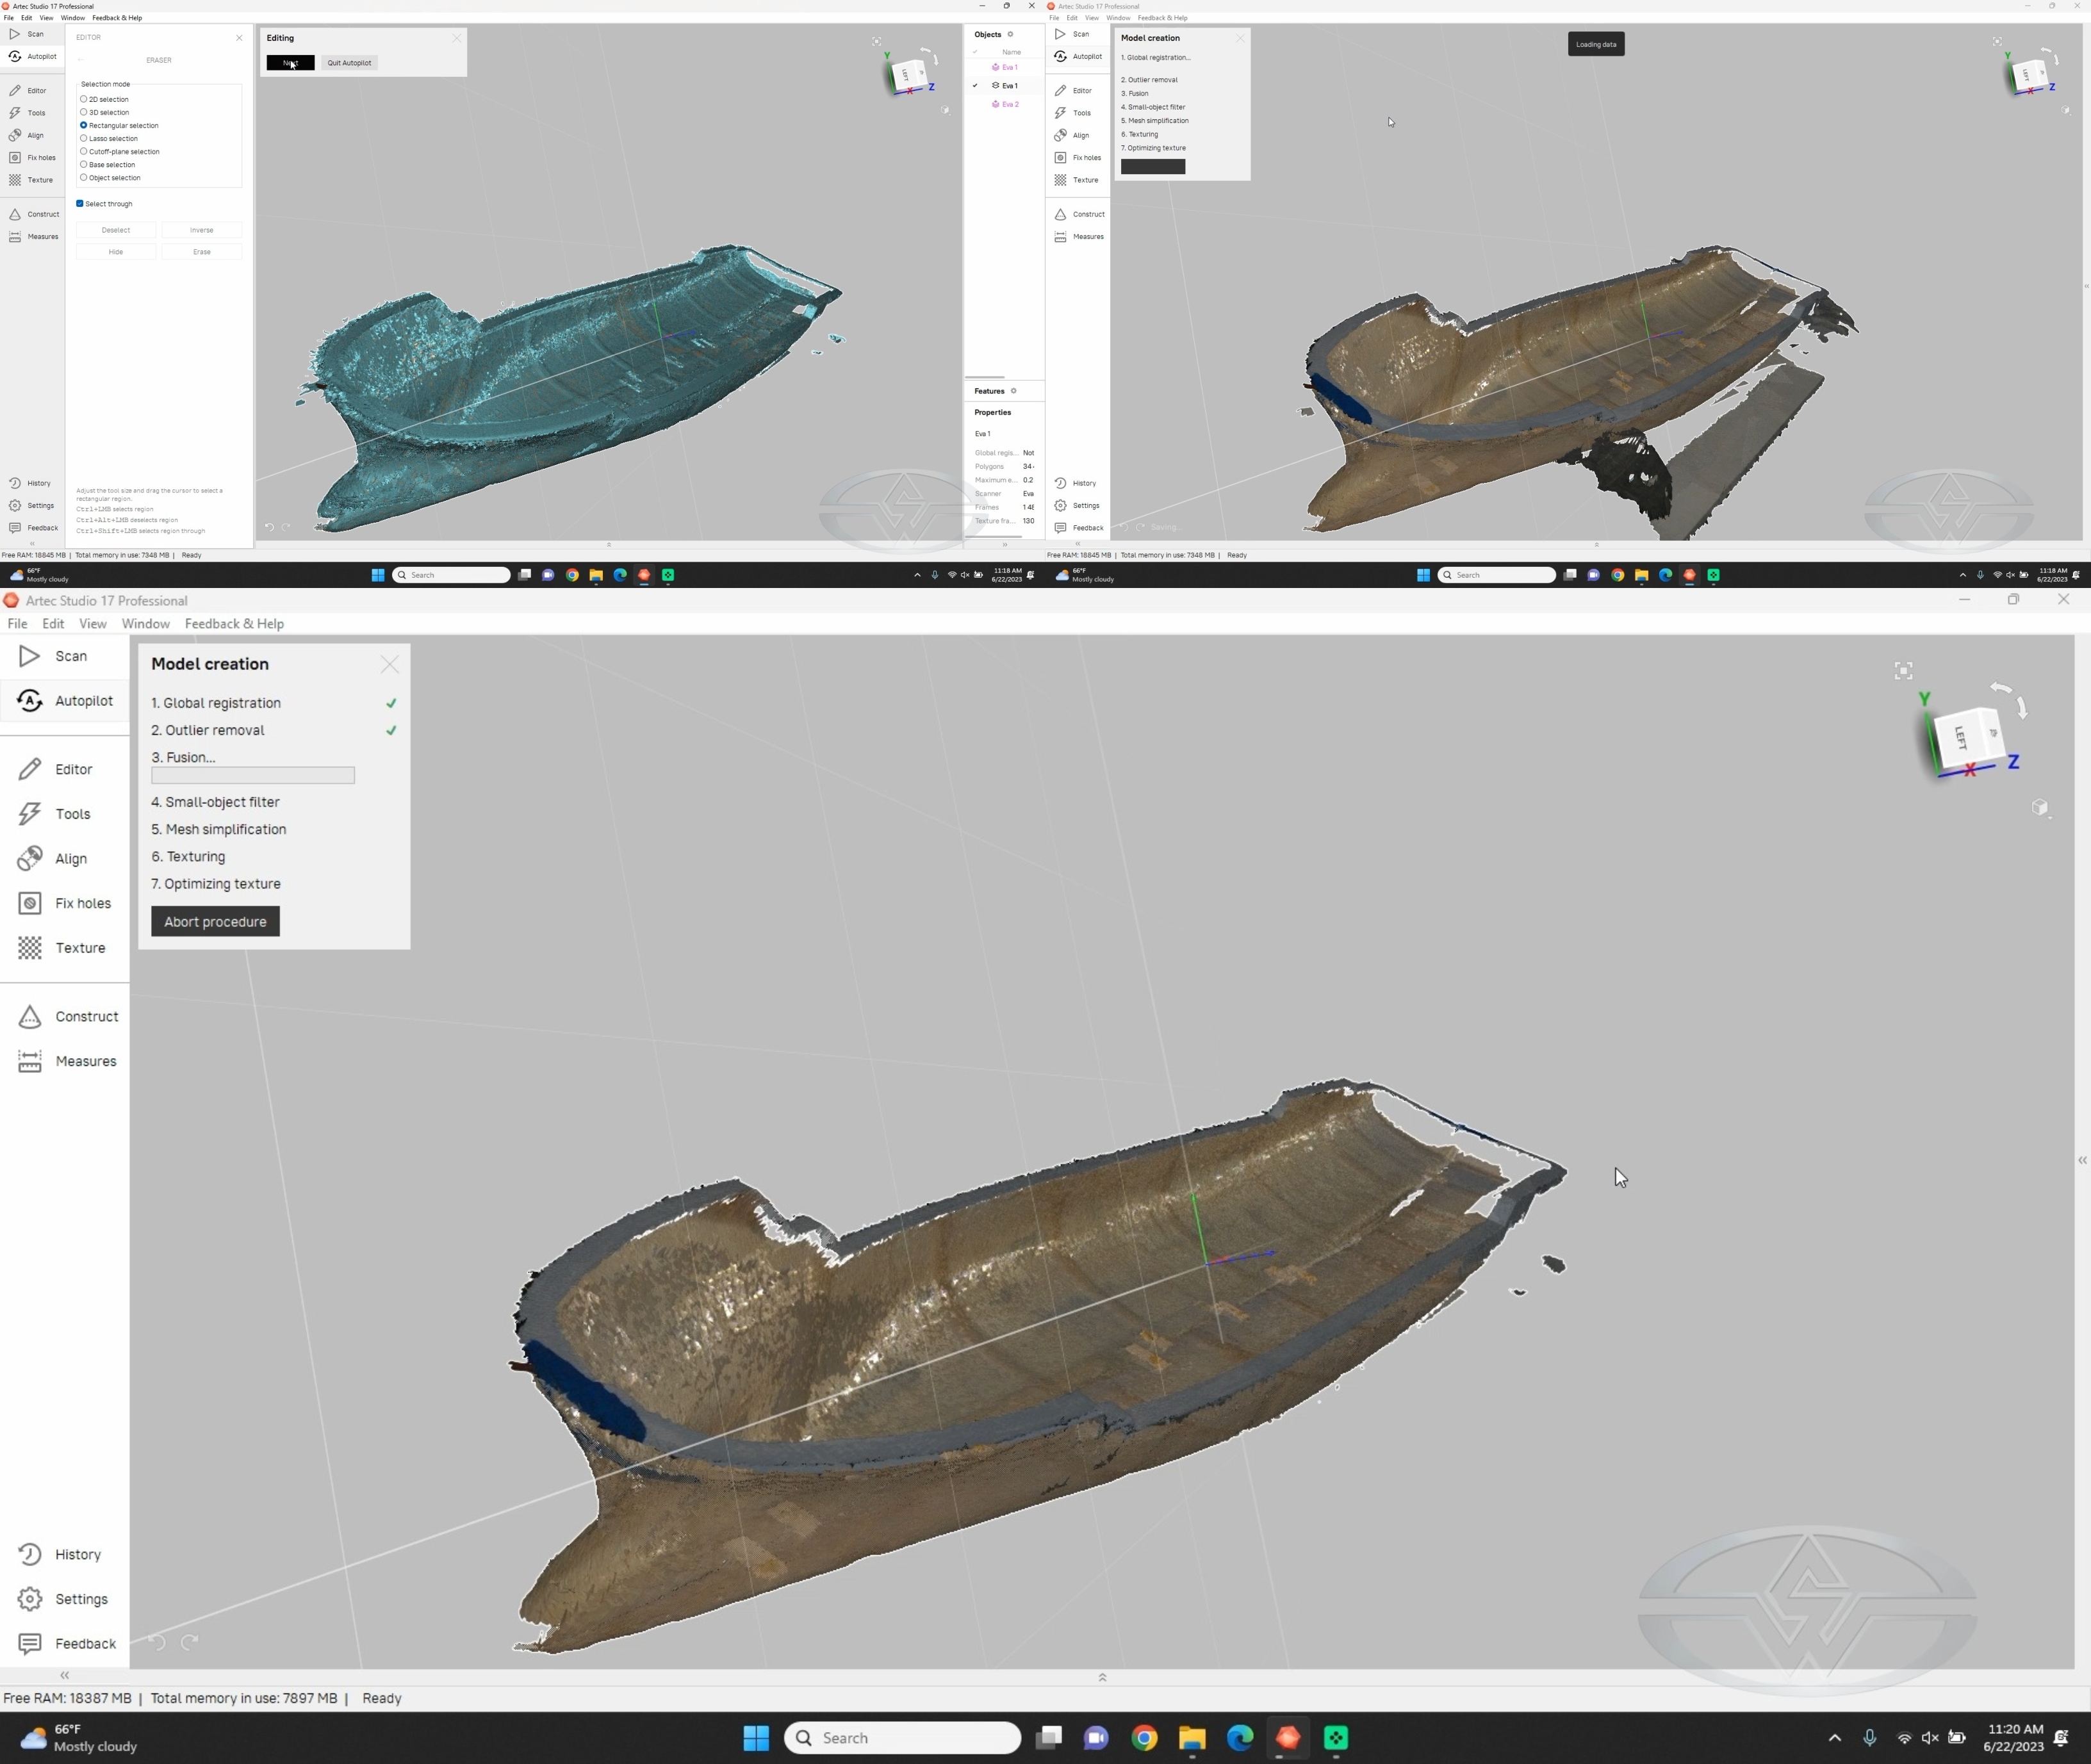 (Fon Davis presses the “Next” button to save his edits and begin alignment.)
From here, Davis says the geometry will be given to Fonco Studios’ art director and 3D digital modeler, Eliot Sirota, so an outline can be traced. Then, the two will collaborate to create a vector file for the laser cutter. Once the deck is cut using this process, it should come out at the exact same shape as the fiberglass casting.
WATCH THE “MODERN MINIATURE EFFECTS” COURSE WITH FON DAVIS & JAMES A. POWELL:
Modern Miniature Effects Part 1: Project Planning & Acquiring 3D Models
Modern Miniature Effects Part 2: 3D Printing, Laser Cutting & Fiberglass Lay-Up
Modern Miniature Effects Part 3: Ship Assembly, Paint & Weathering
Modern Miniature Effects Part 4: Octopus Assembly & Final Shoot