

How to Straighten Puppet Fur
In this FREE excerpt from the Stan Winston School of Character Arts course, Hand Puppet Detail and Finishing Techniques Part 2: Eyes, Ears, Noses, & Facial Hair, world-renowned puppeteer and puppet builder, BJ Guyer (Muppet's Wizard of Oz, Glee, Crank Yankers) explains how to straighten store-bought fur to create a new level of texture and depth. You’ll also learn other useful techniques that you can apply to your hand puppet projects.
Jump To Section
- Brushing Out Puppet Fur
- Applying Controlled Heat to Faux Fur
- Using a Heat Gun on Fur
- Trimming Fake Fur to Add More Texture
- Testing Different Creative Techniques on Puppet Fur
To watch the complete instructional video, click the player above!
In this lesson, BJ Guyer teaches how to straighten and also get different textures from faux fur after it’s been washed. Straightening puppet fur is helpful when it appears crimped, creased, or clumped—ultimately, not how you’d prefer it to look. Depending on your application, the techniques discussed can revive fur that is not ideal, ultimately giving it the look of realistic fur.
Brushing Out Puppet Fur
To smooth faux fur, you have a few options.
One method is to use a slicker brush, or dog-grooming brush. This is a simple technique that can be done just by brushing the fur back out in the direction you want it to go.
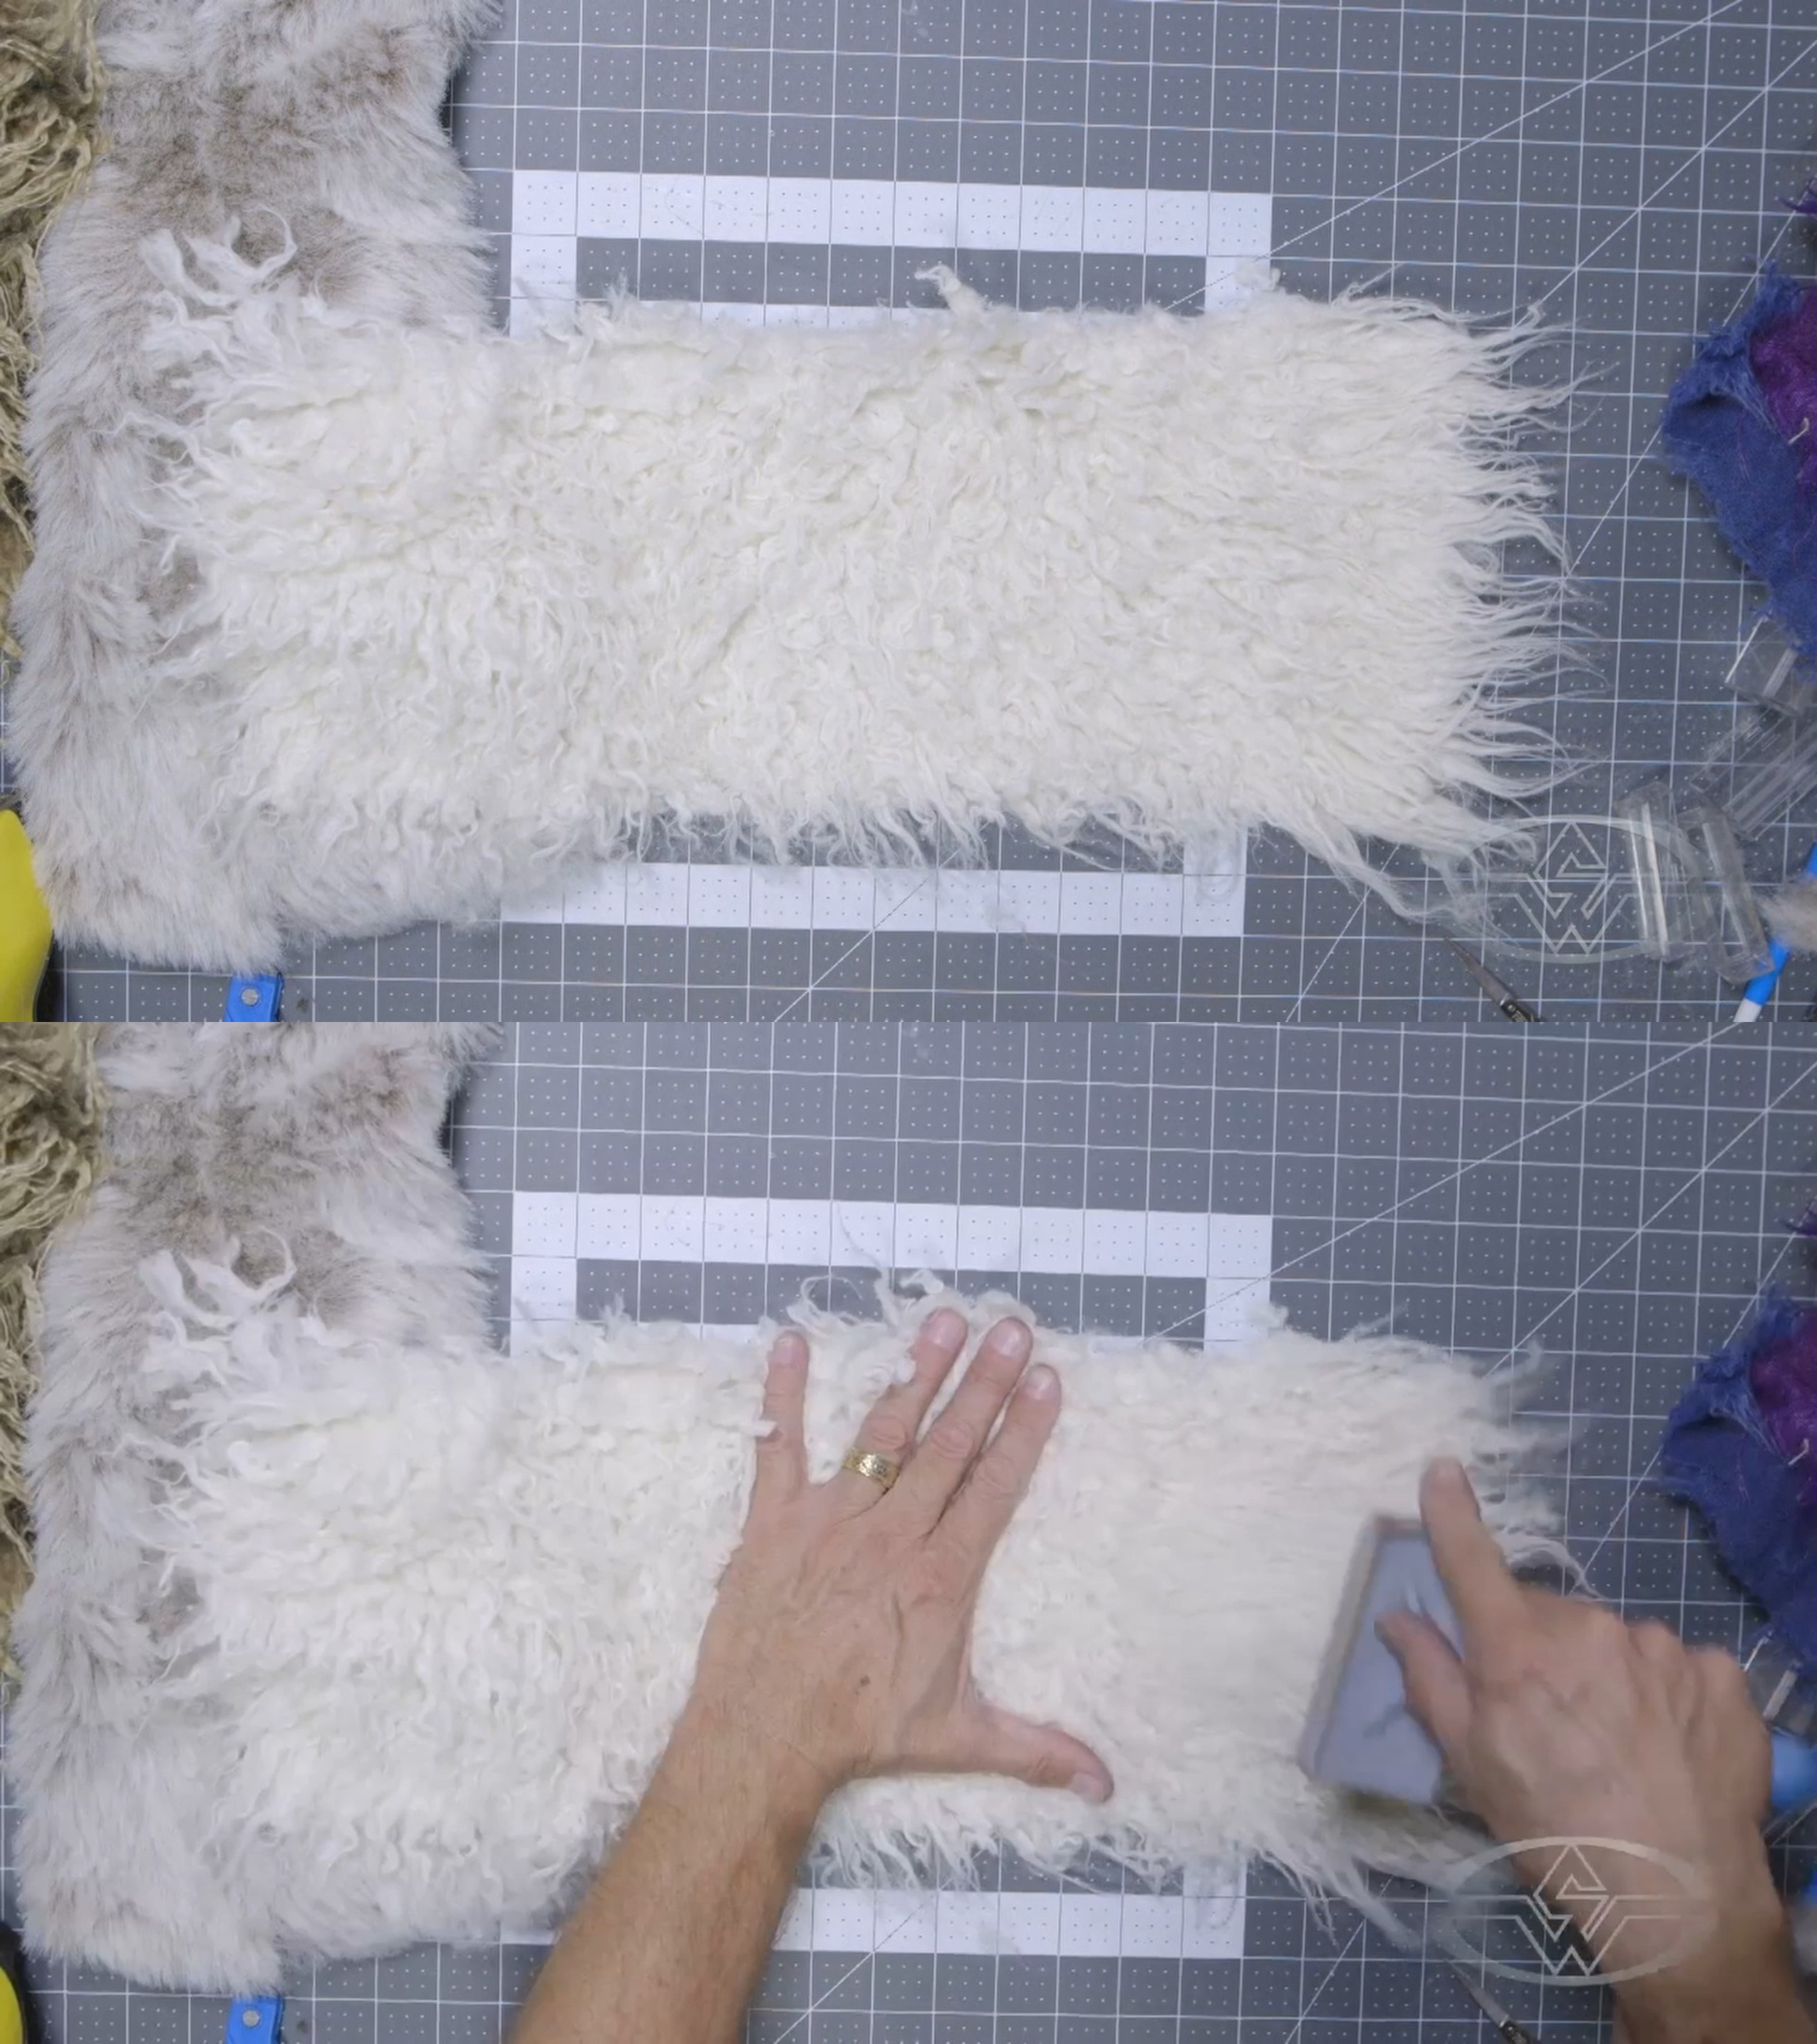 (BJ Guyer brushes out washed, store-bought fur with a slicker brush.)
Applying Controlled Heat to Faux Fur
If you’re looking for a sure-fire way to really straighten out fur or if you have fur with a lot of nap, Guyer recommends running a hairdryer over it.
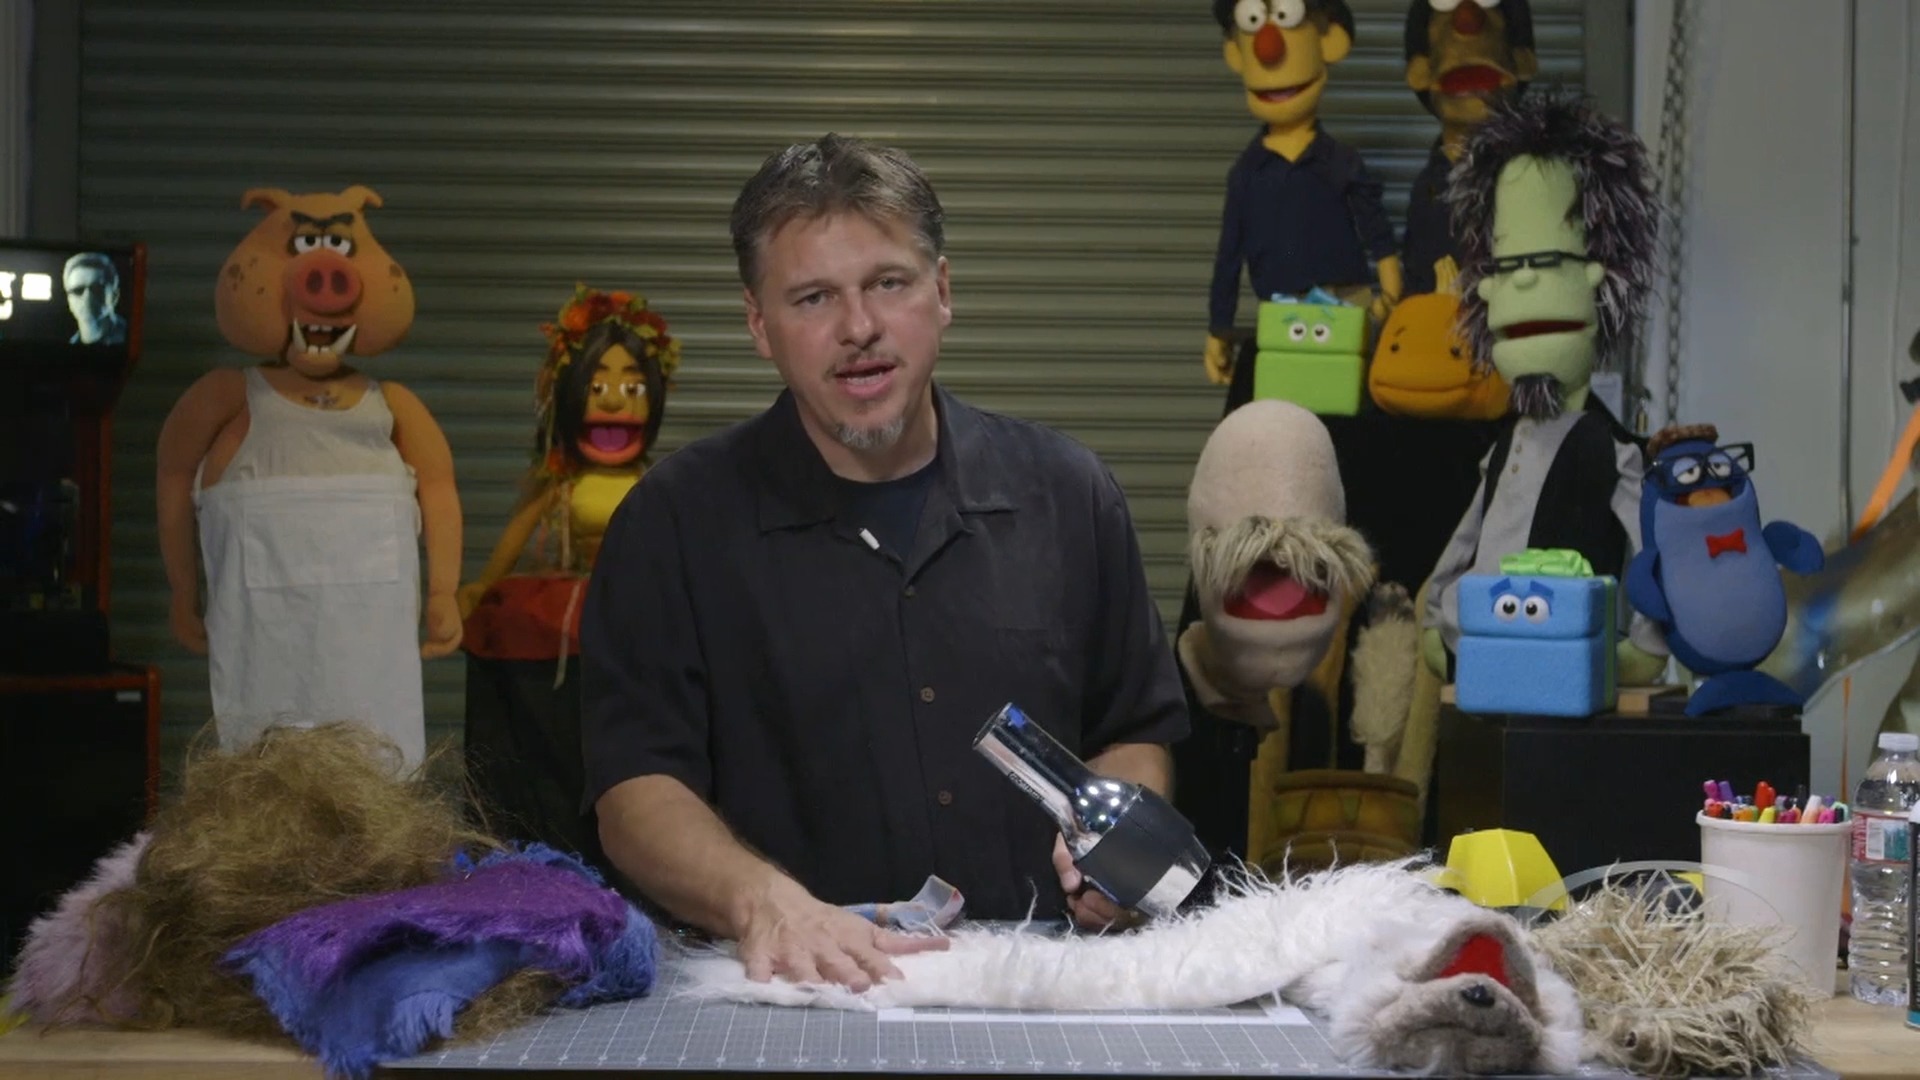 (BJ Guyer discusses the advantages of using a hairdryer to straighten puppet fur.)
Use the hot setting, as using the cool setting won’t make any impact on your fur. And though heat is absolutely essential, a hairdryer is a better tool at this point than a heat gun because it allows you to safely heat it without burning it.
“Don't use a heat gun for just straightening,” Guyer says. “You want to use a hairdryer. Get it on high, get it nice and hot, and you heat it up as you're brushing it.”
When blow-drying the fur, work on one small patch at a time. To keep its shape the fur has to stay warm as you’re continuously brushing it out.
After a few minutes, voilà! Light, soft, fluffy fur! You’ll notice that it’ll look much smoother and fuller compared to what it looked like previously.
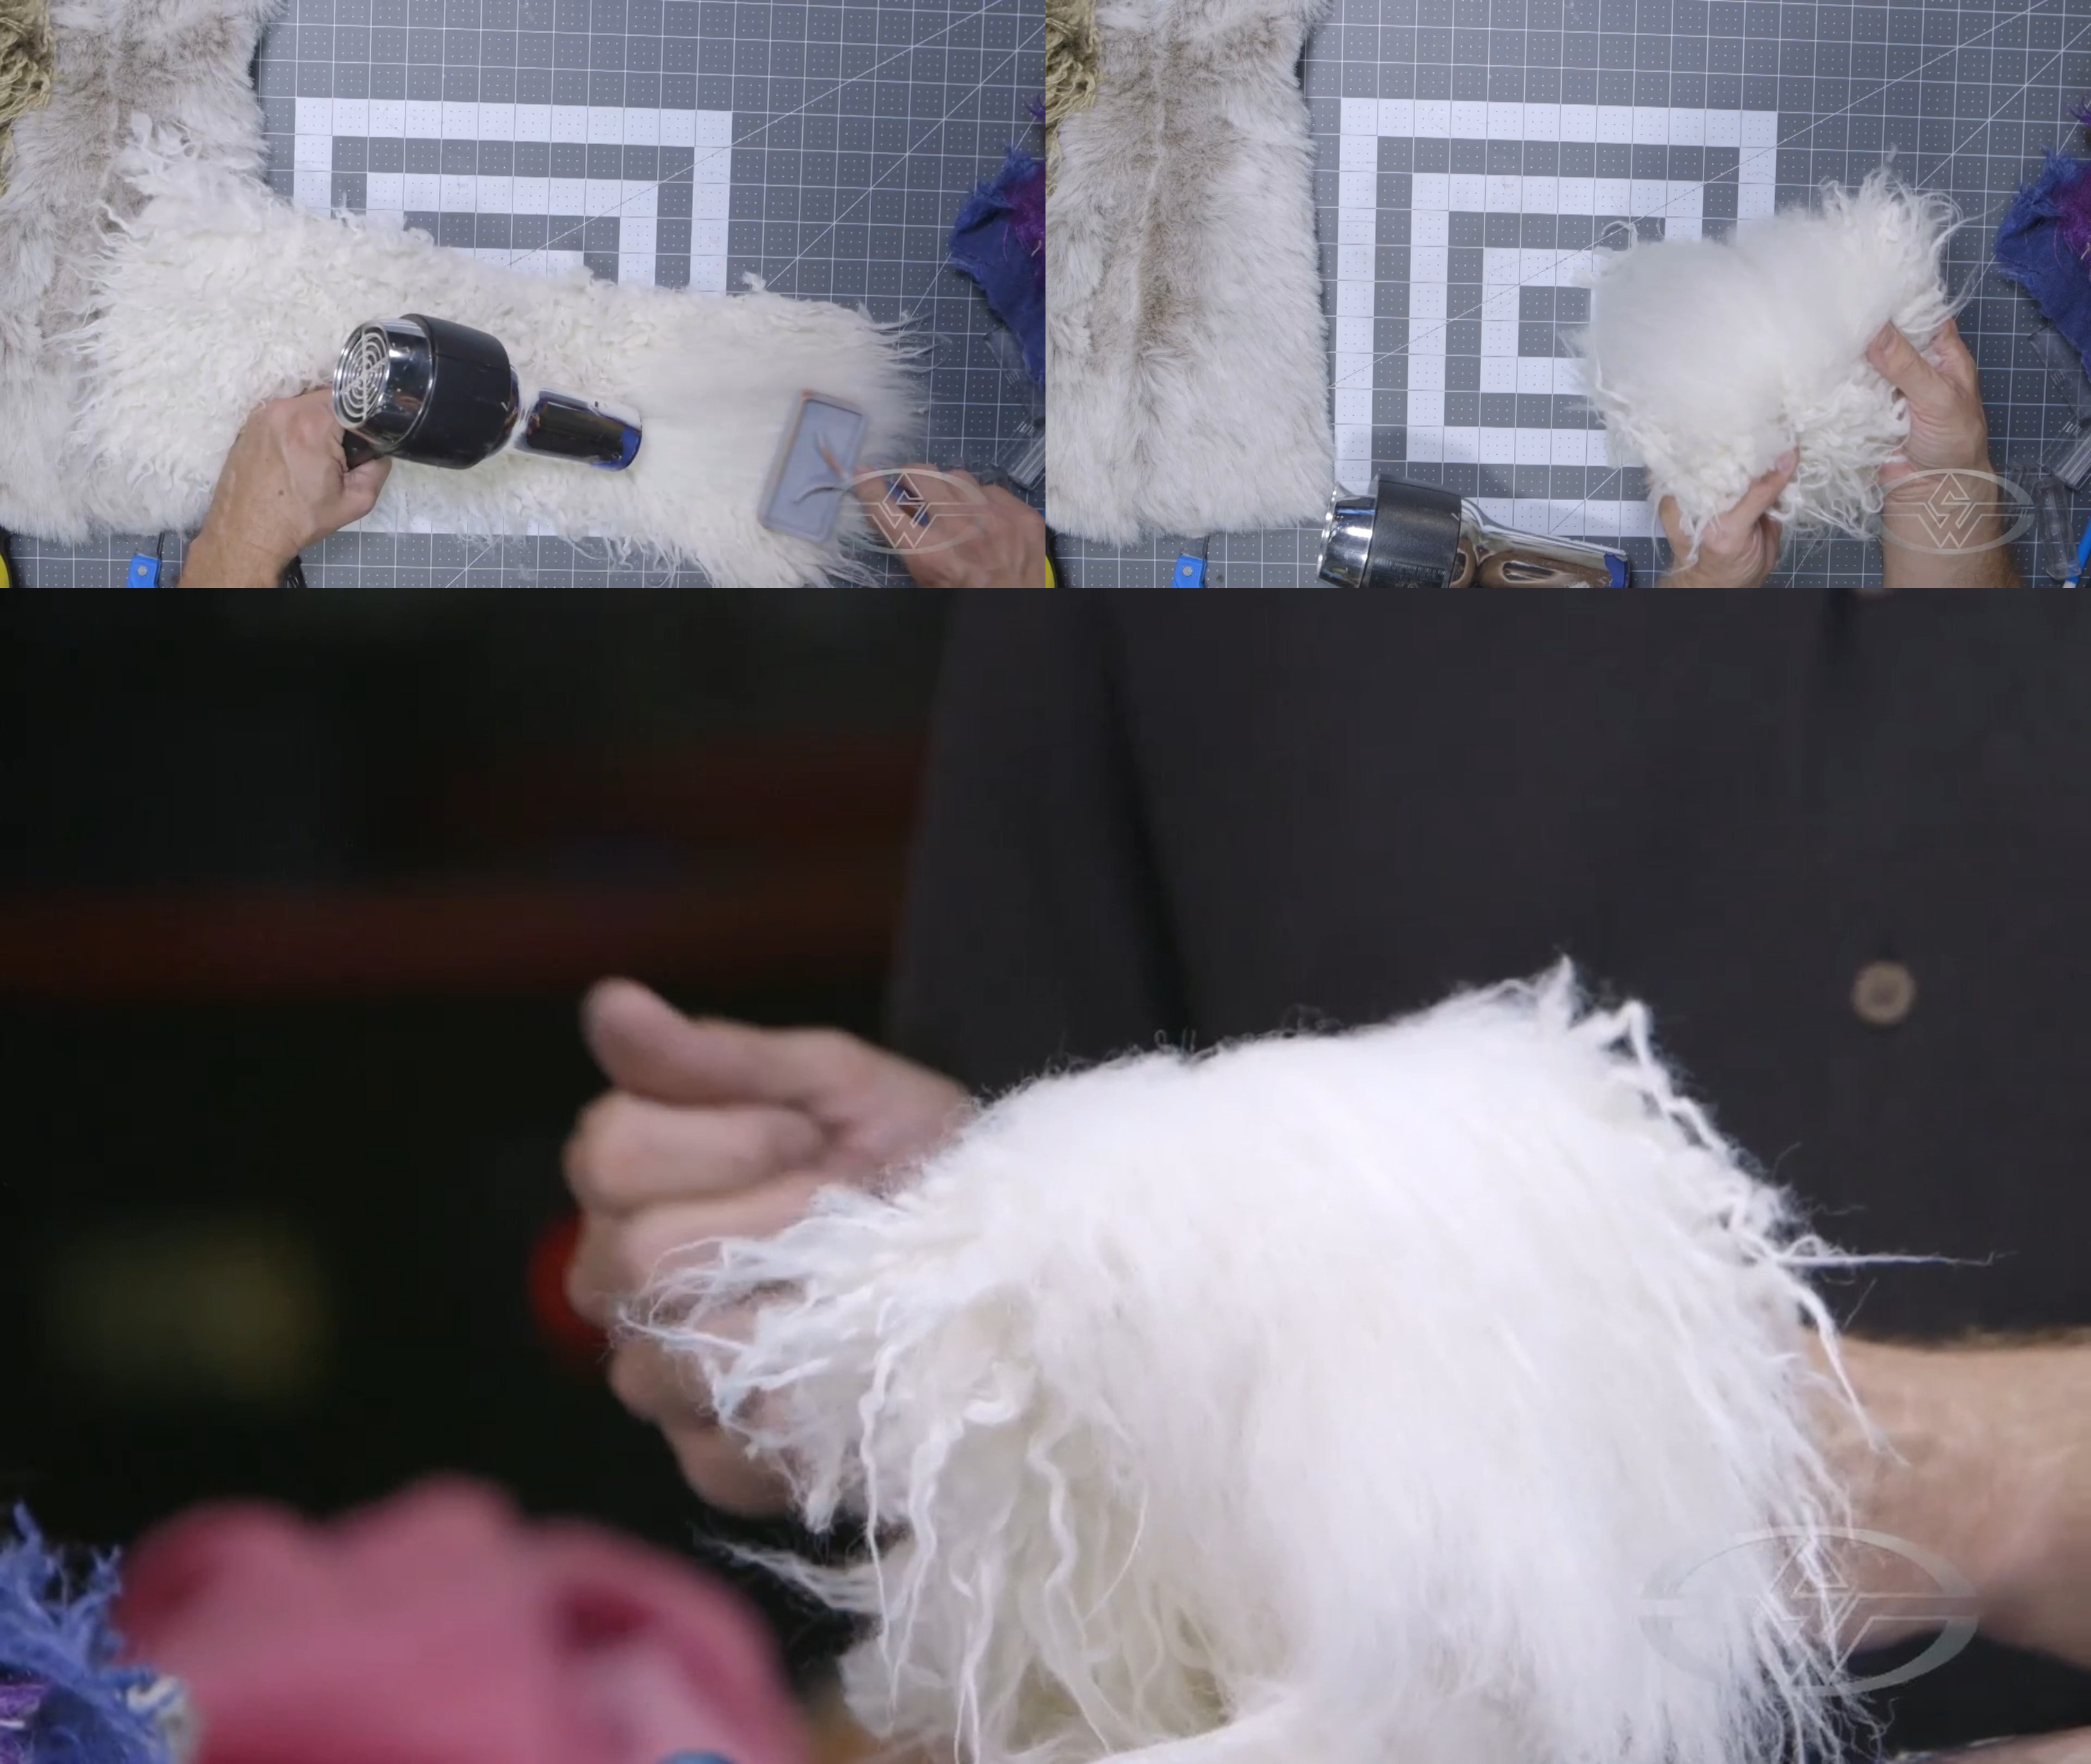 (BJ Guyer demonstrates how continuously applying controlled heat from the hairdryer and brushing out the fur can change its look and texture.)
A quick note about paints: Guyer mentions you can also use this technique on fur that's been painted with Design Master paint colors. However, be aware that when you’re brushing your fur, some will pull and get lifted out by the brush. Other paints may adhere to the brush and have a tendency also to pull more of the fur out. Because of this, Guyer doesn’t recommend applying heat to faux fur that’s been colored with Angelus leather acrylic paint (shoe paint) or Krylon paint.
The original white color of the fur Guyer uses in his demonstration was flat, smooth, silky, and low shine at first but developed a nappy texture once it was washed. Now, after brushing it out, it’s thick and downy, like a Maltese’s coat.
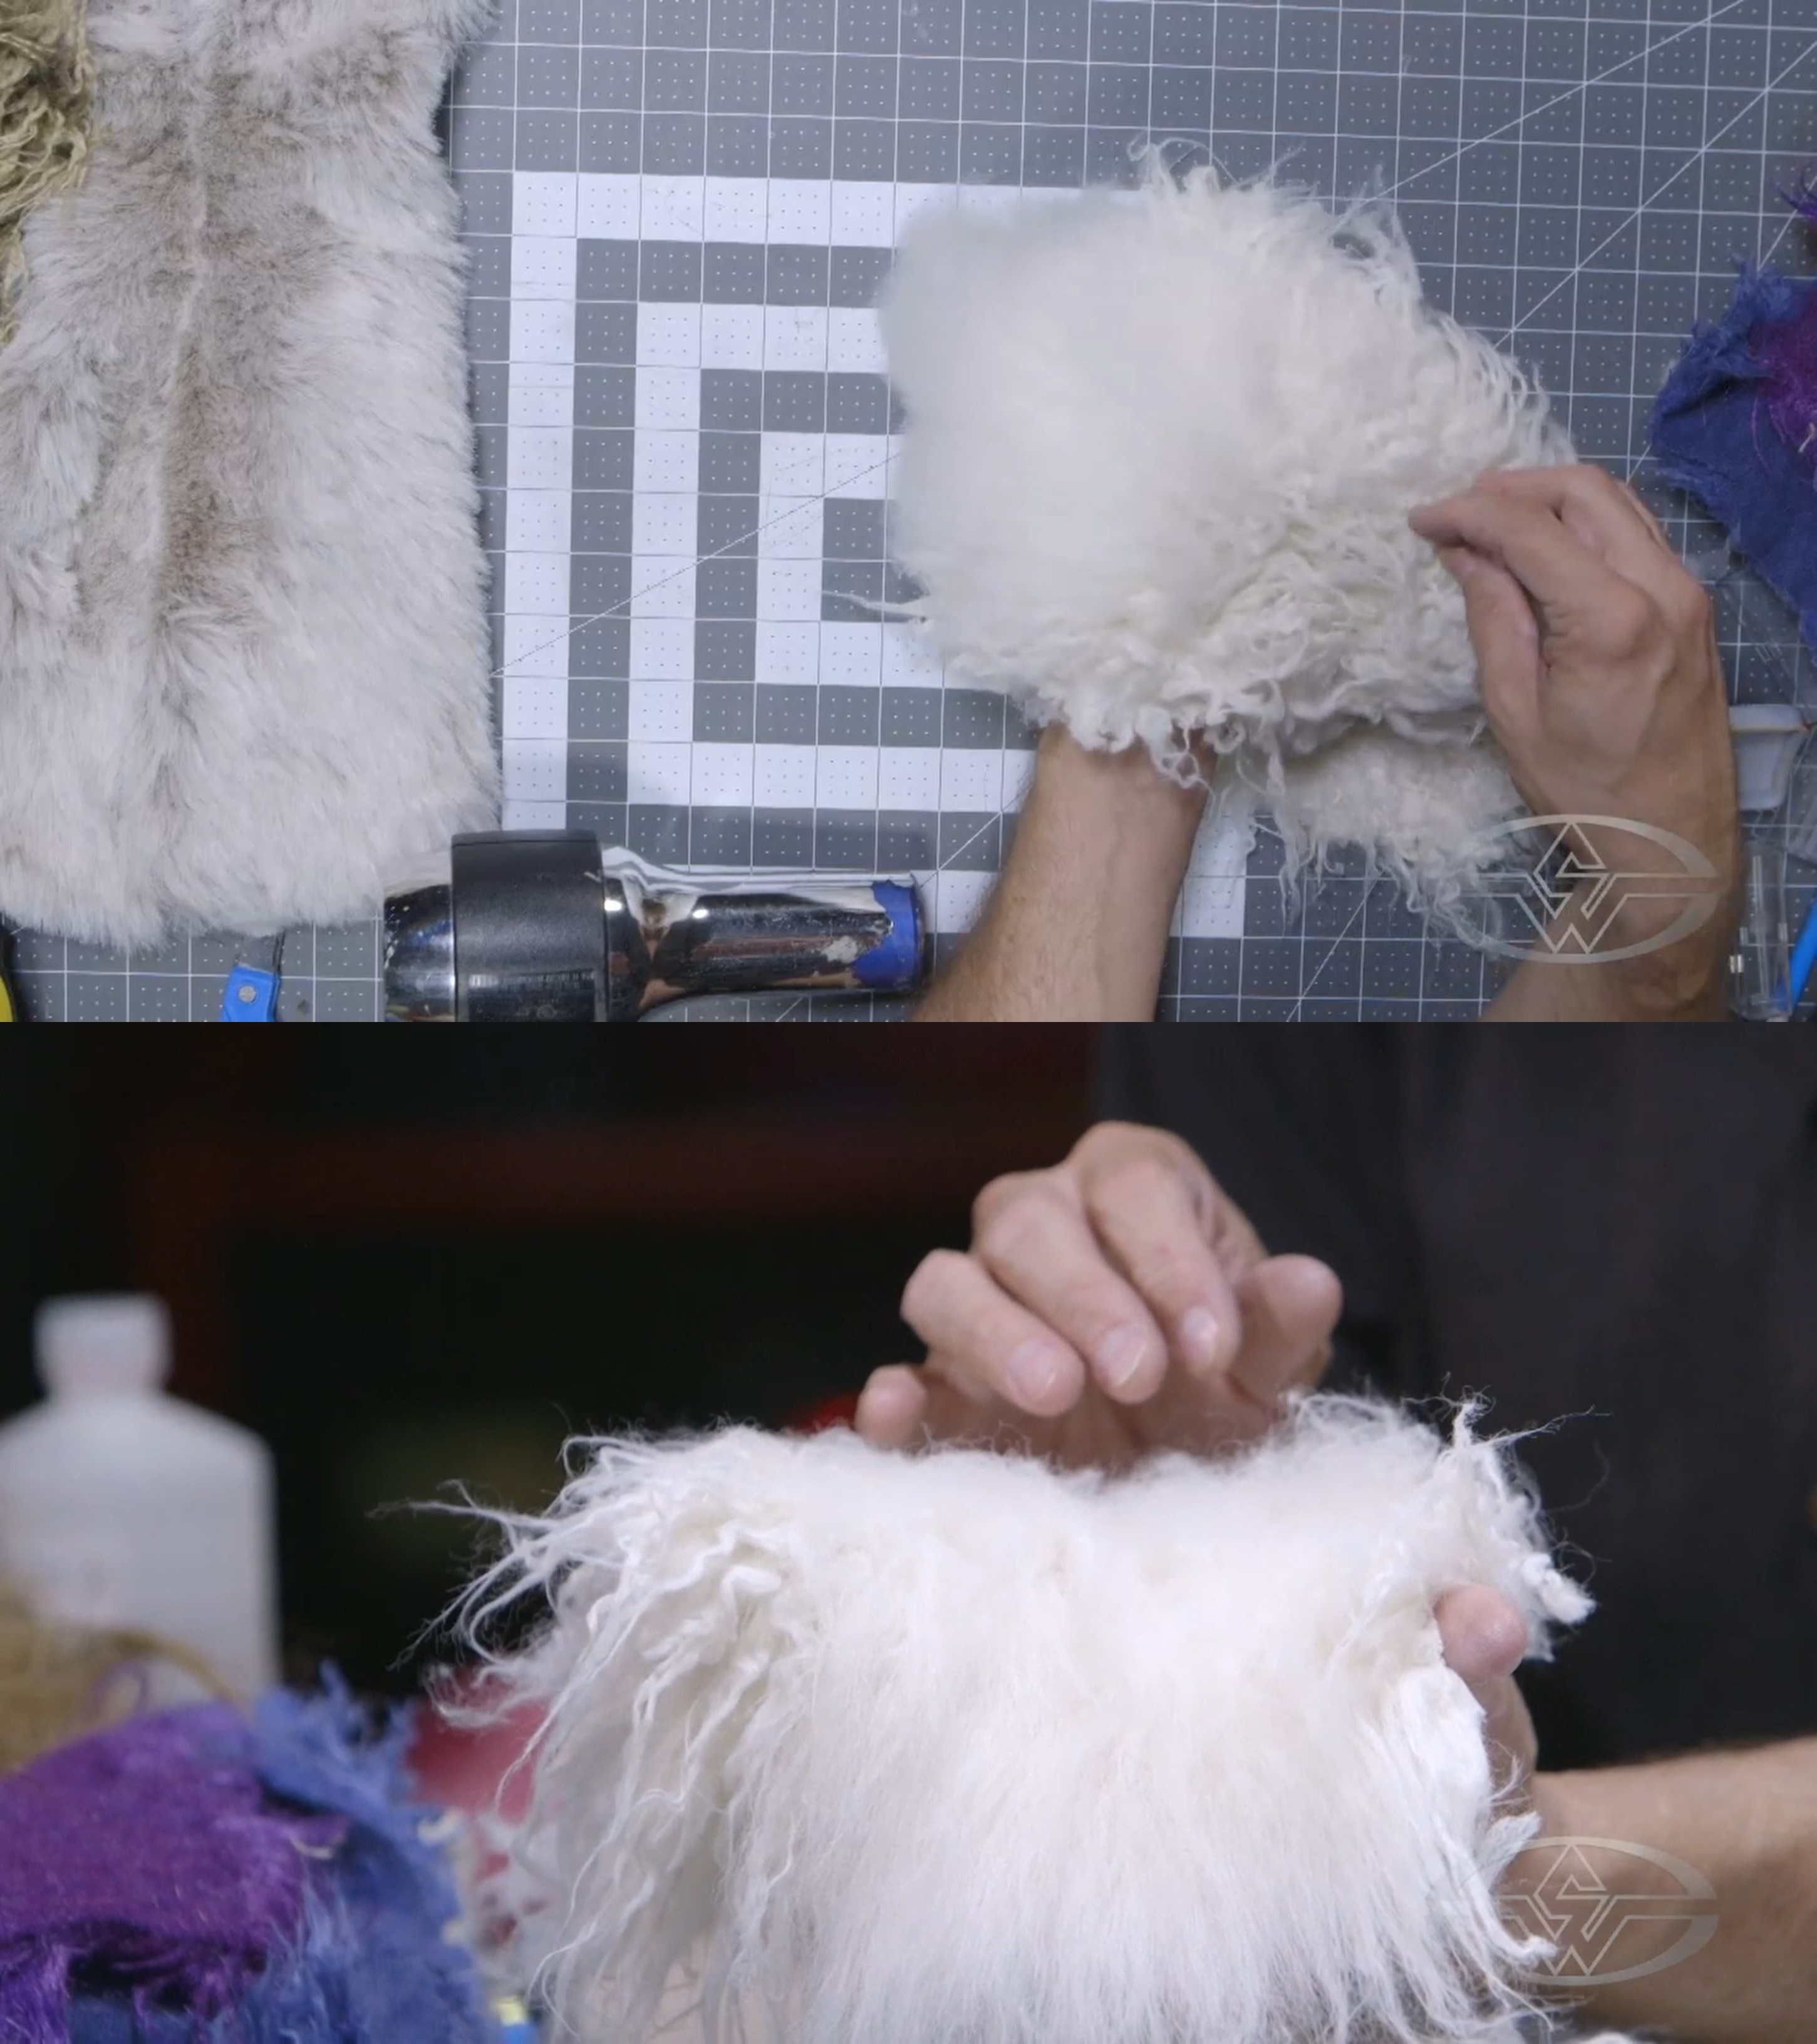 (BJ Guyer compares the matted fur section with the section that has been brushed under heat.)
Using a Heat Gun on Fur
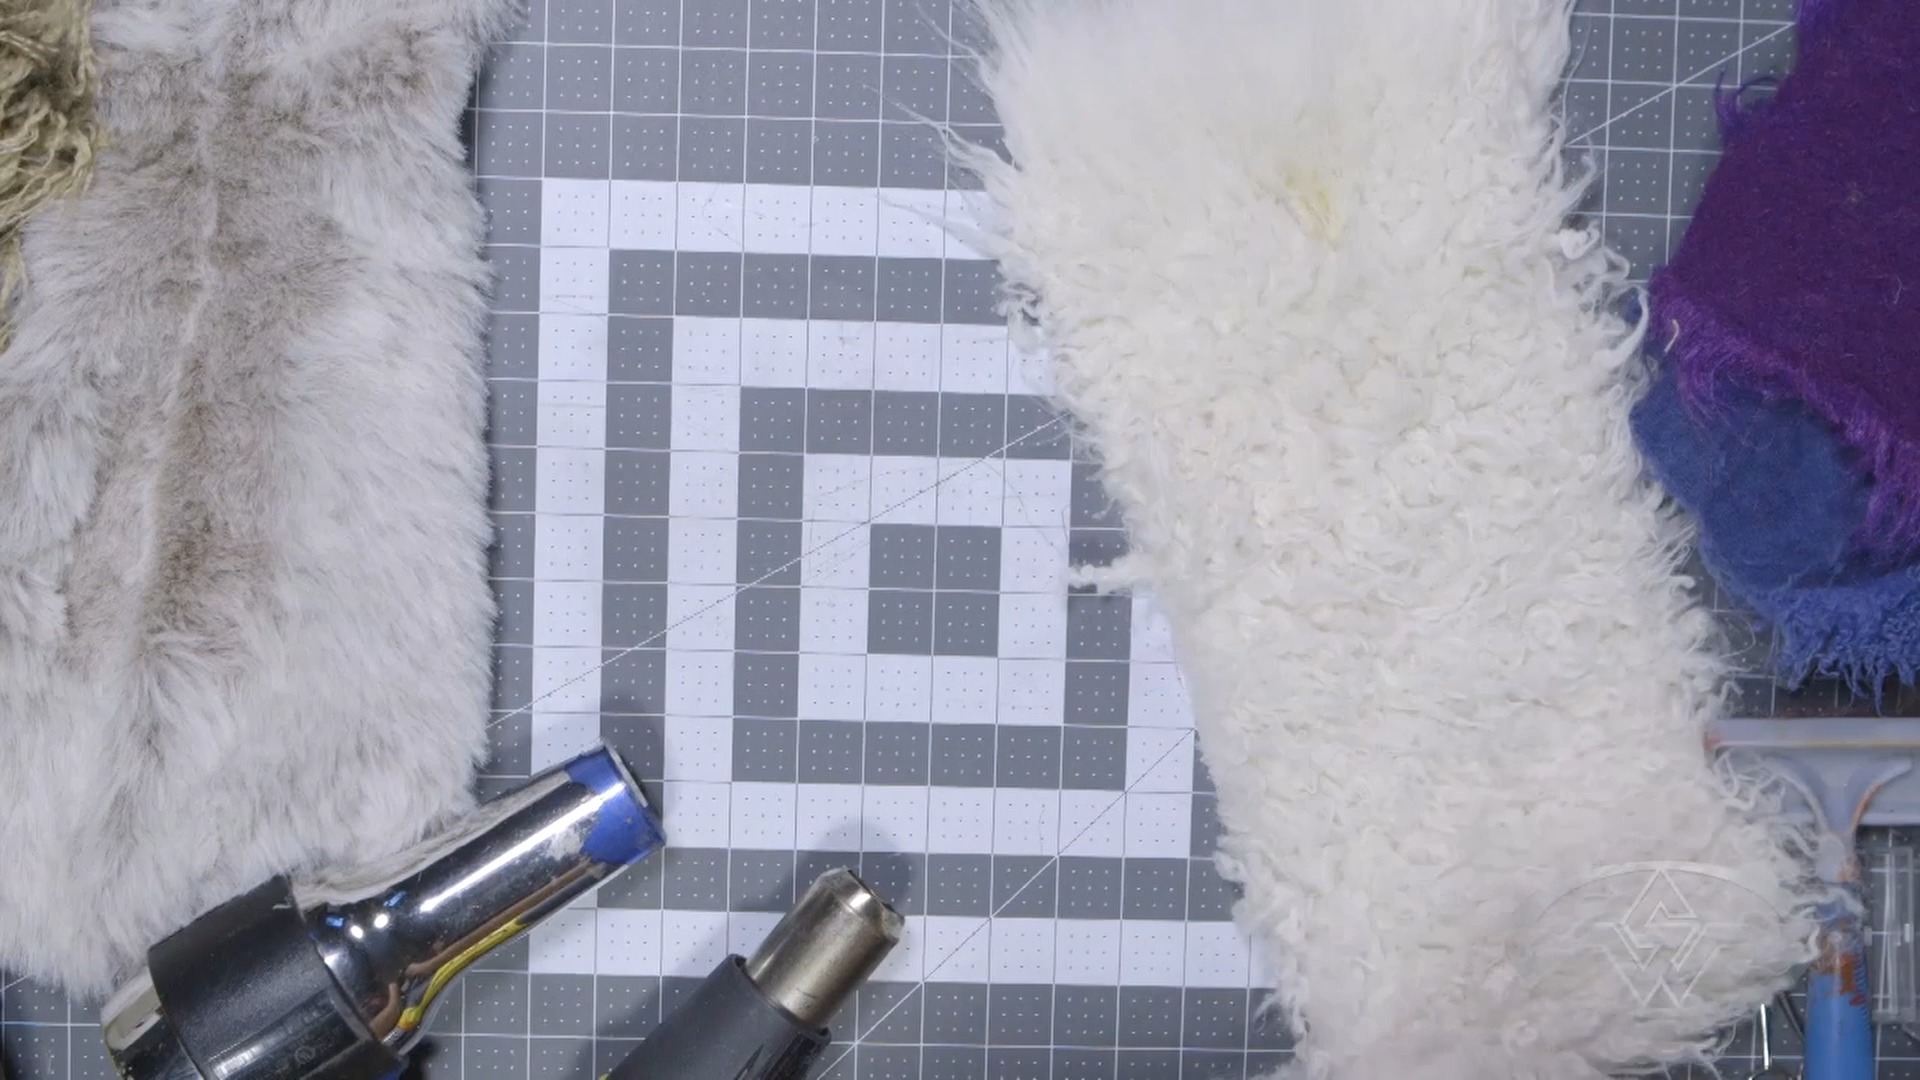
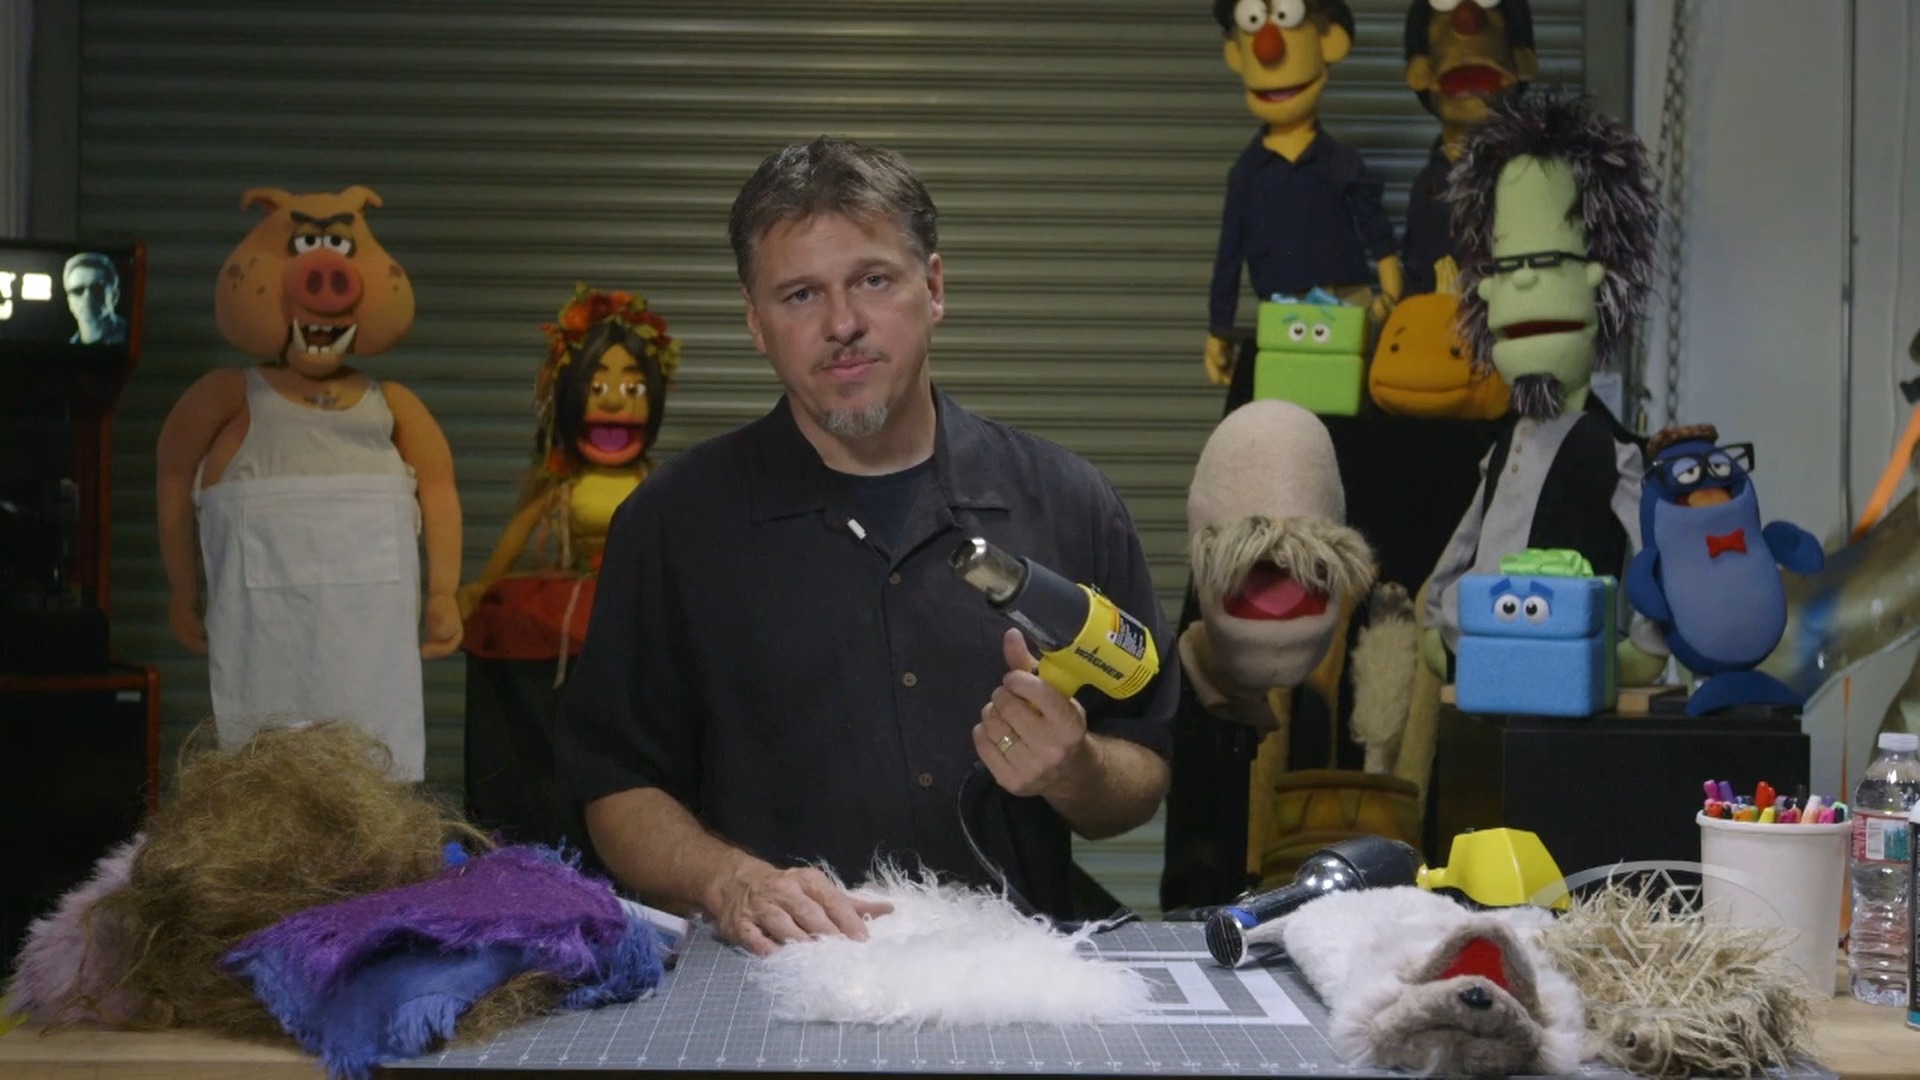 (BJ Guyer with a heat gun. Proceed with caution.)
To further alter the fur texture, you can use a heat gun. Guyer stresses the importance of safety when using heat guns since they can get incredibly hot and start fires.
Using this technique, you’re essentially damaging the fur by melting the fibers. When applying heat, work through the fur with a comb or brush.
Though aggressive, you can even change the direction of the fur’s nap. If you have a part and want to split it so that you don’t have to do two pieces of fur, brushing and heating the fur continuously can create a part and split the direction of the fur. This requires some extra patience and effort since you have to get the fur really hot to keep its position, but not so hot that it burns.
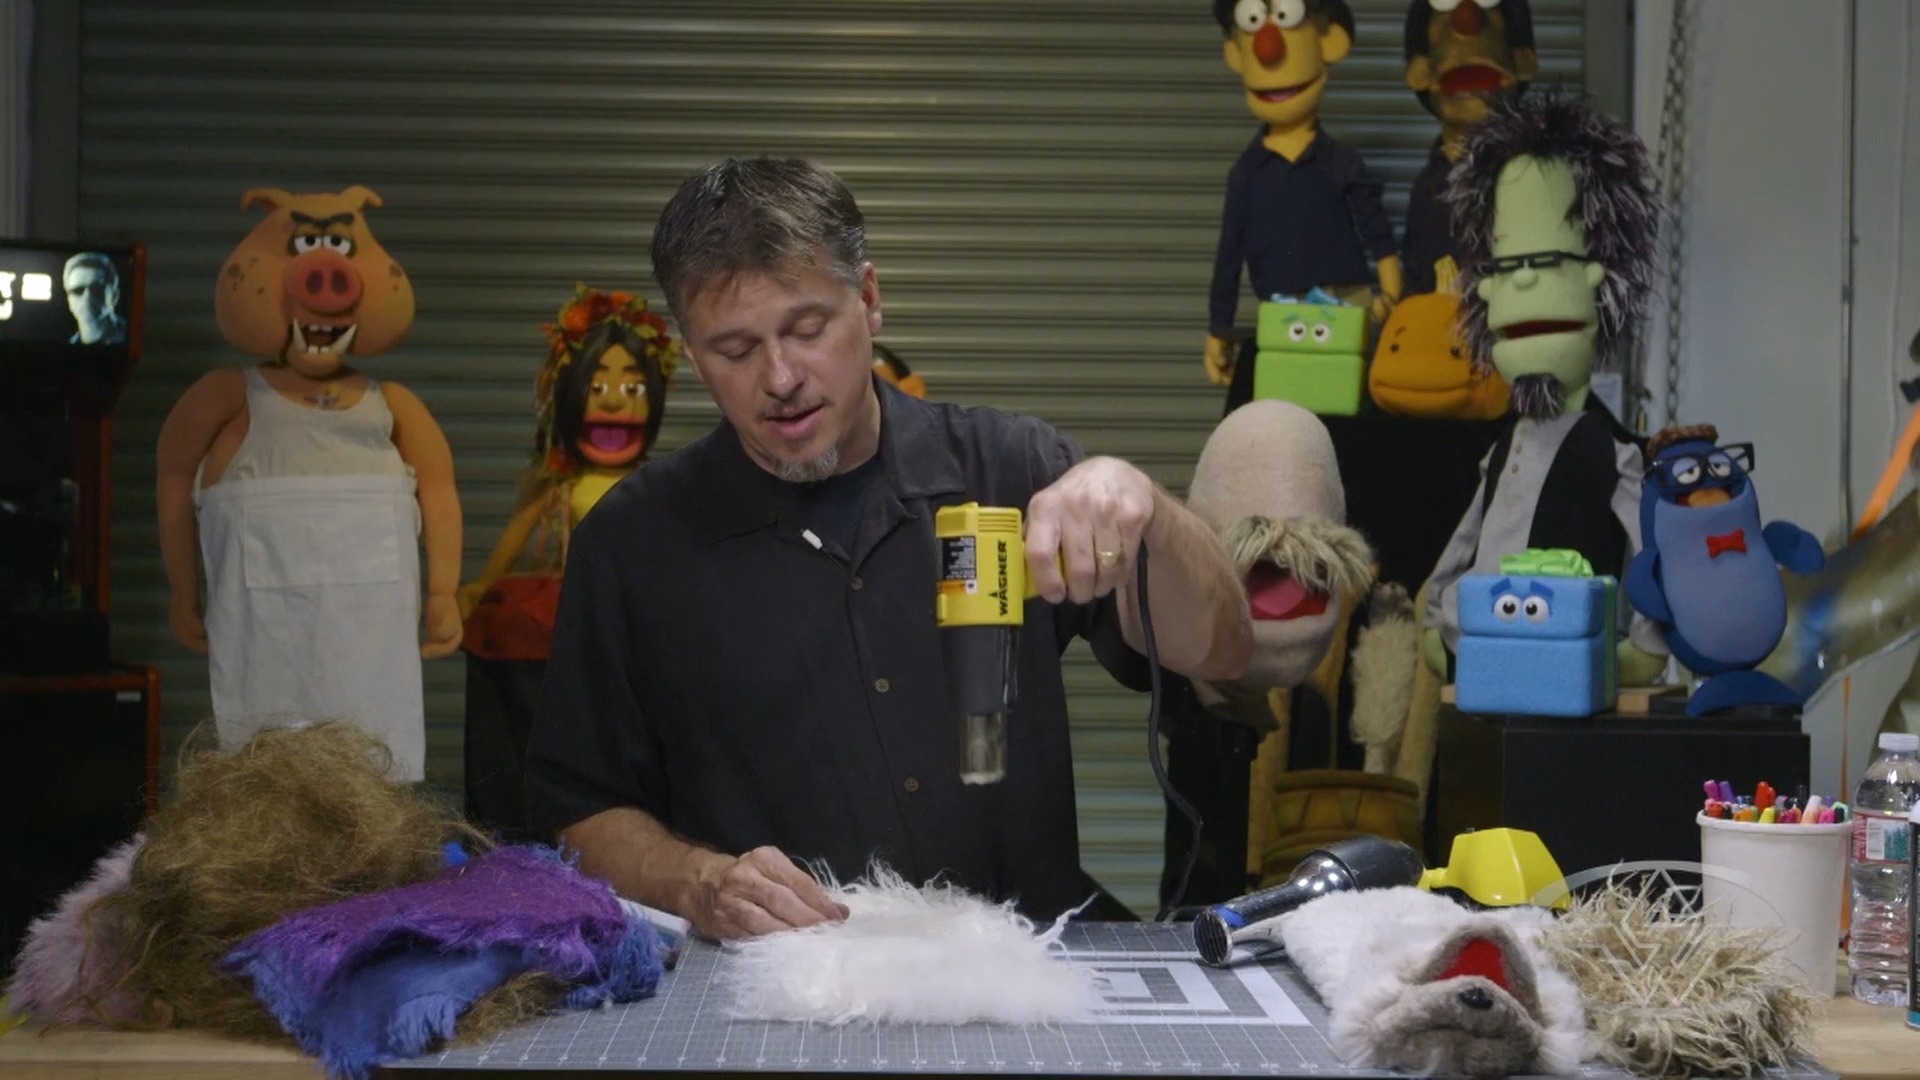 (BJ Guyer carefully heats the fur.)
A good application of the heat-gun method would be a wooly character like a sheep. Also, when using the heat gun, make sure to avoid sticking your hand directly under the heat.
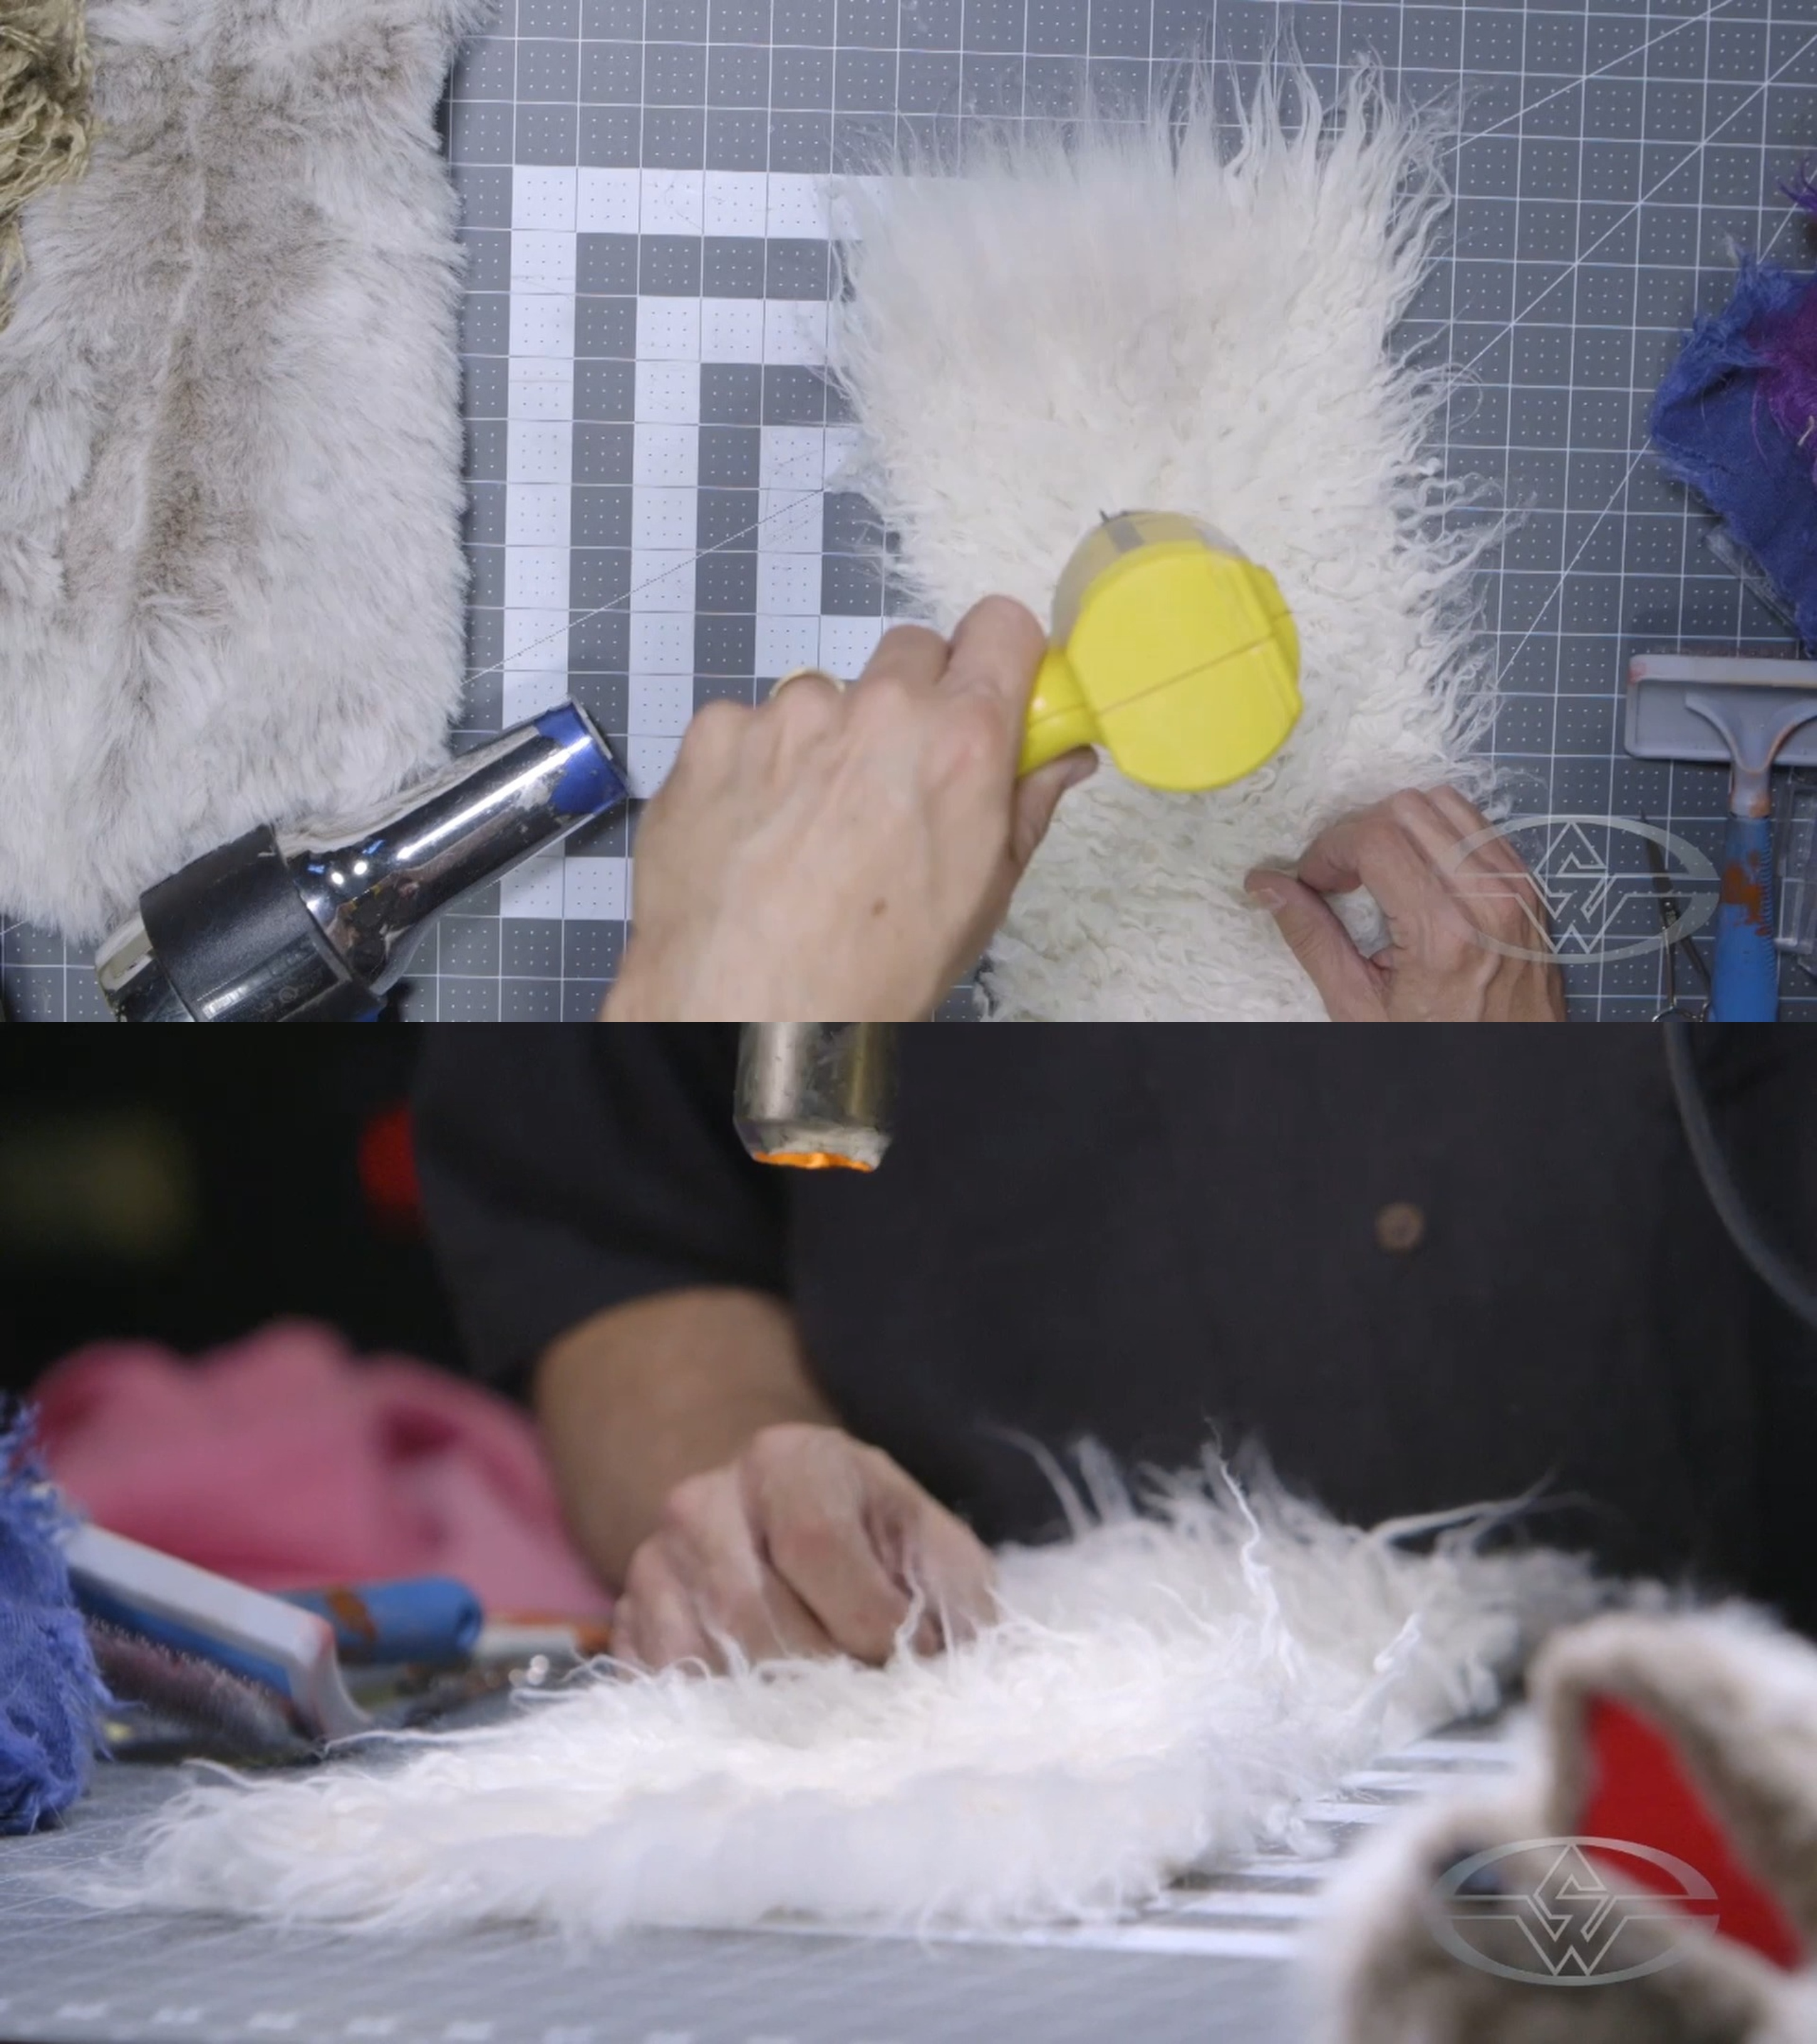 (BJ Guyer moves the heat gun during use so it doesn't burn a single spot or start a fire.)
It’s important to keep the heat gun moving around. You don’t want to hold it in one place because it’ll quickly melt and burn the fur.
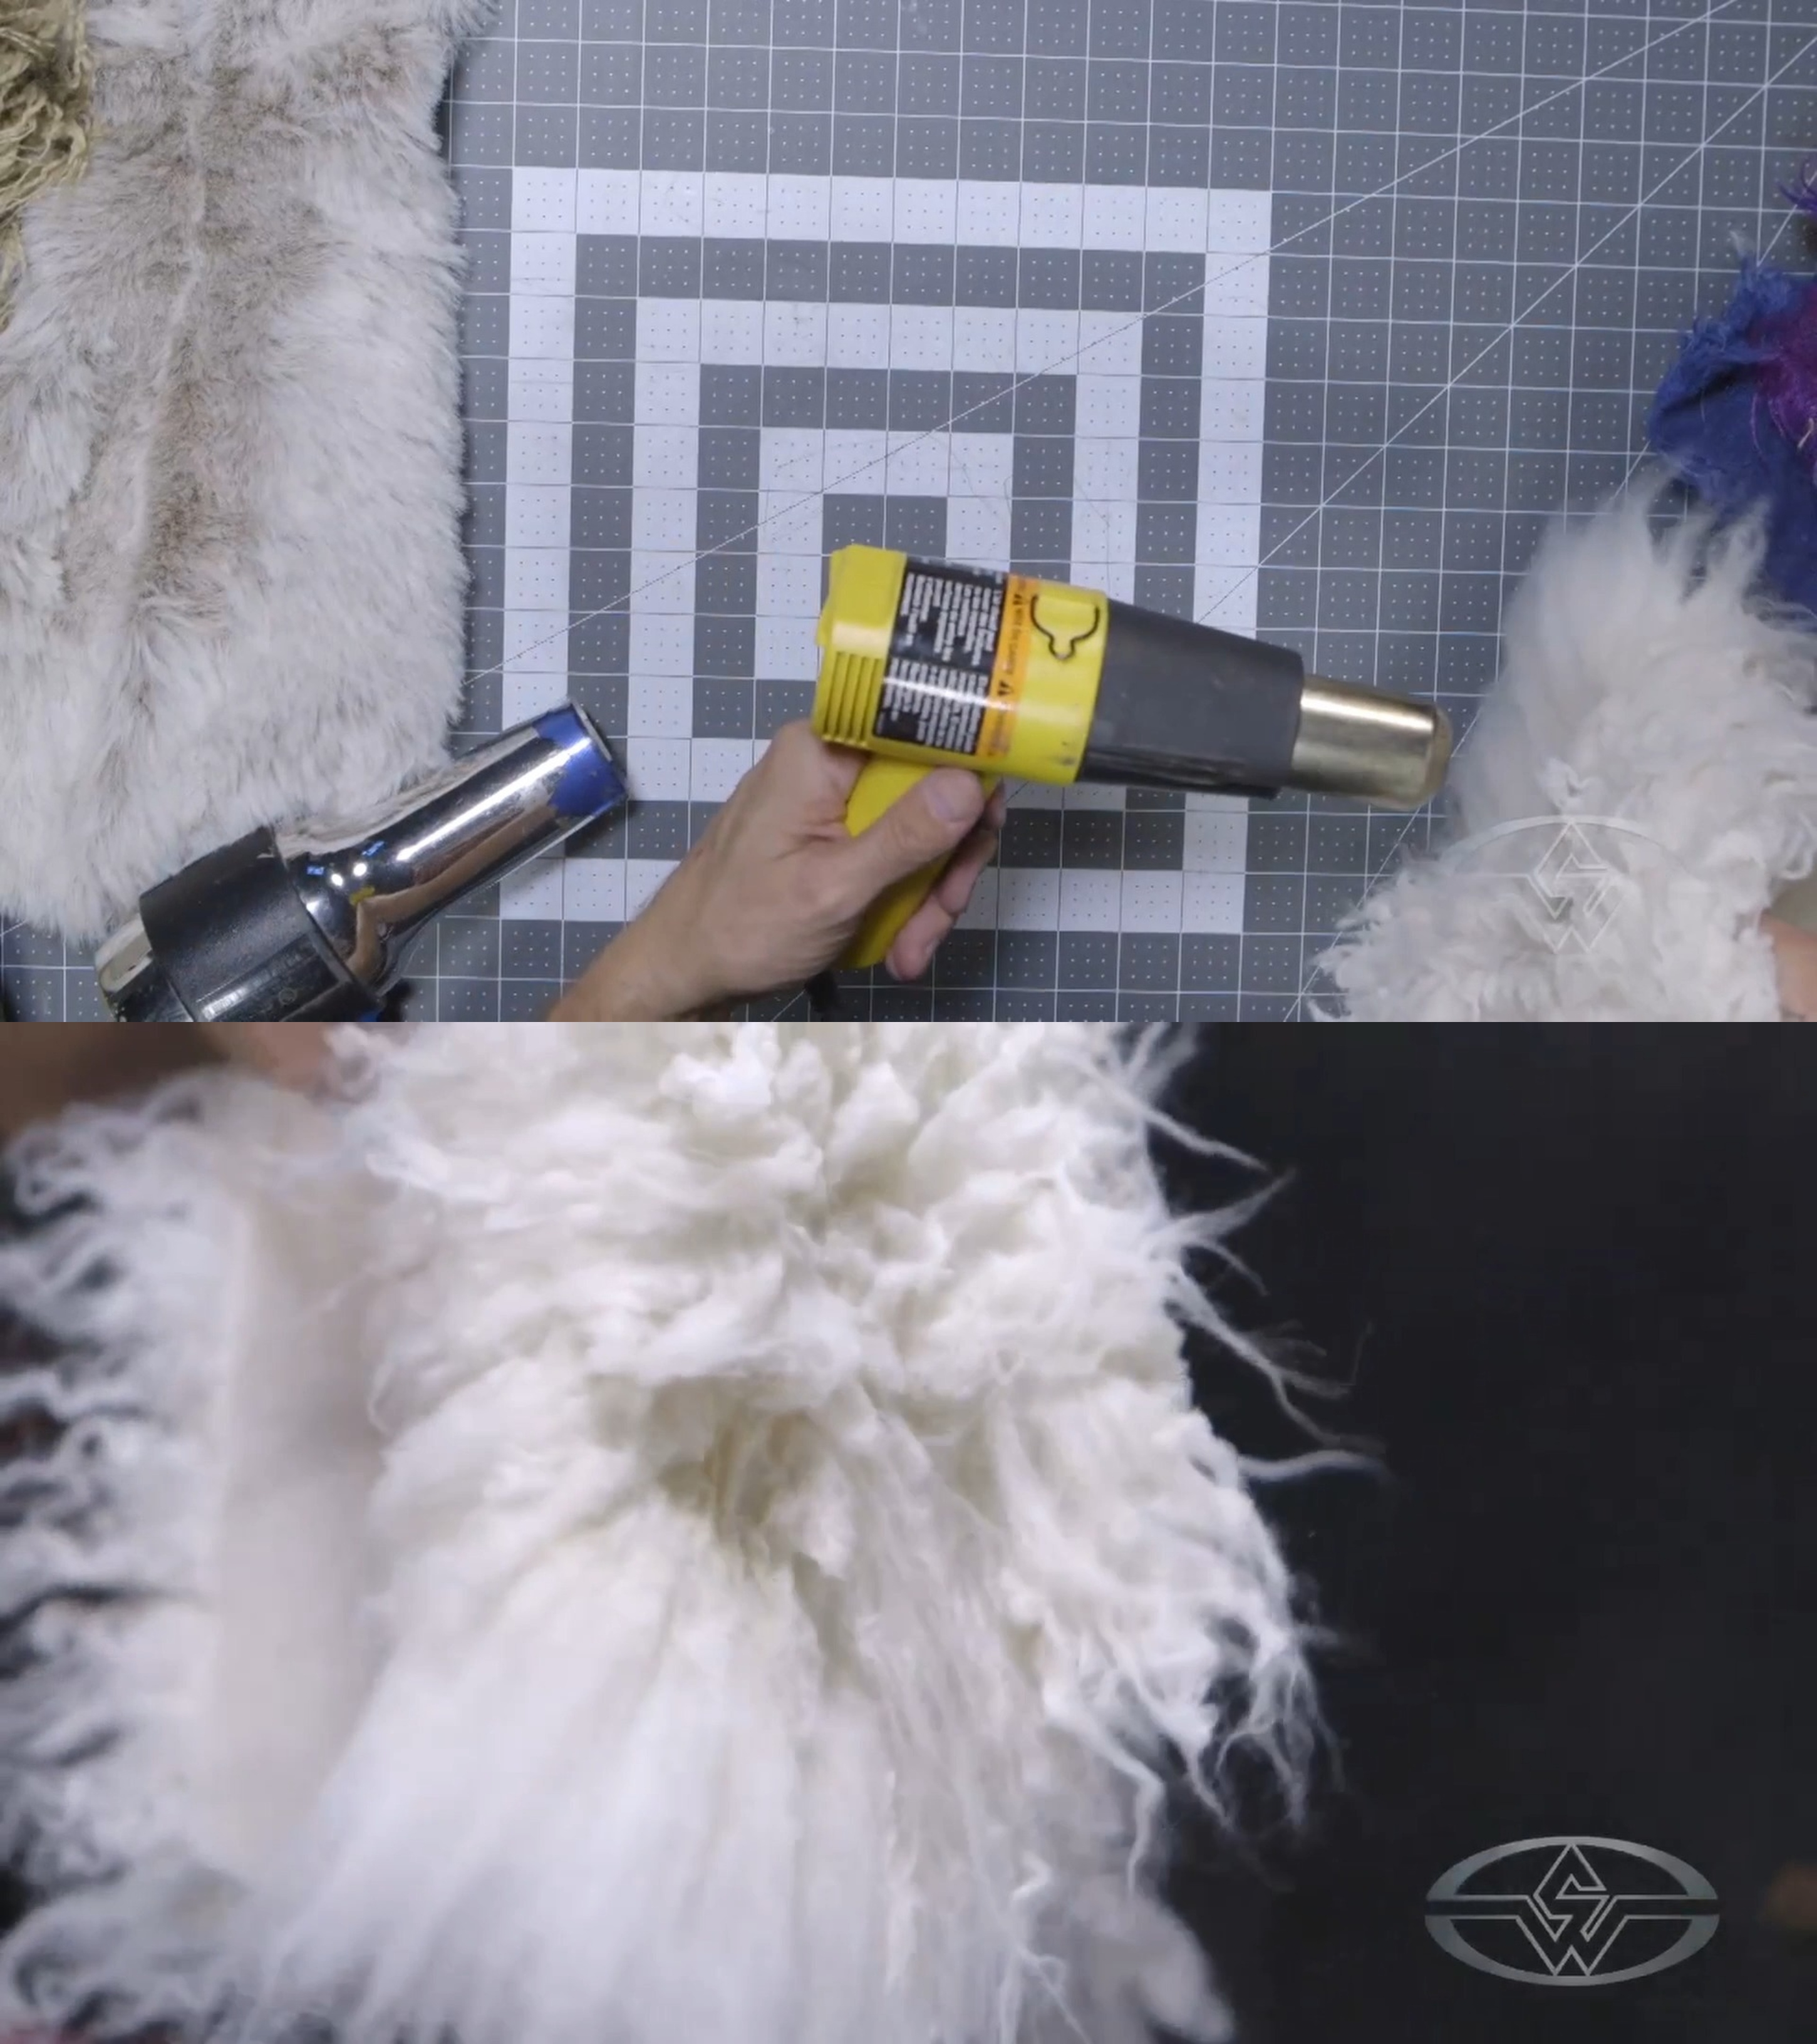 (BJ Guyer demonstrates the perils of burned fur!)
Continue to keep the heat moving, and you’ll notice the fur begin to shrivel up, but if you can control it, the result can be quite effective. Guyer confirms, “If you’re making a sheep or you’re making something where you want some cool texture on it, the heat gun’s an option.”
 (An application of heat can restore a nappy texture to a combed-out piece of fur.)
It's up to you how far to go with heat.
Continuing to burn the top layer of fur makes it shrivel up more, creating a great on-camera texture that you can use for a myriad of characters.
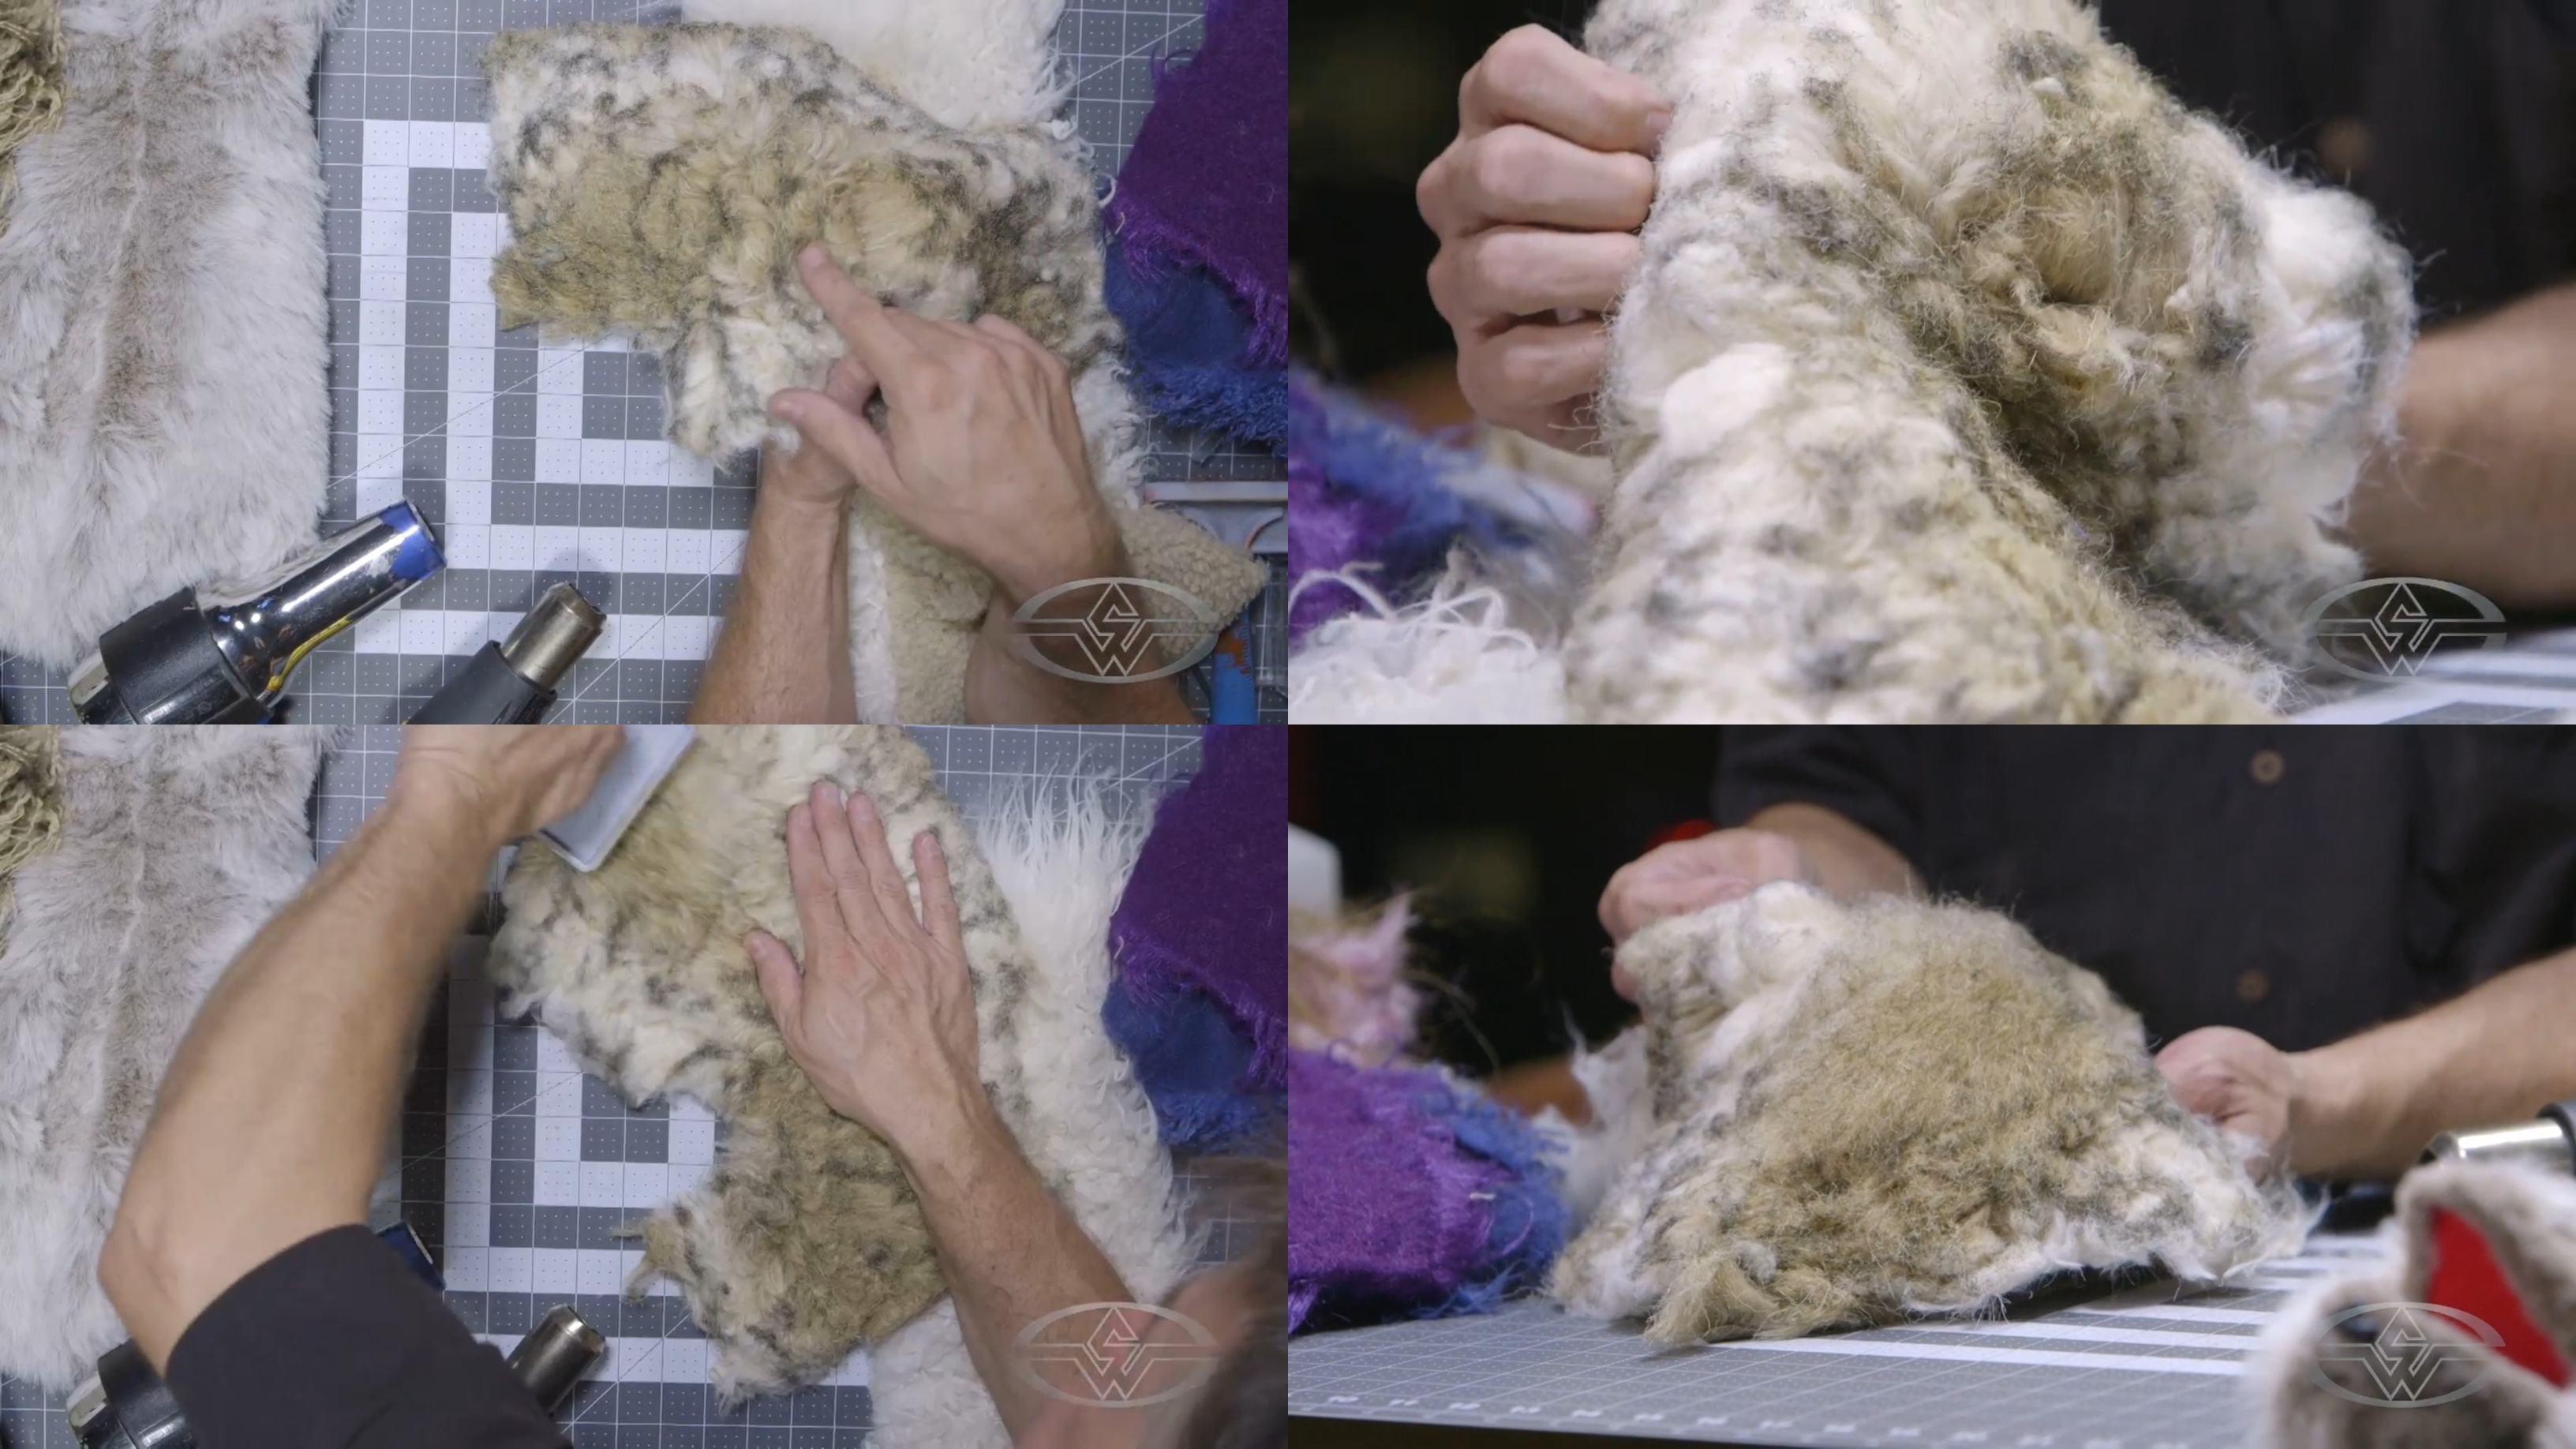 (BJ Guyer shows a coarse fur look he created by selectively applying heat to a piece of faux fur.)
To create additional textures in your fur, you can actually brush some of the texture back out. Guyer shares a reminder that the fur is never going to be as long as it initially was. Some of the length is gone forever, lost to shrinkage under the gun.
Trimming Fake Fur to Add More Texture
You can add even more dimension to your fur by trimming it in sections with a grooming scissors..
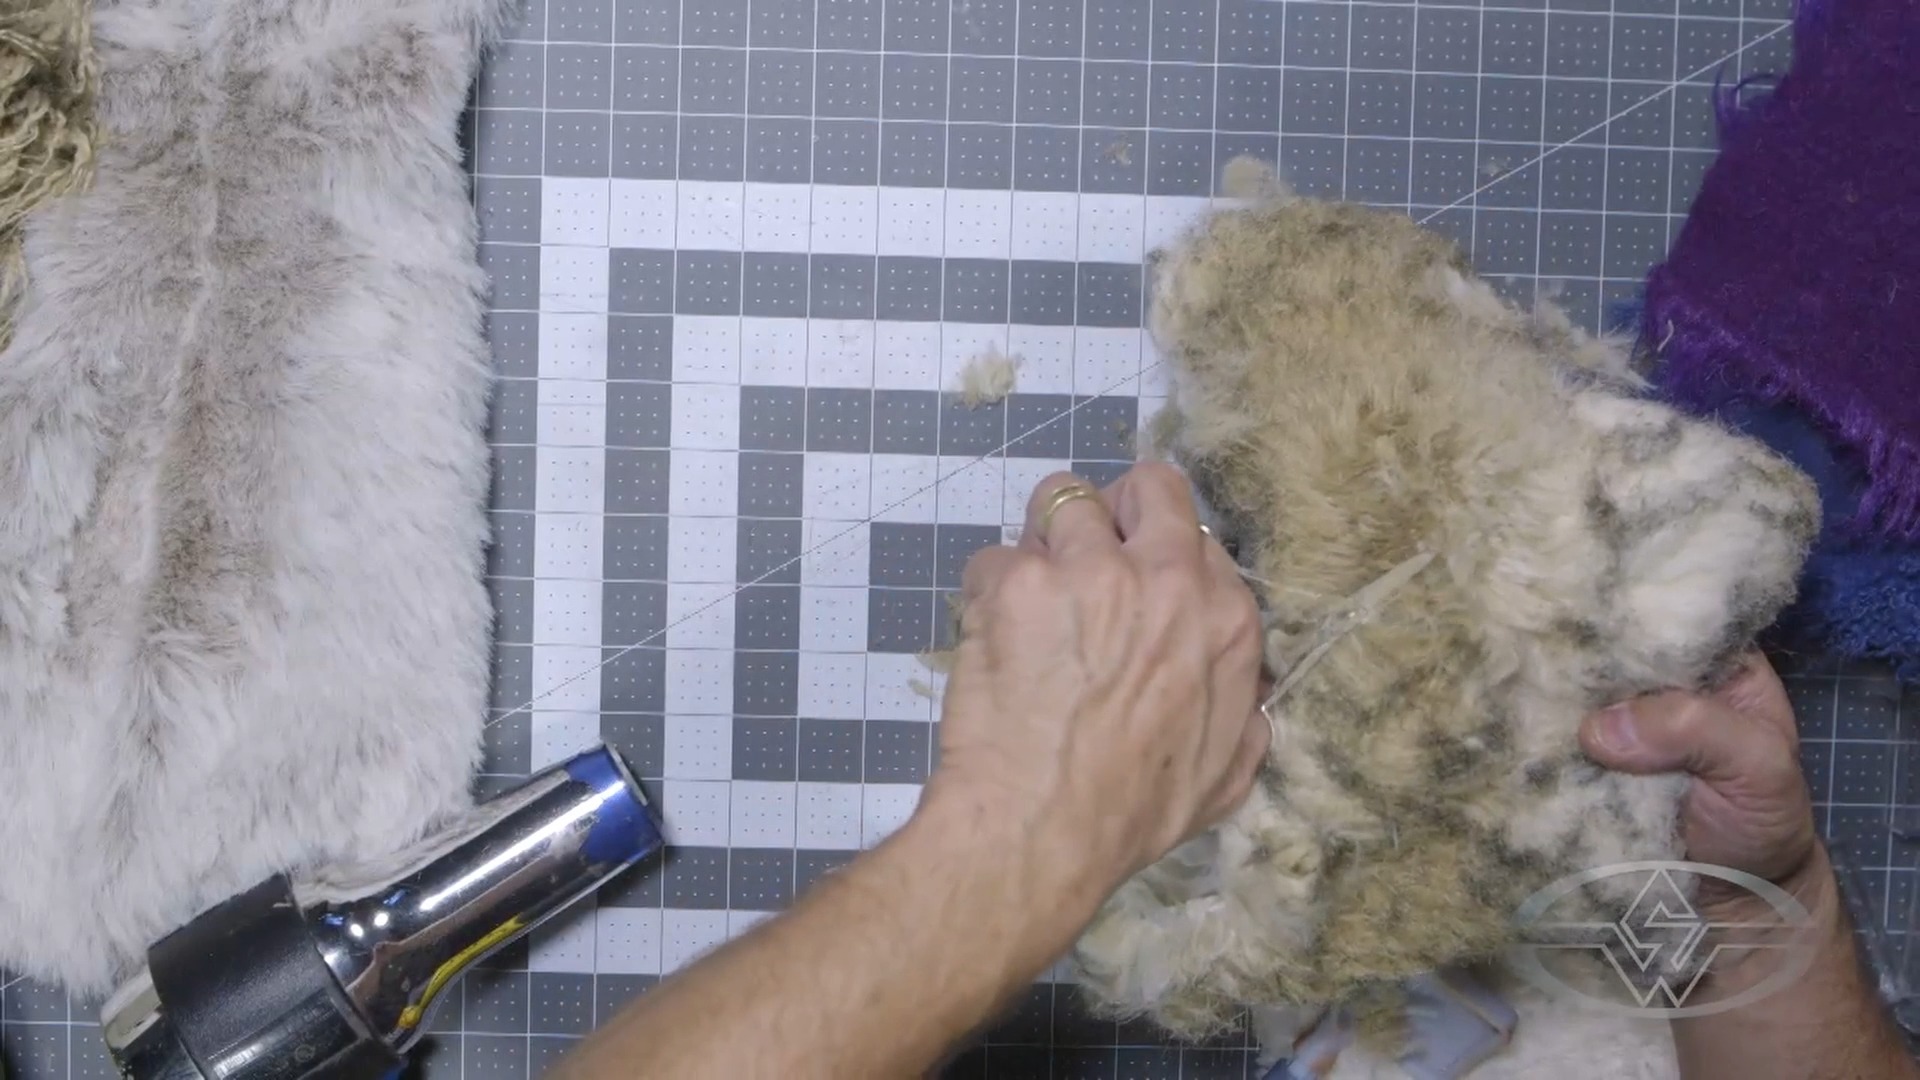 (BJ Guyer uses grooming scissors to trim faux fur for additional texture.)
At this point, you’ll notice a variety of different textures based on whether the fur has been burned, brushed out or trimmed. Combining all these techniques will enable you to add realism to any fur project.
Your puppets will thank you!
Testing Different Creative Techniques on Puppet Fur
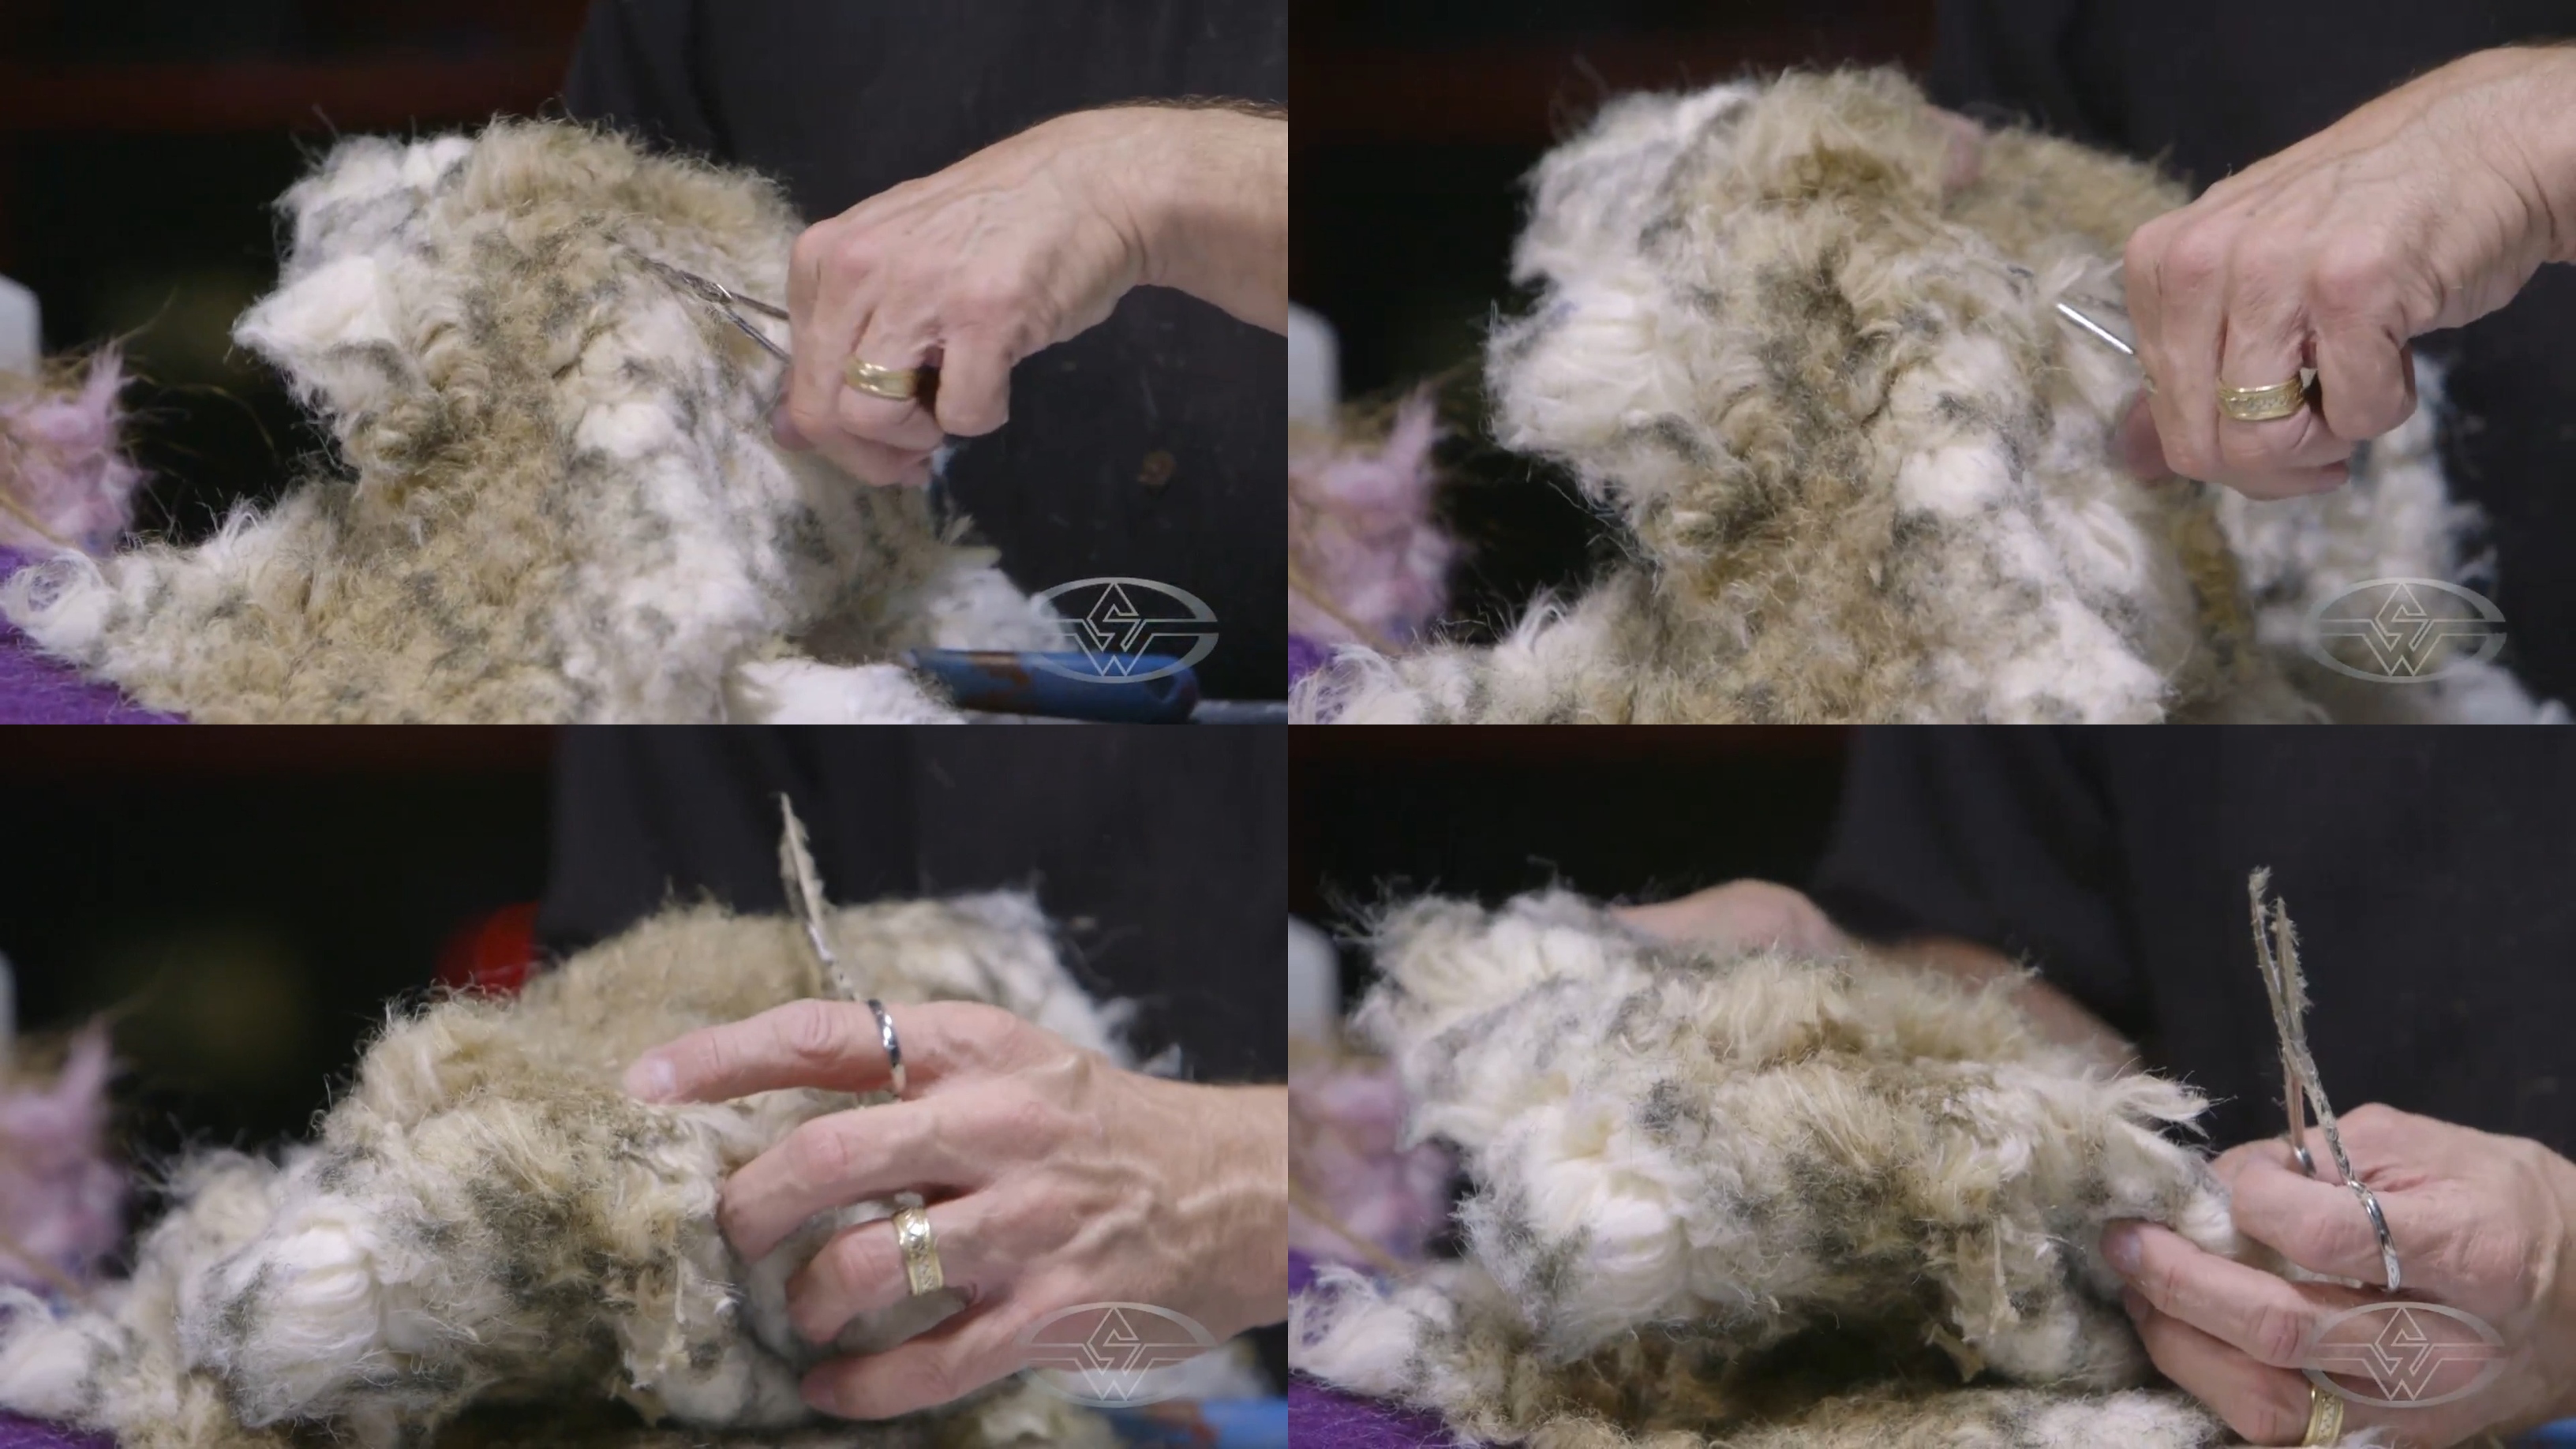 (BJ Guyer gets creative with the scissors to discover new looks and textures.)
The possibilities are endless when it comes to working with faux fur.
“The thing I can’t stress enough is test,” Guyer says. “Test whatever fur you’re using. Just take a small piece of it and see what happens.”
Be careful, but not afraid to try new things. Using these techniques--slicker brush and hairdryer, heat gun, and trimming--you can explore different looks, patterns, and textures to create a captivating hand puppet!
WATCH THE “HAND PUPPET DETAIL AND FINISHING TECHNIQUES” COURSE WITH BJ GUYER:
Hand Puppet Detail and Finishing Techniques Part 1: Color & Hair Work
Hand Puppet Detail and Finishing Techniques Part 2: Eyes, Ears, Noses, & Facial Hair