
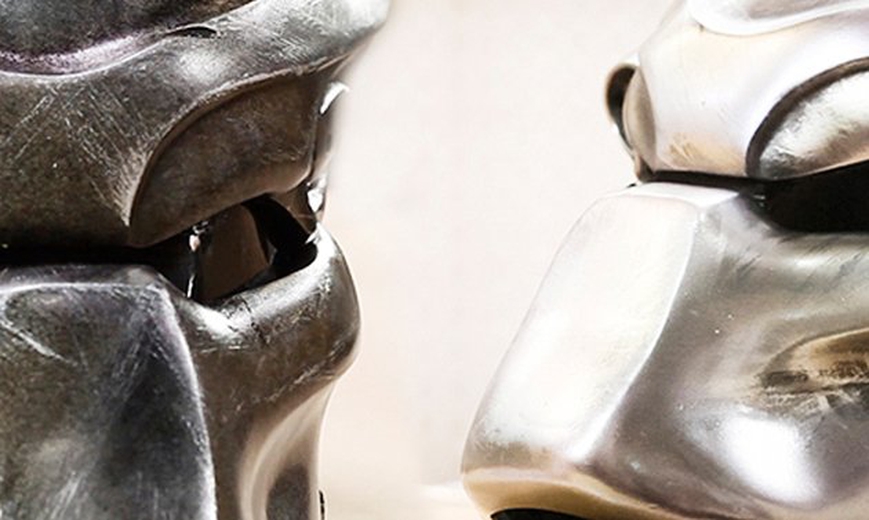
Giving Plastic a Shiny, Metallic Appearance with Jamie S. Grove
In this excerpt from "Metallic Painting Techniques – Real Metal Effects" Jamie S. Grove (Iron Man, Real Steel, Pacific Rim) gives a realistic chromed steel treatment to a vacuum form plastic mold of the ORIGINAL PREDATOR BIO HELMET!
Jump To Section
- Using Pressure to Paint a Metal Base
- Spraying the Predator Bio Helmet With a Clear Coating
- Maintaining Consistency on the Bio Helmet With Subtle Strokes
- Finessing the Bio Helmet for Even Coverage
- Adjusting and Painting All the Helmet’s Angles
- Wiping Dust Layers Off the Bio Helmet
- Wiping the Helmet’s Surface With a Towel
- Moving On to the Next Steps for Your Bio Helmet
- Bonus Lesson With Jamie S. Grove
Jamie Grove demonstrates the proper technique to turn vacuum-formed plastic into a piece that looks like shiny metal. Setting the airbrush pressure, applying light even layers, and wiping the dust to a glossy shine.
Using Pressure to Paint a Metal Base
 (Jamie adjusts the spray gun pressure for maximum output.)
For painting the base coat a strong spray is desirable. Jamie usually doesn't go by the regulator setting, as he prefers to feel what’s right, but he starts with a higher pressure spray setting and a light touch on the fan.
Spraying the Predator Bio Helmet With a Clear Coating
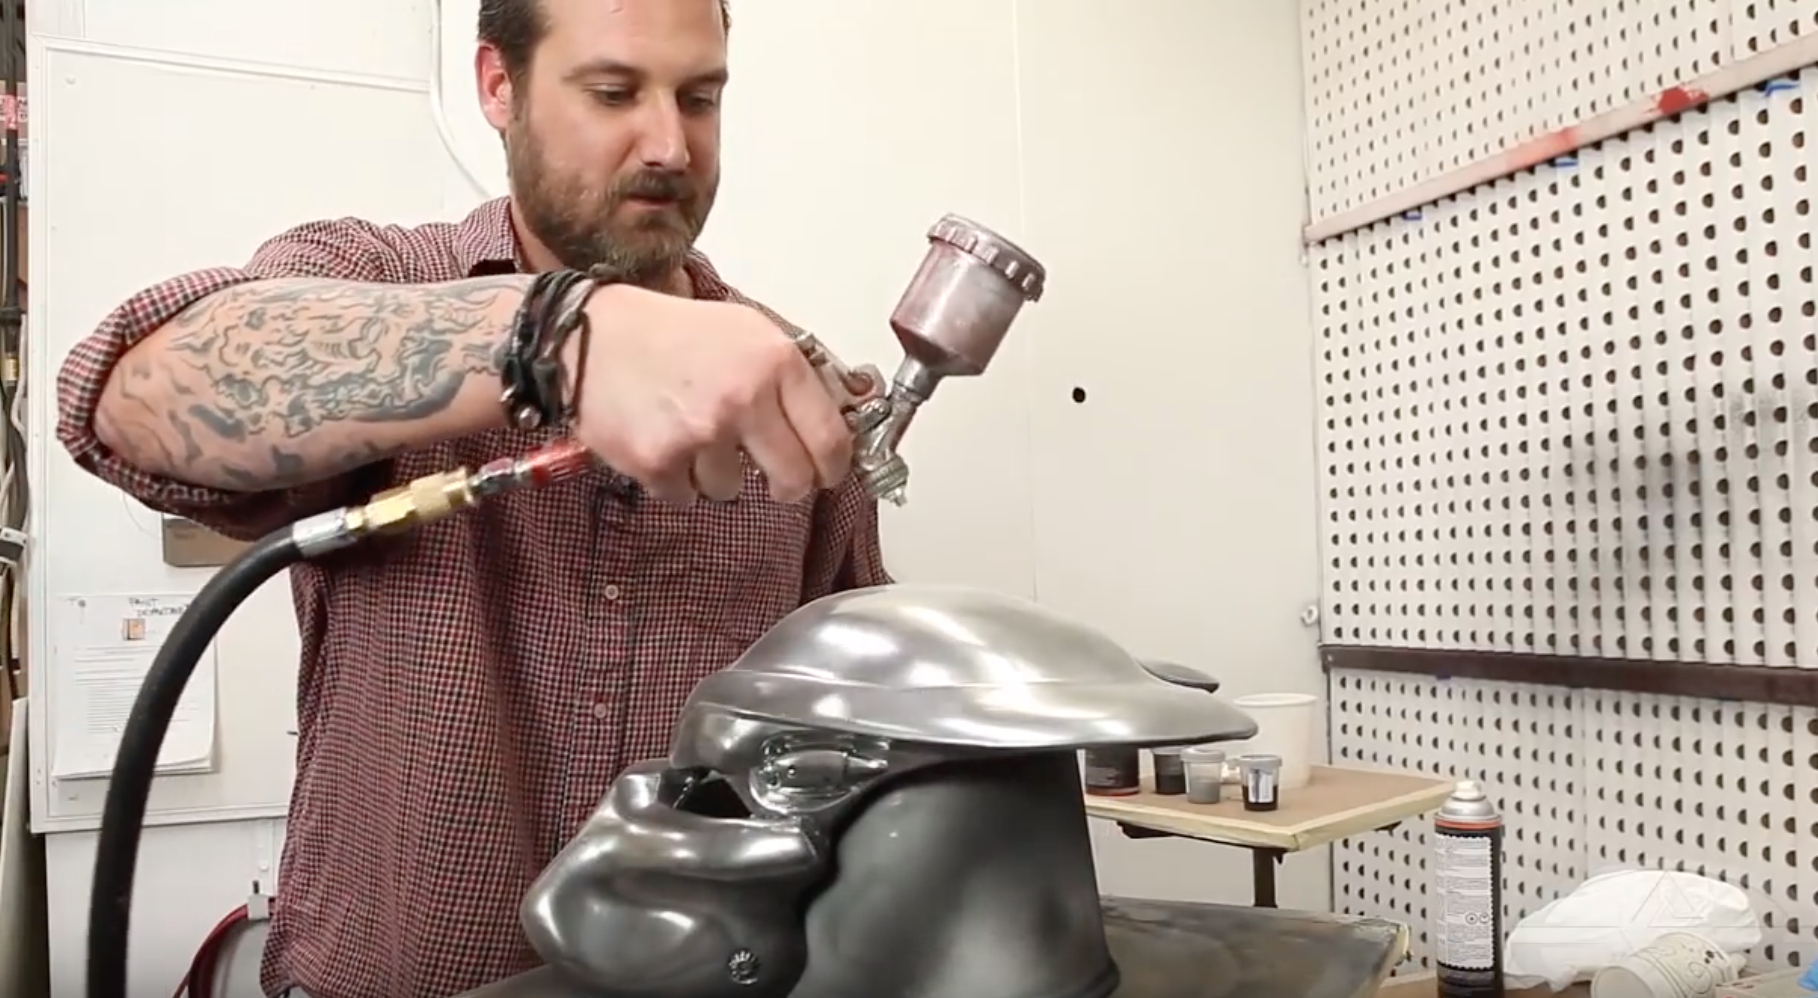 (For the clear coating, Jamie works in light passes, building the desired sheen.)
As he builds up layers of the metallic clear coat, Jamie notes that if you, “shoot too much on there, it tends to look fake.” Several light passes give it just enough shine.
Maintaining Consistency on the Bio Helmet With Subtle Strokes
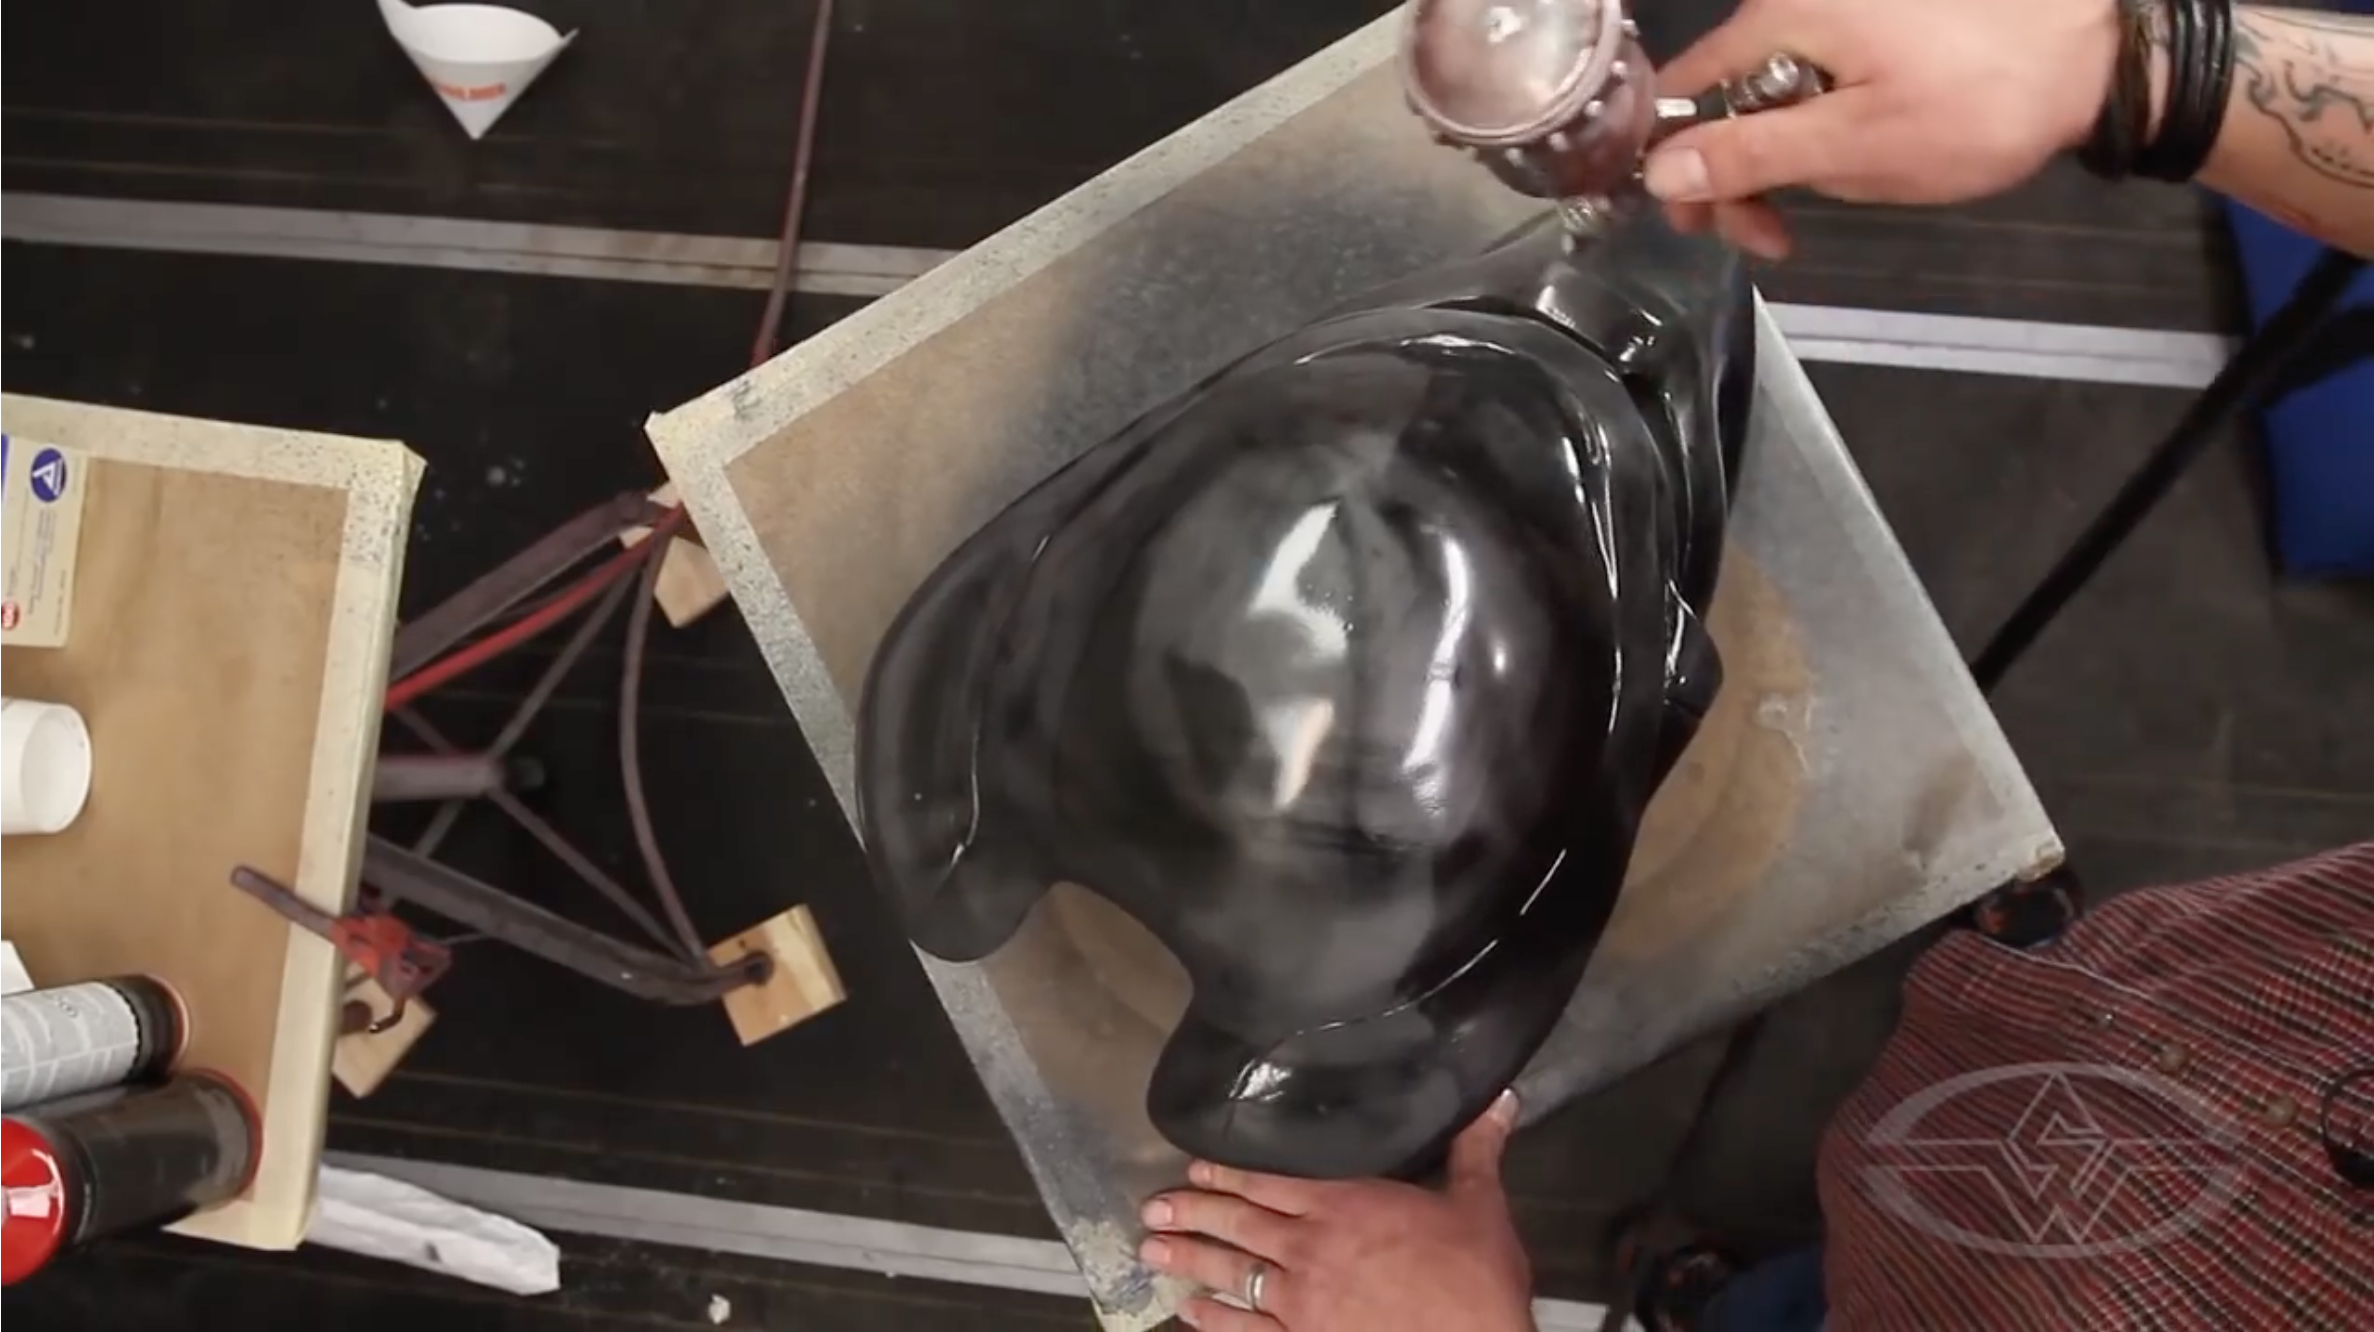 (Top view of the Predator Bio Helmet in progress.)
Jamie adjusts the stroke of his spray to achieve consistency. The whole time, he’s trying to maintain an even consistent sheen across the entire surface of the piece.
Finessing the Bio Helmet for Even Coverage
 (The piece has even coverage and sheen consistency.)
Jamie takes time to work the piece to the level that he wants.
Adjusting and Painting All the Helmet’s Angles
 (Jamie adjusts the piece so he can easily reach all the surfaces, including the bottom.)
Adjusting the position of the piece is critical in order to paint all surfaces, even those on the underside.
Wiping Dust Layers Off the Bio Helmet
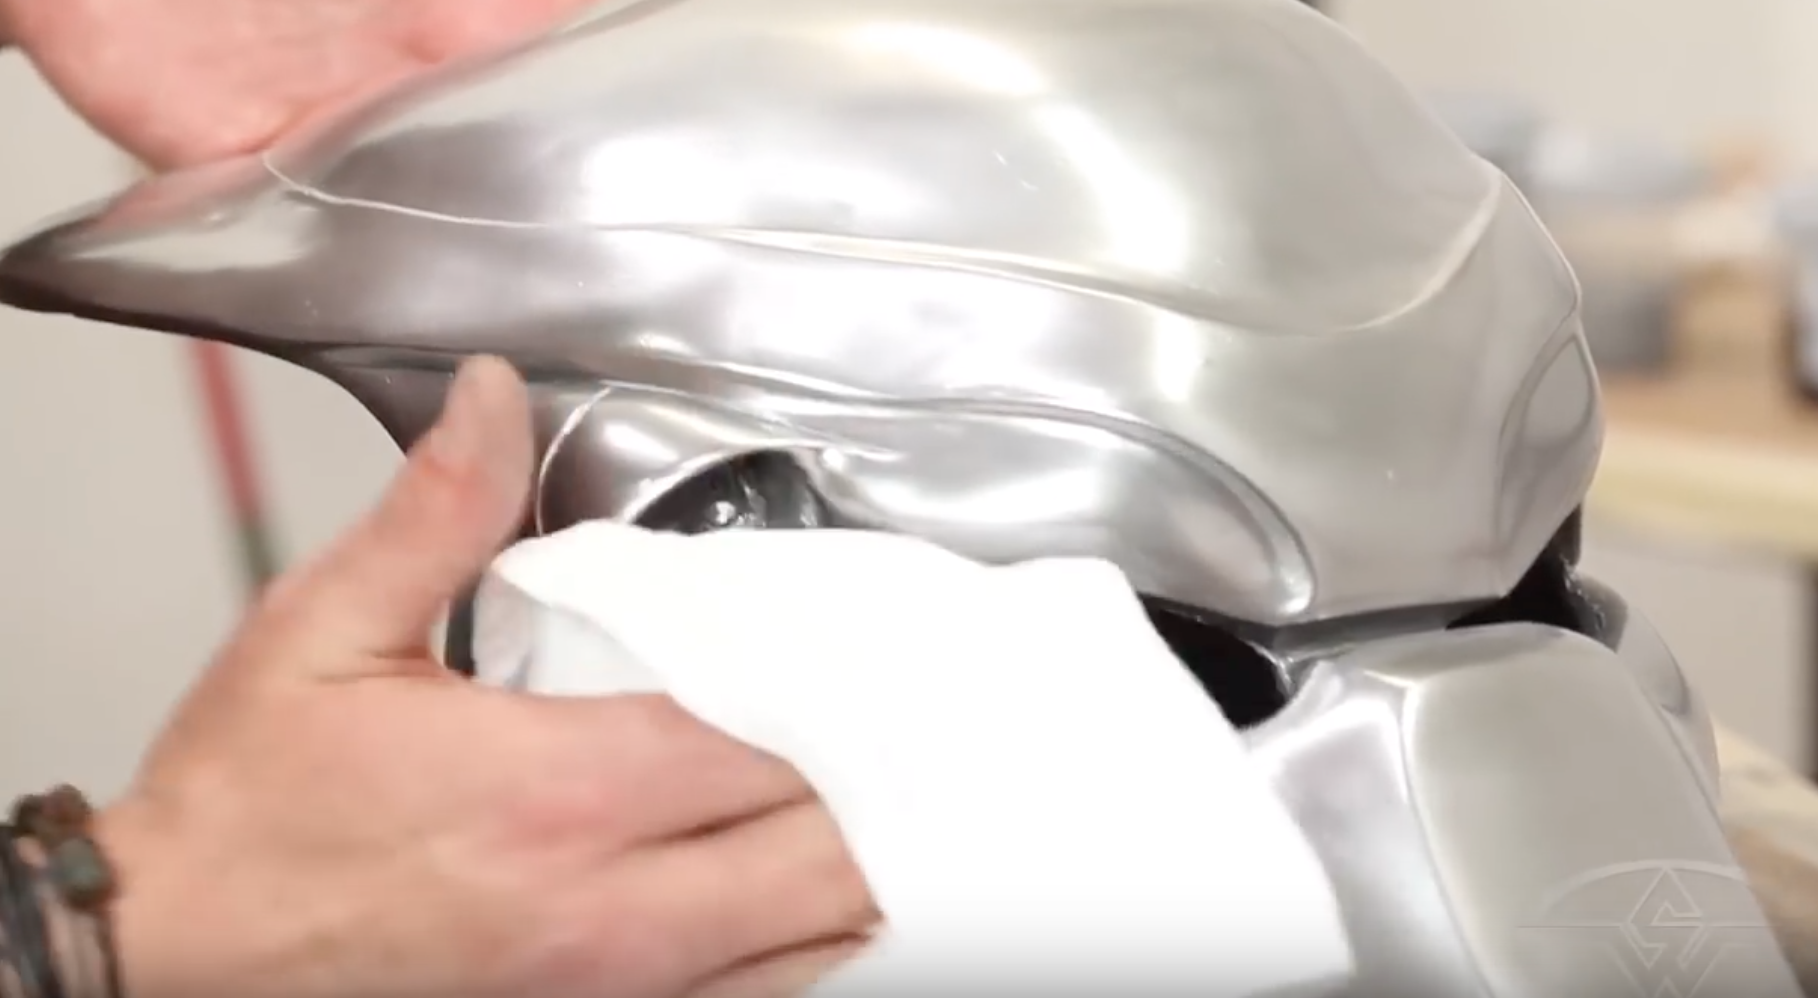 (Detail of the surface as Jamie wipes it.)
Because the product has a tendency to dry before it hits the surface, a dust layer will build up. Using a clean towel to wipe that off reveals even more shine.
Wiping the Helmet’s Surface With a Towel
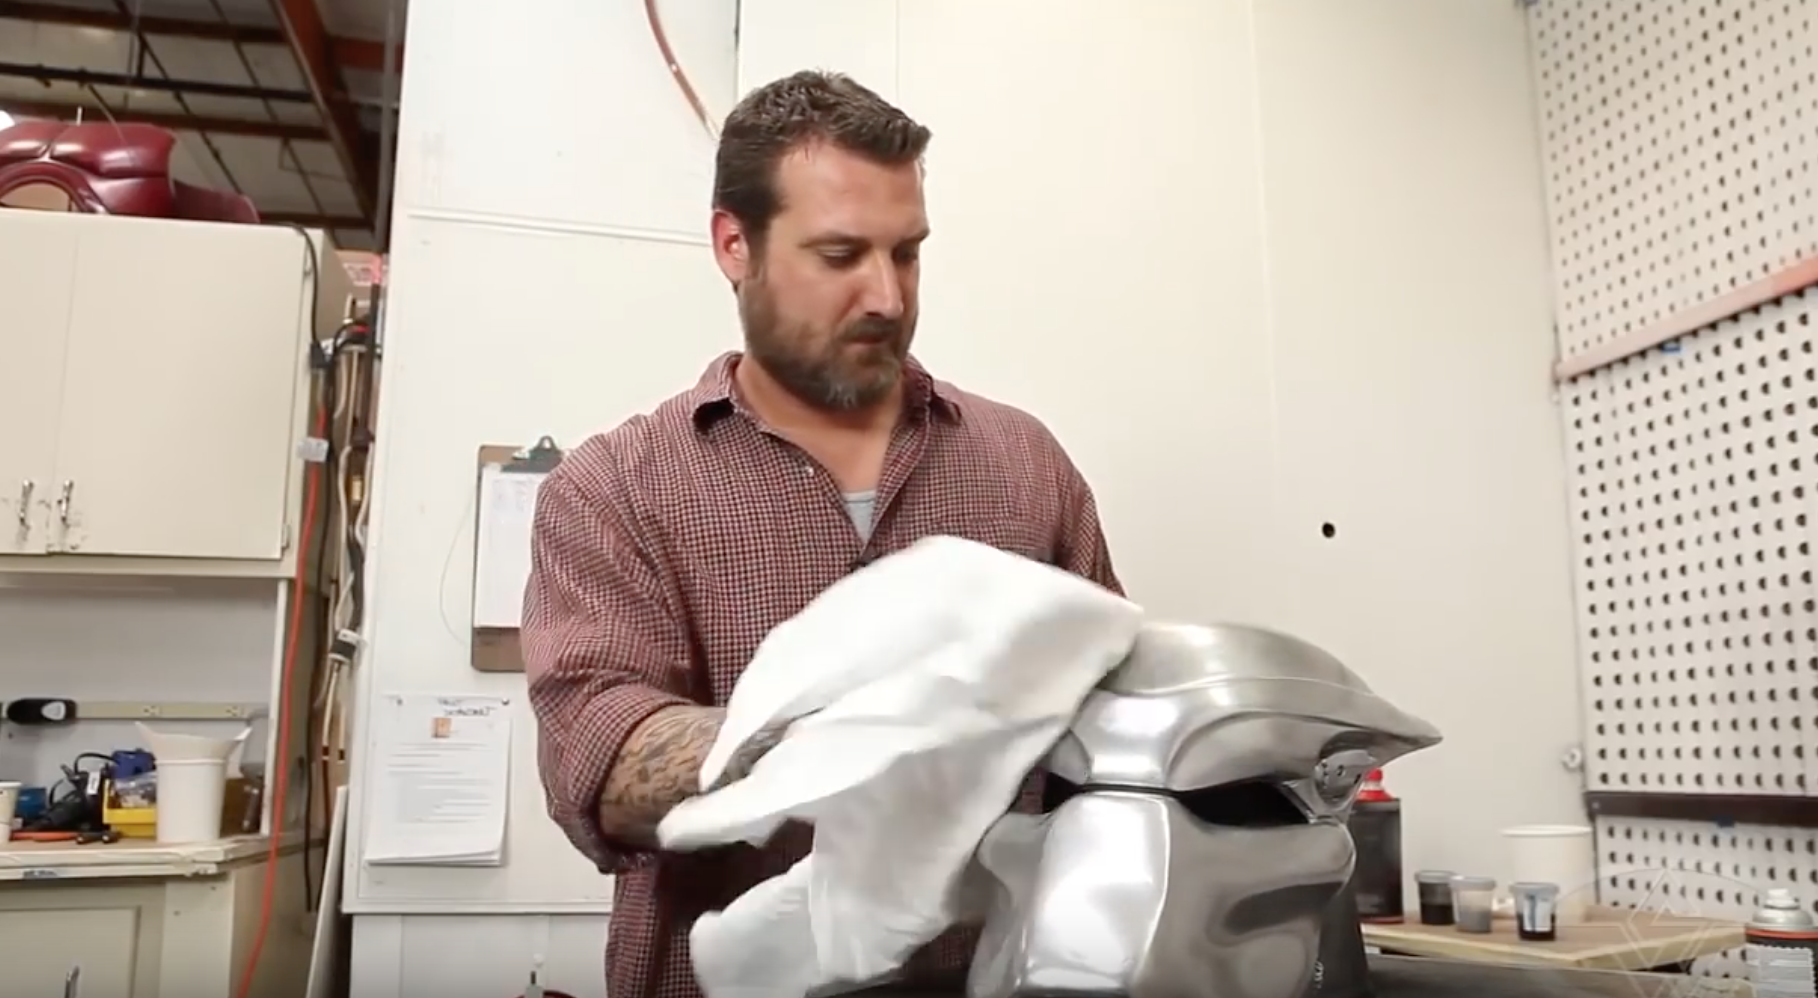 (Jamie improves the surface of the piece by wiping it simply with a cloth towel.)
The metallic coat product dries fast enough that you can wipe it almost immediately after spraying.
Moving On to the Next Steps for Your Bio Helmet
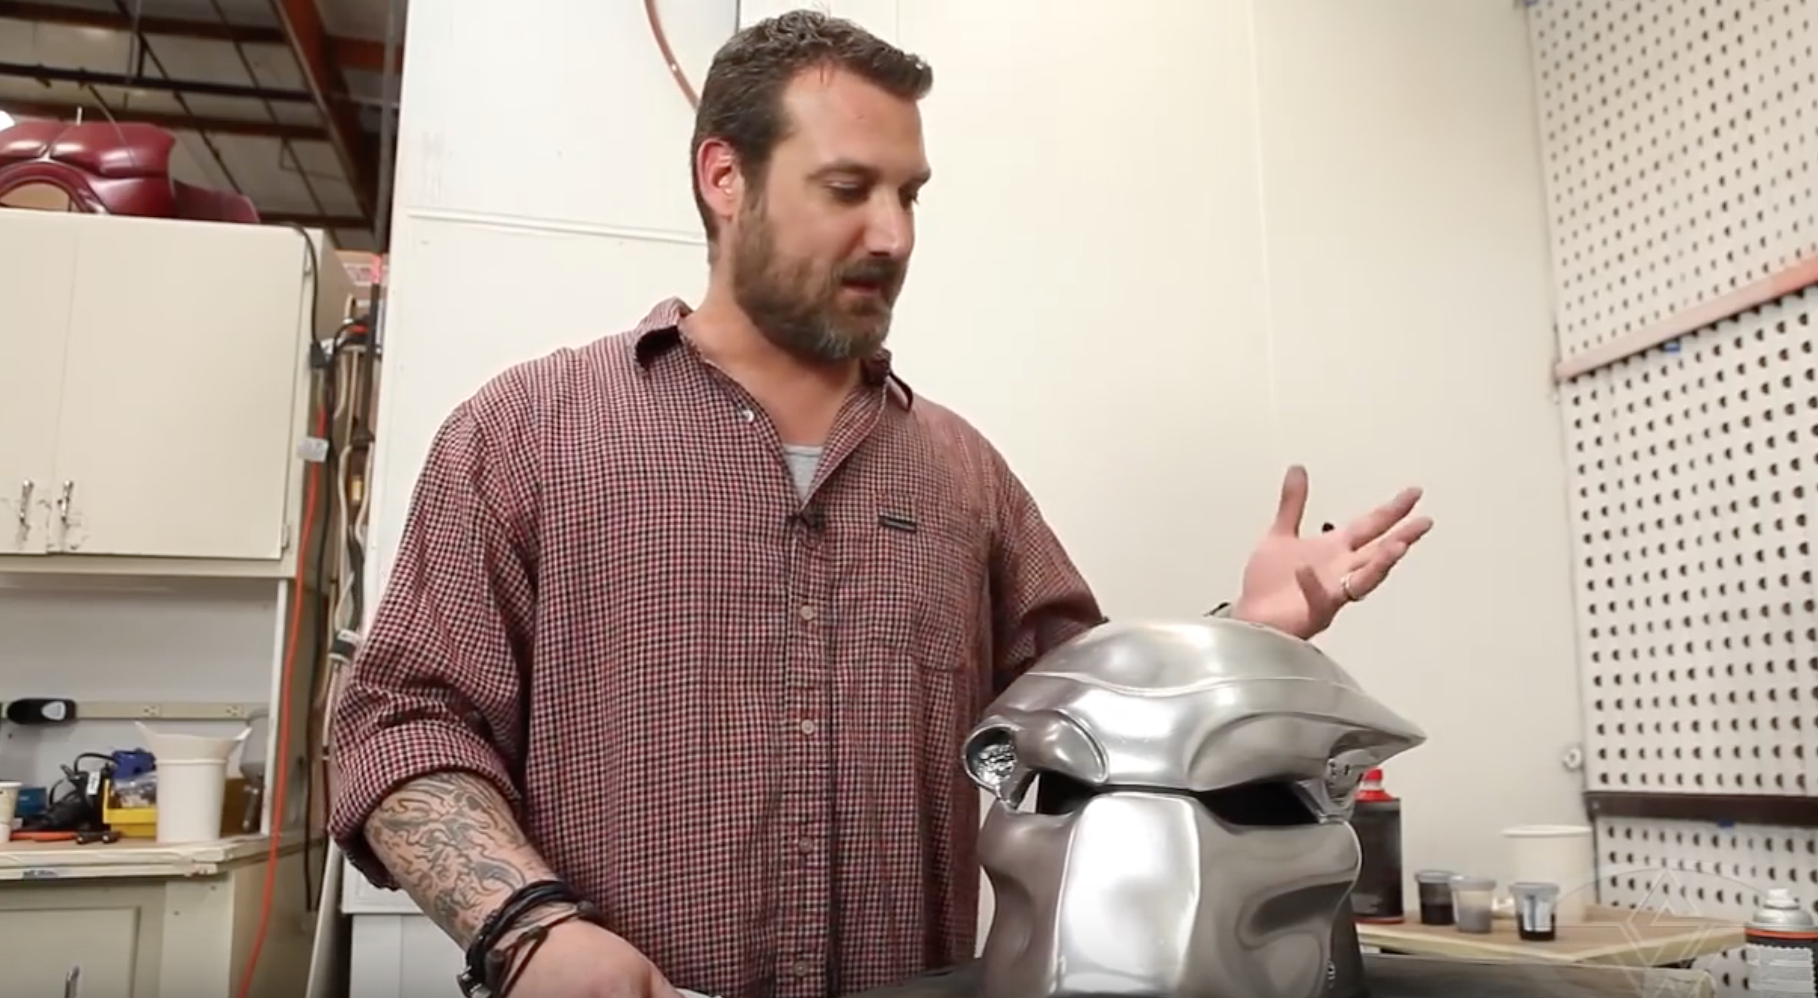 (Happy with the metallic shine, Jamie is ready to move on to further detailing.)
Once the metallic paint is applied and the sheen feels right, the next steps will be adding colors, shadows and highlights, but at this point, the basic metal application is complete.
Full Course: Metallic Painting Techniques - Real Metal Effects (Predator)
Bonus Lesson With Jamie S. Grove
FREE MINI-LESSON - Battle Damage Metallic Painting Techniques with Jamie S. Grove