
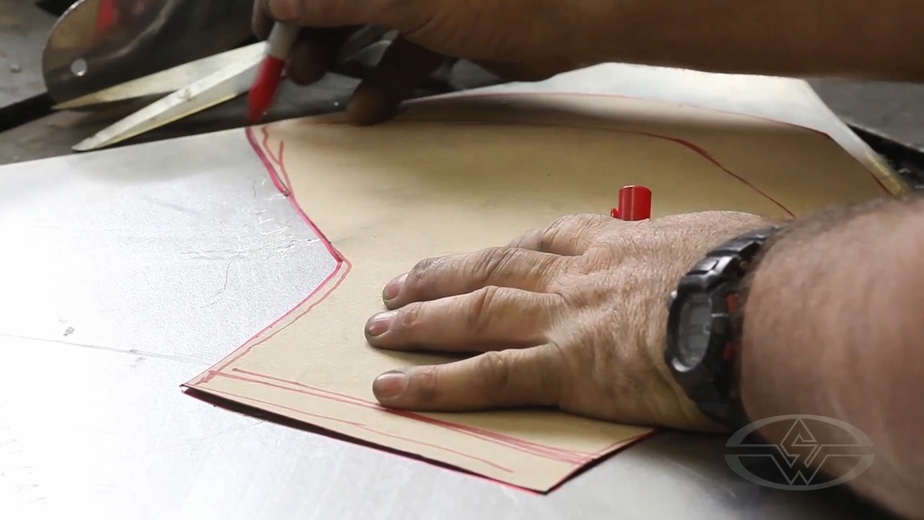
In this FREE excerpt from the Stan Winston School of Character Arts course, How To Make Prop Armor - Metal Fabrication, master blacksmith and owner and founder of The Sword and the Stone, Tony Swatton, teaches innovative techniques on how to quickly and inexpensively outline a pattern for your prop armor piece, in this case, a helmet.
Jump To Section
- Using Aluminum Foil and Tape to Cover Your Helmet
- Marking Your Design
- Outlining a Pattern
- Tracing the Pattern to the Aluminum
To watch the complete instructional video, click the player above!
In this lesson, Swatton shares a simple, budget-friendly way to outline a pattern. Using just a few materials, including painters' masking tape, aluminum, scissors, and a permanent marker, he demonstrates how you can duplicate a piece of armor—in this case, a helmet—by tracing around it to create a 2-dimensional pattern.
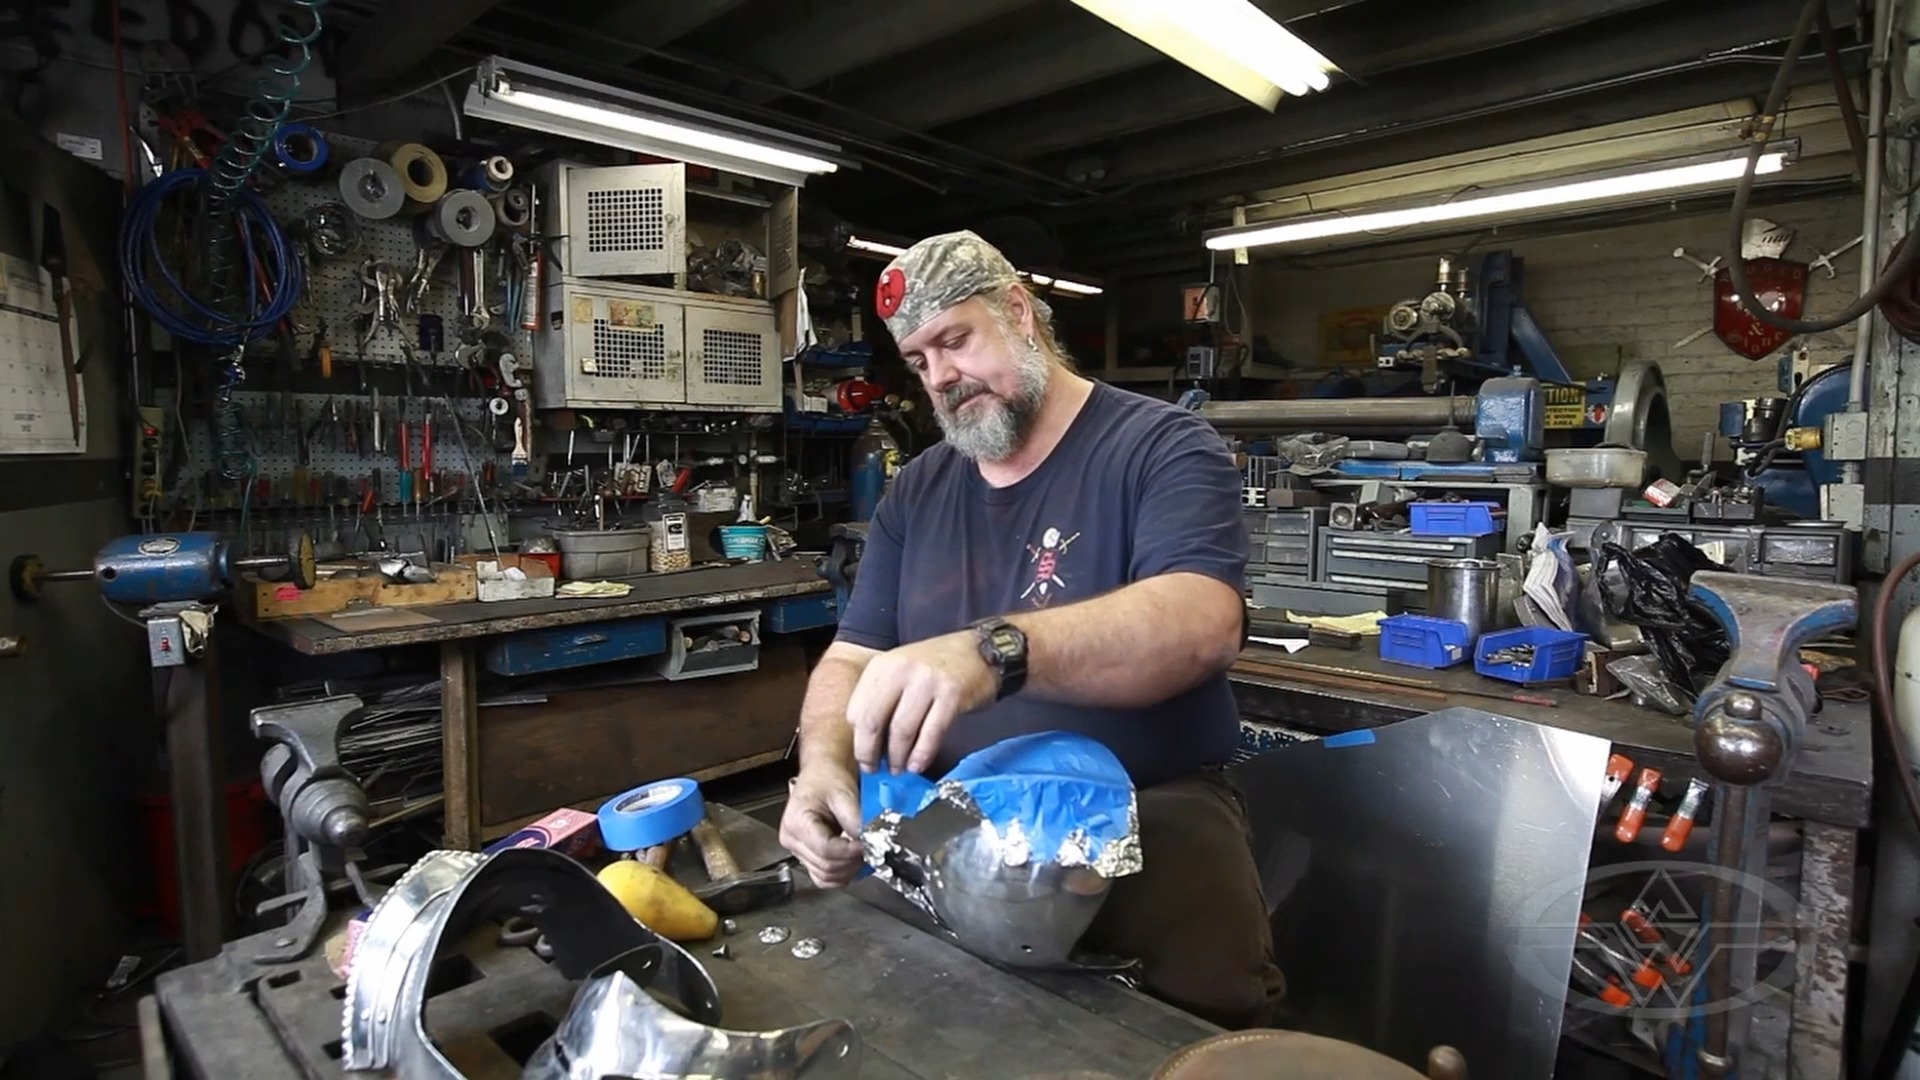
And this isn’t just any ordinary helmet. The helmet Swatton works with in this lesson was originally built for an episode of The Magical World of Disney, entitled “A Connecticut Yankee in King Arthur's Court.” And it was also used in The Haunted Mansion. (The more you know!)
Ready to forge new skills for your costume and prop projects?
Keep reading to learn some riveting tips and methods from Swatton!
Using Aluminum Foil and Tape to Cover Your Helmet
First, roll out a generous amount of aluminum foil. Use enough to cover your entire prop piece on all sides, which is the next step!
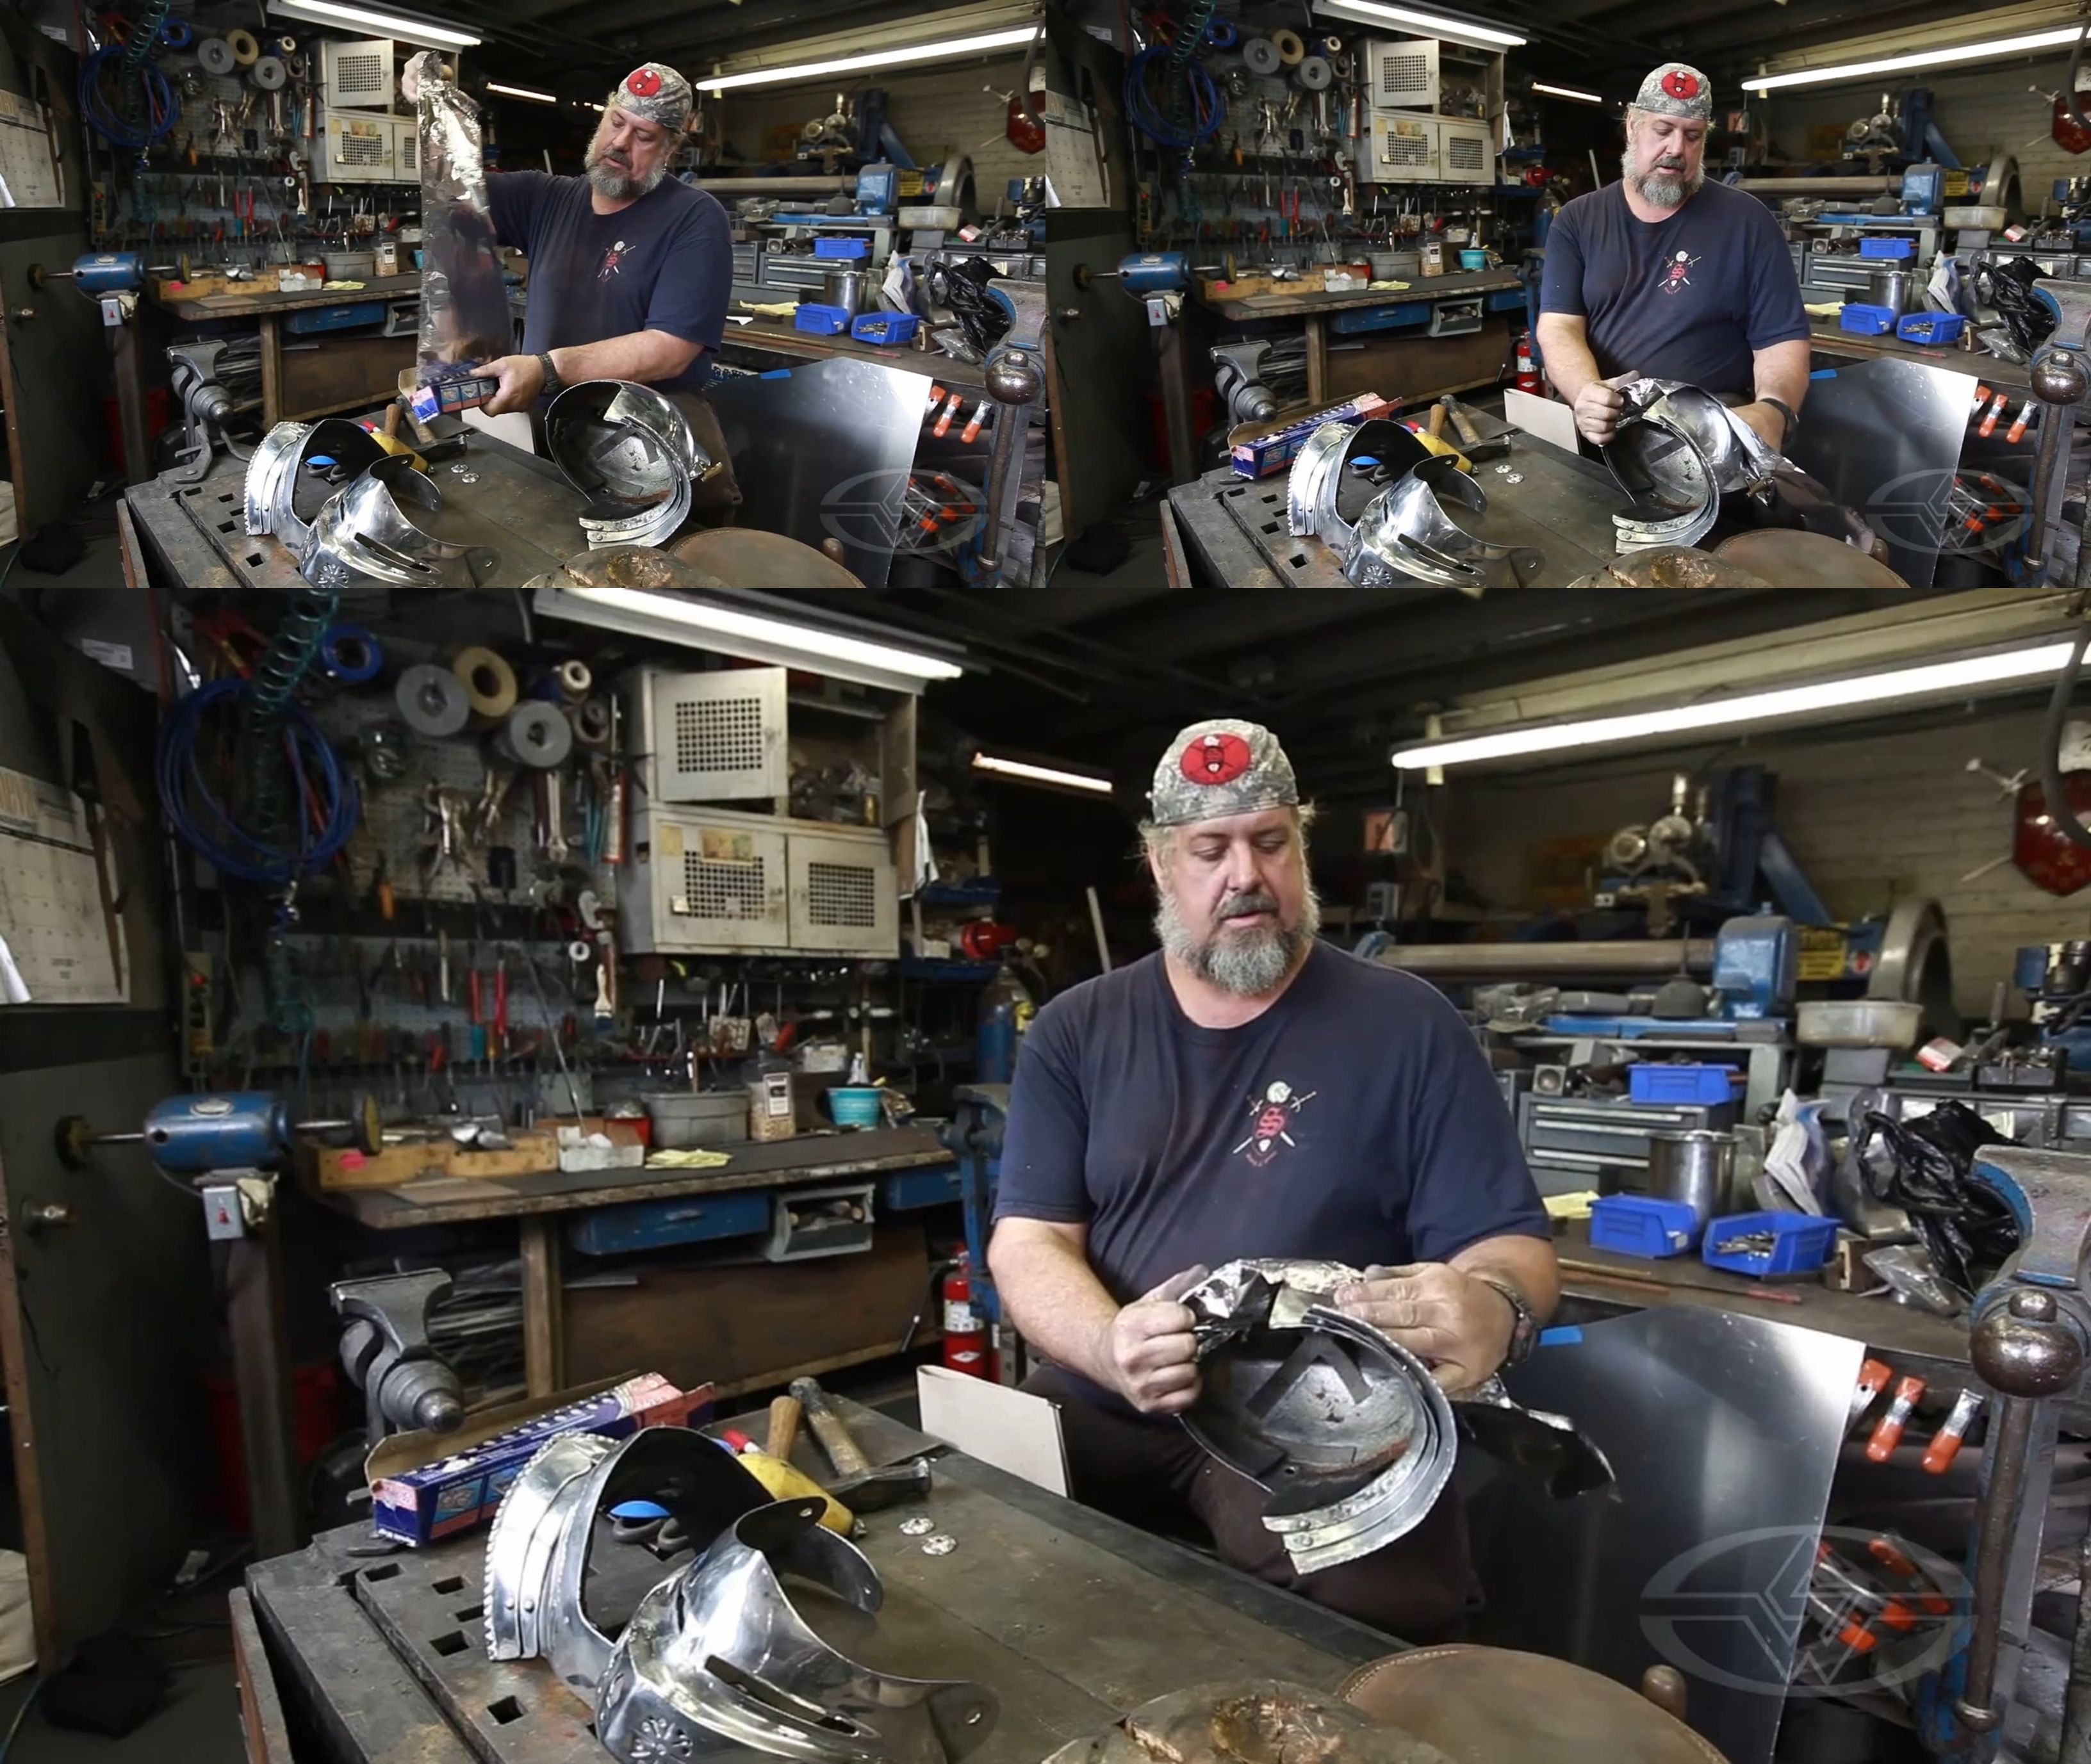 (Tony Swatton unrolls a long sheet of aluminum foil to cover his helmet.)
Press the aluminum onto the helmet.
Next, use your masking tape to cover the foil. This holds the formed aluminum, like a casing. “This is similar to an alginate body cast but much simpler and faster,” Swatton says.
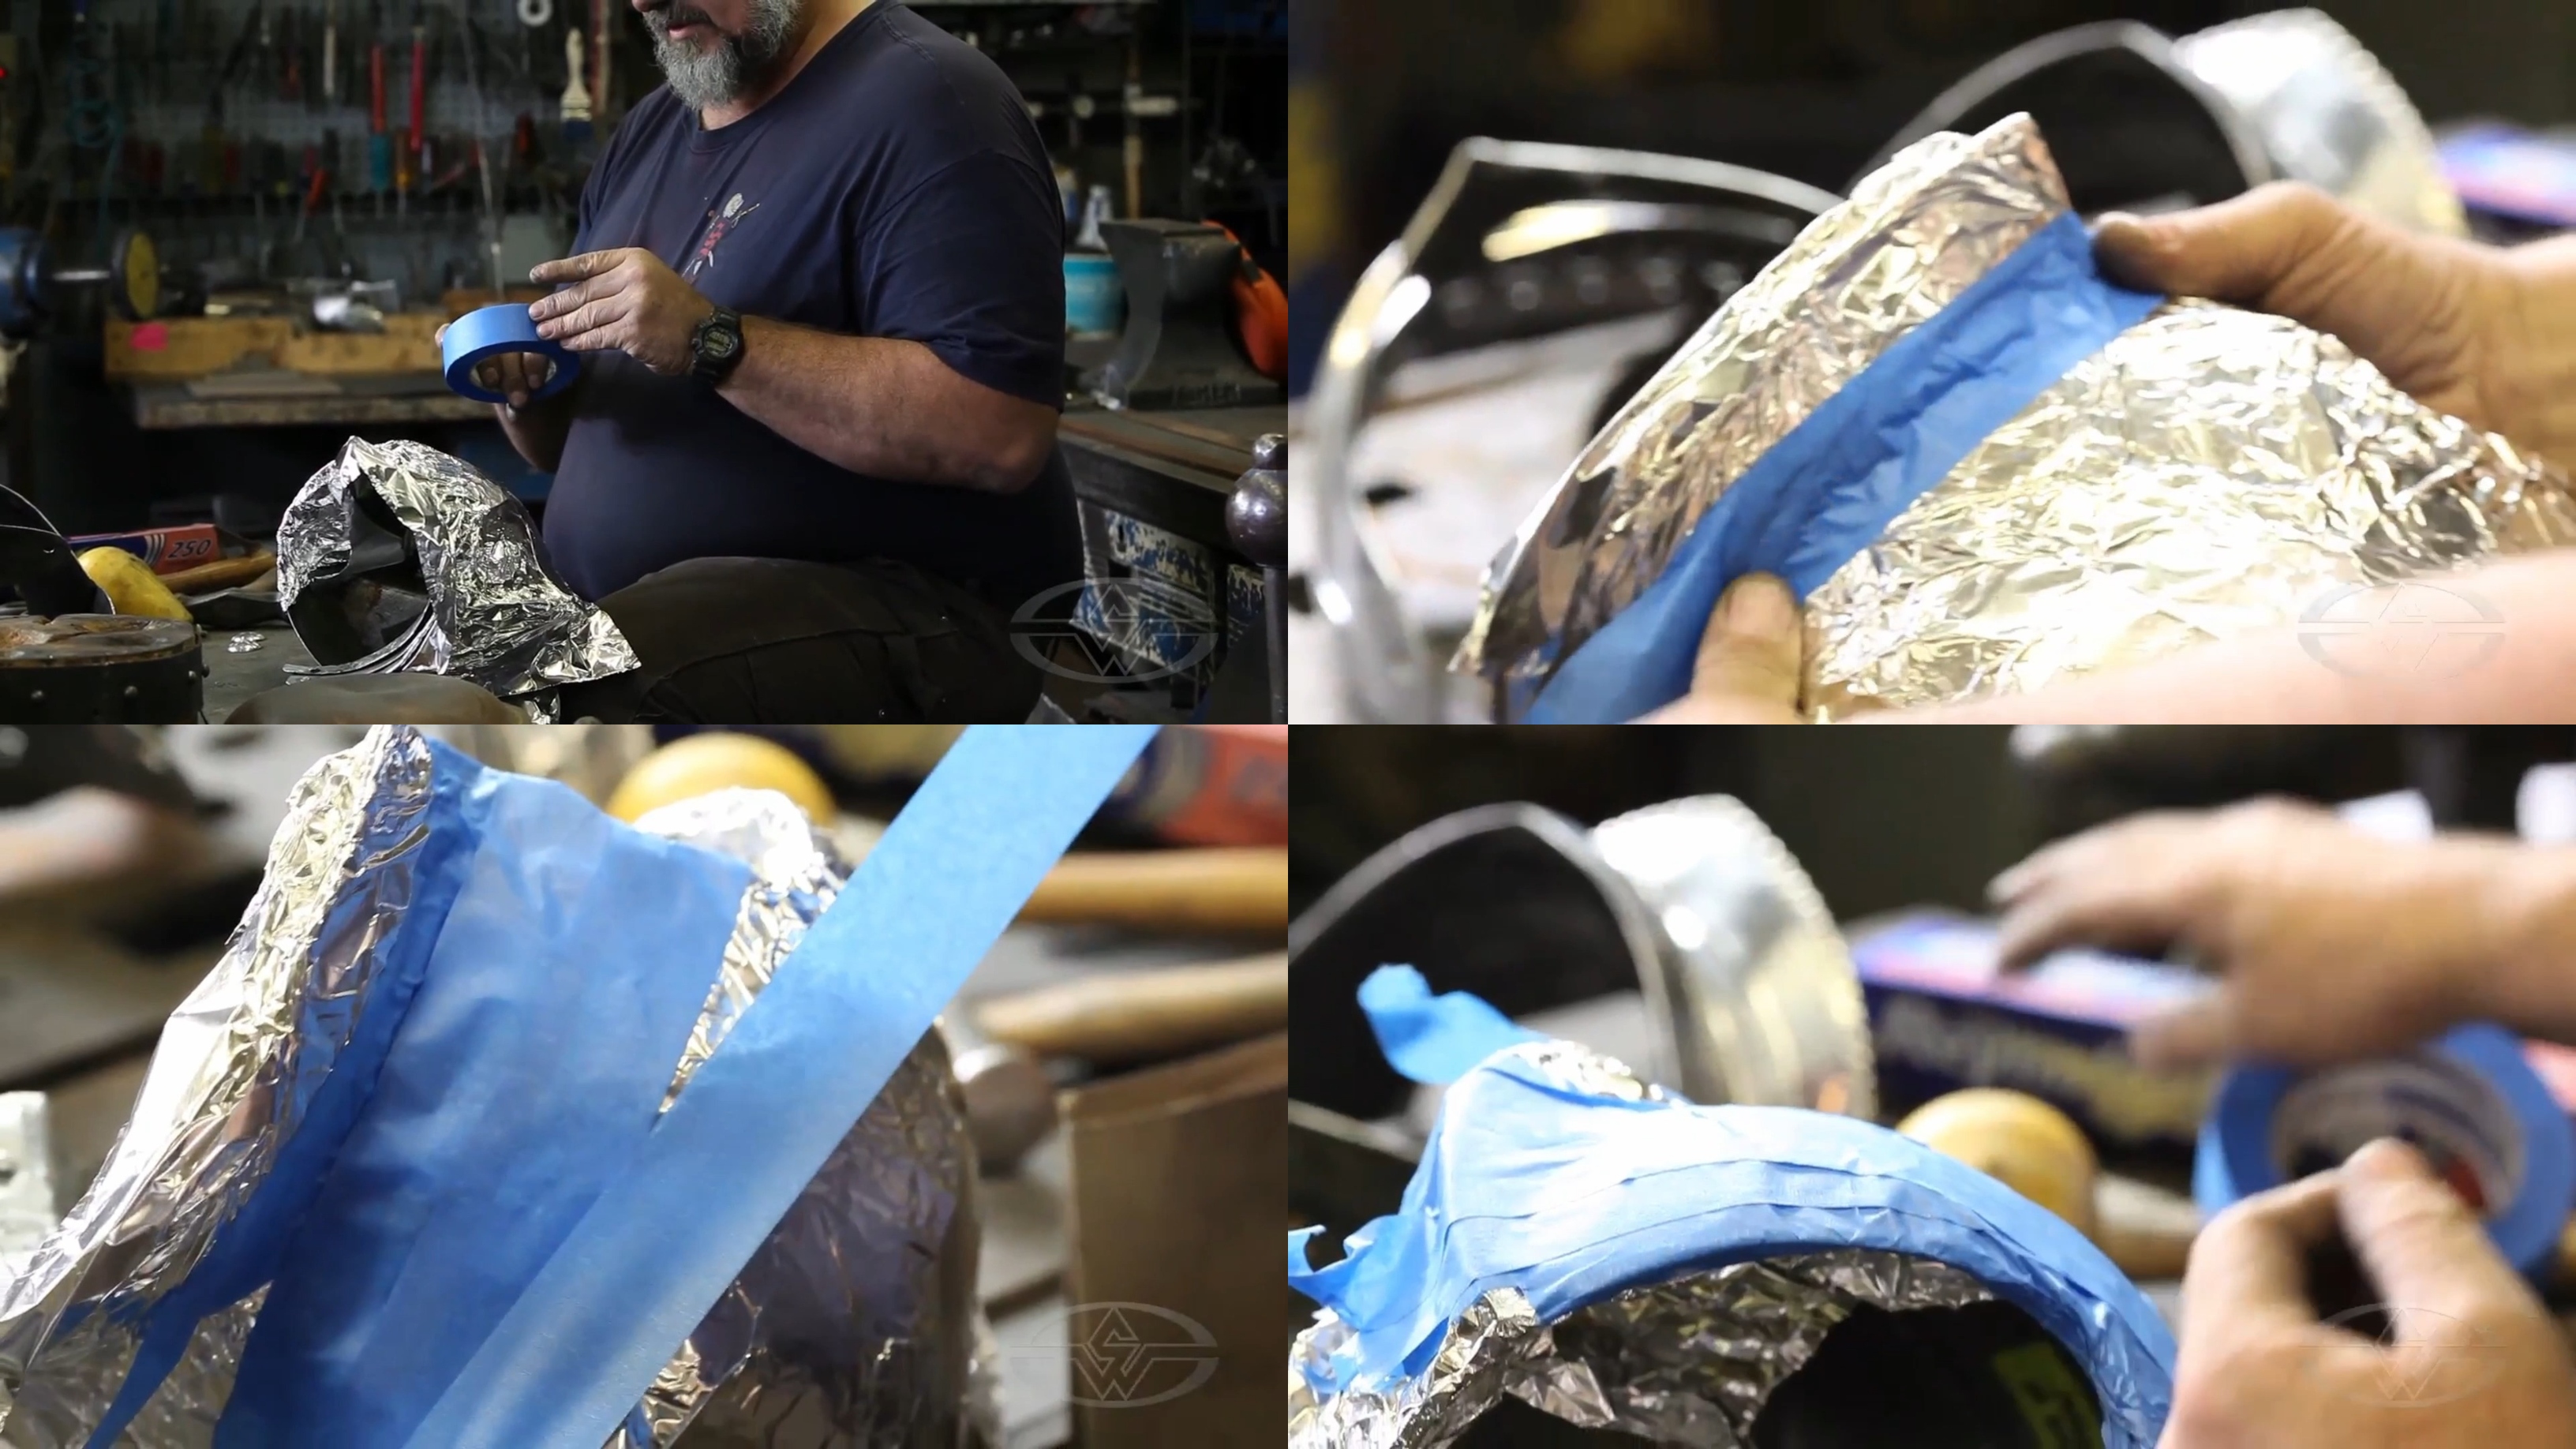 (Tony Swatton uses a masking tape wrap to cover one half of the helmet.)
Apply the tape layer by layer to fully cover the foil on top of the helmet. Because you’ll be making the helmet in two pieces, you only need to do one half of the helmet ball.
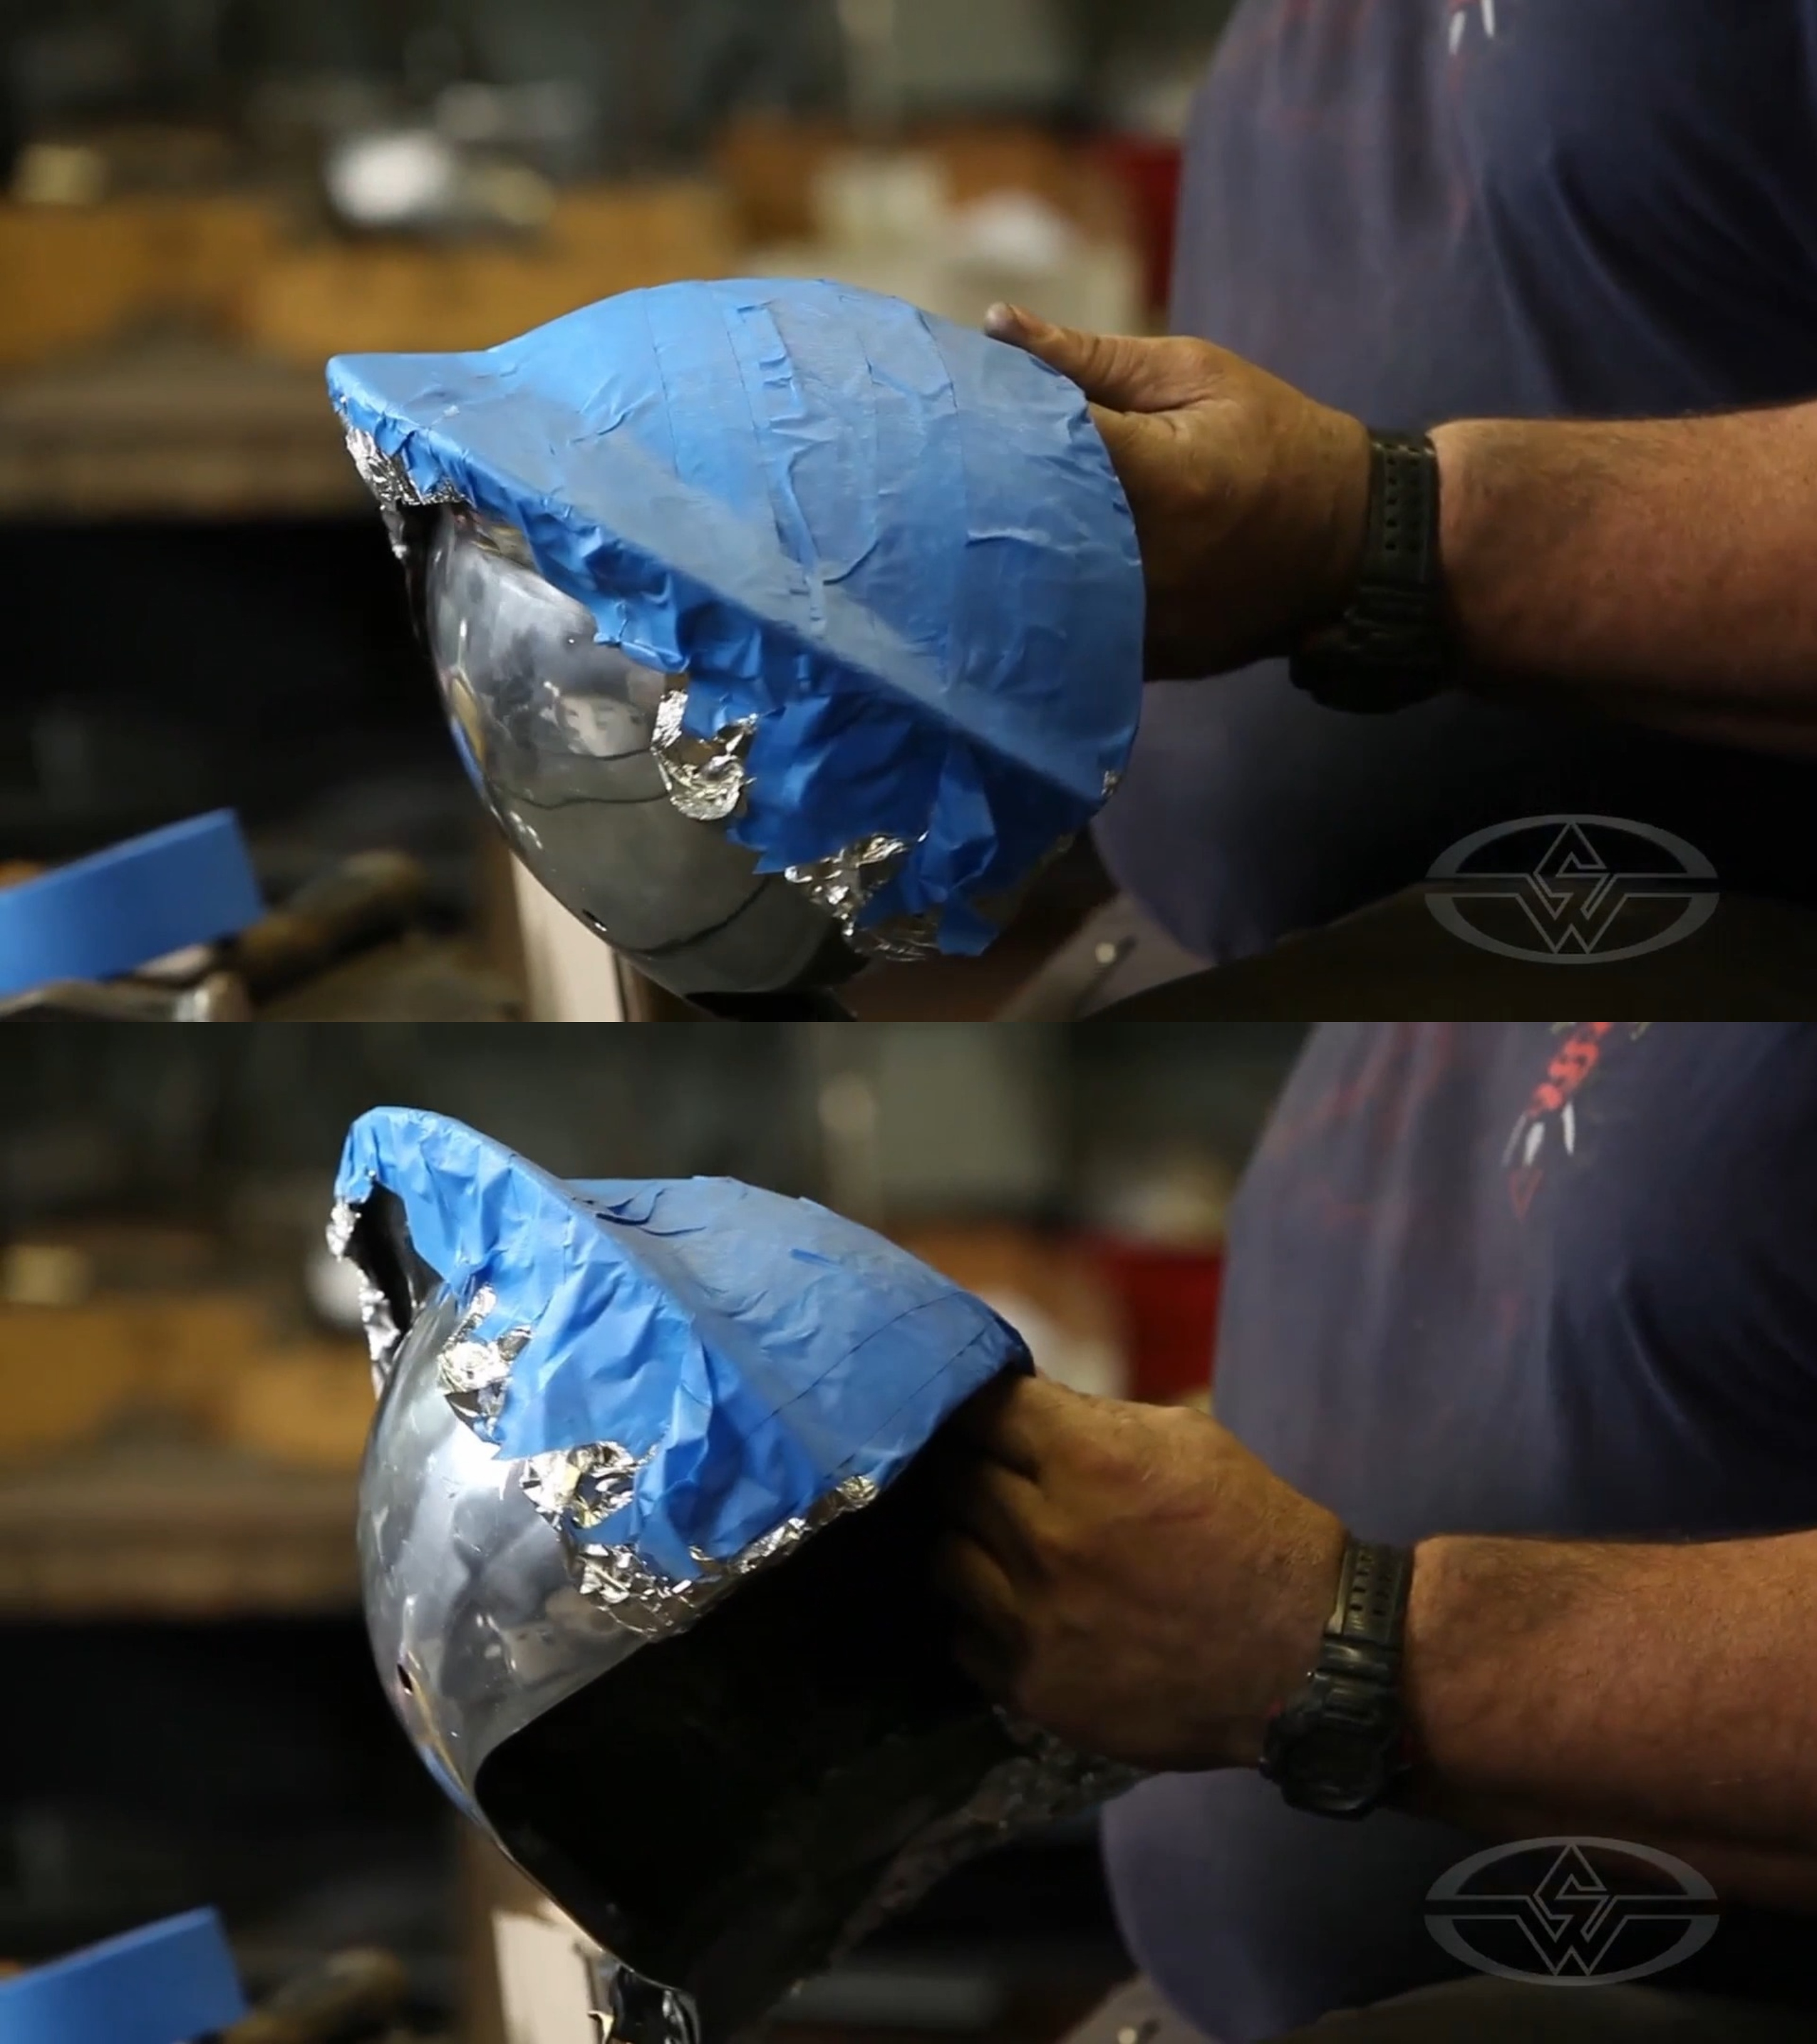 (The helmet in its finished tape and foil mold casing.)
Pro-tip: In this case, Tony has an existing prop to replicate. If you don’t have an existing piece to copy, you can start with a sculpted piece in clay to get your rough form, then cover THAT in foil and tape and start your pattern from that point.
Marking Your Design
Use a permanent marker to outline the crest line for the comb and the seam line for the top, where your final pieces will ultimately be welded together.
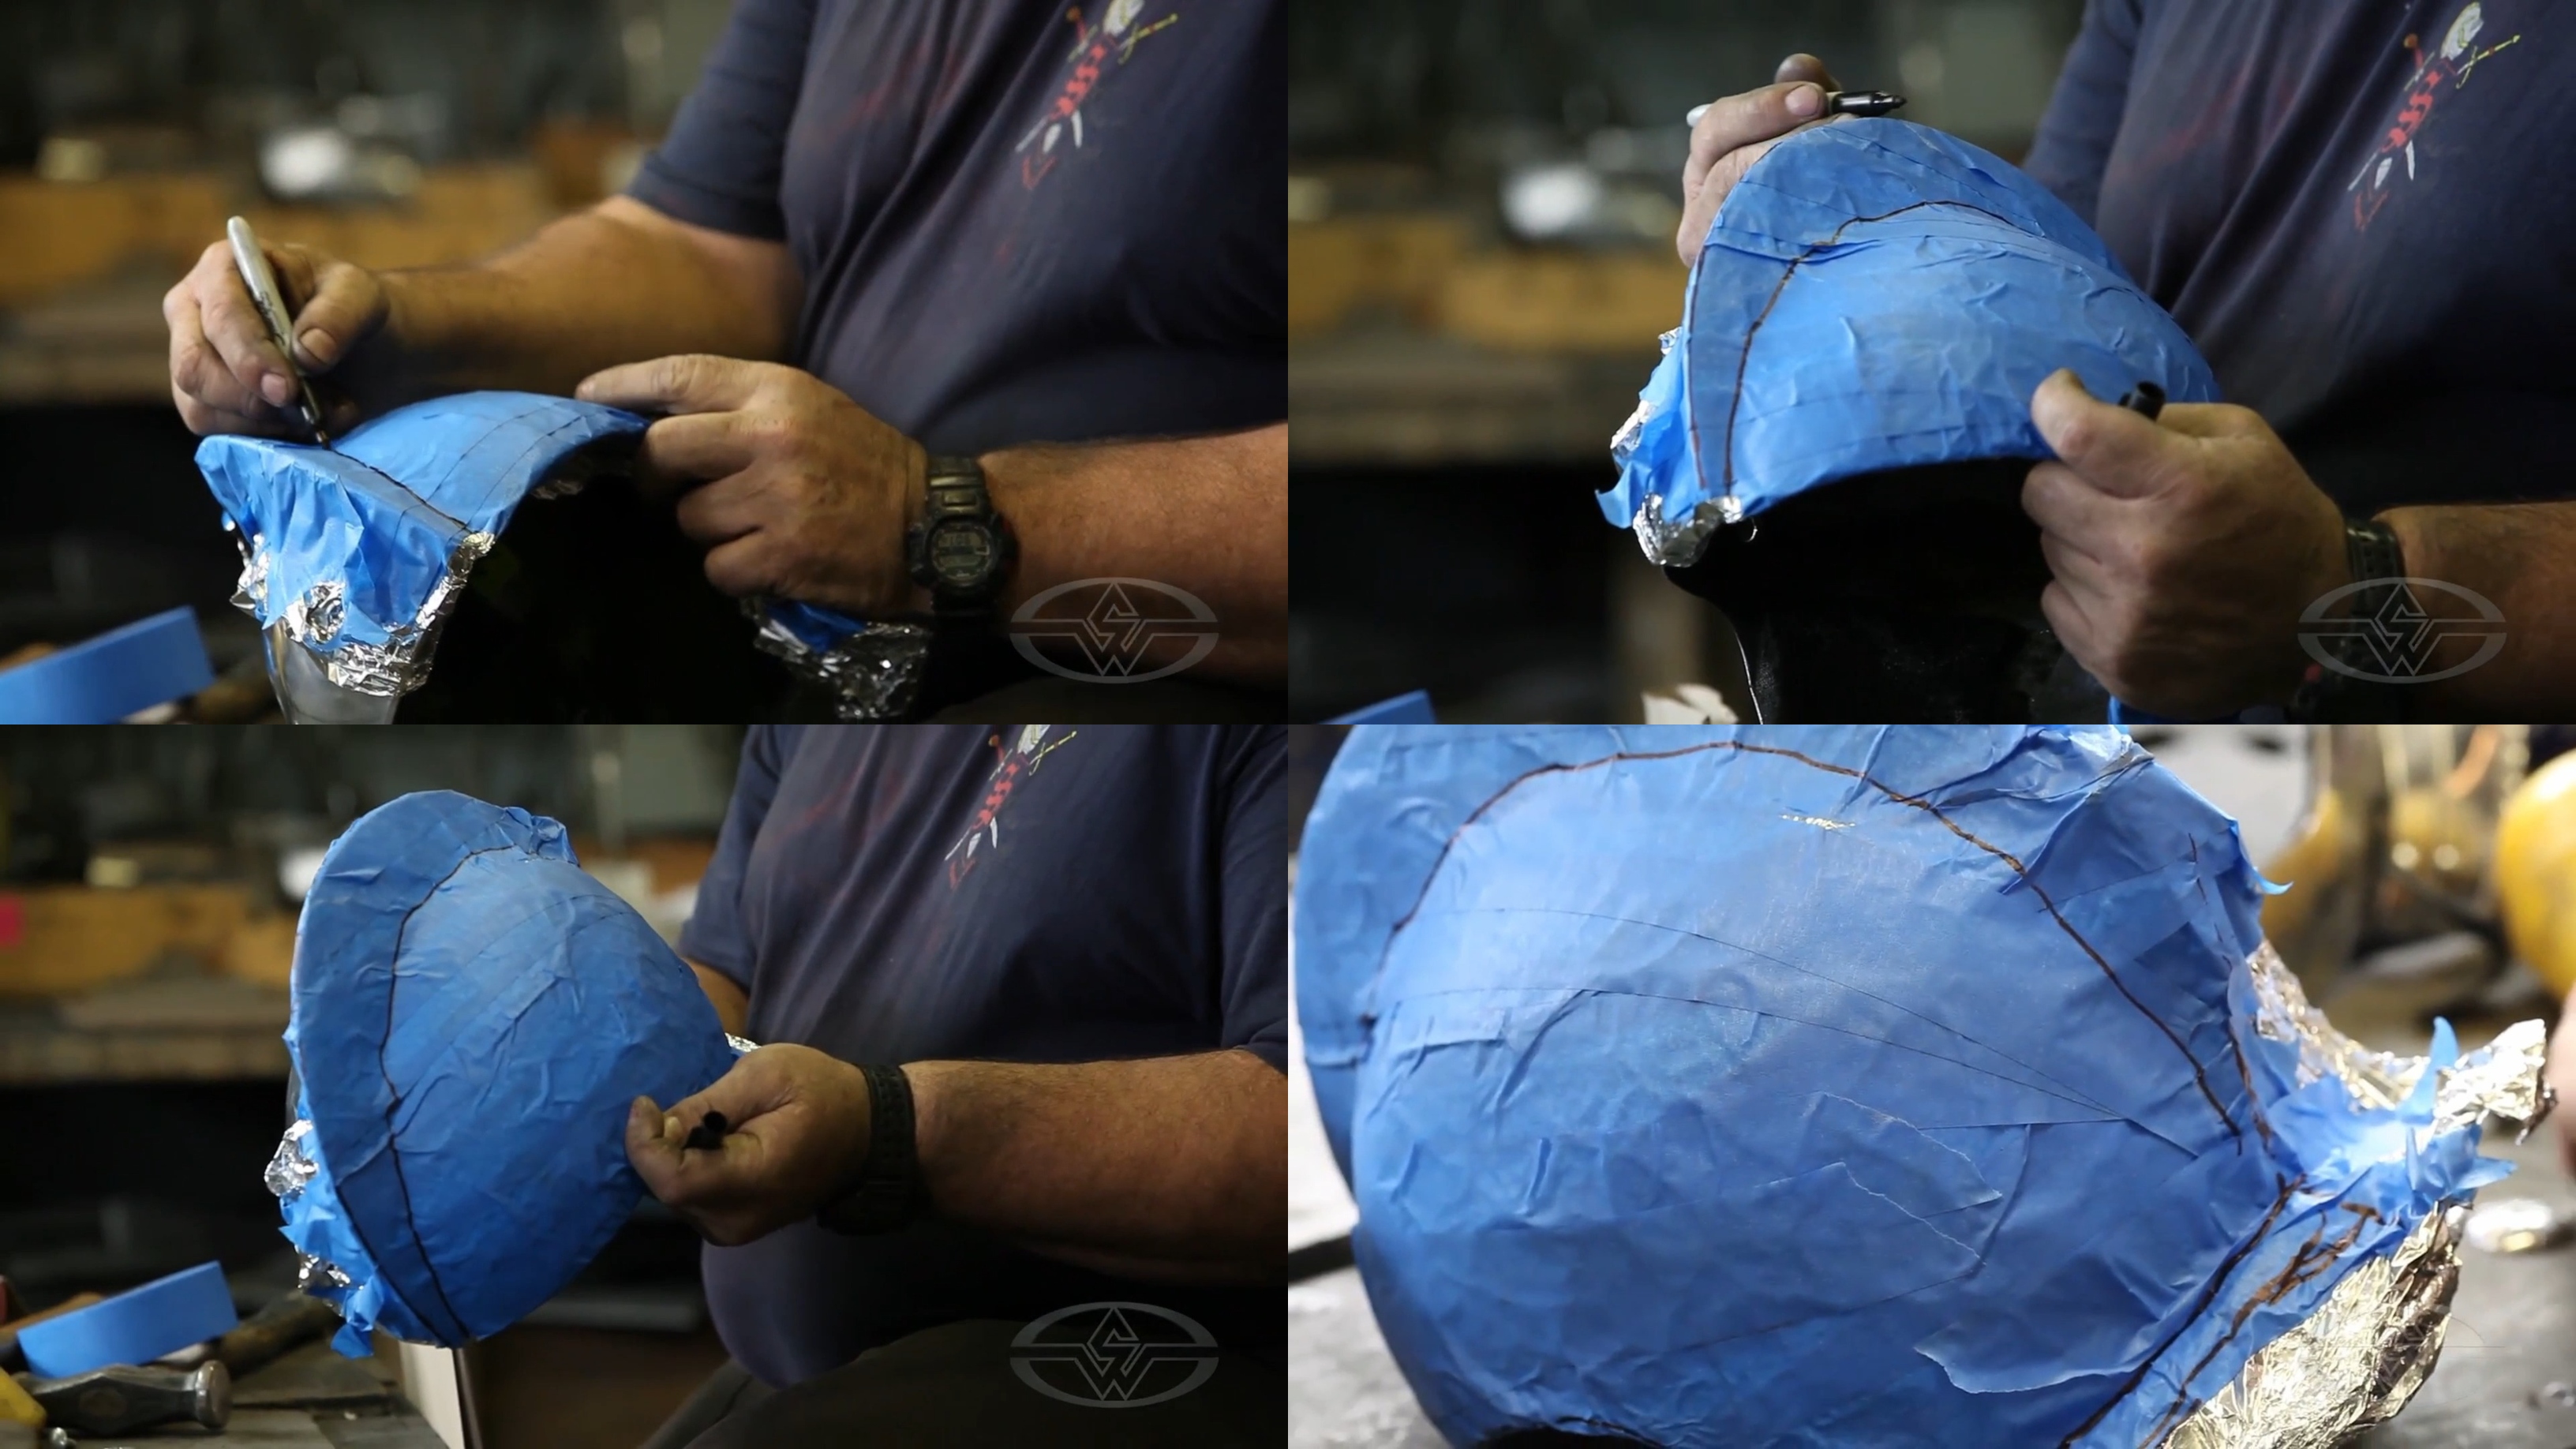 (Tony Swatton draws a line to indicate the crest line and seam line.)
Now, it’s time to prepare your pattern so you can then transfer it to flat paper.
Outlining a Pattern
To start, remove the taped aluminum casing from your helmet.
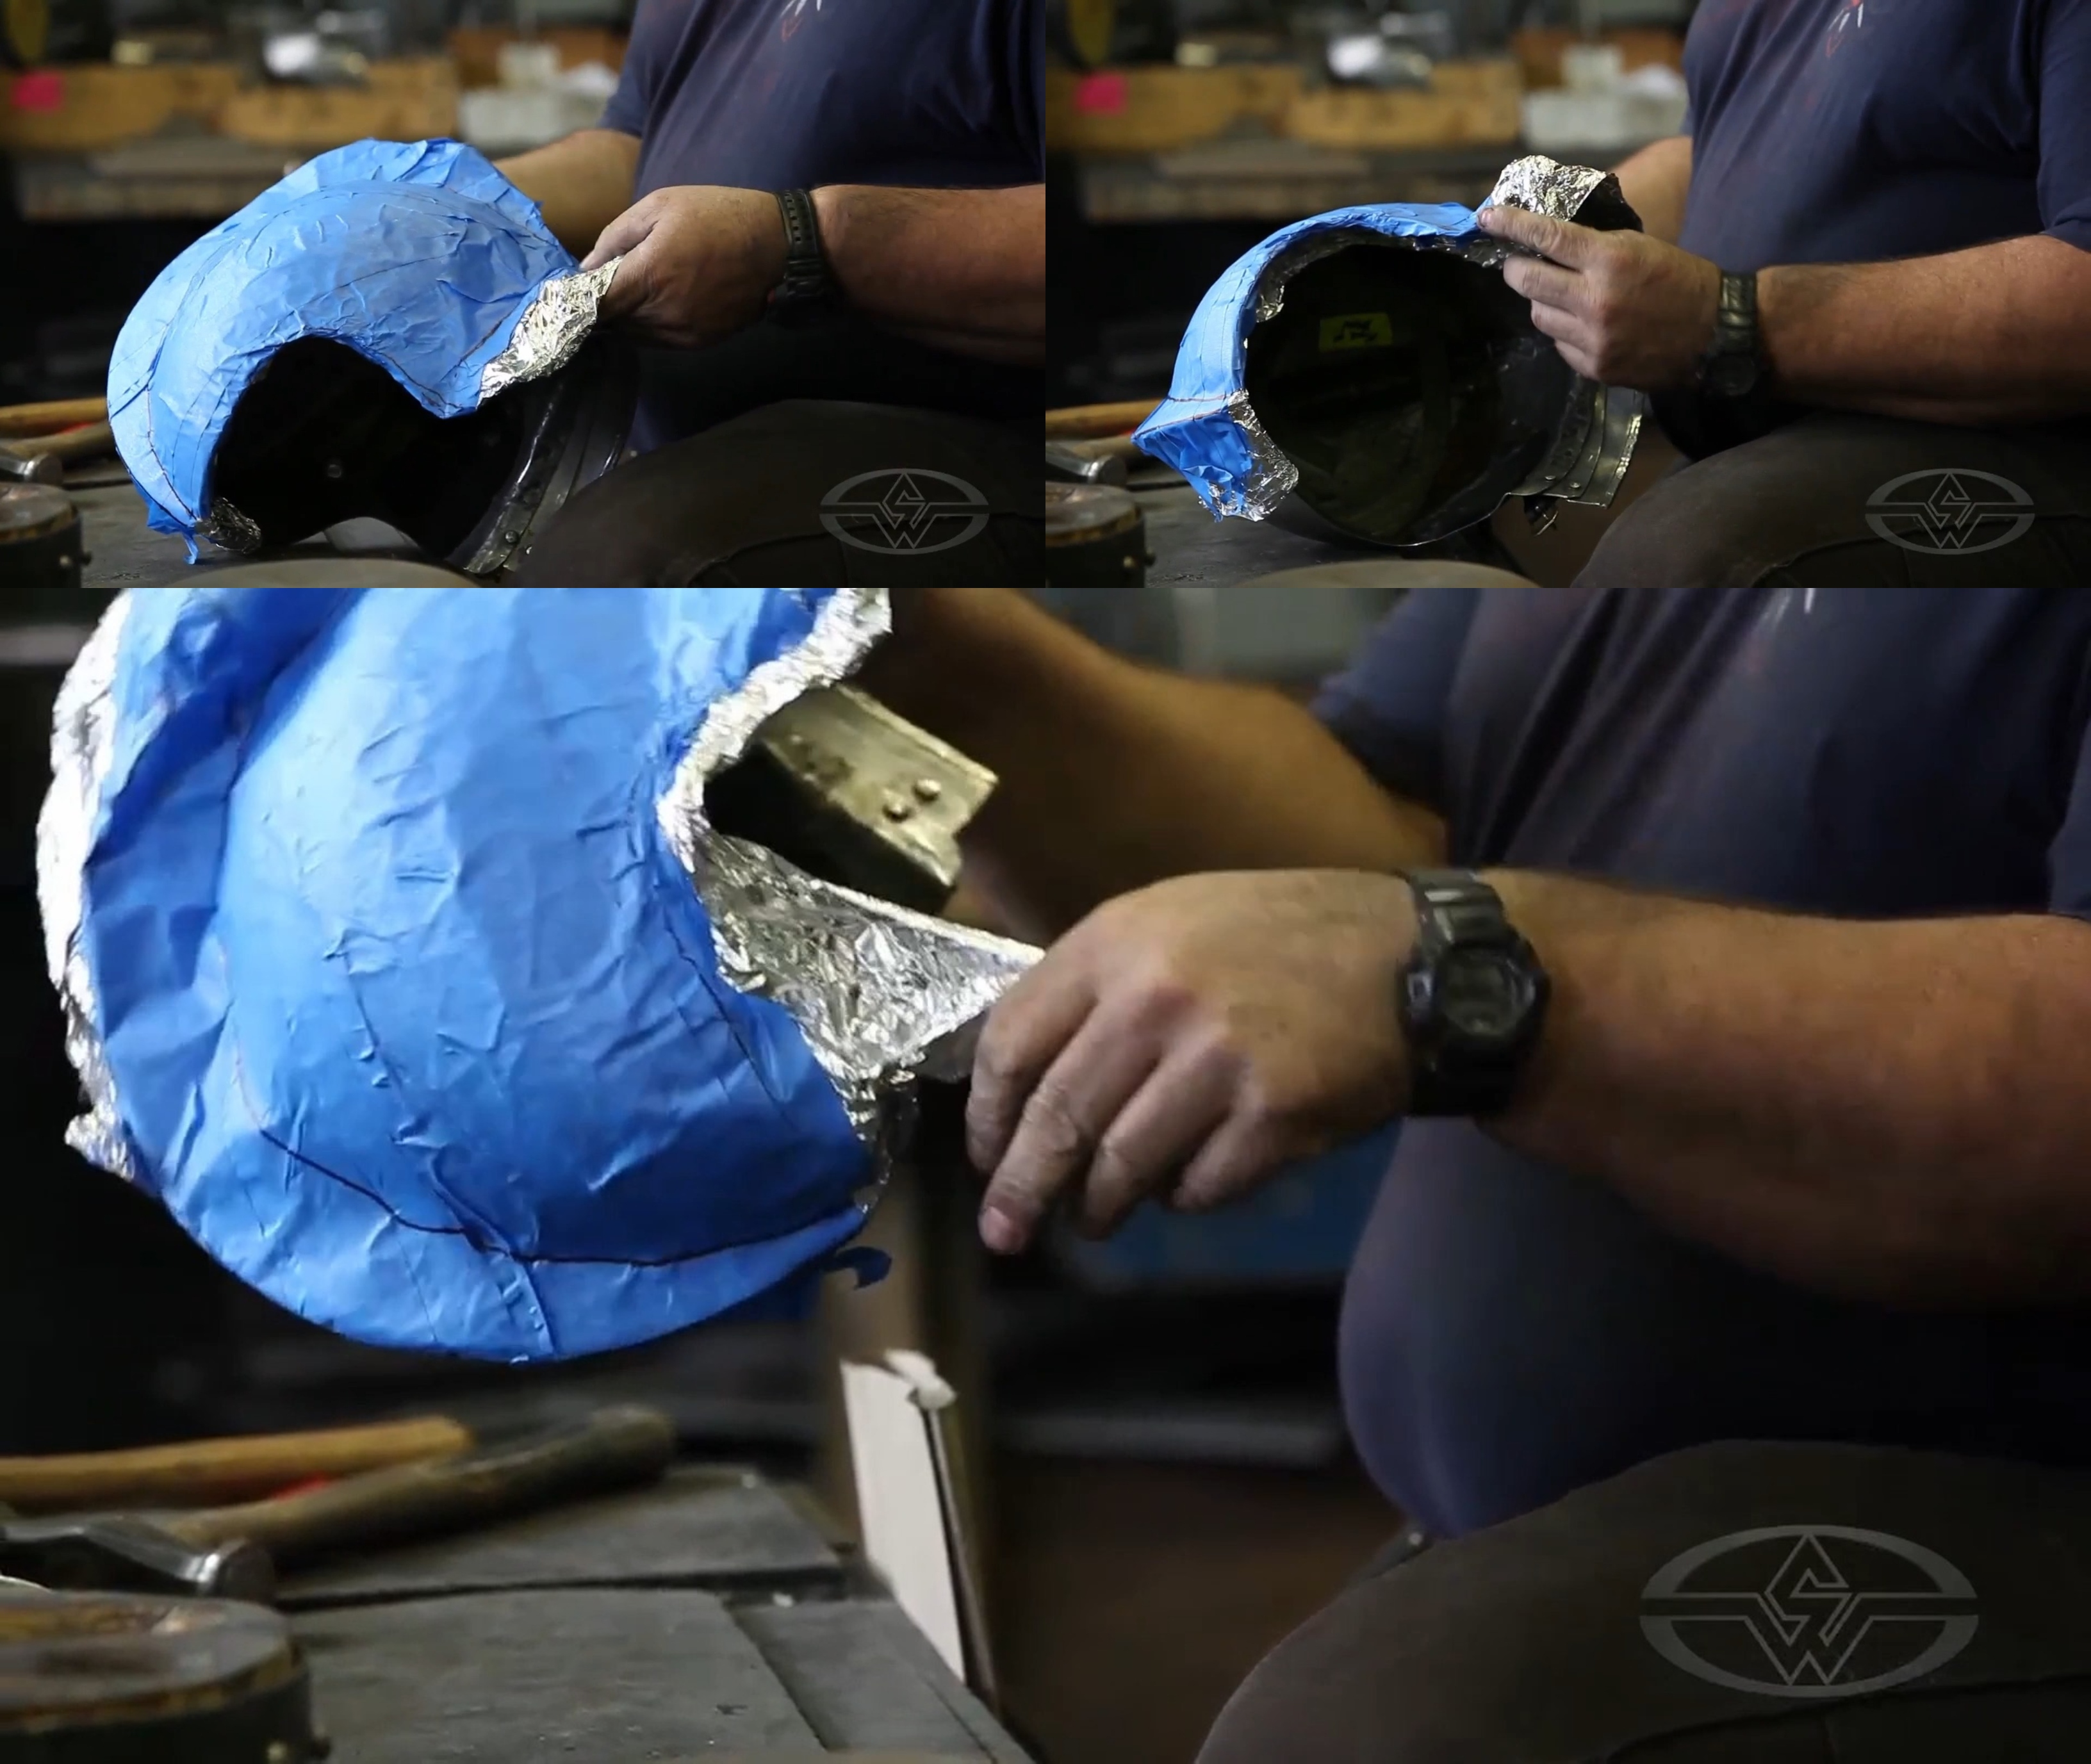 (Tony Swatton carefully removes the aluminum casing from his helmet.)
Next, cut the seam line using the marker line as a guide for your scissors.
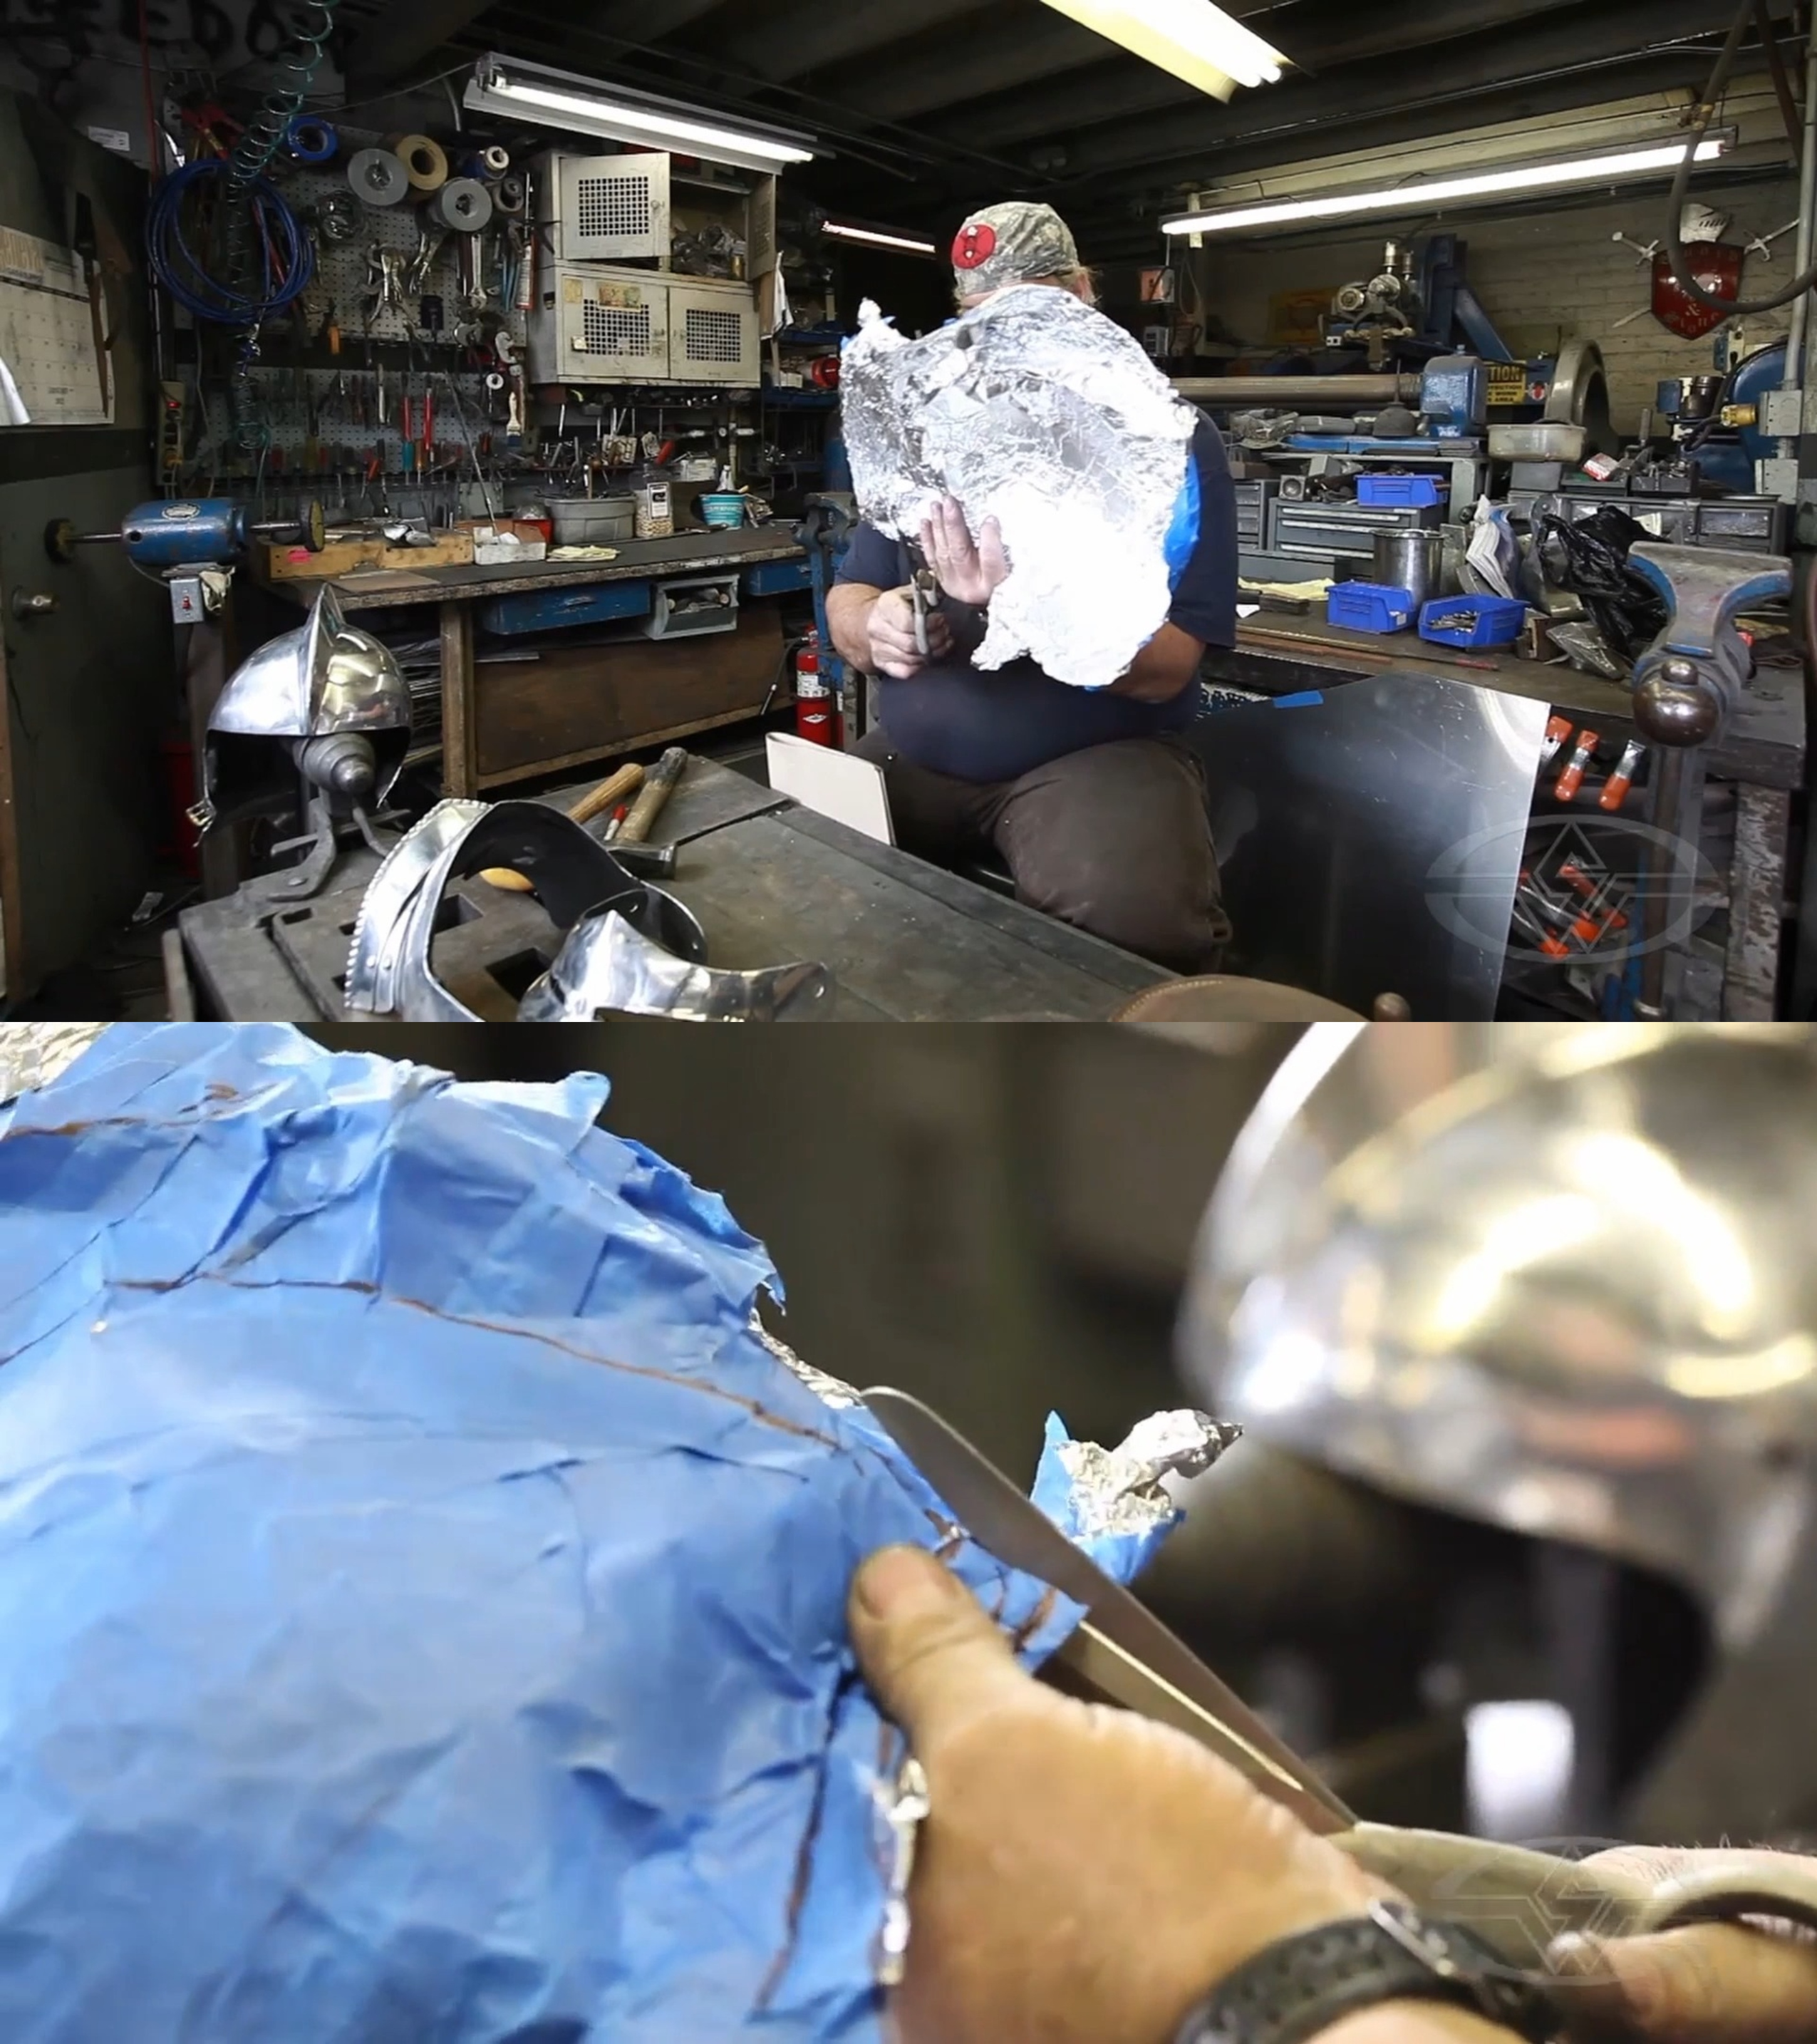 (Tony Swatton cuts to the seam line he marked previously.)
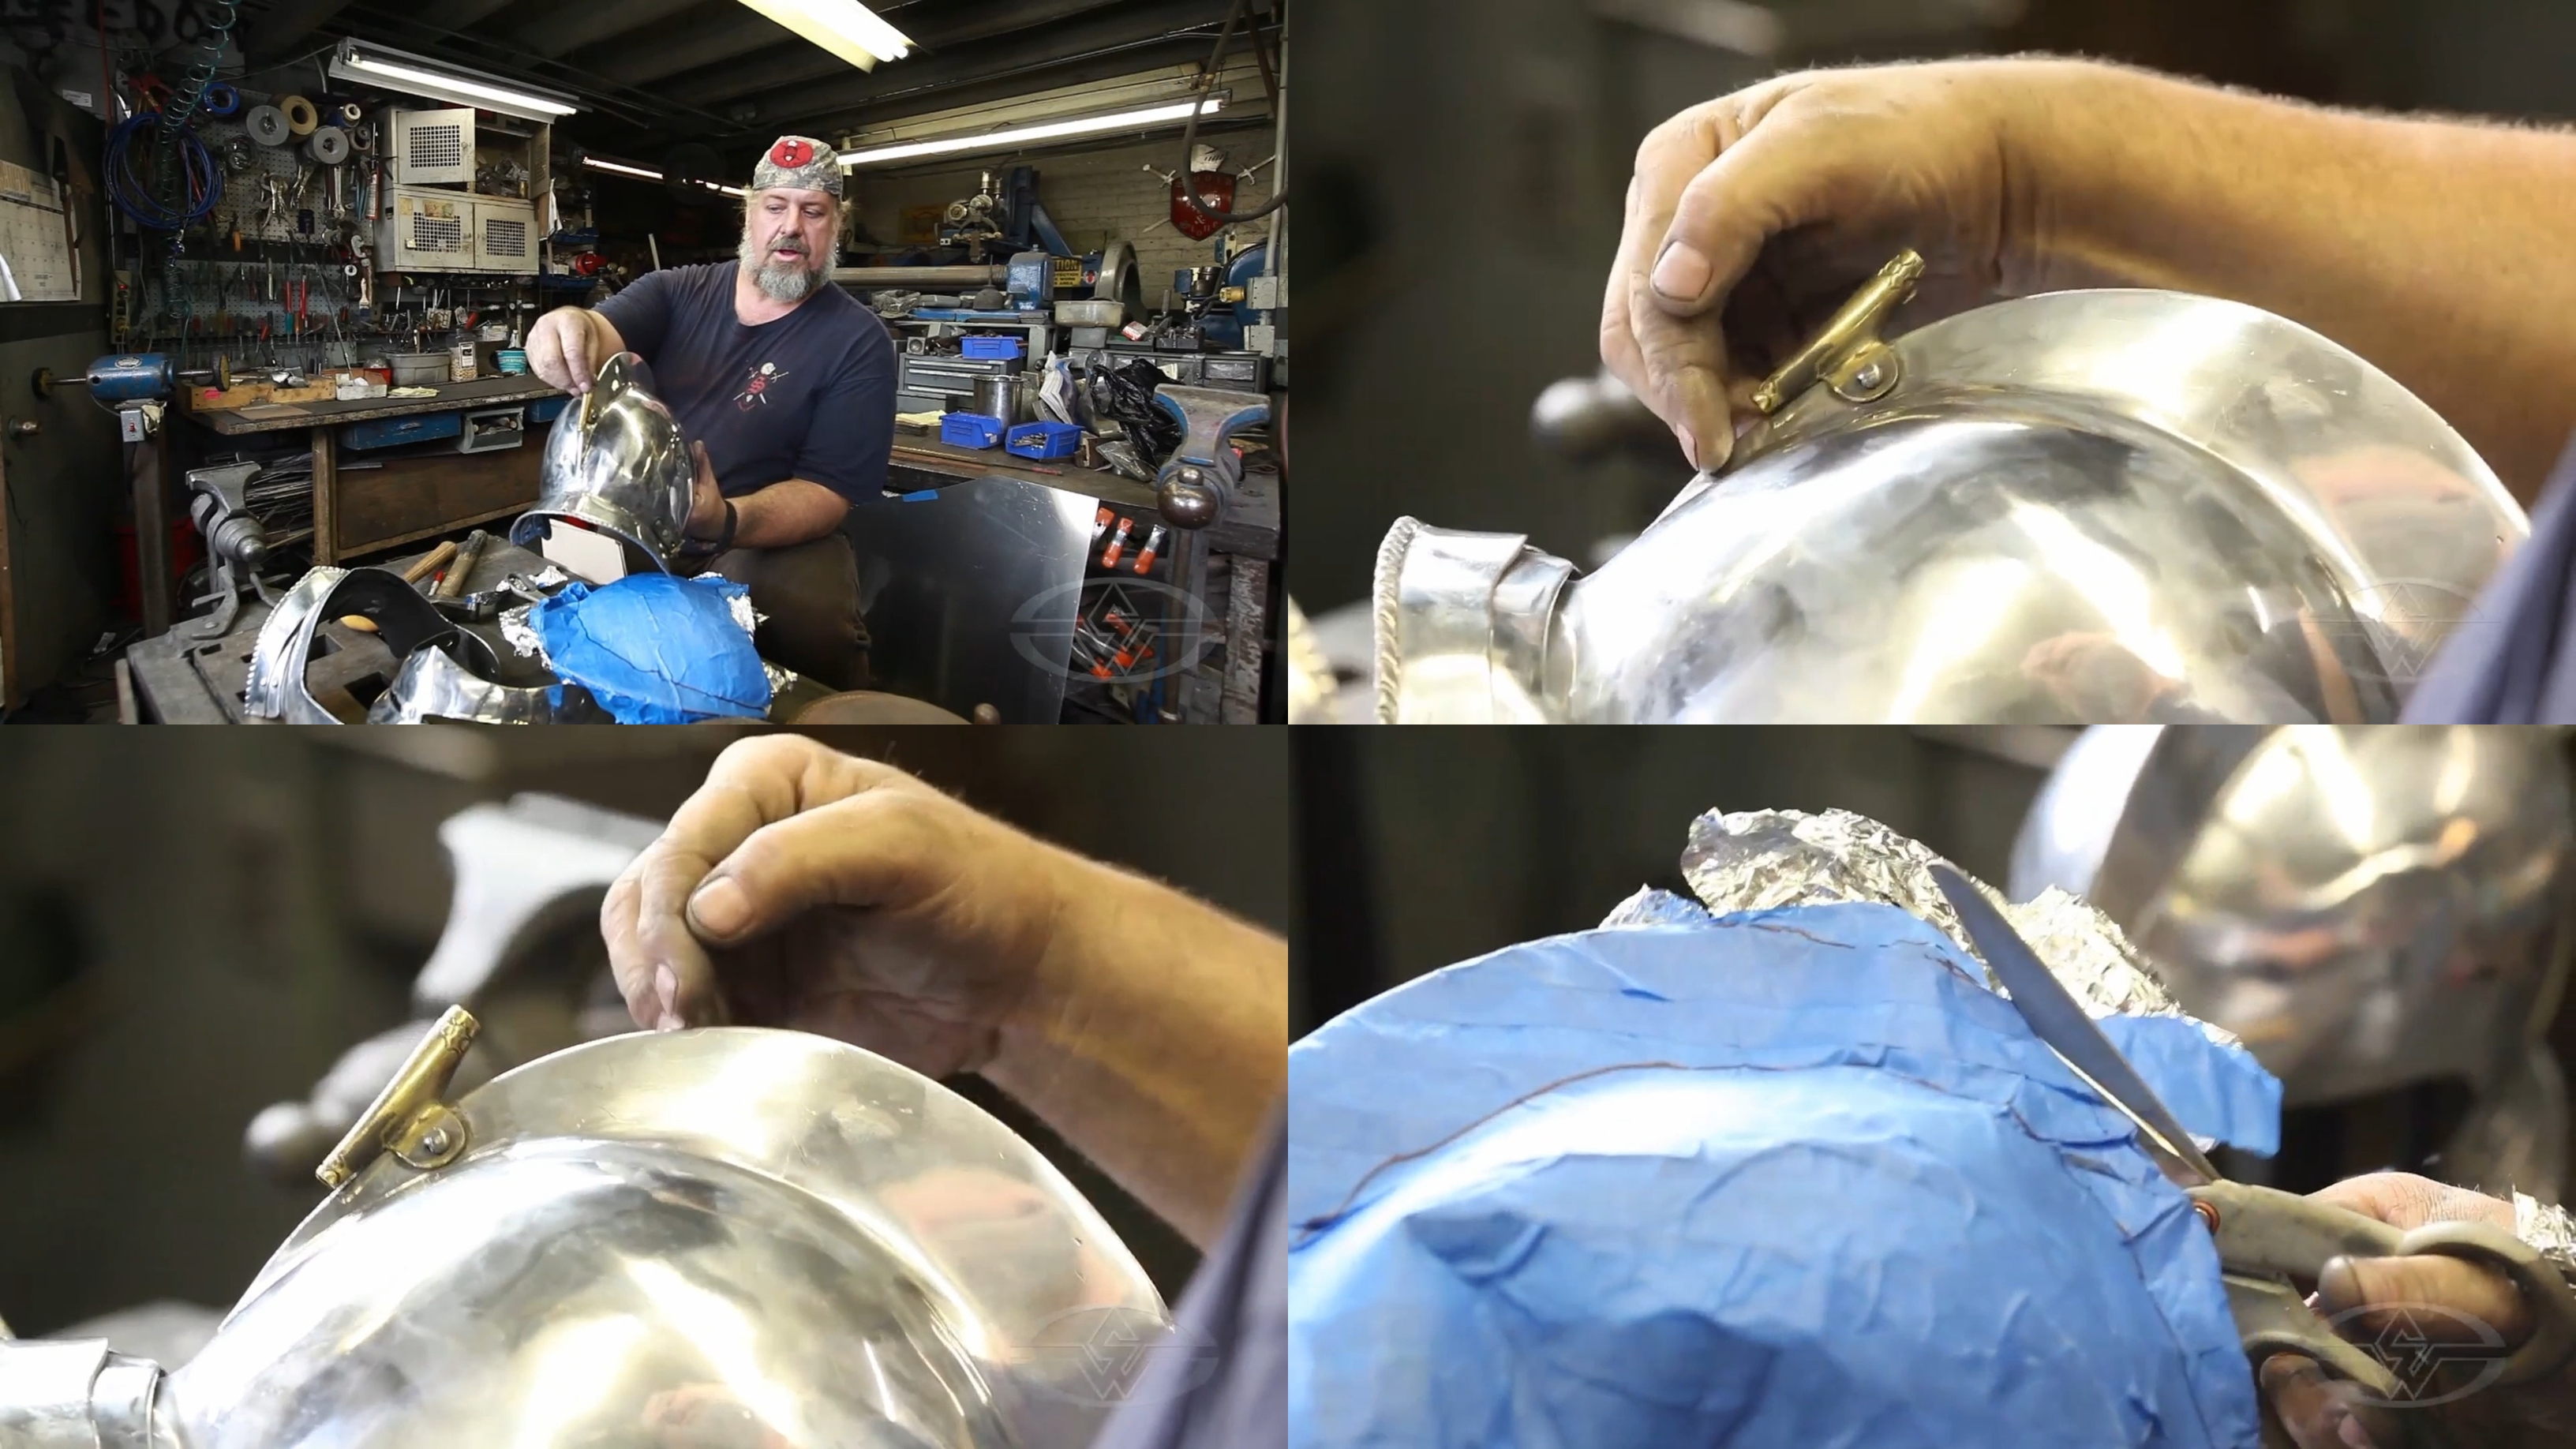 (Tony Swatton indicates a plume holder on his helmet.)
If your armor piece has obstacles that impede the line of the seam or cut, just skip over them. When making his markings, Tony had a plume holder fastened to the comb of the helmet, but in making the pattern, he just created a smooth line between the marks on either side of it so that the prop piece will have a smooth finish once he lays his paper pattern out.
Pro-tip: As pattern paper, Tony Swatton uses the light cardboard used at big box stores to separate racks of paper products. To save money, it's a good idea to check with your local warehouse club stores or grocery stores to see if they have any spare material they’d be willing to give away that can be used as pattern paper. One man's trash is another man's treasure.
Next, lay out your cut aluminum foil wrap on the pattern paper and press it flat.
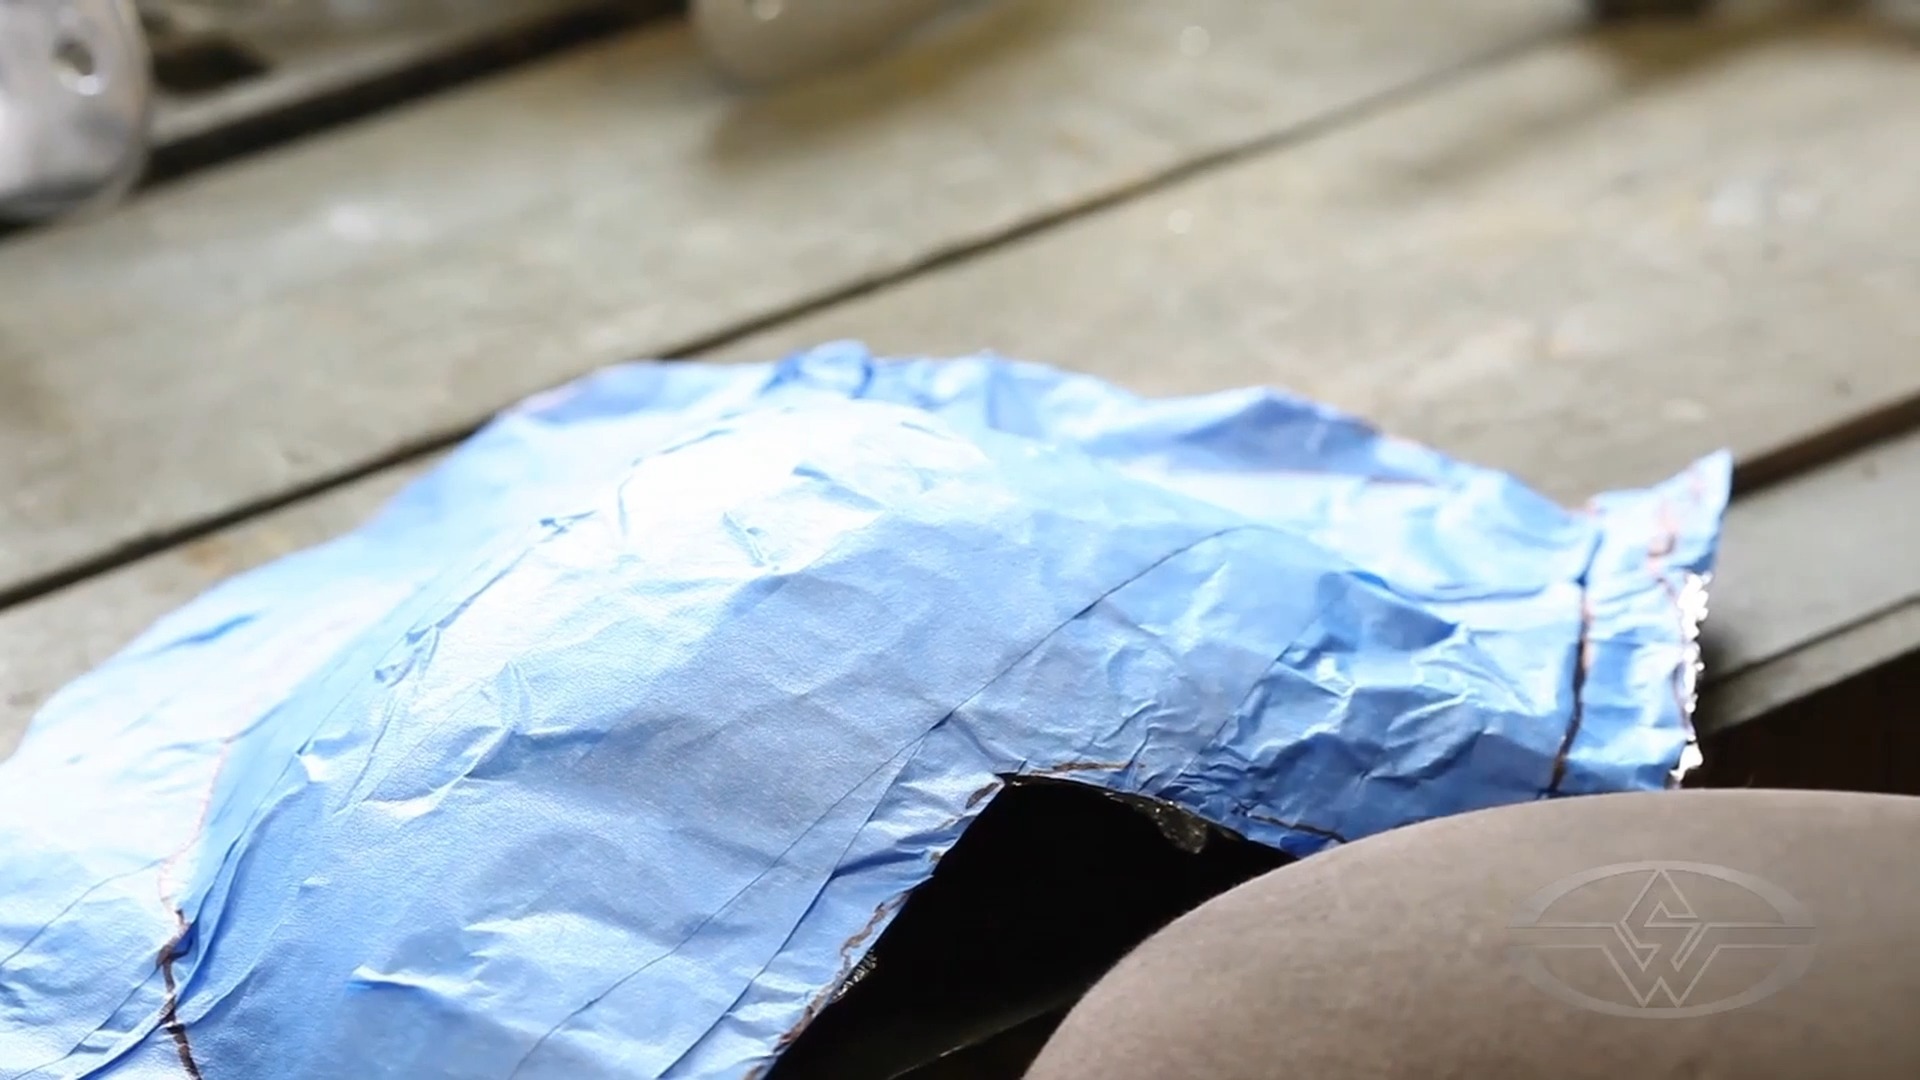 (The un-flattened helmet pattern removed from the helmet before transferring to paper.)
Once the pattern is lying roughly flat, outline the pattern on the paper.
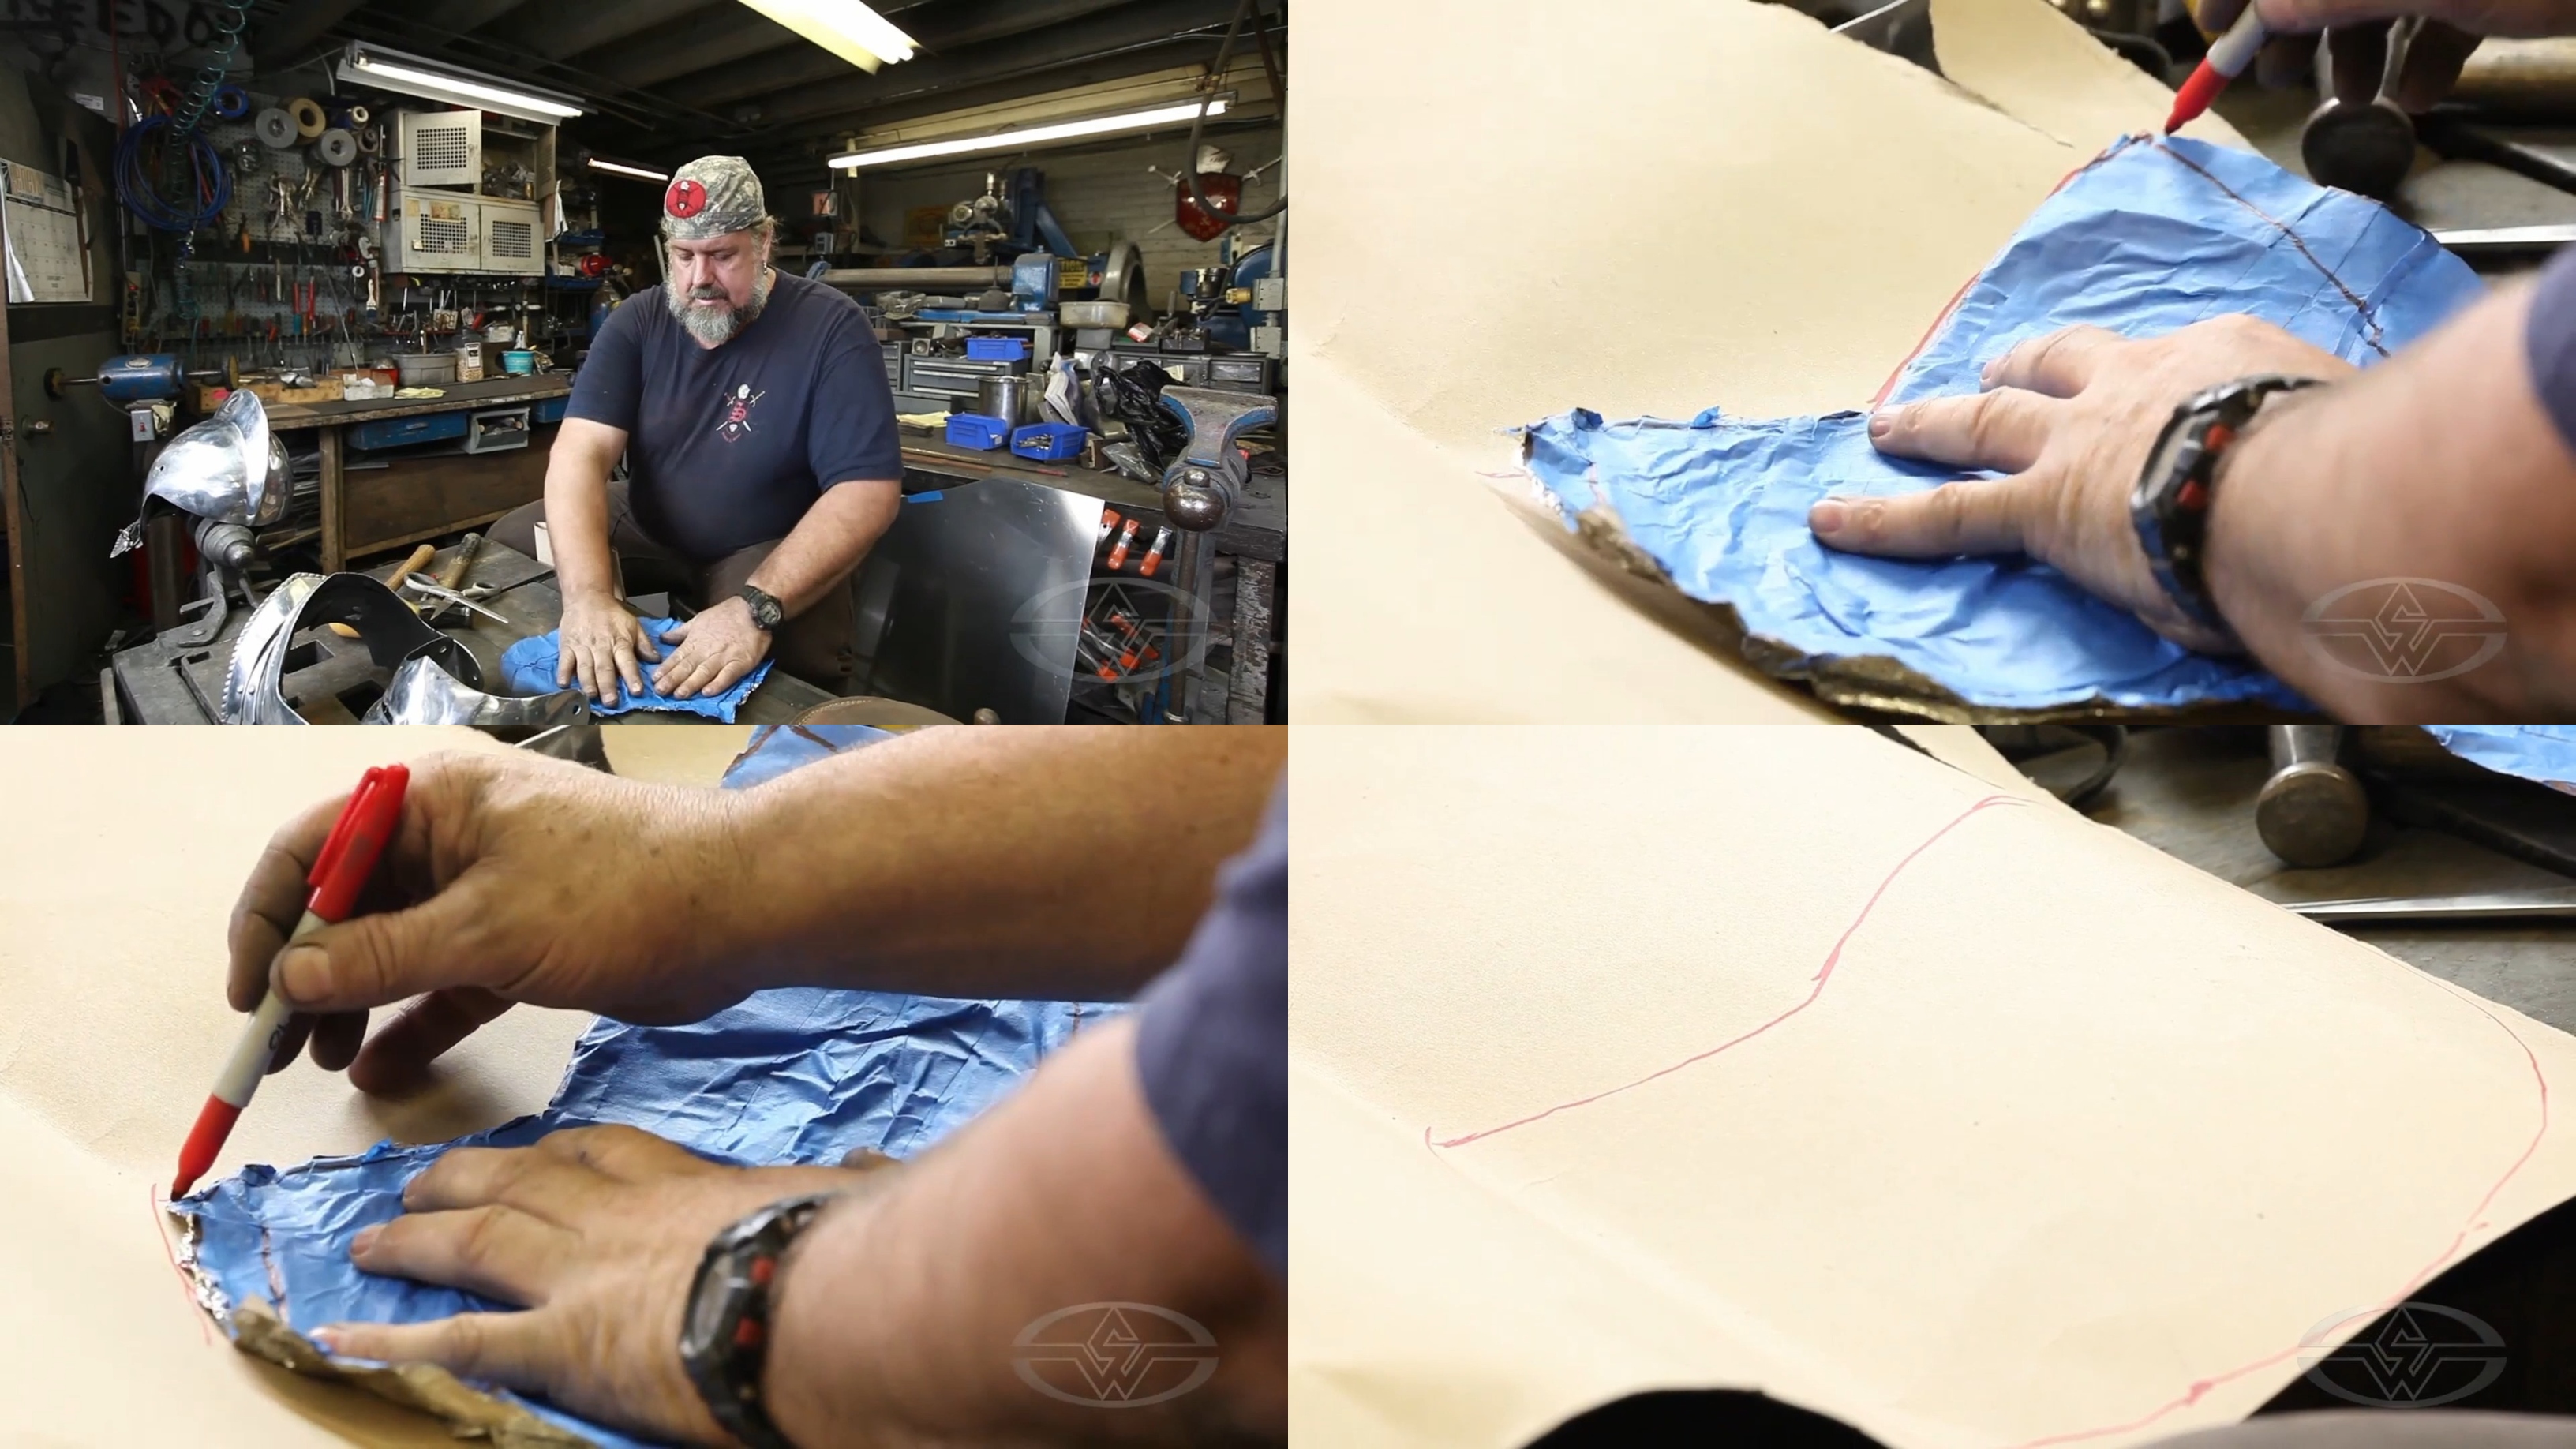 (Tony Swatton presses the pattern flat before proceeding to outline it on pattern paper.)
Cut around the outline. It’s always a good idea to make sure to give it some extra space around the side.
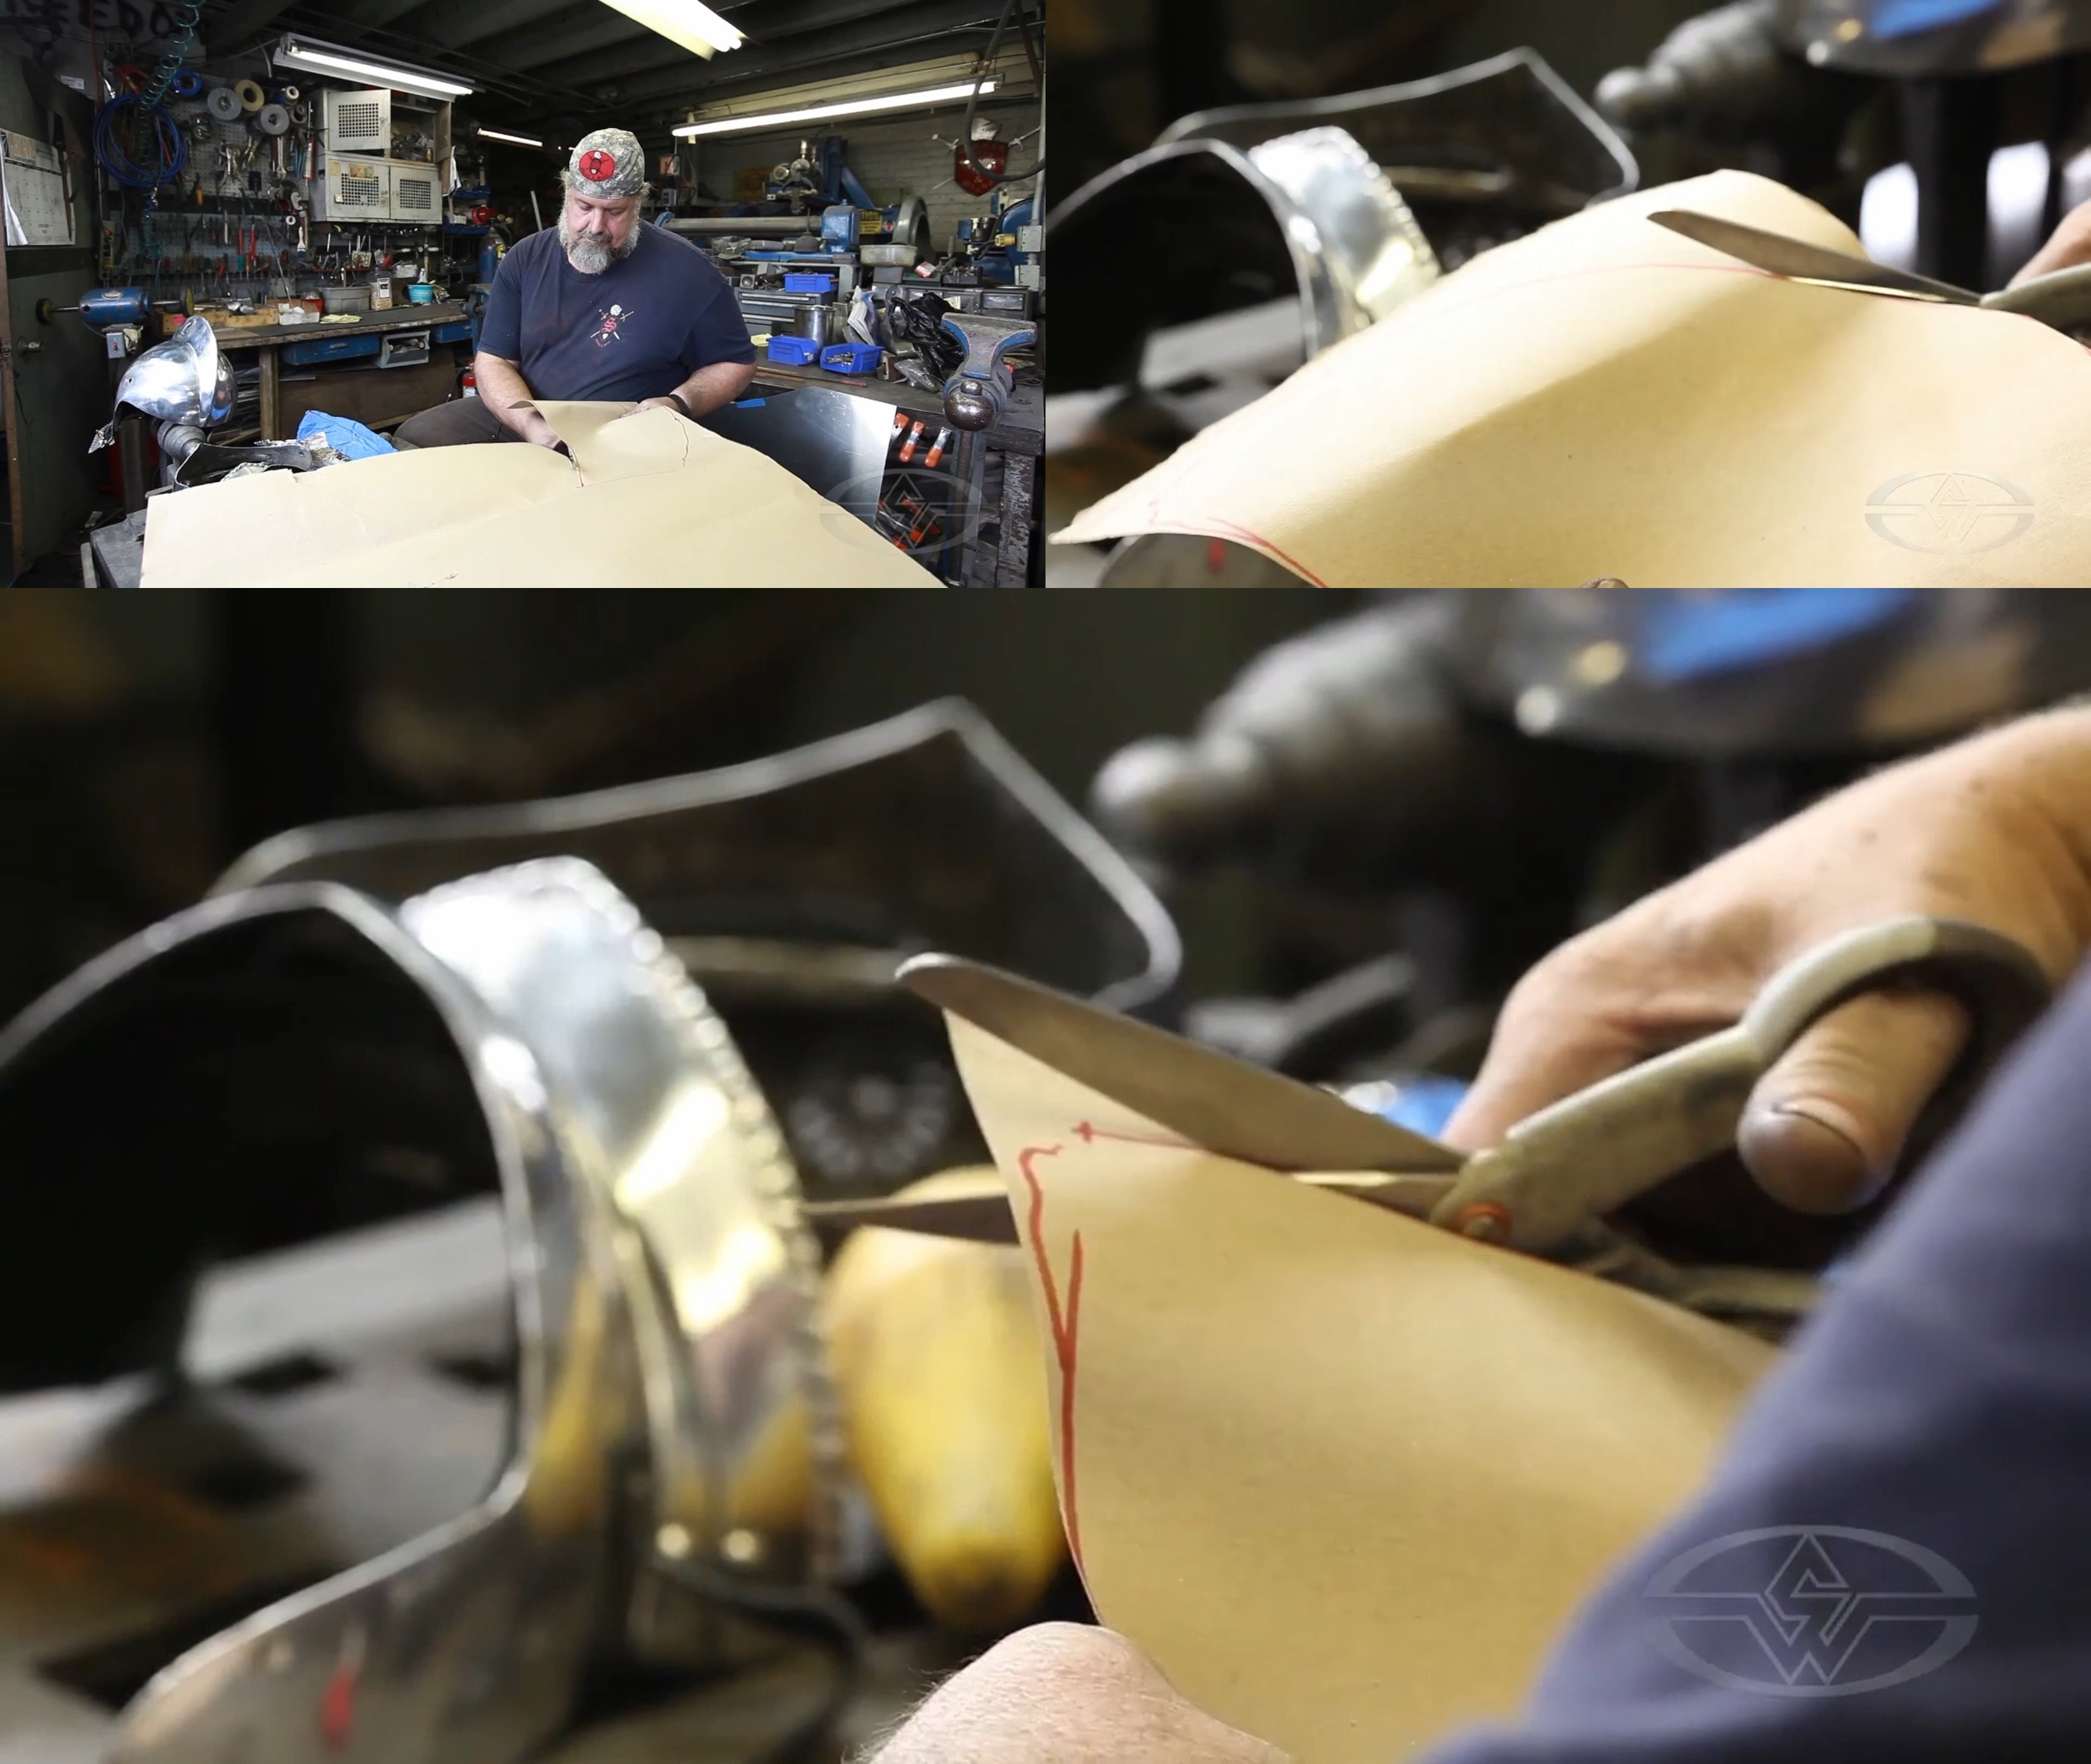 (Tony Swatton leaves about a quarter-inch space on the sides as he cuts around his outline.)
Once you’ve finished cutting, mark your lower edge.
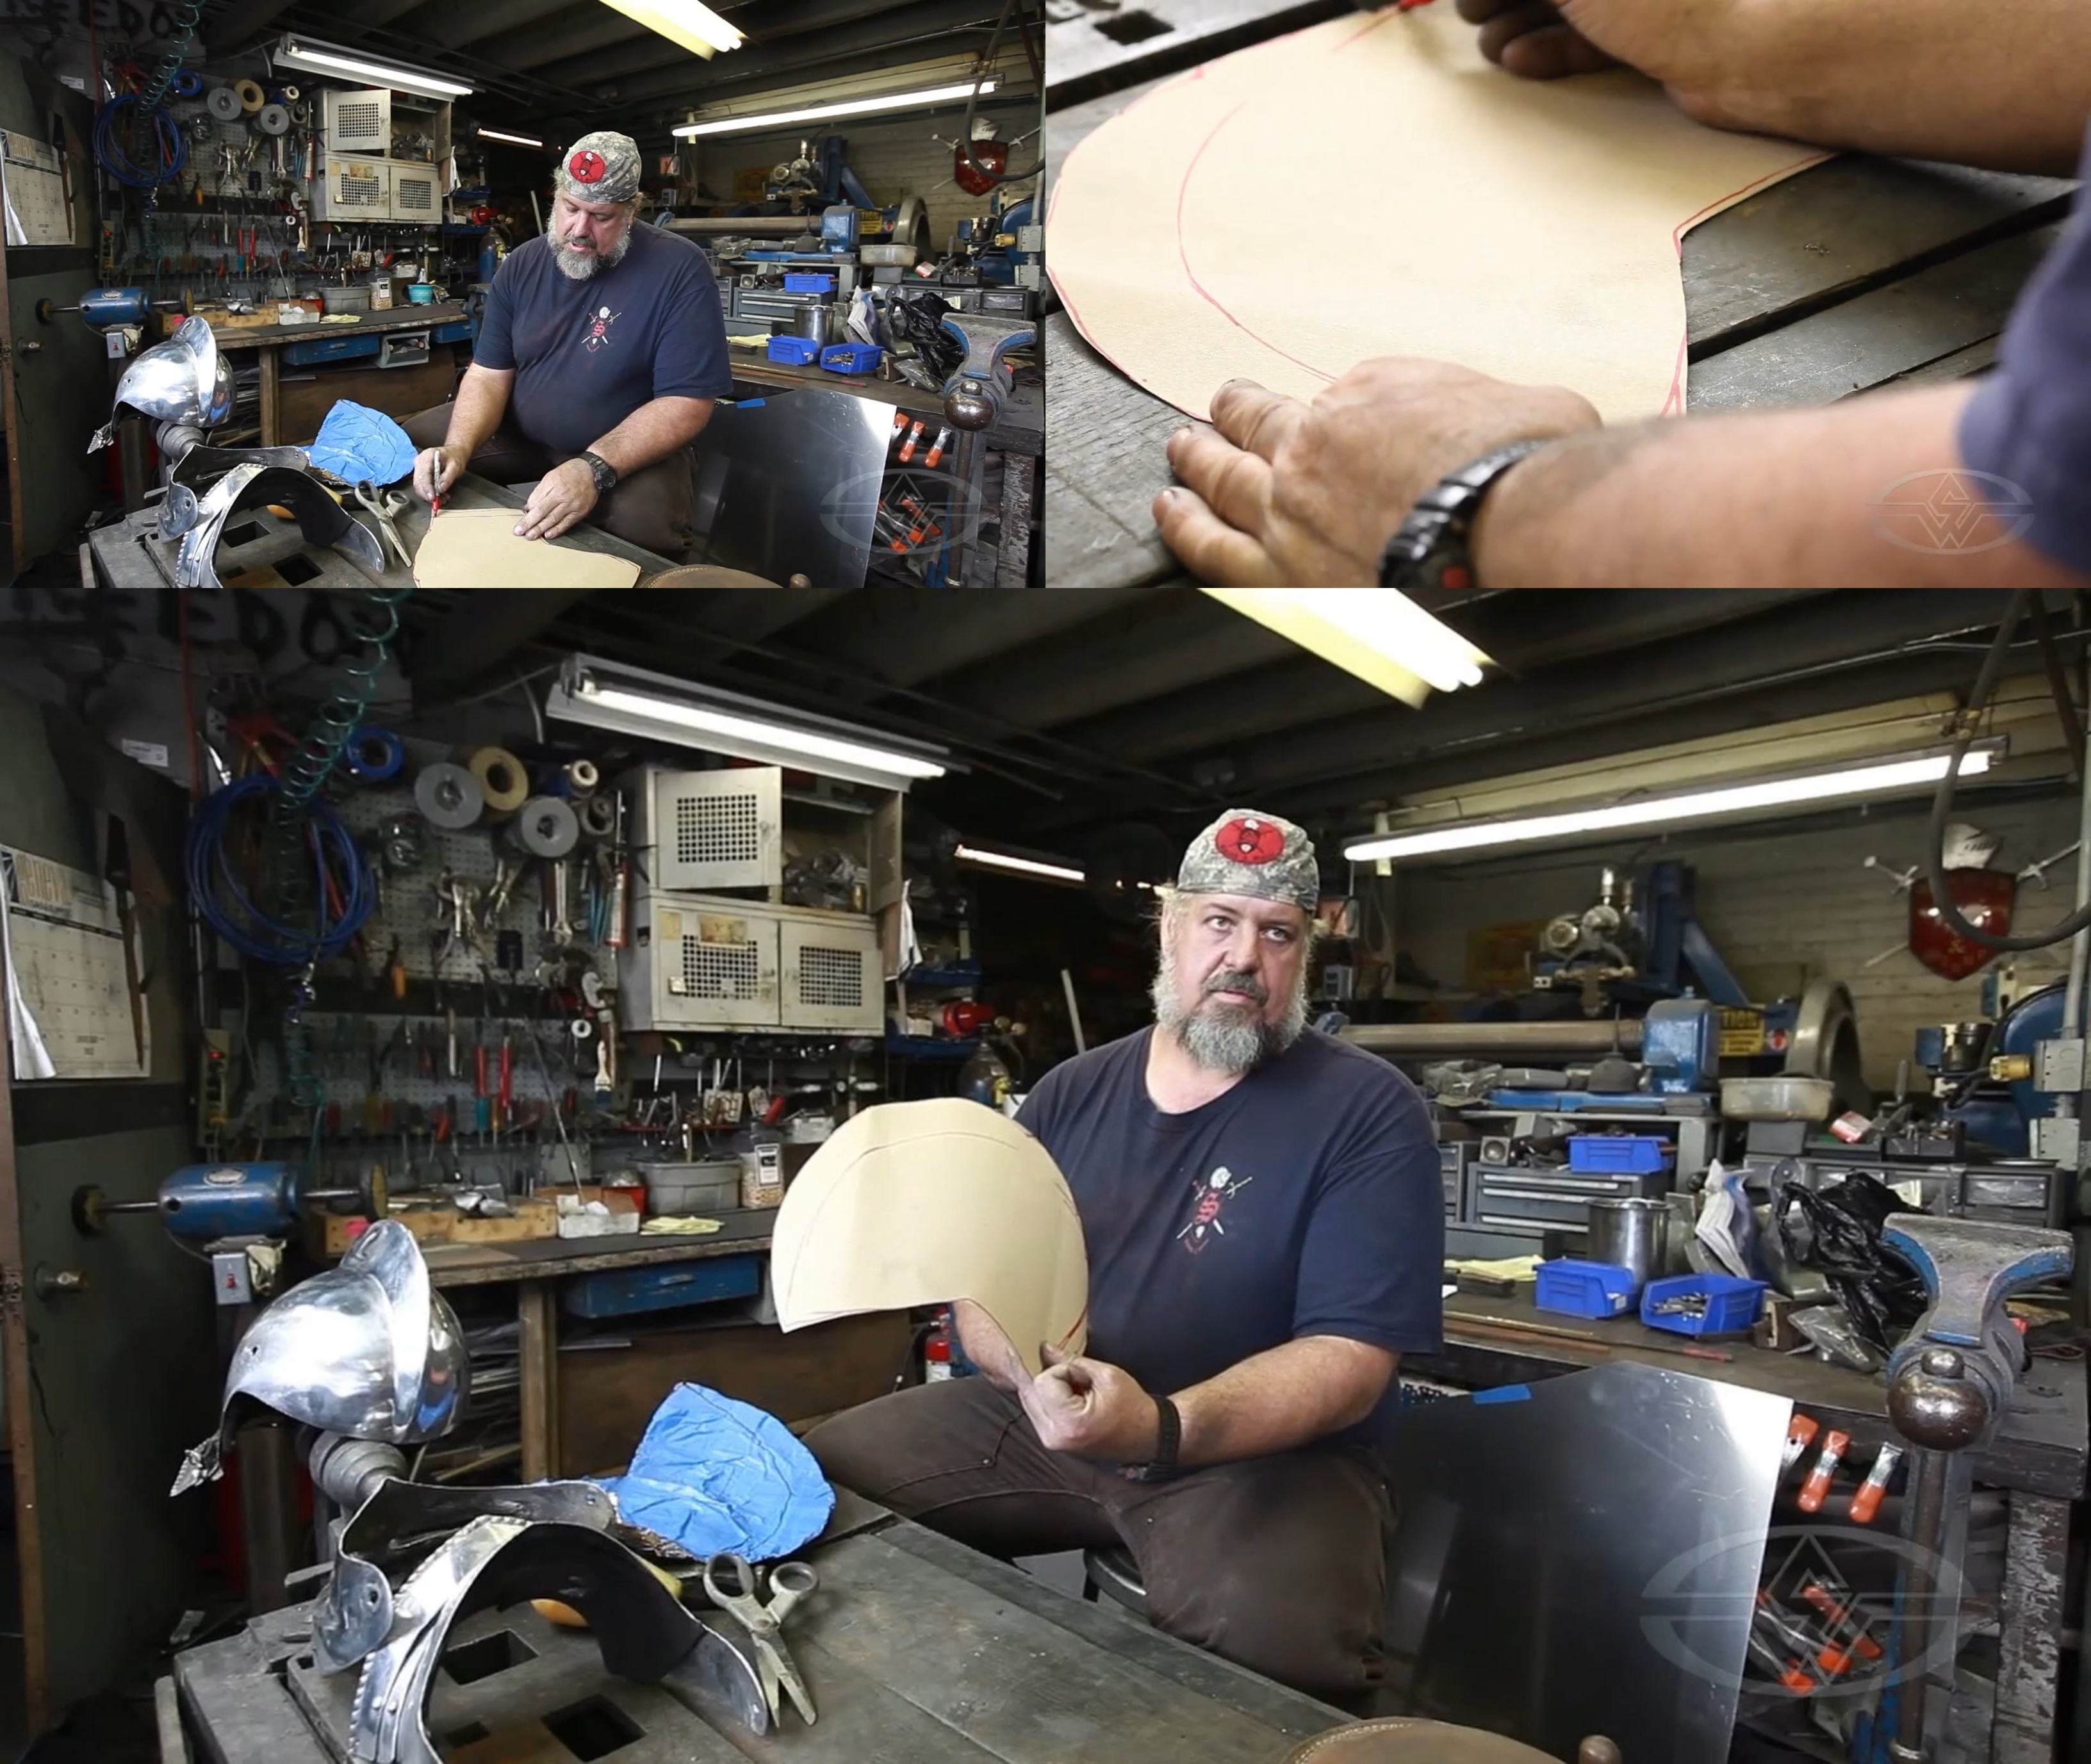 (Tony Swatton marks the lower edge of his helmet.)
It's as easy as that. Now, you’ve got your pattern!
Tracing the Pattern to the Aluminum
For the next step in armor prep, trace your pattern onto a sheet of aluminum. For the helmet, which will have two sides, you'll need to trace it twice. Swatton recommends using a 14-gauge .080 6061-0 tempered aluminum sheet.
As you draw, be mindful of giving yourself some clearance when you place your patterns down. You don’t want two patterns touching, but you can bring them close to save material.
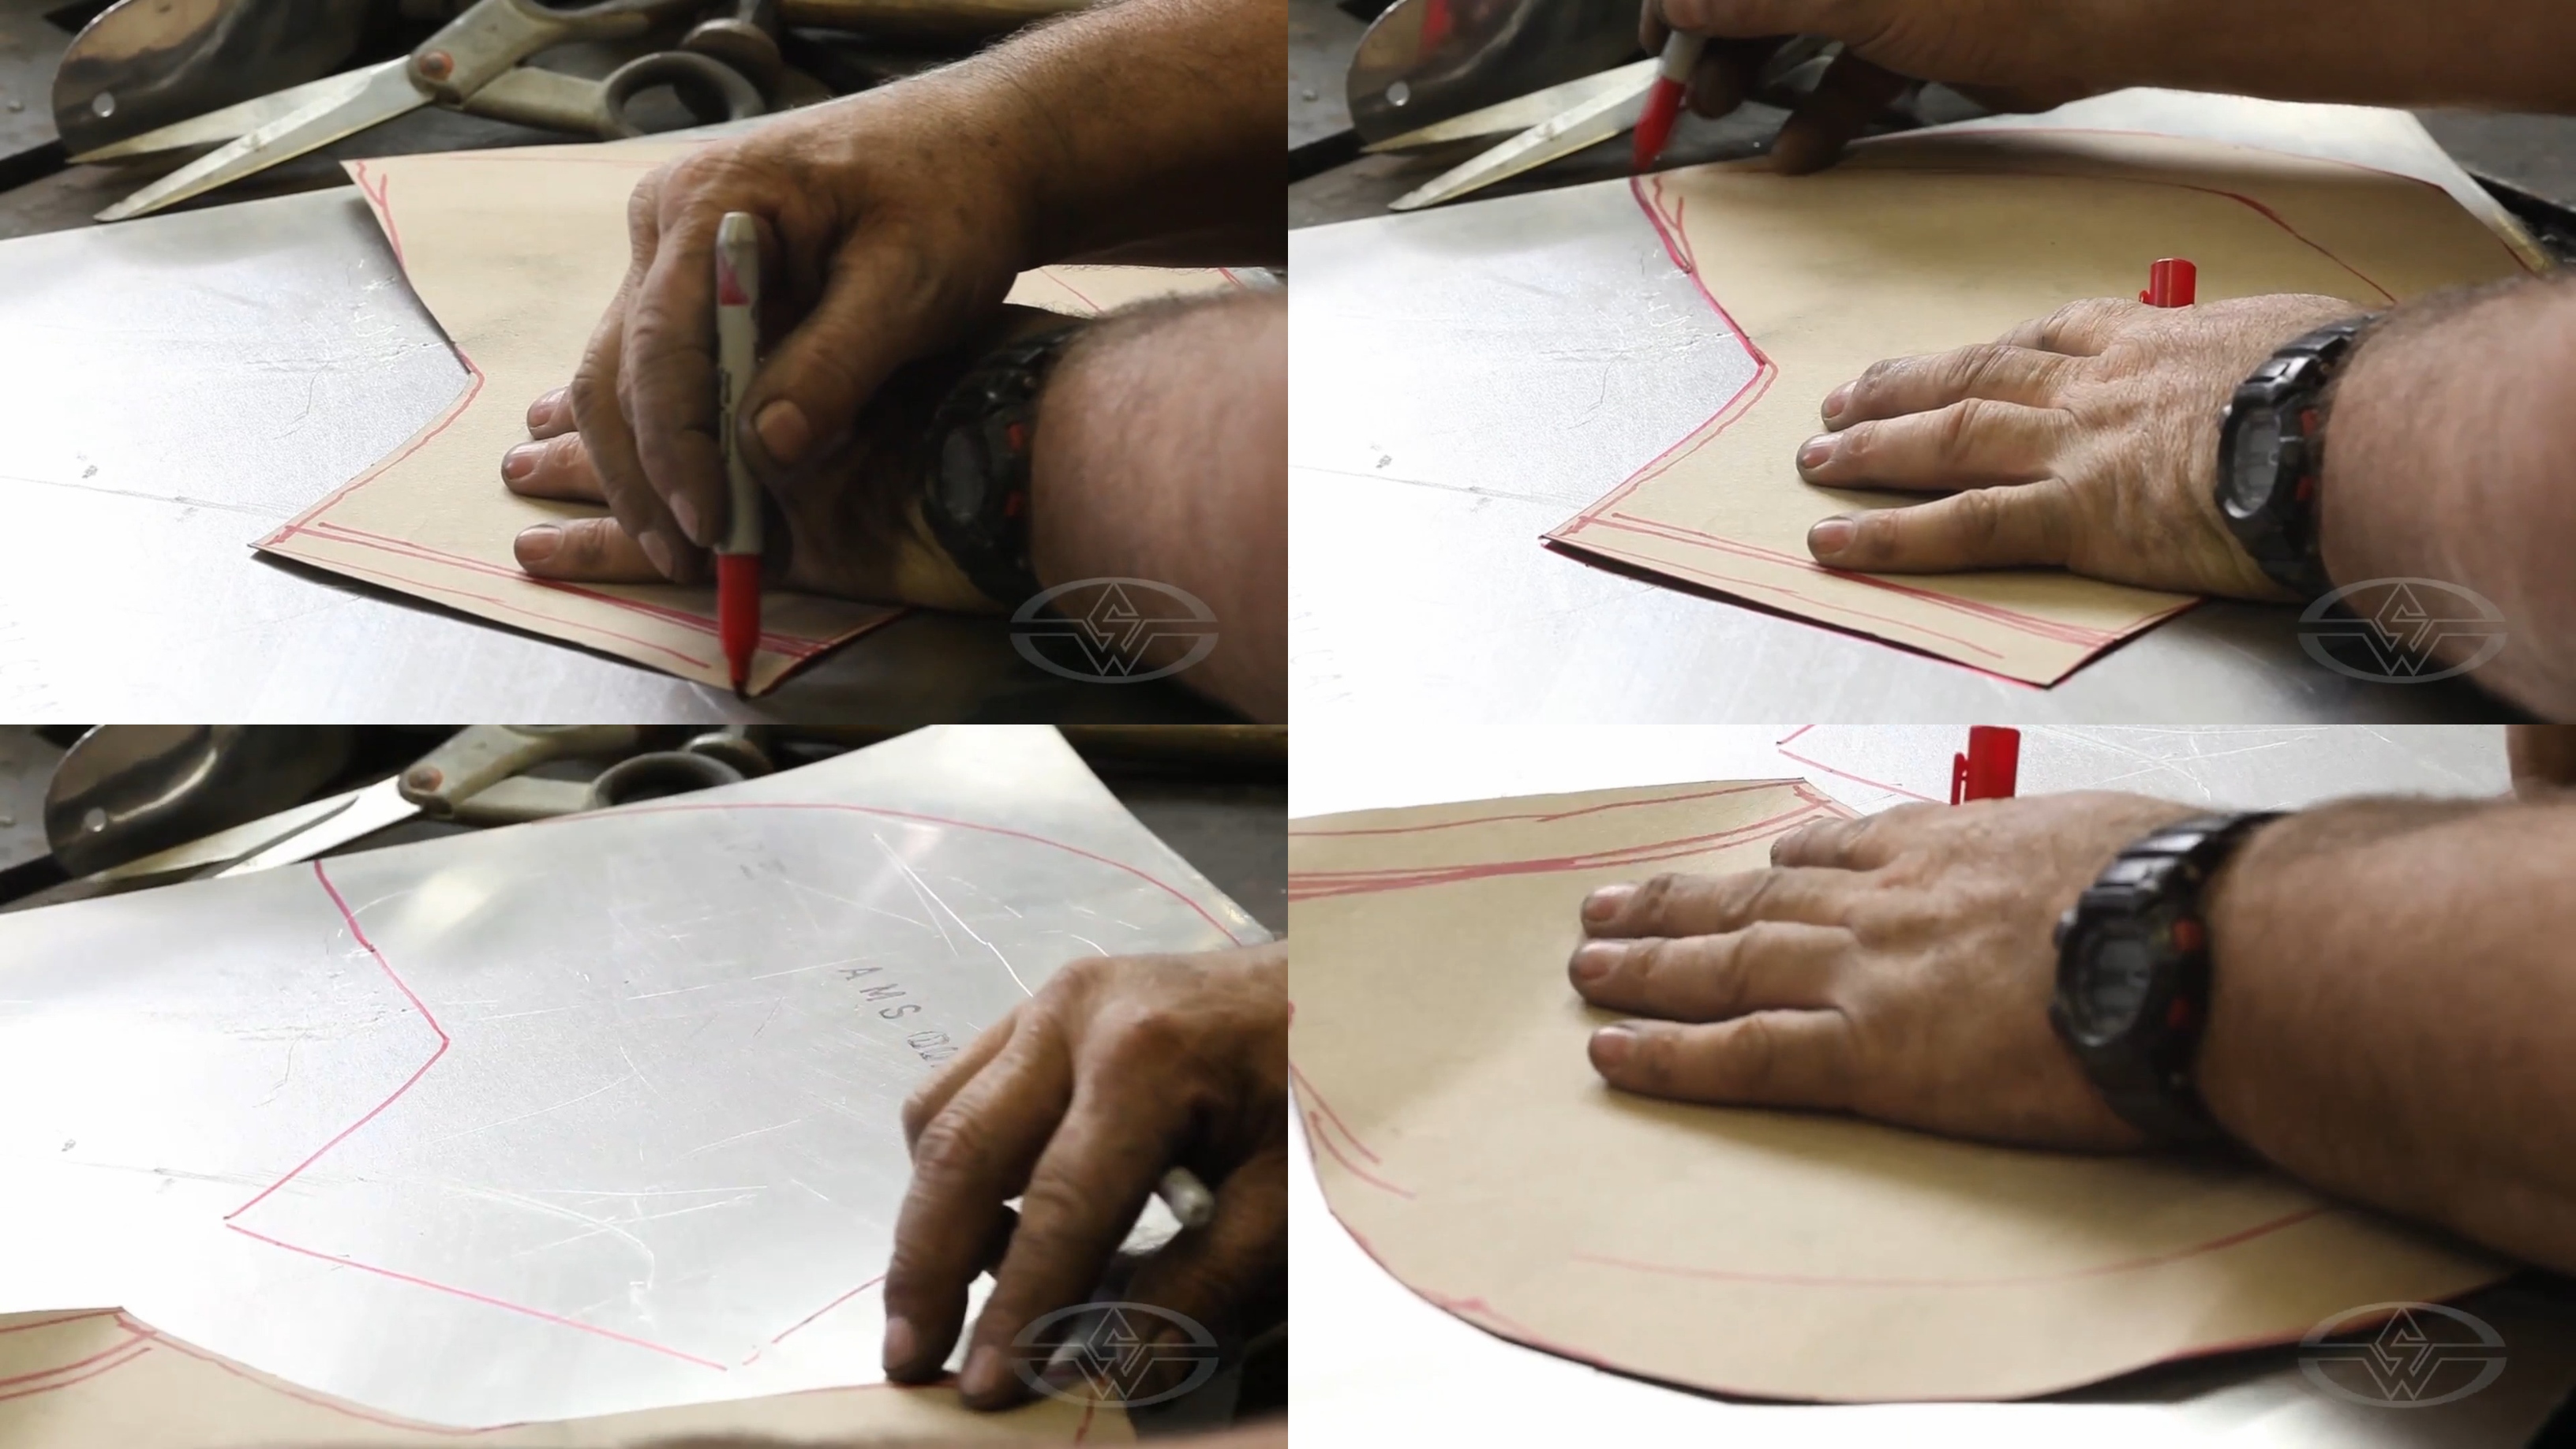 (Tony Swatton traces his pattern onto an aluminum sheet. Then, he flips the pattern over and traces nearby.)
When it’s time to cut these patterns, it’s best to use a throatless shear (aka “Beverly shear”), an ideal all-purpose metal cutting tool that cuts lighter metals without distortion. Since you’re working with soft aluminum, you don't need a steel-cutting shear. The copy of the Beverly shear available from Harbor Freight is a comparable—and more affordable—version.
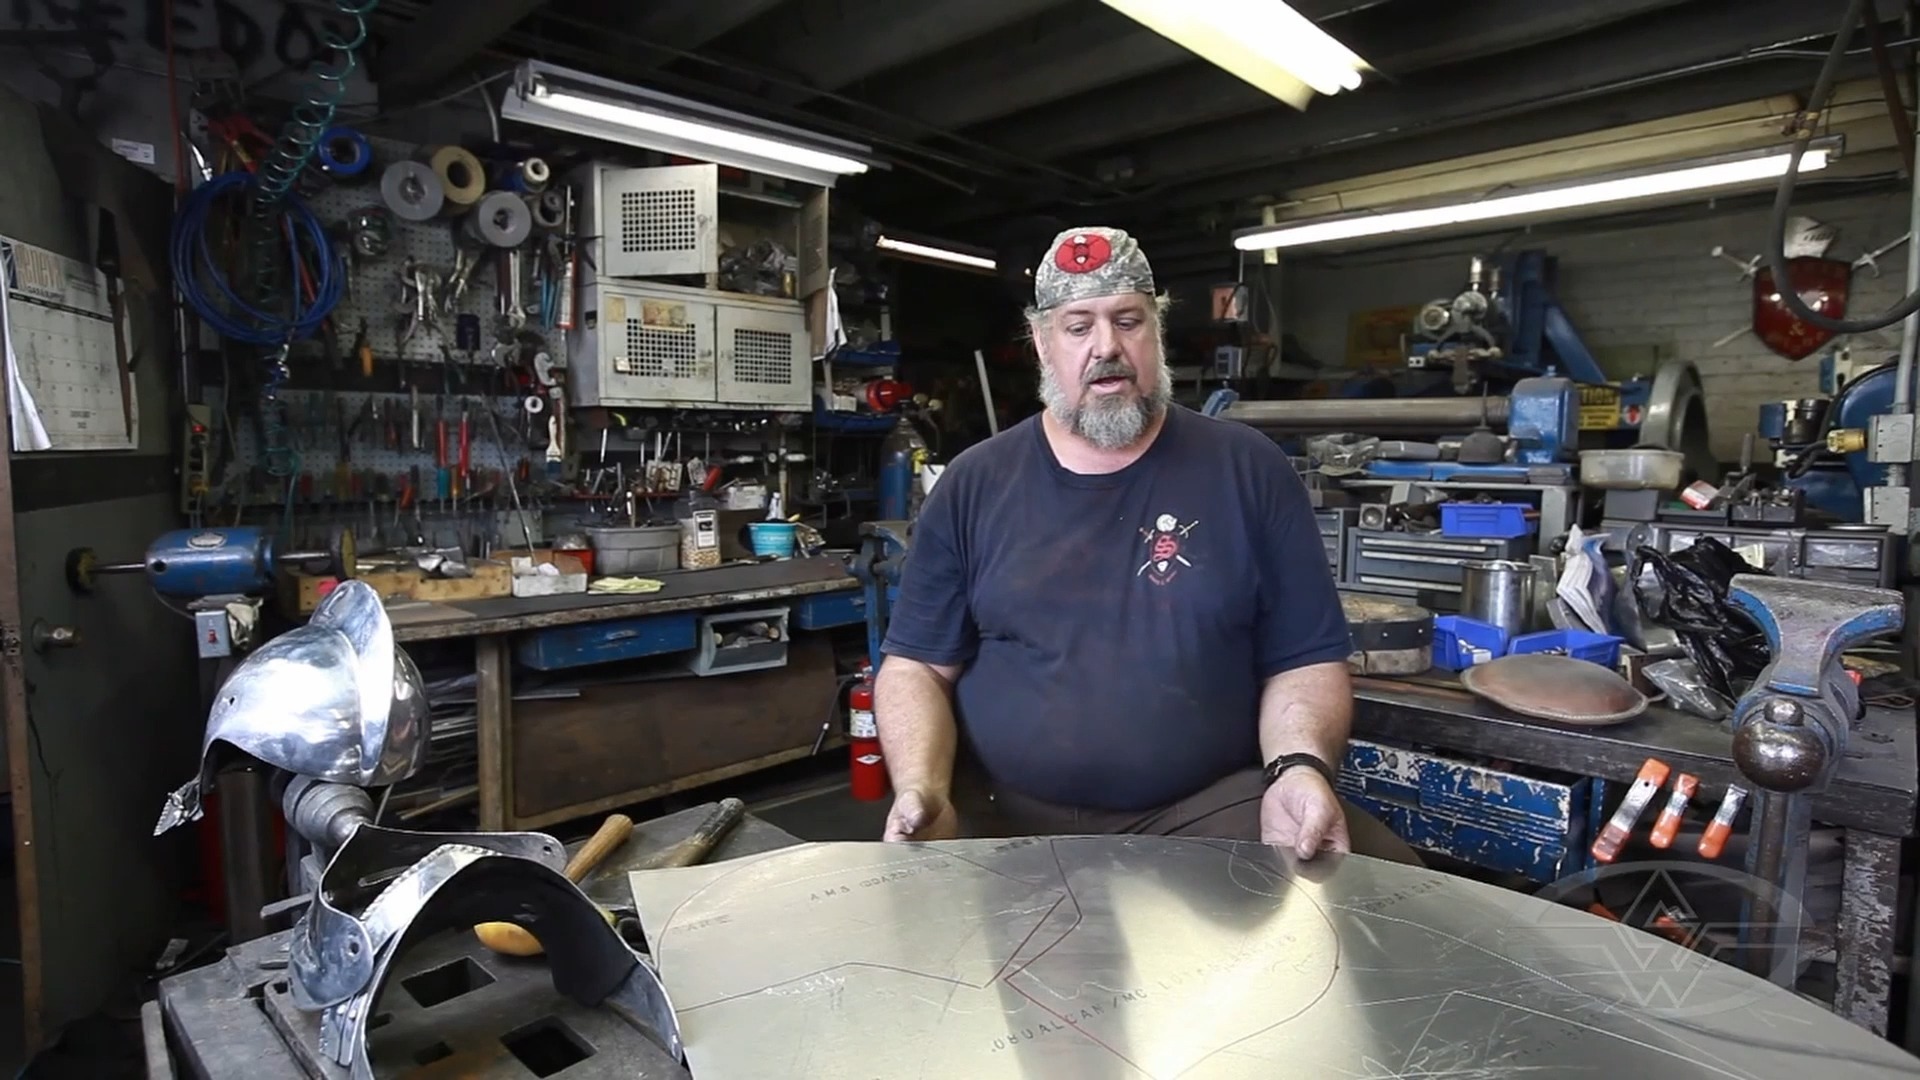 (Tony Swatton displays his patterns transferred to the aluminum and ready to cut.)
Now that you have successfully patterned your prop, the next step is bringing it to the shear!
WATCH THE “HOW TO MAKE PROP ARMOR” COURSE WITH TONY SWATTON: