

Accelerating Aging With Silicone Transfer Makeup
Neill Gorton (Doctor Who, The Wolfman, Saving Private Ryan) is a multi-award-winning prosthetics designer and the founder of Gorton Studio, the first-ever specialist prosthetics and makeup FX school in Europe. Neill shows you how to glue down and blend edges in this FREE excerpt from his Stan Winston School of Character Arts course, Silicone Prosthetic Transfer Appliances: Age Makeup, Part 2.
Jump To Section
- Gluing Down Silicone Transfers and Blending Edges
- Applying Adhesive to Glue Down the Transfer
- Refining and Adding Fine Lines
To watch the complete video, click the player above!
Gluing Down Silicone Transfers and Blending Edges
 (Neill Gorton carefully glues down the silicone transfer on SWSCA co-founder Erich Grey Litoff.)
When applying silicone prosthetic transfer age makeup, knowing how to glue down and blend the edges are vital components to creating shockingly realistic work.
Silicone prosthetic transfer age makeup is essential to creating the overall illusion of what your subject’s face would actually look like in the future. So, it’s important to consider the changes that come with aging and to apply that to your subject’s appearance.
Add years to your subject’s face that will take them from adulthood to elderhood in virtually no time. (When compared to the natural aging process, of course.)
Applying Adhesive to Glue Down the Transfer
Once your silicone prosthetic transfer is on your subject’s face, it’s worth noting that any seeming imperfections can be worked through. Lumps and bumps can be gently smoothed down with a brush. Additionally, if you encapsulated your prosthetics with cap plastic, the cap plastic can be dissolved away.
 (Neill Gorton and assistant makeup artist Adrian Rigby work together to glue down a patch to prevent it from sticking to the nose.)
Apply Snappy G Prosthetic Adhesive with a brush to glue down the patches and prevent any from sticking, as demonstrated by Neill Gorton and his assistant makeup artist Adrian Rigby.
Neill mentions, “The beauty of the transfer is just the speed.” He has two cheek transfers positioned and on, and the edges are all down as he continues to work the adhesive onto them. This helps create a natural, seamless blend from the piece to your subject’s skin.
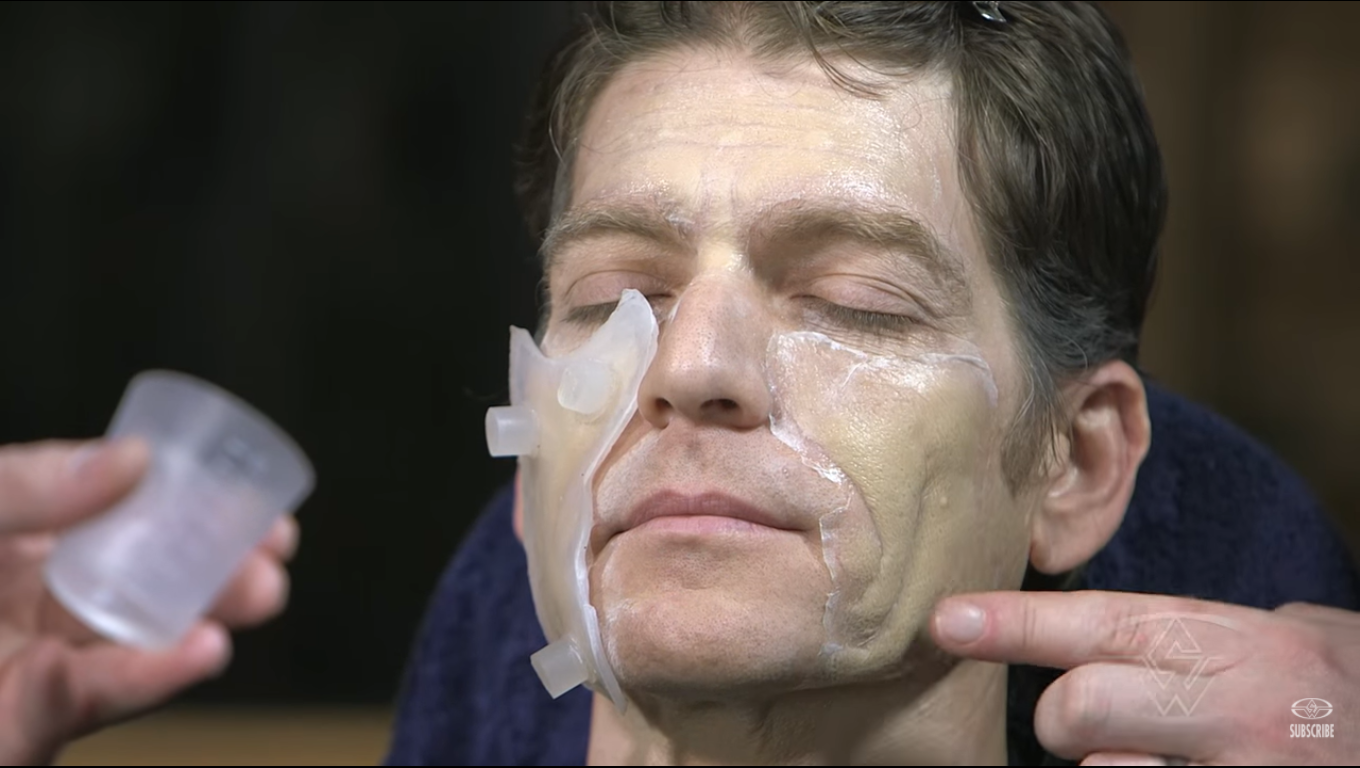 (Neill Gorton points out how seamlessly the transfer looks on this section of the cheek.)
The goal is to get your thin piece to go down flat and in the right place.
When the transfer has adhered, it’s time to clean up the edges with isopropyl alcohol and Q-tips.
Repeat the process on the other side of your subject’s face. In the course excerpt, Neill notices the silicone transfer is still wet and there’s some whiteness caused by Pros-Aide adhesive that’s stuck underneath. If you encounter something similar, have no fear — you can color over it.
Refining and Adding Fine Lines
For more accuracy, tilt your subject's face down for more control when applying your makeup.
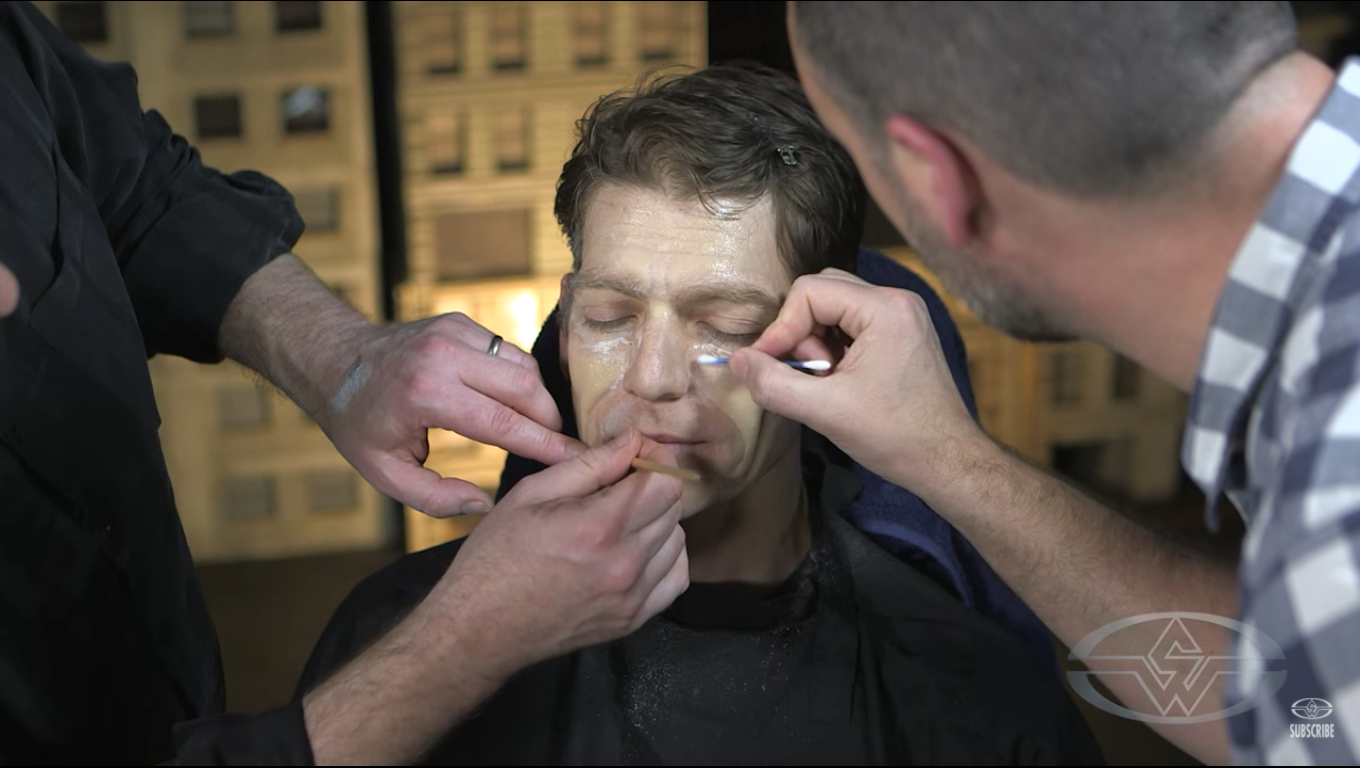 (Adrian Rigby works on blending the edges while Neill Gorton works on sticking the rest of the edges on the other side of Erich’s face.)
If you see your cap plastic is thick in some places, simply go around the edges again with a Q-tip. (You can get a good result without using equipment e.g. an airbrush.)
Looking for a more detailed aged look?
Color matching your subject yields the best results. Neill says he would normally use Pros-Aide and allow it to thicken. From there, he'd use it to add extra dots and lines to give a realistically aged face. Say goodbye to youth and hello to the golden years!
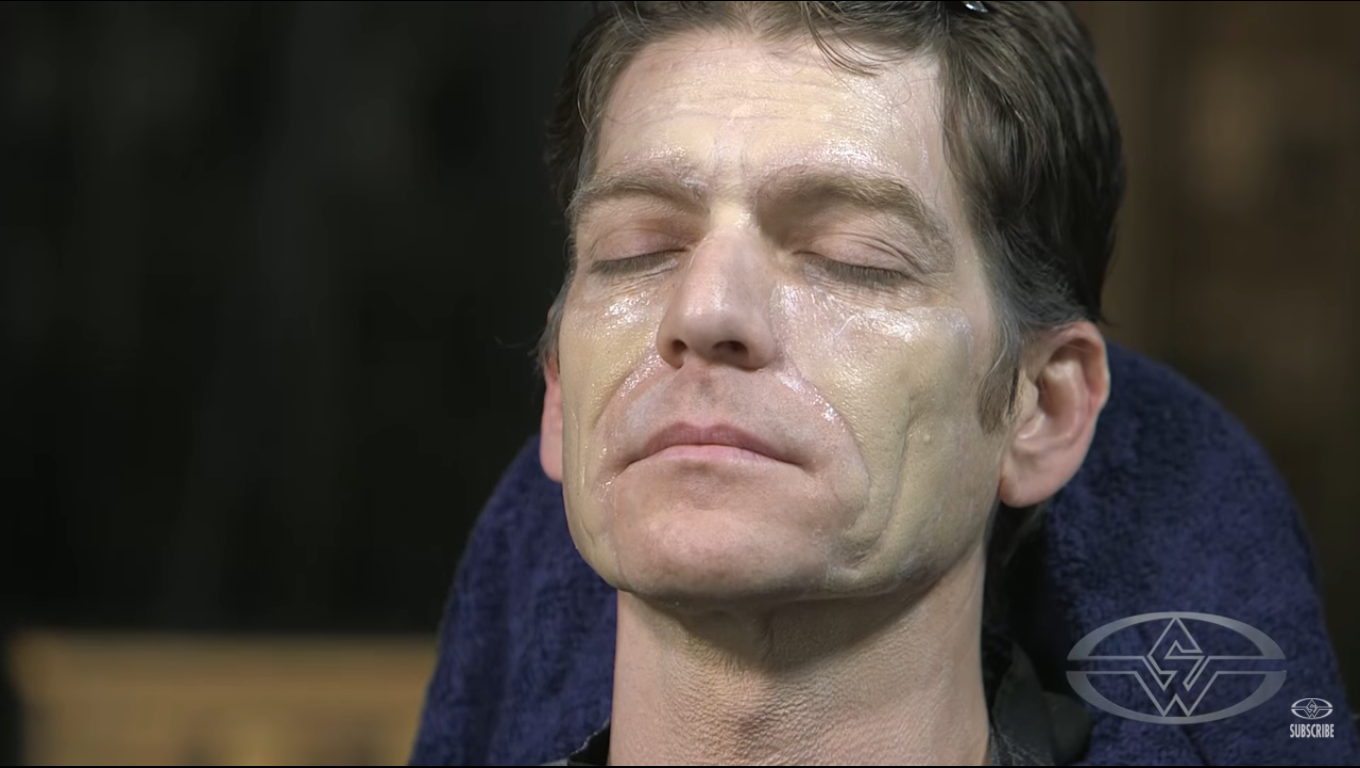 (The finished look after successfully gluing and blending the edges.)
WATCH NEILL GORTON’S ENTIRE “SILICONE PROSTHETIC TRANSFER APPLIANCES" COURSE:
Silicone Prosthetic Transfer Appliances: Age Makeup - Part 1
Silicone Prosthetic Transfer Appliances: Age Makeup - Part 2