

How to Create Directional Pores with Kenneth Calhoun
In this FREE excerpt from the Stan Winston School of Character Arts course, Encapsulated Pros-Aide Prosthetics Part 1: Sculpting, Molding & Casting, makeup artist and master FX tech Kenneth “Super Ken” Calhoun (Guardians of the Galaxy Vol. 2, The Shape of Water, Jurassic World) shares his techniques on adding directional pores to facial appliances.
Jump To Section
- Pore Texture Techniques and Tools
- How to Create Pore Texture in Prosthetics
- Texture and Layering Techniques
- Prosthetic Transfers and Edge Blending
- Stamping and Smoothing Pore Texture
To watch the complete instructional video, click the player above!
In this lesson, Kenneth Calhoun provides a step-by-step on how to create natural and directional pore texture in prosthetics. With these tips, you'll learn the best practices for creating texture, the benefits of taking a manual approach, tips on layering and refining your pore texture, and more!
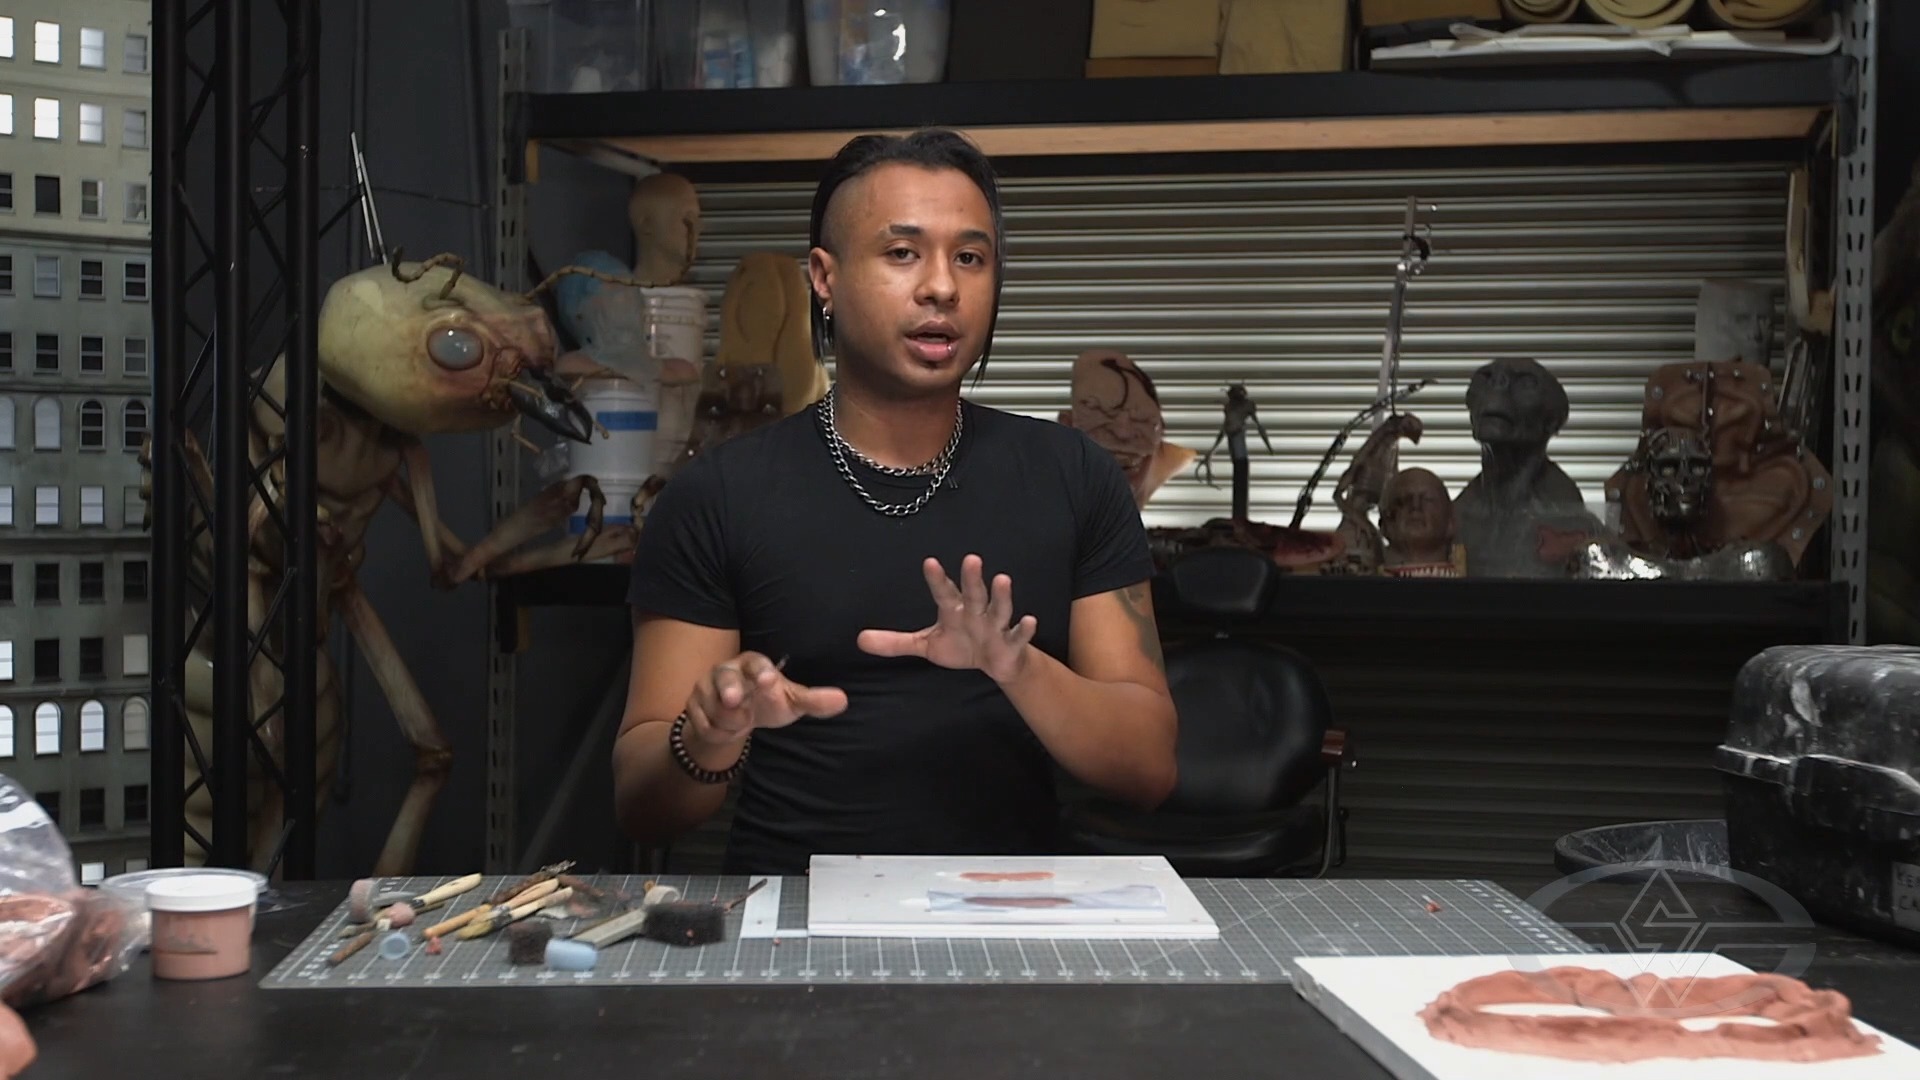
Pore Texture Techniques and Tools
Calhoun sculpts the piece that will become the facial prosthetic out of clay. To add pore texture, first, you place a clean piece of plastic over your sculpture to guide the direction of the pore texture. A clean piece helps prevent little divots from forming when applying your texture.
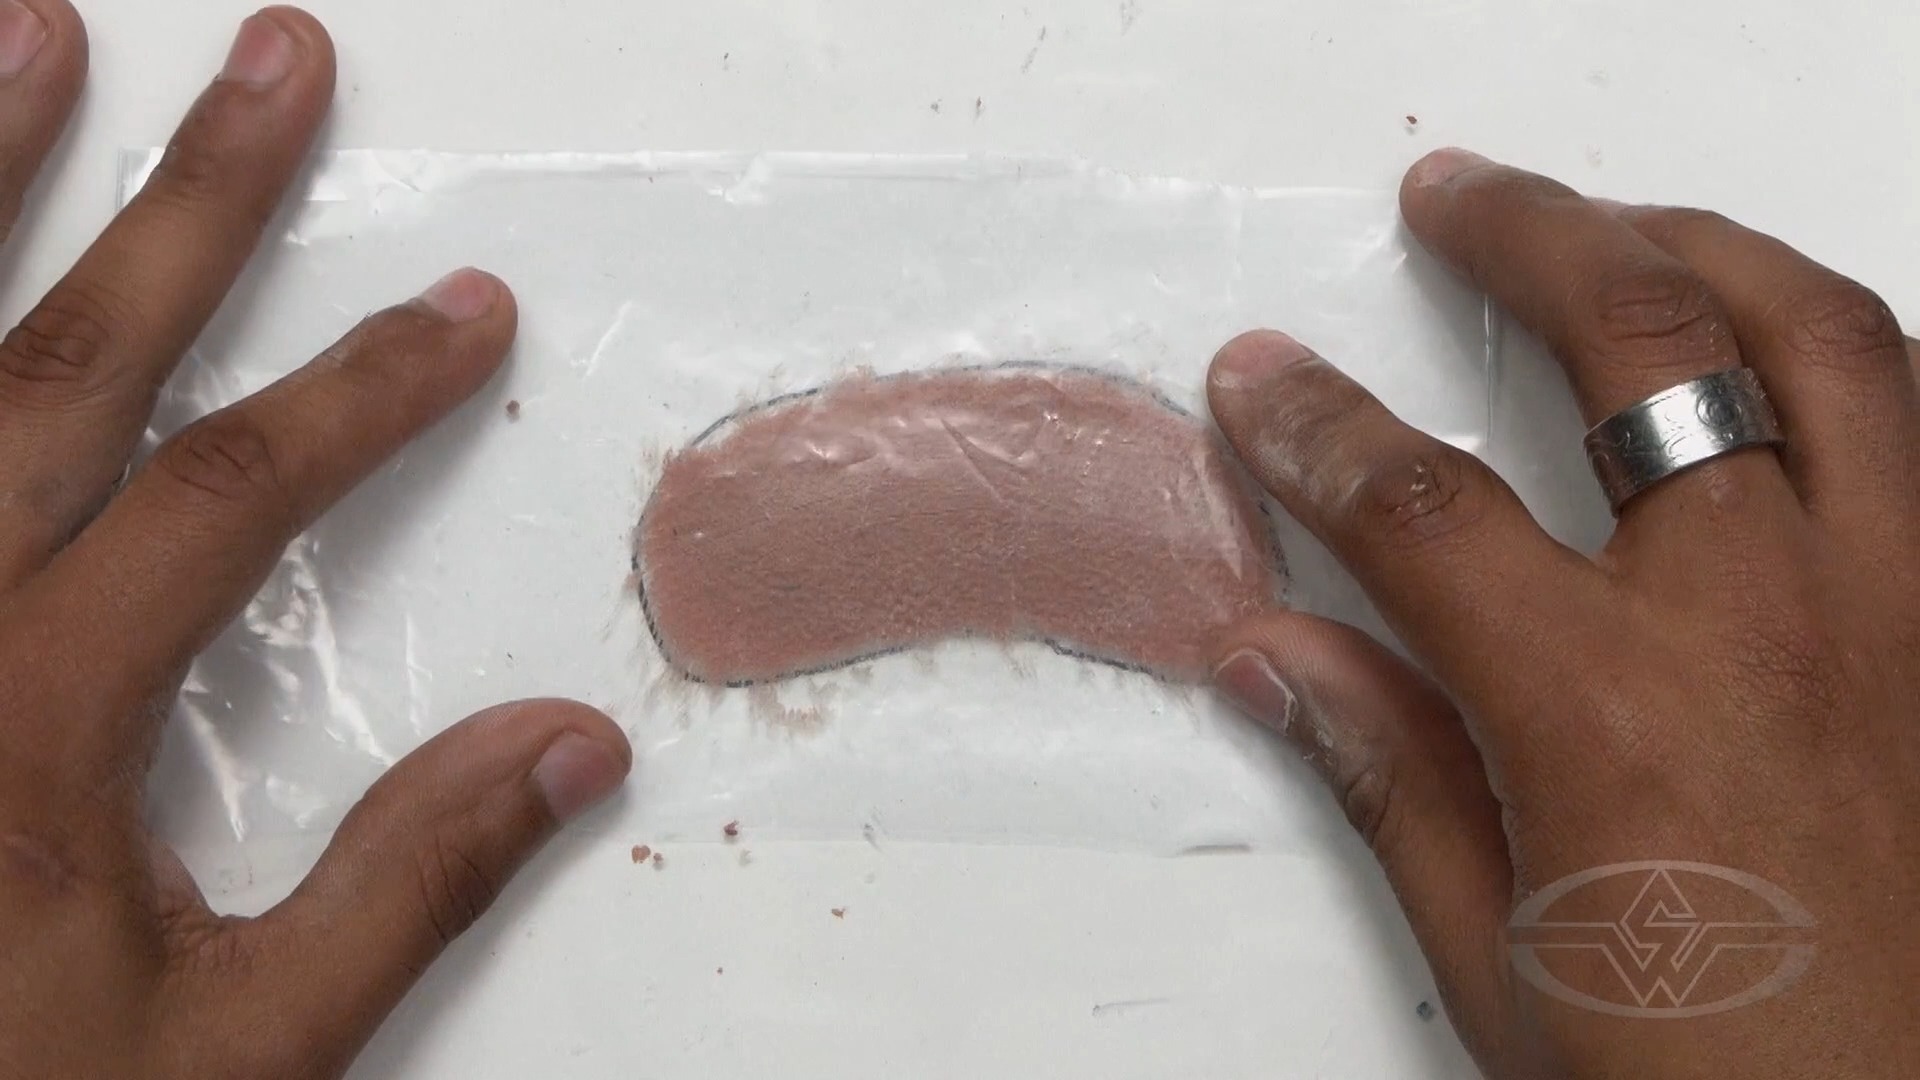 (Kenneth Calhoun places a piece of plastic over his prosthetic.)
Next, decide on the direction you would like your pores to travel. In this case, Calhoun wants his pore texture to travel to the right. Trace the line with a finger.
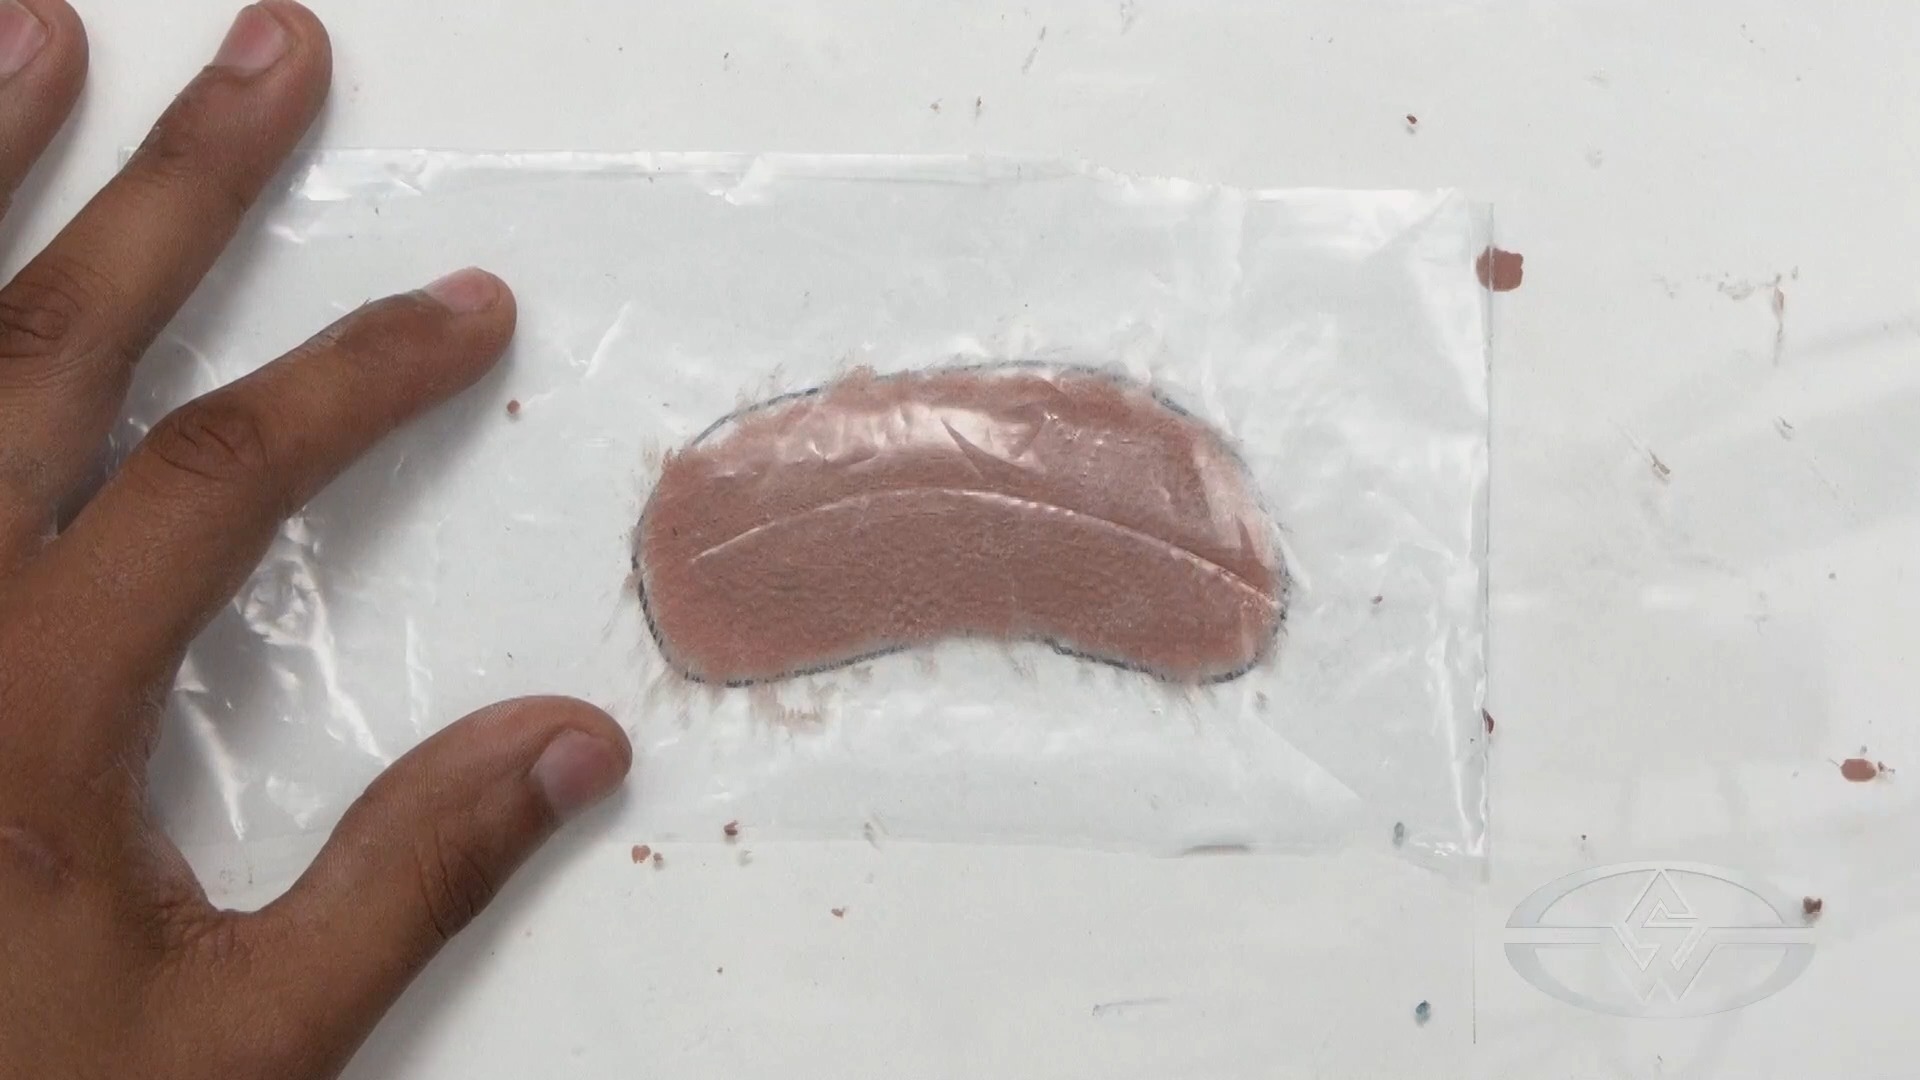 (Kenneth Calhoun uses his finger to lightly mark the direction the pores will travel.)
Then, using a loop tool, you block out the direction to know precisely where you're going. This is a technique Calhoun learned and perfected for doing hair work, particularly tying hair where the direction of the tie is crucial to the final look. There's a tendency to get lost when you're tying and forget what direction you're going. The same goes for making pores.
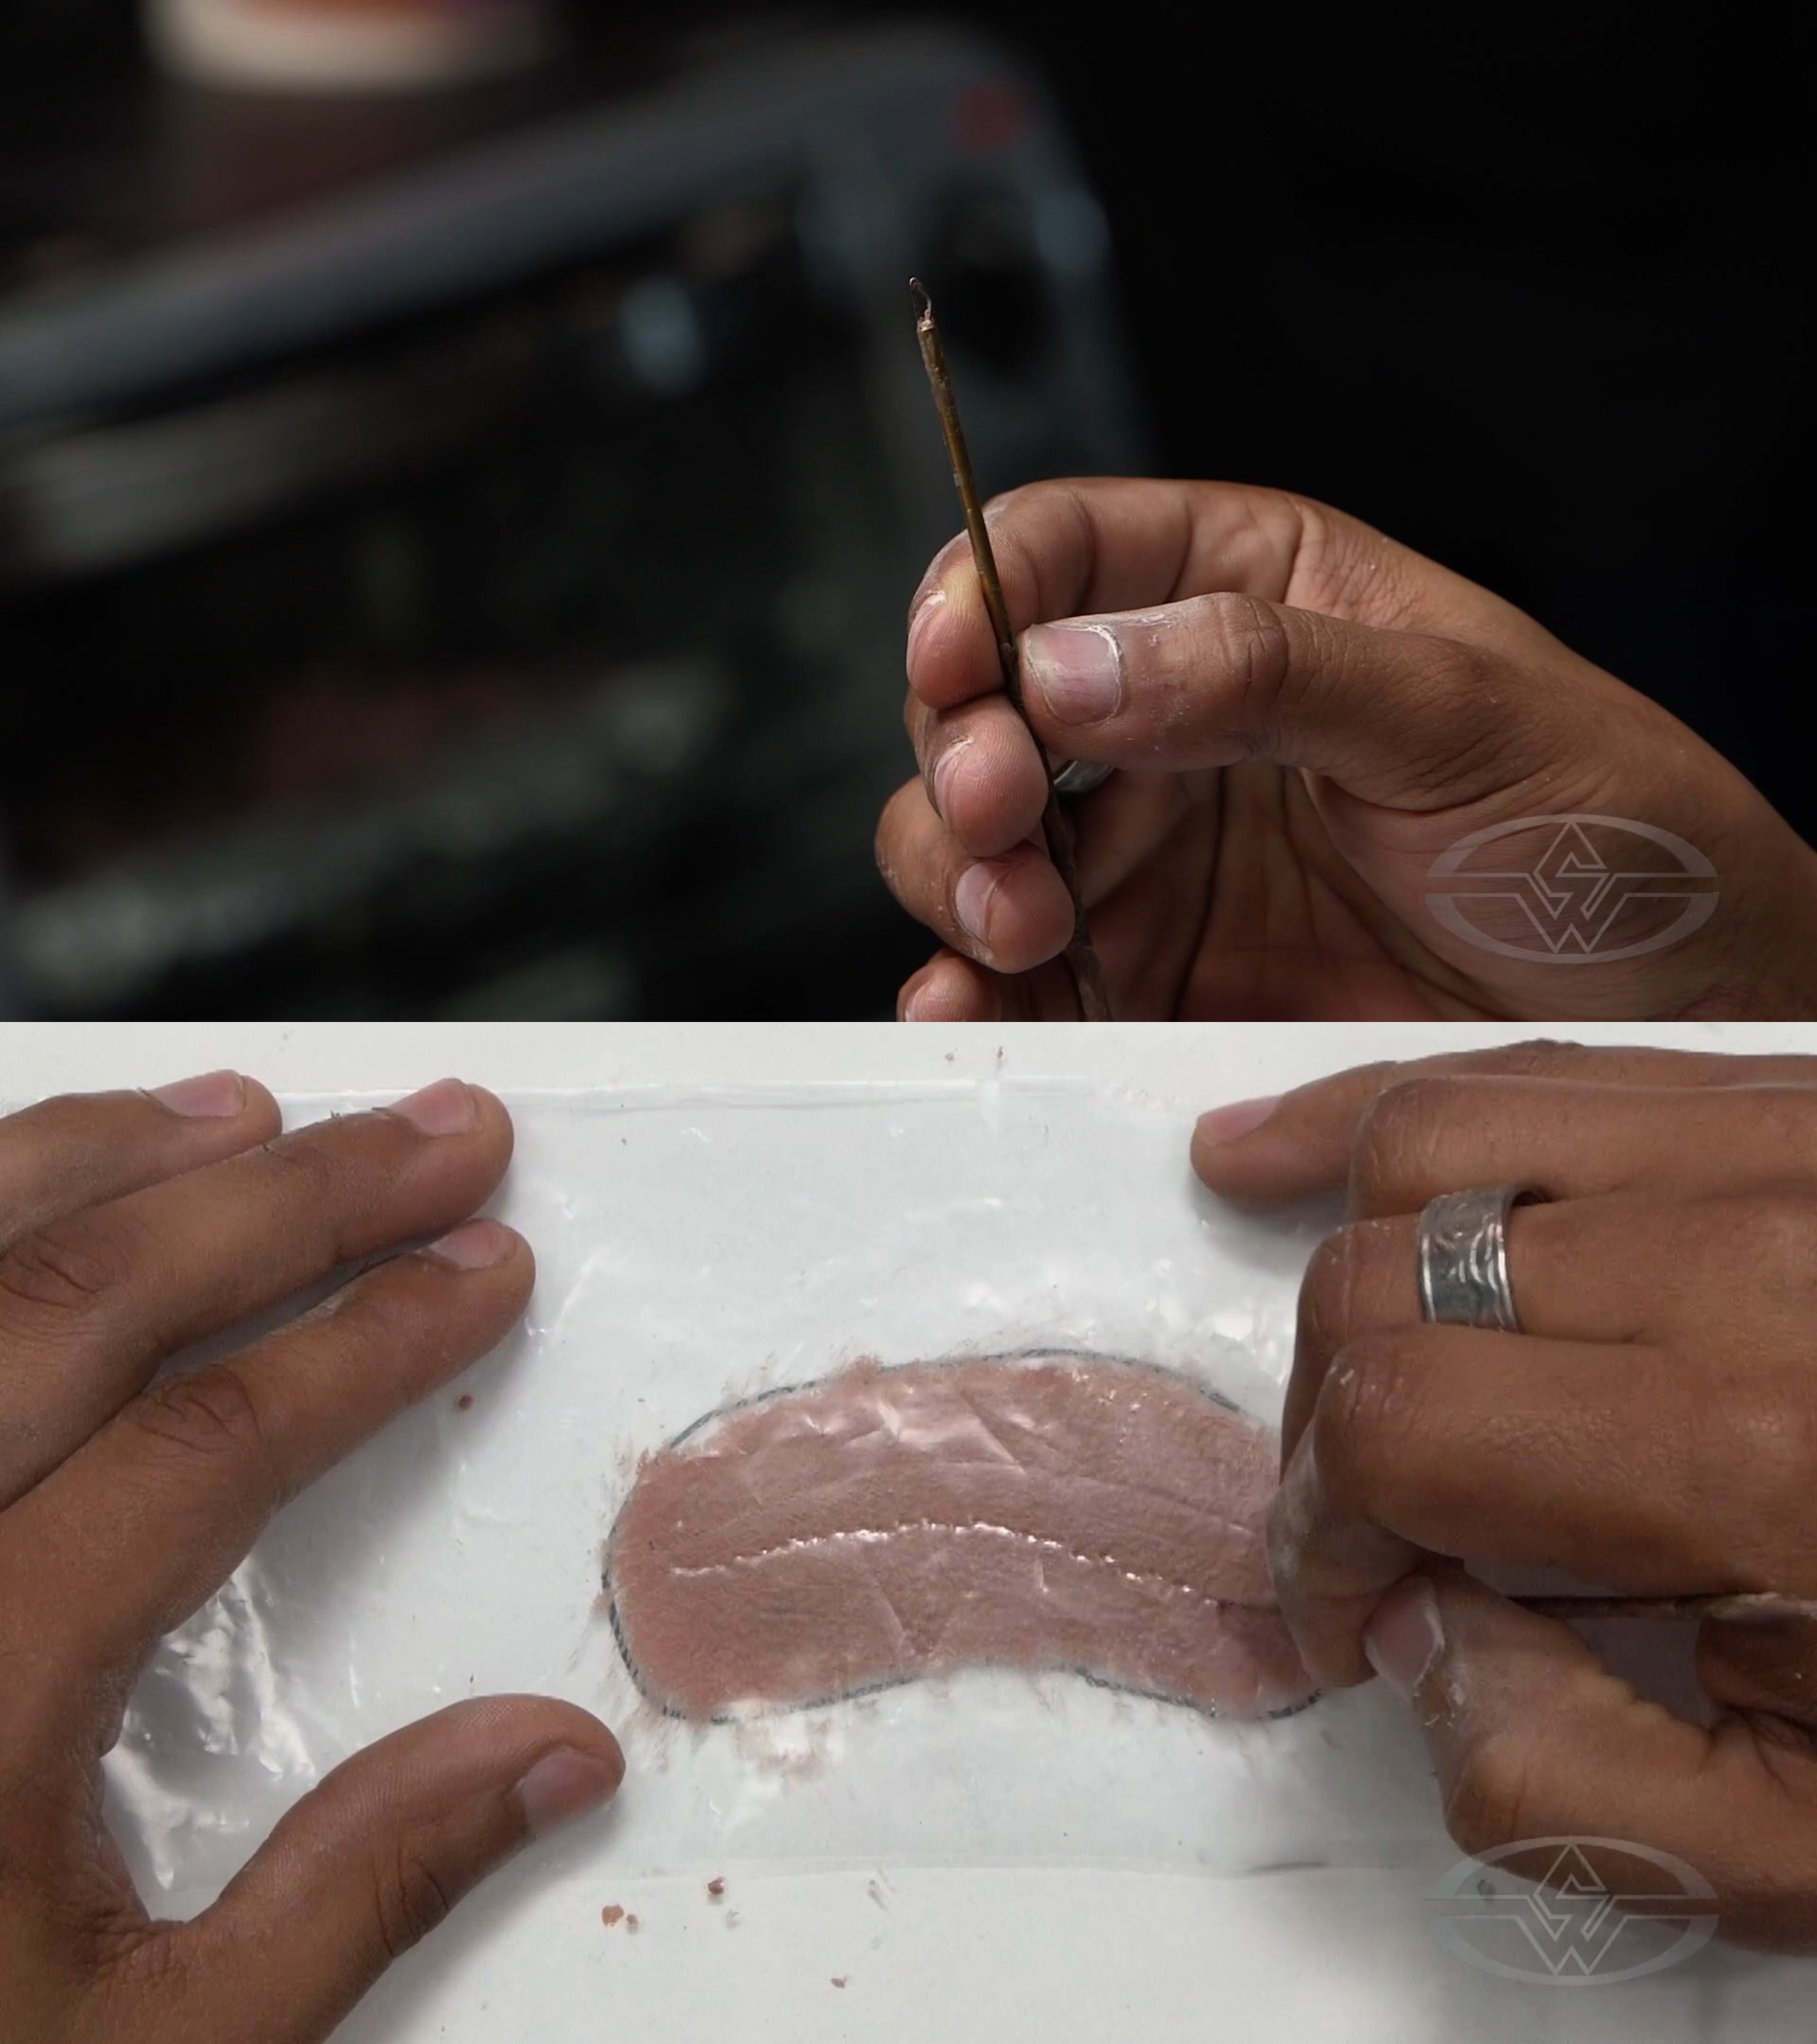 (Kenneth Calhoun uses a small double-sided loop tool to establish pore direction.)
In some instances, such as a nasal labial fold, the pore direction can change. But even if all your pores will go the same way, establishing the direction that the texture will travel is a way to keep it from getting jumbled up.
How to Create Pore Texture in Prosthetics
Use a small double-ended loop tool and make small divots in the clay using plastic. To create natural pore texture, Calhoun recommends using a pulling motion instead of tapping straight on. “When you do a pore, it has a thicker spot, and then it thins,” he explains. He demonstrates this motion and pattern to give a clear indication of how it should look, a little like a small comet. Instead of just tapping into the clay straight down, which may create undesirably deep divots, you tap lightly and pull.
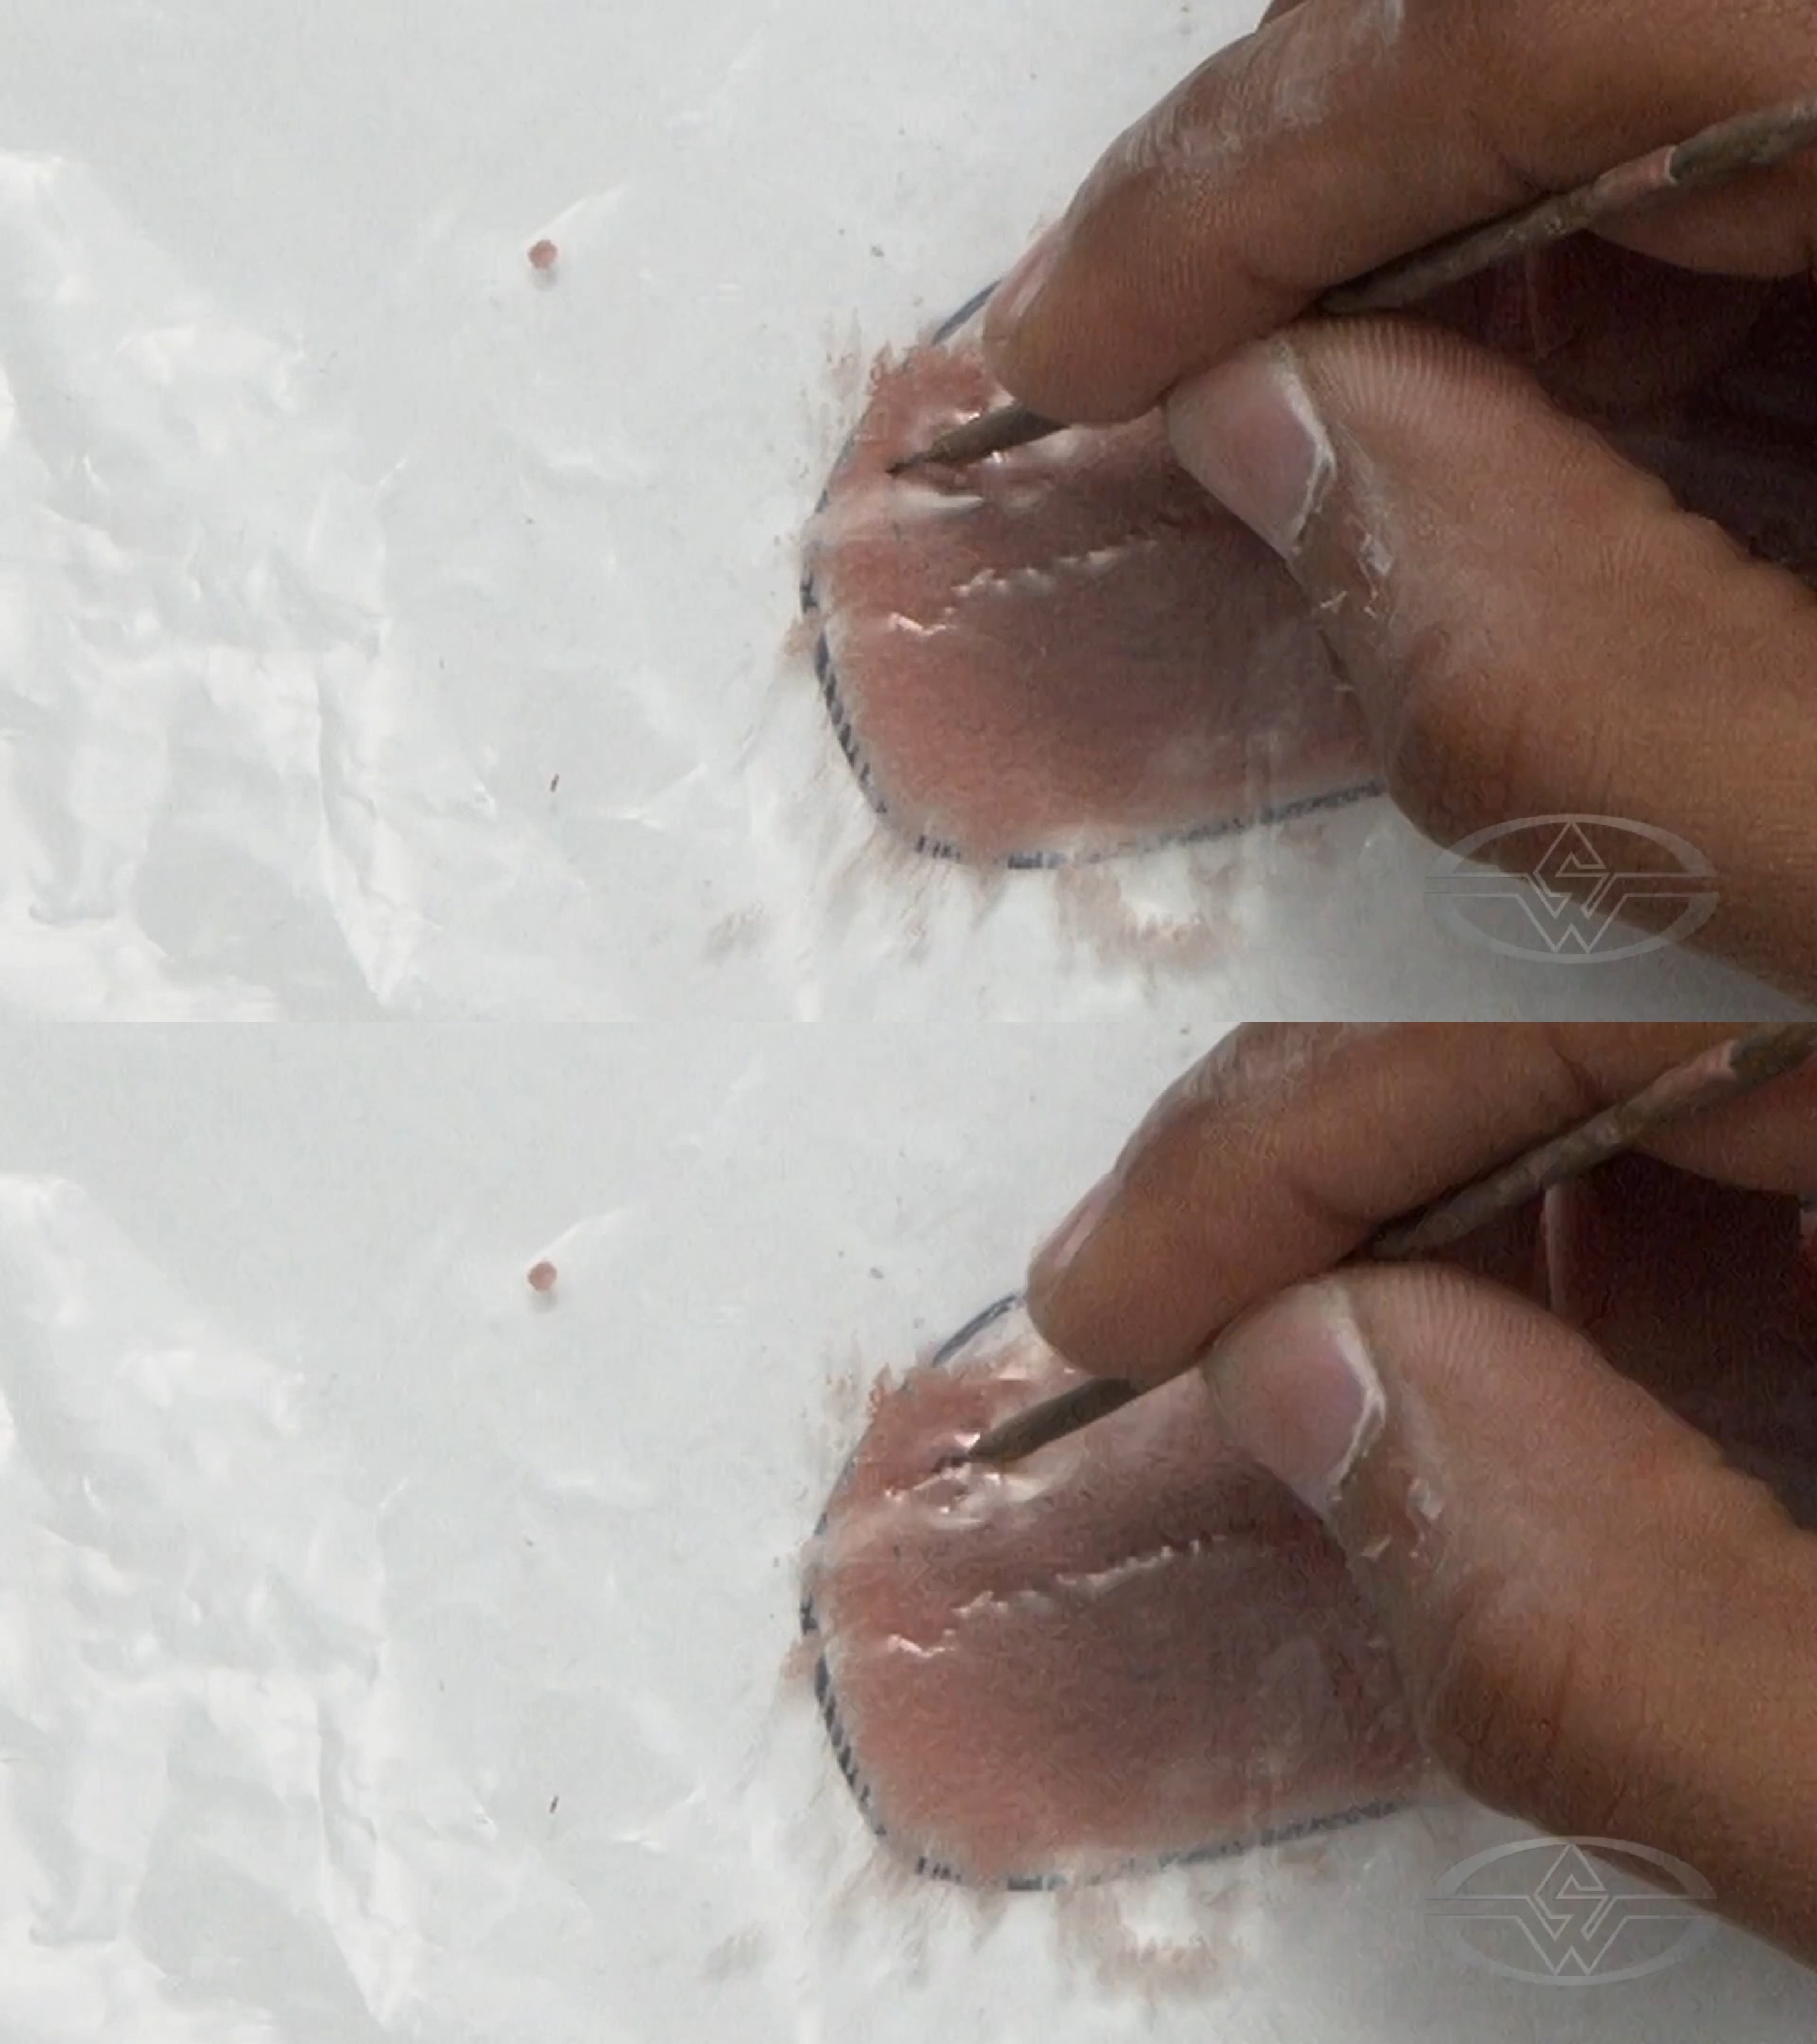 (Kenneth Calhoun demonstrates a pulling motion to create a pore by tapping and quickly pulling.)
Apply this method to your appliance, adding each pore one by one.
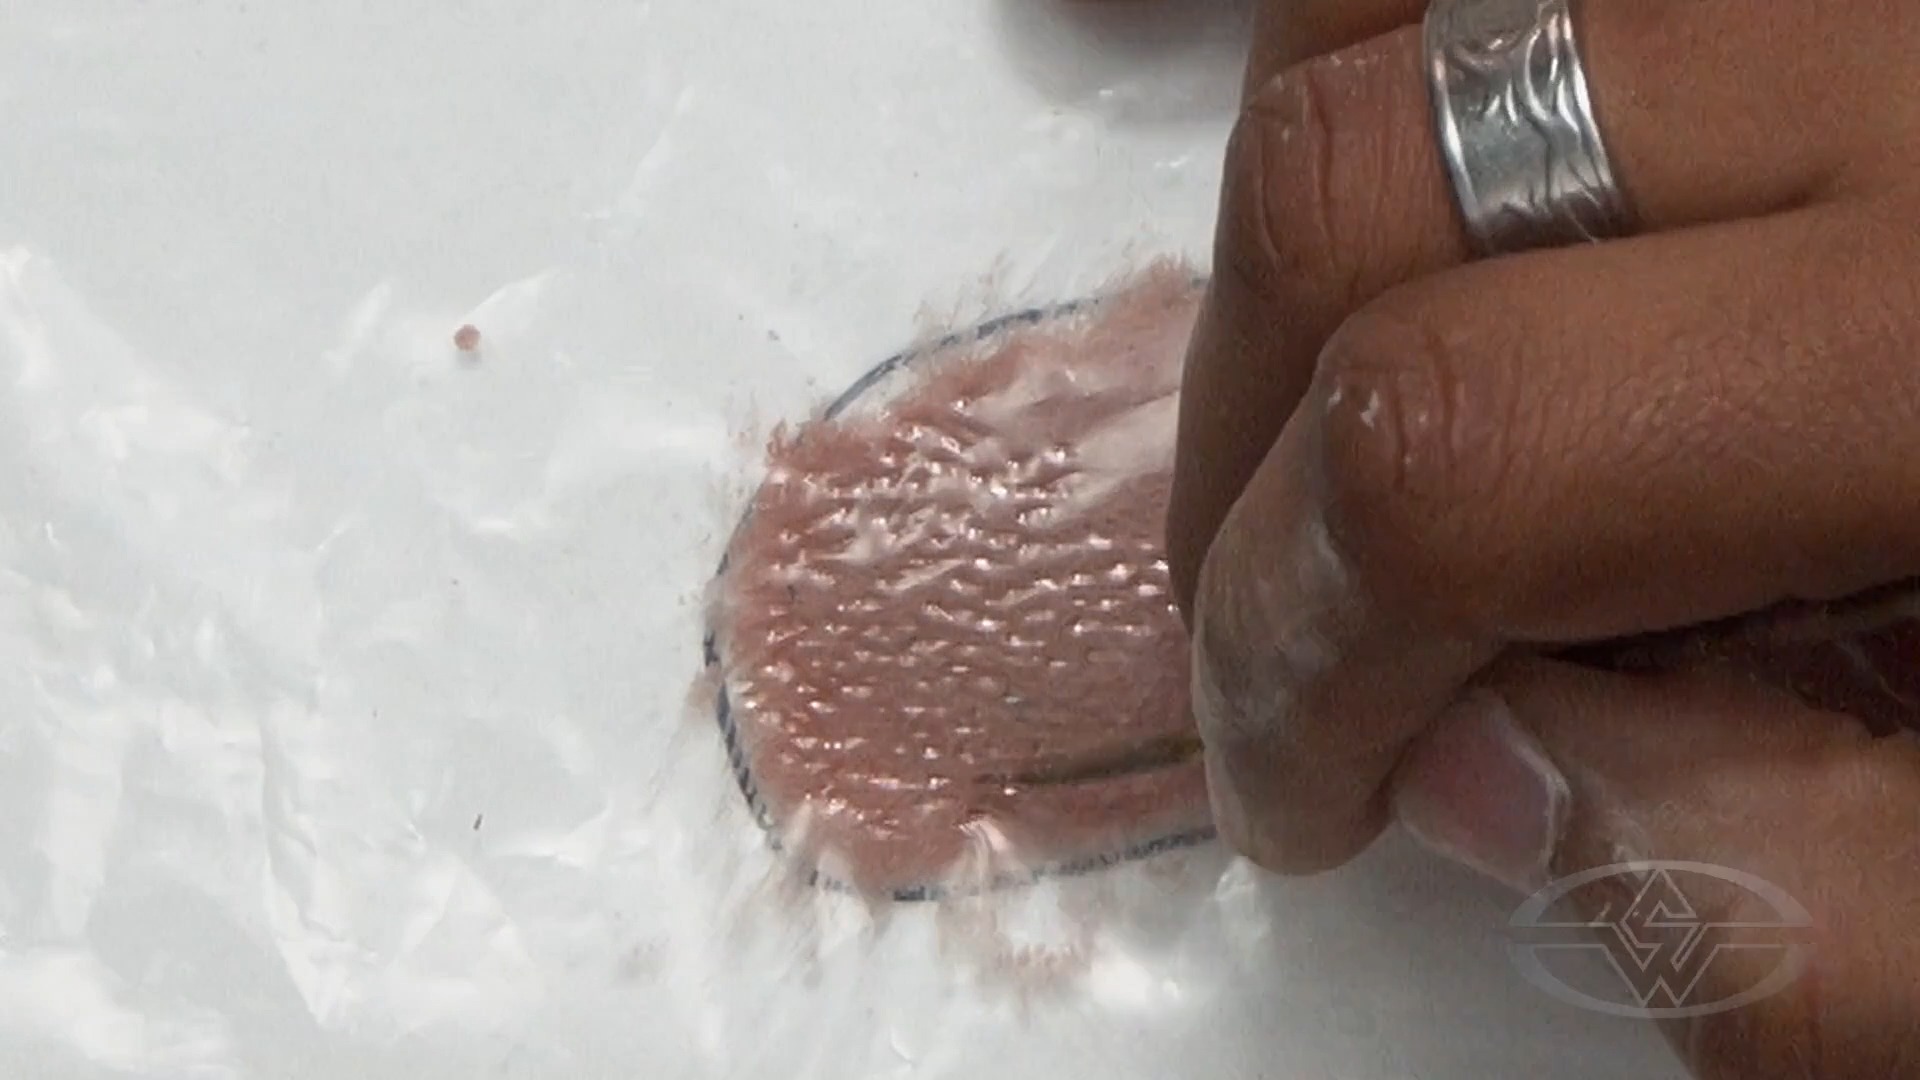 (Kenneth Calhoun creates scores of pores by hand, achieving a natural look.)
Though there are some tools, such as texture rollers, that would allow you to add many pores instantly, Calhoun prefers the look of doing it by hand, one pore at a time. Take your time, but don't overthink it; just tap and pull that direction where you want the pores to go and move on to the next one.
By pulling very quickly with each tap, your pores won’t cast a harsh shadow.
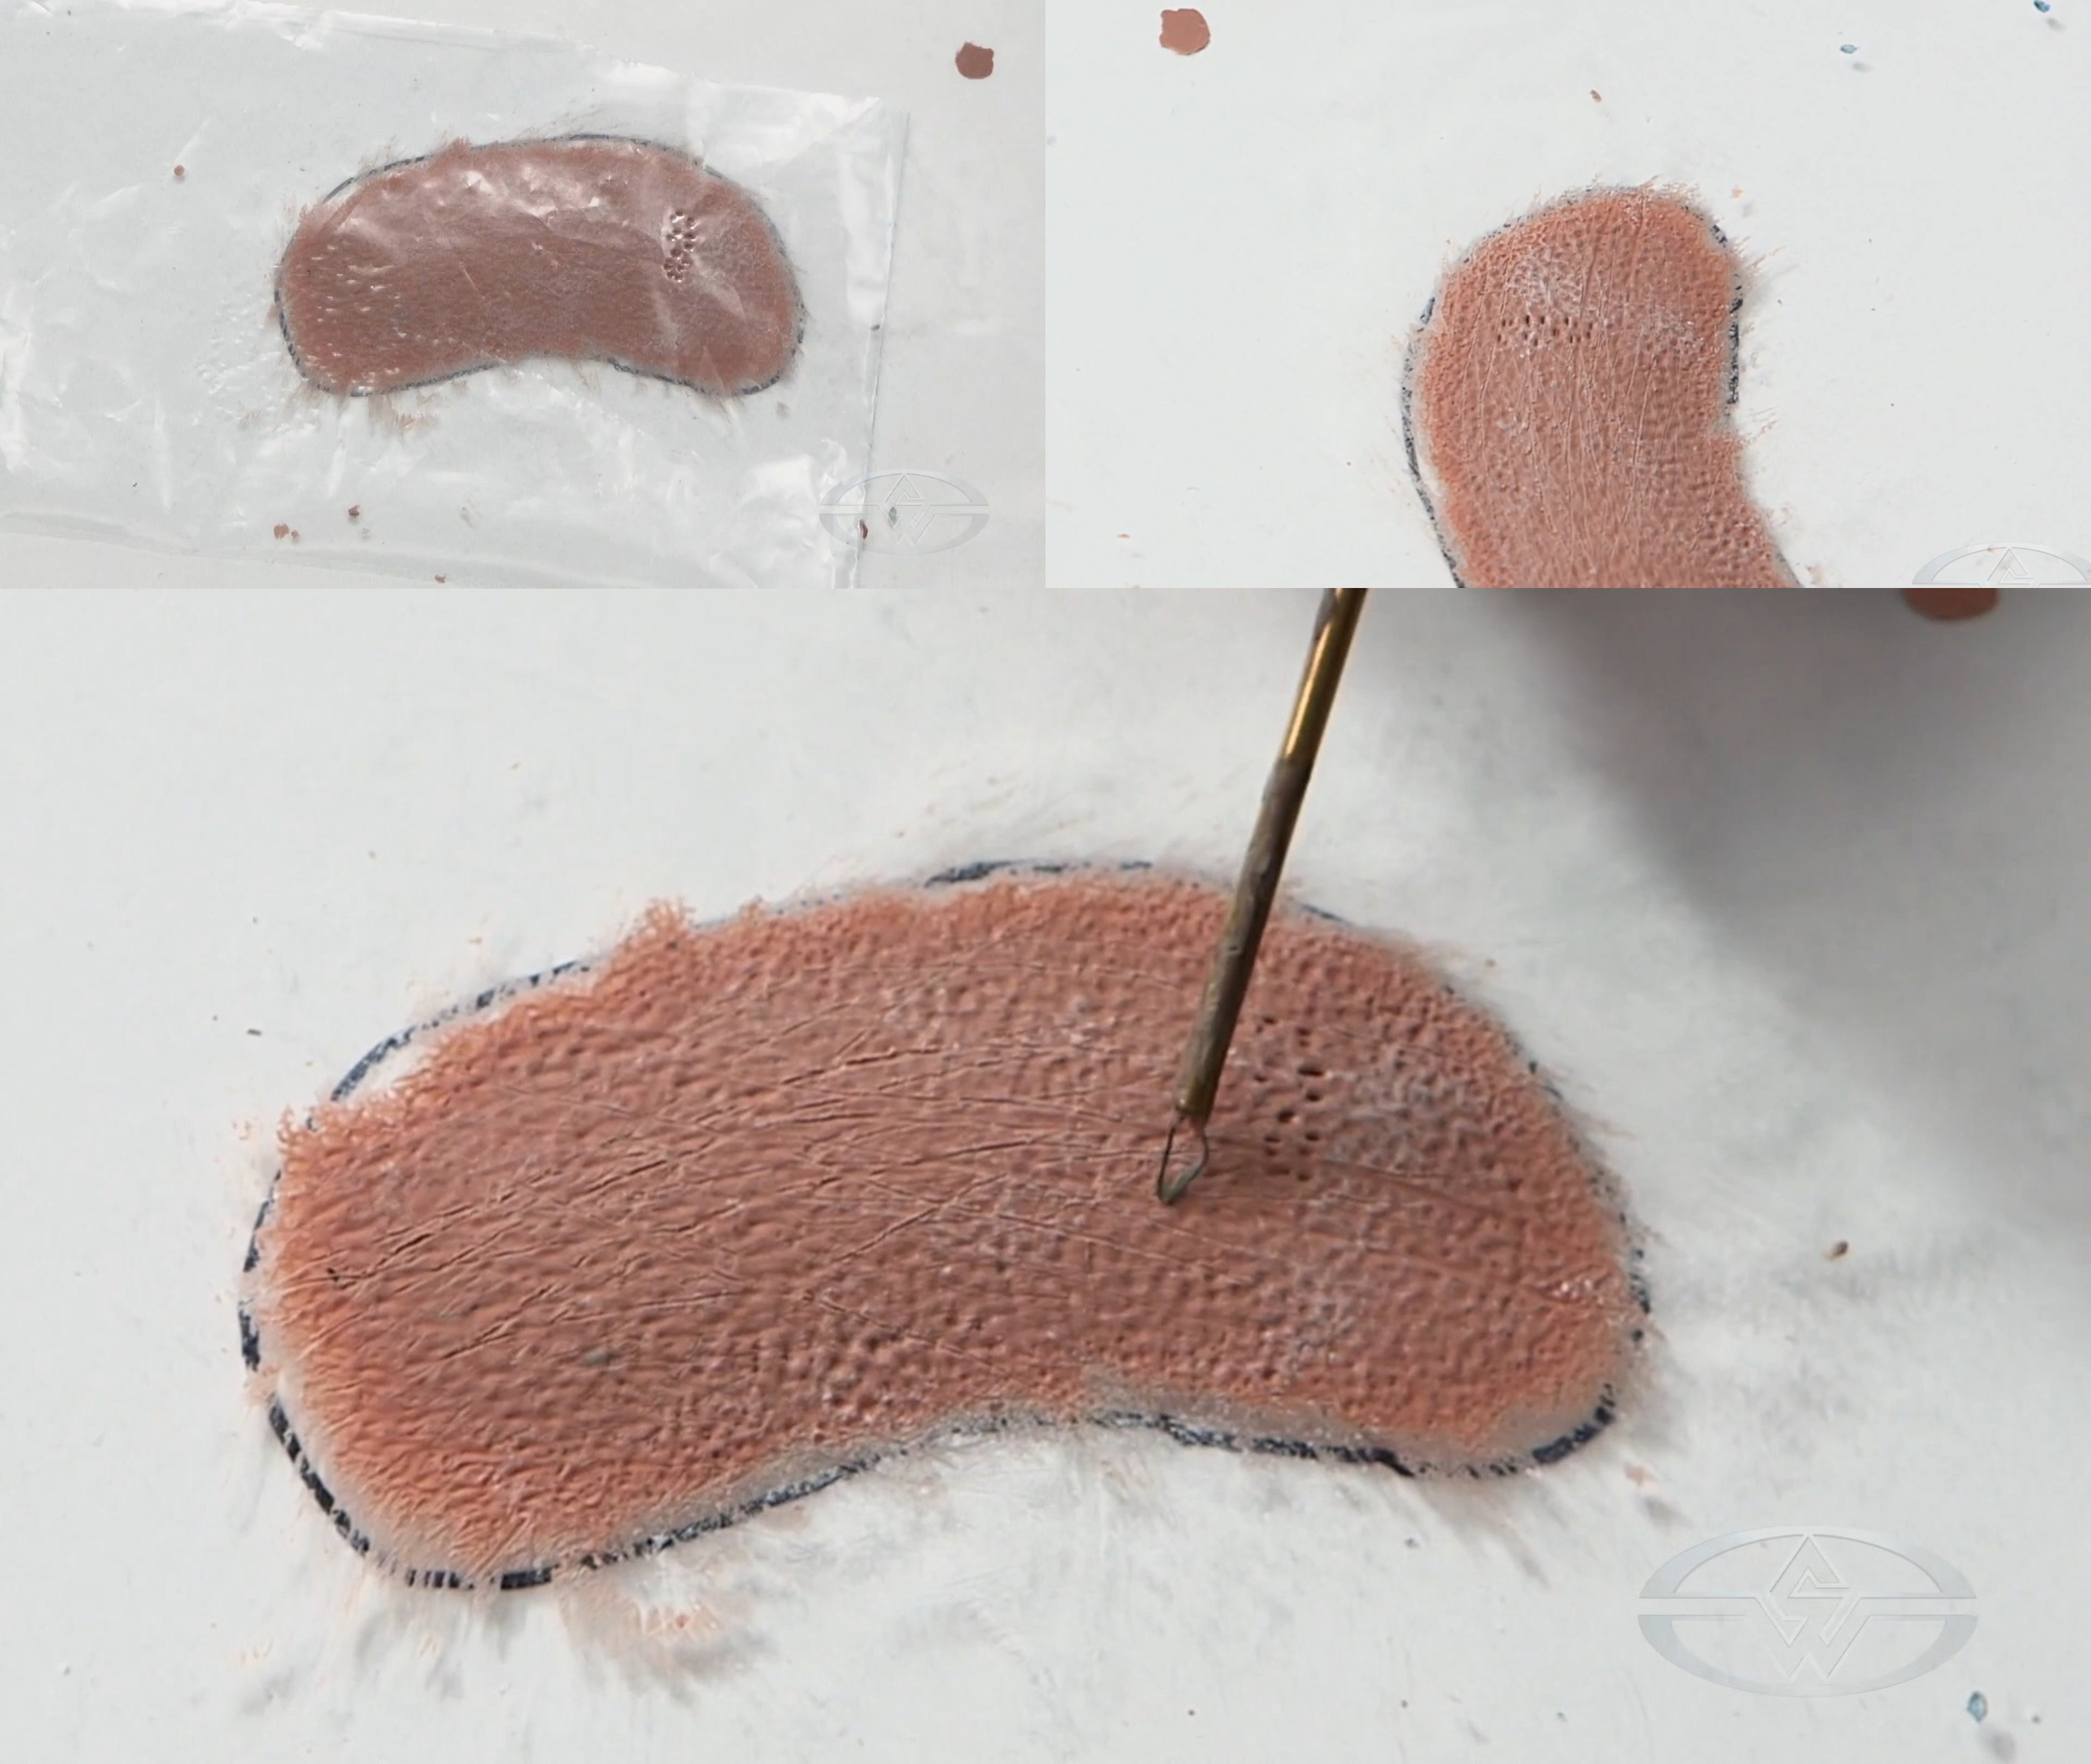 (Kenneth Calhoun demonstrates a deeper pore created by a tapping motion straight on; the resulting texture might work for certain characters, but it isn't what he wants for this piece.)
Texture and Layering Techniques
While adding pore texture can feel monotonous, the realistic end result is worth the extra time and effort. Calhoun says that he spends more time doing pore texture on a sculpture than he spends doing wrinkles or folds.
Adopting an aesthetic preference shared by prosthetics designer Mike Marino, Calhoun states that he likes to keep his old-age makeups a little lumpy, avoiding the use of rake tools and smoothing.
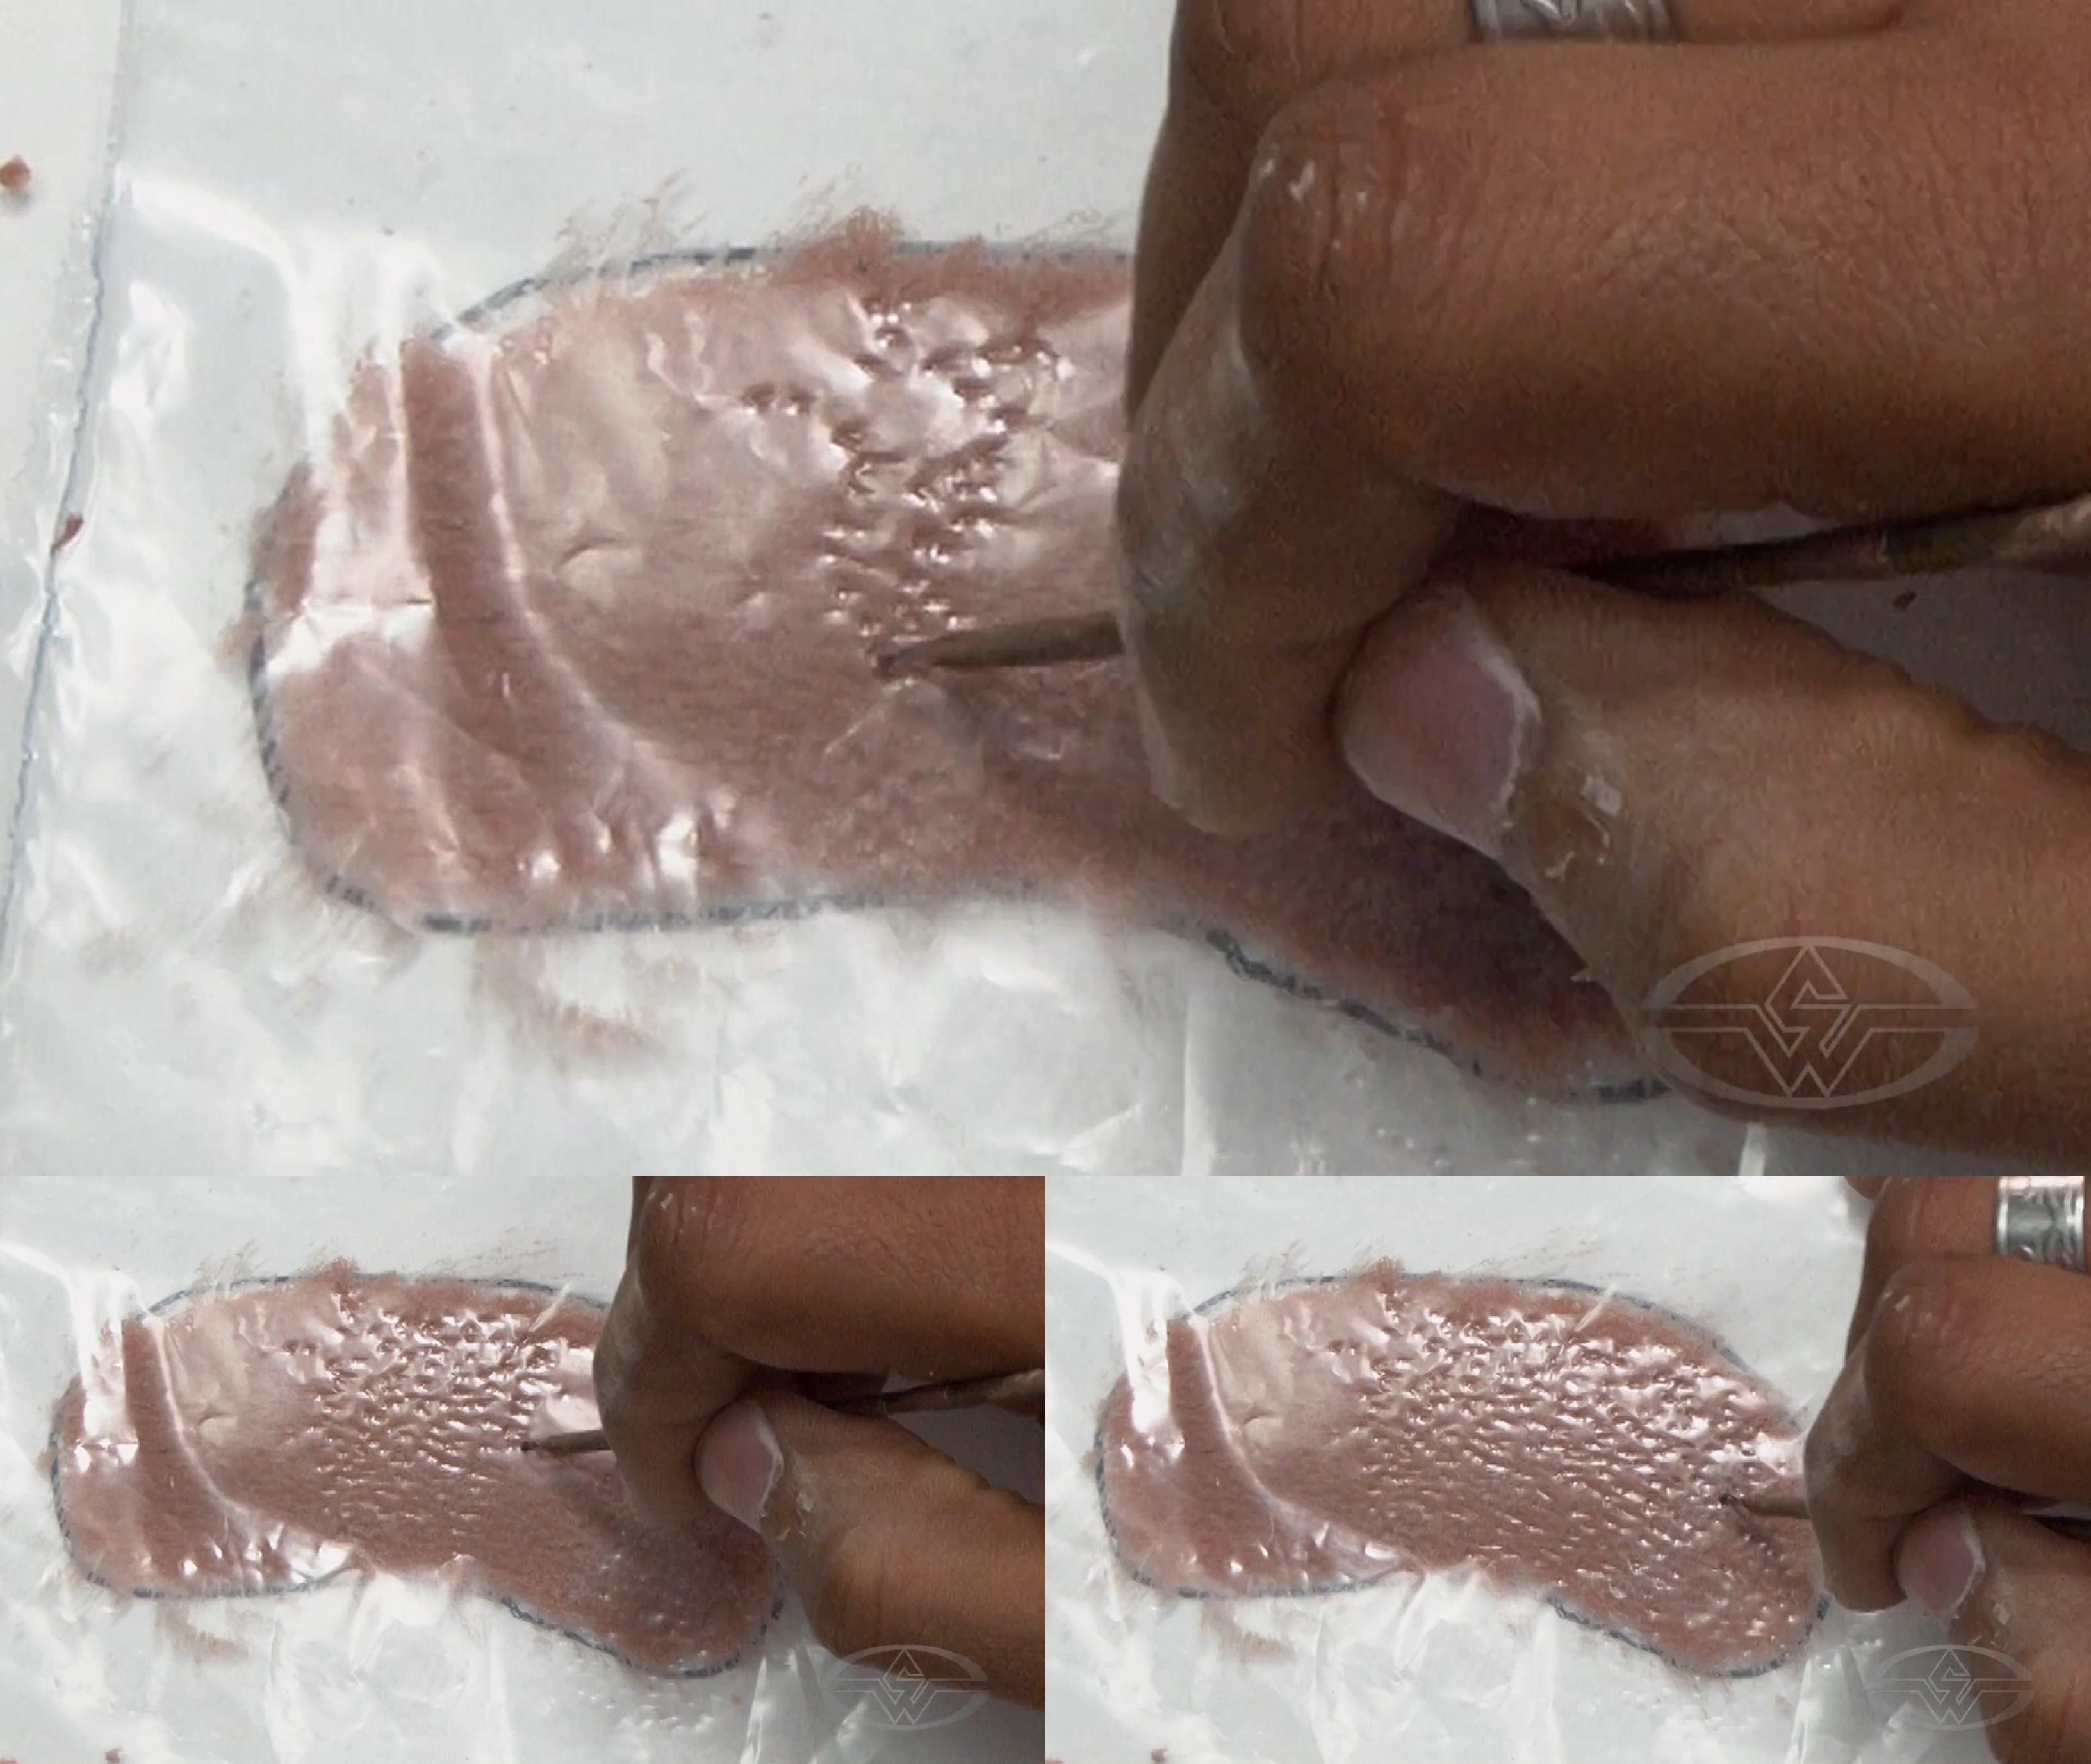 (One by one, Kenneth Calhoun adds pores to his prosthetic.)
“You don’t want it to be super perfect, and I completely agree with that mindset,” Calhoun says. “I will spend a lot of time doing pore texture because I like doing it one by one by one by one.”
Continue adding your pore texture until you’ve reached an amount you’re satisfied with.
When you remove the plastic sheet, you’ll notice there’s a little bit of direction where all the pores are traveling the same way.
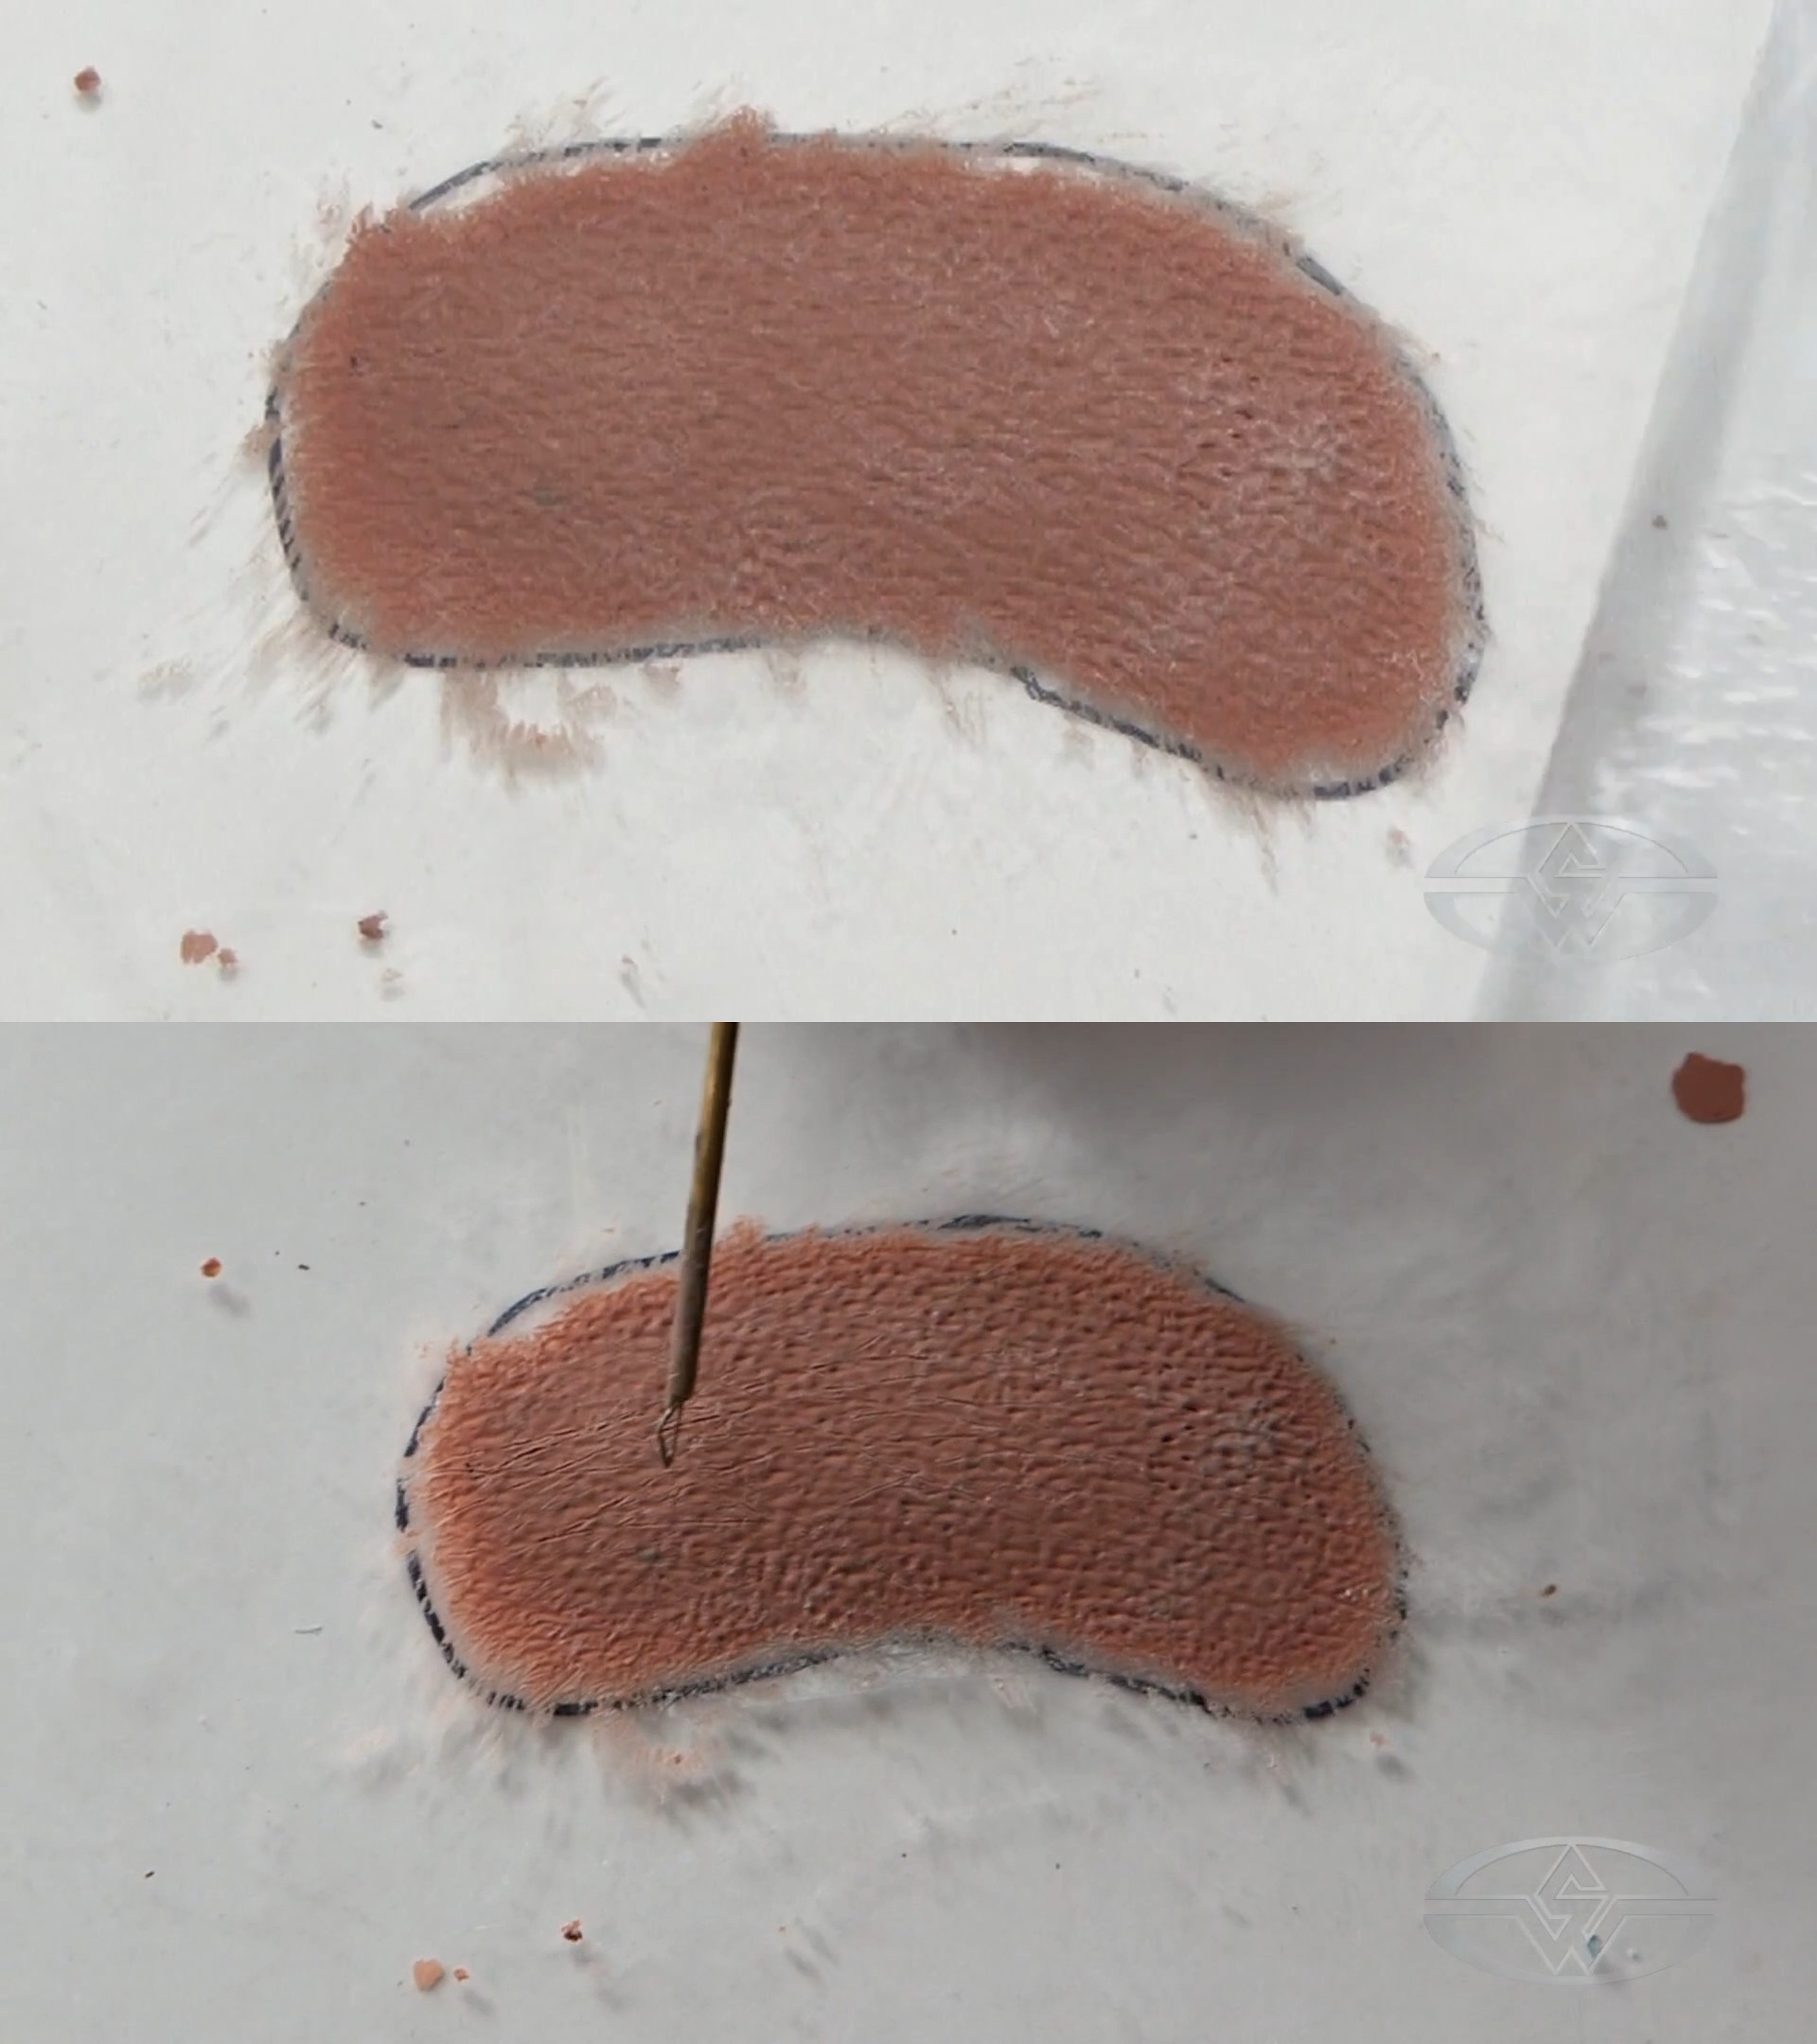 (Kenneth Calhoun removes the plastic from his prosthetic revealing a clear view of the pore direction.)
At this point, you’ll want to layer texture on top of your base layer and then repeat the process.
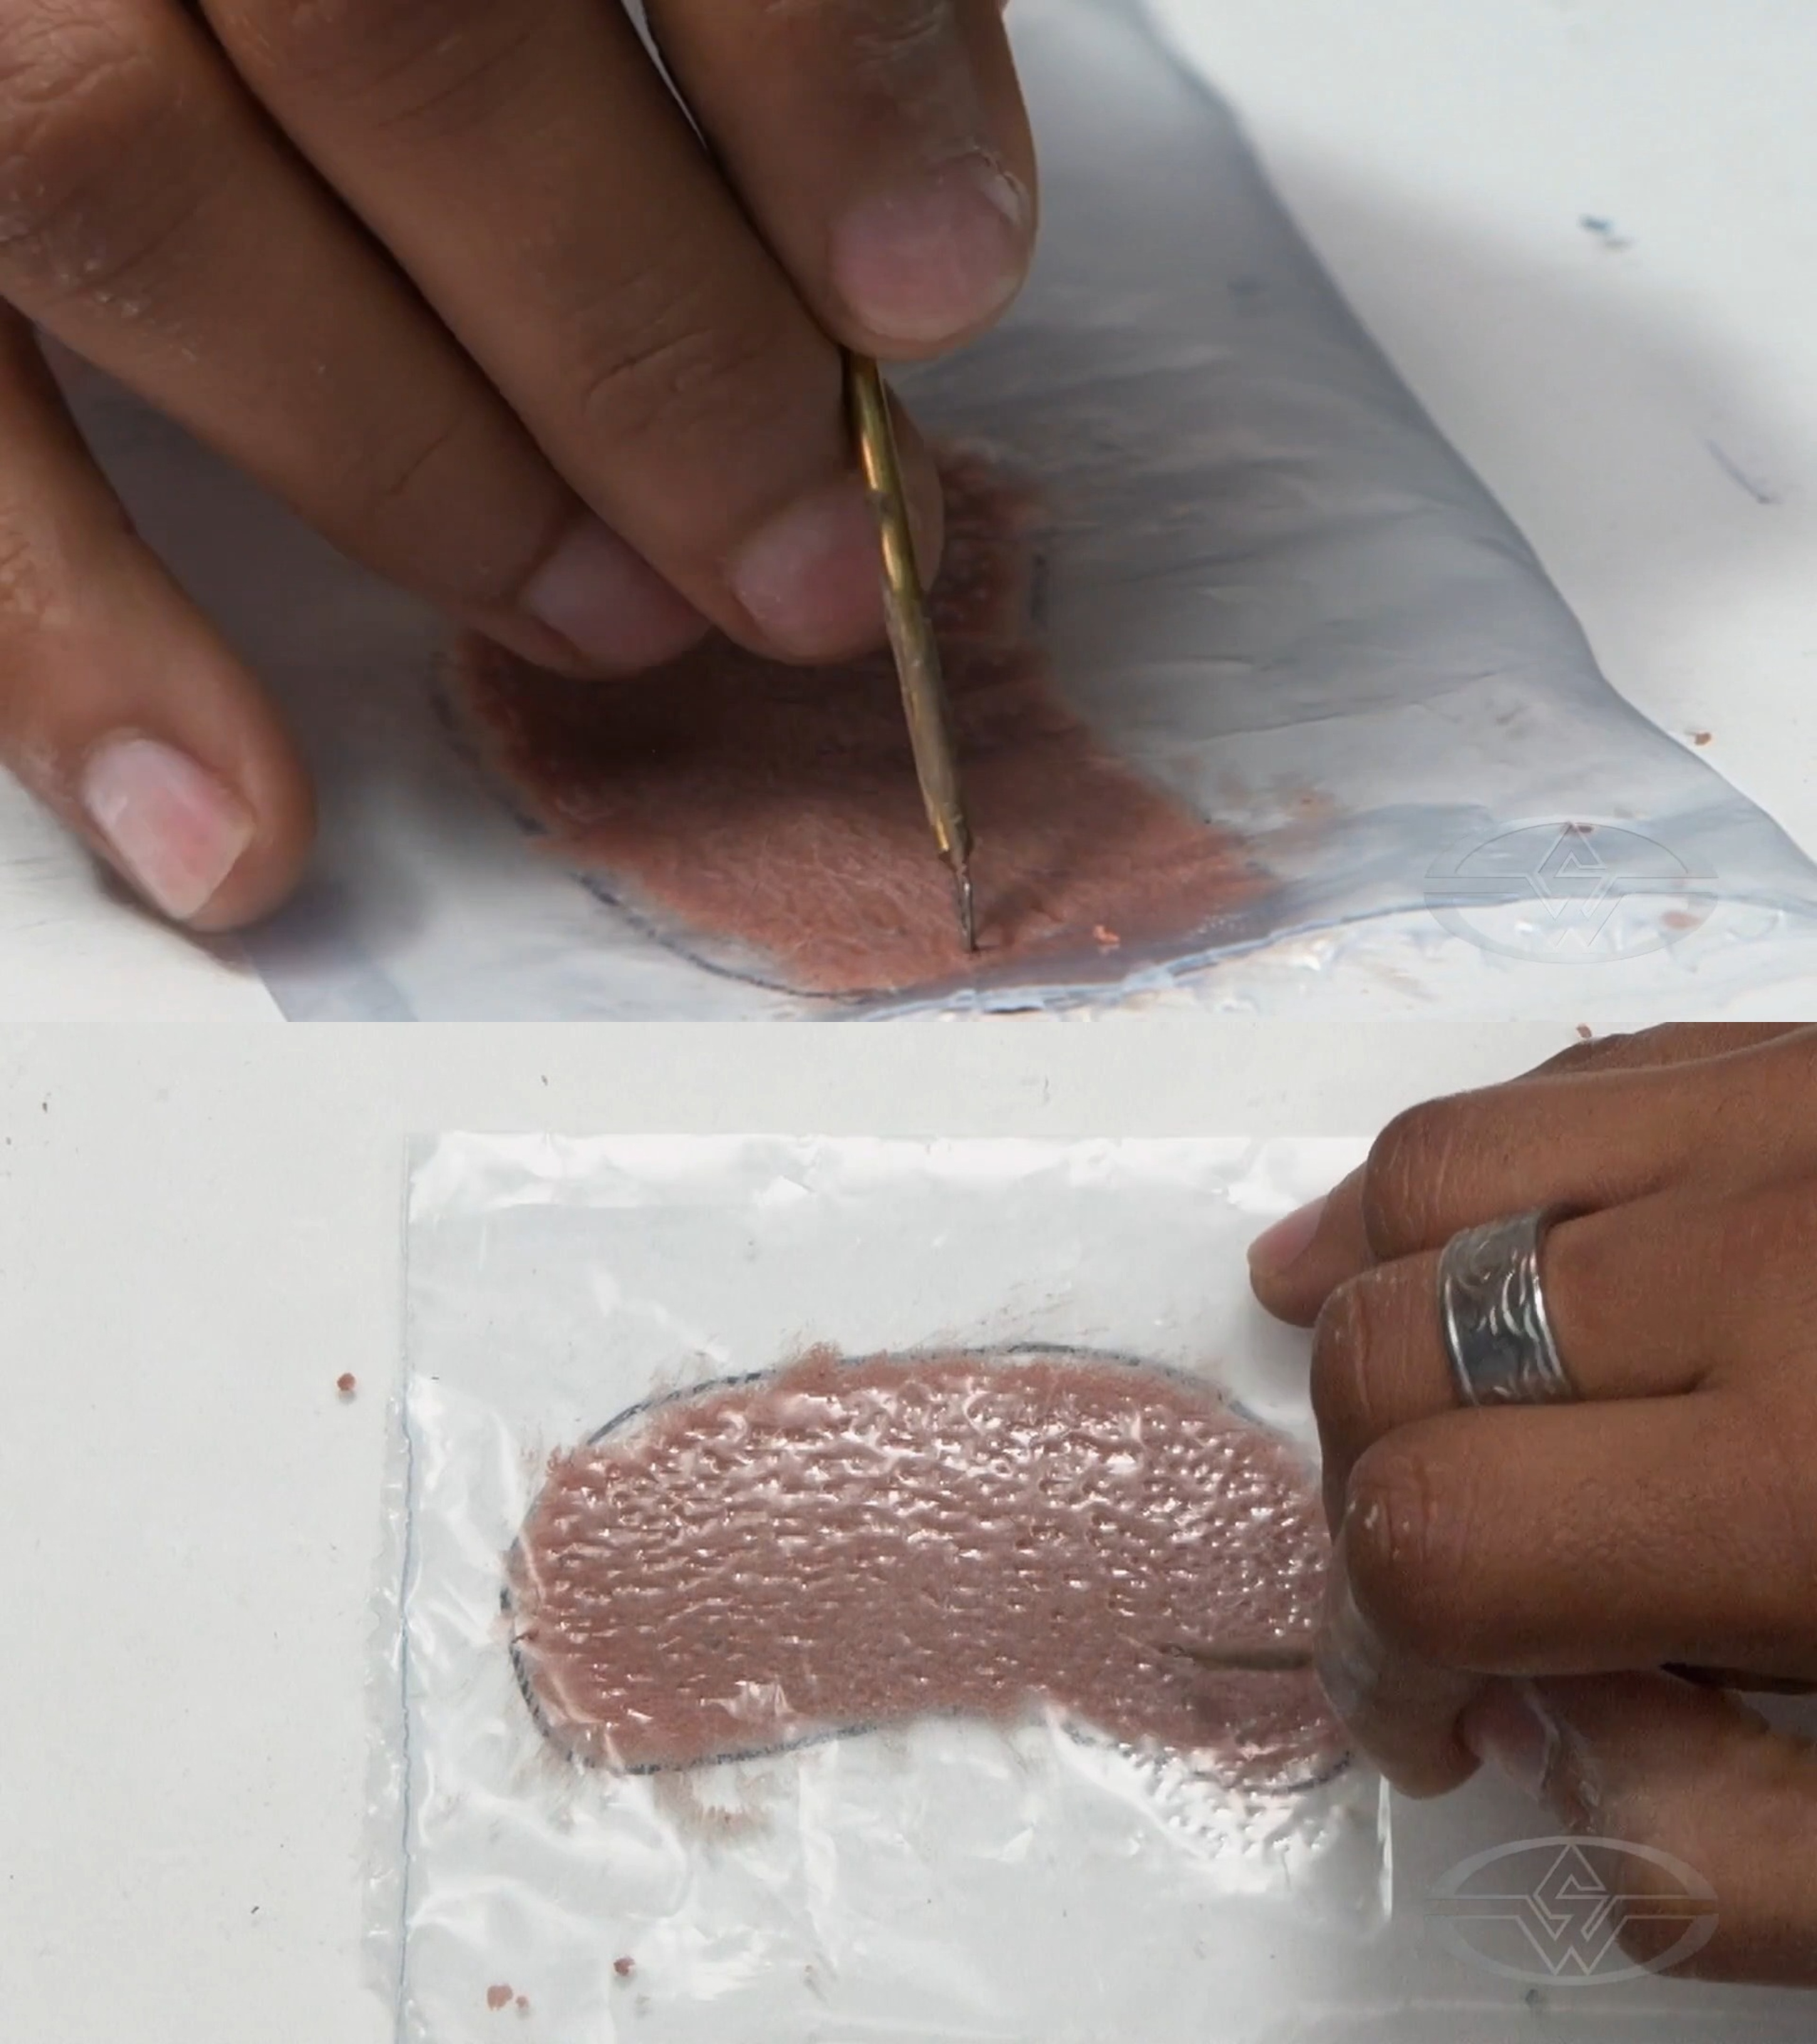 (Kenneth Calhoun places the piece of plastic back over his prosthetic and makes more pores.)
Prosthetic Transfers and Edge Blending
For the edges of your clay sculpture, leave a smear of clay to further take the texture all the way down to the board. You want to see the surface, in Calhoun's case a white board, showing through underneath, which represents the actor’s skin. “If their skin is showing through and seamlessly goes from their skin to the prosthetic, that’s what I want,” Calhoun says. Since this sculpture is the basis of what will be an encapsulated transfer, those rough edges will help the eventual appliance blend in with the actor's skin.
In Calhoun's experience, the rough edge works great for encapsulated Pros-Aide transfers, such as the one being created for this lesson, and for silicone prosthetic transfers, but it isn't as successful or advisable with foam latex appliances.
This rough edging is achieved with the plastic removed. Take your tool along the edge, pick at various small smears of clay left, and add pore texture around the piece, continuing to follow the established direction of the pores. Now, you'll have a smooth transition when applying your prosthetic without worrying about an unnaturally smooth edge that you must blend in.
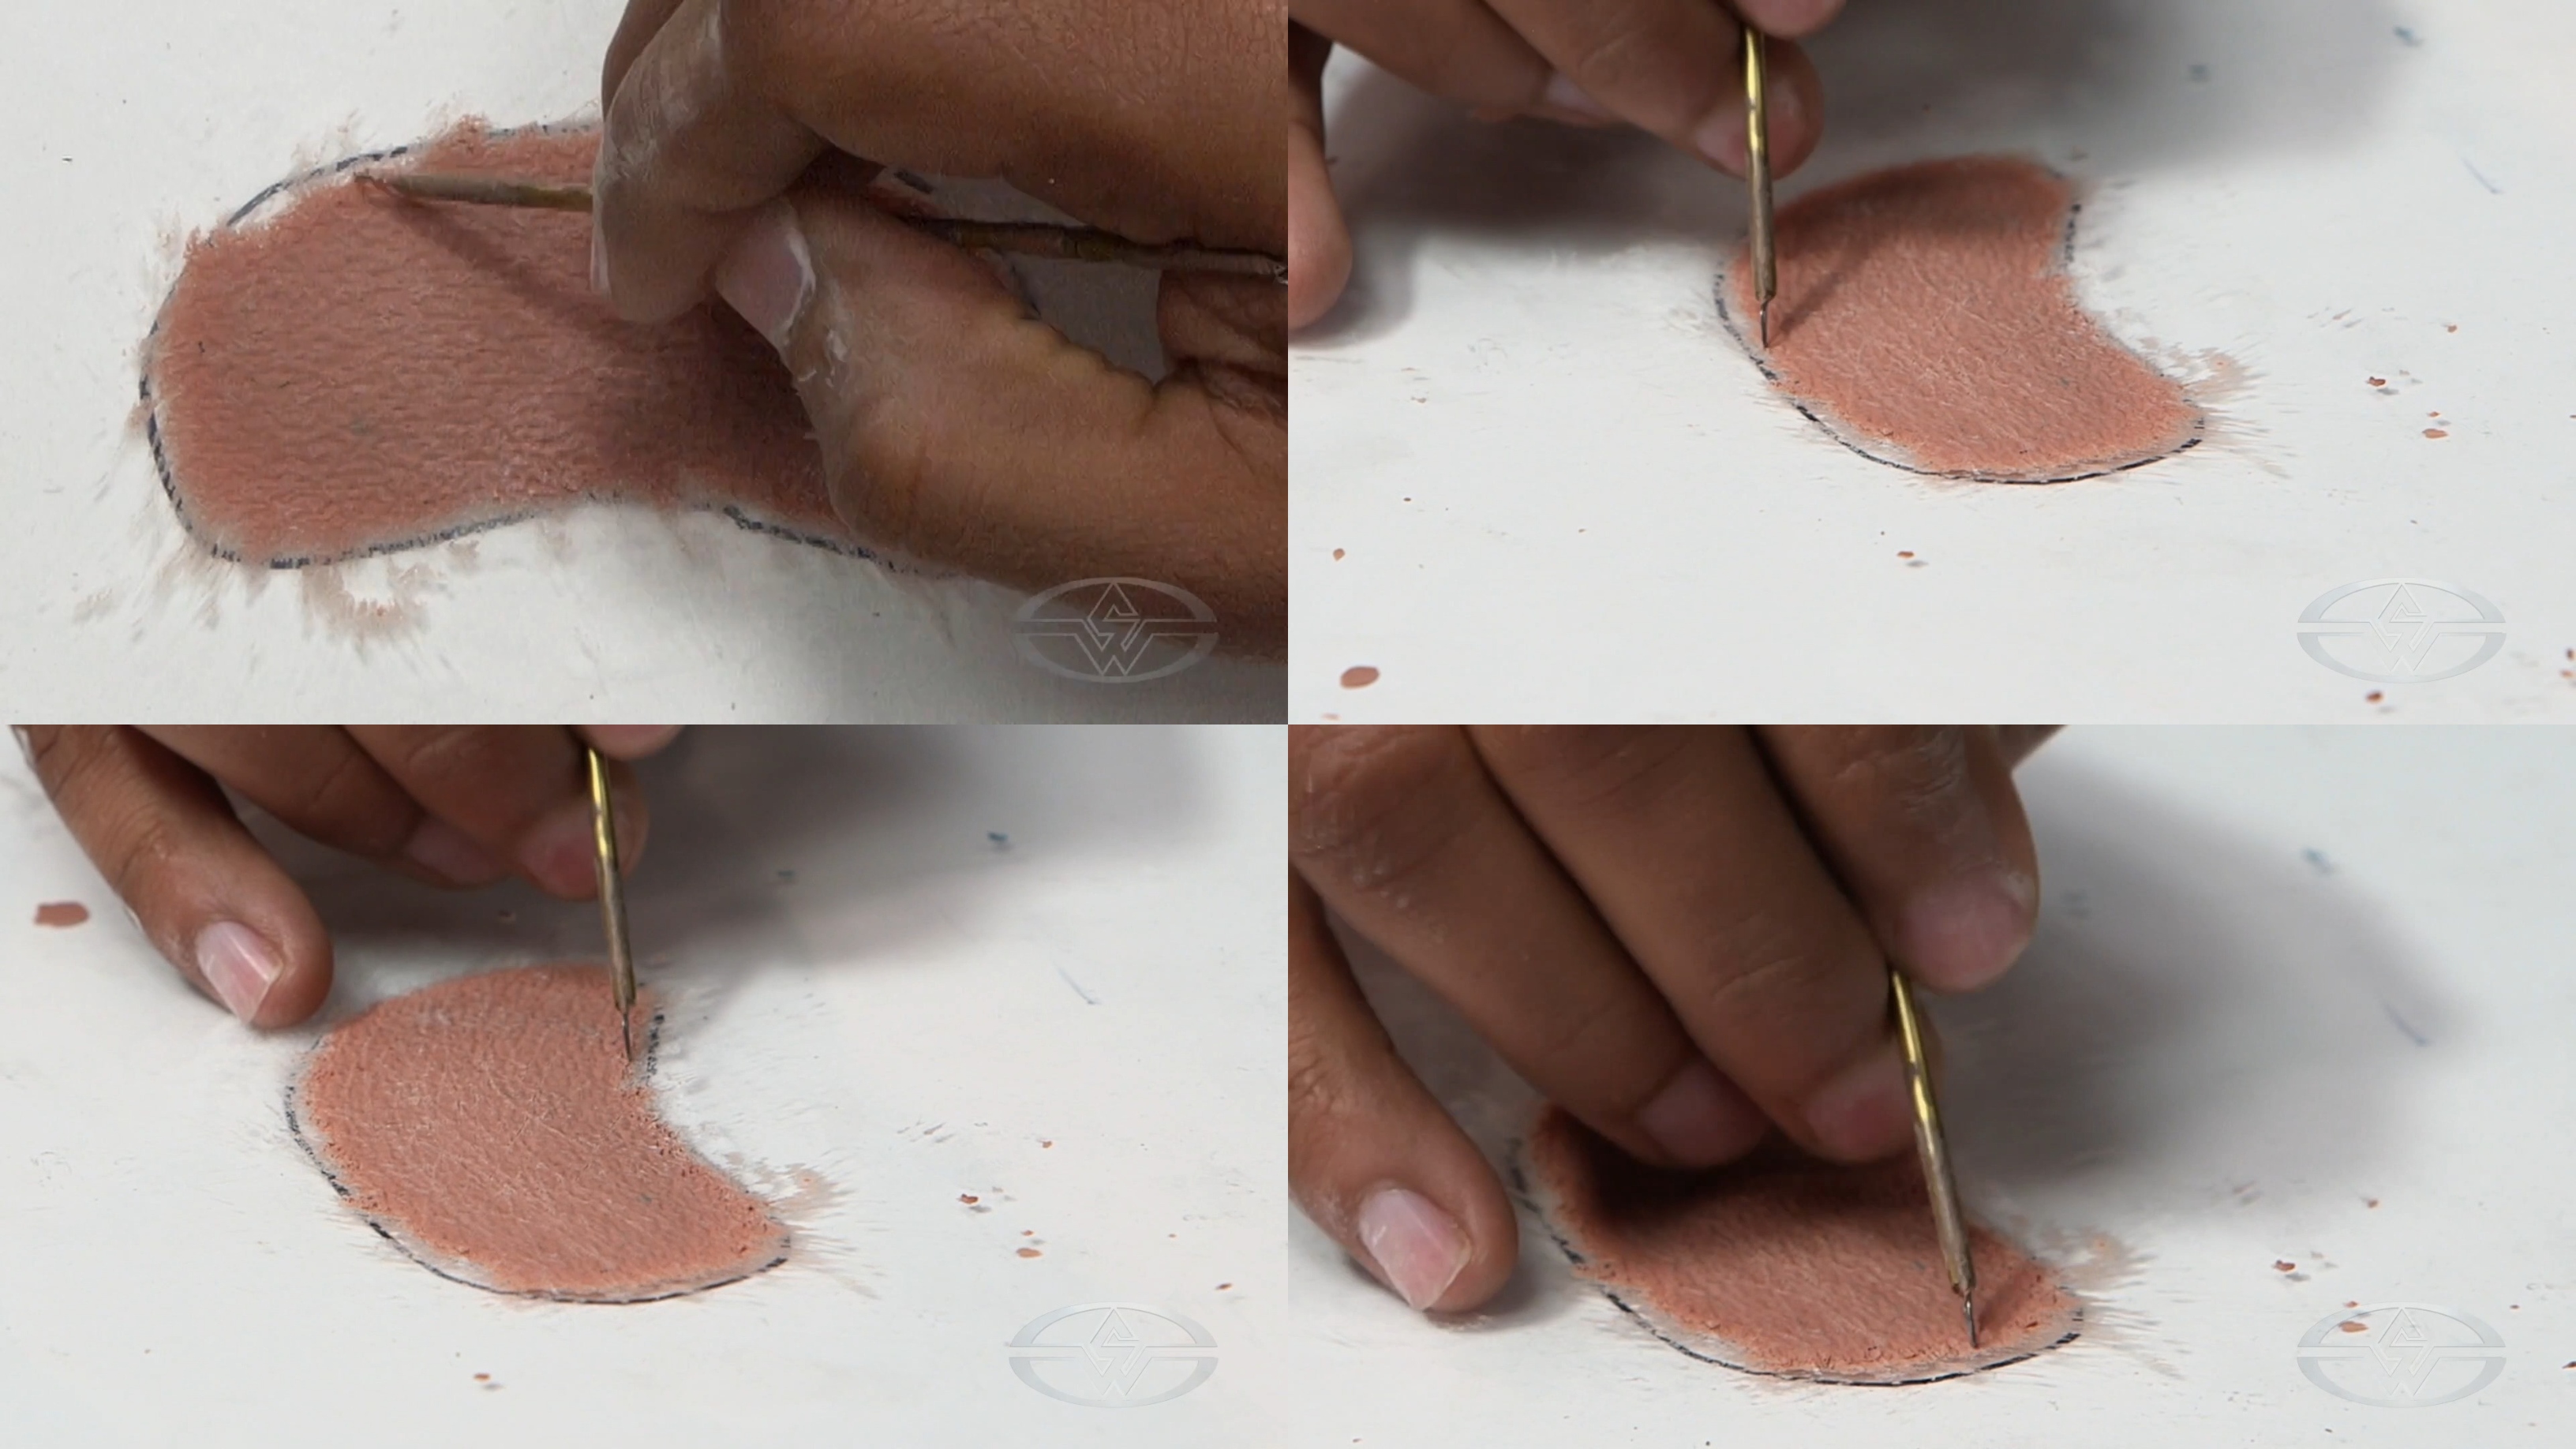 (Kenneth Calhoun adds pore texture to the edge of the prosthetic for a seamless transition when applying it to an actor's skin.)
“I approach doing a sculpture the same way you would do a makeup," says Calhoun. Using these techniques will give you a head start to integrate the piece into the makeup even before you apply it.
Stamping and Smoothing Pore Texture
After you’ve finished adding texture to the edge of the transfer, use a small, black stipple sponge to burnish your sculpture. Then, use the stipple sponge to soften and perfect the texture.
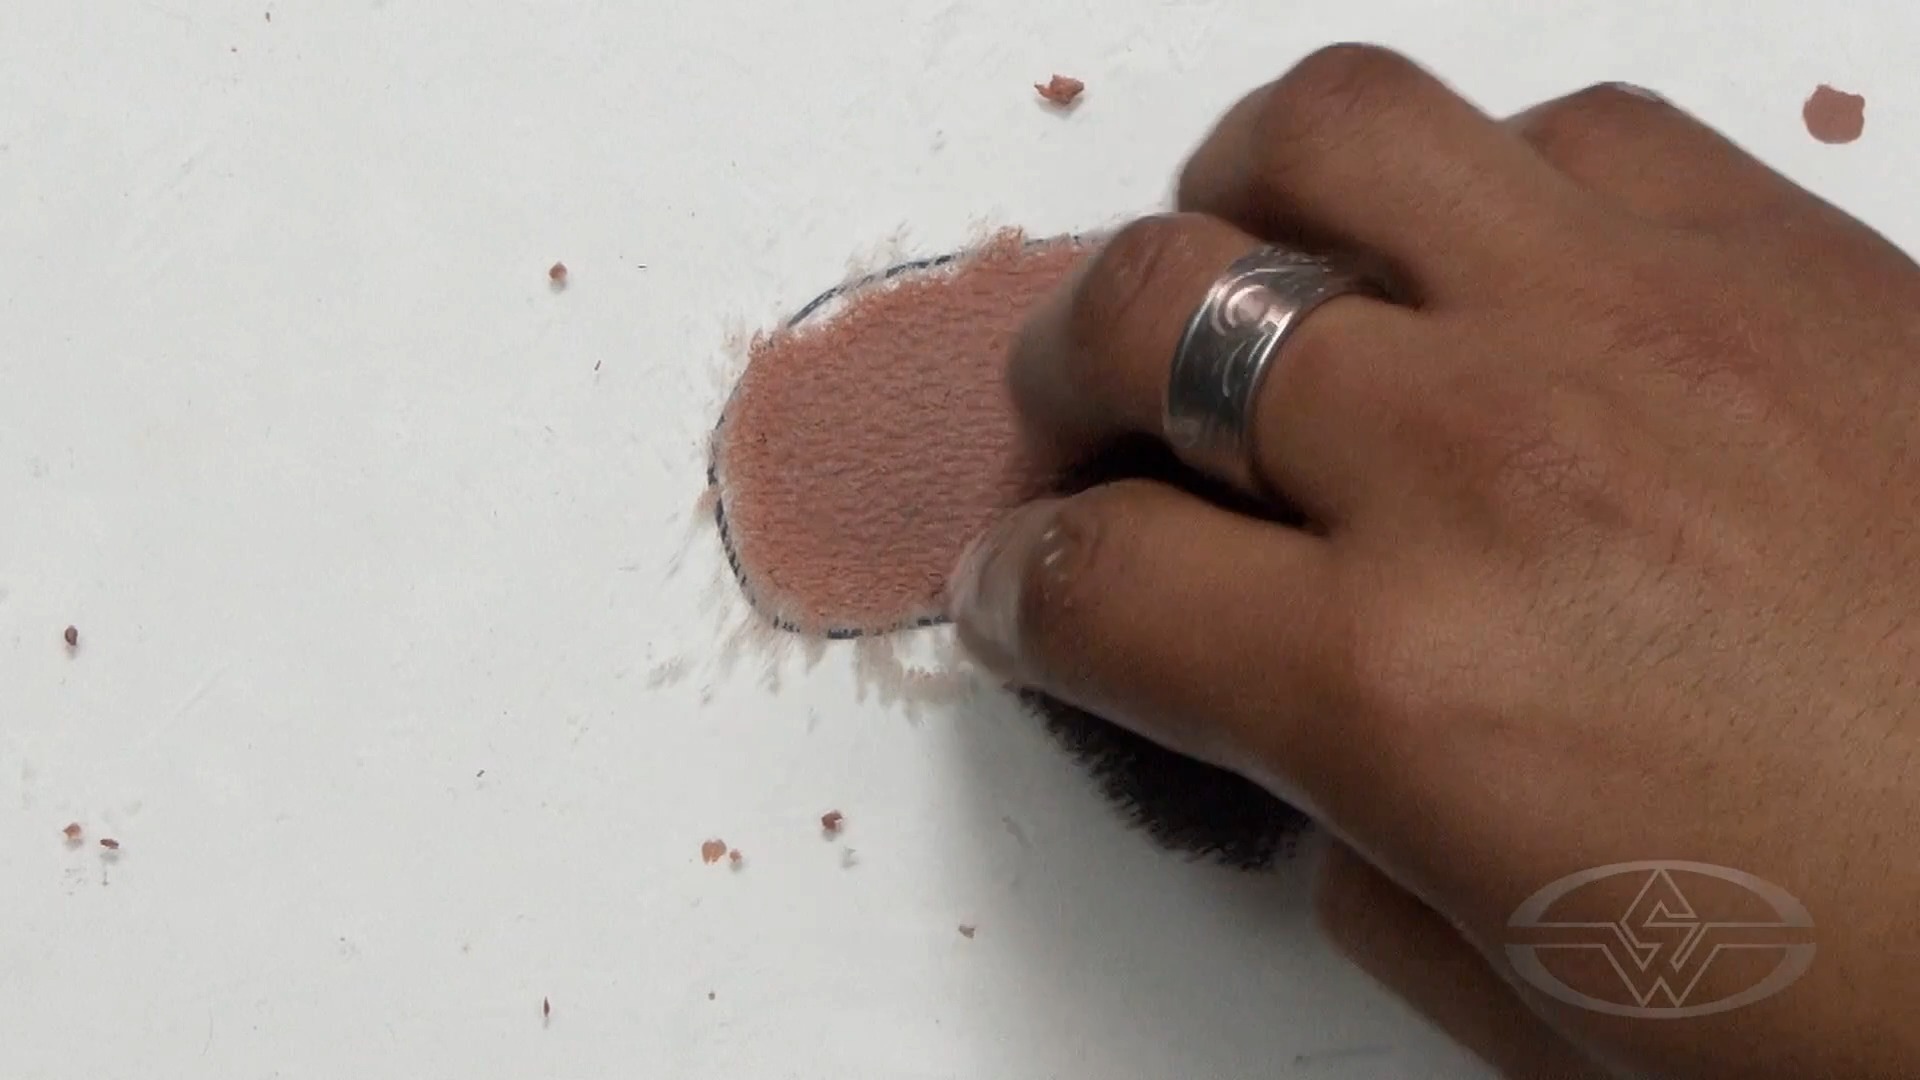 (Kenneth Calhoun burnishes the prosthetic with a black stipple sponge.)
Stamping with the sponge will smooth out any pore texture that has started to lift and create peaks.
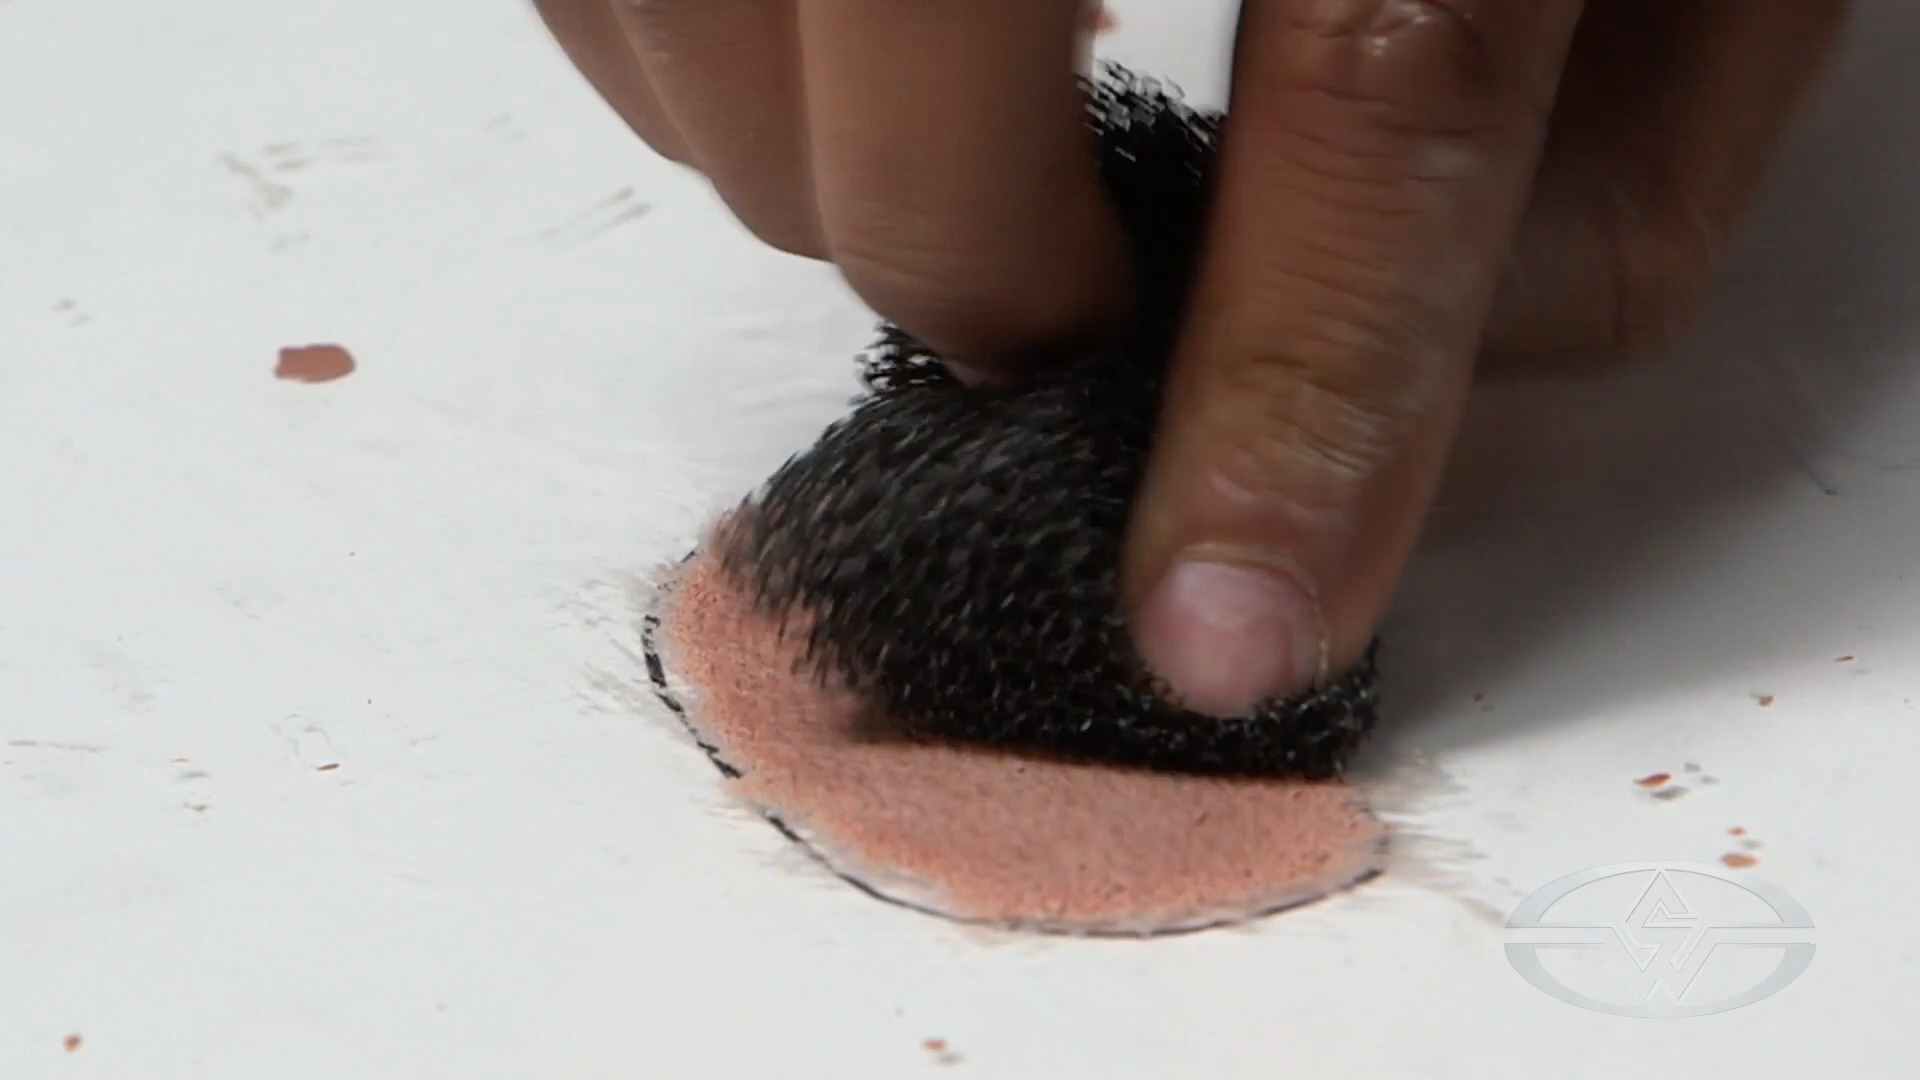 (Kenneth Calhoun takes a stipple sponge to soften the texture and ultimately give it a more polished appearance.)
You see that the surface of the sculpture already has detail, and the pore direction is well established. But don't stop there! For a professional job, Calhoun usually goes back to the plastic sheeting and repeats the process about five times. The more you work it, the better the result.
WATCH THE “ENCAPSULATED PROS-AIDE PROSTHETICS” COURSE WITH KENNETH CALHOUN:
Encapsulated Pros-Aide Prosthetics Part 1: Sculpting, Molding & Casting
Encapsulated Pros-Aide Prosthetics Part 2: Demolding, Application & Beauty Makeup