
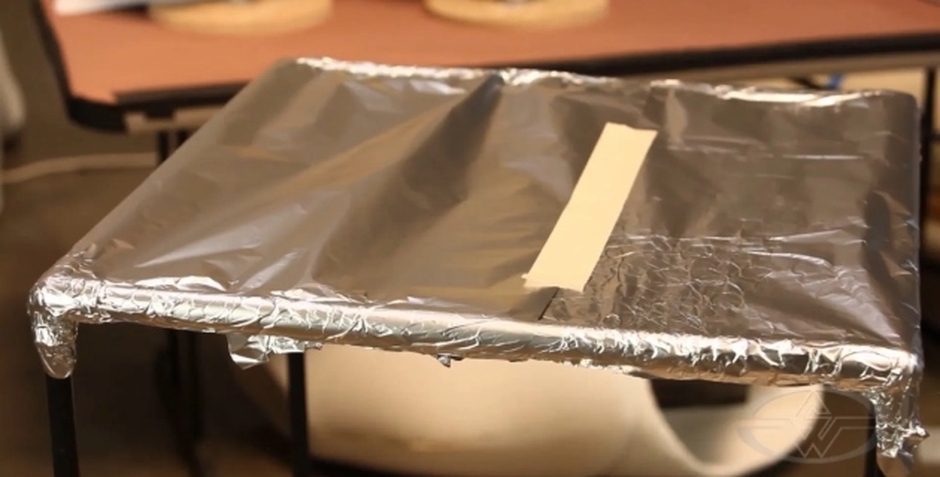
In this FREE excerpt from the Stan Winston School of Character Arts course, Foam Fabrication Texturing Techniques, master creature effects fabricator Ted Haines (Iron Man, 300, Blade 2) demonstrates how to build a custom oven for curing foam latex on a budget. With this knowledge, you can bake your molds using a dedicated temporary oven and get great-looking latex!
Jump To Section
- Foam Latex Oven Safety Warning Disclaimer
- Budget-Friendly Temporary Foam Oven Materials
- Building the Base Structure
- Assembling the PVC Frame
- Wrapping the Frame With Aluminum Foil
- Foam Latex Oven Storage and Alternative Options
- Heat Gun Setup for Foam Latex Oven
To watch the complete instructional video, click the player above!
In this lesson, Ted Haines breaks down the best tips and techniques on how to build a budget-friendly oven for preparing foam latex, including safety precautions to take, storage options, and more. And as his shirt reminds us, there's no crying in fabrication!
Foam Latex Oven Safety Warning Disclaimer
Because there are fire and safety risks involved with building an oven out of any materials, it’s crucial to always monitor it “every moment” and “no matter what,” Haines stresses.
Even a veteran foam fabricator like Haines encounters issues from time to time when building an oven for prepping foam latex molds. While demonstrating a technique using PVC pipes, the heat generated by the heat gun Haines was using—either from proximity or too high a temperature—caused the thin-walled PVC pipe he used to melt, collapsing the oven.
 (Safety first! Ted Haines shares important reminders about the potential hazards of building a DIY oven for foam latex after an incident he experienced while making his.)
To prevent such a situation, Haines recommends using thicker material for the legs of your oven. This could be anything from wood or thicker PVC to metal or plumbing pipe and steel. Regardless, always be on guard since there are potential dangers any time high heat is required.
“You don't walk away from this,” he says. “If it's a structure out of wood, the wood can catch fire. If it's a PVC structure, that can melt [and] also start on fire if it collapses. If it's a steel structure, it can heat up; it can get very hot.”
So, as always, but especially with potentially hazardous material, safety first!
Budget-Friendly Temporary Foam Oven Materials
The materials you’ll need to build a “low-tech” foam latex oven are readily accessible and budget-friendly.
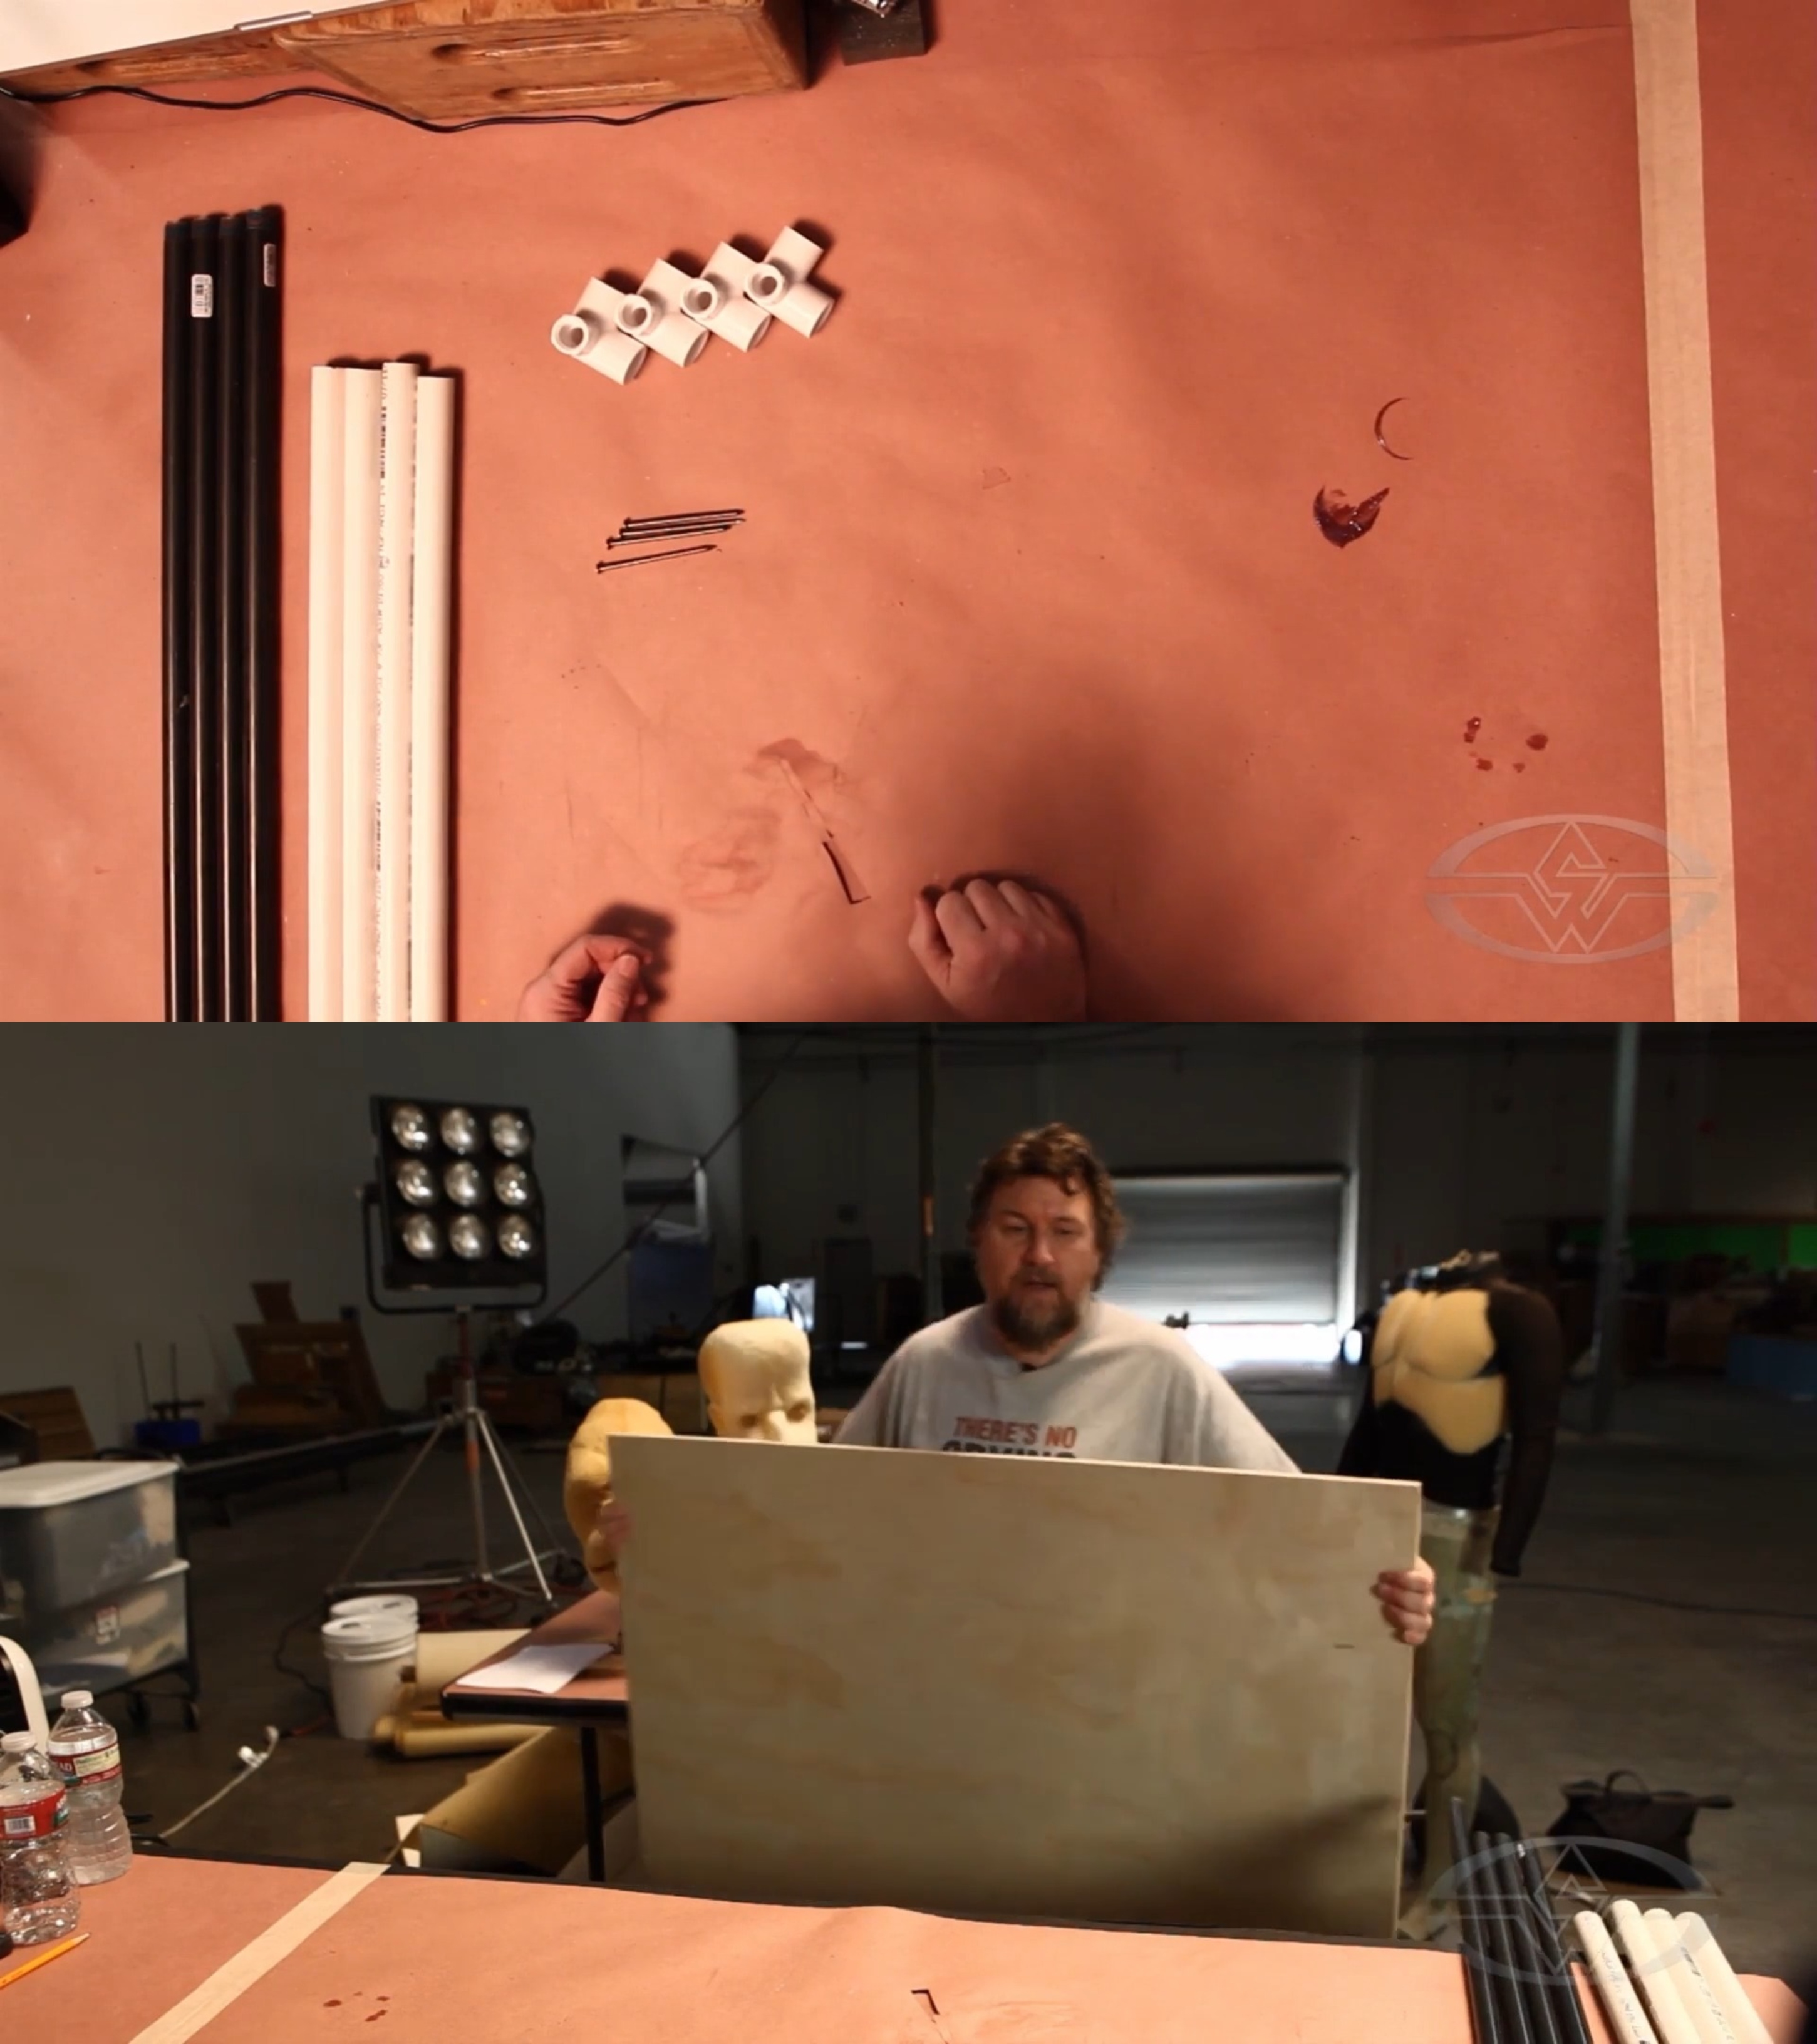 (Ted Haines brings out the few inexpensive materials needed to build a foam latex oven.)
You can find the following at your local hardware store:
- (4) PVC pipes
- (4) threaded PVC rods
- (4) 3-way elbow PVC fitting connectors
- (4) nails
- (1) 4x4 plywood sheet
- (1) hammer
- (1) roll aluminum foil
- (1) tape roll
Soon enough, these will be built and assembled into your very first foam latex oven!
Building the Base Structure
The plywood will act as the base of your oven. “You always want to be able to put the oven right back down in the same spot,” Haines notes.
Measure where the feet of the oven are going to land on your plywood.
Then, mark where the nails and the frame will go.
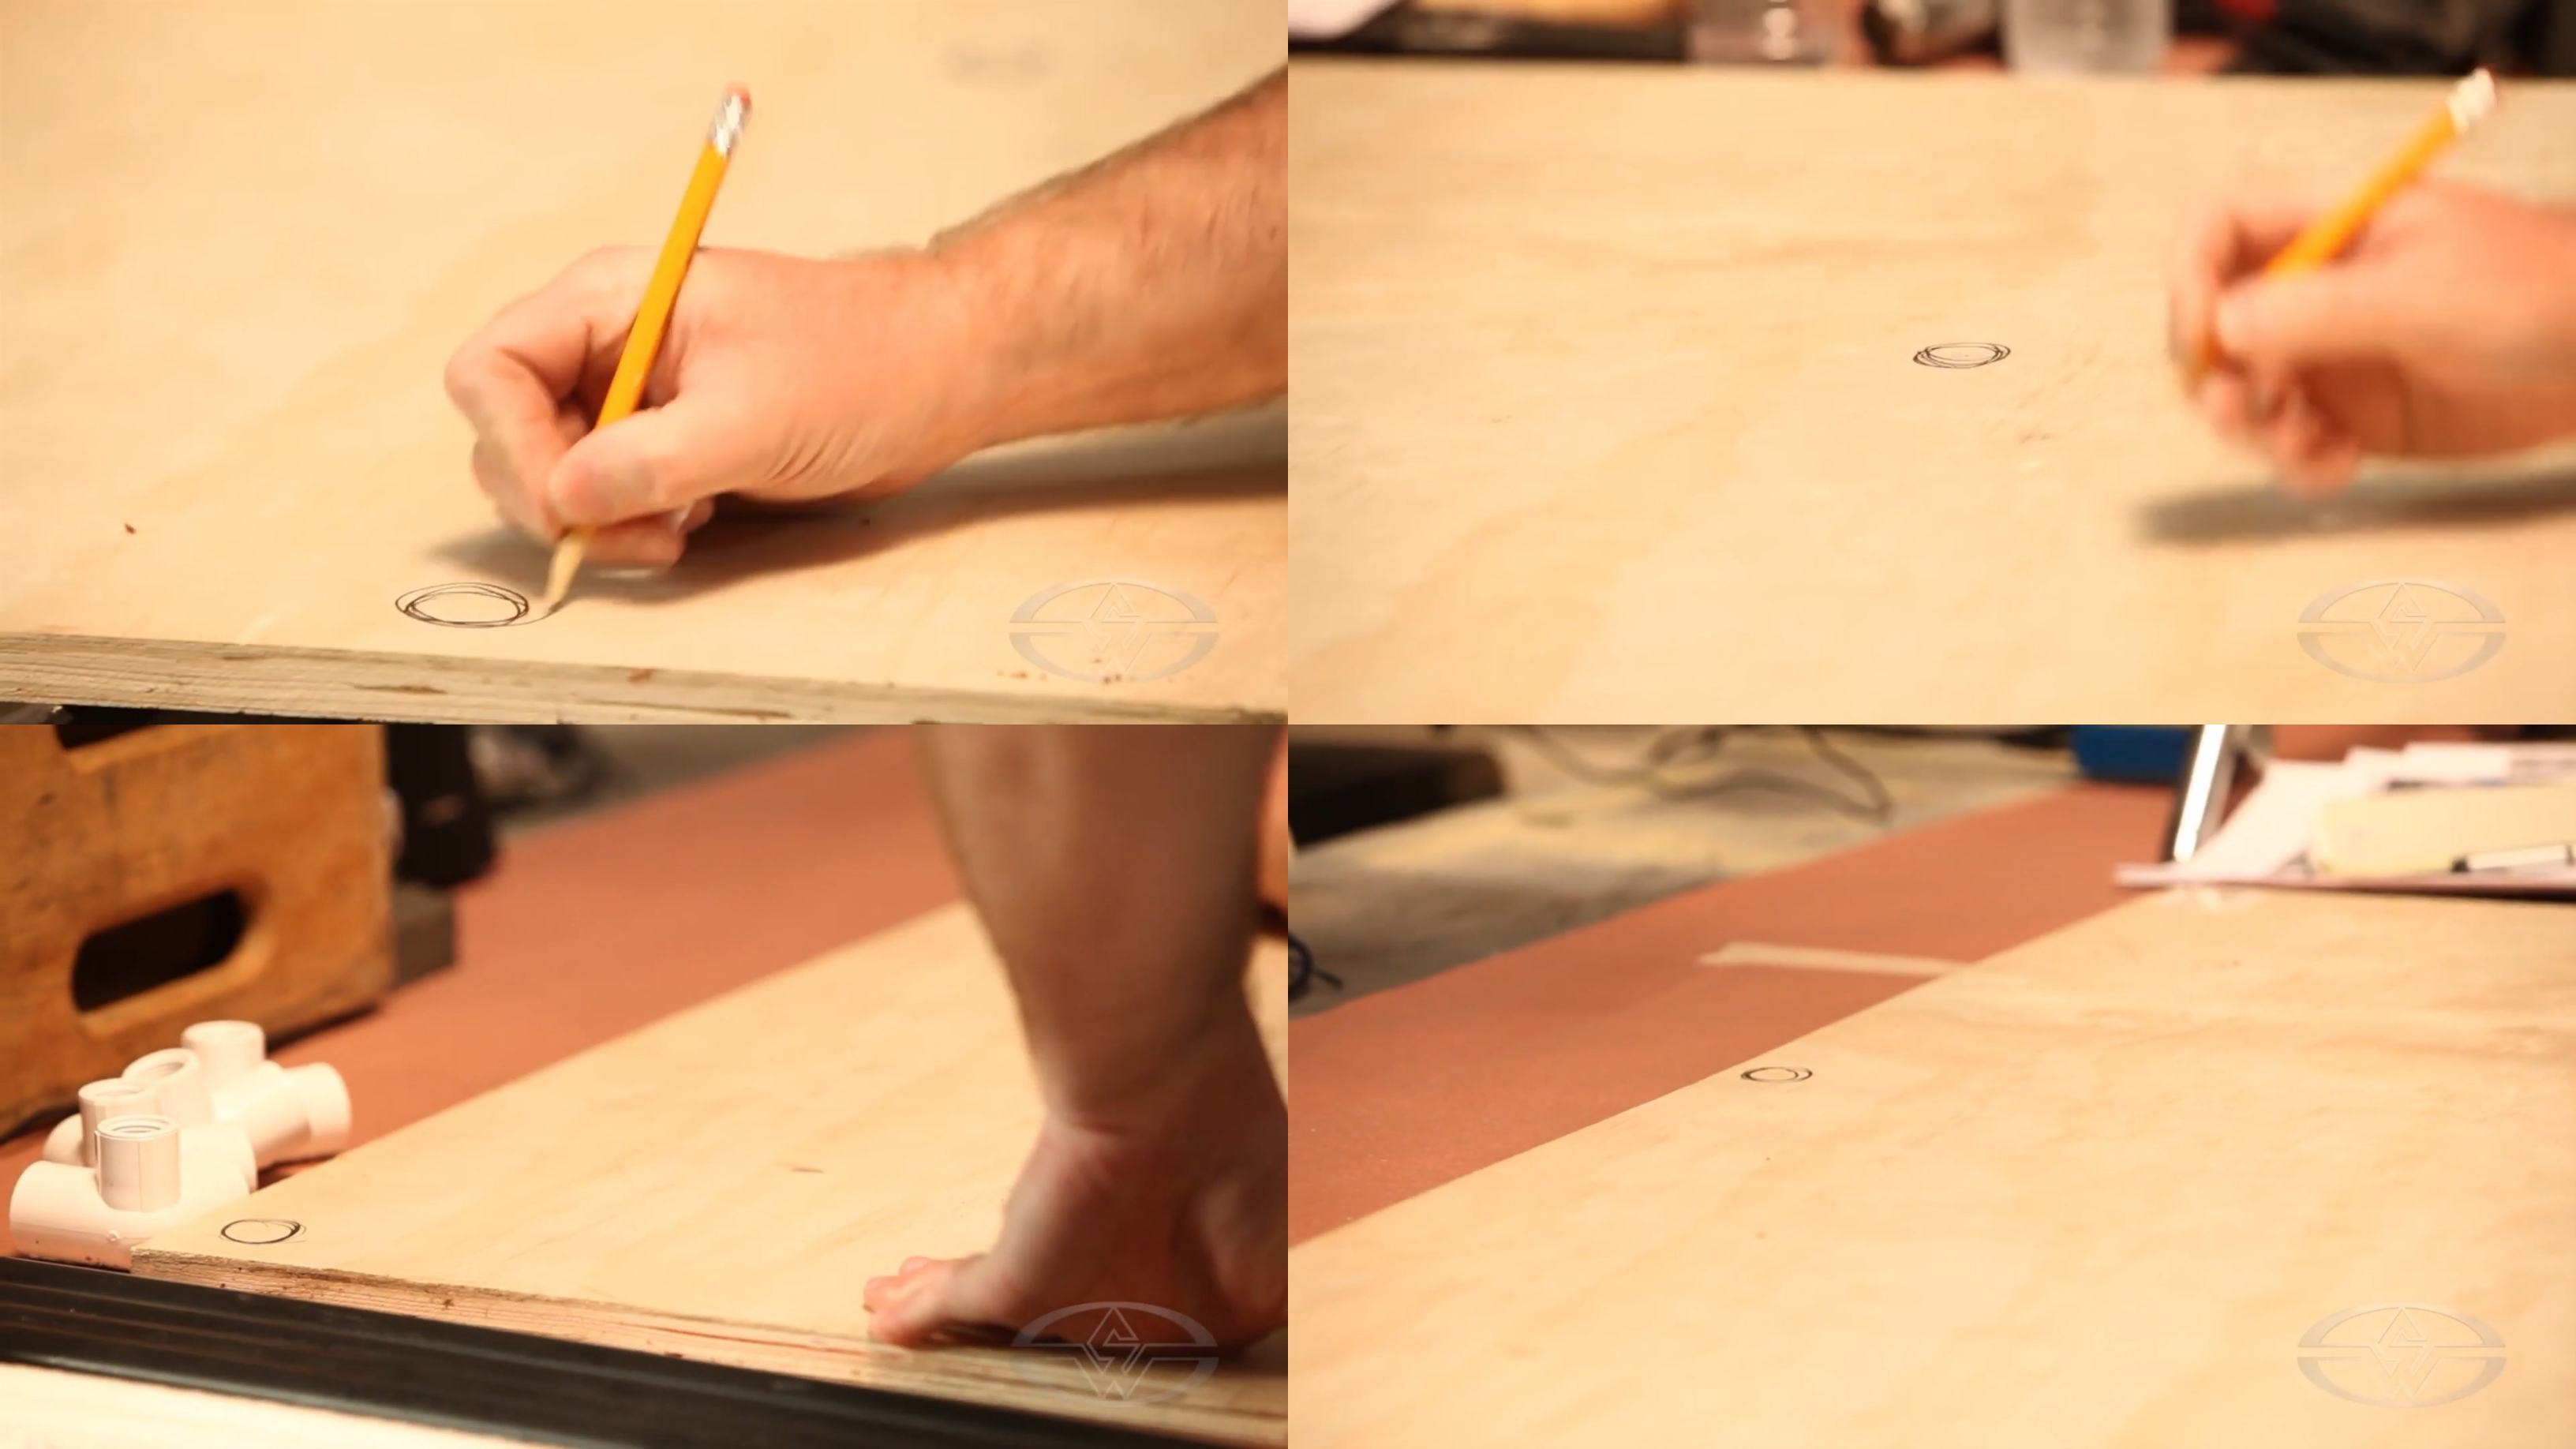 (After measuring where the feet of his temporary oven will land, Ted Haines draws targets for the nails.)
It’s best to hammer the nails in on the ground rather than the table. You won’t have to worry about bouncing or wobbling.
The first step in building the base structure of your foam latex oven is setting the plywood sheet on the ground and driving the nails into the sheet at the pre-marked targets.
Assembling the PVC Frame
You can purchase PVC pipes in various diameters and have them pre-cut or cut them yourself. Haines bought pre-cut materials for the frame and including the corners, legs and frame, estimates that he spent less than $20.
Gather your 3-way PVC fitting connectors to join each of the PVC pipes to make up your corners.
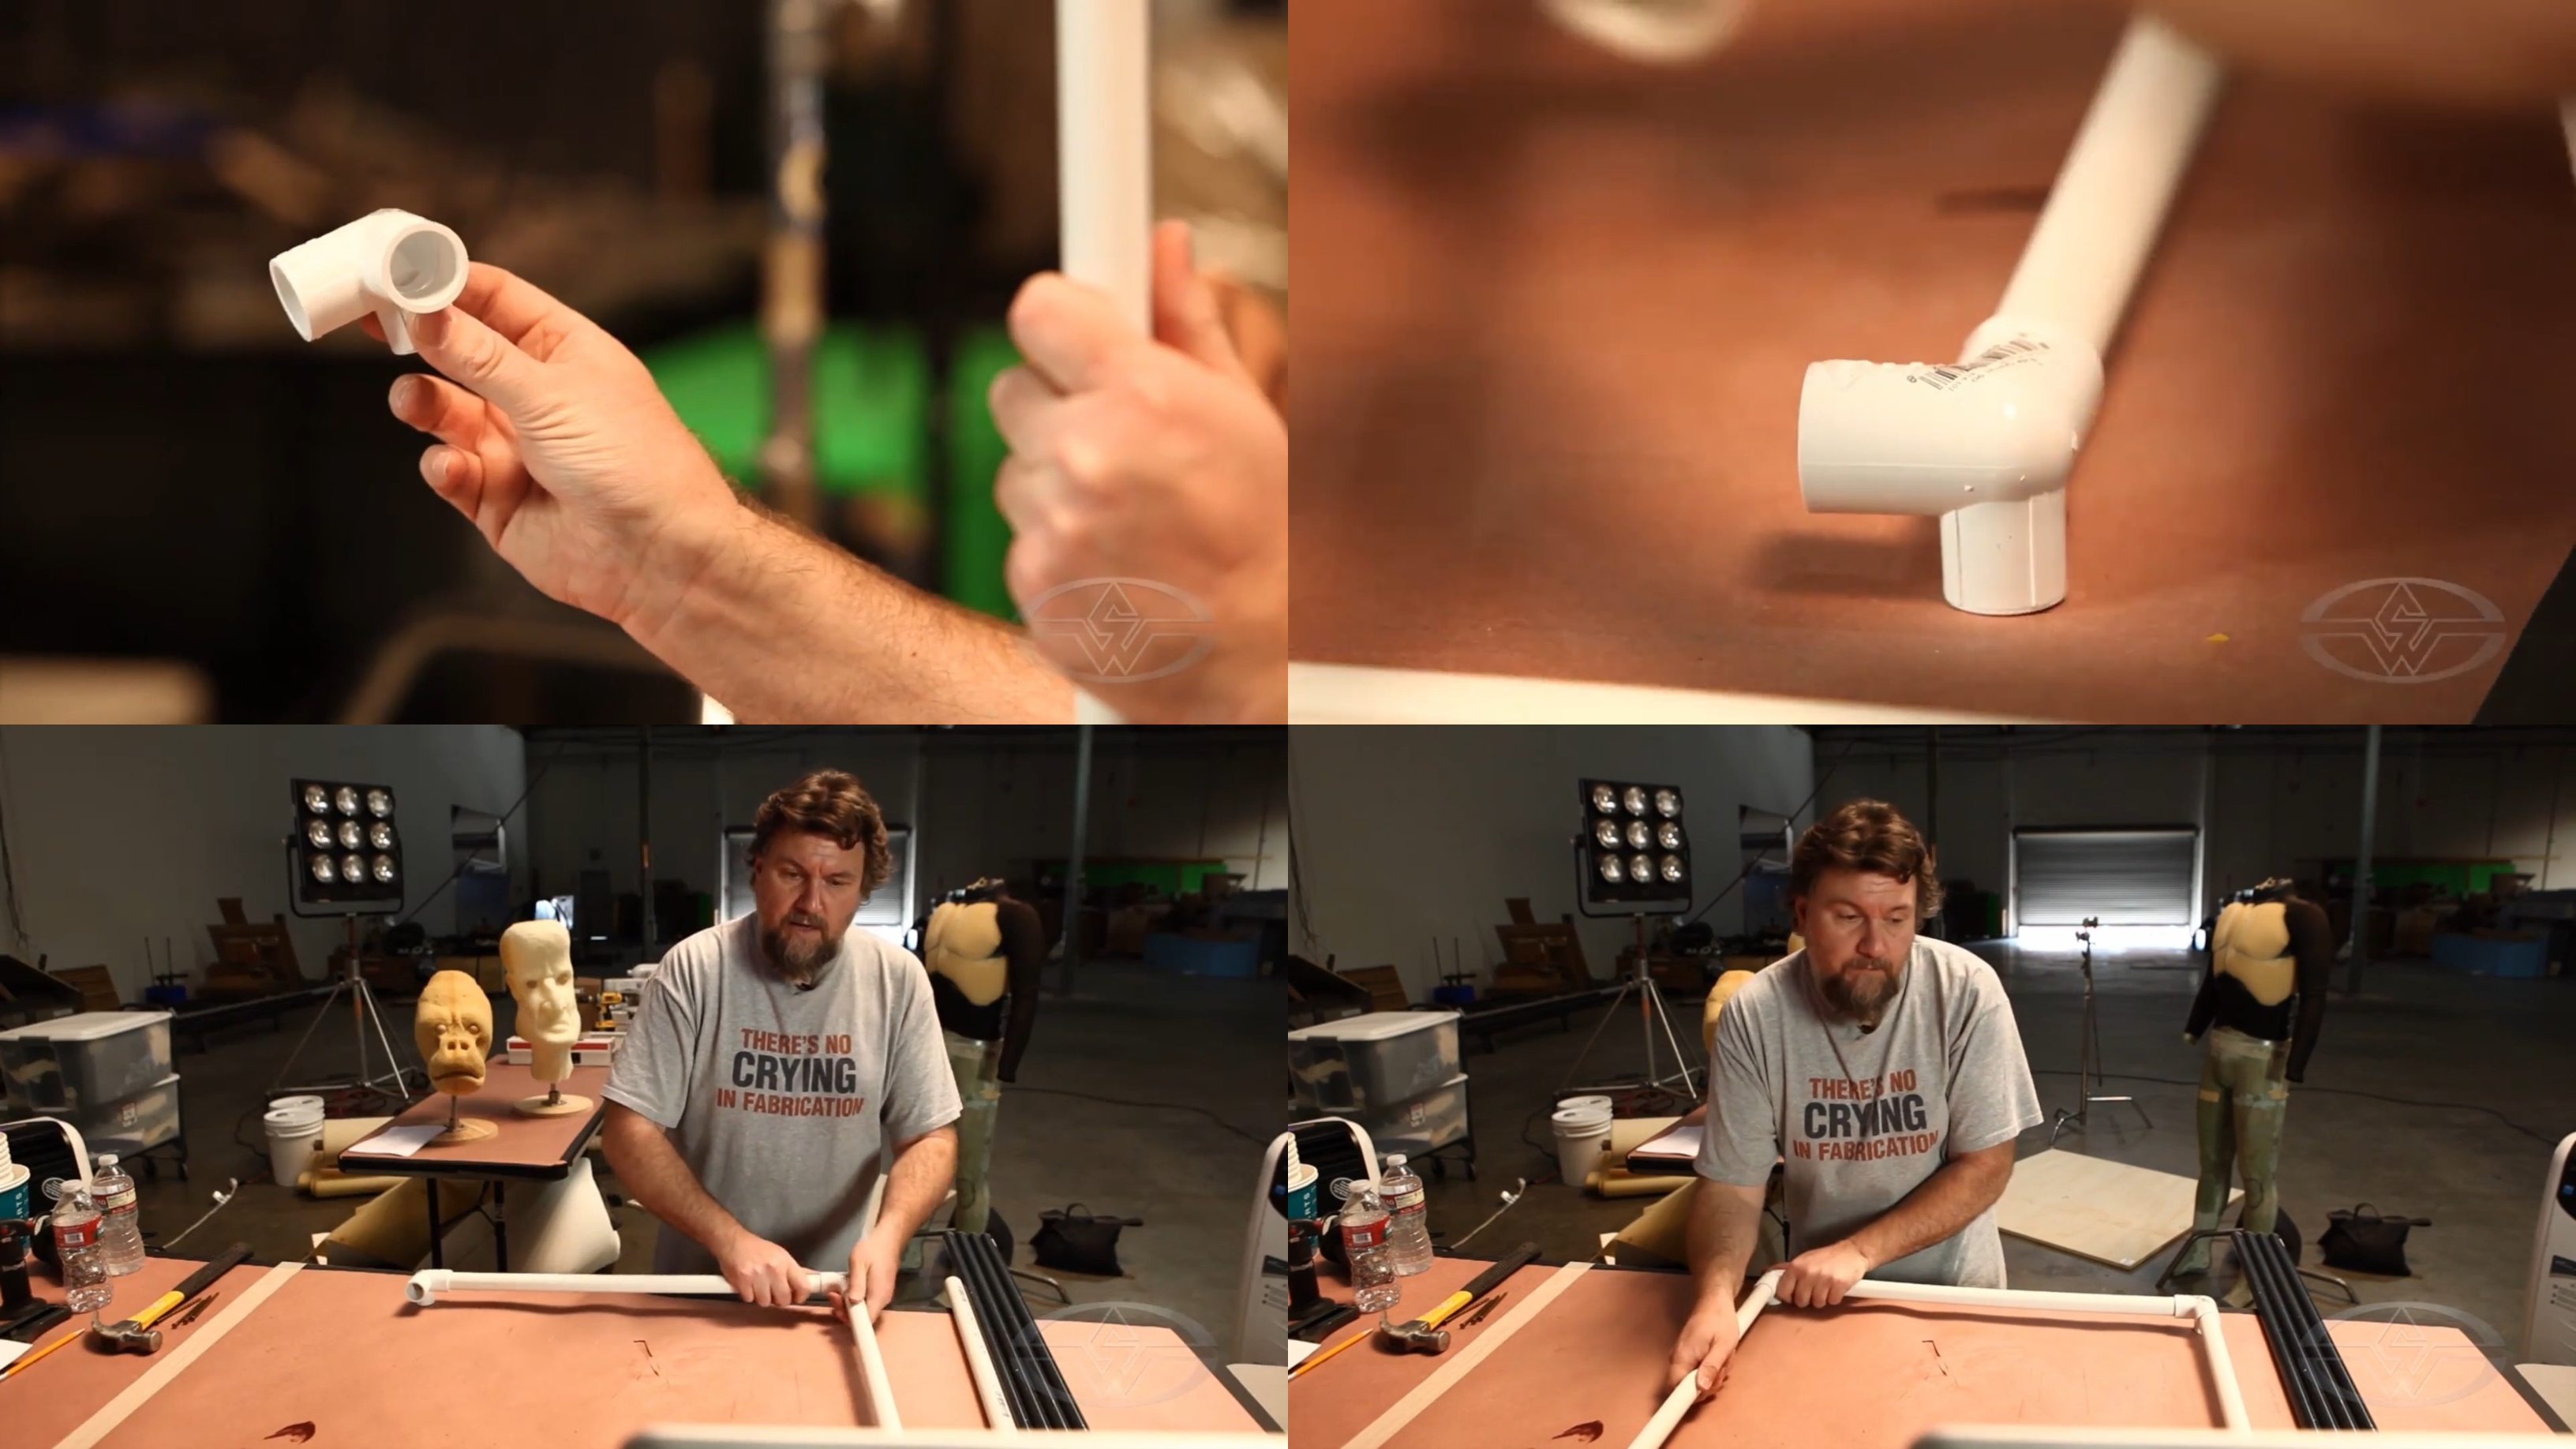 (Ted Haines joins the PVC pipes and 3-way PVC fittings to create the frame of his oven.)
The goal right now is to make a frame that you can wrap in aluminum foil.
When all the pieces are connected, flip the frame over to twist and secure each threaded rod into the PVC.
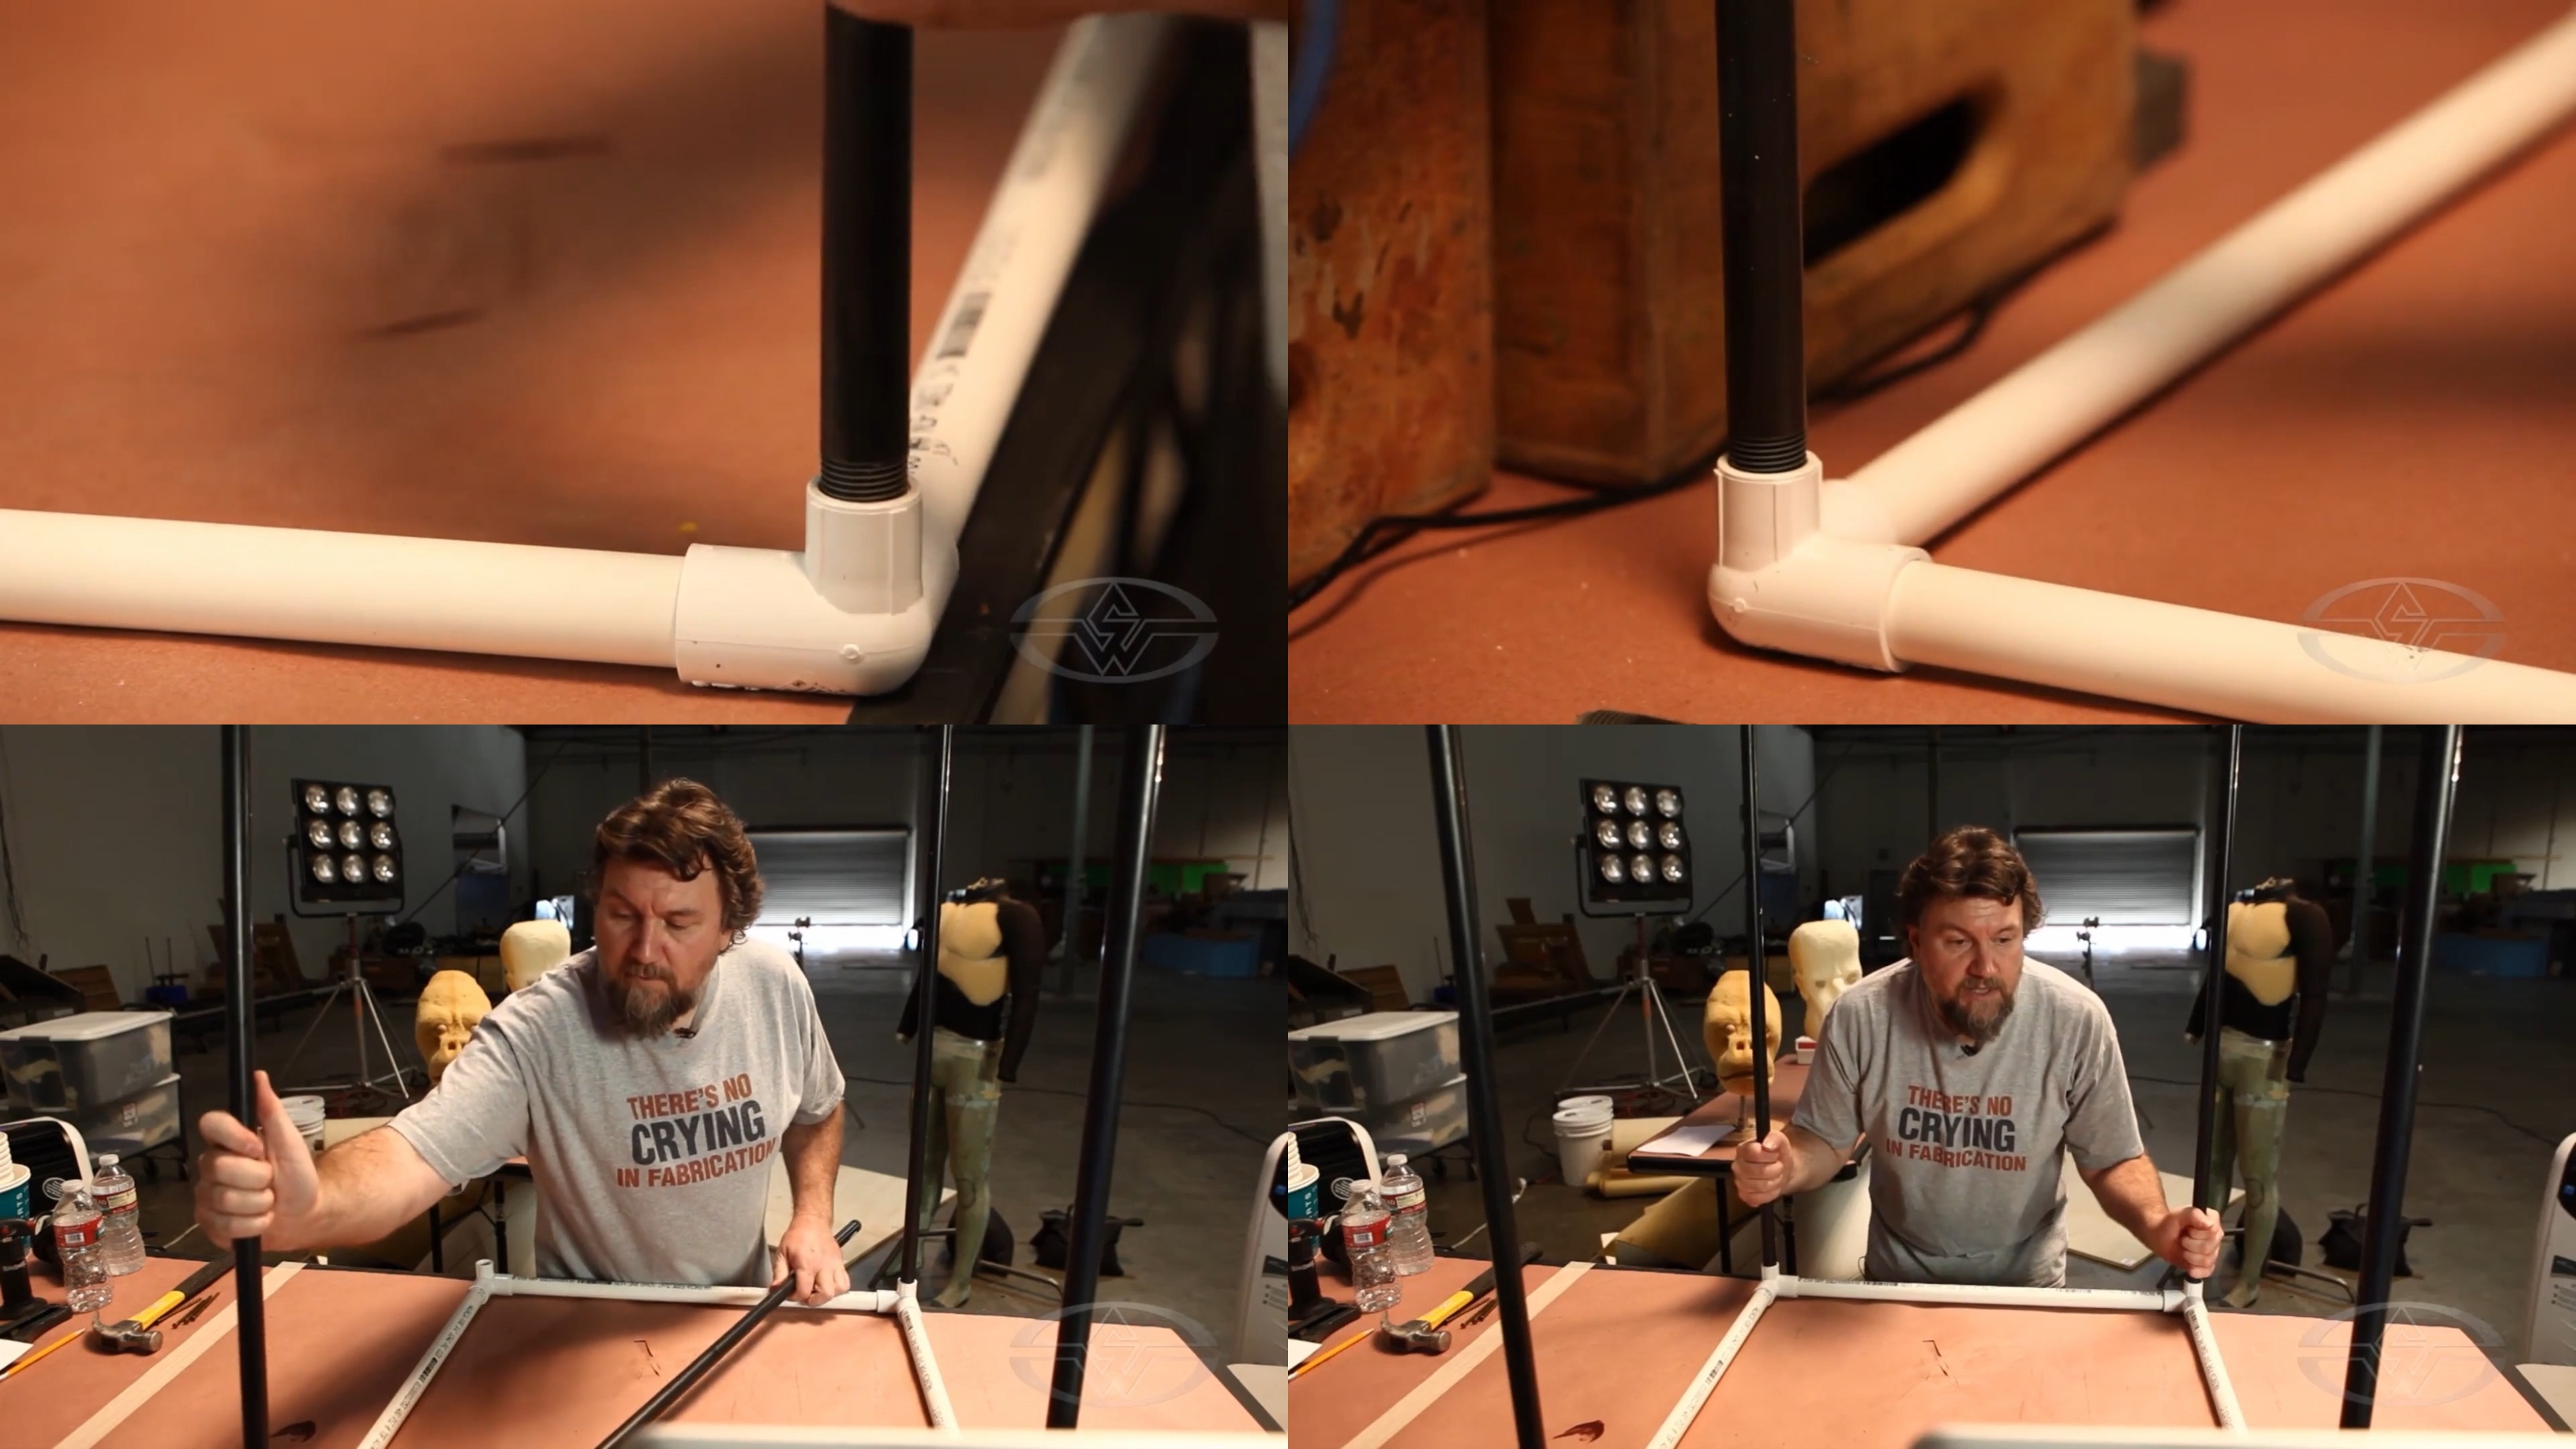 (Ted Haines inserts the threaded PVC rods into the pipes, making sure each is tightly secured.)
You’ll notice your oven start to come together relatively quickly. The size of the area underneath should be large enough for your projects. For Haines, it’ll be enough for him to put a foam-fabricated head in since he’ll be baking two with wet foam.
If you need to foam a larger piece such as a full body, the frame for your oven will need to be bigger. This is easy to achieve, as you’ll just need longer pieces of PVC for the building process. You’ll also need connectors for the ends if you’re going to make a full suit all wet-foamed.
Once your frame is assembled and all the rods are screwed into the PVC connectors, place the frame upright on the ground to see how it stands.
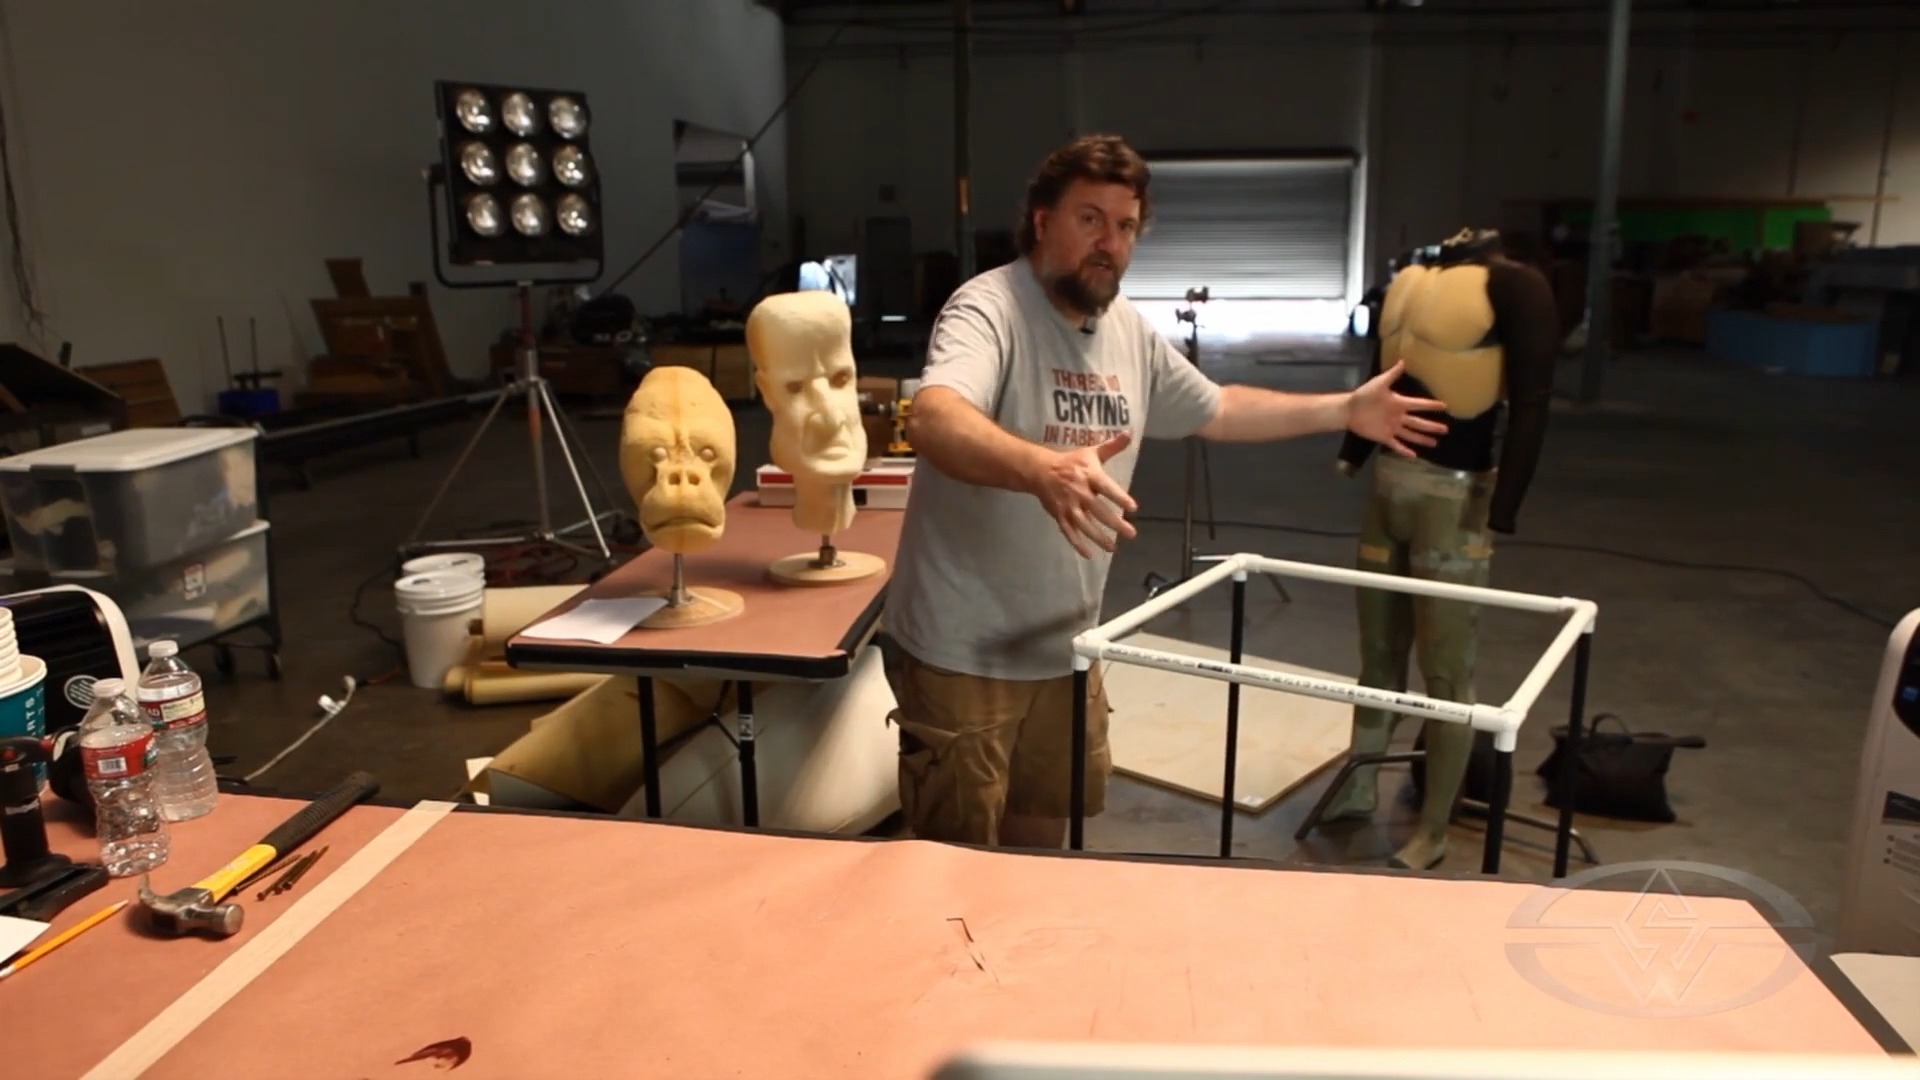 (Ted Haines sets his frame on the ground to gauge how stable it is.)
Assuming everything is level and stable, hammer the nails into your plywood.
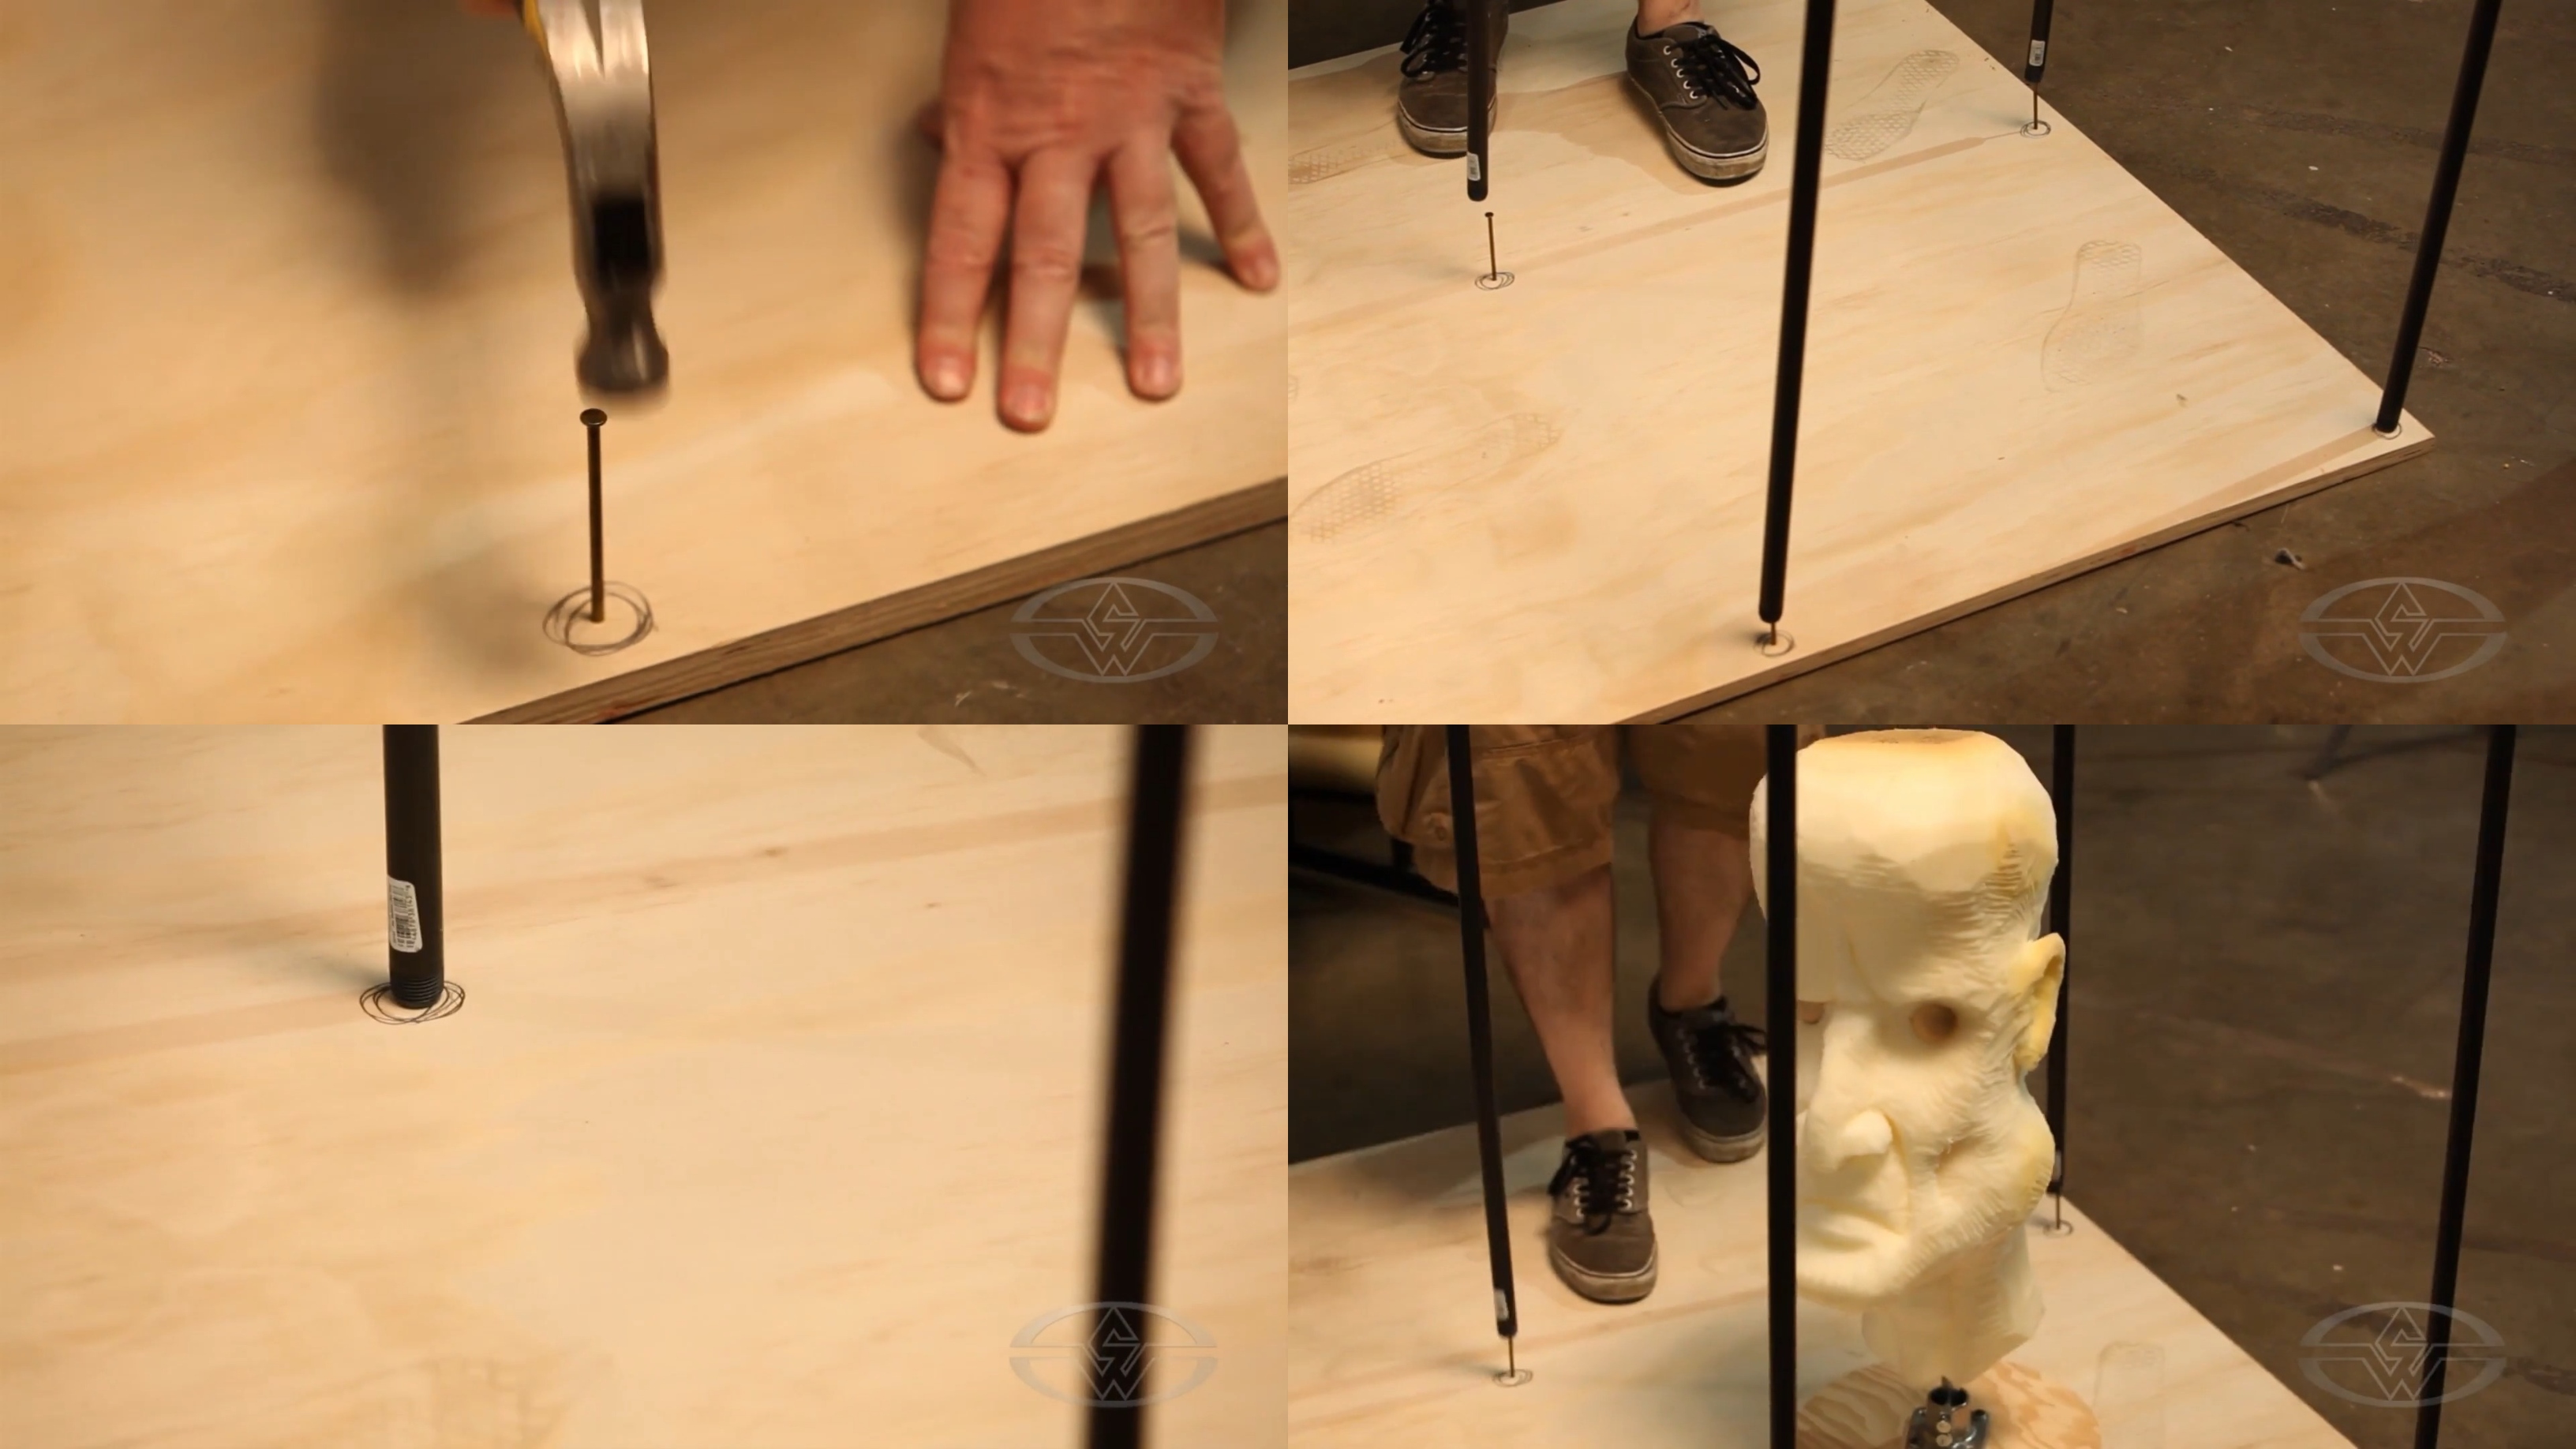 (Ted Haines uses a hammer to strike the nails into the plywood so he can then place the threaded rod legs directly on top of the nails.)
Next, position the PVC over the nails to keep it over your project. The beauty of the lightweight temporary oven is that you can lift it easily. You’ll want to position your piece and then drop the entire oven over the top instead of trying to insert the object into the oven.
Wrapping the Frame with Aluminum Foil
Roll out your tin foil to get the approximate width of your frame. The shiny side should be on the inside.
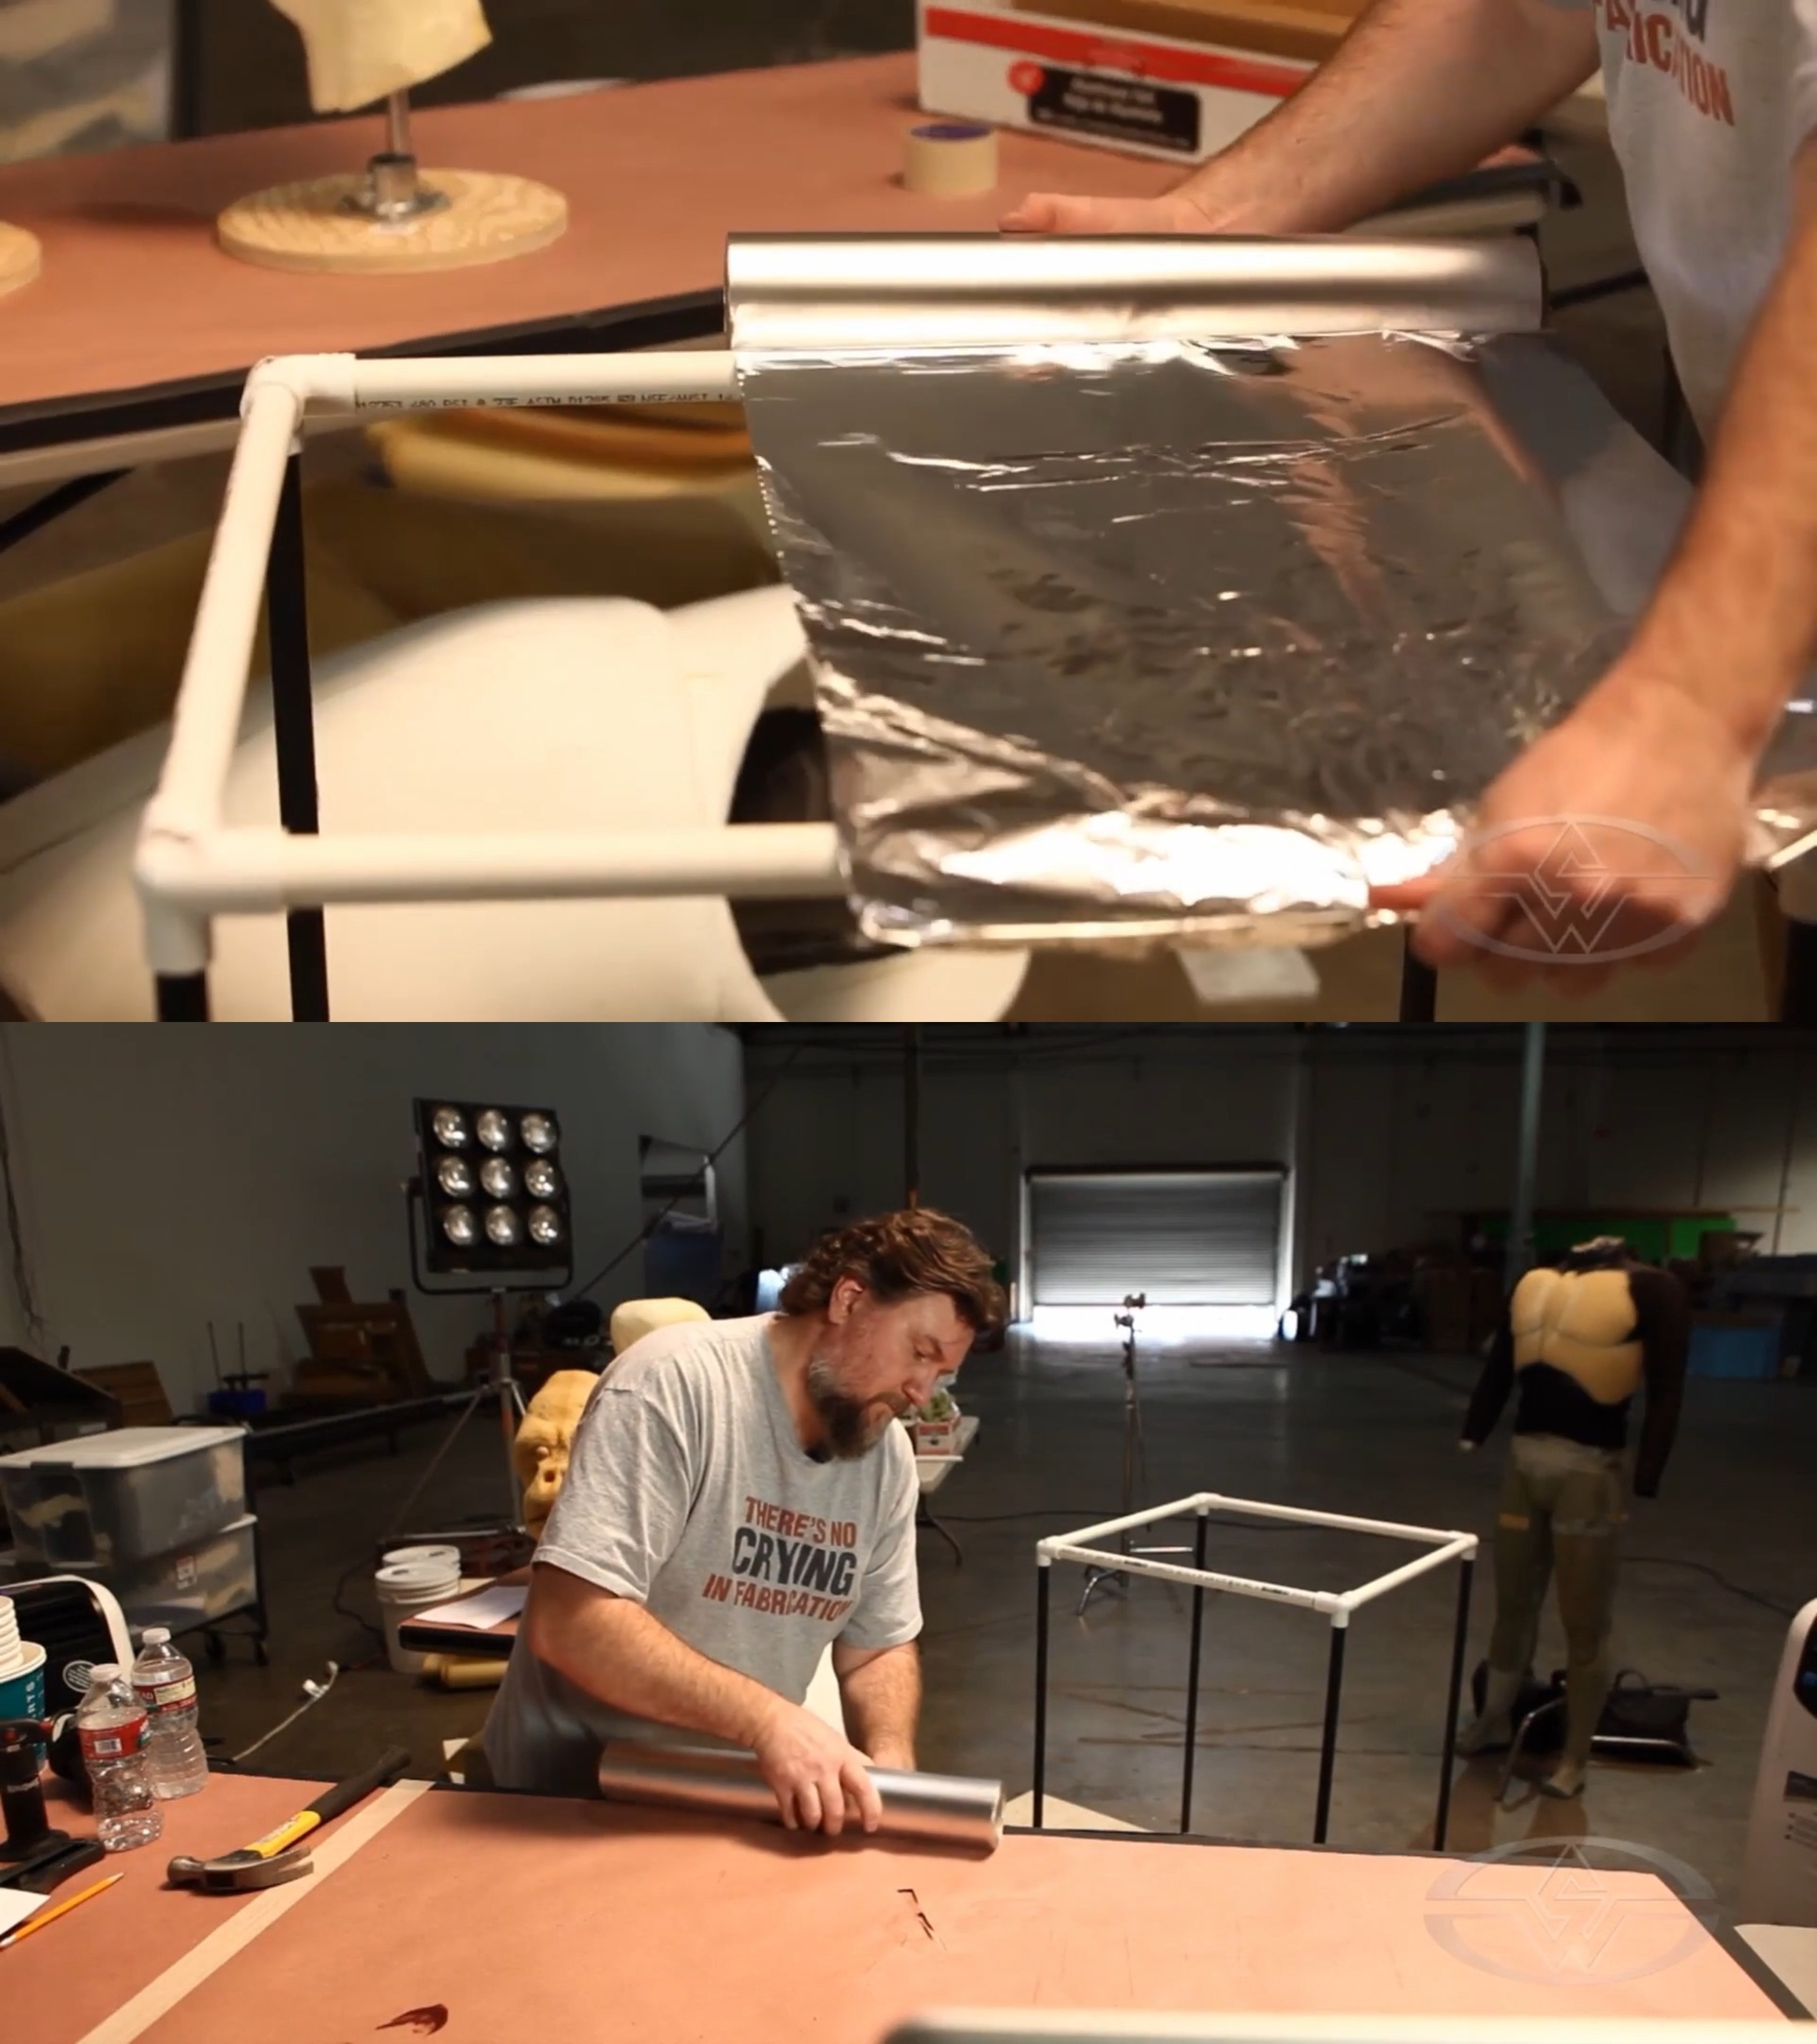 (Ted Haines gathers the width of the frame and rolls out pieces of tin foil to cover the top.)
From there, wrap the frame with sheets of aluminum foil. Ensure it is wrapped tightly.
While you’re doing this, use tape to secure the foil and seal any gaps. Haines uses masking tape, but you can use any kind of tape, including duct tape.
It won’t be getting extremely hot in the oven, so you can rest assured the tape won’t catch fire. Still, you want to build your oven at least in a vented garage or open shed and preferably outdoors. Never do this in a bedroom or basement.
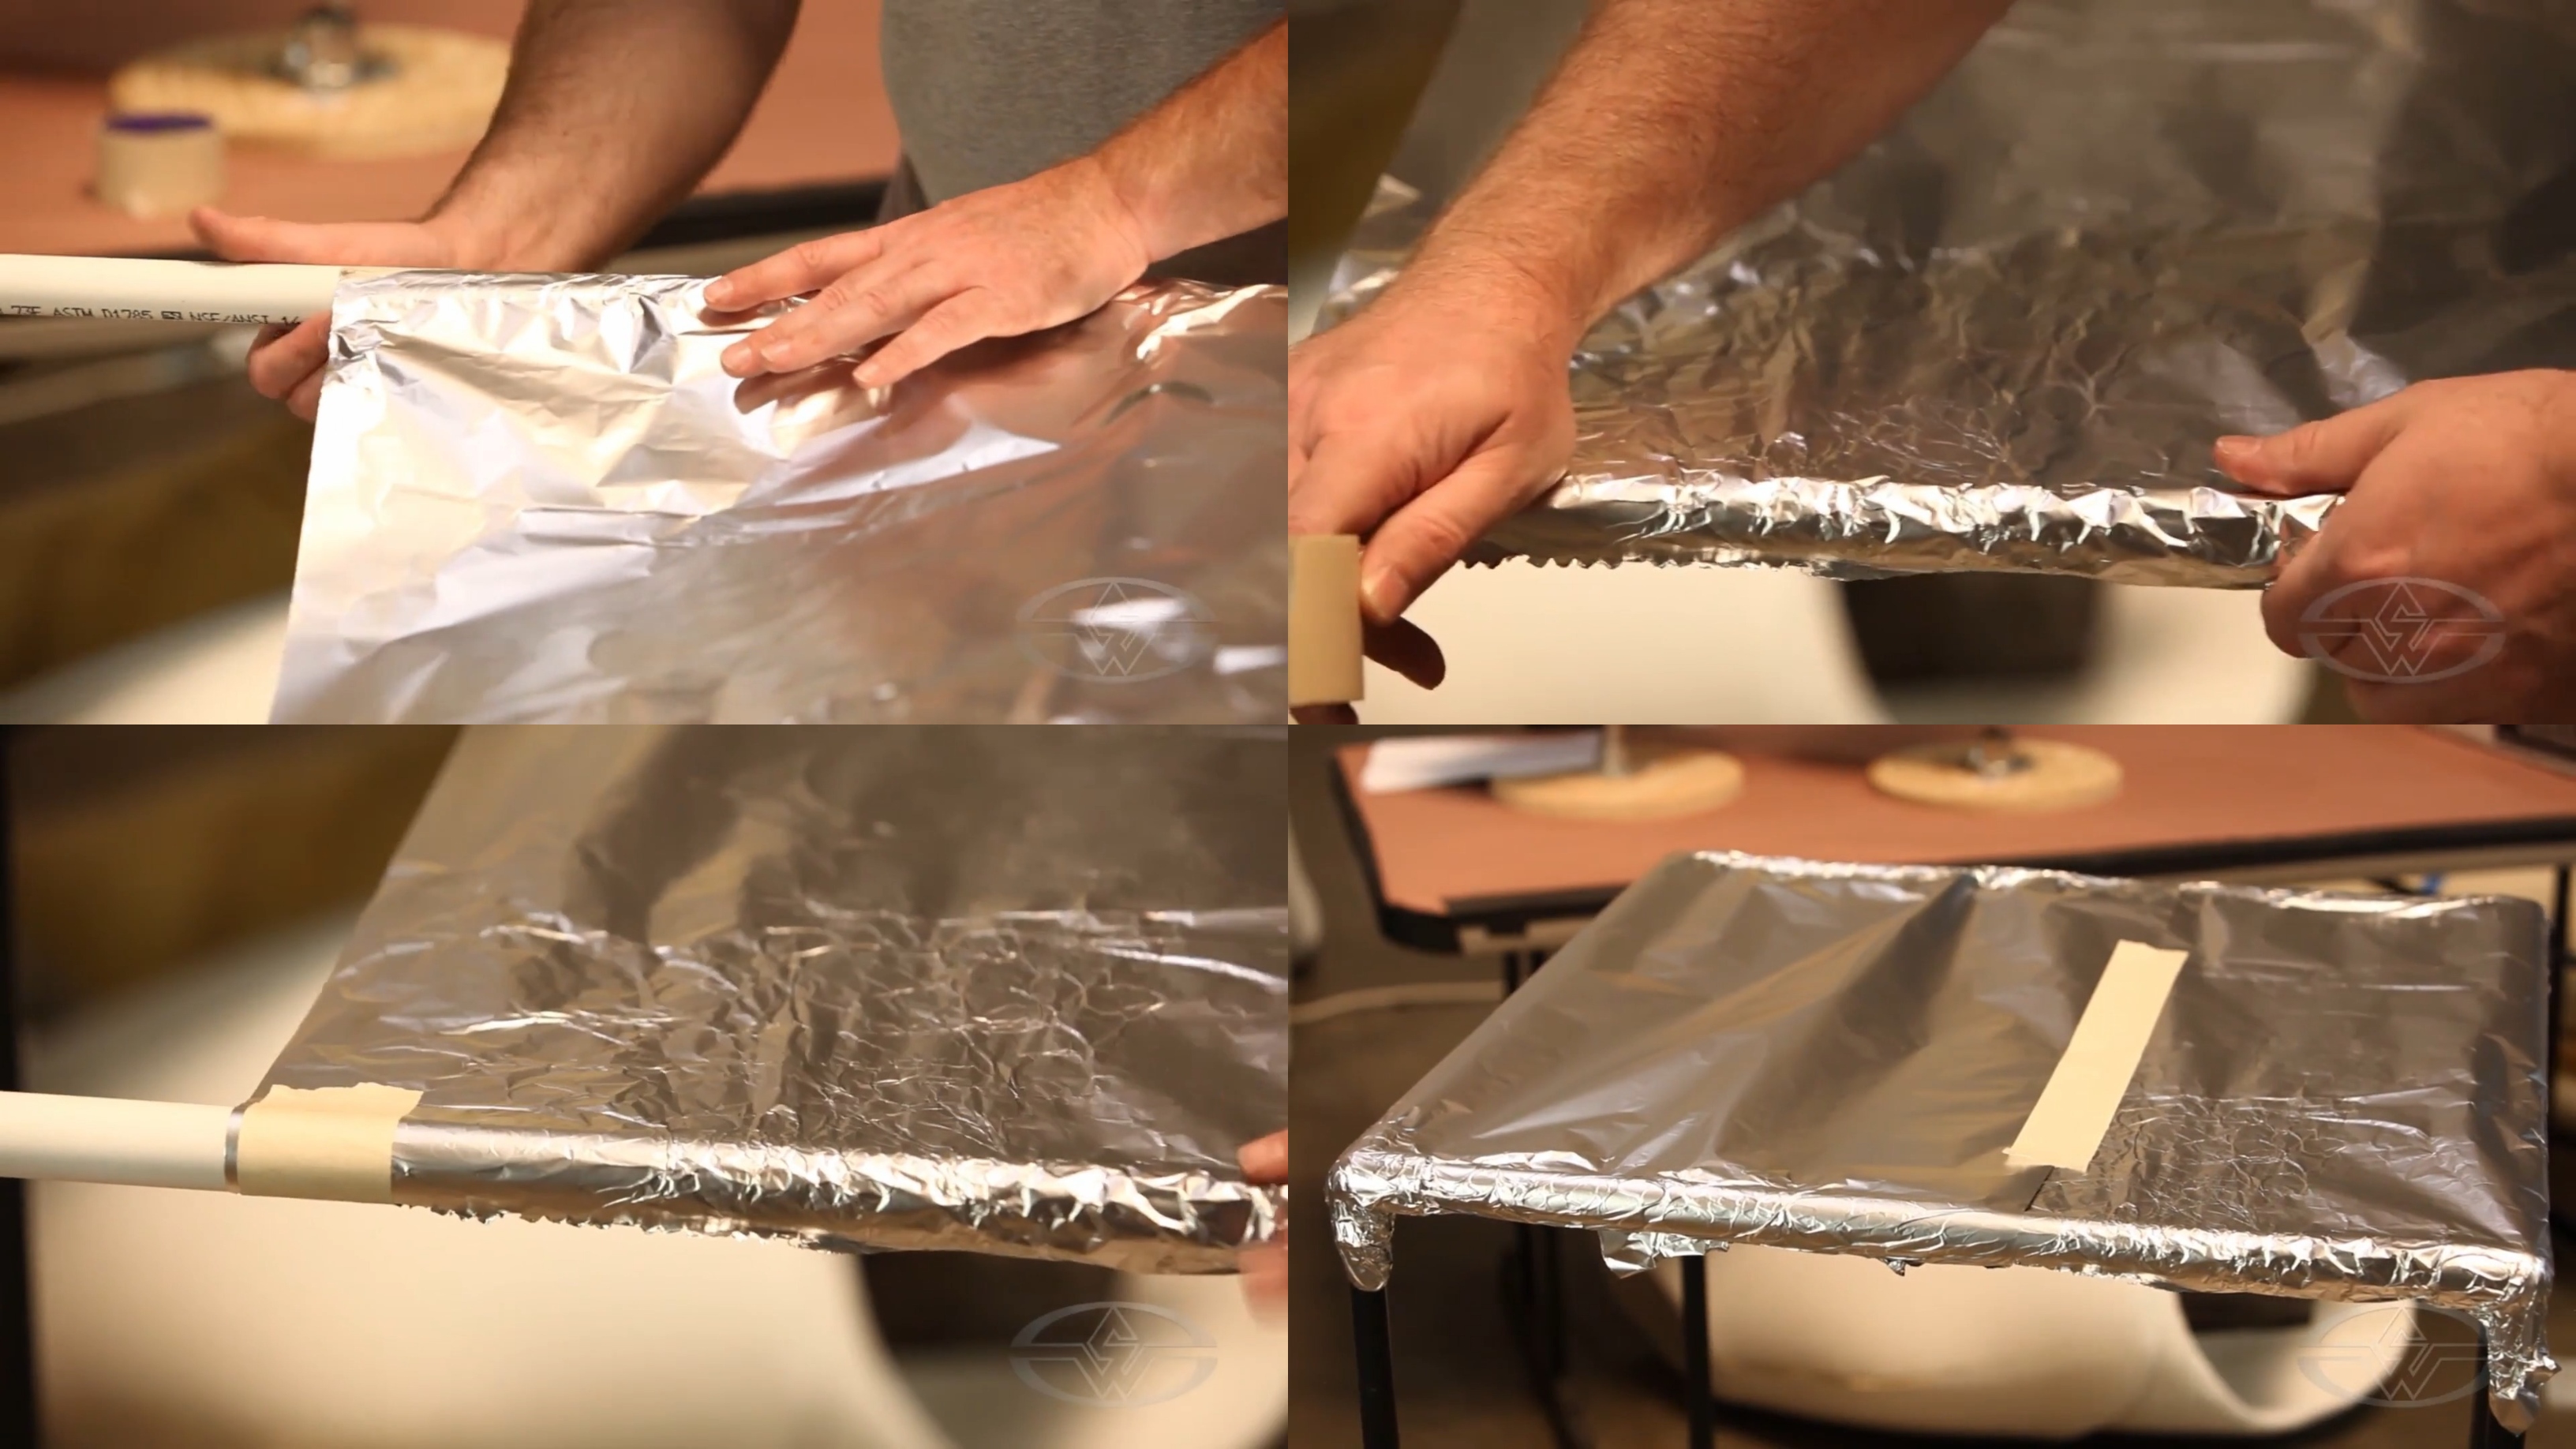 (Ted Haines tightly wraps the aluminum foil over the top of his oven, using masking tape to keep everything secure.)
The advantage of working outdoors is not only so you can use a high-temperature heat gun, but also, as Haines explains, “at the same time, you're using the sun to heat it up and bake it,” Haines explains.
Keep in mind that this is a temporary, low-tech structure. Once you’re done baking your foam, you can keep and reuse the frame and plywood for as long as you want and toss the aluminum foil with each use.
Your next step is to place the frame back on the nails and begin wrapping all sides of the oven with sheets of foil so it’s completely covered. Work in sections, sealing the gaps with tape.
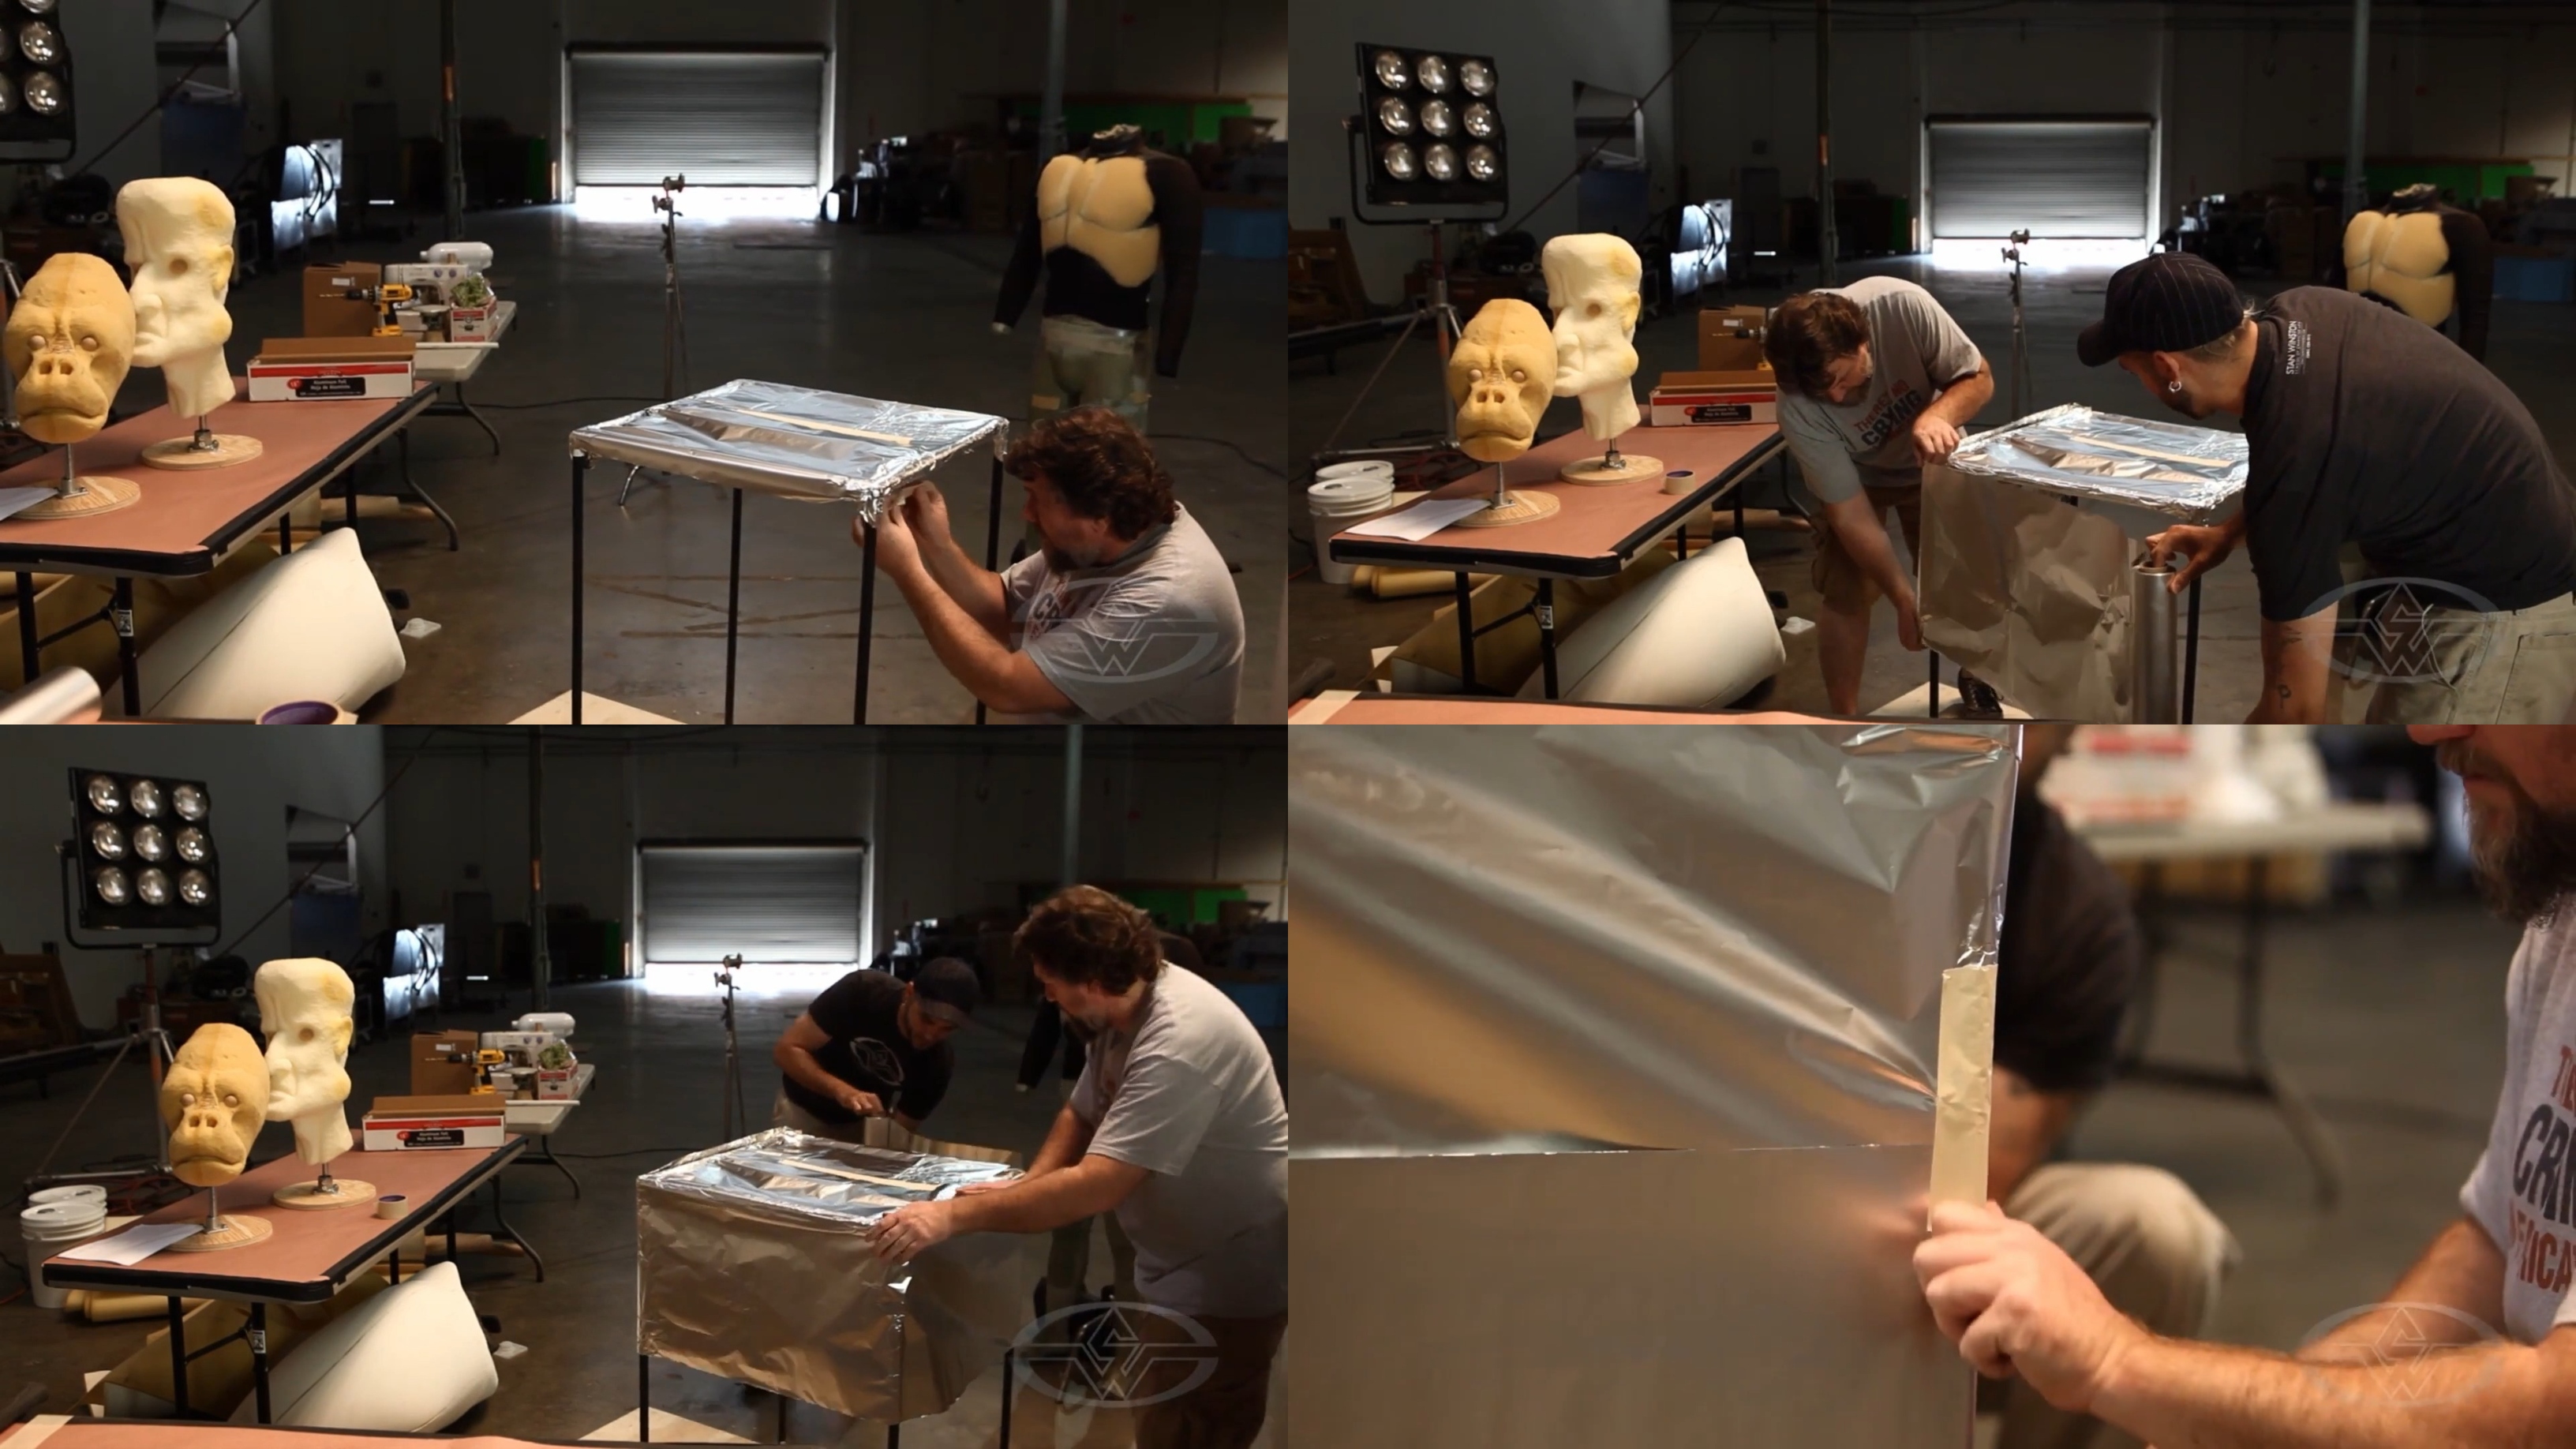 (With some help, Ted Haines wraps the entire oven structure with aluminum foil.)
Tape down any ends and wrap the corners. Continue wrapping the foil around the frame, overlapping as needed all the way down to the ground.
The goal is to keep as much heat in your temporary foam latex oven as possible. While the plywood and foil will hold the heat well, make sure to seal the frame in completely to prevent losing any heat. The foil walls are, of course, quite fragile, and care must be taken not to tear or puncture them as you work.
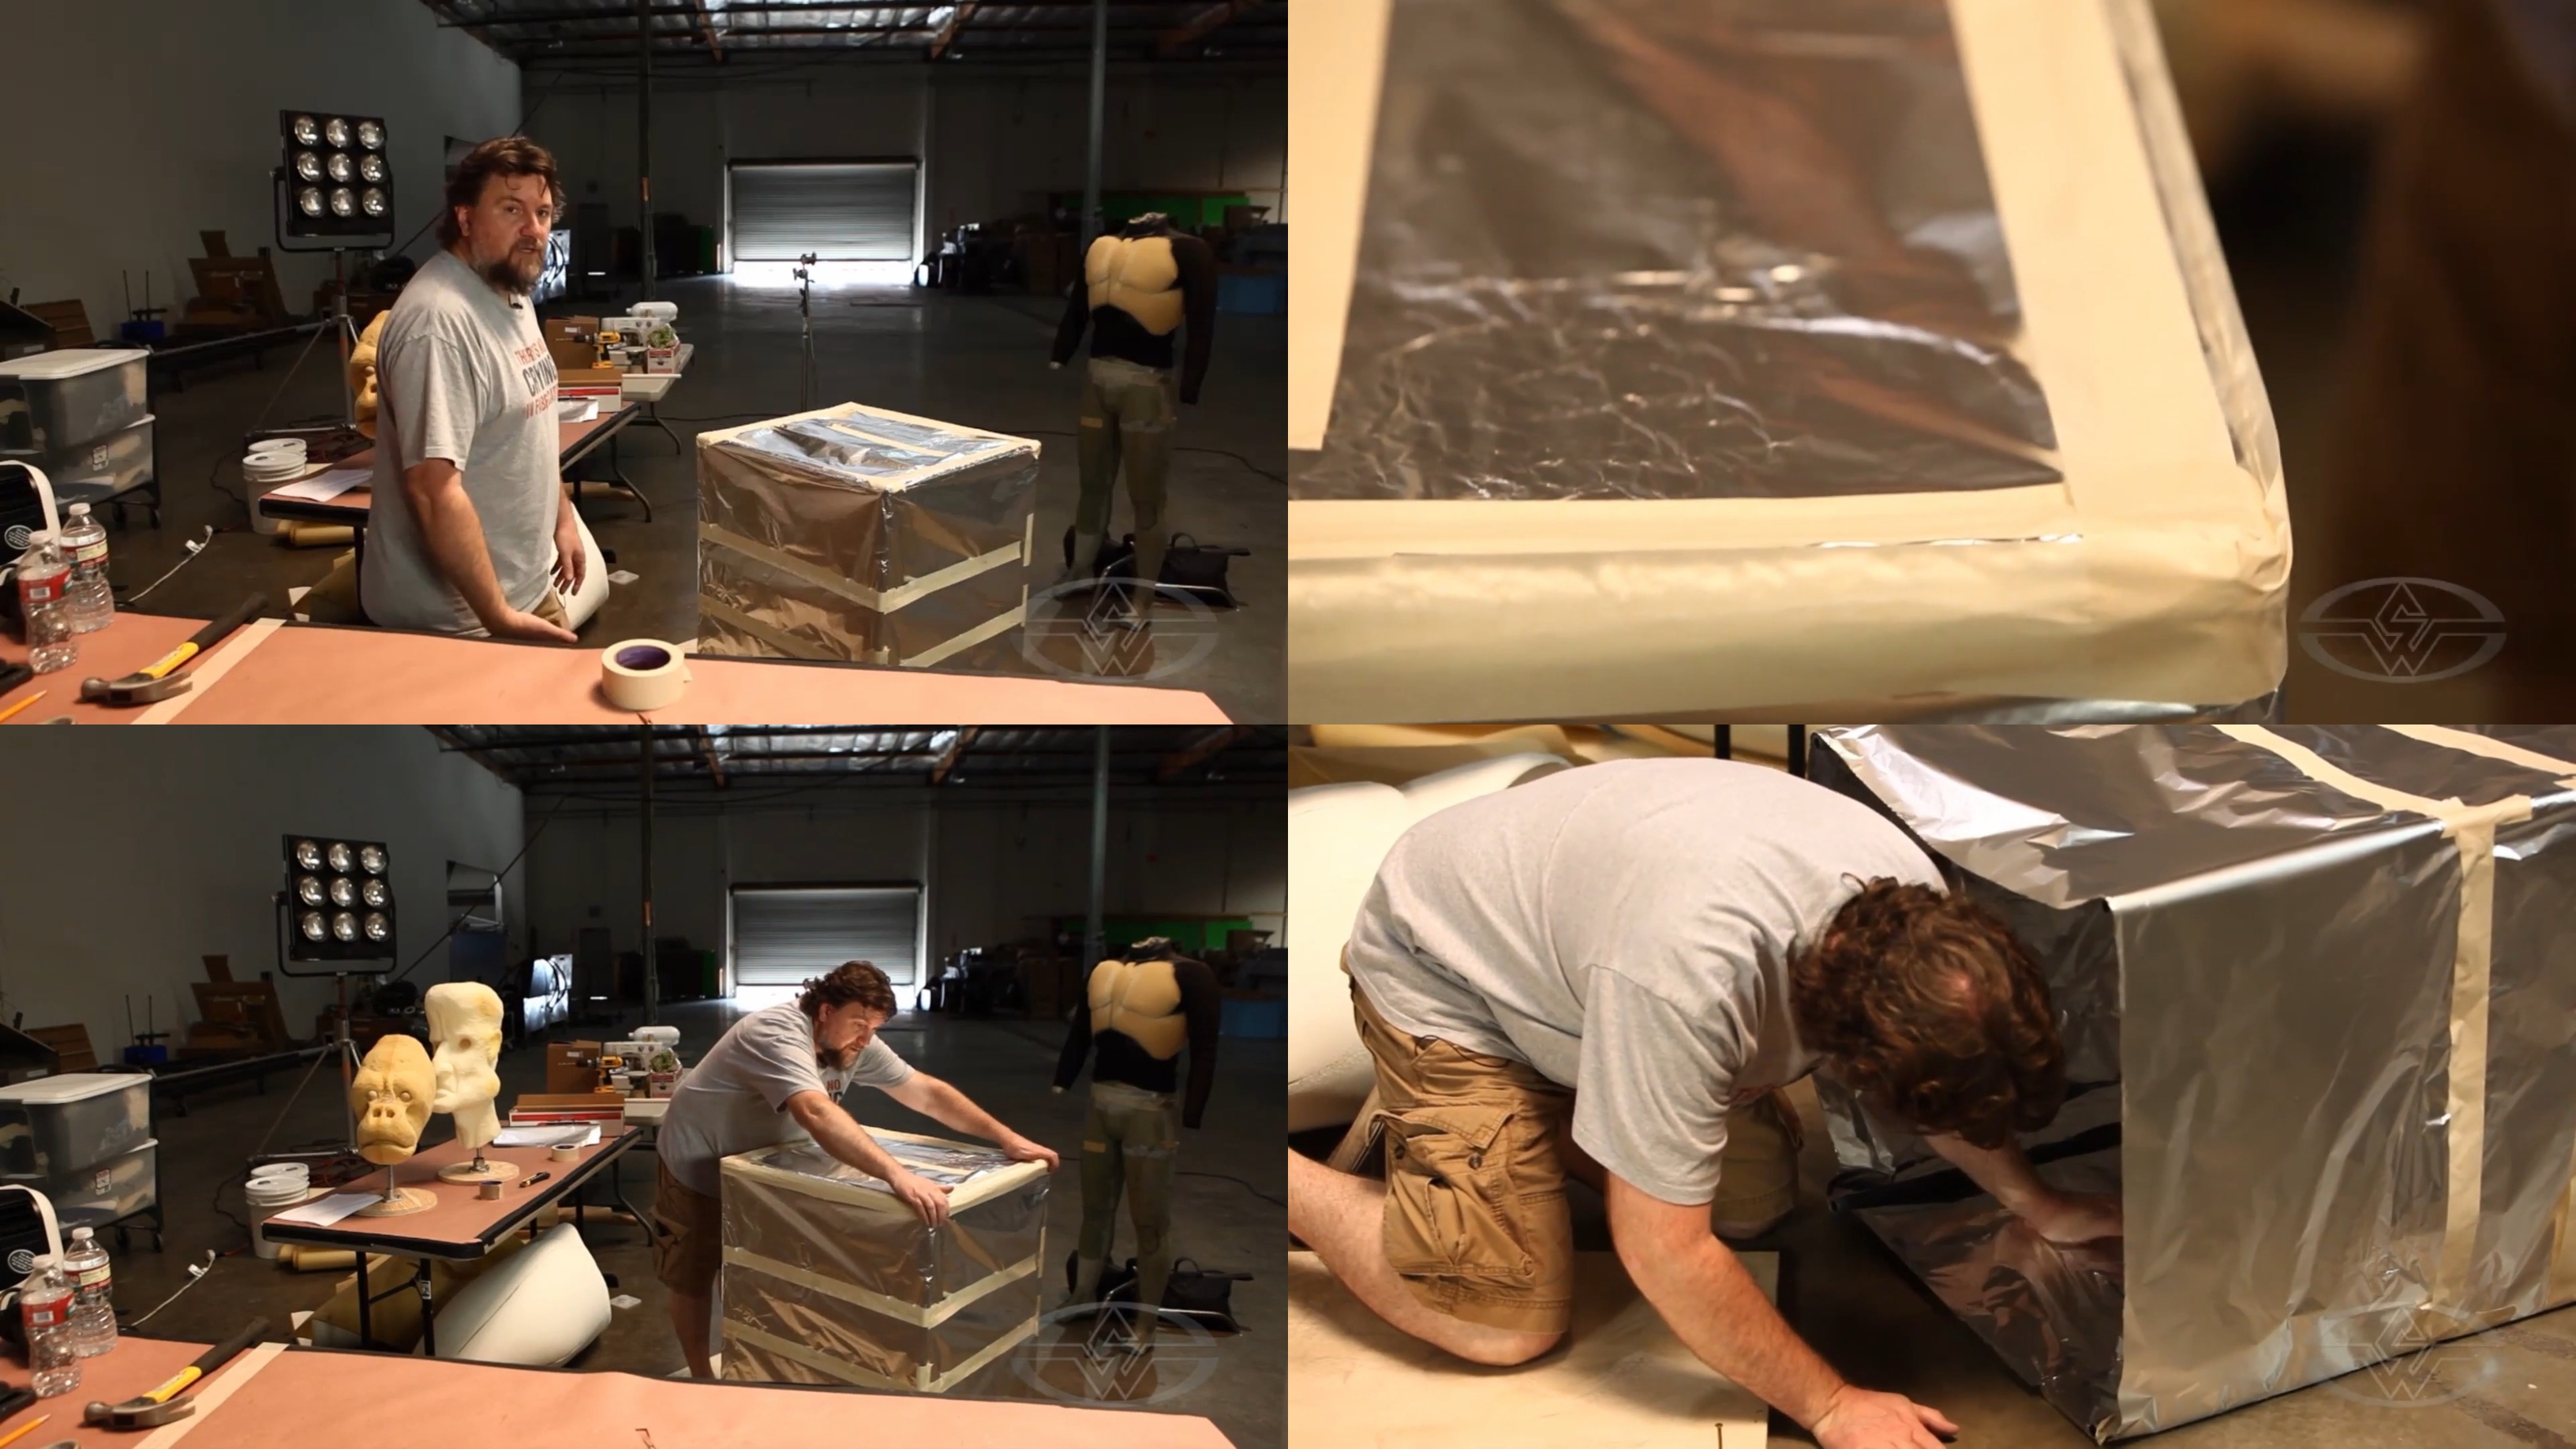 (Ted Haines double-checks that his DIY oven is as sealed as possible.)
Foam Latex Oven Storage and Alternative Options
A major plus to building your oven is that you can assemble it whenever you need it and to whatever size is necessary for your projects. The oven Haines builds has a 4-foot x 4-foot base, which is large but not unmanageable.
Though you can customize your oven to fit your needs, including more permanent walls (some hardware stores sell insulation sheets with foil in them already, or even pre-cut aluminum siding), you might even consider putting wheels on your base for mobility. However, easy setup and breakdown is the big advantage here. A small set of pipes and corners is easy to store almost anywhere, whereas you don’t really want to have a refrigerator-sized temporary oven sitting around and taking up precious space in your home.
“Imagine having something with wheels, sticks, and plywood sides [and] having to roll that around or having to store that,” Haines says.
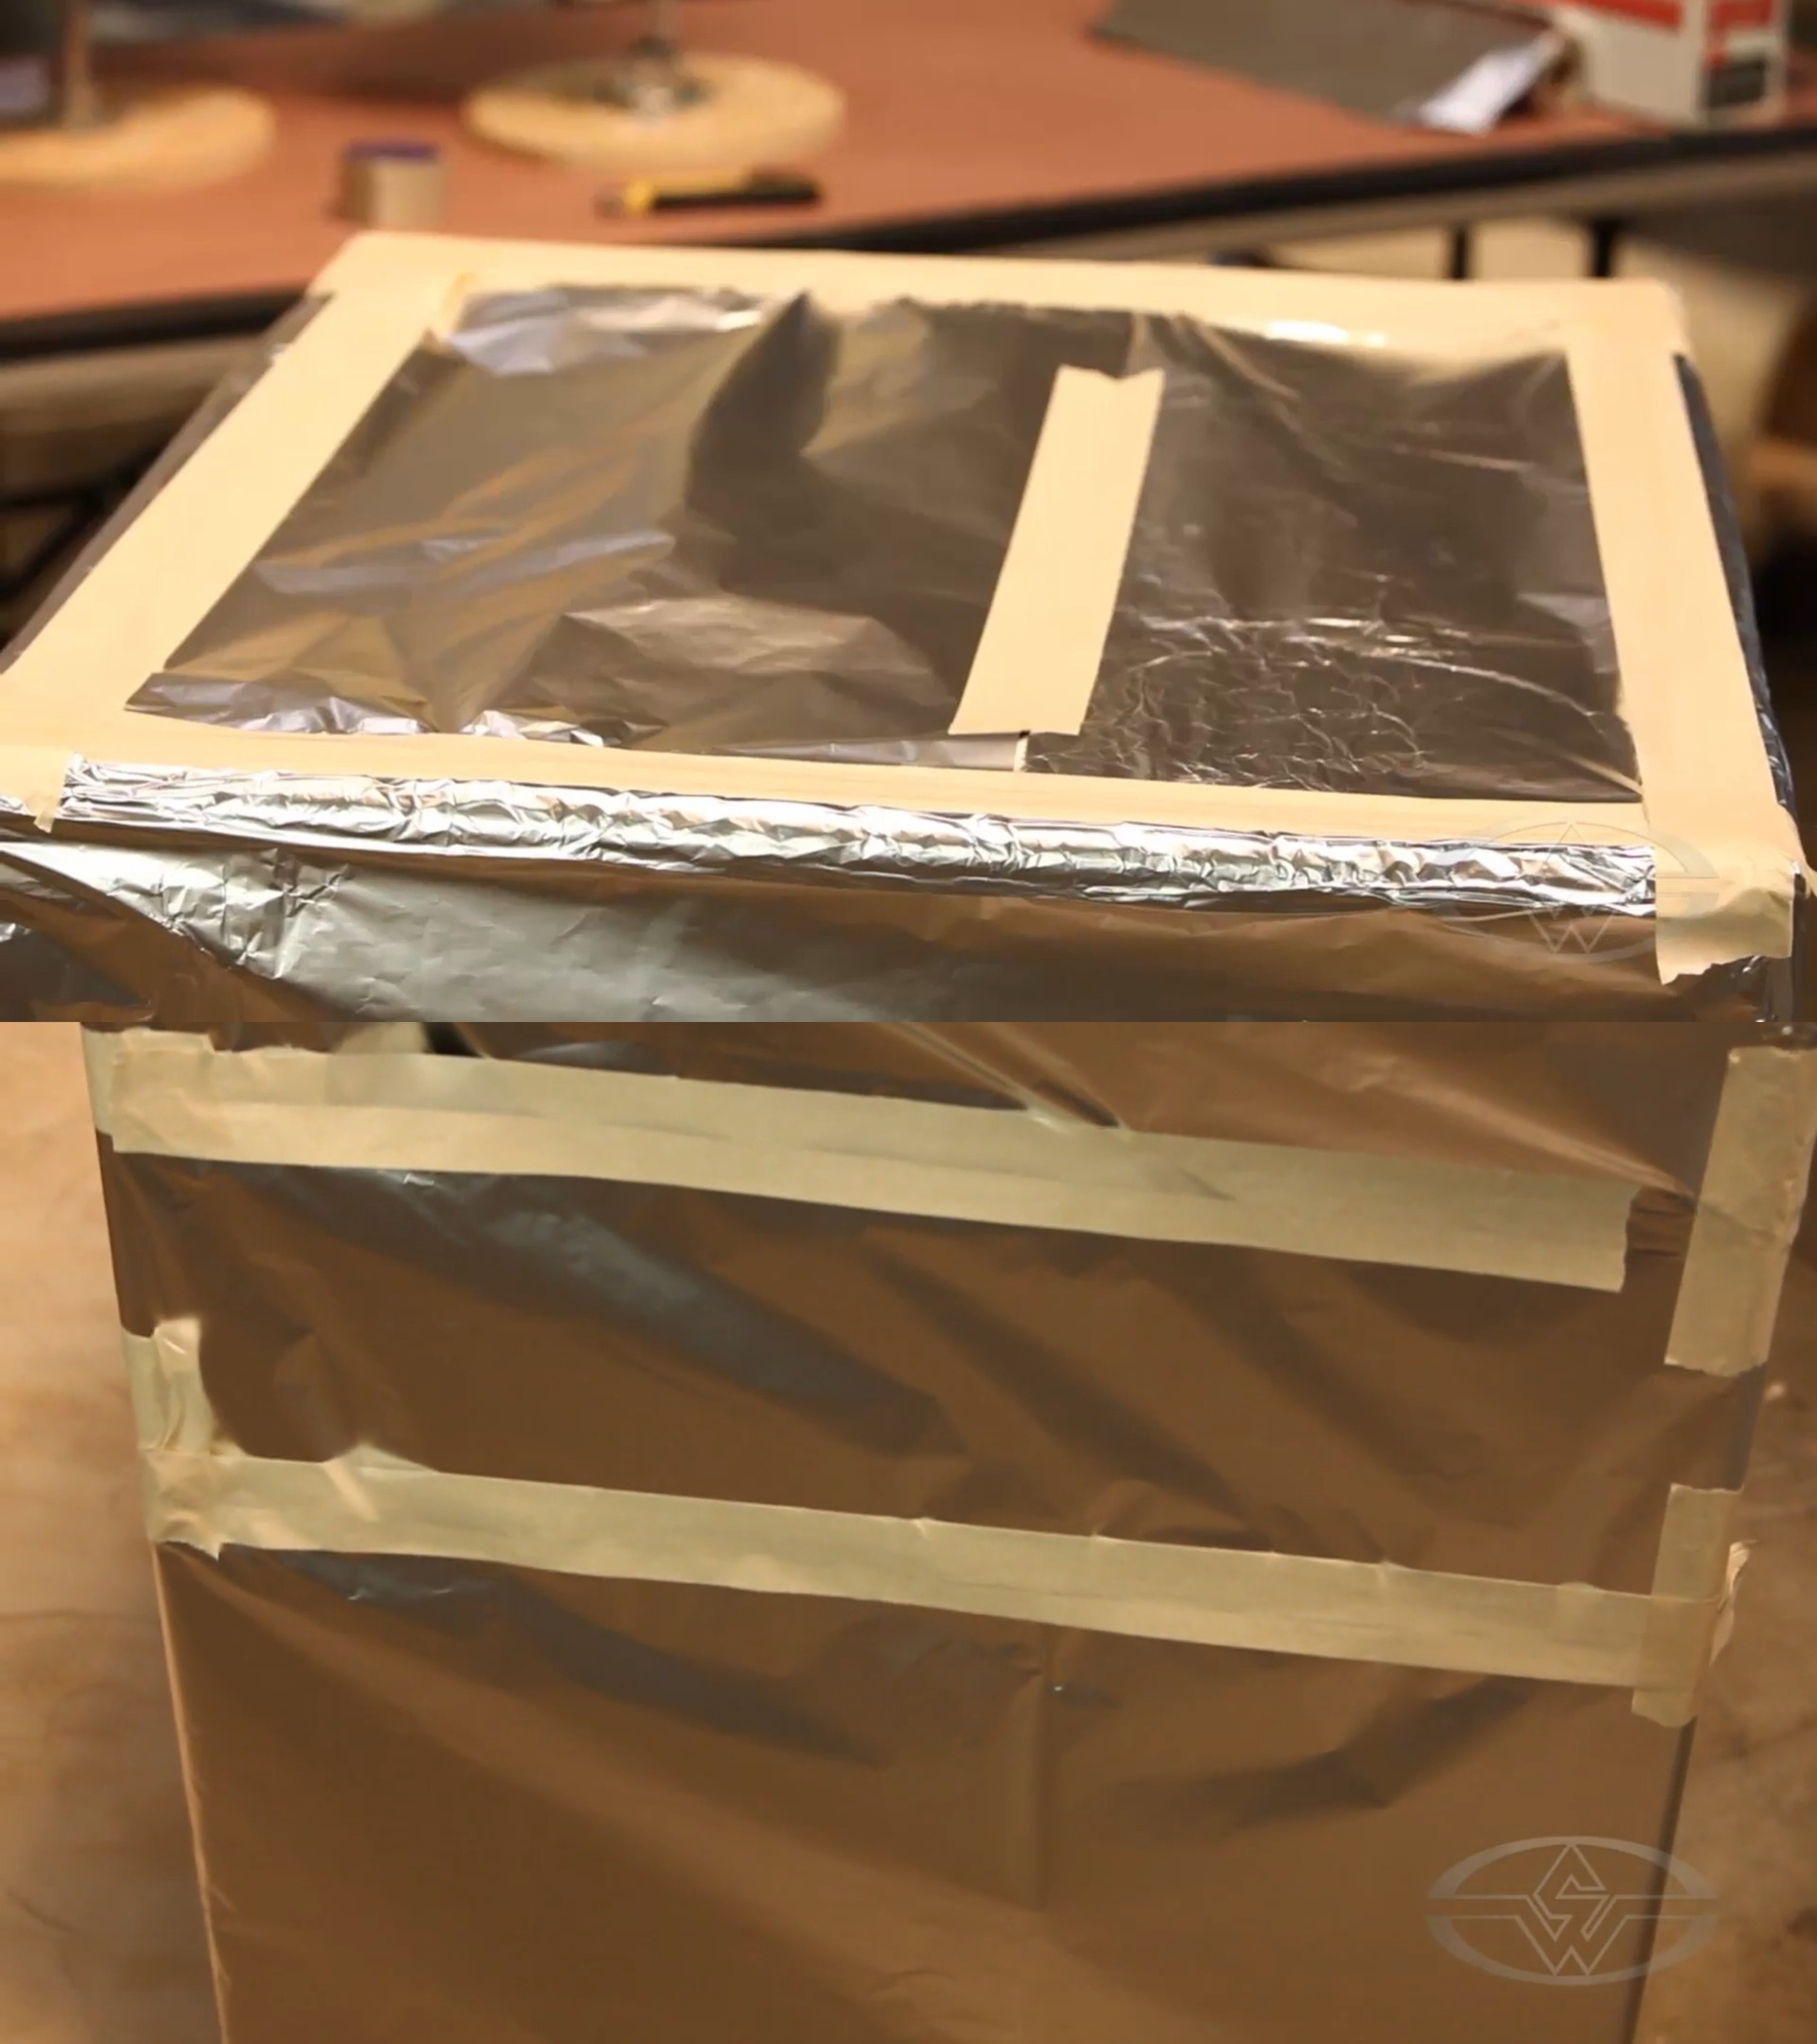 (A closer look at Ted Haines' completed temporary foam latex oven.)
With the materials that we’re using for this lesson, you can throw the aluminum foil away, keep the PVC in a small, neat bundle, and stand your plywood sheet up somewhere in your garage.
What’s also convenient is that a plywood piece of this size can easily be picked up off the nails and set back down. If you need to readjust the foil, you can take it back off the nails and pat it down on the inside against the tape for good measure.
“There's a lot of things that will work,” Haines says. “What I'm trying to do is make something so temporary that you're not going to notice it when you break it down.”
If you happen to use more permanent materials or insulation sheets that already have foil on them, keep in mind that you’ll require more space to store them. If you’re thinking about making a plywood box, you’ll need to break several sheets of plywood down.
Pro-tip: You can have a more permanent oven by using plywood sides and lining the inside with pre-foiled insulation material.
Obviously, if you're doing a lot of foam latex, or you’d like to make a larger temporary foam oven and have the space to store it, build away!
Heat Gun Setup for Foam Latex Oven
For the final step, you’ll set up your heat gun. This will be the heating element for your oven.
If you have a C-stand, you can strap the heat gun onto it using tape.
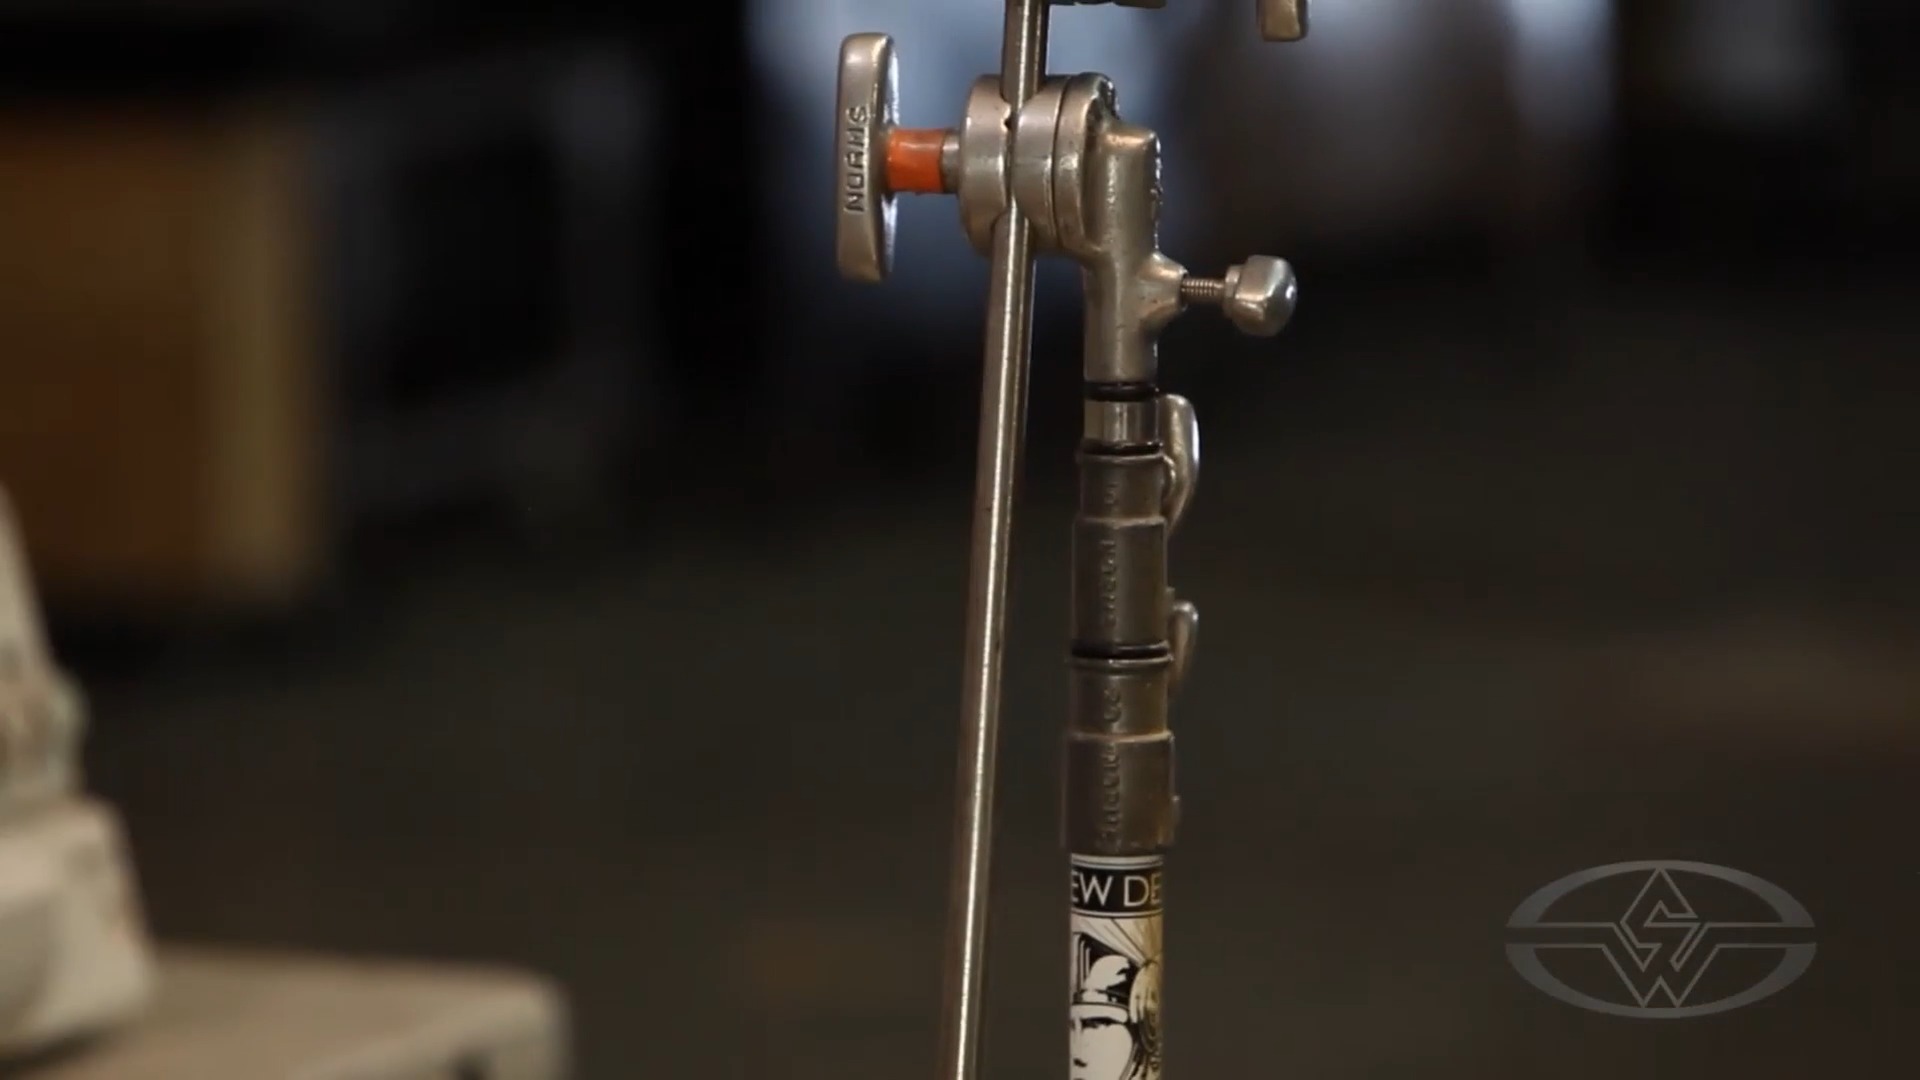 (Ted Haines uses a C-stand to anchor his heat gun.)
No C-stand? No problem!
Make a small wood frame instead using a 2x4 screwed to the bottom of the plywood base and connect your heat gun to the 2x4.
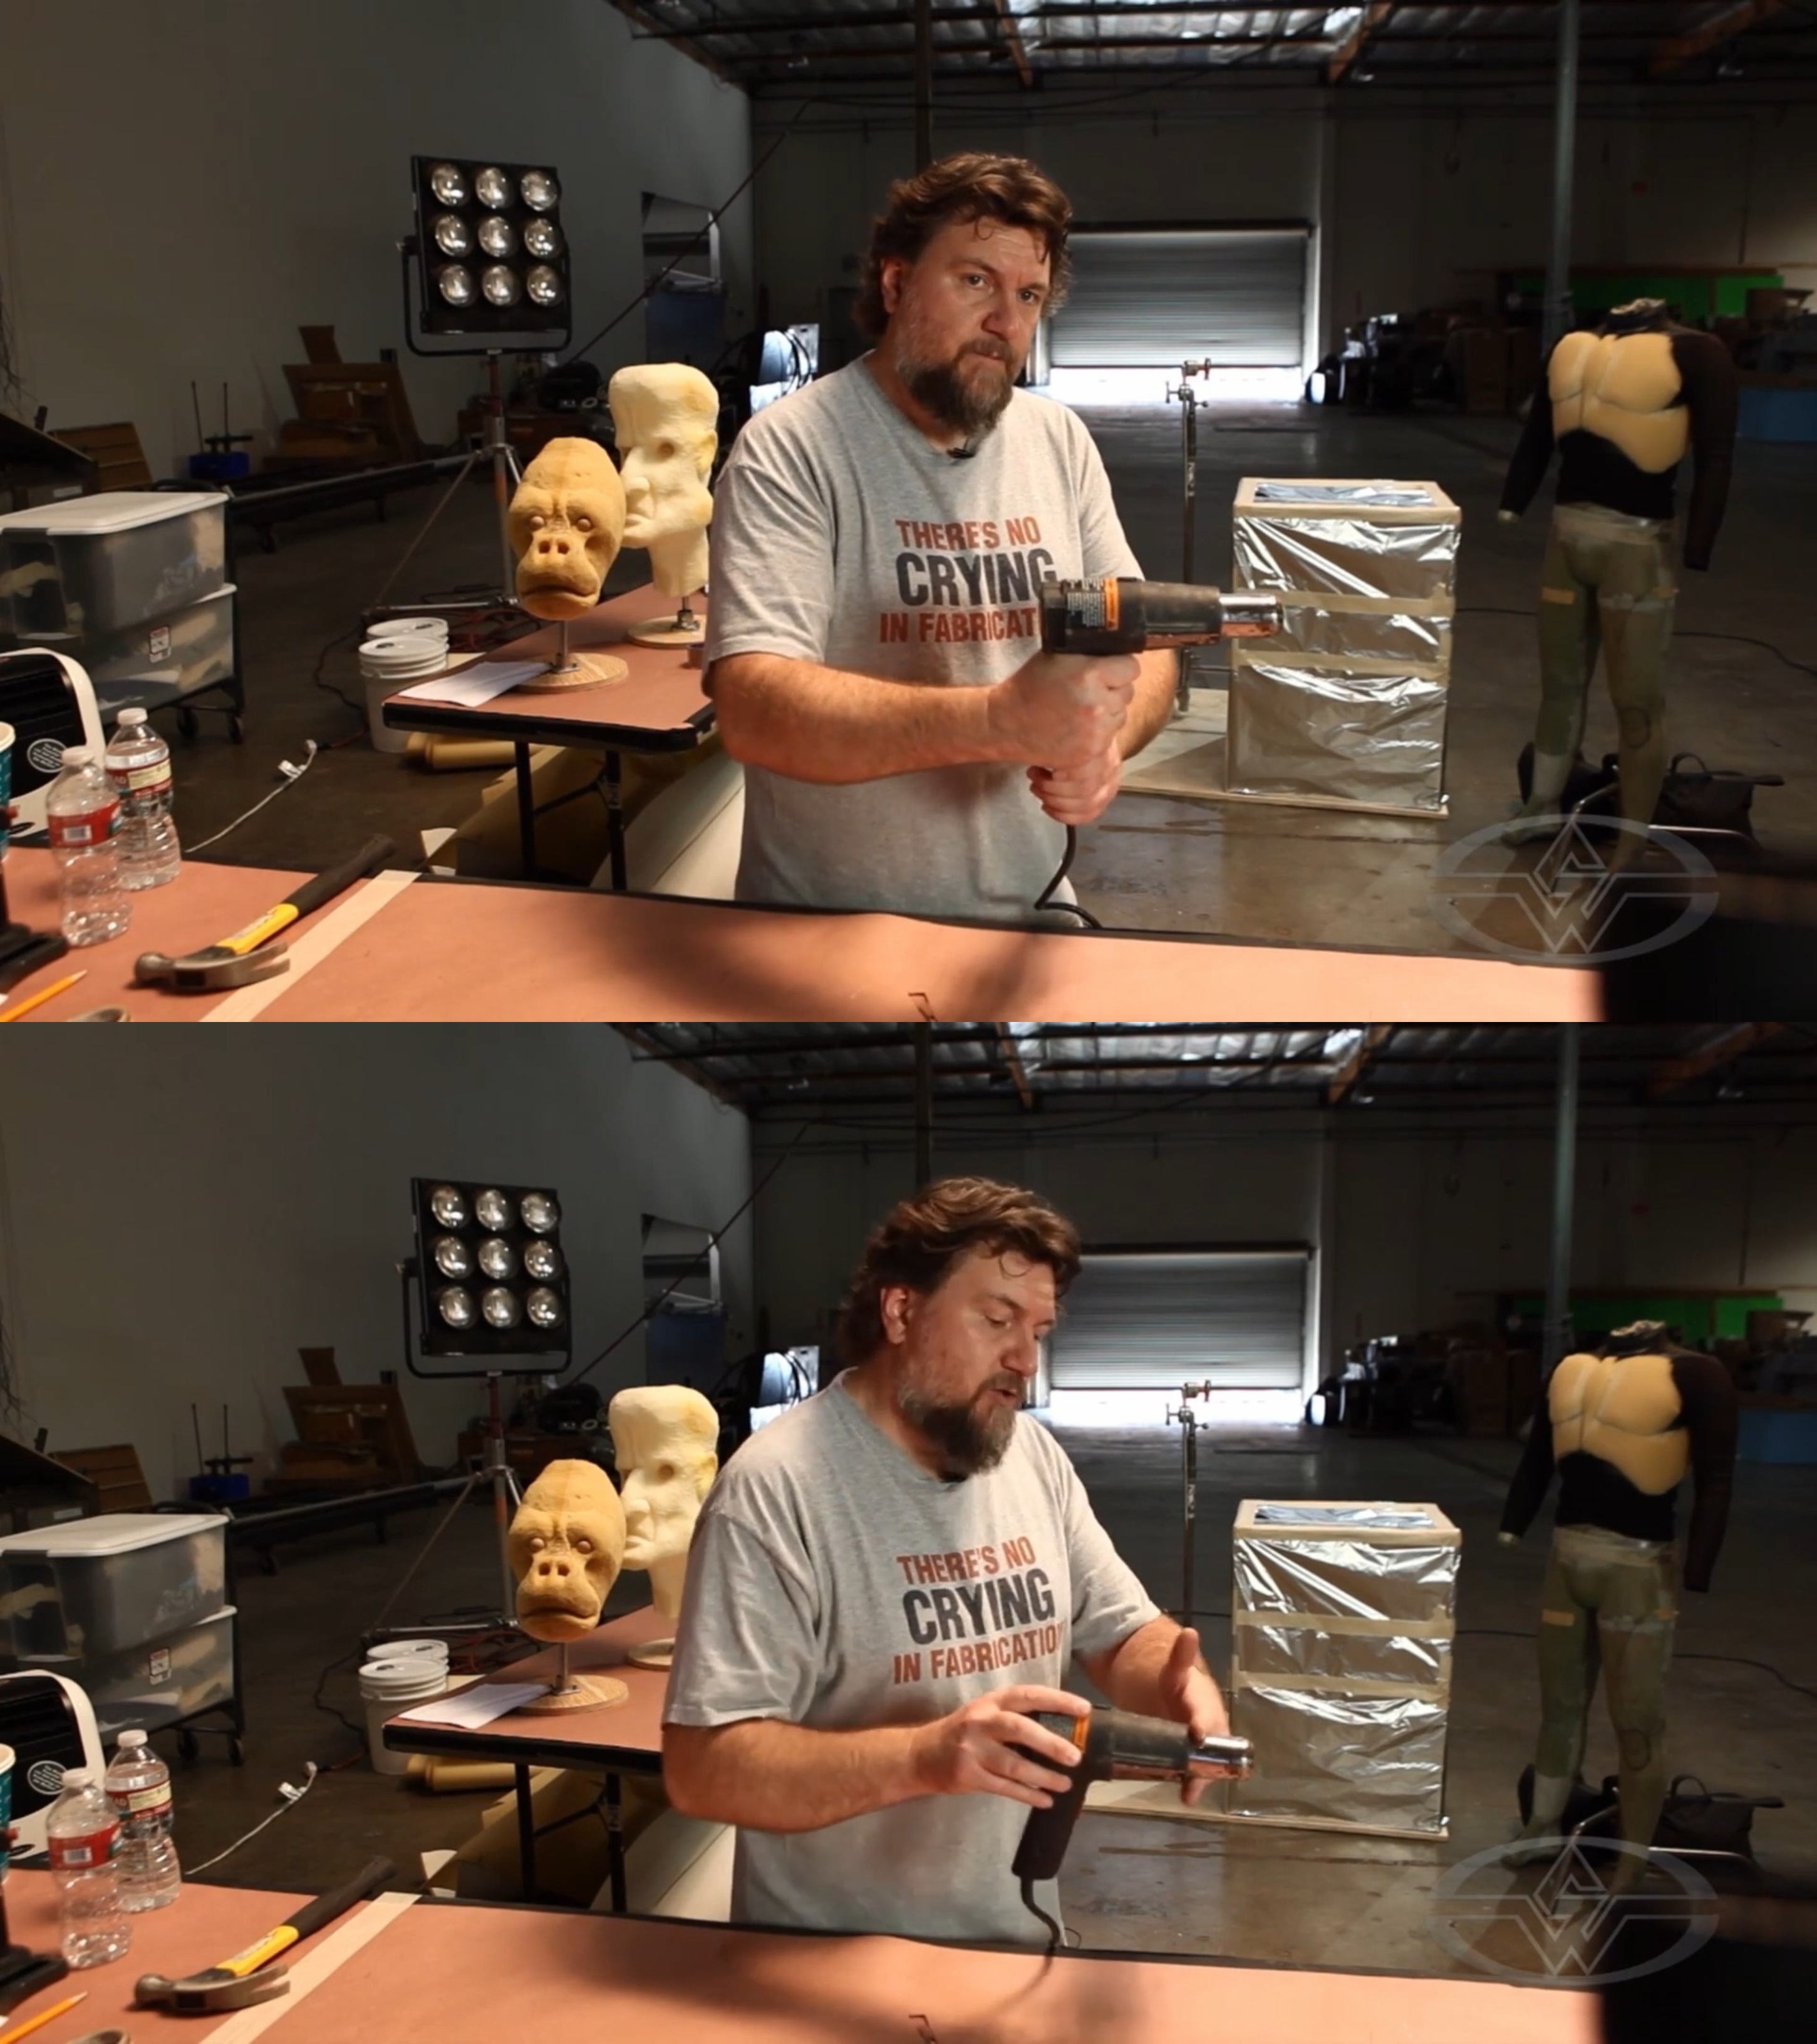 (Ted Haines demonstrates how the heat gun should be secured and how it'll work to heat the interior of the oven.)
The anchored heat gun keeps the heat source in a fixed position when you turn it on. You can poke it through a hole in the aluminum, switch it on, and the interior of your oven will begin to get hot.
And there you have your budget-friendly, DIY oven all set for curing foam latex projects!
WATCH THE “FOAM FABRICATION TEXTURING TECHNIQUES” COURSE WITH TED HAINES: