
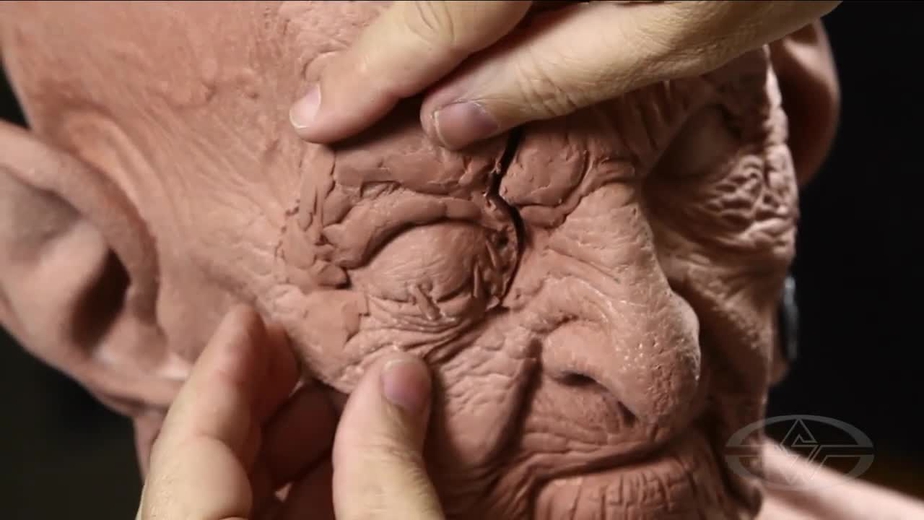
Repositioning a Character’s Eye With Bruce Spaulding Fuller
In this FREE excerpt from his Stan Winston School of Character Arts course, How To Sculpt A Character Makeup, prosthetic makeup artist and master sculptor, Bruce Spaulding Fuller (Predator 2, Terminator 2, Hellboy) shares his techniques for repositioning your fantasy character’s eye to give it a chillingly lifelike look.
Jump To Section
- Preparing the Eye for Repositioning
- Building the Cheekbones
- Adding a Hollow to the Cheekbone
- Blending and Adding Finishing Touches
To watch the complete video, click the player above!
In this lesson, you’ll learn how to reposition “The Hag” witch character’s eye so you can add a ghastly element to her appearance, and eventually, create a multi-piece prosthetic makeup.
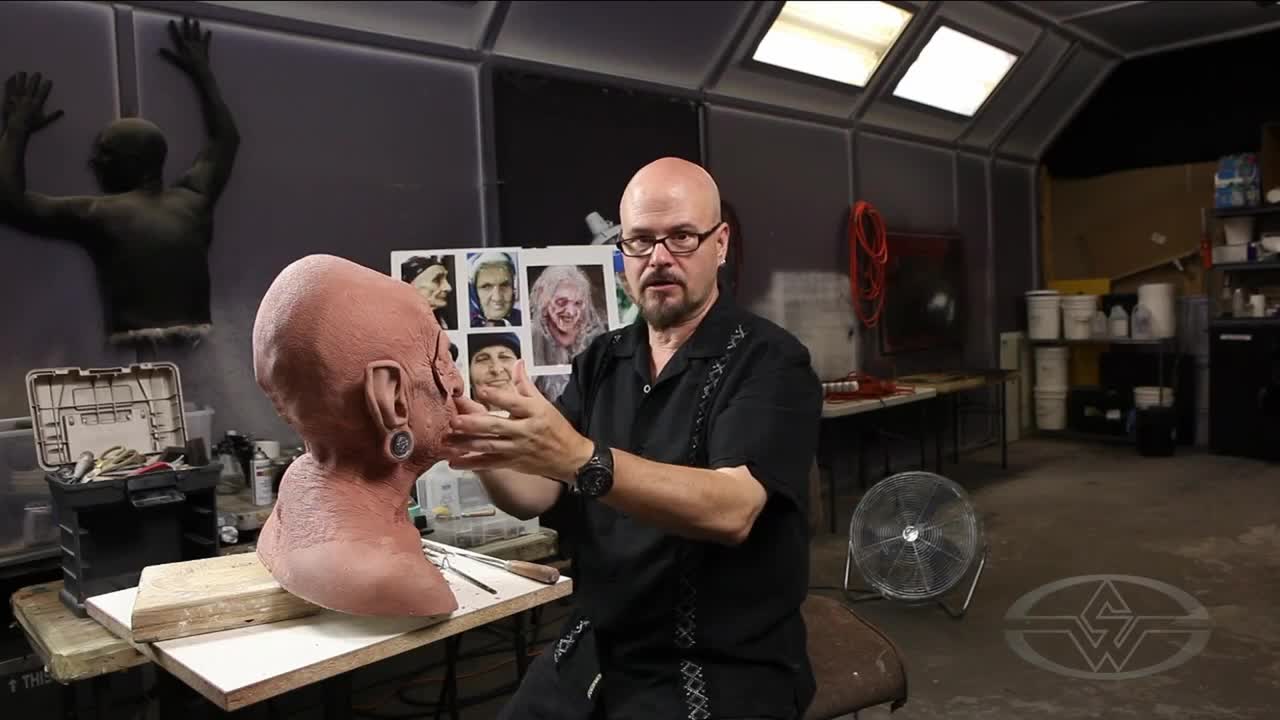
To get started, you'll need the following materials:
- Your sculpture! - made from Chavant clay NSP medium (brown)
- some fresh Chavant clay
- Knife for cutting clay
- Rake loop tool
Ready to learn some eye-opening sculpting techniques to make the character of your dreams...or nightmares?
Let's get started!
Preparing the Eye For Repositioning
Bruce Spaulding Fuller shares a helpful reminder as he gets started: “You can always put it back. It’s just clay — there’s no crime with making your little changes on it and trying to find something you like.”
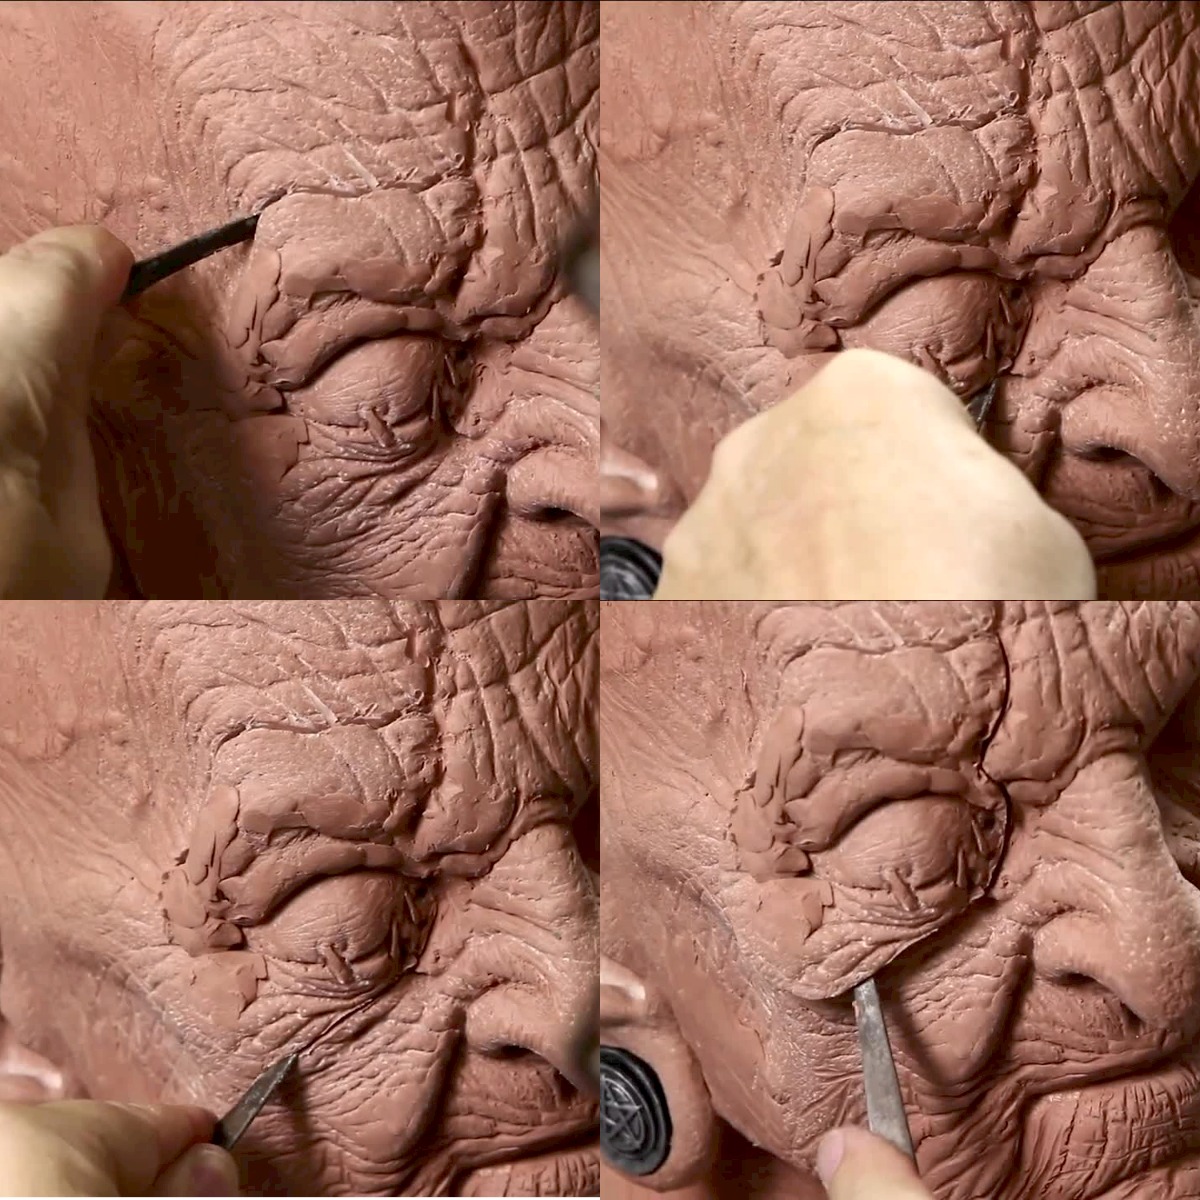 (Bruce Spaulding Fuller shows the best parts to cut around the eye for a quick, easy removal.)
Using a clay-cutting knife, begin chopping around the eye, starting with the character’s scar and into the wrinkle. It’s important to find natural places for your cuts, going with the contour whenever possible to help blend the edge once you've made a change.
With an Alcote (or Al-cote) Separating agent already applied to the head form underneath, the clay should be able to come off easily with low chances of it being incredibly stuck.
(Bruce Spaulding Fuller shows the thickness of "meat" in this piece of what will be the hag prosthetic.)
Position your knife under the piece to pop it right off. Bruce is using a lifecast of model, Cynthia Garza and notes that you'll be able to get a clear view of the lifecast underneath the soon-to-be ruined eye.
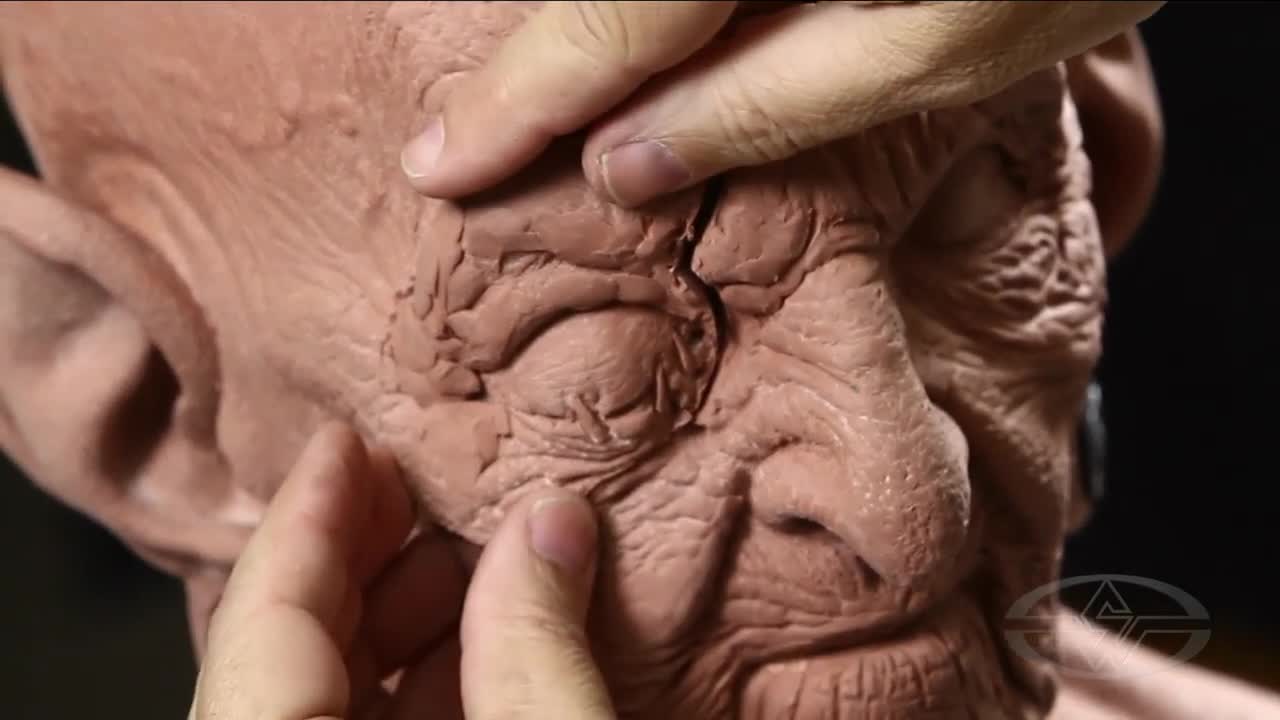 (Bruce Spaulding Fuller carefully repositions The Hag's eye to enhance the frightening aspect of the sewn-shut eye.)
Experiment with the positioning of your eye. Bruce decides that his move only requires a slight move to make it a little more fanciful but not beyond believability. He encourages taking whatever approach you wish. Whether you carve more area or make a bigger adjustment, the degree you want to be subtle or dramatic is ultimately up to you.
Bruce wants to keep the character essentially realistic. As he tries to observe the result with objectivity, he decides on placement, finally moving the eye less than a 16th of an inch lower than it was.
Subtle differences like this are a fun and effective way to get more out of your piece if you want to take a similar approach.
Building the Cheekbones
You may find that the moved piece requires other changes to the sculpture. Some structures might require more support and integration.
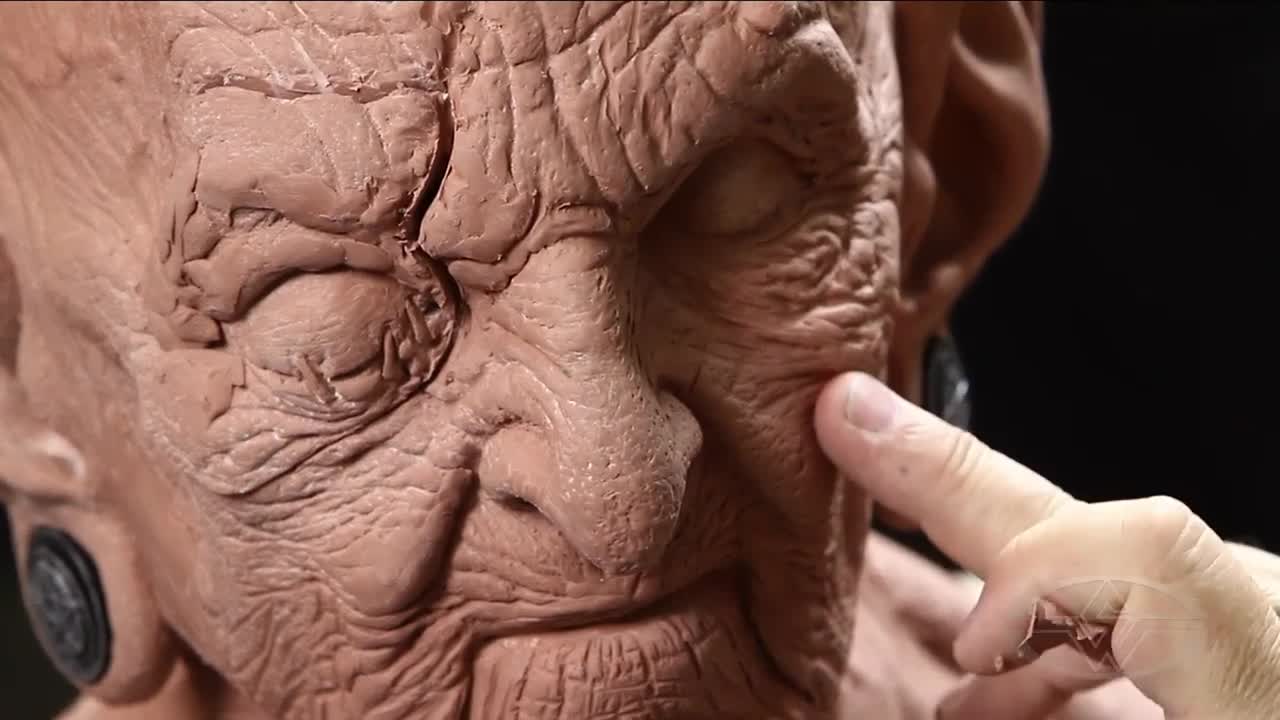 (Bruce Spaulding Fuller points out how the cheek on the right has a hollow that he would like the left - "the ruined" - side to have.)
As Bruce examines both cheekbones, he notices the regular cheekbone has more of a hollow than the other. “This feels more interesting to me than this one,” he says while pointing at the right side of the face. “This is the one that, because it’s the ruined side, should be more interesting.”
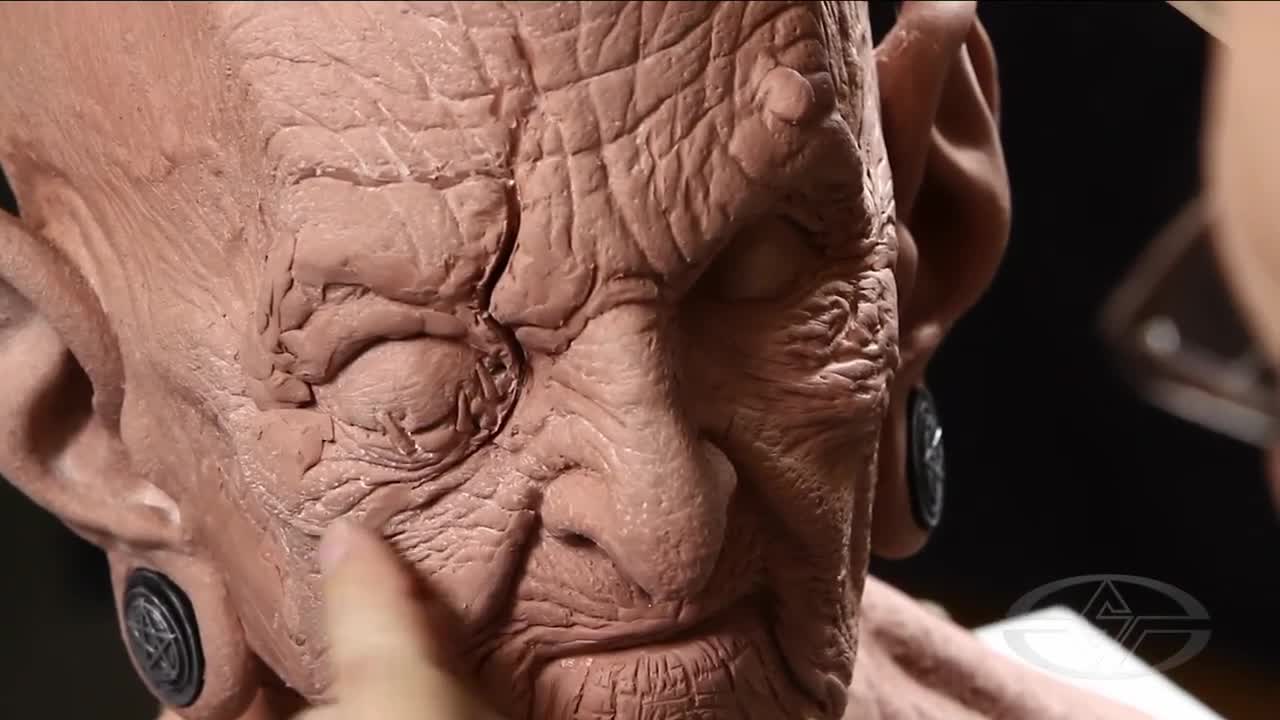 (Bruce Spaulding Fuller begins to add clay and blend to areas surrounding the eye to give it a seamless appearance.)
First, you’ll blend in what you just moved. Then, continuously add and blend the clay throughout the areas you initially cut.
Pro-tip: Get a different perception of your work by taking photographs of it. Bruce says he’ll take pictures to study his work. “A photograph gives you some distance from it. Suddenly, you see how the camera sees it — you don’t see how you see it with your eye,” he says. “Just looking at it, seeing how it works in the light and how it photographs, I think that’s a really good thing to do.” You can also use a mirror. Either can help you find objectivity you might not have when you’re in the midst of sculpting.
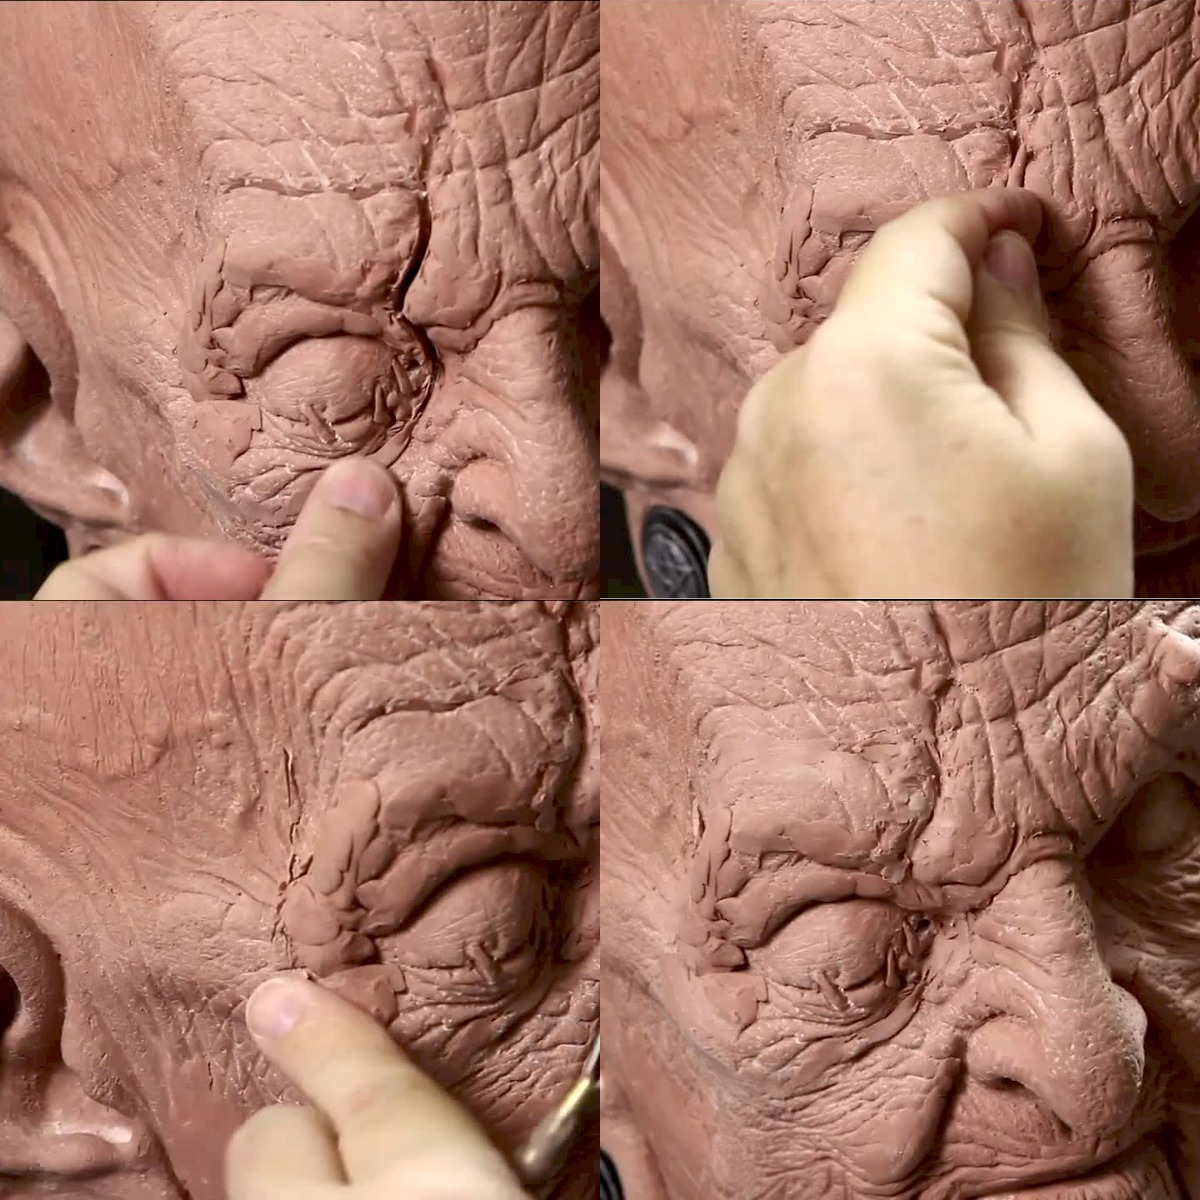 (Bruce Spaulding Fuller continues to add and blend clay until he's satisfied with how it looks.)
Taking and reviewing photos of his sculpt is what gave Bruce the idea to change the eye initially. After examining the photos, he began comparing both sides of the face and decided he wanted to add more wreckage.
Adding a Hollow to the Cheekbone
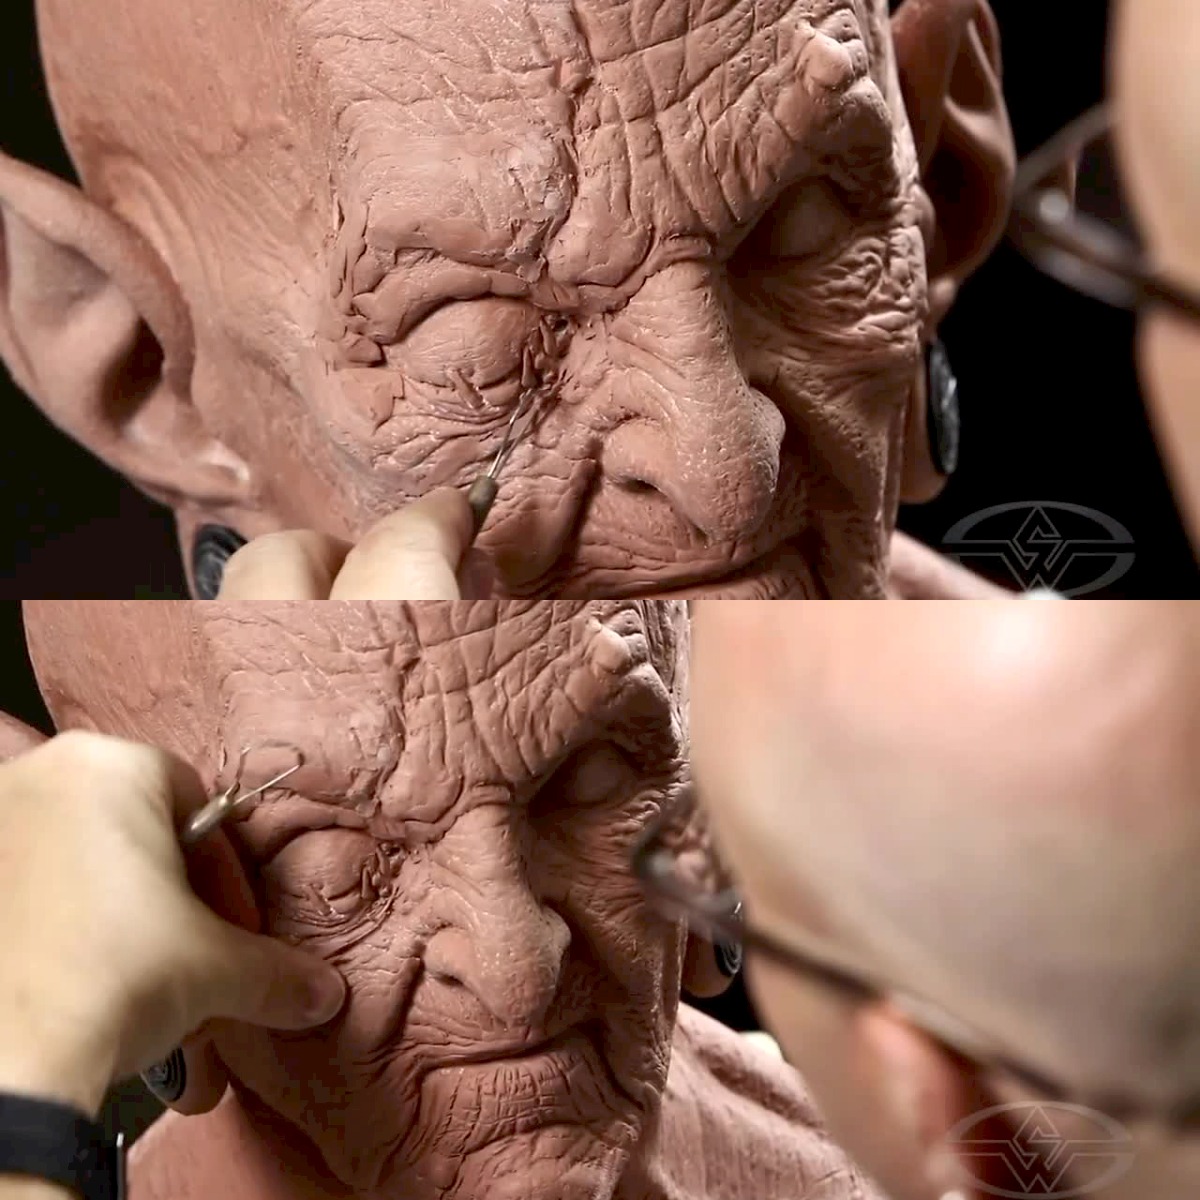 (Bruce Spaulding Fuller adds more detail to The Hag's left side to give the face a realistic asymmetry.)
Looking at both sides of the face, Bruce decides he wants to add details for a hollowed cheekbone to the ruined side.
You wouldn't want both sides of the face to be exactly symmetrical, but you do want to make them look similar enough. That way, it looks realistic as opposed to unnatural.
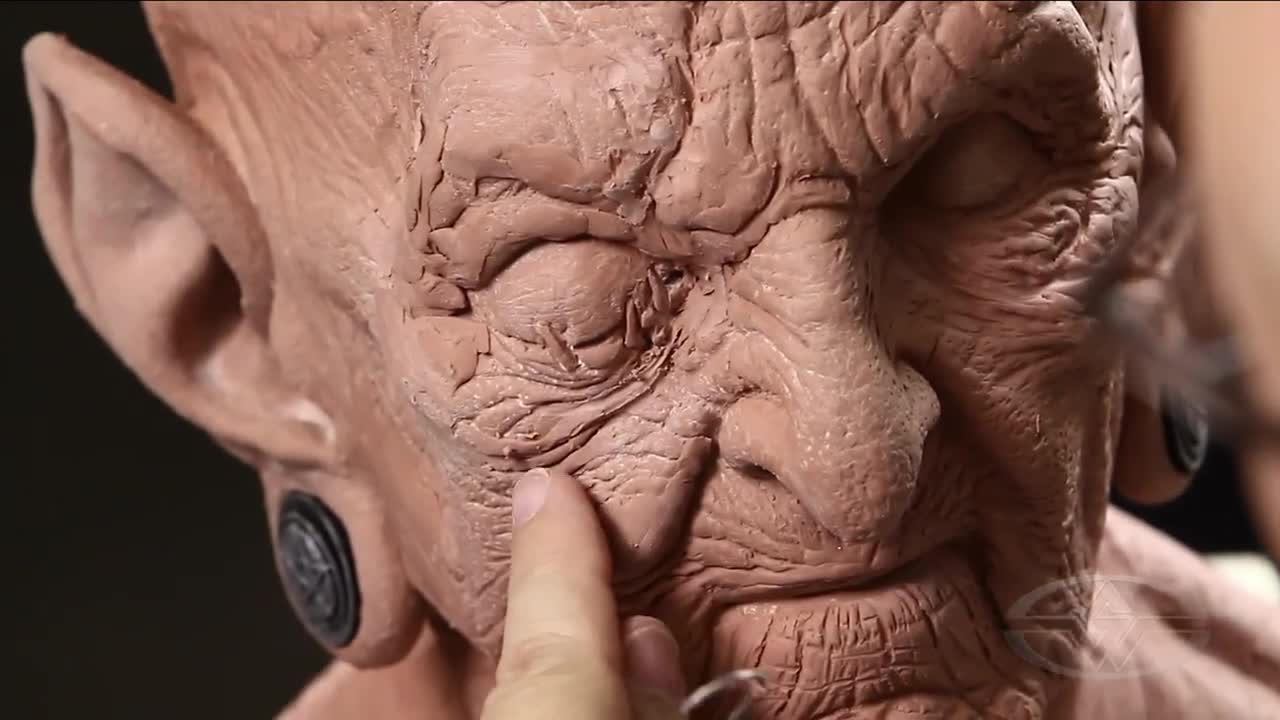 (Adding more wrinkles to the cheek illustrates just how many years she's been around.)
Bruce explores his creative possibilities and incorporates a more wrinkled look into the cheek. Add your clay in small tubes and blend them in individually, rather than trying to add bulk with a single clump.
(A profile view of The Hag's "good" side, the one with the swollen and sewn-shut eye.)
Bruce continues to define and add minor details that make a big difference. “I don’t think I’ve changed enough to wreck anything or seriously alter anything,” he says. “But see, now I’ve got a nice hollow here that I didn’t have before.”
The hollow below created from the layers of wrinkled skin above, now accentuates the bulge of the cheekbone. As you’re working on your piece, have fun with the little details and playing them up!
Blending and Adding Finishing Touches
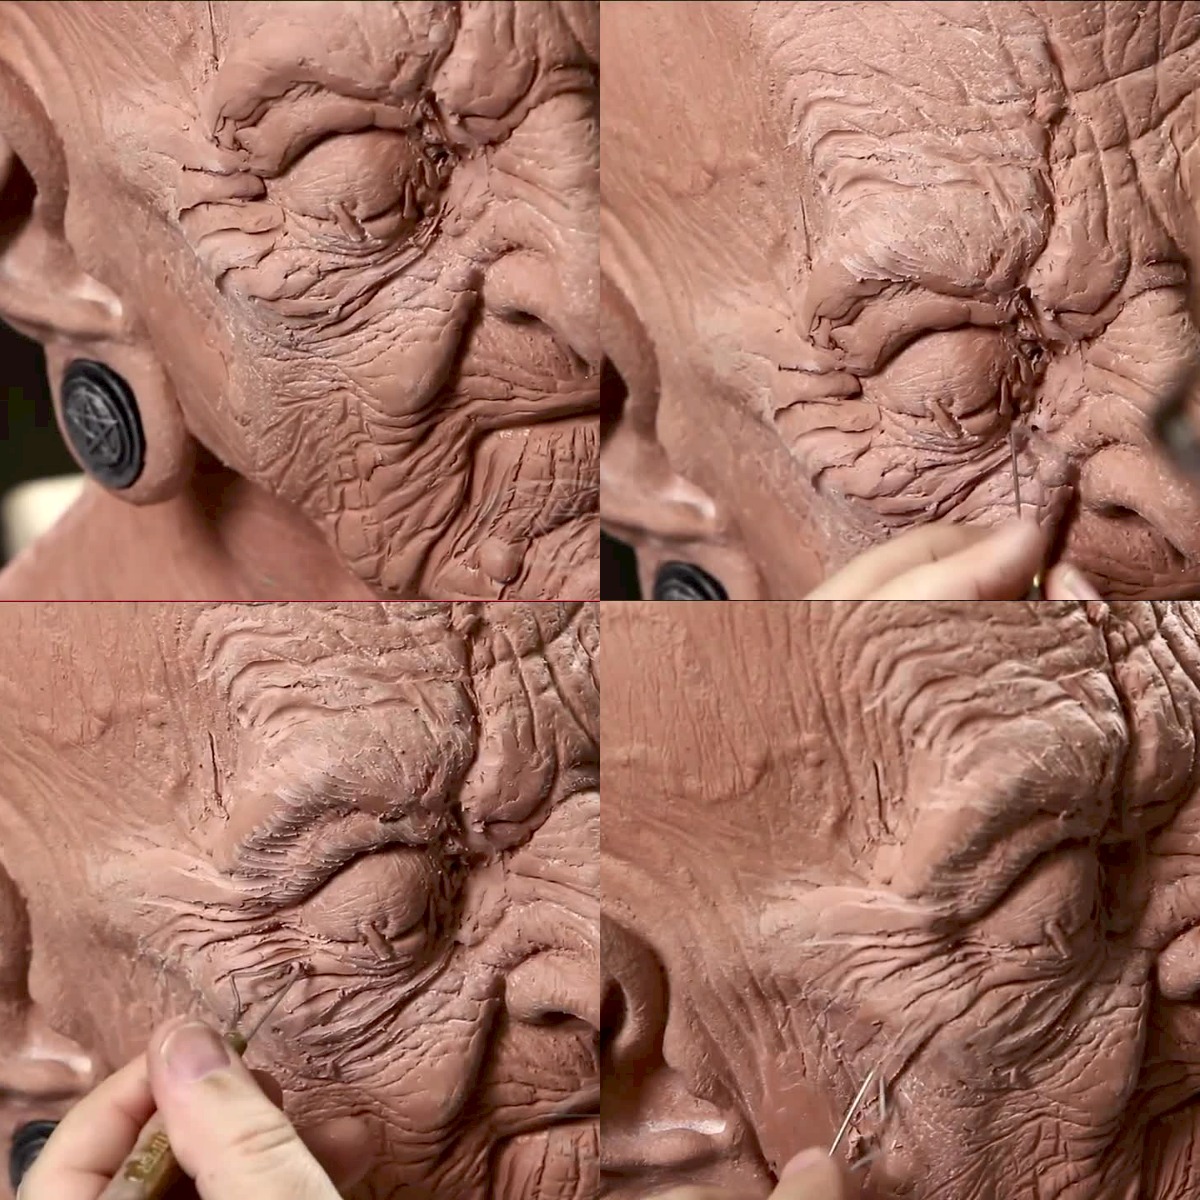 (Examples of variation in the wrinkles sculpted into the face and cheek.)
If you happen to see the same kind of wrinkle throughout your character’s face, break them up and add some alternate wrinkles varying the direction and size. Bruce suggests avoiding too many symmetrical wrinkles because it can look unnatural and end up looking like sculpture. Even though the reference may indicate symmetry.
You want some major wrinkles mixed with a lot of minor ones to keep them from looking too crafted and artificial.
Always think about how the skin would drape over the bone underneath and pull the clay along over where that bone would be. This gives the illusion that there’s a bone there with flesh hanging over it.
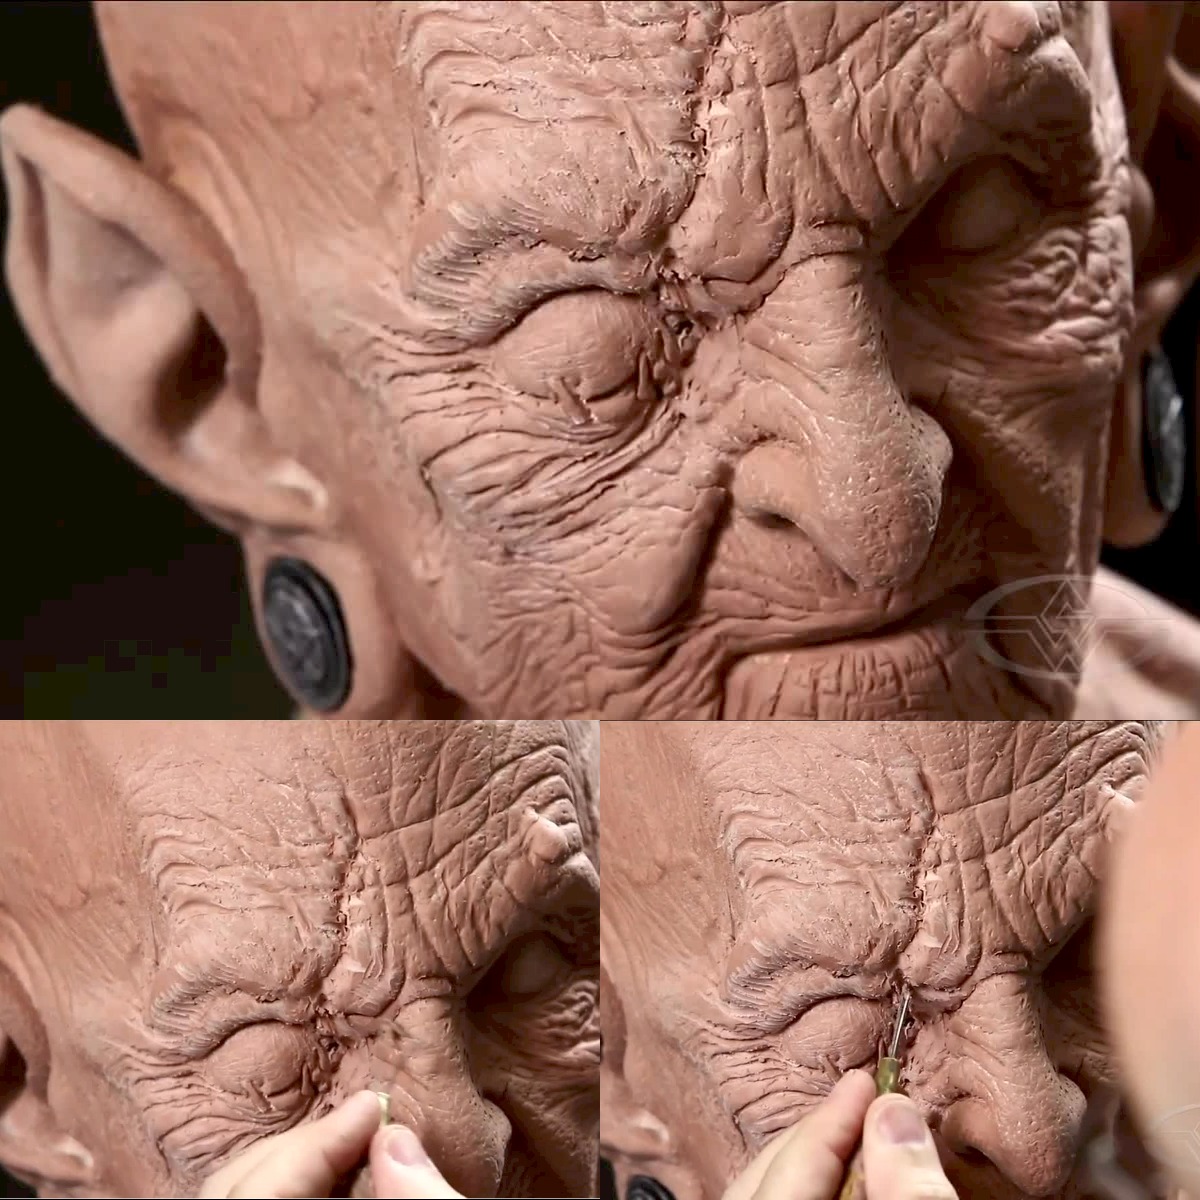 (Bruce Spaulding Fuller makes The Hag's scar even more distinct by deepening the line.)
Adding depth and detail to certain wrinkles and scars will give key areas prominence. Bruce really wants to focus on the nature of this wound that didn't heal well, so he deepens the scar.
“It’s something she dressed herself,” Bruce says of The Hag’s backstory. “She did not go to the emergency room. She regrets it to this day — spoils her look, really.”
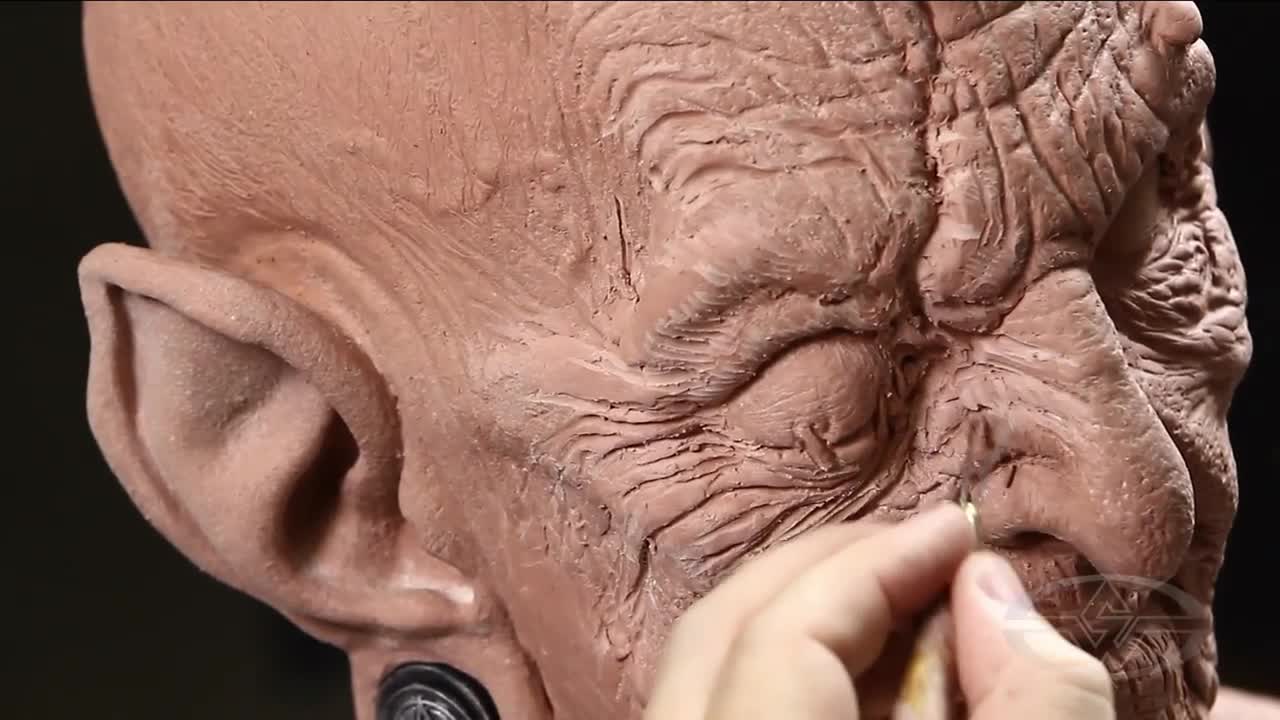 (Detail on the Hag's snarl as Bruce Spaulding Fuller accentuates her sneer.)
You can add elements of expression to provoke a specific emotional response to your character. To go along with her unsightly scar, Bruce increases the line on her nose leaning into the snarly and nasty look. He imagines that this character is always snarly and squinty, causing those lines to become permanent on her face.
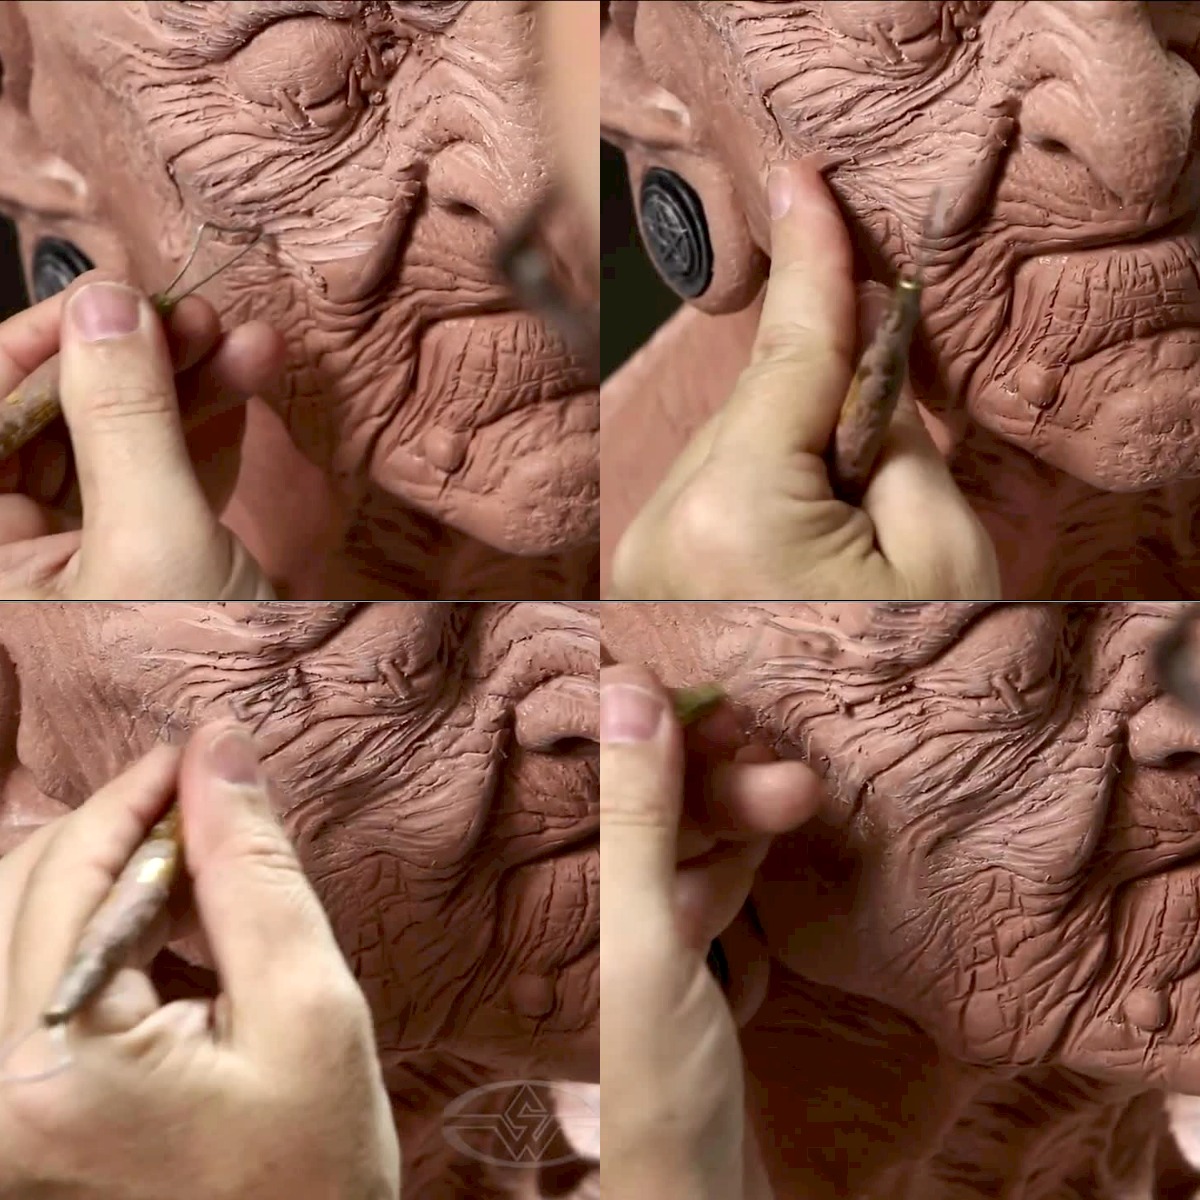 (Bruce Spaulding Fuller continues to work the clay on the ruined side.)
If you notice your hollows don’t quite look the same after working the clay, continue to remove and sculpt the flesh from the cheek to accentuate the pull over the bone. If it begins to look too even, Bruce recommends that you keep working it and see what you can come up with. Avoid putting too many wrinkles in the eye itself since it’s meant to be a swollen eye so you wouldn't expect wrinkles there.
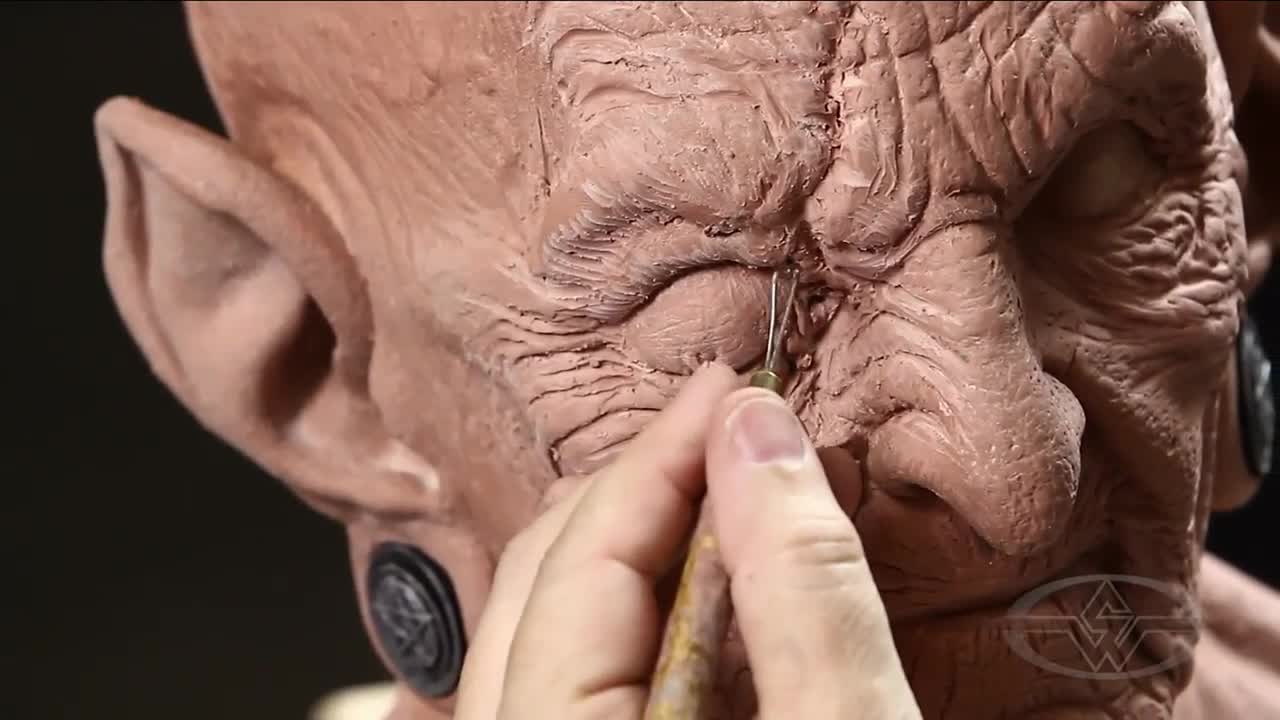 (Bruce Spaulding Fuller adds finishing touches to the witch's scar.)
Continue to work your character until you're satisfied with how it looks. Push a little here and pull a little there. Step back and regard the result. Take pictures or look at the sculpture in a mirror again for objectivity.
Bruce reminds us, “Sometimes what you get is just a happy accident. That goes back to art being abandoned rather than finished. At some point, you’re just like, ‘Stop.’ And that’s it — you know you’ve got it.”
Once you’re content with your character's new expression, you can then move onto other areas and revisit your work with a fresh pair of eyes!
WATCH THE “HOW TO SCULPT A CHARACTER MAKEUP” COURSE: