

An Introduction to Airbrushes
In this FREE excerpt from the Stan Winston School of Character Arts course, How To Paint Realistic Silicone Skin - Silicone Painting Techniques, master creature FX artist Tim Gore (Hellboy, Fantastic Four, The Lost World: Jurassic Park) gives an overview of single and dual-action airbrushes. He covers which airbrush to use based on your desired look and effect when painting ultra-realistic silicone skin.
Jump To Section
- An Overview of the Paasche H3 Airbrush
- Precautions When Using Airbrushes
- An Overview of the Iwata Airbrush Eclipse HP-CS 4207
- Using a Preset Handle for a Dual Action Airbrush
- Rubber Tubing for Paasche Airbrushes
- Airbrush MAC Valves
To watch the complete instructional video, click the player above!
In this lesson, Tim Gore compares Paasche and Iwata airbrushes, their parts, and best uses. After watching this lesson you will know which airbrush to reach for when you're working on a hyper realistic piece!
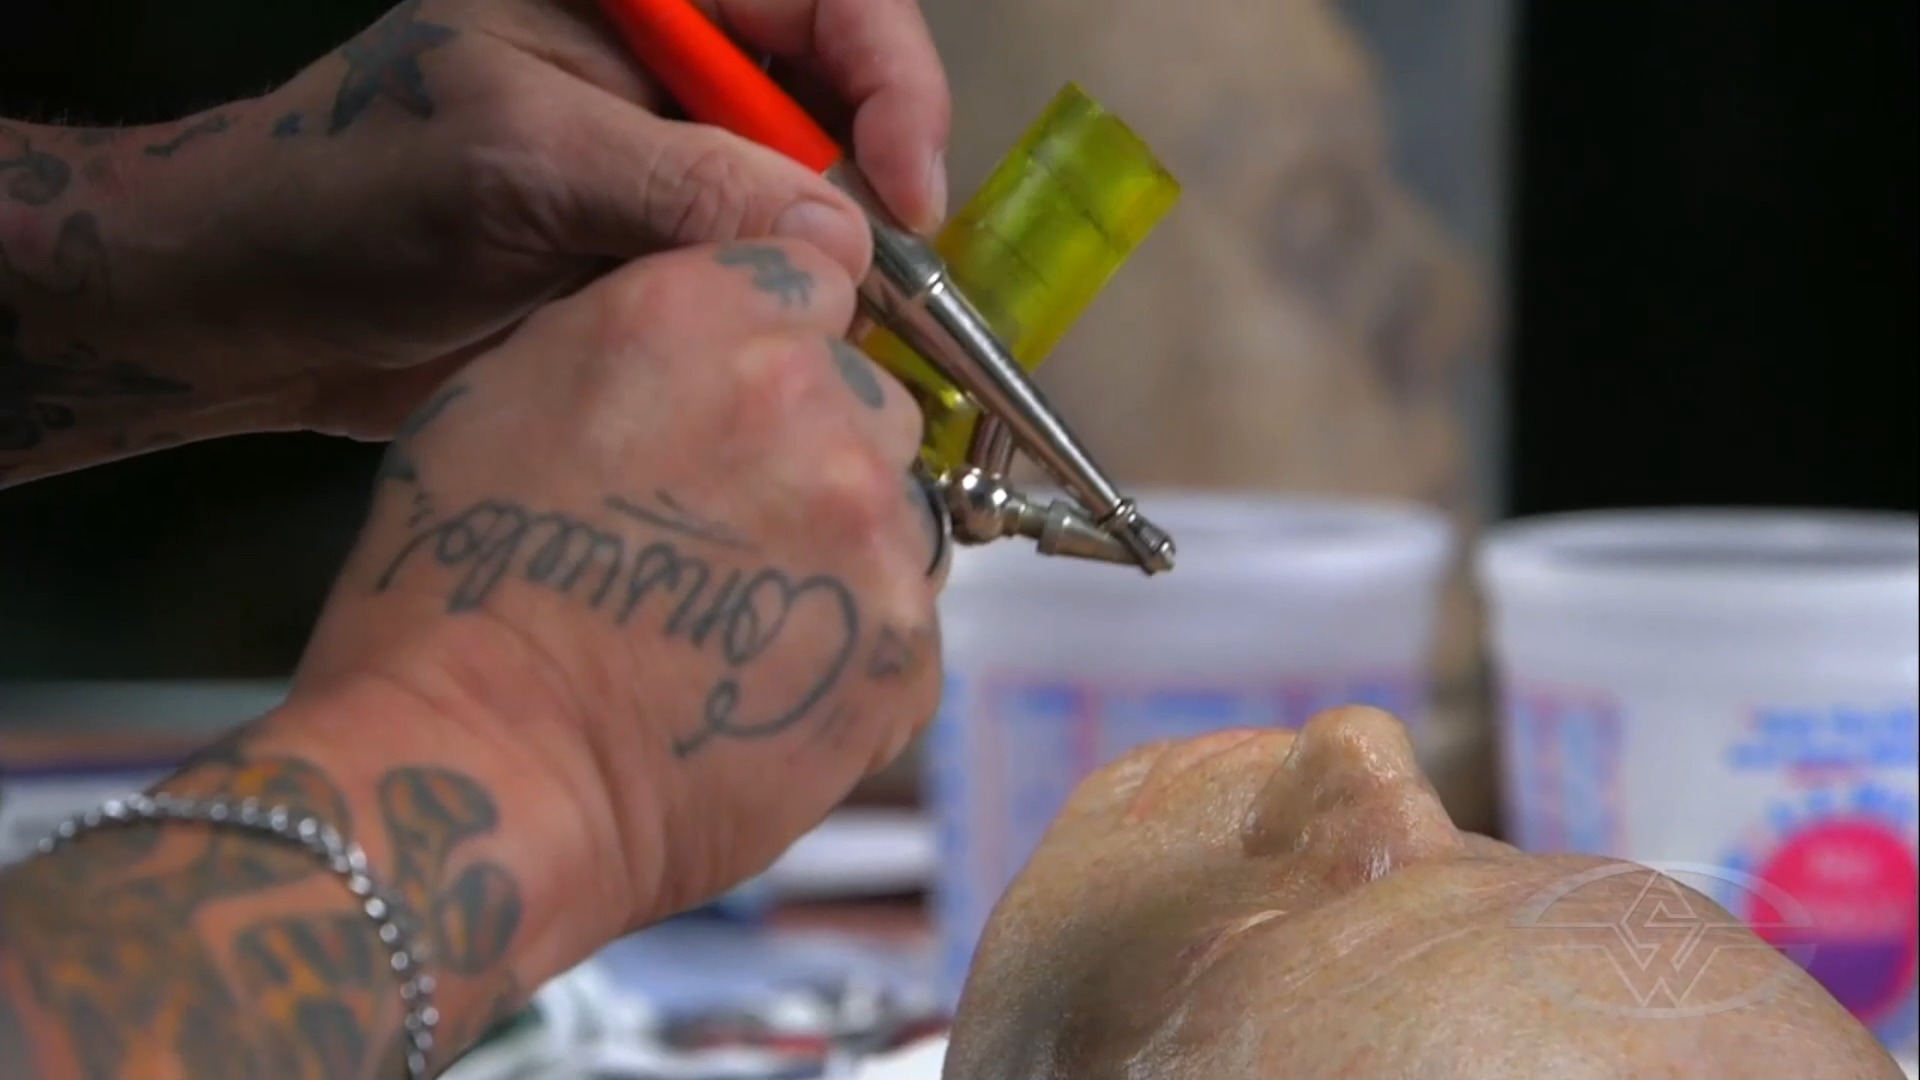
An Overview of the Paasche H3 Airbrush
The first airbrush Gore introduces is the widely-known and loved Paasche H3 airbrush. This model is used for overall spraying and spatter and is considered one of the best single-action airbrushes for beginners.
 (Tim Gore gives viewers a full look at the Paasche airbrush before explaining its parts and how it works.)
“Single action” means that the air source comes through the stem and the button on top, or the trigger, controls the air. The color cup on the bottom is where you’ll put your paint.
 (Tim Gore breaks down the different parts of the Paasche airbrush, pointing out the airbrush stem, trigger, and color cup.)
The paint comes up through the bottom of the gun from the cup, and the action of air coming to the top siphons the paint from the cup in an upwards direction.
The process is known as a single-action external mix because the paint is mixed with the air outside the body of the airbrush, right at the airbrush tip.
 (Tim Gore indicates the airbrush needle and cone.)
The paint is controlled by the needle. Gore disassembles his airbrush removing the cone and revealing the needle under the surface. These parts are larger than the corresponding parts of the Iwata dual-action airbrush, which is typically used for fine detail.
The Paasche is especially recommended when running silicone mix paints. The Paasche parts are bigger and much easier to clean out and you are certain to get some silicone leftover in the parts when you paint.
Precautions When Using Airbrushes
In reference to cleaning your airbrush, Tim Gore cautions never using metal.
Airbrushes are far too delicate, and metal will scratch the parts inside. Use something soft, such as Q-Tips, dental brushes, or "soft" toothbrushes to protect your airbrush.
An Overview of the Iwata Airbrush Eclipse HP-CS 4207
 (Tim Gore demonstrates the popular Iwata Eclipse HP-CS airbrush.)
The Iwata Eclipse airbrush is a dual-action, internal mix airbrush used for fine detail when painting.
Many people are intimidated by this type of airbrush and its various parts. But have no fear, Tim Gore takes you carefully through each aspect of this airbrush explaining its purpose and proper use.
Unlike the single-action airbrush, in the Iwata dual-action airbrush, the air and the paint are mixed together within the body of the airbrush, providing you with better control and a more even spray pattern.
 (Tim Gore explains how a dual-action, internal mix airbrush works.)
Dual-action internal mix airbrushes have a needle spring to help release air when the trigger is pressed down. When the trigger is pulled back, it causes paint to flow out. The needle caps help regulate the direction of the air and the paint, as well as protecting your needle.
Whether you’re using a Paasche or Iwata, single-action or dual-action, not only do you want to avoid cleaning your airbrushes needles with metal, but you’ll also want to avoid bending the needles. All the parts are precisely machined to meet the nozzle and close off, controlling the flow of paint. Poorly cleaned nozzles, and bent or damaged needles will obstruct and possibly ruin the flow.
Using a Preset Handle for a Dual-Action Airbrush
A preset handle for dual-action users and beginners stops the trigger from going back and helps you set small lines for a more consistent spray. This is a good practice to avoid delivering too much paint which could lead to blotches and spills.
 (Tim Gore reveals that his fancy leopard-print preset handle is not just good-looking, it's practical.)
This is particularly handy when doing modeling work since you can set a limit to how far back you can pull the main lever and know that you're not going to spray more paint than you intend to.
“When I gotta move fast on a job and cover a lot of ground with modeling, [the preset handle] kicks ass,” Gore says.
Rubber Tubing for Paasche Airbrushes
Another neat tool for airbrush painting is a piece of rubber tubing that can be used to spatter on your Paasche airbrush. Tim Gore attributes the technique to creature effects painter Kazu Hiro.
 (Tim Gore shows viewers a color cup extender made from a piece of rubber tubing.)
You attach the extender to the cup, in order to be able to overfill the cup with watery paint and then you drop the air pressure down, so the paint is overloading the amount of air pressure pushing it out. This will cause the airbrush to spit.
With this technique, you can go in and spit the paint all over your surface using different colors and spatter relatively fast, giving you a random, quick and natural spatter mix.
The rubber tube extender can be used with the Iwata brush as well, and will give you a very fine, ground pepper spatter look all over your work.
Airbrush MAC Valves
The Iwata airbrush also features a micro air control (MAC) air valve, which can be used for better control of air flow at the gun (instead of the regulator) and other effects.
 (Tim Gore demonstrates the MAC valve and how to use it.)
If you bring the pressure down--especially when you're going for a spatter pattern, you can leave your regulator at the compressor on high and bring the air down at the gun controlling it as Time Gore does.
When using acrylic paints, whether you use Tim Gore’s Bloodline for Createx or any other brand, you’ll want to make them very watery before loading them into the cup.
Now that you know the different types of airbrushes and how they work, you’ll move on to mixing your airbrush paint!
WATCH THE “HOW TO PAINT REALISTIC SILICONE SKIN” COURSE WITH TIM GORE:
How To Paint Realistic Silicone Skin - Silicone Painting Techniques