
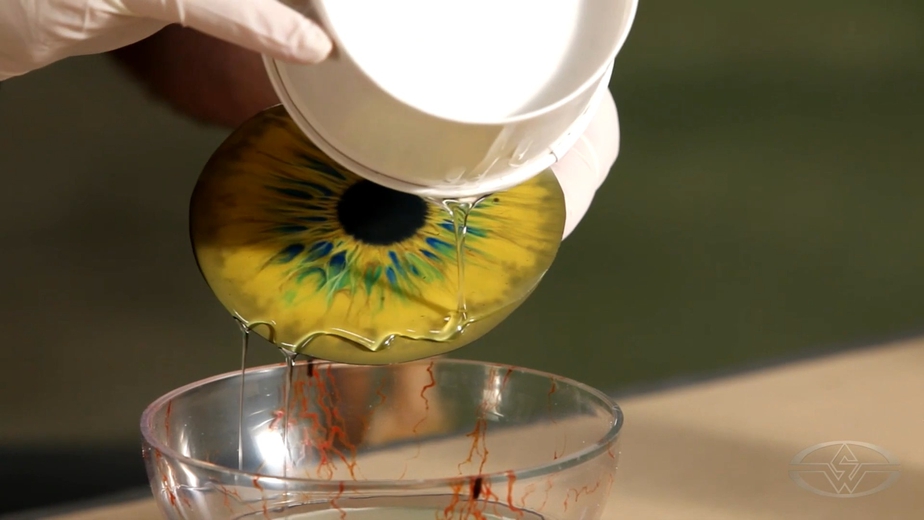
How to Resin Cast the Eye for Realistic Dinosaur Eyeballs
In this FREE excerpt from the Stan Winston School of Character Arts course, How To Make A Dinosaur - Part Three: Painting & Finishing, master creature fabricator Ted Haines (Blade II, The Muppets, Cowboys & Aliens) shares budget-friendly techniques on how to make realistic dinosaur eyeballs with resin casting.
Jump To Section
- Precautions When Using Clear Casting Resin
- Measuring and Mixing the Cast Resin and Catalyst
- Pouring the Resin
- Detecting Resin Air Bubbles
- Turning the Eye Artwork in Resin
To watch the complete instructional video, click the player above!
Making a creature as massive as a dinosaur is a colossal feat. In this final part of his 3-part course foam fabrication series, Haines explains how to add fine details to bring your T-Rex to life, including resin casting its petrifying peepers.
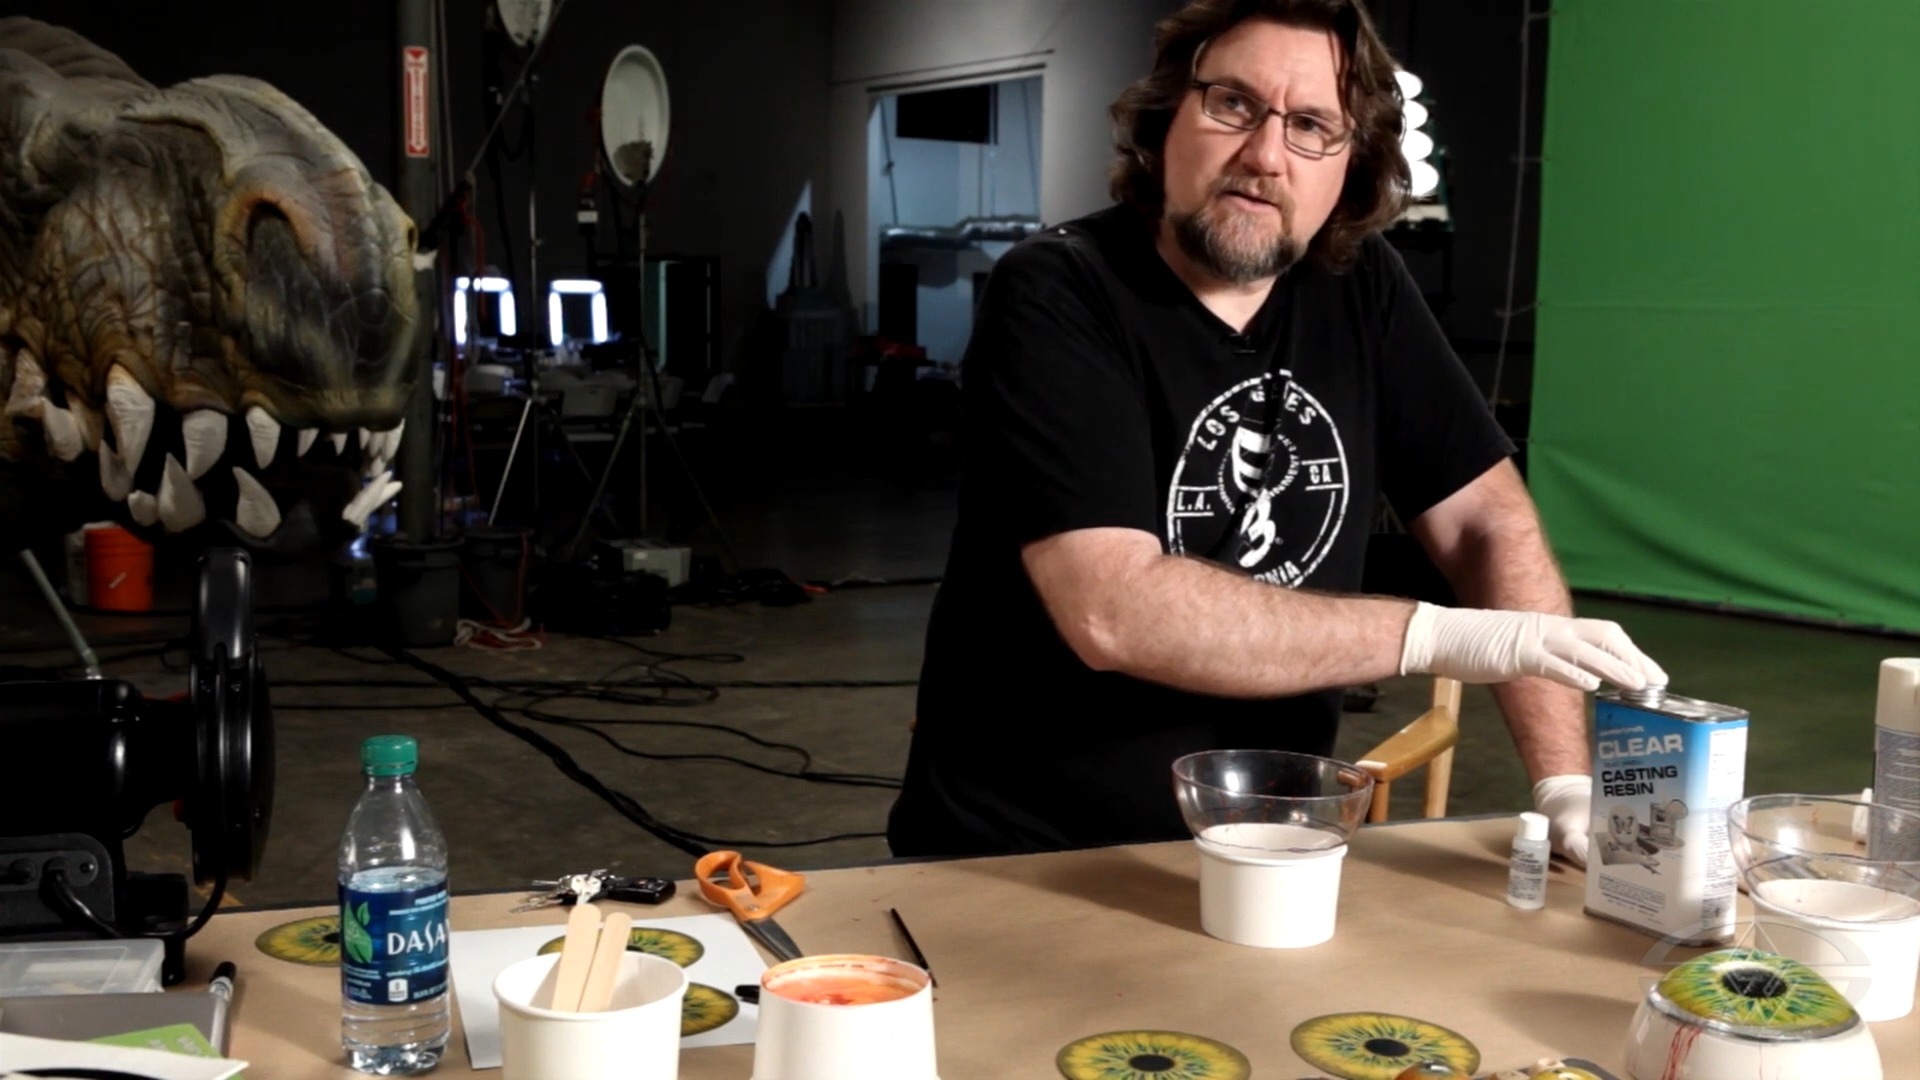
Materials needed for this lesson include:
-
Castin’ Craft clear plastic casting resin
-
Casting resin catalyst
-
Latex gloves
-
Dropper bottle
-
Painting mixing stick
-
Cardboard mixing cups
-
6in acrylic half spheres
Ready for dino-mite tips on how to create eyes for your very own Rexy?
By the end of this lesson, you’ll be one step closer to quoting Jurassic Park's John Hammond, “We have a T-Rex!”
Precautions When Using Clear Casting Resin
Safety first! When using chemical solvents and thinners, such as Castin’ Craft clear plastic casting resin and casting resin catalyst, always use a mask, wear gloves, and work outdoors or in an open, well-ventilated area.
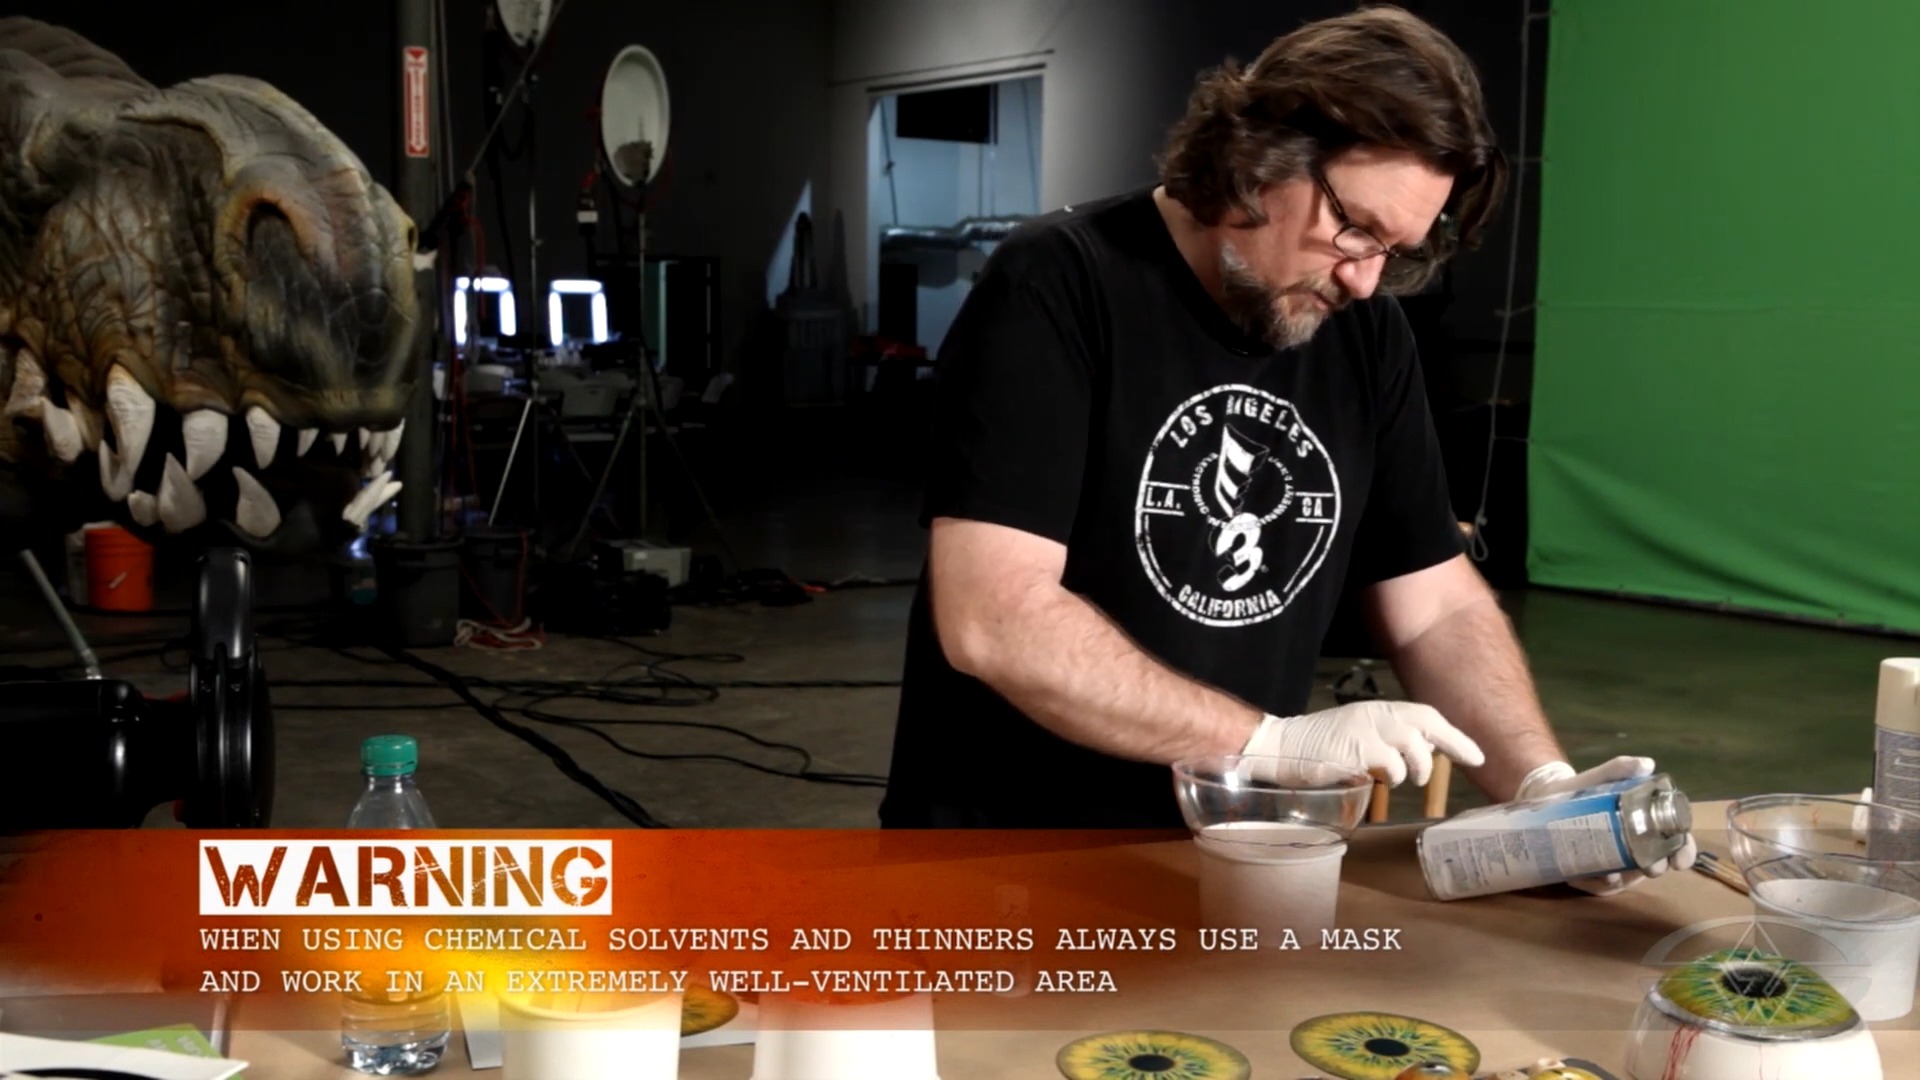 (Haines carefully reads the warning label on the resin can.)
Clear casting resin has an extremely strong odor and can irritate the skin and eyes. For your safety, always work in a well-ventilated area, preferably outdoors, and wear a mask and gloves.
If you’re going to be using these products at home, Haines recommends going outside but staying out of direct sunlight, especially on warm days. He suggests using a pop-up tent, umbrella, or any other type of shade accessory to place over you, as direct sunlight will make the resin kick off quicker than what you’d want it to.
Haines shares that even inside his garage, testing for this lesson, his first resin attempt set up to a thickness he couldn’t work with in about four or five minutes.
Measuring and Mixing the Cast Resin and Catalyst
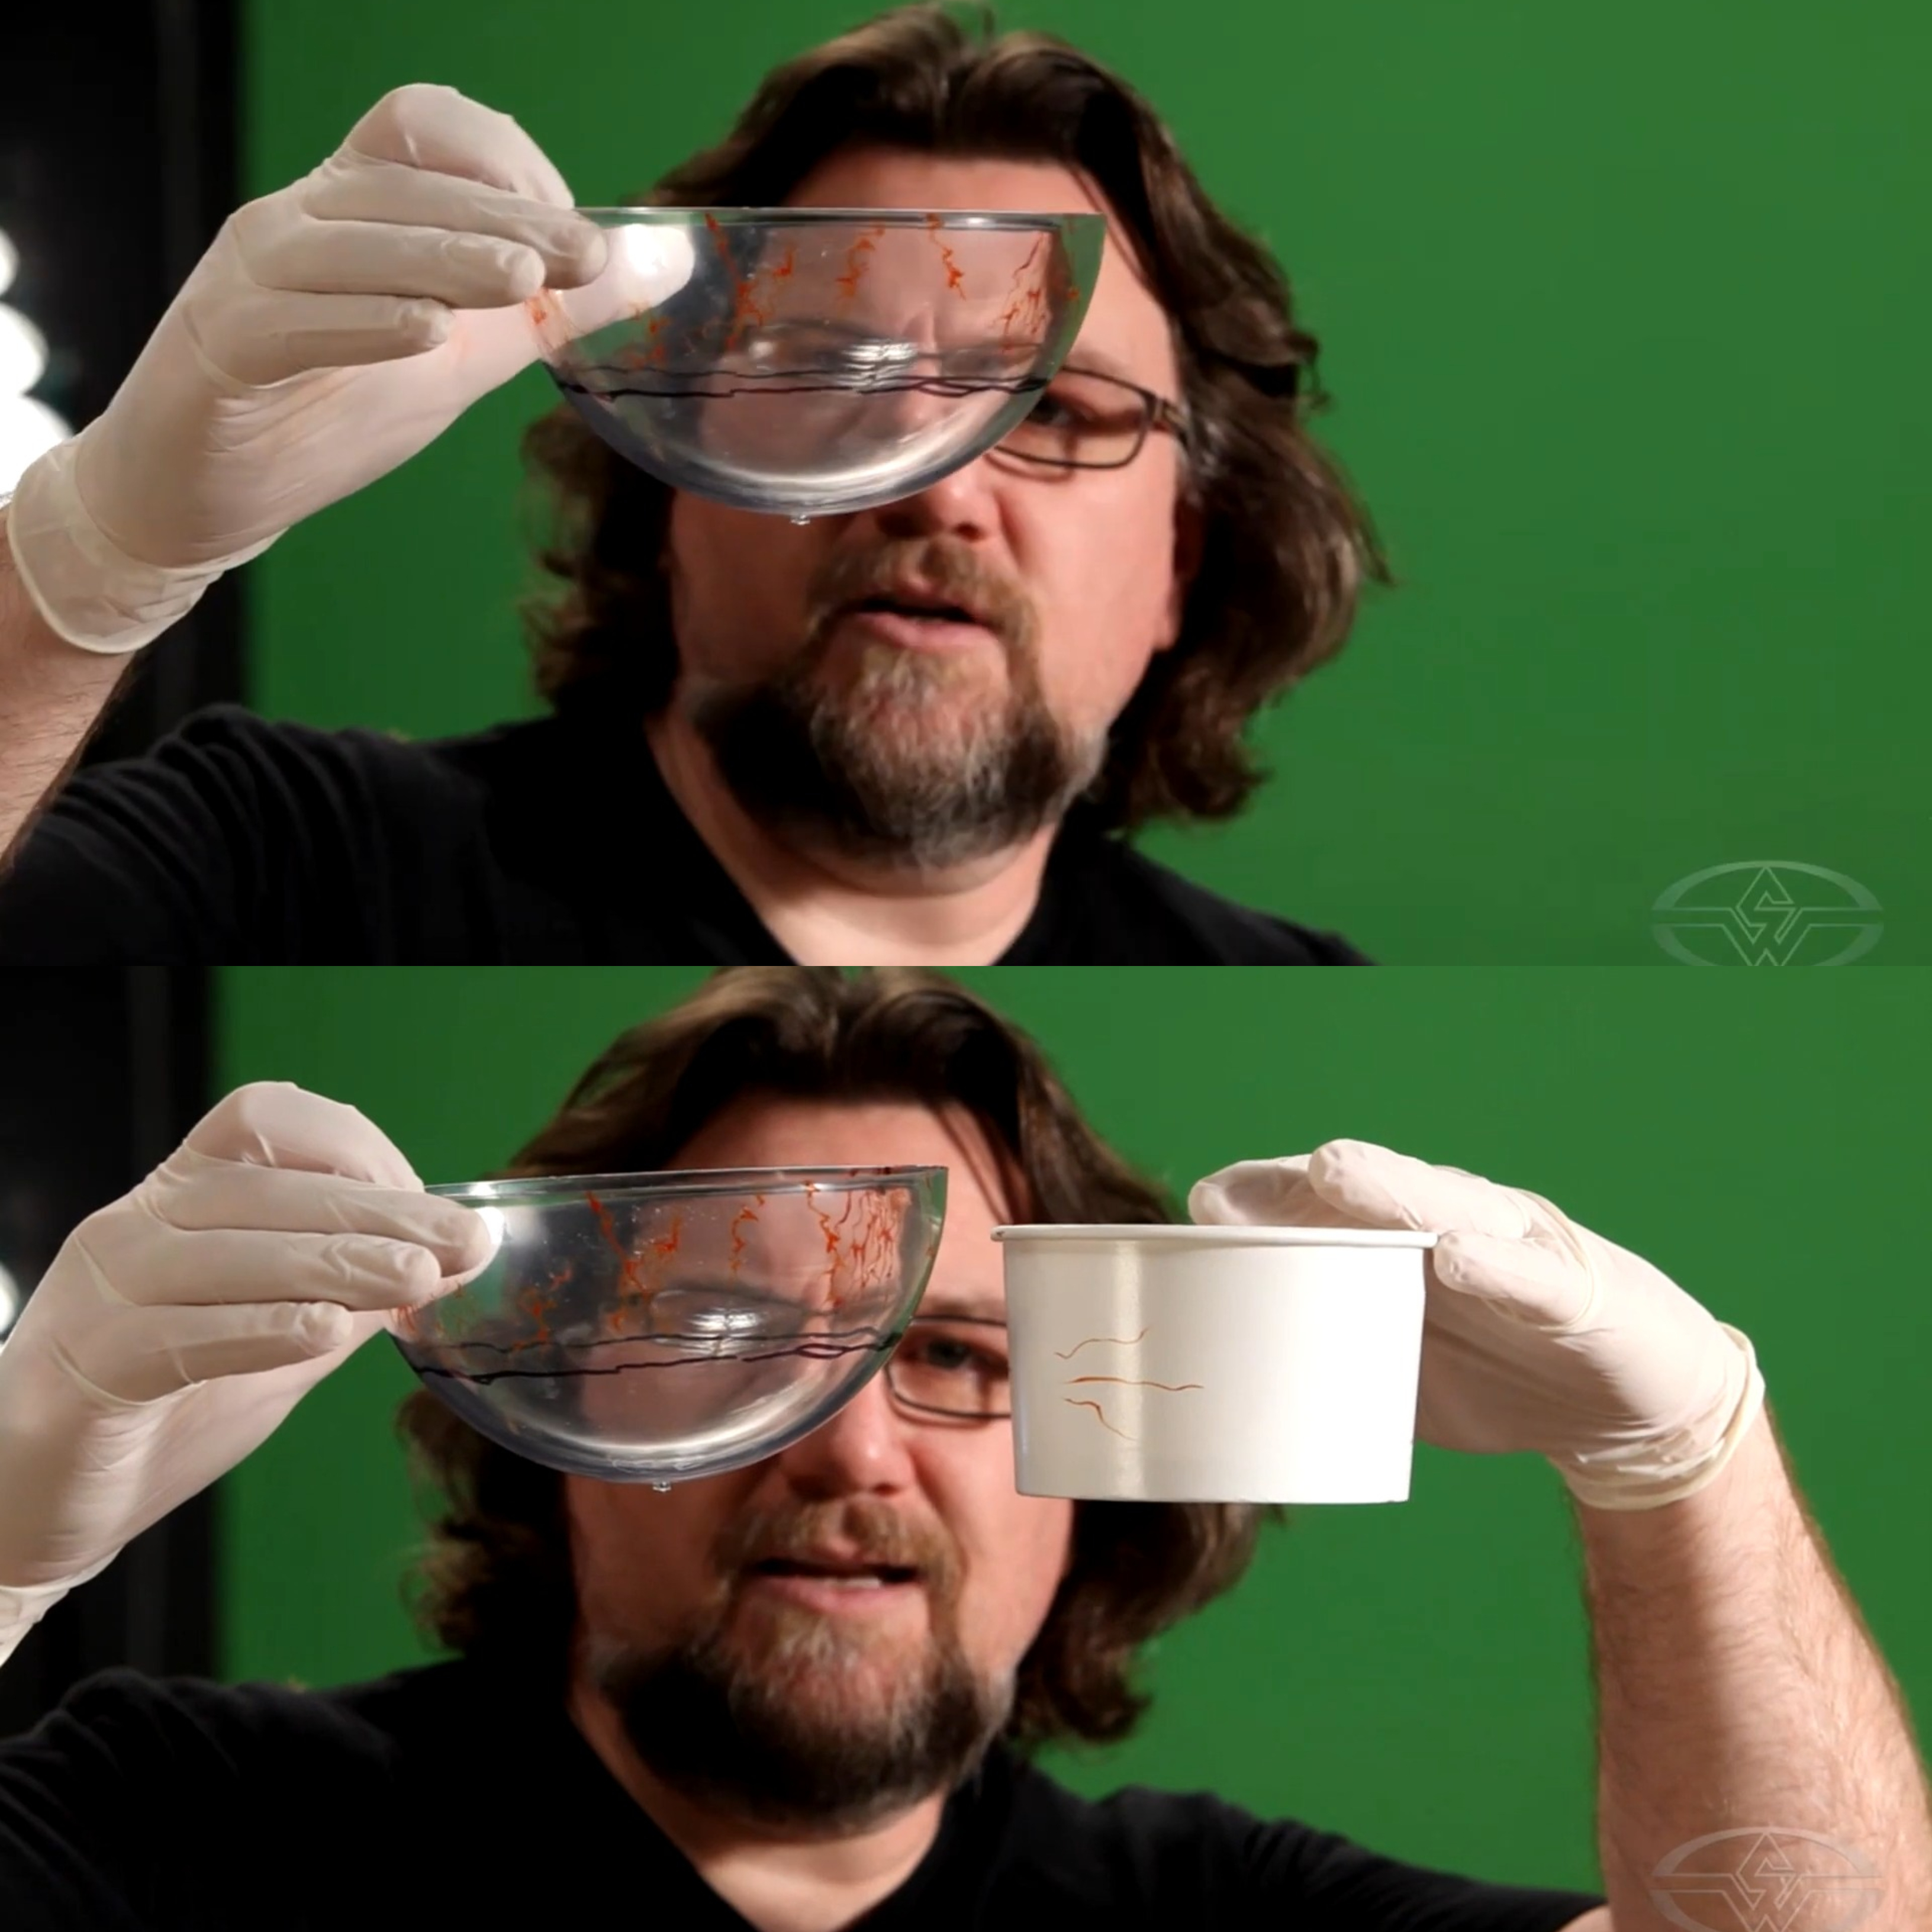 (Haines shows the difference in shapes between the acrylic sphere and mixing cup to determine how much resin he will need.)
You’ll want to look at your marked sphere to see how much resin you’ll actually need versus the amount in the cup. The squared-off corners give the cup more volume than the partial sphere, so you may use a lot less resin than you might think!
When pouring the resin into the cup, Haines “eyeballs” the amount without weighing anything out and uses a little more than what he feels is the right amount.
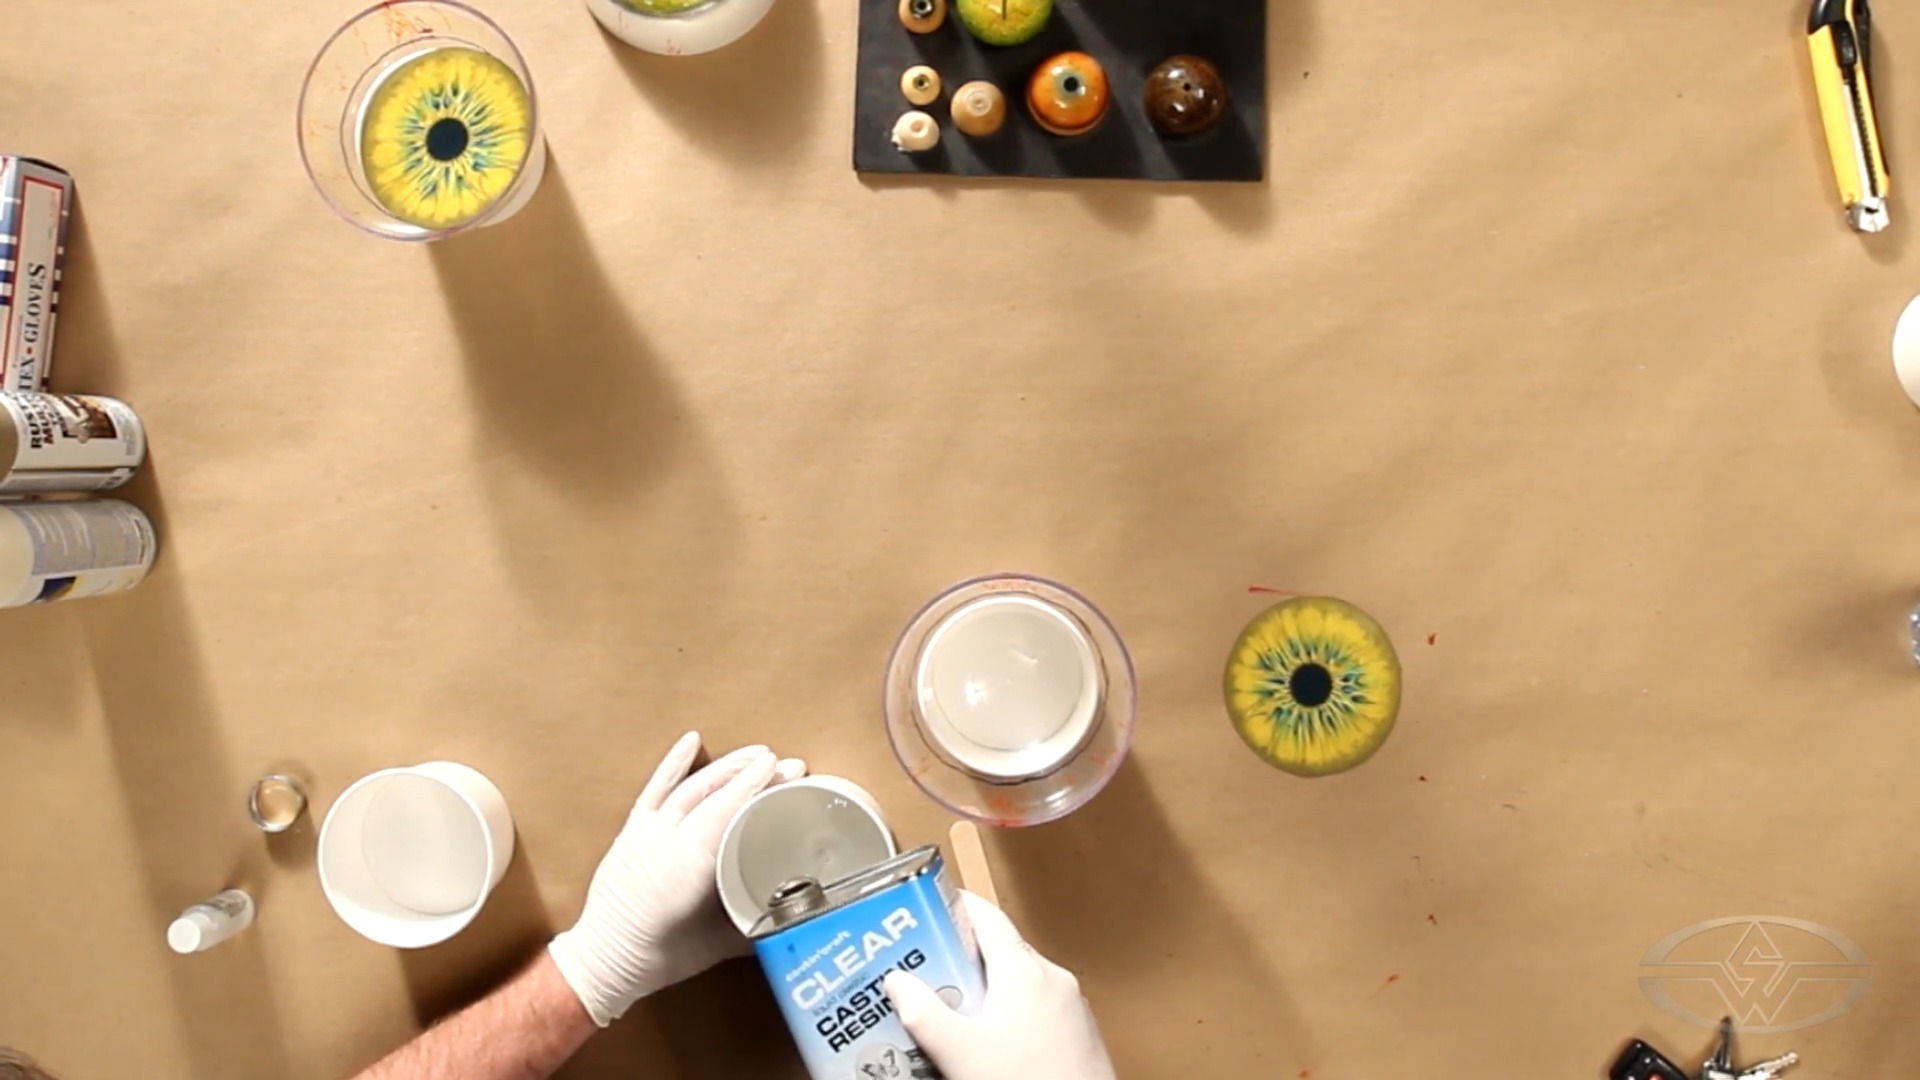 (Haines guesstimates how much Castin' Craft resin he'll need, then pours a little extra just to be safe.)
He explains, “I’d rather have a little bit more and waste a little bit of the resin than not have enough and end up with a big air bubble because the paper didn’t set down far enough.”
Next, it's time for the catalyst.
Using a dropper bottle, add about 20 drops of catalyst into the same cup into which you poured the resin. This should kick off relatively slowly.
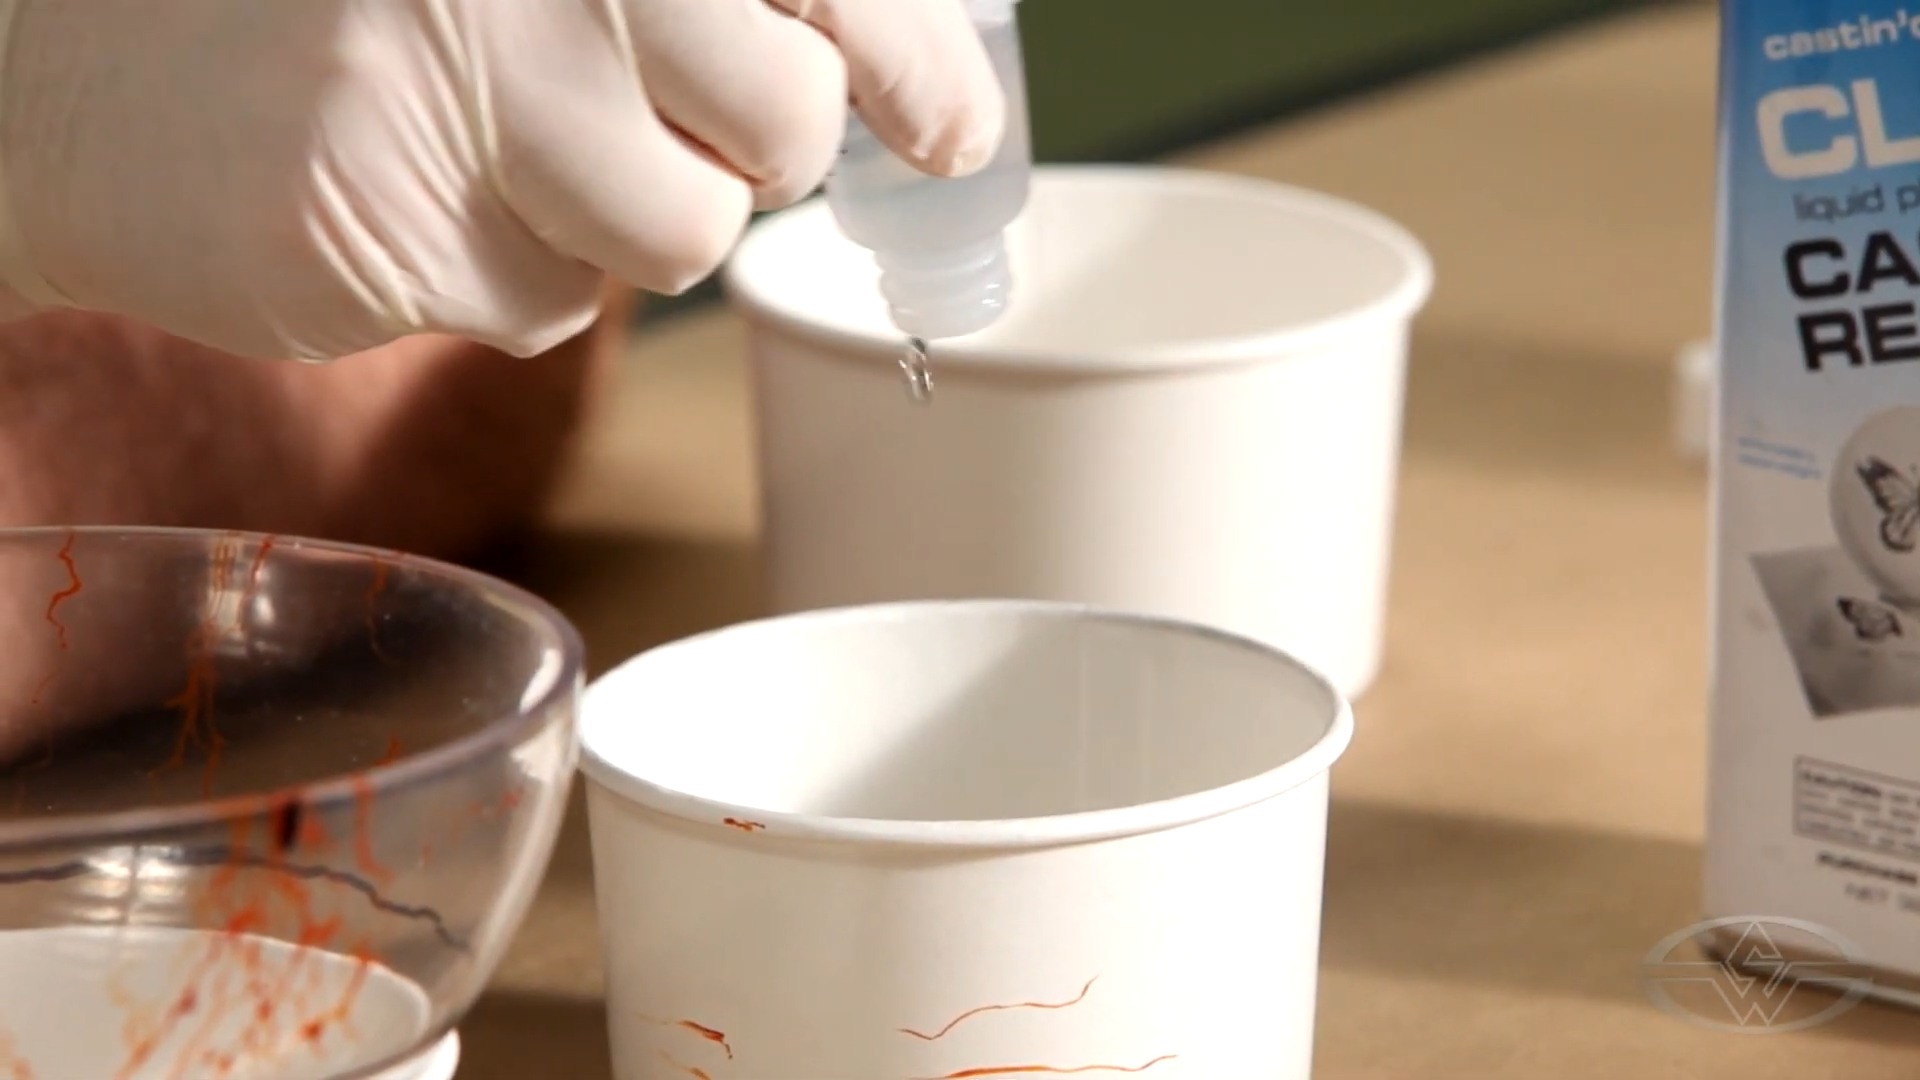 (Haines adds approximately 20 drops of catalyst to his resin.)
Mix slowly by stirring. You want to avoid mixing lots of air into your resin.
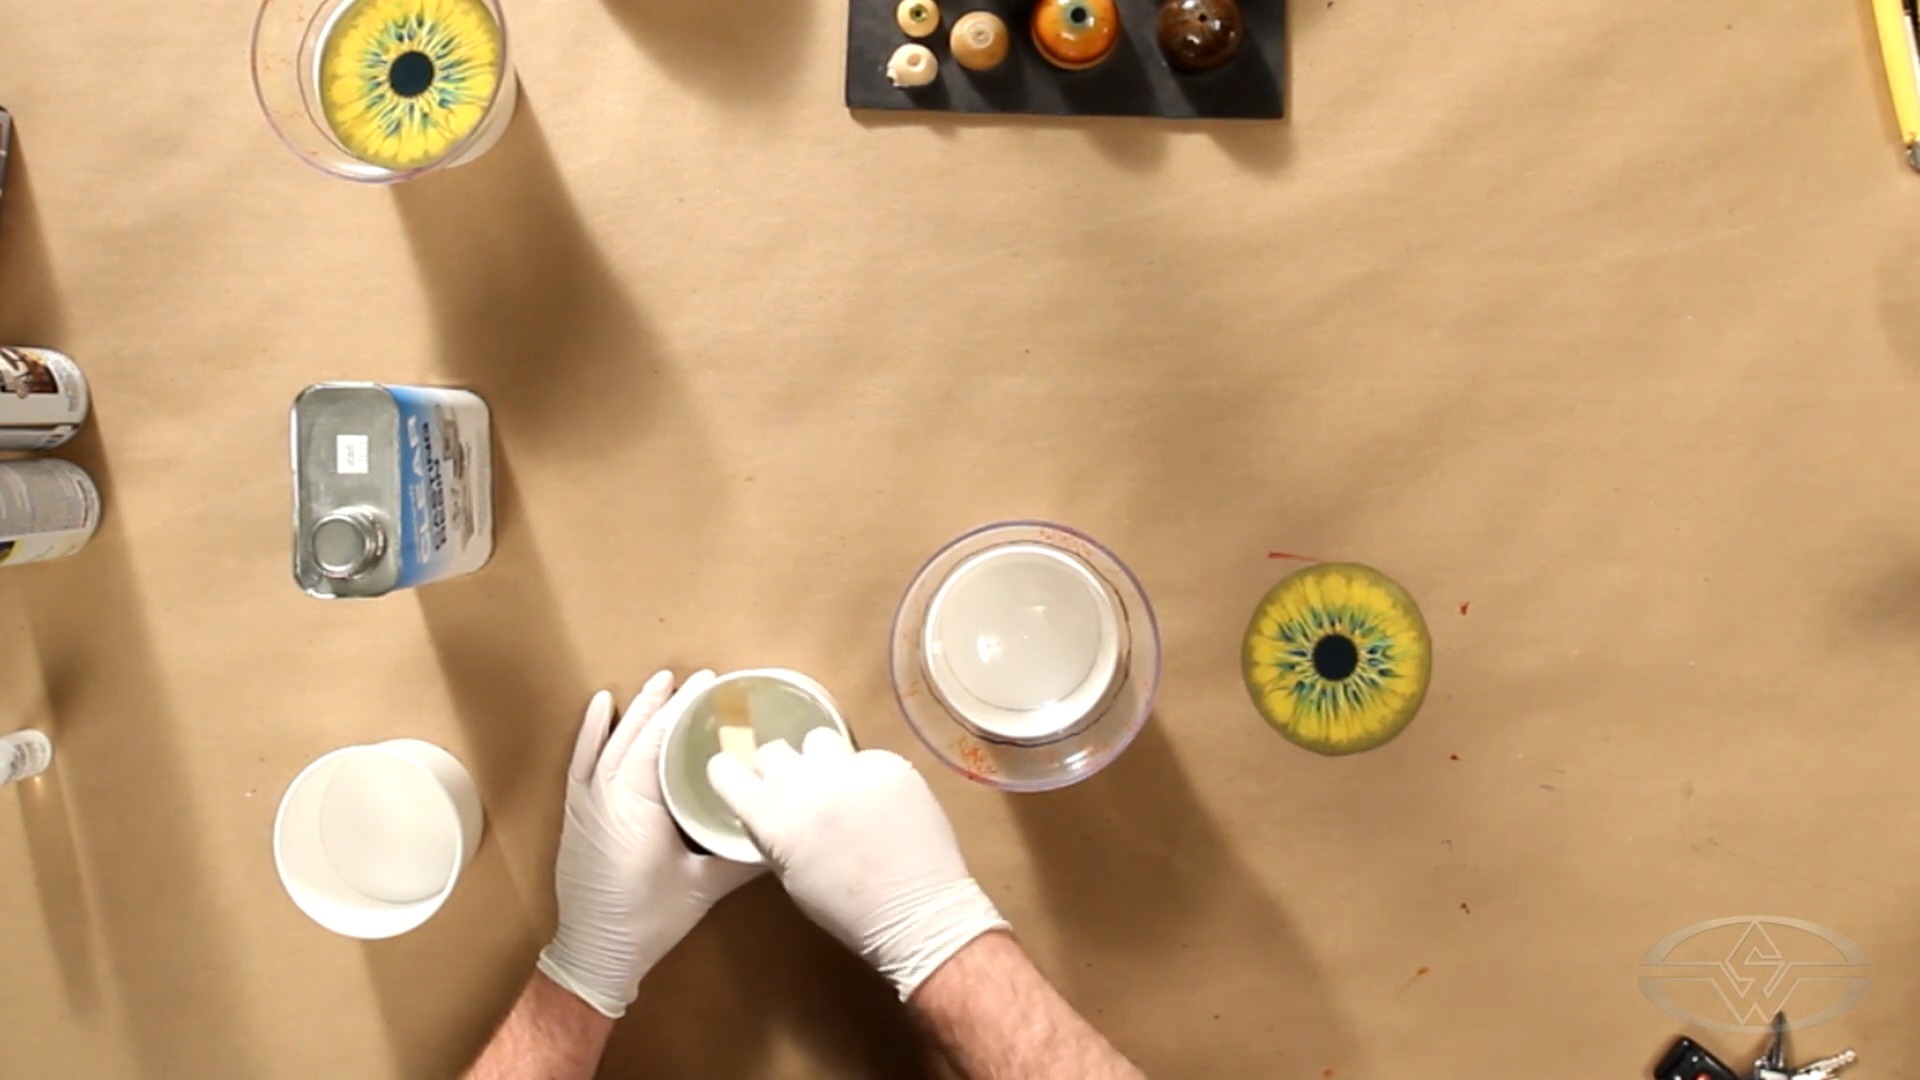 (Haines stirs slowly, mixing the resin and catalyst to reduce the amount of air bubbles.)
“I want the least amount of bubbles, but you can’t help but agitate this and get bubbles into this,” Haines says.
As you stir, your concoction may take on a faintly green appearance due to the chemical reaction between the catalyst and resin; eventually it will go clear.
Pouring the Resin
When you pour resin, you’ll want to use the same pouring method as you would pouring a soda or beer.
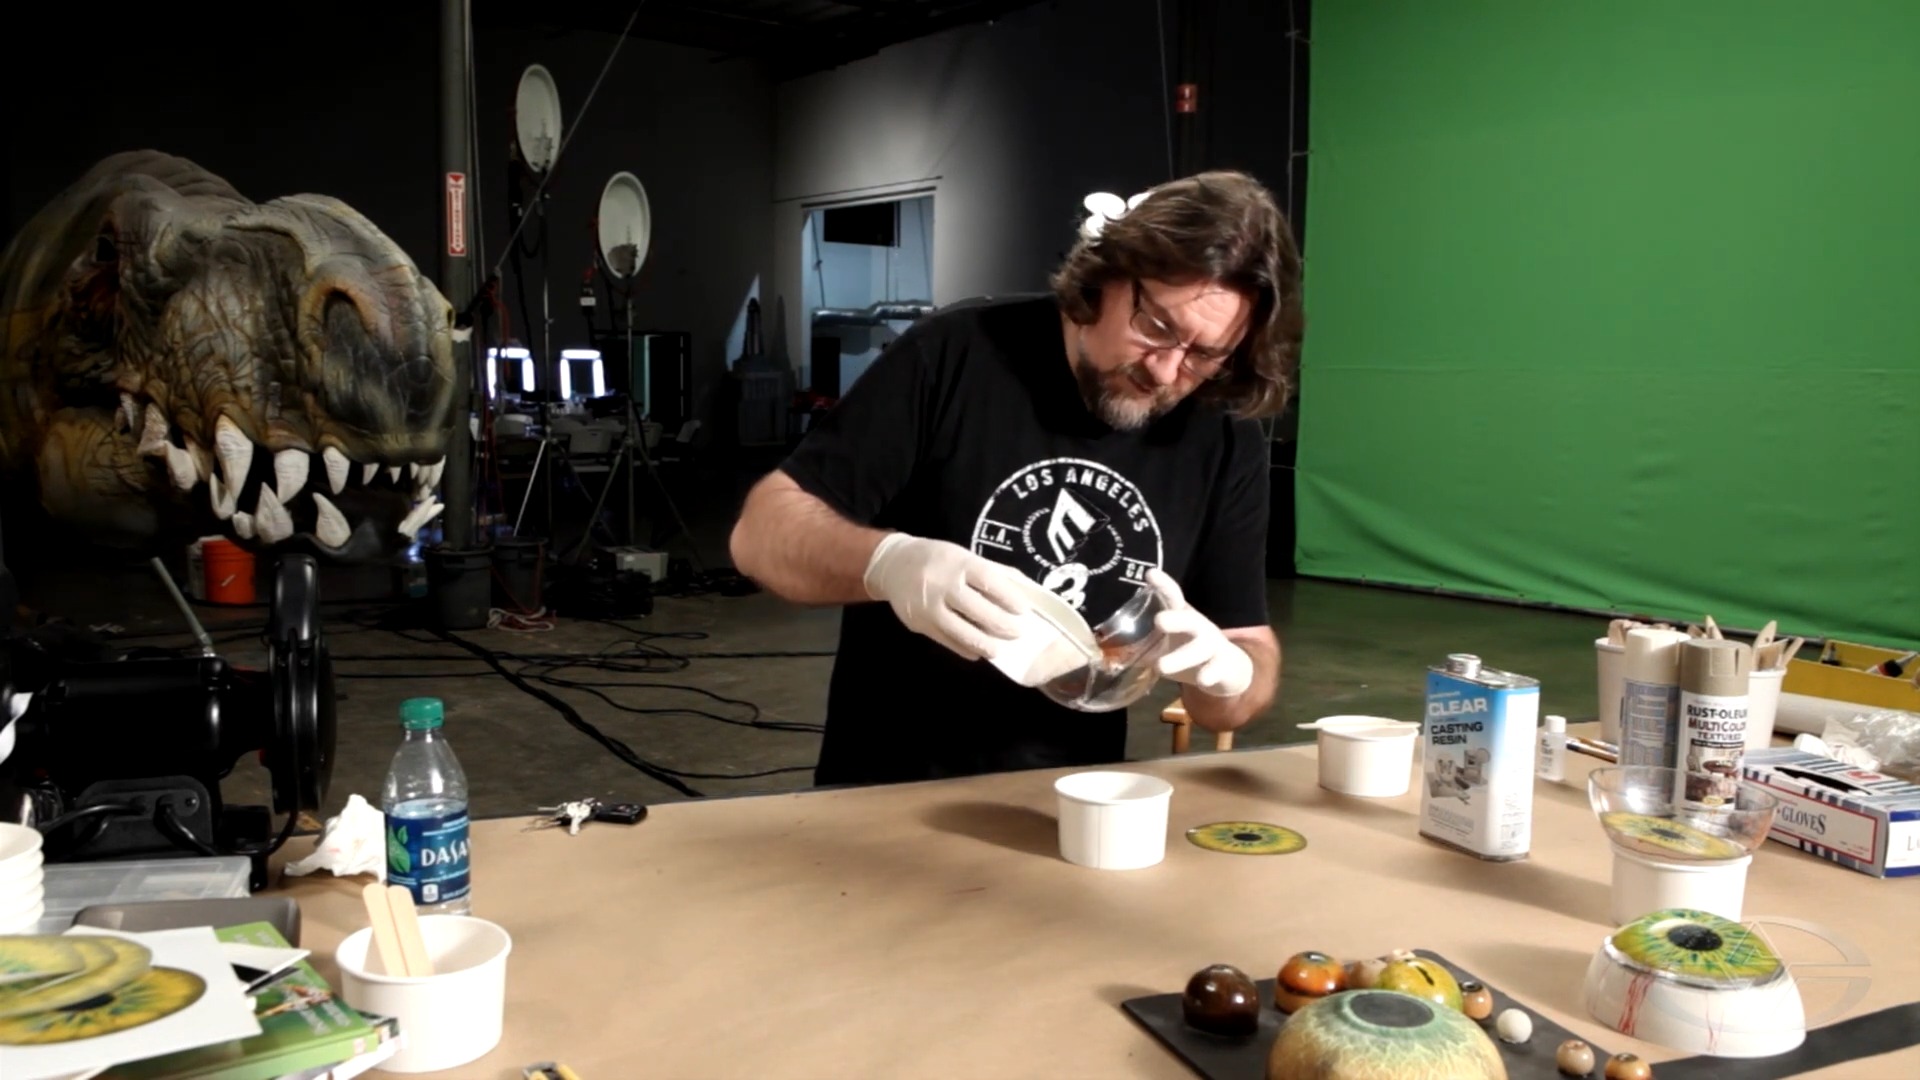 (Haines shows the right way to pour resin into a form.)
“Typically, you get the bottle, and you get it close to the tap so you don't get as much foam or bubbles,” Haines explains. “I'm going to do this in a very similar way — pour this as close to the plastic as possible, getting it right up to that black line that we had earlier.”
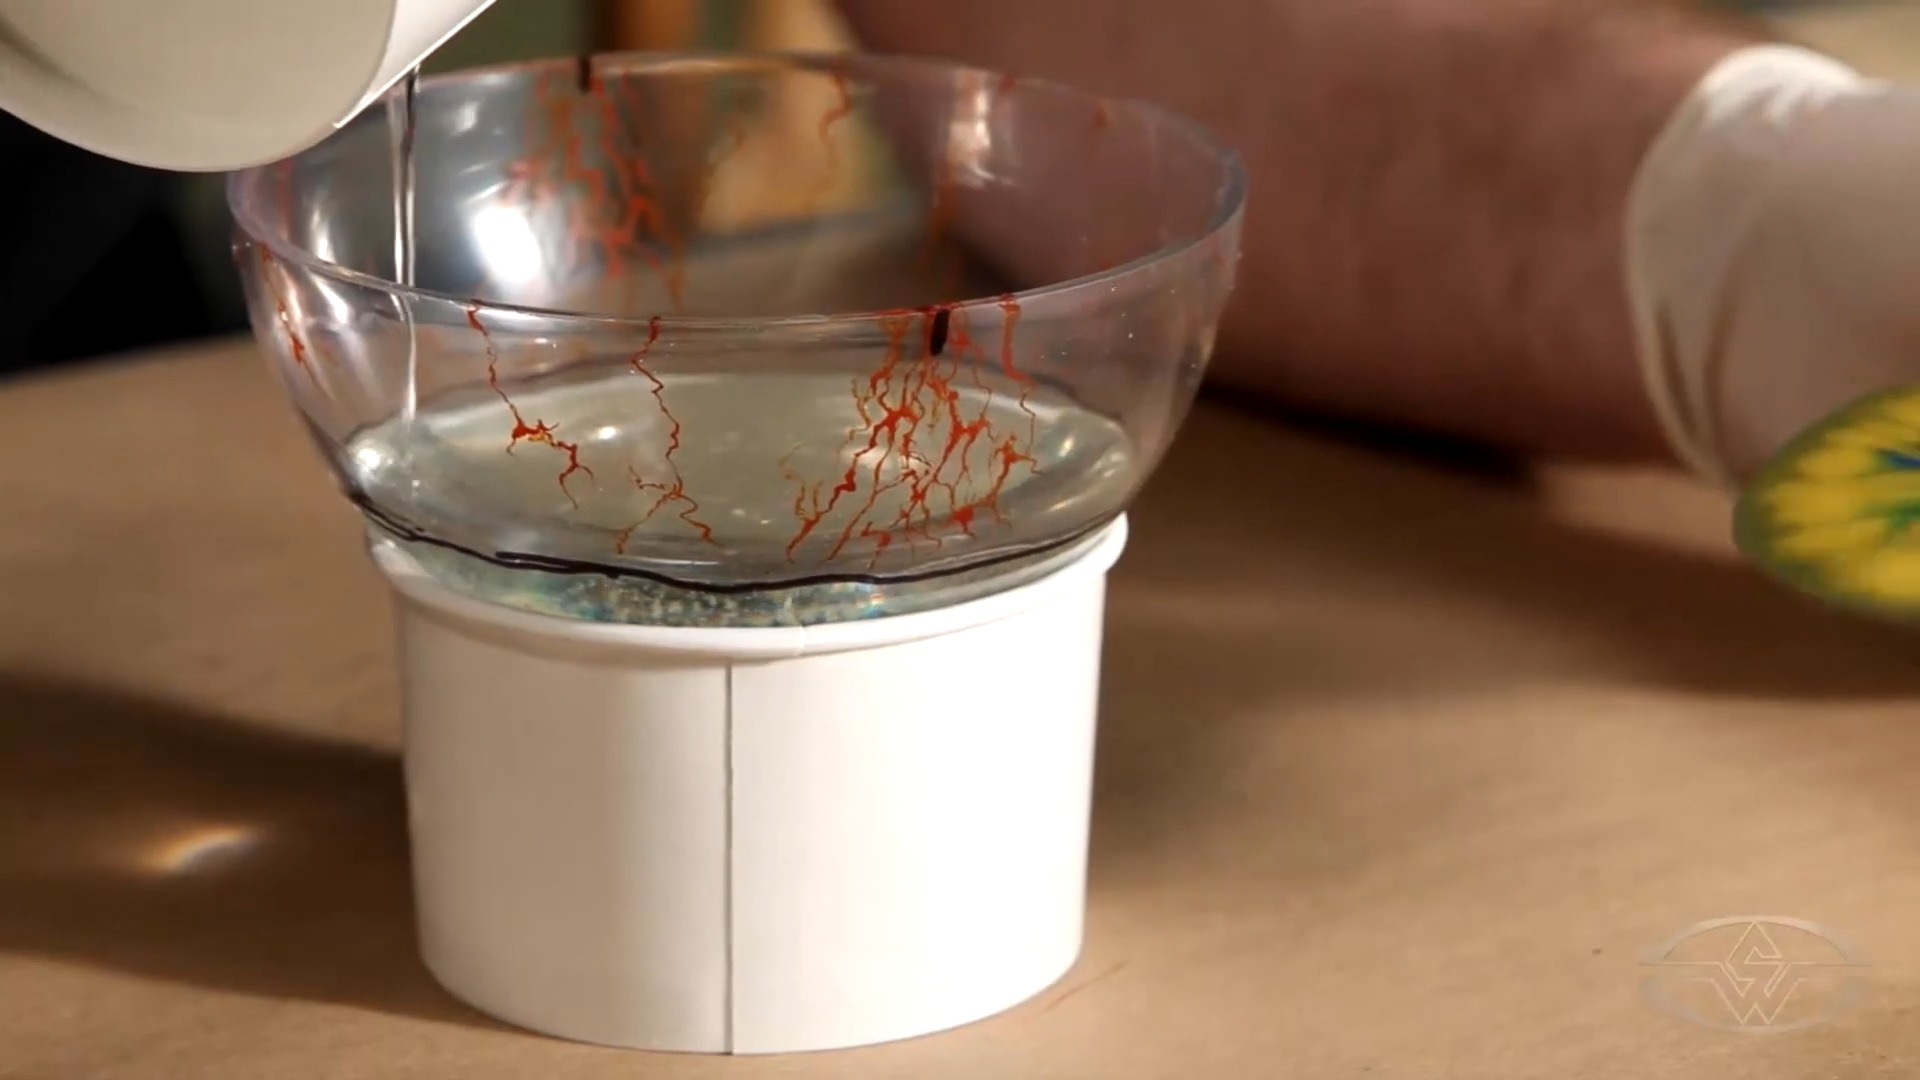 (Haines shows how the resin has been poured right to the mark.)
The next step is to pour some resin directly onto the eye. This is to ensure that the resin will catch some of the plastic as well.
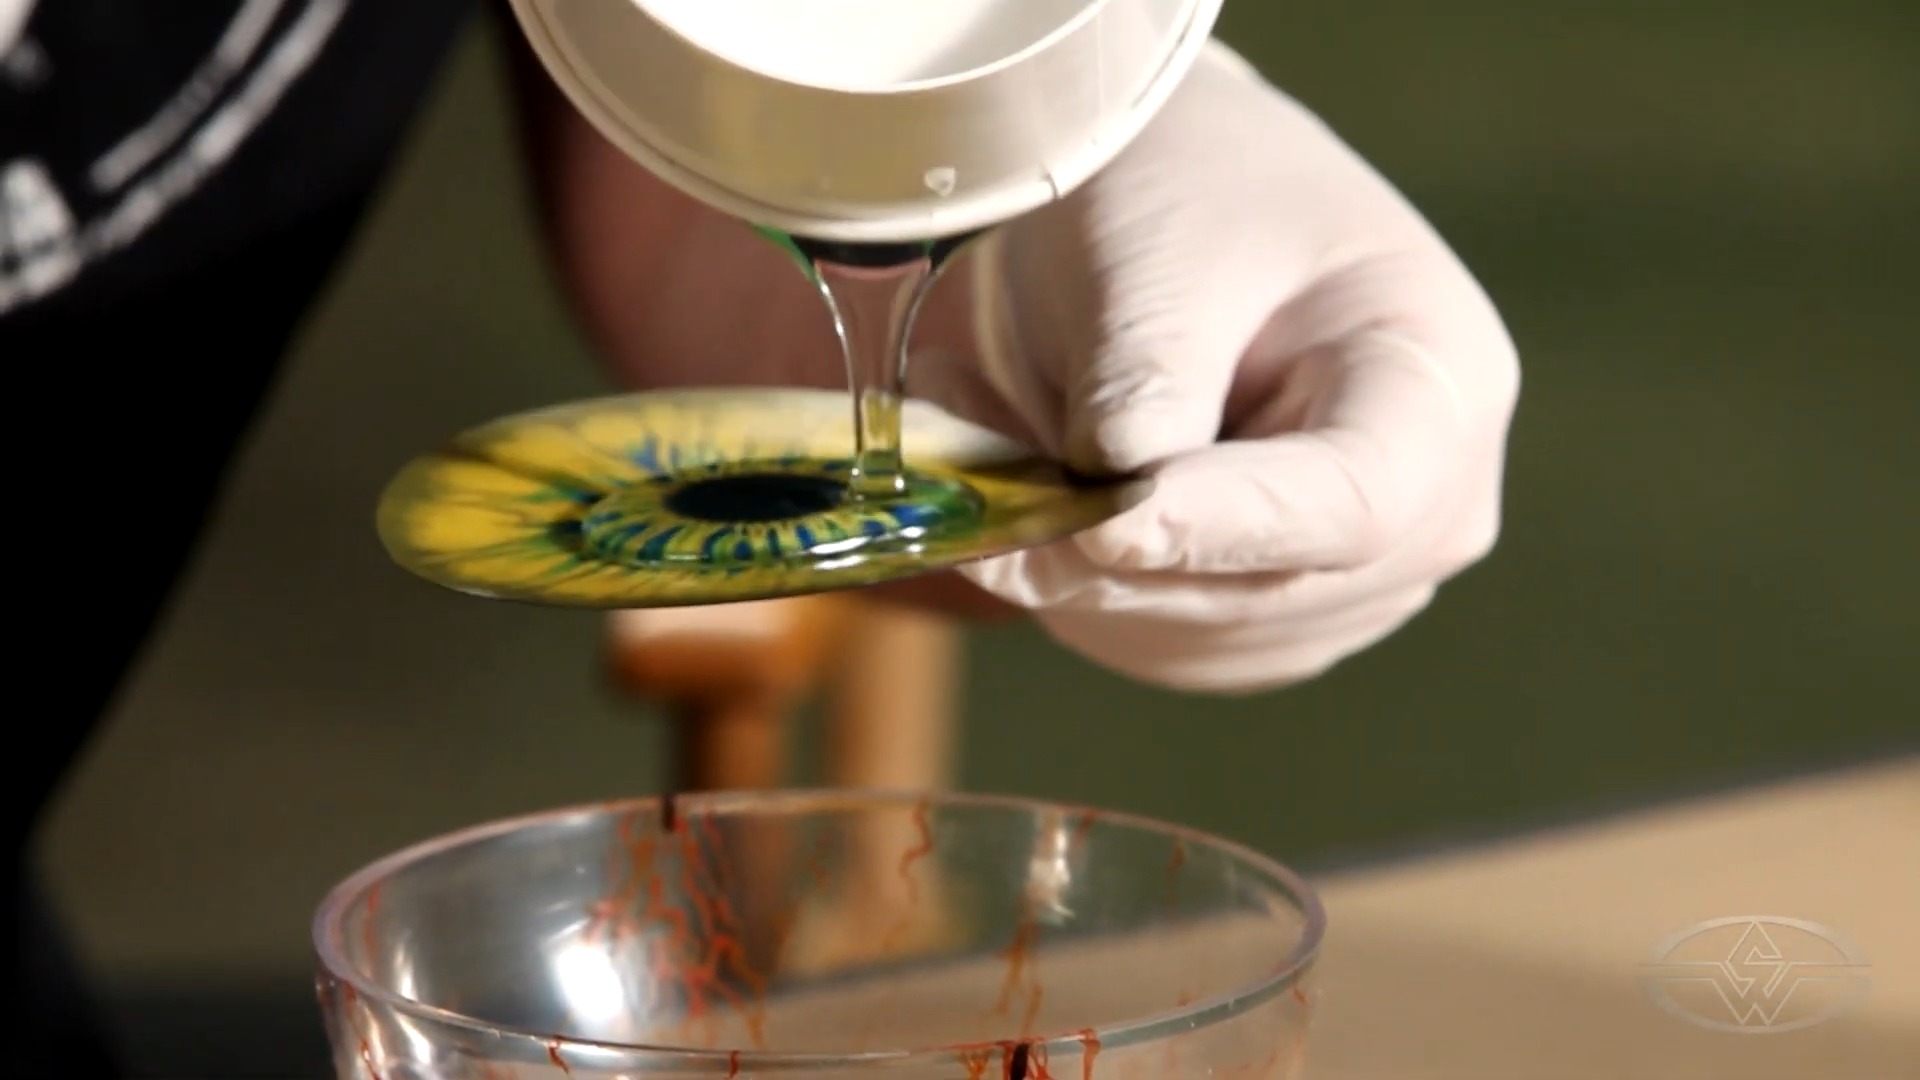 (Haines saturates the eye artwork with resin to make sure it catches and isn't dry when placed into the sphere.)
As you saturate the artwork, tilt the eye so the excess resin falls into the sphere. Make sure the surface of the eye is wet when it goes in and is not at all dry.
Slightly bend the artwork from the edges with the iris facing the bottom of the sphere. Then, drop it and gently push the art into the resin.
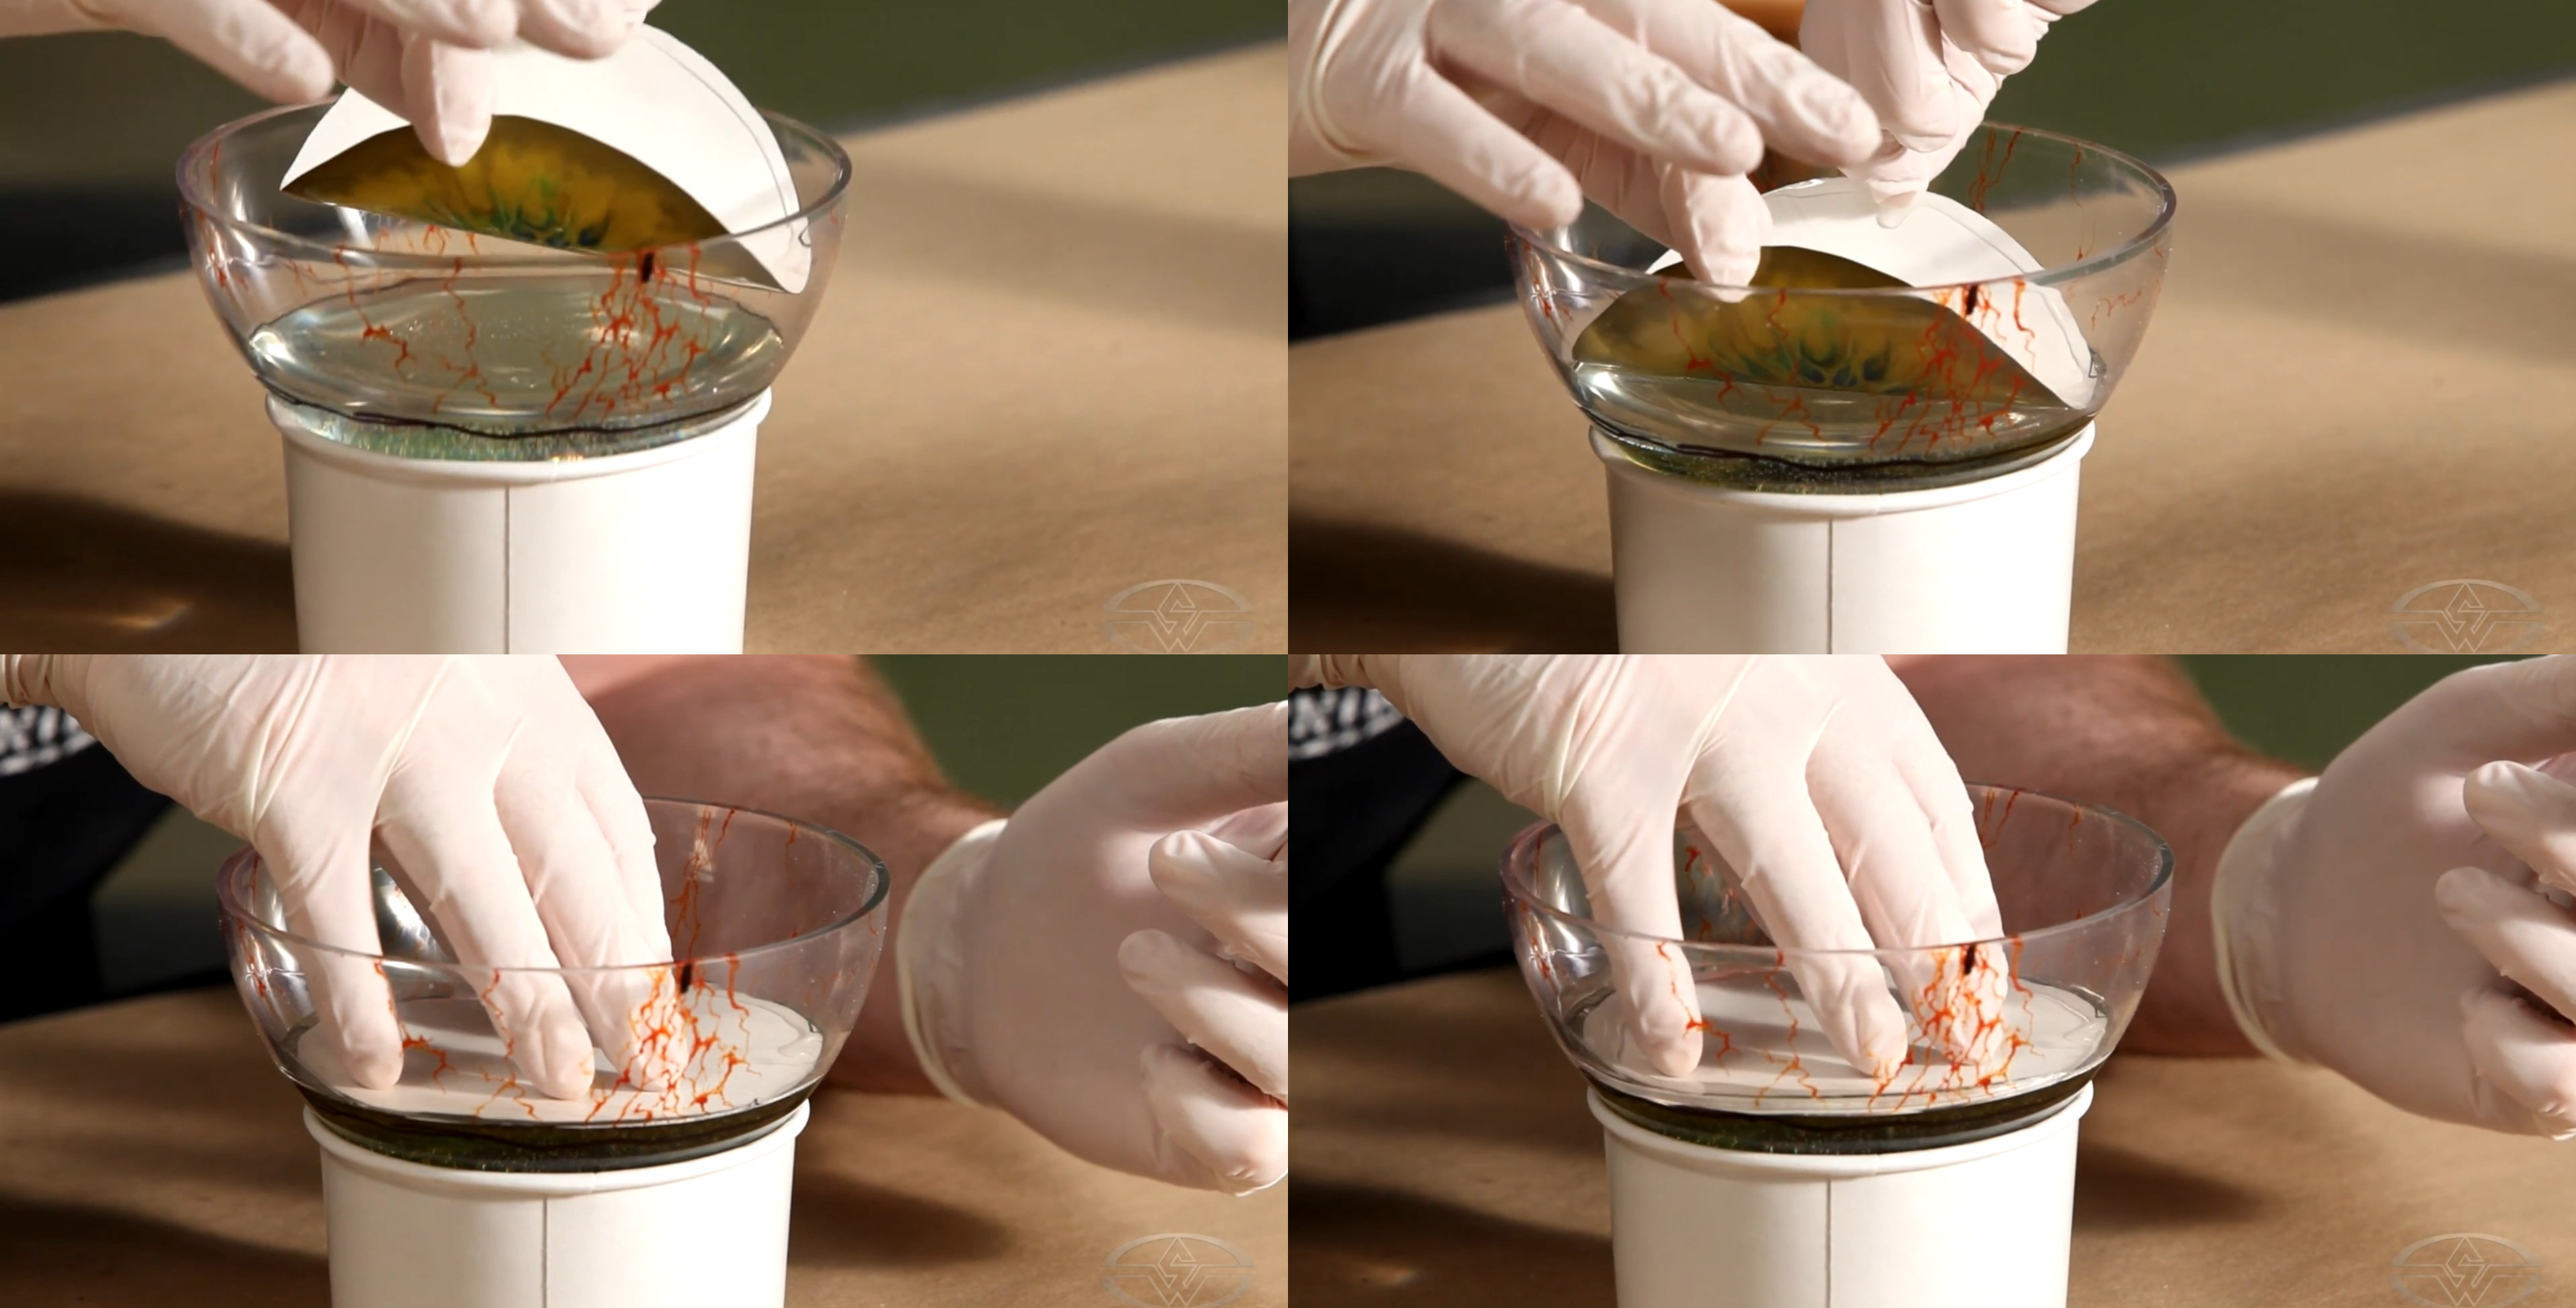 (Haines demonstrates placing the dinosaur eye artwork into the sphere, giving it a light bend on each side, and pushing it in.)
Detecting Resin Air Bubbles
Air bubbles are the resin artist's nemesis. And you might ask, ‘Is it okay to have bubbles in resin?’ or ‘How do you stop air bubbles in resin?’
The good news is that even the pros aren't perfect. There are likely to be some small air bubbles, no matter what. And, Haines adds, it's perfectly fine to have some bubbles in your resin! In fact, it's expected. Air bubbles are just the nature of this process. A few will not ruin the look.
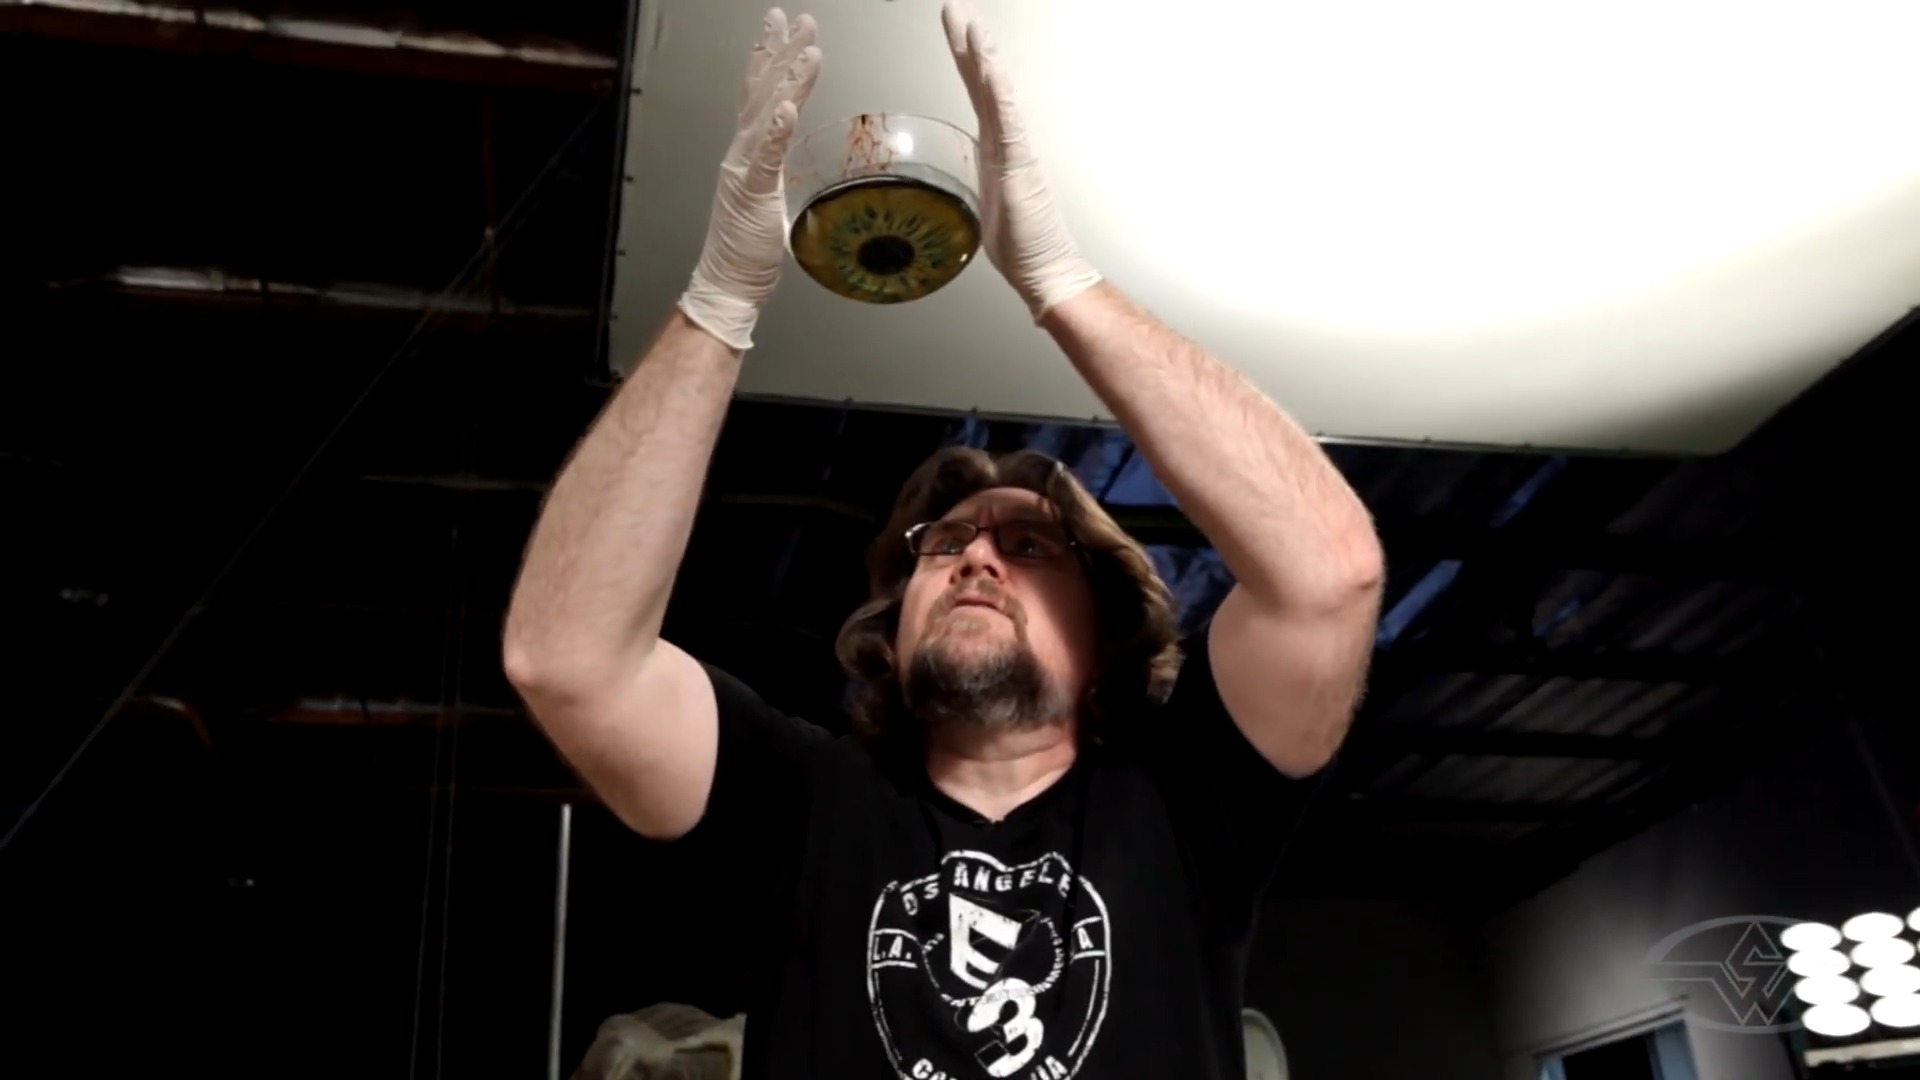 (Haines checks the eye for drips and air bubbles.)
As Haines explains, on a project like this, you wouldn’t want to put your piece into an evacuator--a device typically used for silicone mold-making that pulls the air out of a chamber into which an artwork gets placed. For resin projects, if you really want to reduce air bubbles, you can use a pressure pot. A pressure pot squeezes the air out and reduce the bubbles to a miniscule size.
Turning the Eye Artwork in Resin
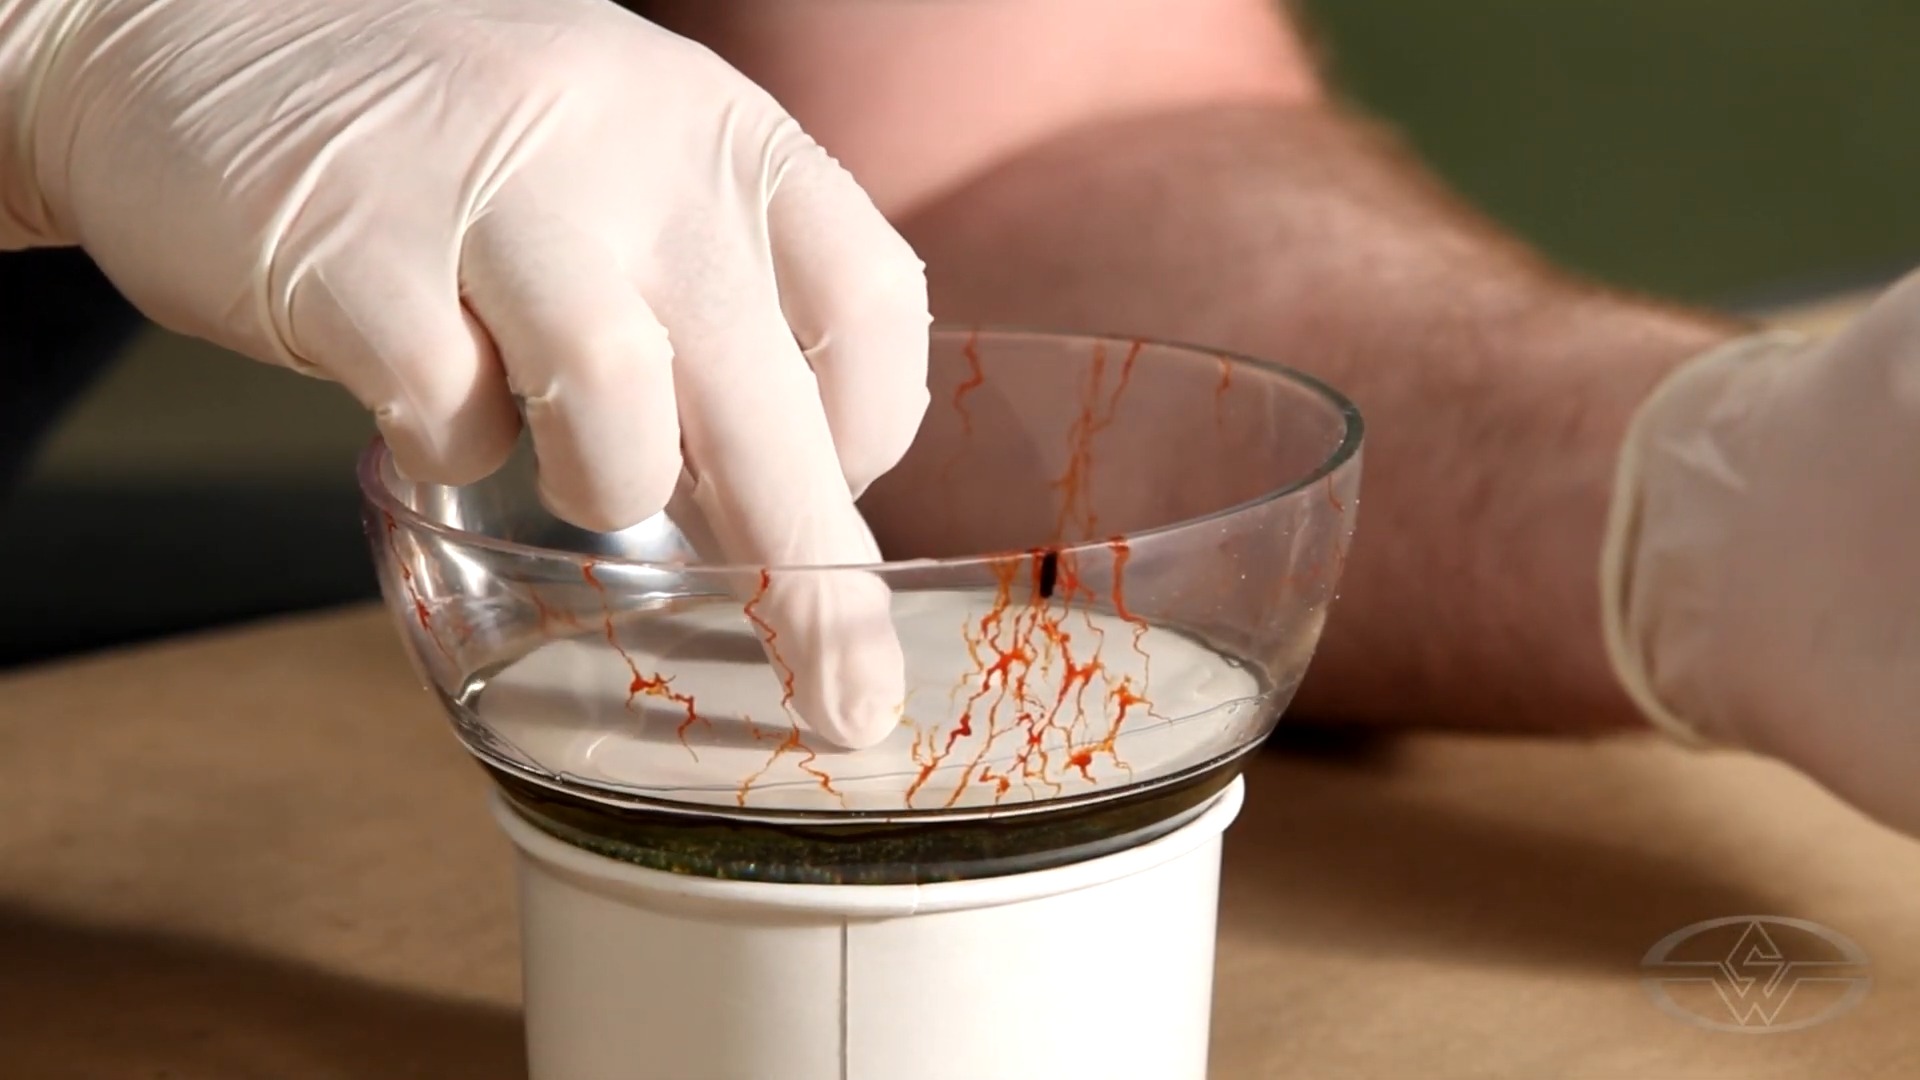 (Ted rotates the eye artwork in the resin in order to encapsulates it.)
Rotate the eye little by little to make sure that the resin is hitting it evenly and completely. Since there isn't any indication of which direction the eye is facing in the eye artwork, there's no need to worry about how it goes in.
The marks and veining added to the partial sphere can help show which side is the inner and outer corner of the eye, but it still it doesn’t matter how you turn the artwork.
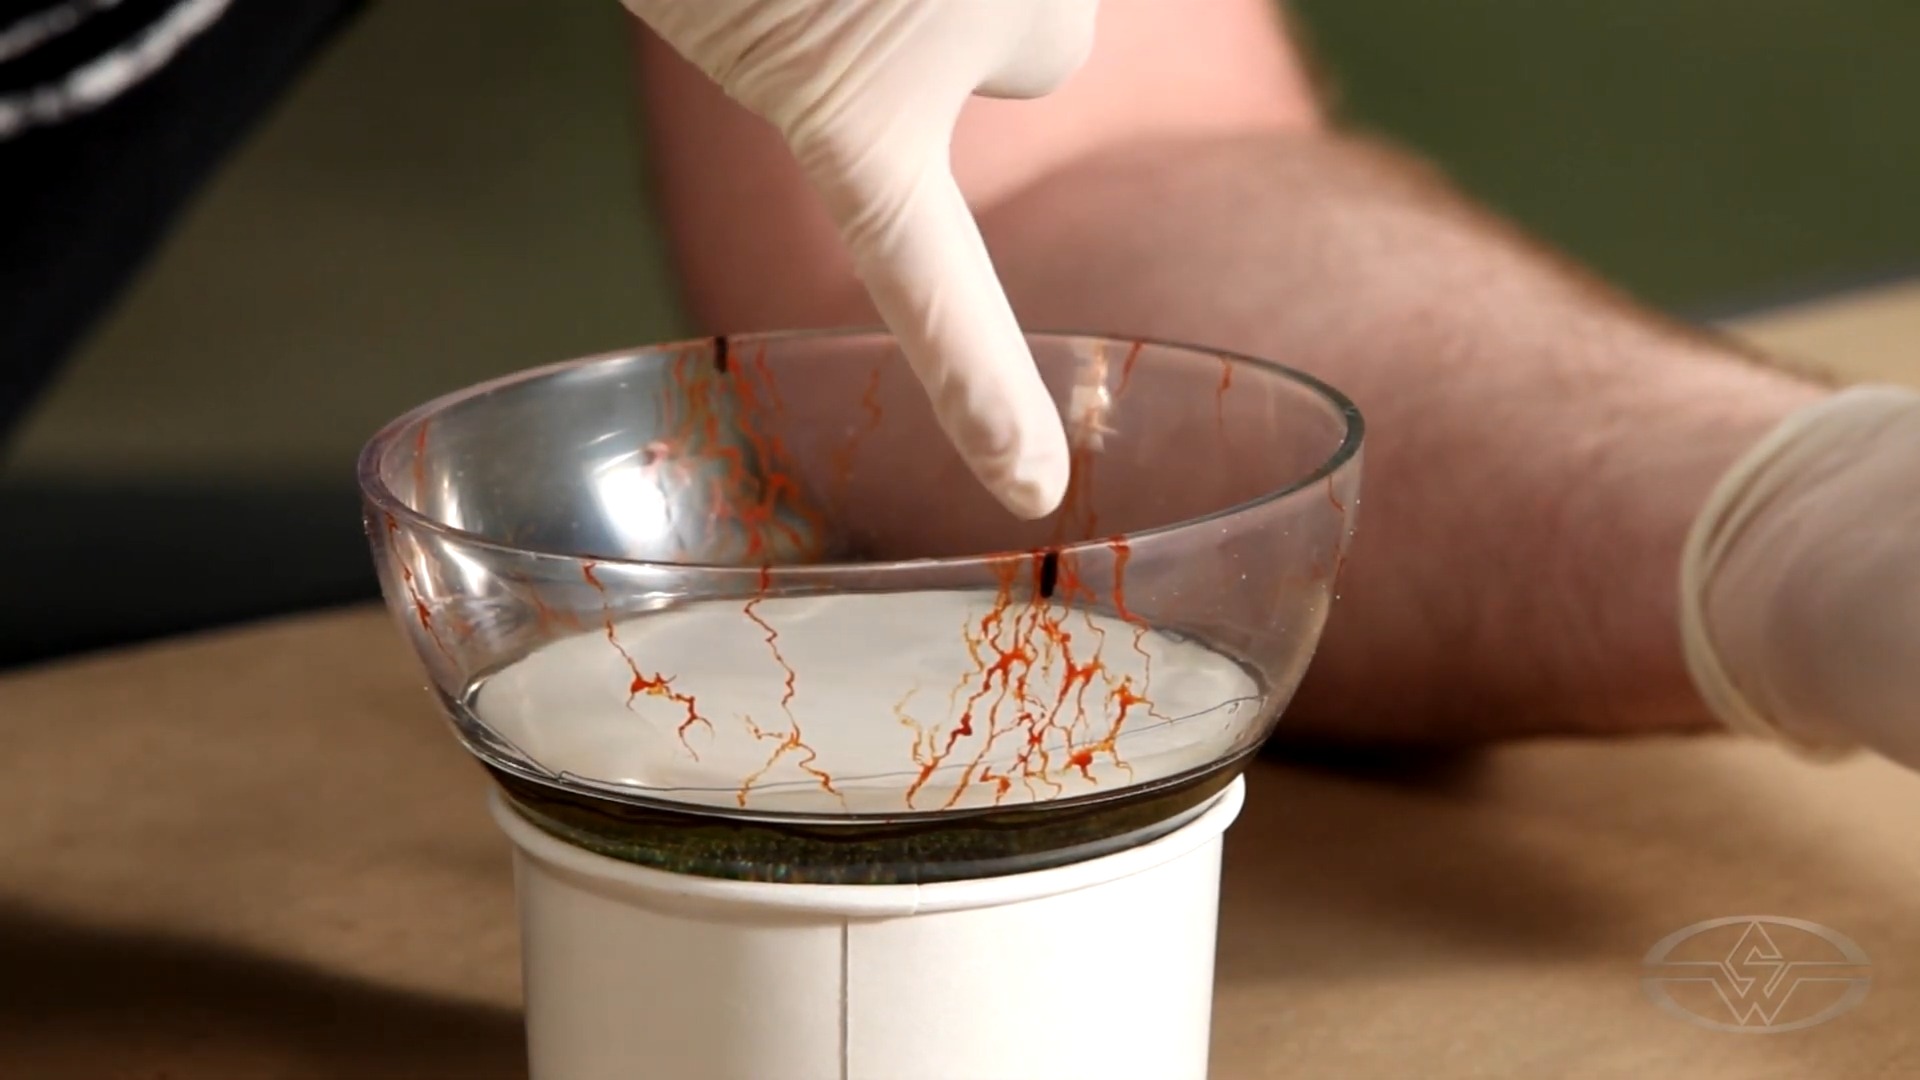 (Haines points out the marks and veining that show how you'll know which sides are the inner and outer corners of your dinosaur's eye.)
Instead of precisely replicating the exact positioning in the second eye, Haines recommends making slight adjustments so it's not a carbon copy. "It's more than likely not going to be," says Haines, but it's worth taking a bit of time to make sure there's a difference. The effect is subtle but if the eye art matches precisely it may slightly diminish the realism.
WATCH THE “HOW TO MAKE A DINOSAUR” COURSE SERIES WITH TED HAINES:
How To Make A Dinosaur - Part One: Design, Foam Carving & Fabrication
How To Make A Dinosaur – Part Two: Carving Teeth, Adding Detail & Texture