
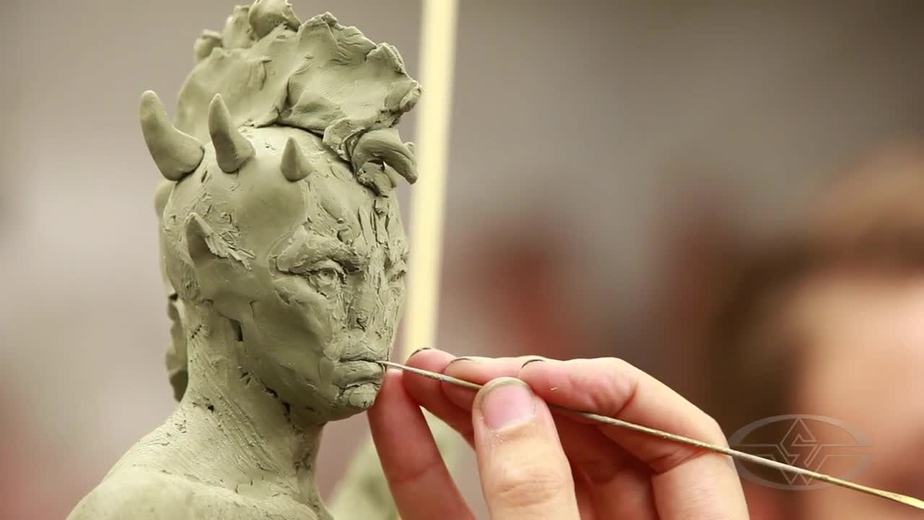
Sculpting Your Creature’s Face
In this FREE excerpt from his Stan Winston School of Character Arts course, Figure Sculpture For Characters - Sculpting With A Live Model, master sculptor and creature concept designer Alfred Paredes (Sideshow Collectibles, ZICA Toys, Monster FX, Amalgamated Dynamics) shares his techniques on roughing out your character’s face. You’ll learn all about the art of sculpting and creating humanoid features for your character — all while referencing a live model.
To watch the complete video, click the player above!
Jump To Section
- Measuring and Marking for Accurate Proportions on Your Sculpture
- Explore Your Character’s Design
- Using Your Model’s Appearance as Inspiration
- Sculpting Eyes for Your Character’s Face
- Embracing the Ugly Phase
- Making Ears for Your Sculpture
- A Nose For The Process
- Building Lips
- Adding Little Details
If you’re looking to create your very own human anatomy sculpture, there’s no better reference than a live model. Working with a live model gives you the advantage of incorporating real-life features and expressions into your piece. By paying close attention to detail and anatomy, you can help make your figures appear more lifelike, an advantage that will allow your pieces will stand out!
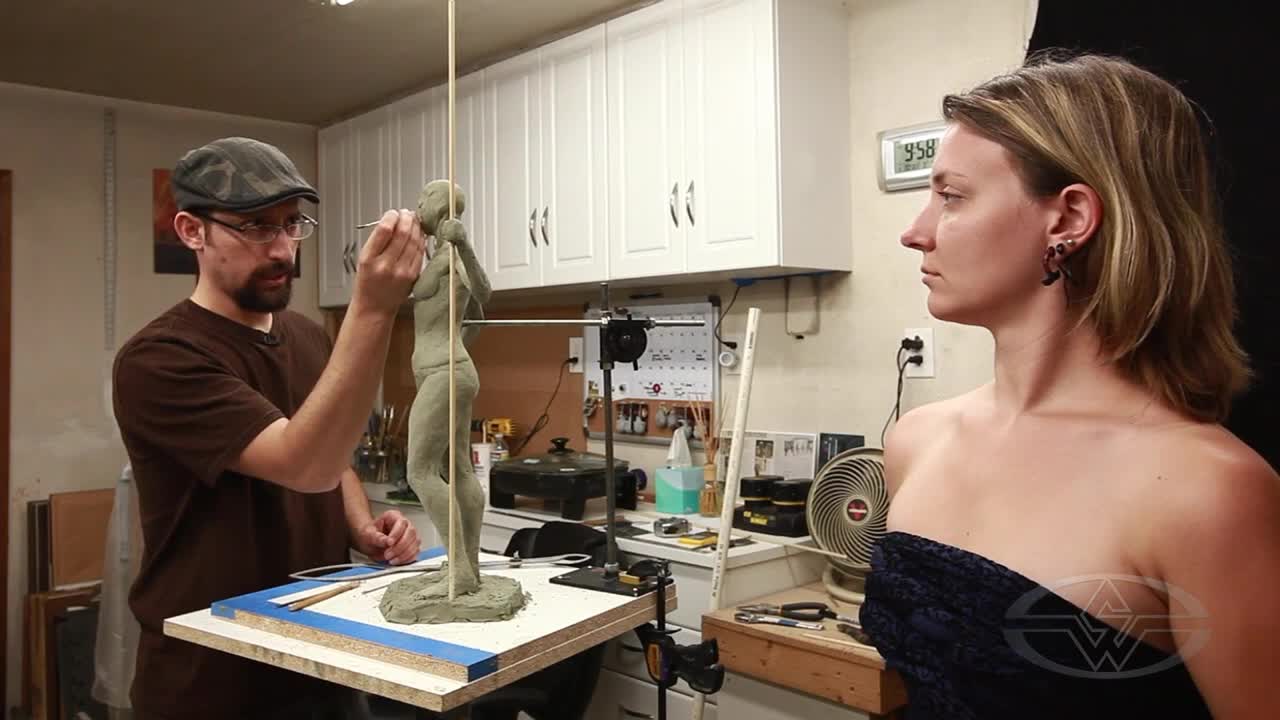 (Alfred Paredes prepares to work on the face of his sculpture, referencing model Aubriana Zurligen.)
To get started, you’ll need the following materials:
- Chavant NSP Medium clay
- Clay cutting tool
- Proportional calipers
- Fixed calipers
- Standard calipers
- Detail tools
- Rubber-tipped clay shapers
- Loop tools - various sizes
- Wooden rakes
- Metal spatulas
- Kidney tools - smooth and serrated rake
- And, most importantly, a LIVE model - pick someone patient who you don't mind looking at and who won't mind being looked at, very closely.
Ready to give your sculpt a face?
Let’s get started!
Measuring and Marking for Accurate Proportions on Your Sculpture
When you’re working with a live model, you can create very accurate proportions and apply them to your sculpture. This makes the process much easier compared to referencing a photo or coming up with everything entirely on your own. In this lesson, Alfred takes measurements of model Aubriana Zurligen’s facial features.
 (Close up detail showing the measuring and marking of eyes from the model to the sculpture.)
Using scaling calipers, carefully take measurements around your model’s eyes. Be super careful when you're working around the eyes. You can put your fingers on the caliper tips so the metal never touches your model's face.
Once you have your measurements, mark some quick indications on your sculpt for where the outside of your character's eyes will be. You'll want to repeat this process for every facial feature, going back and forth between your model and the sculpture.
Create a symmetrical line down your sculpture’s face with a big spatula to easily make placeholder marks where facial features will be placed. The spatula will give you a straighter line than trying to draw a straight center line with a tool.
The process of measuring and marking any point, like the edge of an eye or the corner of the mouth, by forming triangles to that point from other known points is known as triangulation. Incorporating triangulation into your sculpture connects points of the face to one another and adds proportion and verisimilitude to your placement of facial features.
 (Alfred Paredes uses a long spatula to mark the center line of his sculpture's face.)
Measure from the center of your model’s chin to the corner of each eye and mark your sculpture. Because faces aren’t symmetrical, it’s important to take measurements of both eyes to give it a more off-center, albeit realistic appearance. The asymmetry of the human face is not intuitive, and capturing that asymmetry accurately adds to your sculpture's sense of realism.
Next, you’ll mark the mouth. Capture the distance from the bottom of the chin to the center of the mouth. Omitting a human nose, and adding horns, Alfred's intention is to give his character not necessarily human features, but humanoid features. Your specific approach is up to you.
 (Proportional calipers allow you to convert a measurement accurately from a full-size figure to a sculpture of a smaller scale without math or guesswork.)
Move on to measuring your model’s cheek width and apply it to your sculpture. Should you need to adjust the shape, either build up mass with more clay or remove clay as necessary.
 (Using the scaling proportional calipers, Alfred matches the distance from cheek to cheek on his model, Aubriana Zurligen, to his sculpture.)
Your model is there to help inspire your sculpture. It's entirely up to you to decide which features you’d like to alter, exaggerate or diminish to give your character the look you want.
Explore Your Character’s Design
Here’s where you can really start having some fun with your sculpture’s features!
You’ll start adding more clay to your piece and exploring who your character is. What do they look like? What do they sound like? Where are they from? What's their story?
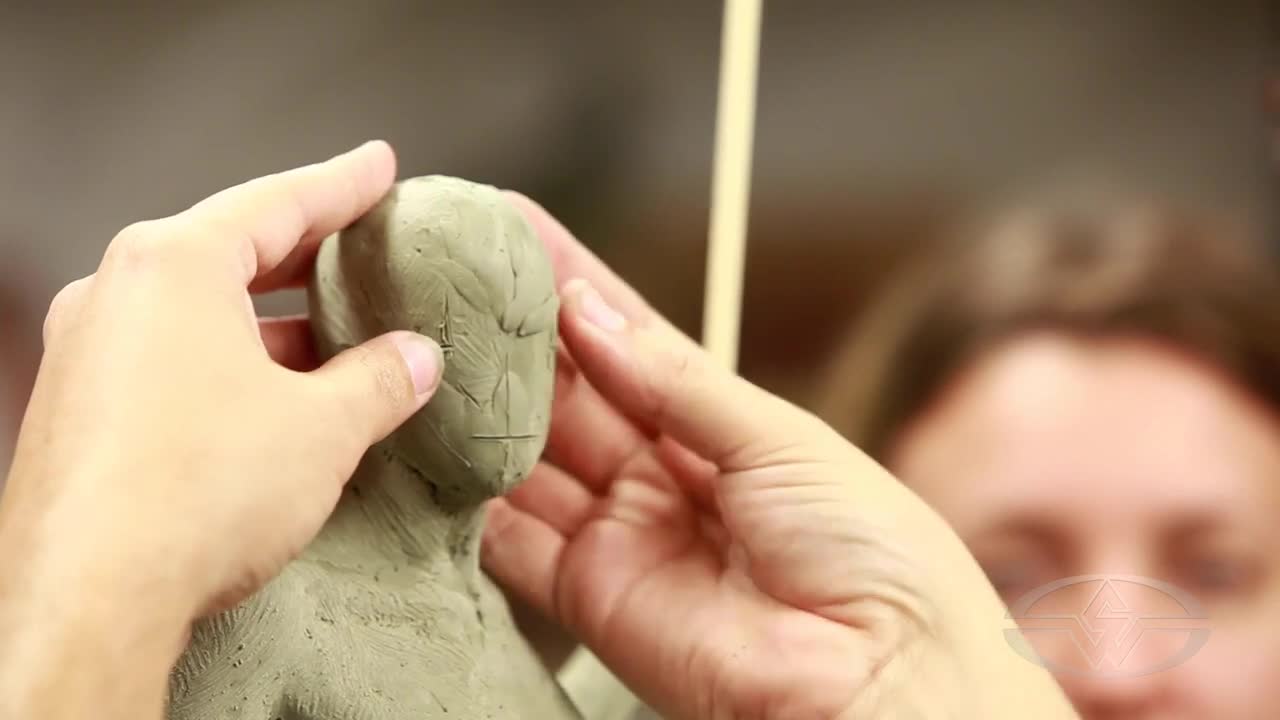 (Alfred Paredes gives his sculpture some character.)
In this lesson, Alfred creates an angled brow shape and adds more intensity to the angle of the eyes. He says he likes to start by building a little bit of the brow shape before he carves out the hollows of the eyes.
Even though he has some reference sketches and ideas for his character as he sculpts as Alfred says, “it’s still a very fluid process. If this was for a specific character assignment that I had art for, I’d be referencing the art and the model at the same time. In this case, I’m just kind of winging it.”
If you're trying to achieve a specific attitude, you can have your model make a particular facial expression and exaggerate the anatomy behind it in your sculpt. Here, Alfred wants his character to have an intense, powerful appearance and borrows from Aubriana’s furrowed brow.
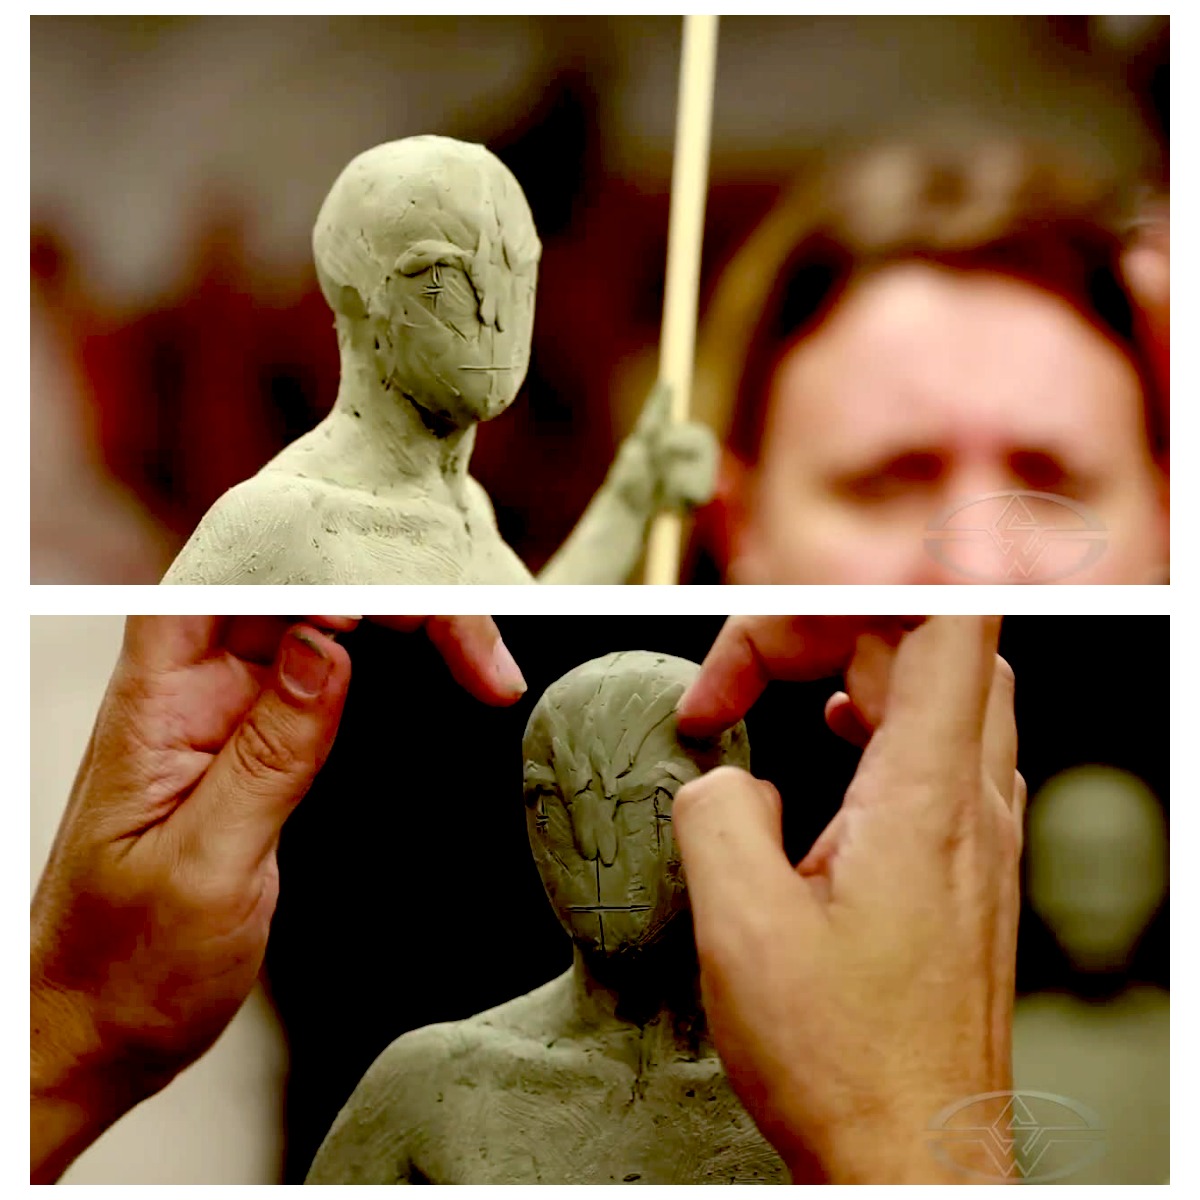 (Alfred Paredes shapes the brows of his sculpture to give it attitude.)
He reminds students that he’s still working in really rough, big shapes for the face. At this point, you’re thinking about the design of your character and how these shapes would form.
For this example, Alfred adds furrows pointing toward what will be a series of horns on his character’s head, he explains:
“There tends to be a sense of purpose in nature. Those forms aren’t just there for aesthetic purposes … but they tend to follow anatomical reasons for being there. There’s a reason these furrows would be there and then the line of horns would follow that same line. So, I’m thinking about those things as I’m laying in these forms. You see, it’s not the same shapes that are on [the model’s] face exactly. But by looking and studying what’s on her face, I get to see what that would look like, and it lets me know what I can do and what I can push.”
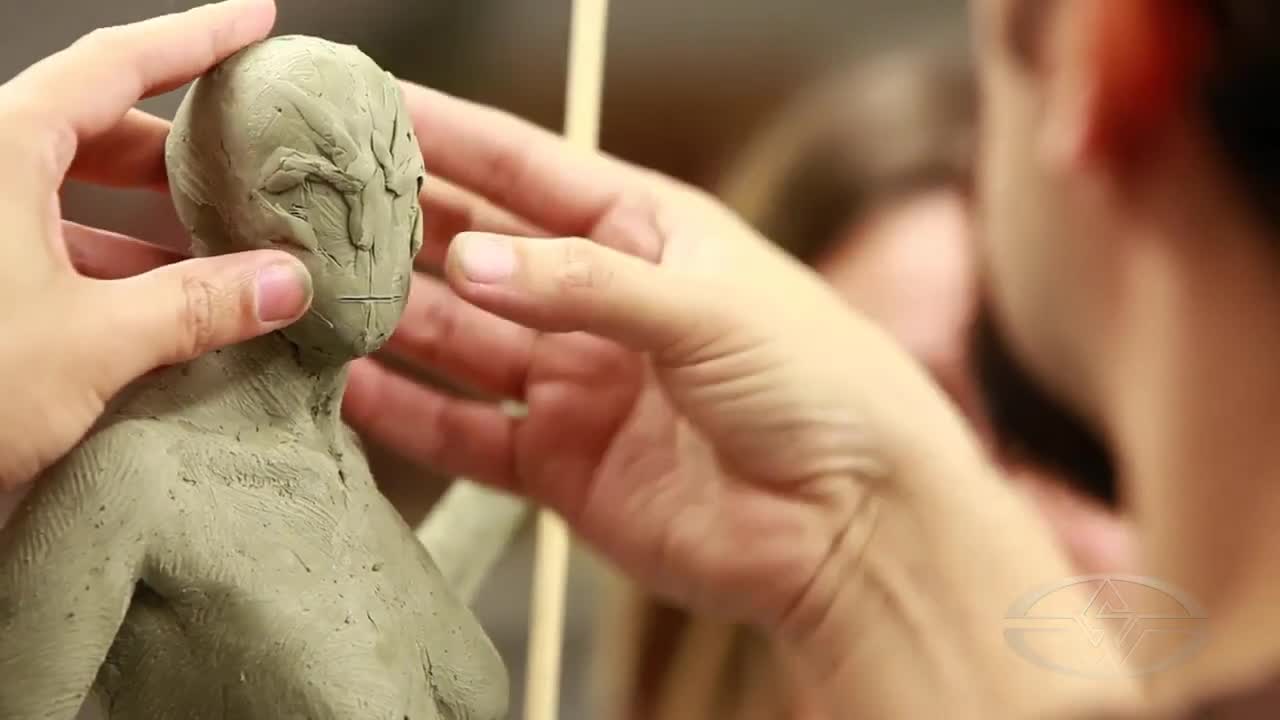 (Alfred Paredes continues to sculpt.)
While you can definitely make up the design for your character entirely on your own, having a model can help you include those important, small details to your fantasy character.
Alfred says that working alone, he'll often try to speak in the voice of the character to let that sound inform his approach. If it's a monster, you can expect to hear some pretty strange grunting and growling from Alfred's studio.
Using Your Model’s Appearance as Inspiration
Check the profile of your figure and determine the shapes you want for your character. Here, you’ll decide where you want to base your figure on your model’s appearance and where you want to deviate from observed reality.
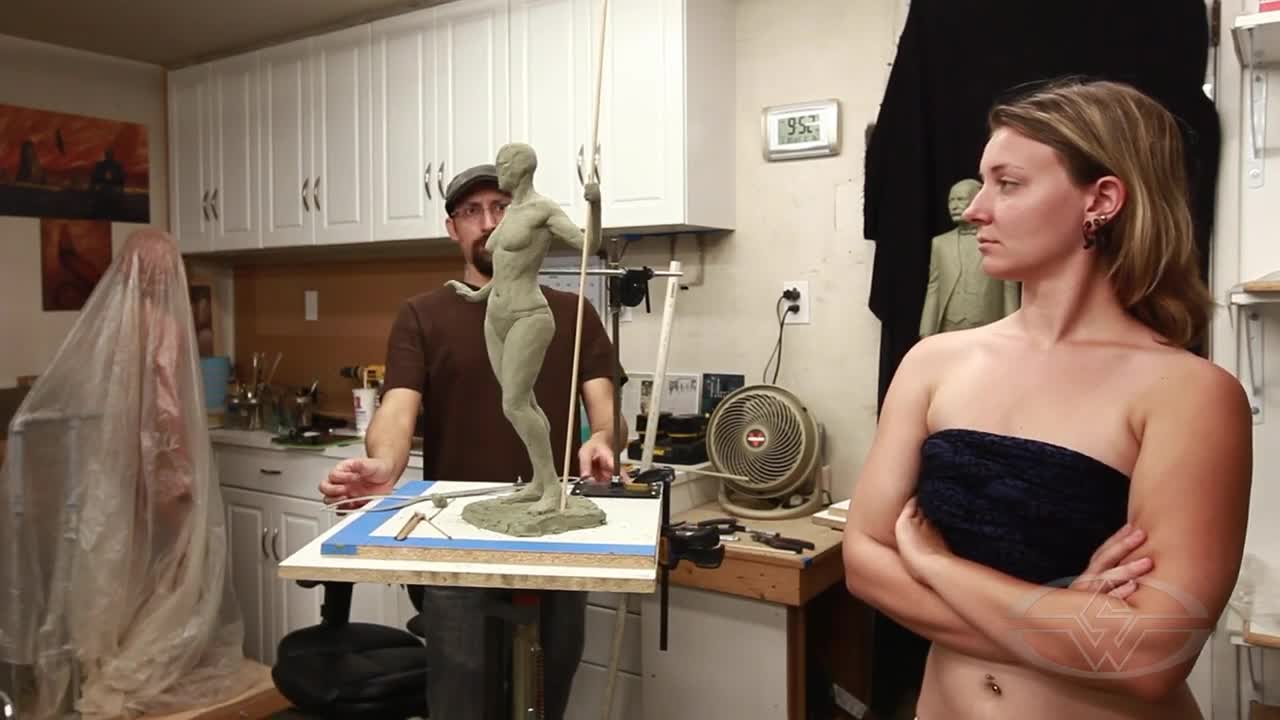 (Alfred Paredes compares his sculpture to his model Aubriana Zurligen.)
Where Aubriana's face jaw and chin is somewhat square, Alfred considers a character with a slightly more elongated face.
At this stage, begin building in the cheekbones and create a placeholder of your character’s lower face arrangement, or muzzle, so you can see the profile you're going for.
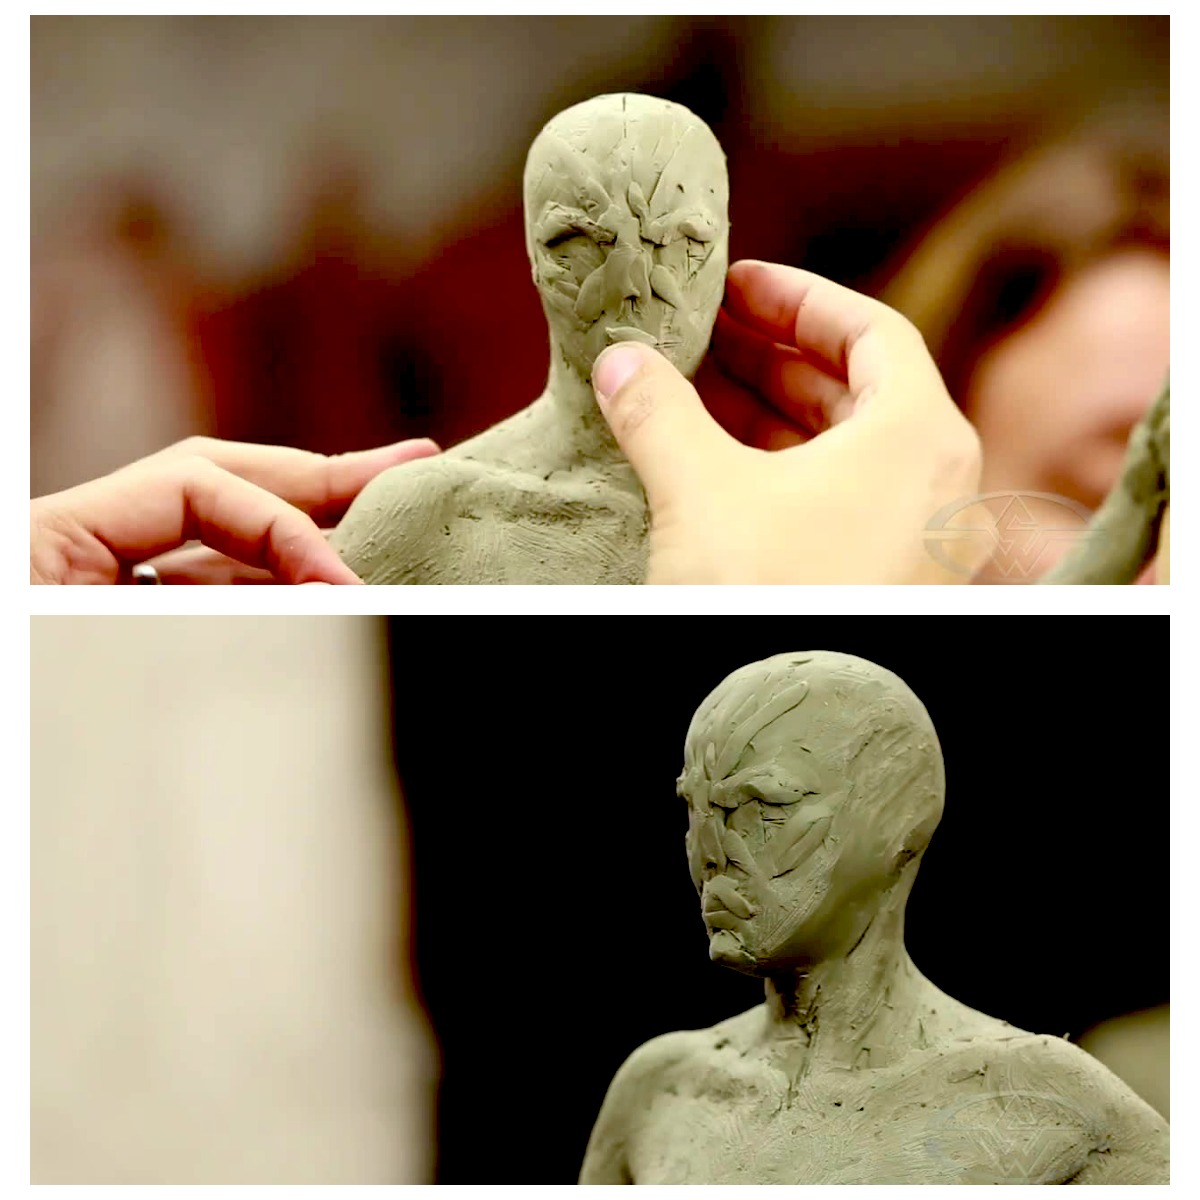 (Before adding any detail, just playing with general forms, Alfred can determine the overall profile he wants in his sculpture.)
Alfred determines he’s going to keep the look of his character's face elongated and angular.
Sculpting Eyes for Your Character’s Face
There are many ways you can make an eye. You can sculpt an eye into your piece, you can use eye forms, or you can make your own eyes with epoxy putty.
 (Alfred Paredes considers his approach to the sculpting of the eyes.)
Pro-tip: Alfred suggests that any time you have extra epoxy putty, make tiny balls and put them in a jar to use for future use. Then later, you'll have eyes of various sizes that you can match and use in a sculpture by carving out the eye shape, placing the eye forms, and then sculpt the outer eyes around that epoxy ball.
In order to orient the gaze of the sculpture, you can, of course, paint the pupil on the finished form, but if you want the sculpture to indicate the point of focus, you can sculpt the eyes in.
Determining how you intend to finish the sculpture, such as whether it needs to be molded and cast, will help you decide what method you use.
Another approach Alfred uses often is to sculpt in the irises to be flat, and then later paint the pupils in, and use clear epoxy to build the corneal bulge to make it look like a prosthetic eye in your sculpture.
Here Alfred makes the eyes from clay for now. He uses small balls of clay and then employs his favorite double-sided sculpting tool to press them in and shape them.
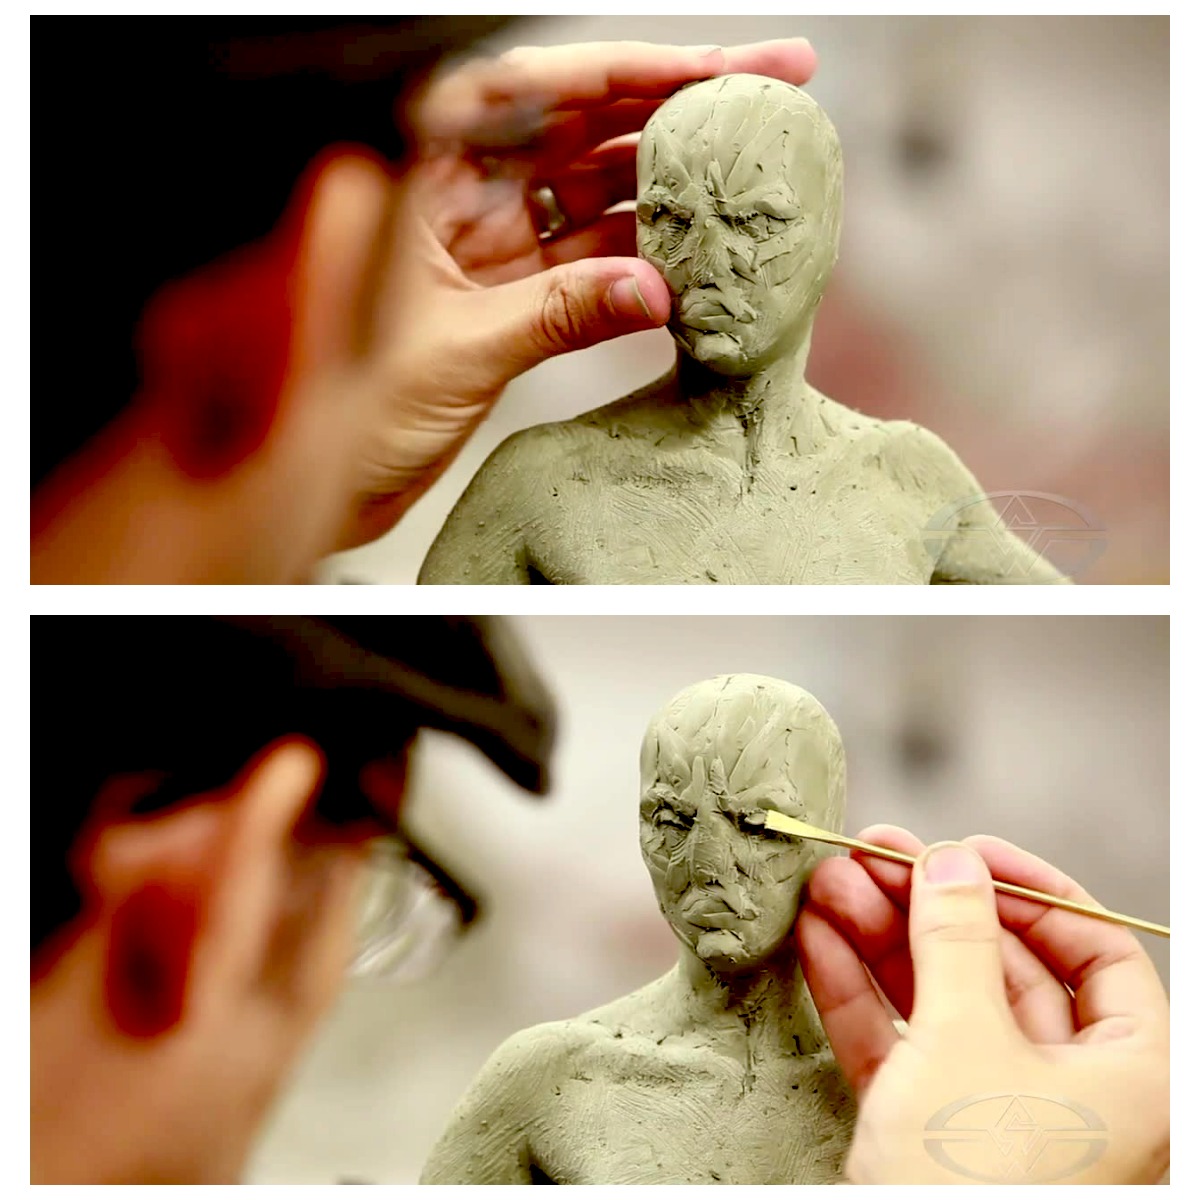 (Alfred Paredes uses his small spatula to create lids over the eyes.)
Adding some detail to the soft tissue of the cheekbones helps give more dimension to the areas under the eyes, creating a highlight on the cheek and separating the bony forms from the fleshy forms.
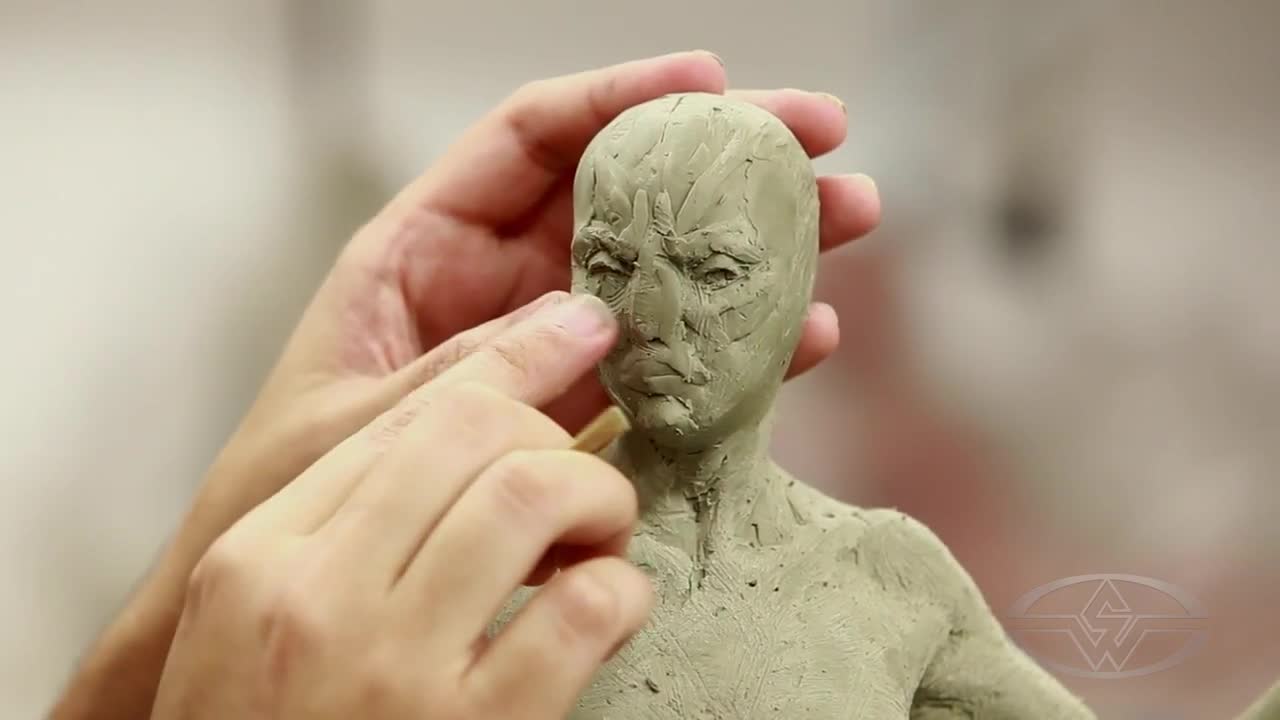 (Alfred Paredes uses finger and tool interchangeably to smooth his shapes.)
With the pointed side of your detail tool, you can easily get into the little corners and shape the eyes.
 (The lids and eye beds of the character are starting to emerge.)
Embracing the Ugly Phase
At this point in the sculpting process, you might wonder if what you’re doing is “right” or “good.” Not to fear! Alfred says that you’ll want to embrace the “really ugly phase” of your sculpt just as you would every other phase.
“There’s a time when it just doesn’t look right, and it’s part of the process,” he says. “It will look right if you just keep going.”
In fact, this is the perfect time to play with the shapes of your sculpture to see what you like and don’t like. If you like something, you can leave it. And if not, you can always reshape it. The possibilities are endless!
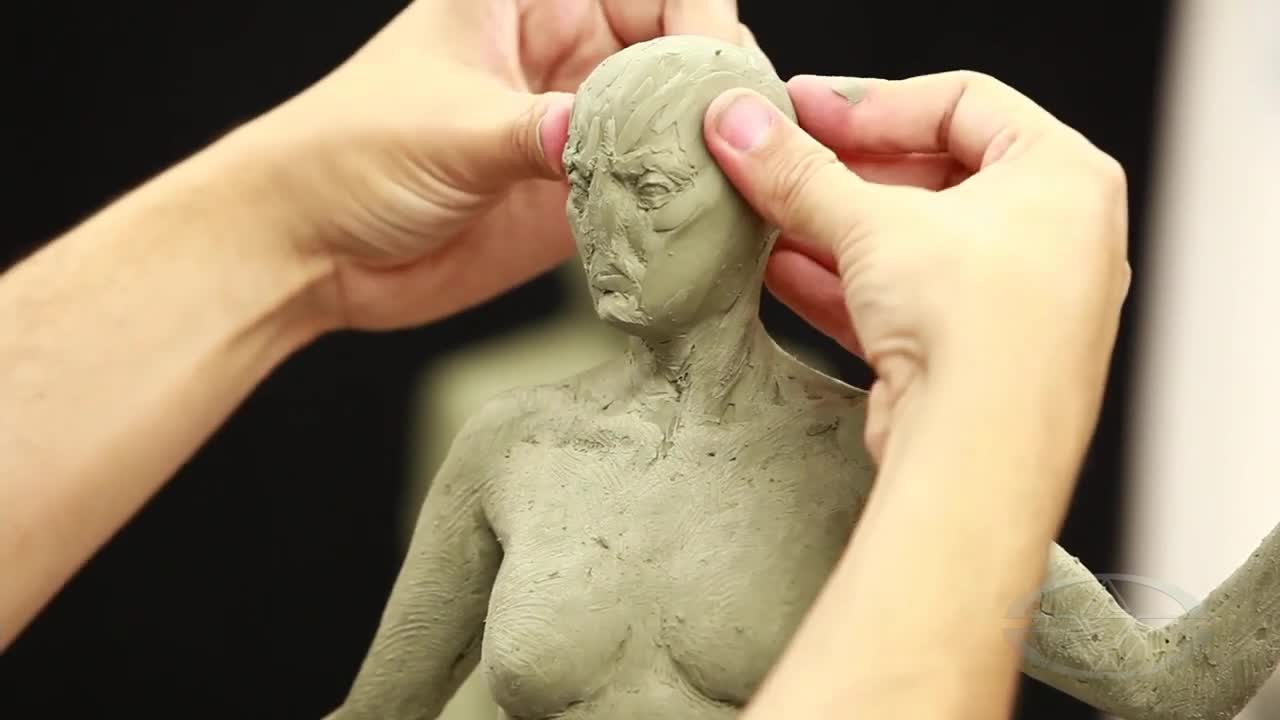 (Alfred Paredes plays with the shapes of his character, hinting at where it may ultimately have horns.)
Adding features here, like horns and hair, helps realize the character. Even if, ultimately, these pieces might be epoxy sculpted add-ons or actual hair, roughing the placement out here allows you to get a glimpse of how the character will appear once finished.
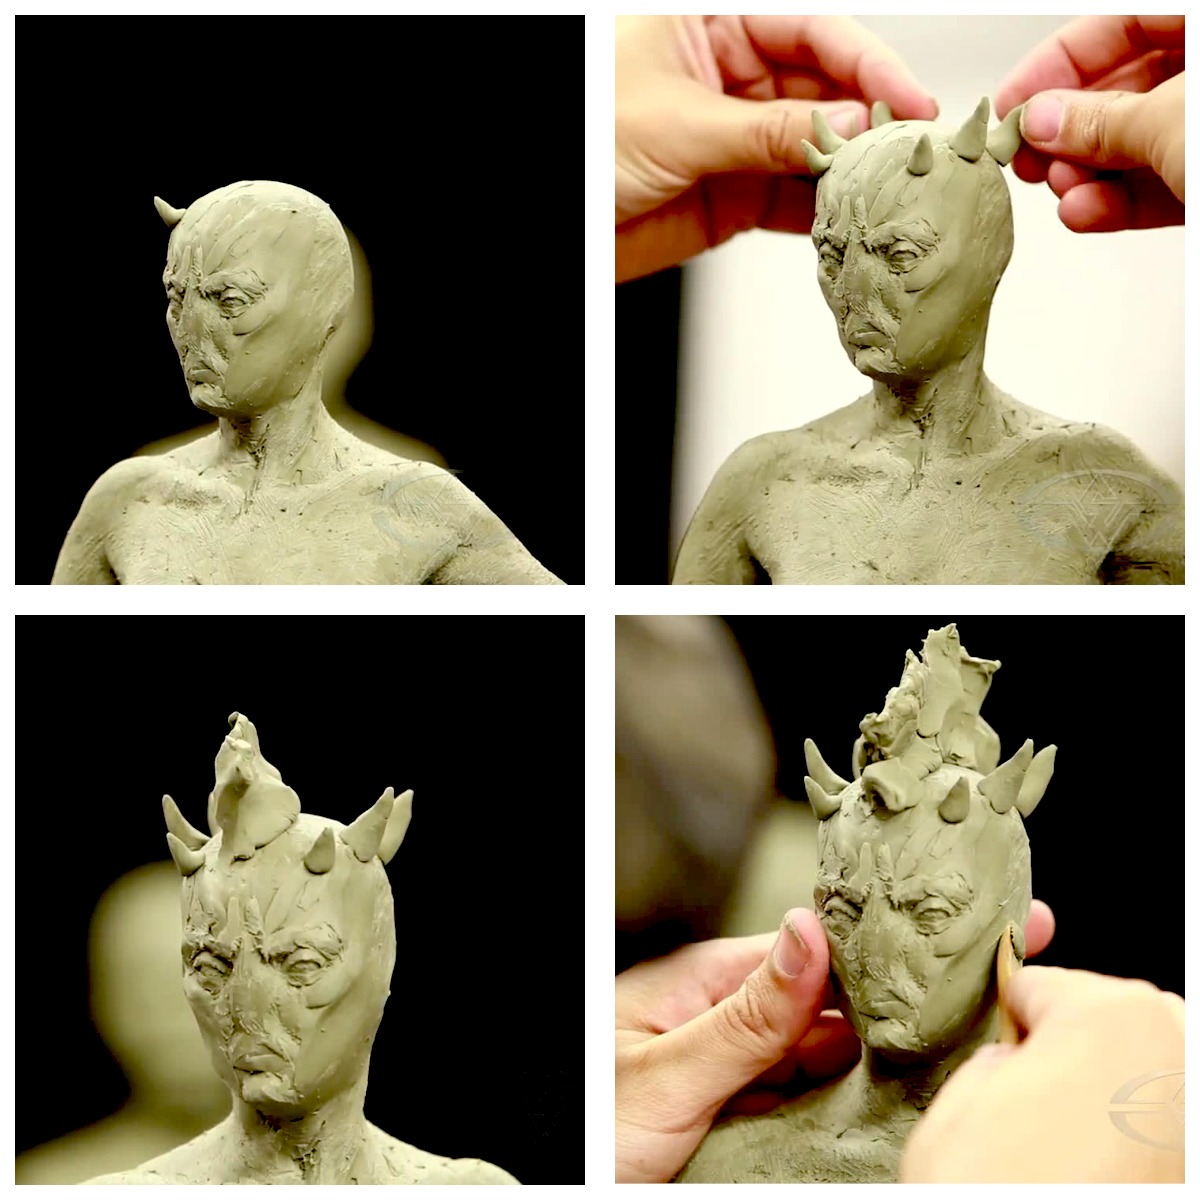 (Alfred Paredes adds horns as placeholders to his character and a Mohawk hair style, a decision influenced by Aubriana's edgy shaved-side style.)
Keep in mind: nothing has to be (or should be!) "perfect" at this point. Simply creating placeholders will help you get a better idea of your character and what kind of look you want them to have.
And if there's something you want to change, this is the easiest and safest time to do it.
Making Ears for Your Sculpture
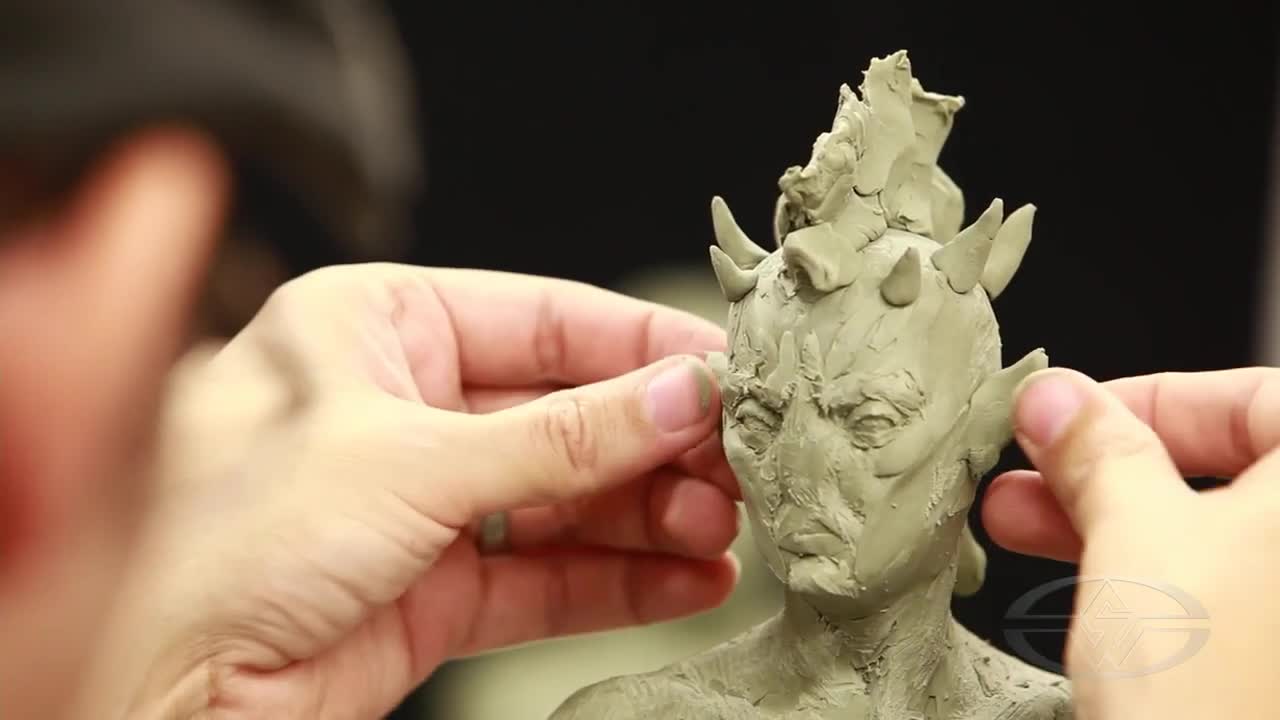 (Alfred Paredes considers ear placement on his sculpture.)
Add a set of placeholder ears to your character’s face to see how big you want them to be and how much you want them to stick out. Once you find out what kind of ears your character has, you’ll eventually get into detail and smaller forms. But for now, think big!
A Nose For The Process
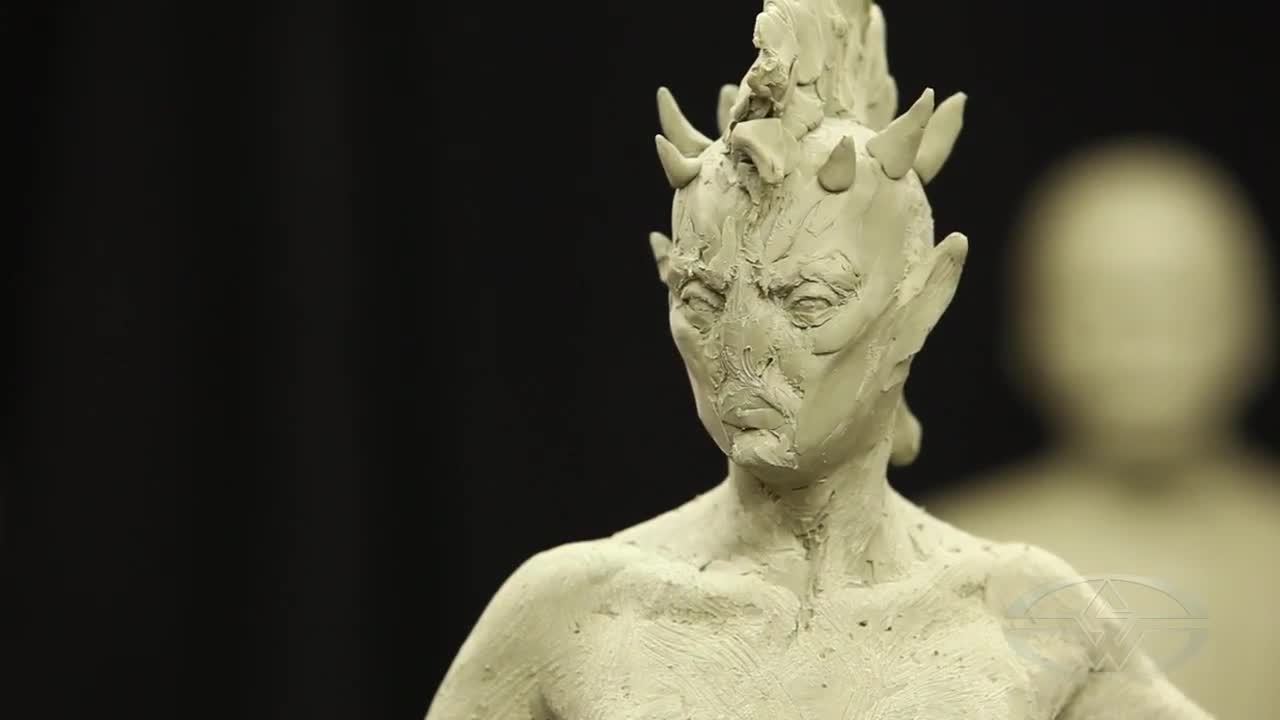 (Though conceived as intentionally nose-less, this character still has to breathe! Alfred Paredes has indicated where nose slits might go.)
Nose slits will also undoubtedly help you see where the shadows on the face are going to fall.
If needed, redo your center line. This is something you’ll have to do over and over again. With that, you’ll be able to see if more or less mass is needed on either side.
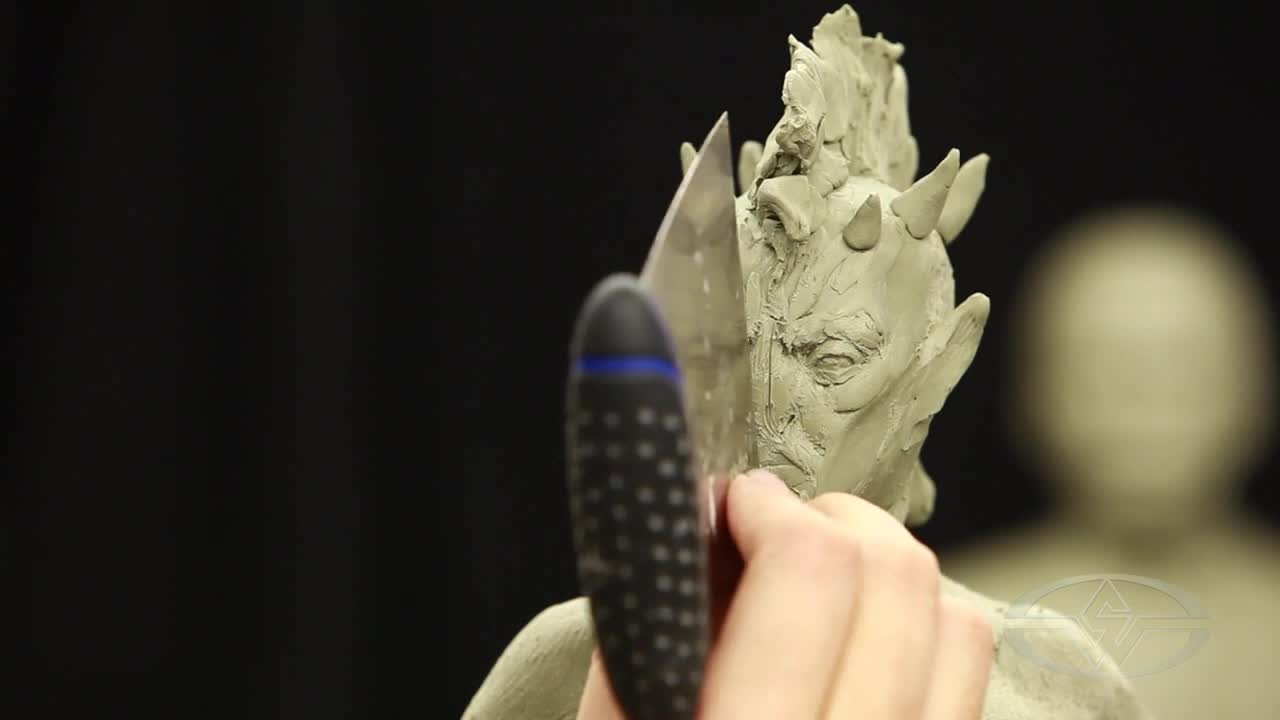 (Alfred Paredes uses his spatula to re-establish the center line.)
Building Lips
Decide whether you want your character to have human lips or non-human lips. You can use your model’s lipline, reference a photo of someone else, or make up your own.
Alfred decides he’ll borrow the structure of Aubriana’s lips and create a bow of the same shape.
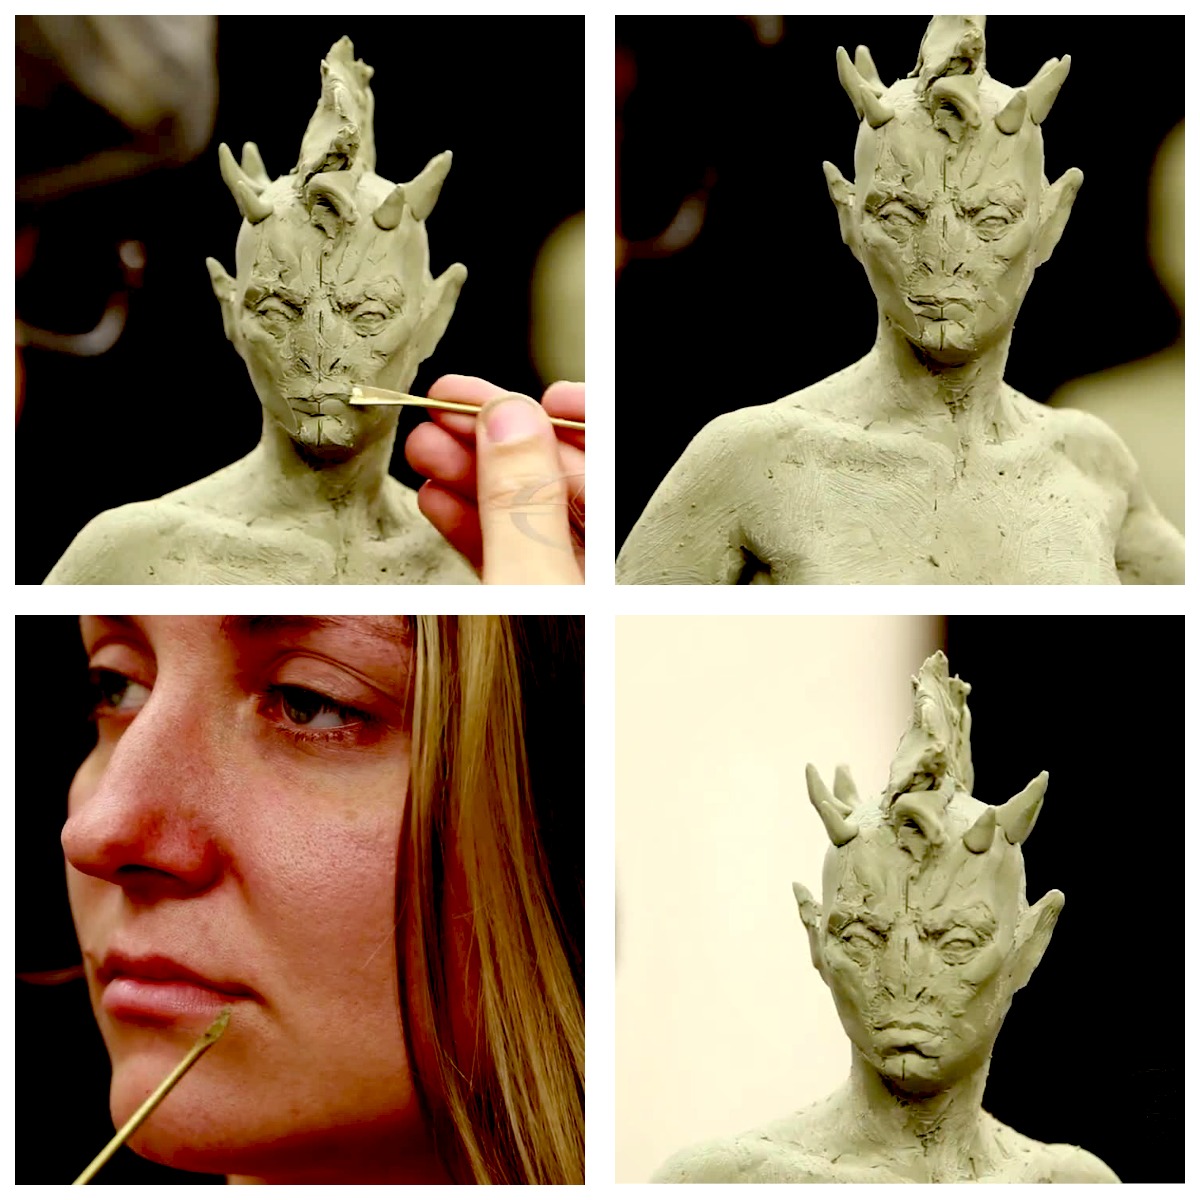 (Alfred Paredes choose to incorporate the bow-shaped lips of his model Aubriana Zurligen into his sculpture.)
Build out the lower lip and its small tissues. This will create a little dent. The muscles that move the mouth meet at the corners where that small mass occurs. Even if it's not strictly a human character, your creature still presumably has bone, muscle and flesh. As you sculpt, observing anatomy and incorporating that sense of understanding helps sell the character as real.
Adding Little Details
Use your silicone-tipped clay shapers to press and push the clay harder. Since the shapers have tips that give, using them to refine shapes is almost like using a paintbrush. The pointed tip of the clay shaper is also great for pushing into the corners of the eyes to create tear ducts.
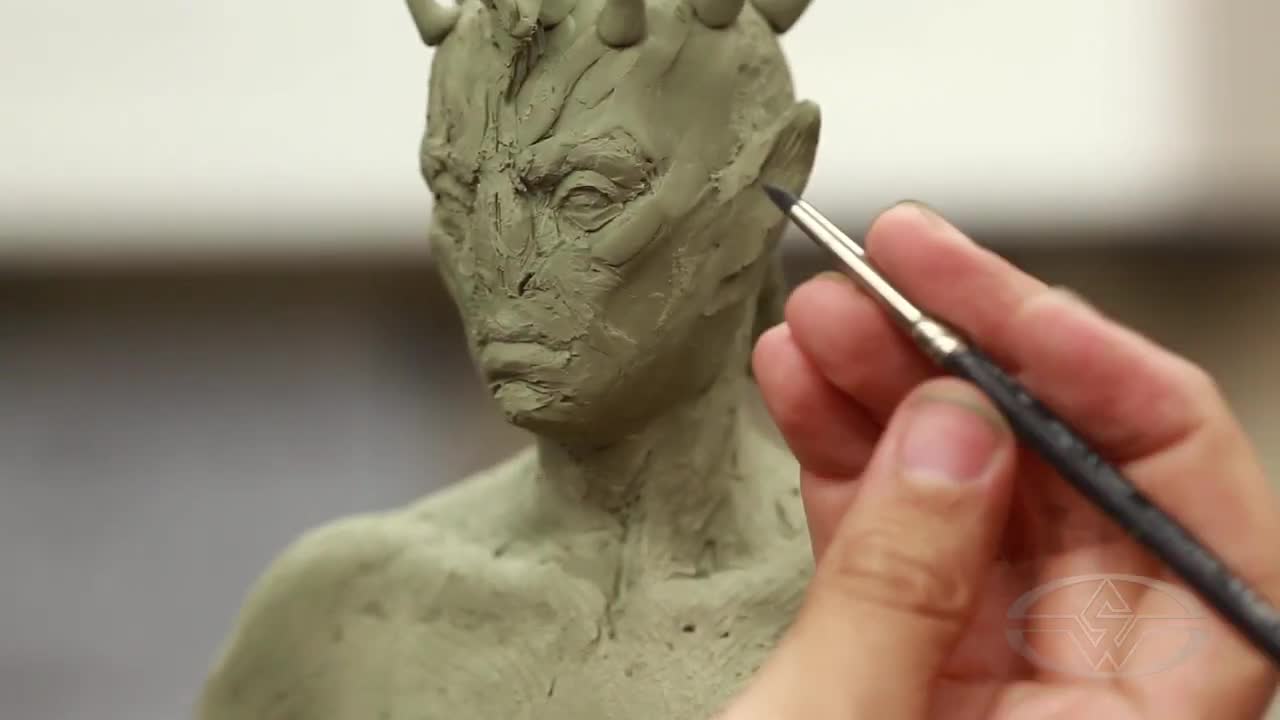 (Alfred Paredes uses his silicone-tipped tool to start refining.)
For the areas around the eyes, ears, and mouth, use a small rake. Alfred uses his handmade guitar string rake.
The small rake tool allows you to push and rake at the surface without cutting into the clay.
 (Alfred Paredes uses his handmade guitar string rake to smooth around the eyes and other areas without cutting into the clay.)
A slightly open mouth and accentuation of the nodes at the sides of the mouth have the effect of making it look as though the character is about to breathe or talk.
This is the sort of little trick that goes a long way, taking your sculpture from something neutral to something evocative.
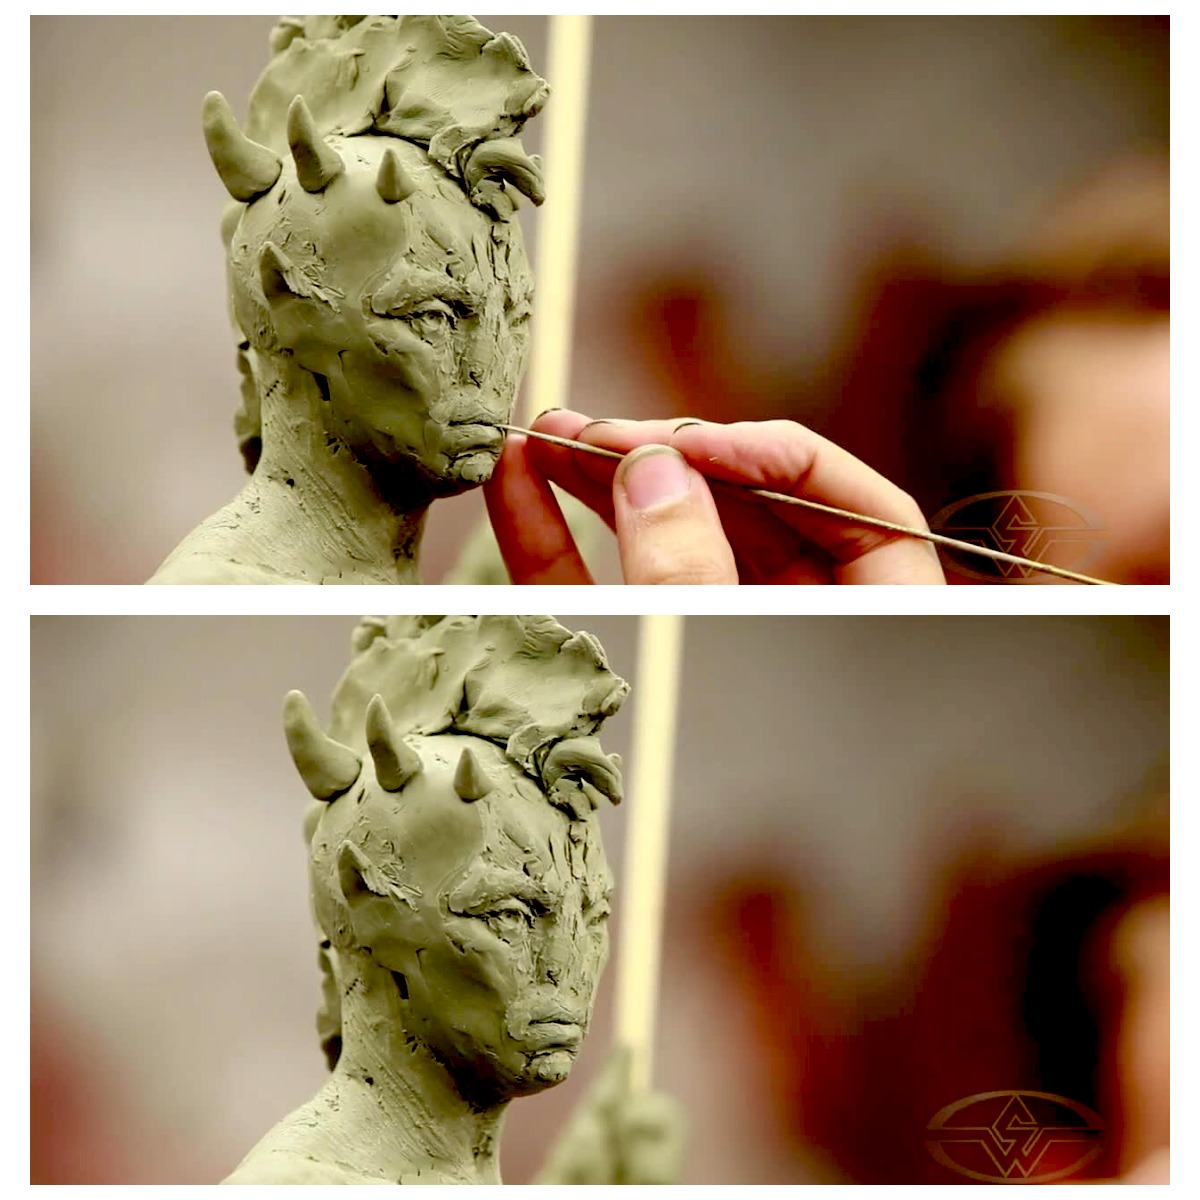 (Alfred Paredes opens the character's mouth ever so slightly to give it the appearance of being about to speak or breathe.)
“Design comes from observation." says Alfred, "As much as we’d like to think we’re being original when we create things, nothing is more original than nature. It’s created the most awesome things that we could never come up with in a million years."
By observing nature, studying how anatomy functions and why forms in nature are the way they are, you can apply those life lessons to your imaginative creatures and characters and make them that much more interesting!
Happy sculpting!
WATCH ALFRED PAREDES’ “FIGURE SCULPTURE FOR CHARACTERS - SCULPTING WITH A LIVE MODEL” COURSE:
Figure Sculpture For Characters - Sculpting With A Live Model