

In this FREE excerpt from the Stan Winston School of Character Arts course, How to Sculpt a Dinosaur Part 2 - Secondary Forms & Finishing Techniques, master paleo-sculptor Christopher Darga shares all the must-know details about his favorite tools for adding scales, wrinkles, and lifelike texture to your dinosaur sculptures. You'll learn how loop tools, wax carving tools, stipple sponges, and texture stamps can all be used to transform clay into realistic dinosaur skin!
Jump To Section
- Basic Loop Tools and Their Different Sizes and Shapes
- Stainless Steel Wax Carving Tools
- Creating Small Scales with a Texture Stamp
- Softening Detail with a Stipple Sponge or Chip Brush
- Cooling Clay with Duster Spray
To watch the complete instructional video, click the player above!
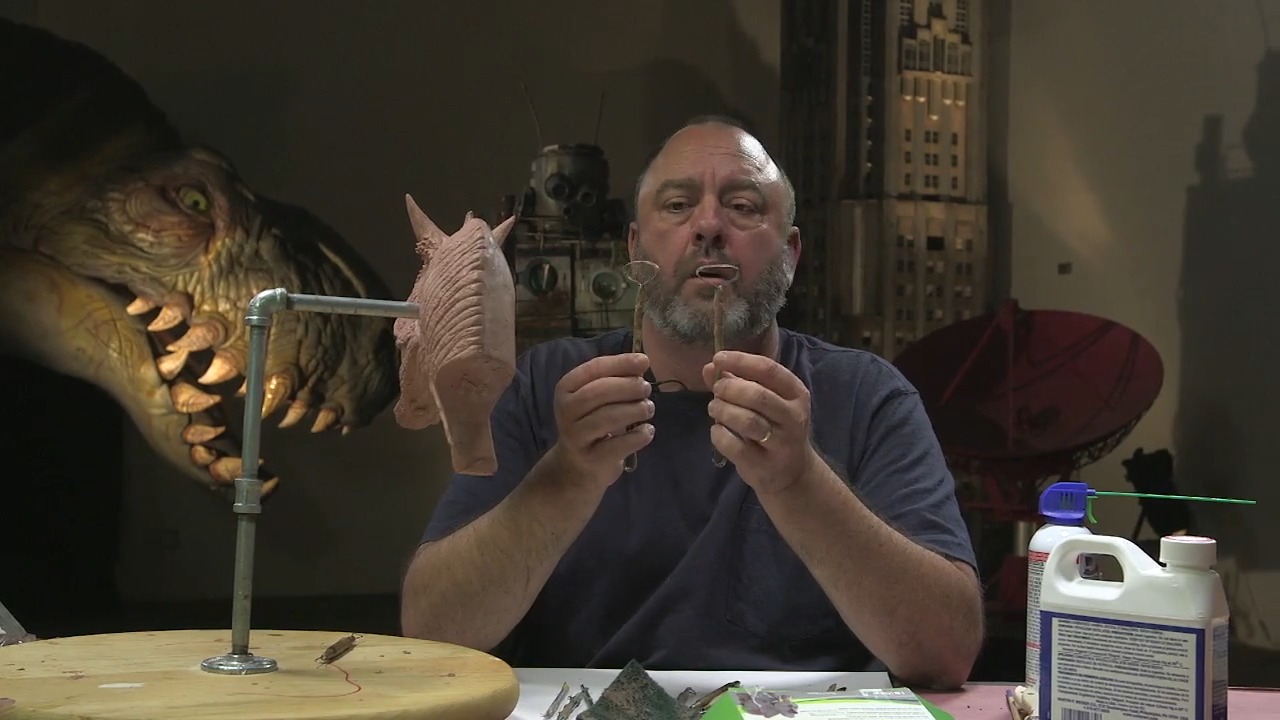
In this lesson, Darga discusses the basic tools he uses when sculpting and explains their differences and how to use them when sculpting your dinosaur bust. He also gives dino-mite tips on how to repair your tools, save time when sculpting, and clean up your work.
Basic Loop Tools and Their Different Sizes and Shapes
No tool is the same, and each tool serves its own purpose when sculpting. Large loop tools, for example, can cut in and remove a lot of material at a time.
When you’re detailing, using smaller tools helps you easily add realistic patterns or textures with precision and meticulously refine your sculpture.
First, Darga dives into loop tools—both with rounded and squared edges. Pro-tip: Use Dremel cut-off wheels to carve tiny notches into the working end of the tool. This transforms it into a multi-tasking tool that both rakes and smooths clay.
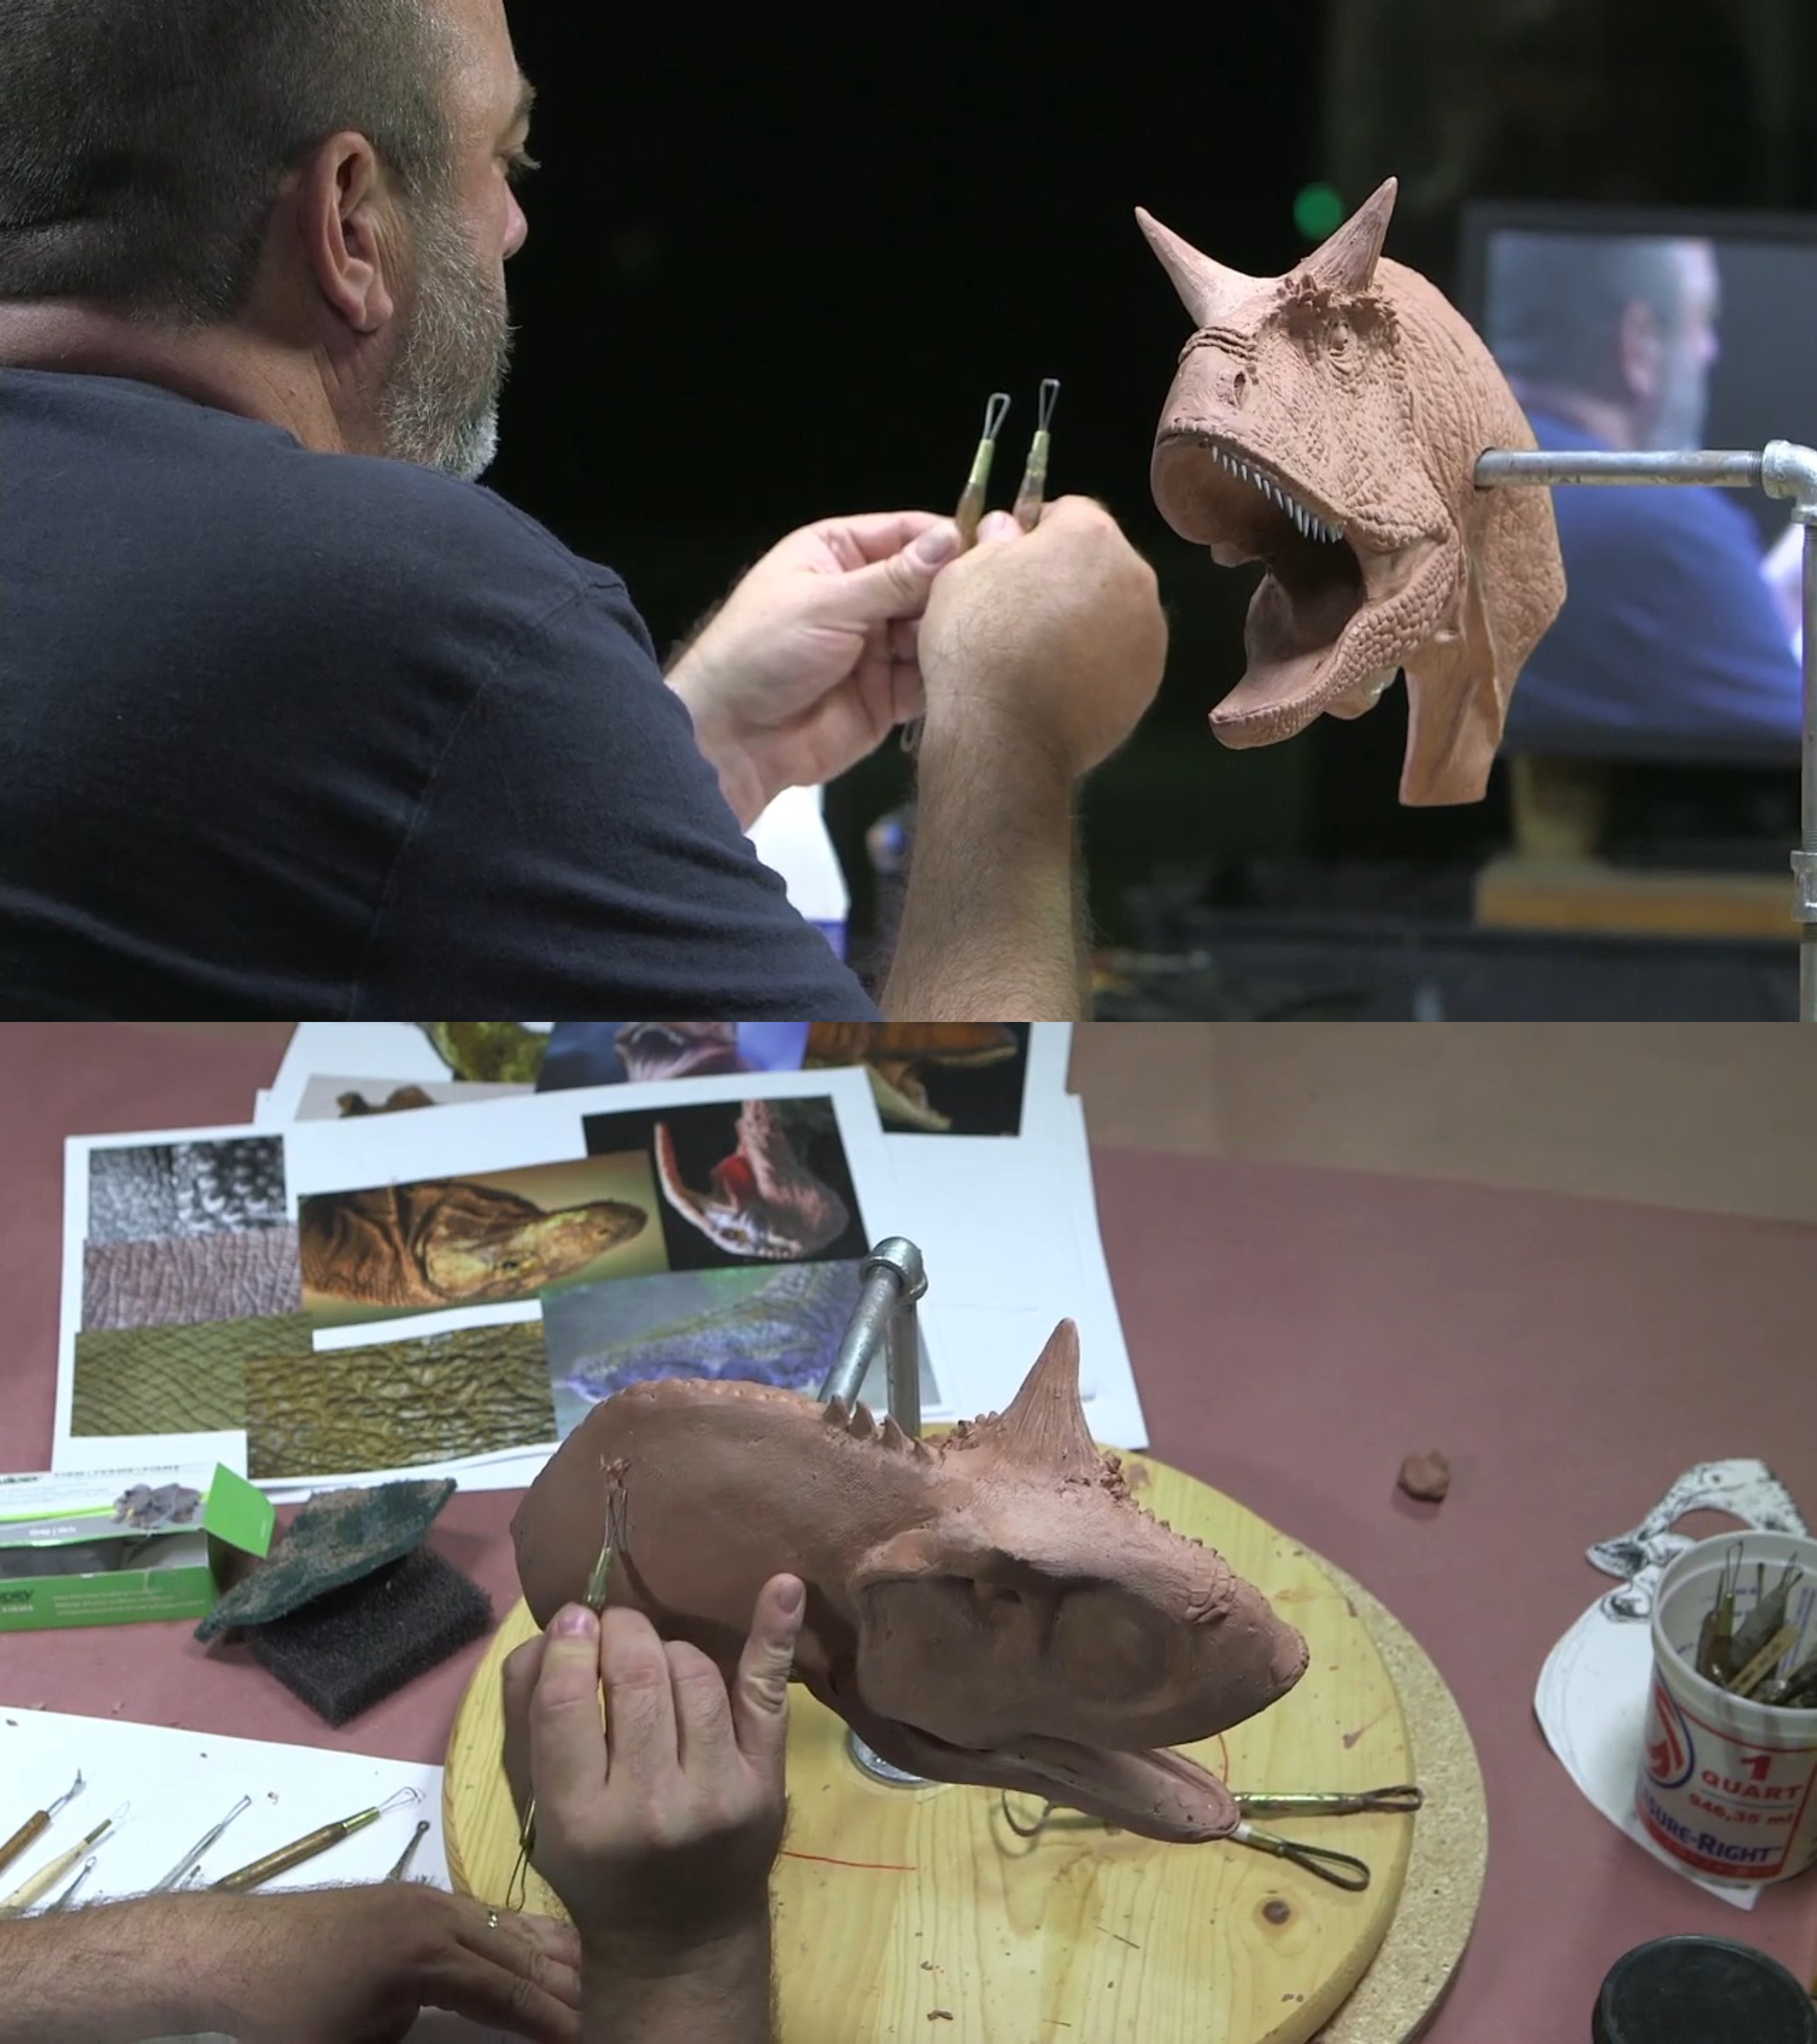 (Christopher Darga holds up two loop tools and demonstrates how they can rake clay.)
Three smaller loop tools Darga uses the most include the Kemper W21, W25, and W26. “You’ll go through a lot of these because it is very thin wire, and on hard clay, they have a tendency to break,” he says.
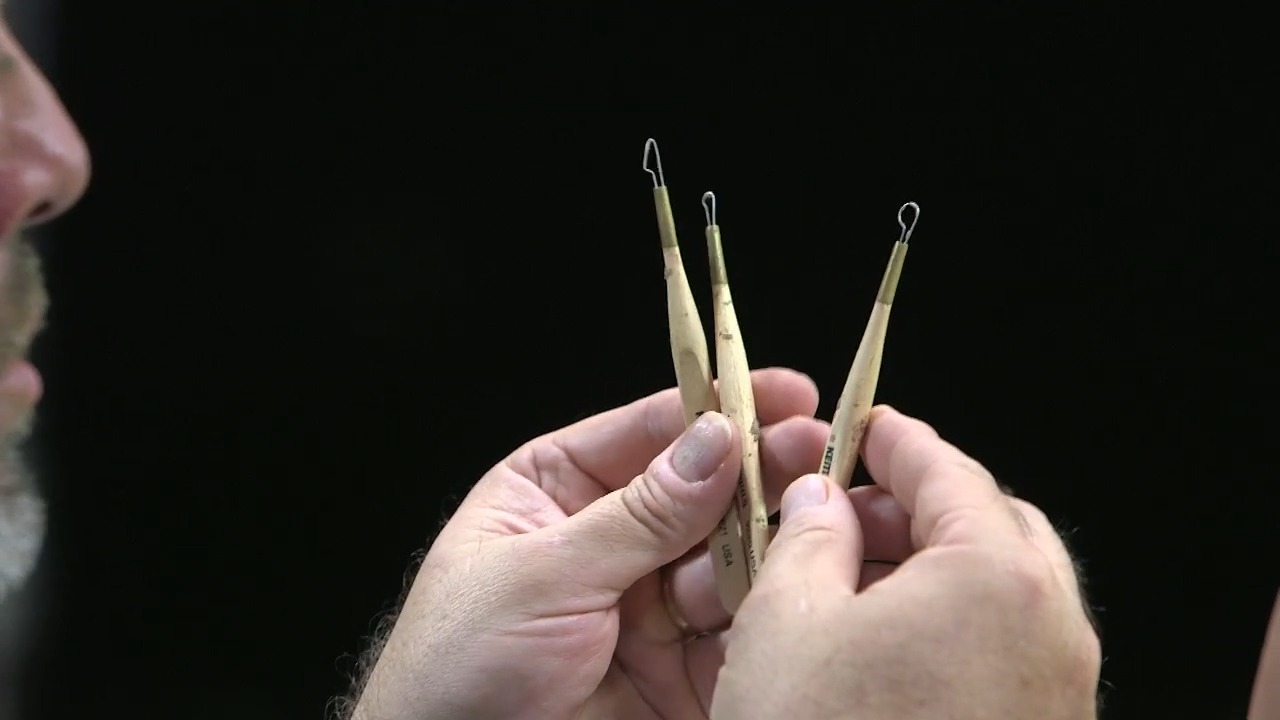 (Christopher Darga's favorite little loop tools: the Kemper W21, W25, and W26.)
If your tool does break, you can add some epoxy clay around the shank up to the working end to extend its use until you’re able to acquire a new tool. It’s important to note that once you add the epoxy, the tool isn’t nearly as flexible as it was previously.
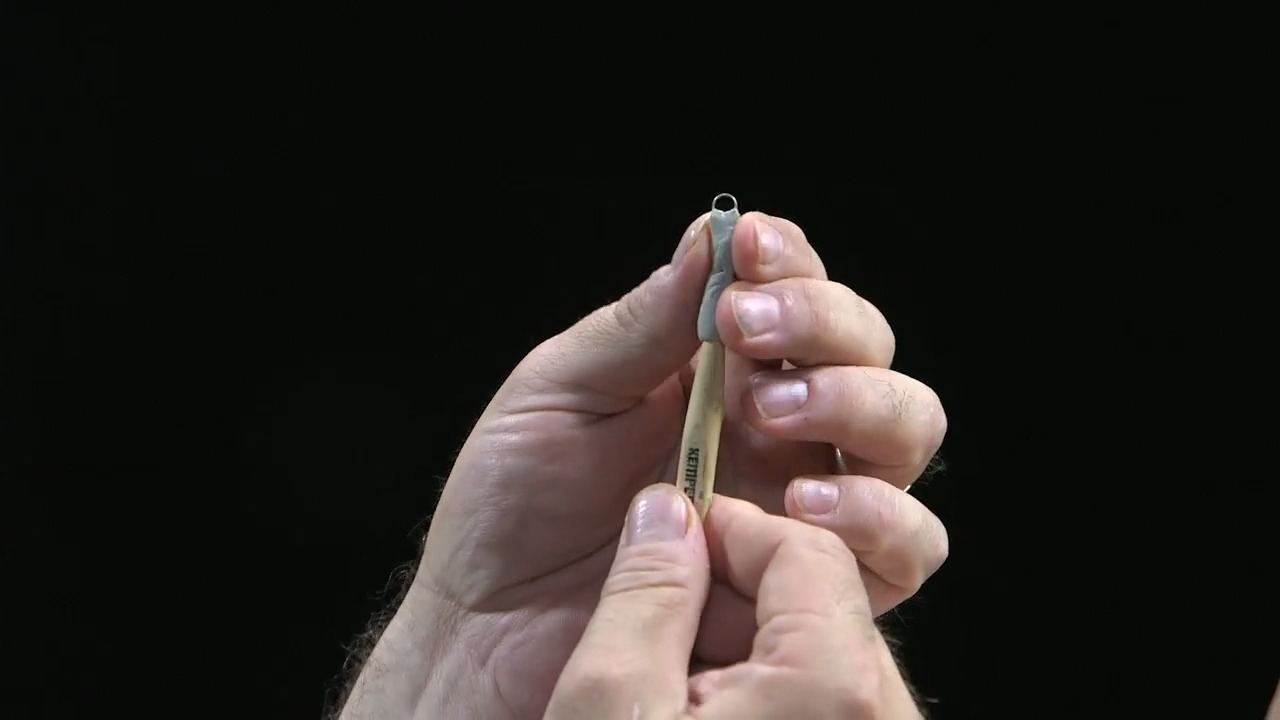 (Christopher Darga displays a broken tool temporarily fixed with epoxy clay.)
Another loop tool to add to your artistic arsenal is the Kemper wire loop sgraffito tool. This tool is more pointed with a heavier wire—making it perfect for digging in wrinkles when sculpting. You can find a variety of sculpting tools online at Kemper Tools, Sculpture House, and Burman Industries.
 (Christopher Darga shows how the Kemper wire loop sgraffito tool can be helpful in carving wrinkles to your dino sculpture.)
Next, we meet a tool you can find at the drugstore—the blackhead extractor. (Yes, really!) While intended for anyone trying to remove a pesky comedone, this tool has a firm wire that can also be used for cutting in clay.
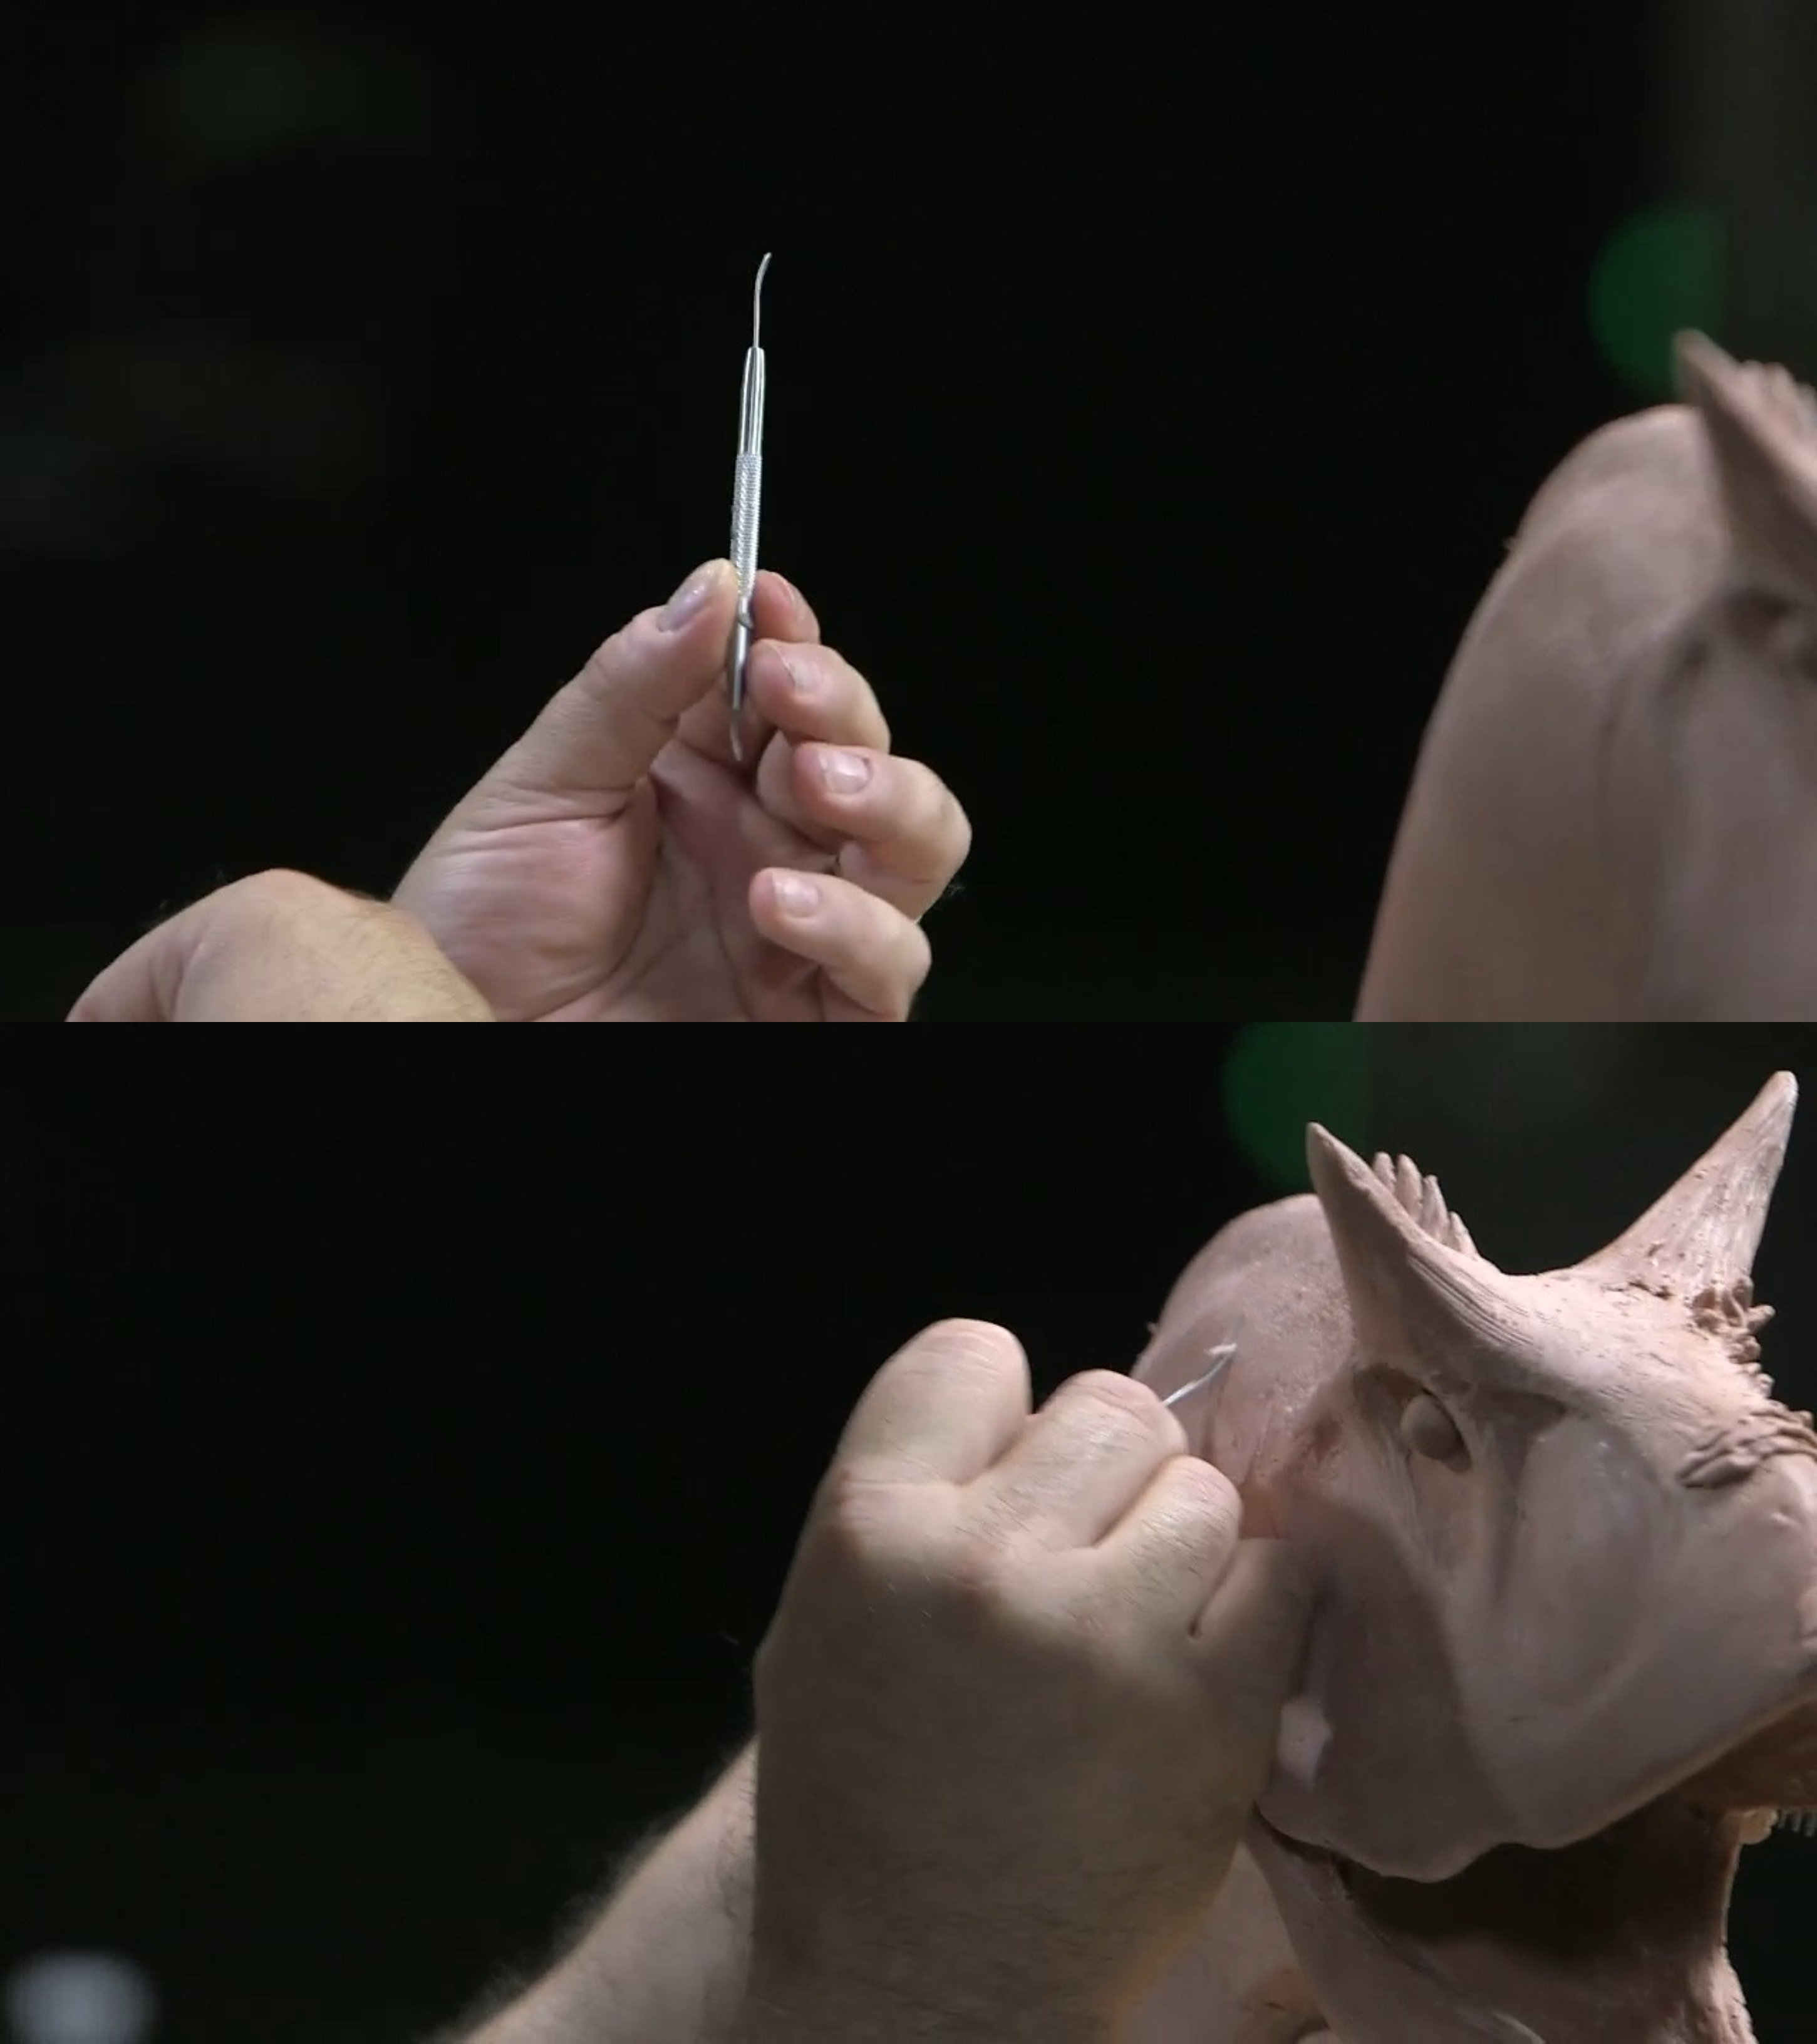 (A blackhead extractor is another one of Chistopher Darga's go-to tools. Its firm wire makes it great for cutting into clay.)
Stainless Steel Wax Carving Tools
Assorted wax tools are heavy-duty, stainless-steel tools with sharpened edges around the loop. These are also excellent for cutting into clay. Darga uses the sharp-edged wax tool to carve deeper wrinkles on the side of the head and neck of his dinosaur sculpt.
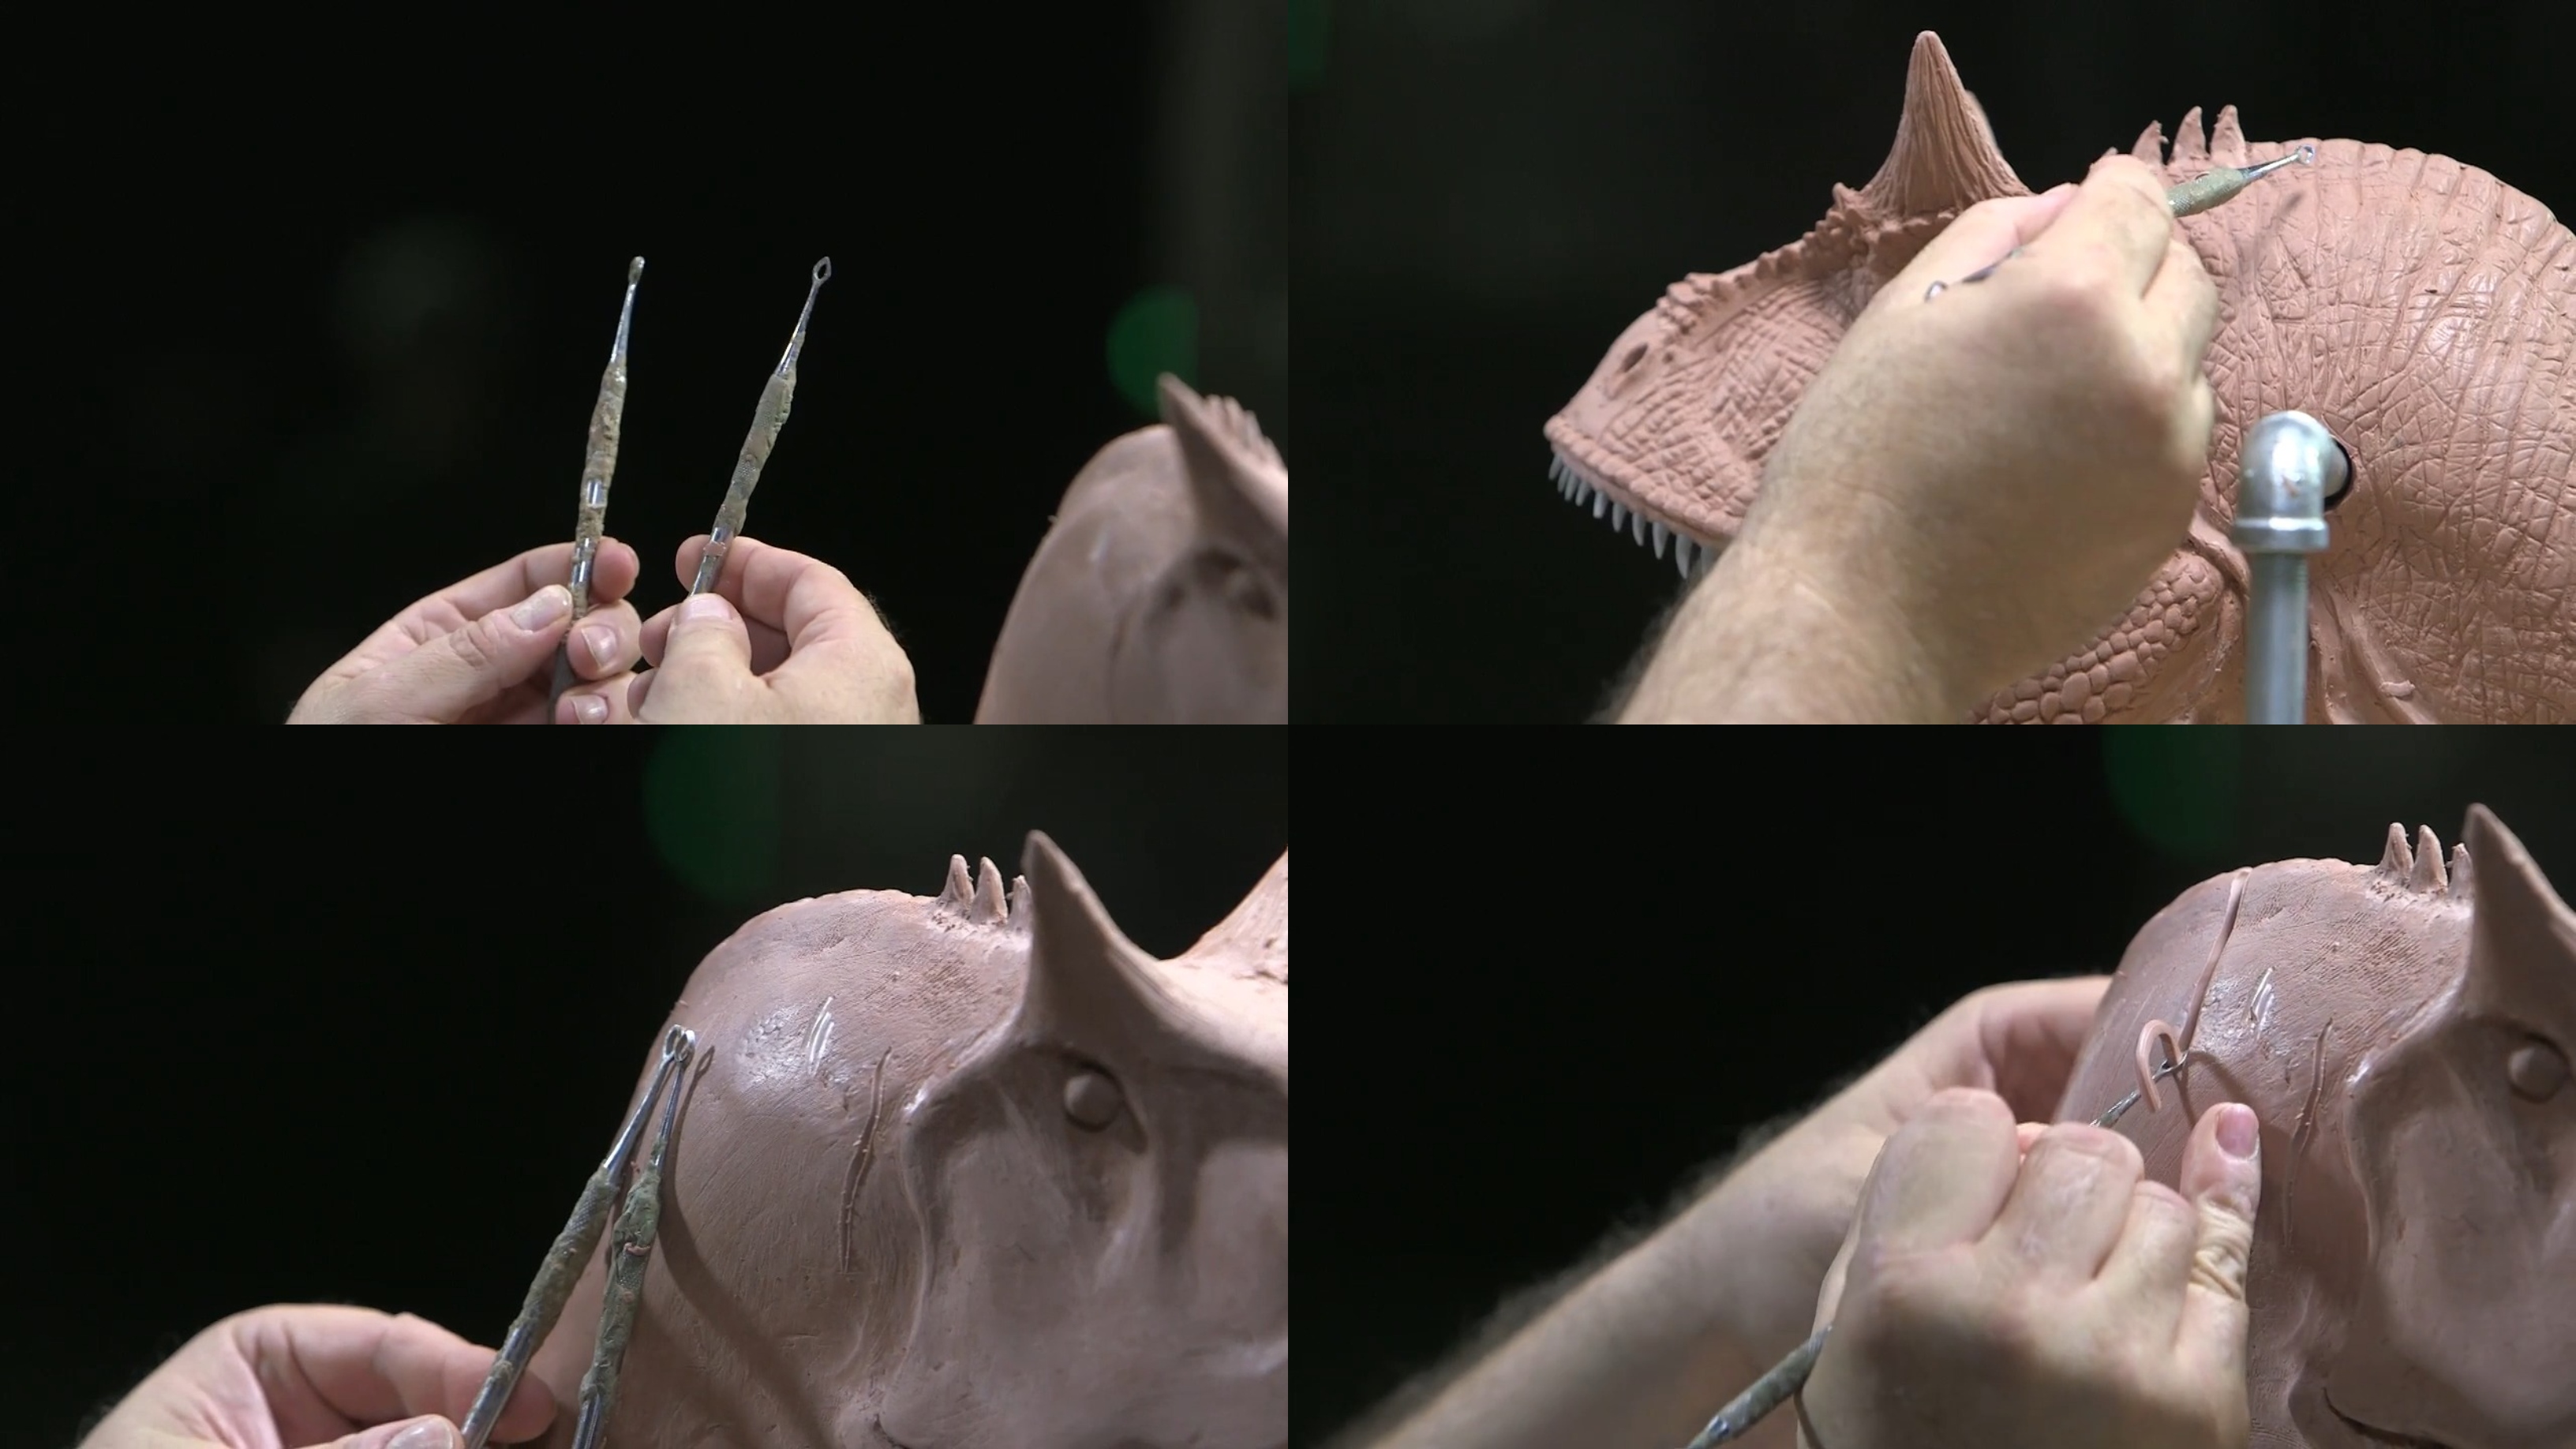 (Christopher Darga demonstrates how wax carving tools work to easily create deep wrinkles in his dino bust.)
There are a variety of shaped wax tools, including rounded, pointed, square, and rectangular. Out of all the tools Darga has, he uses the pointed- and rounded-shaped tools the most since they remove a lot of material in one swipe and are great for detailing as well.
The smallest tool he uses, a Kemper wire stylus, comes to a point and has a small, triangular-shaped wire. This tool is his personal go-to and is what he uses for nearly all his detail work, as it makes it easy to carve scales and wrinkle patterns.
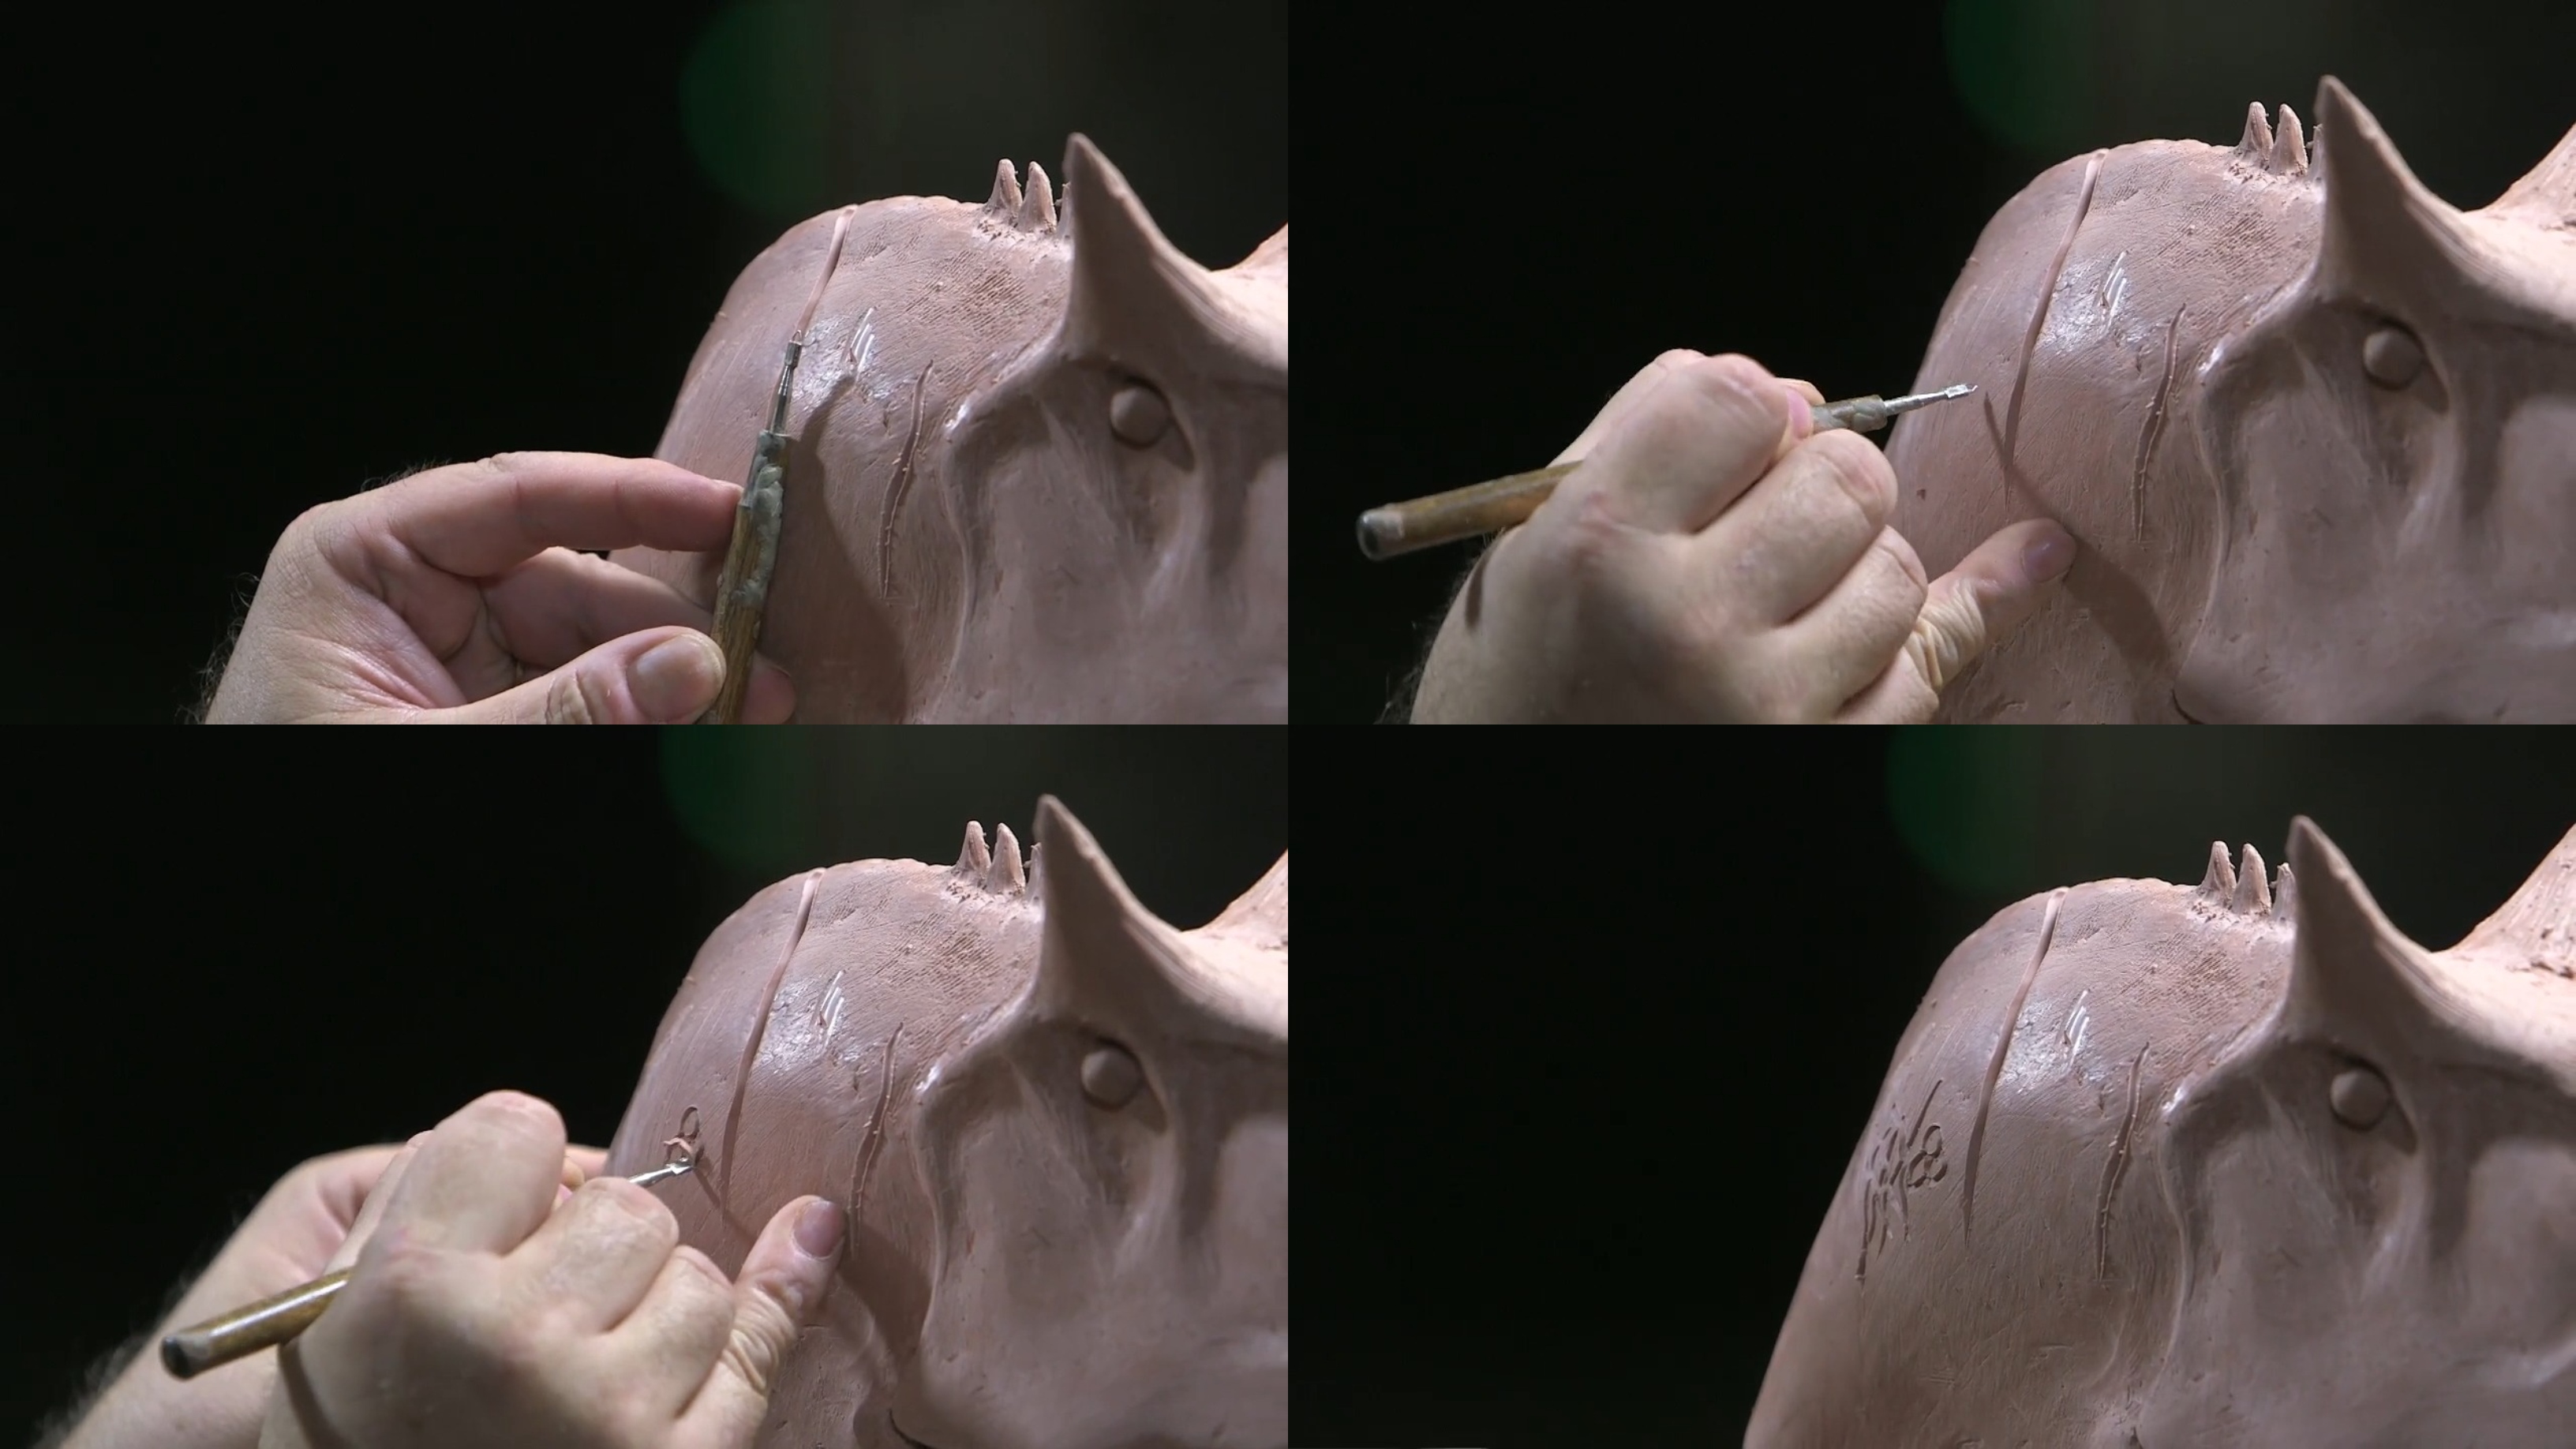 (Christopher Darga using the Kemper wire stylus, a delicate carving tool for detailing small areas and create thin, precise lines.)
Rather than using a pointed tool that pushes your material around, this loop tool takes it out. This reduces the time it’ll take to clean up around the edges. If, however, you’re unable to find the little loop tool, any other pointed tool will work “almost as good,” Darga says.
Creating Small Scales with a Texture Stamp
Another tool Darga frequently uses is a texture stamp. He makes these by rolling out Super Sculpey into a cylindrical shape, cutting it, baking and cooling it, then using a dremel tool with a round tip to carve in scale patterns.
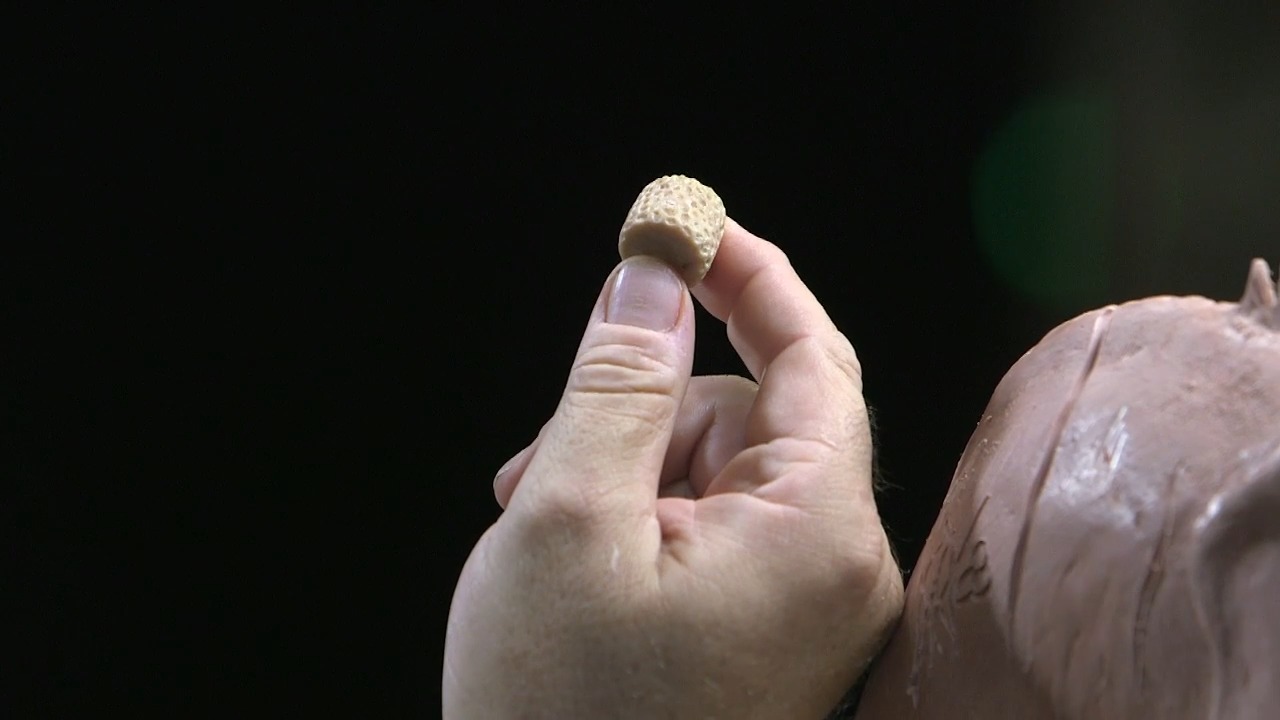 (A texture stamp Christopher Darga made using Super Sculpey, a dremel tool, and lots of patience.)
Simply take your stamp, press it into the clay, and voilà—you have a small-scale pattern!
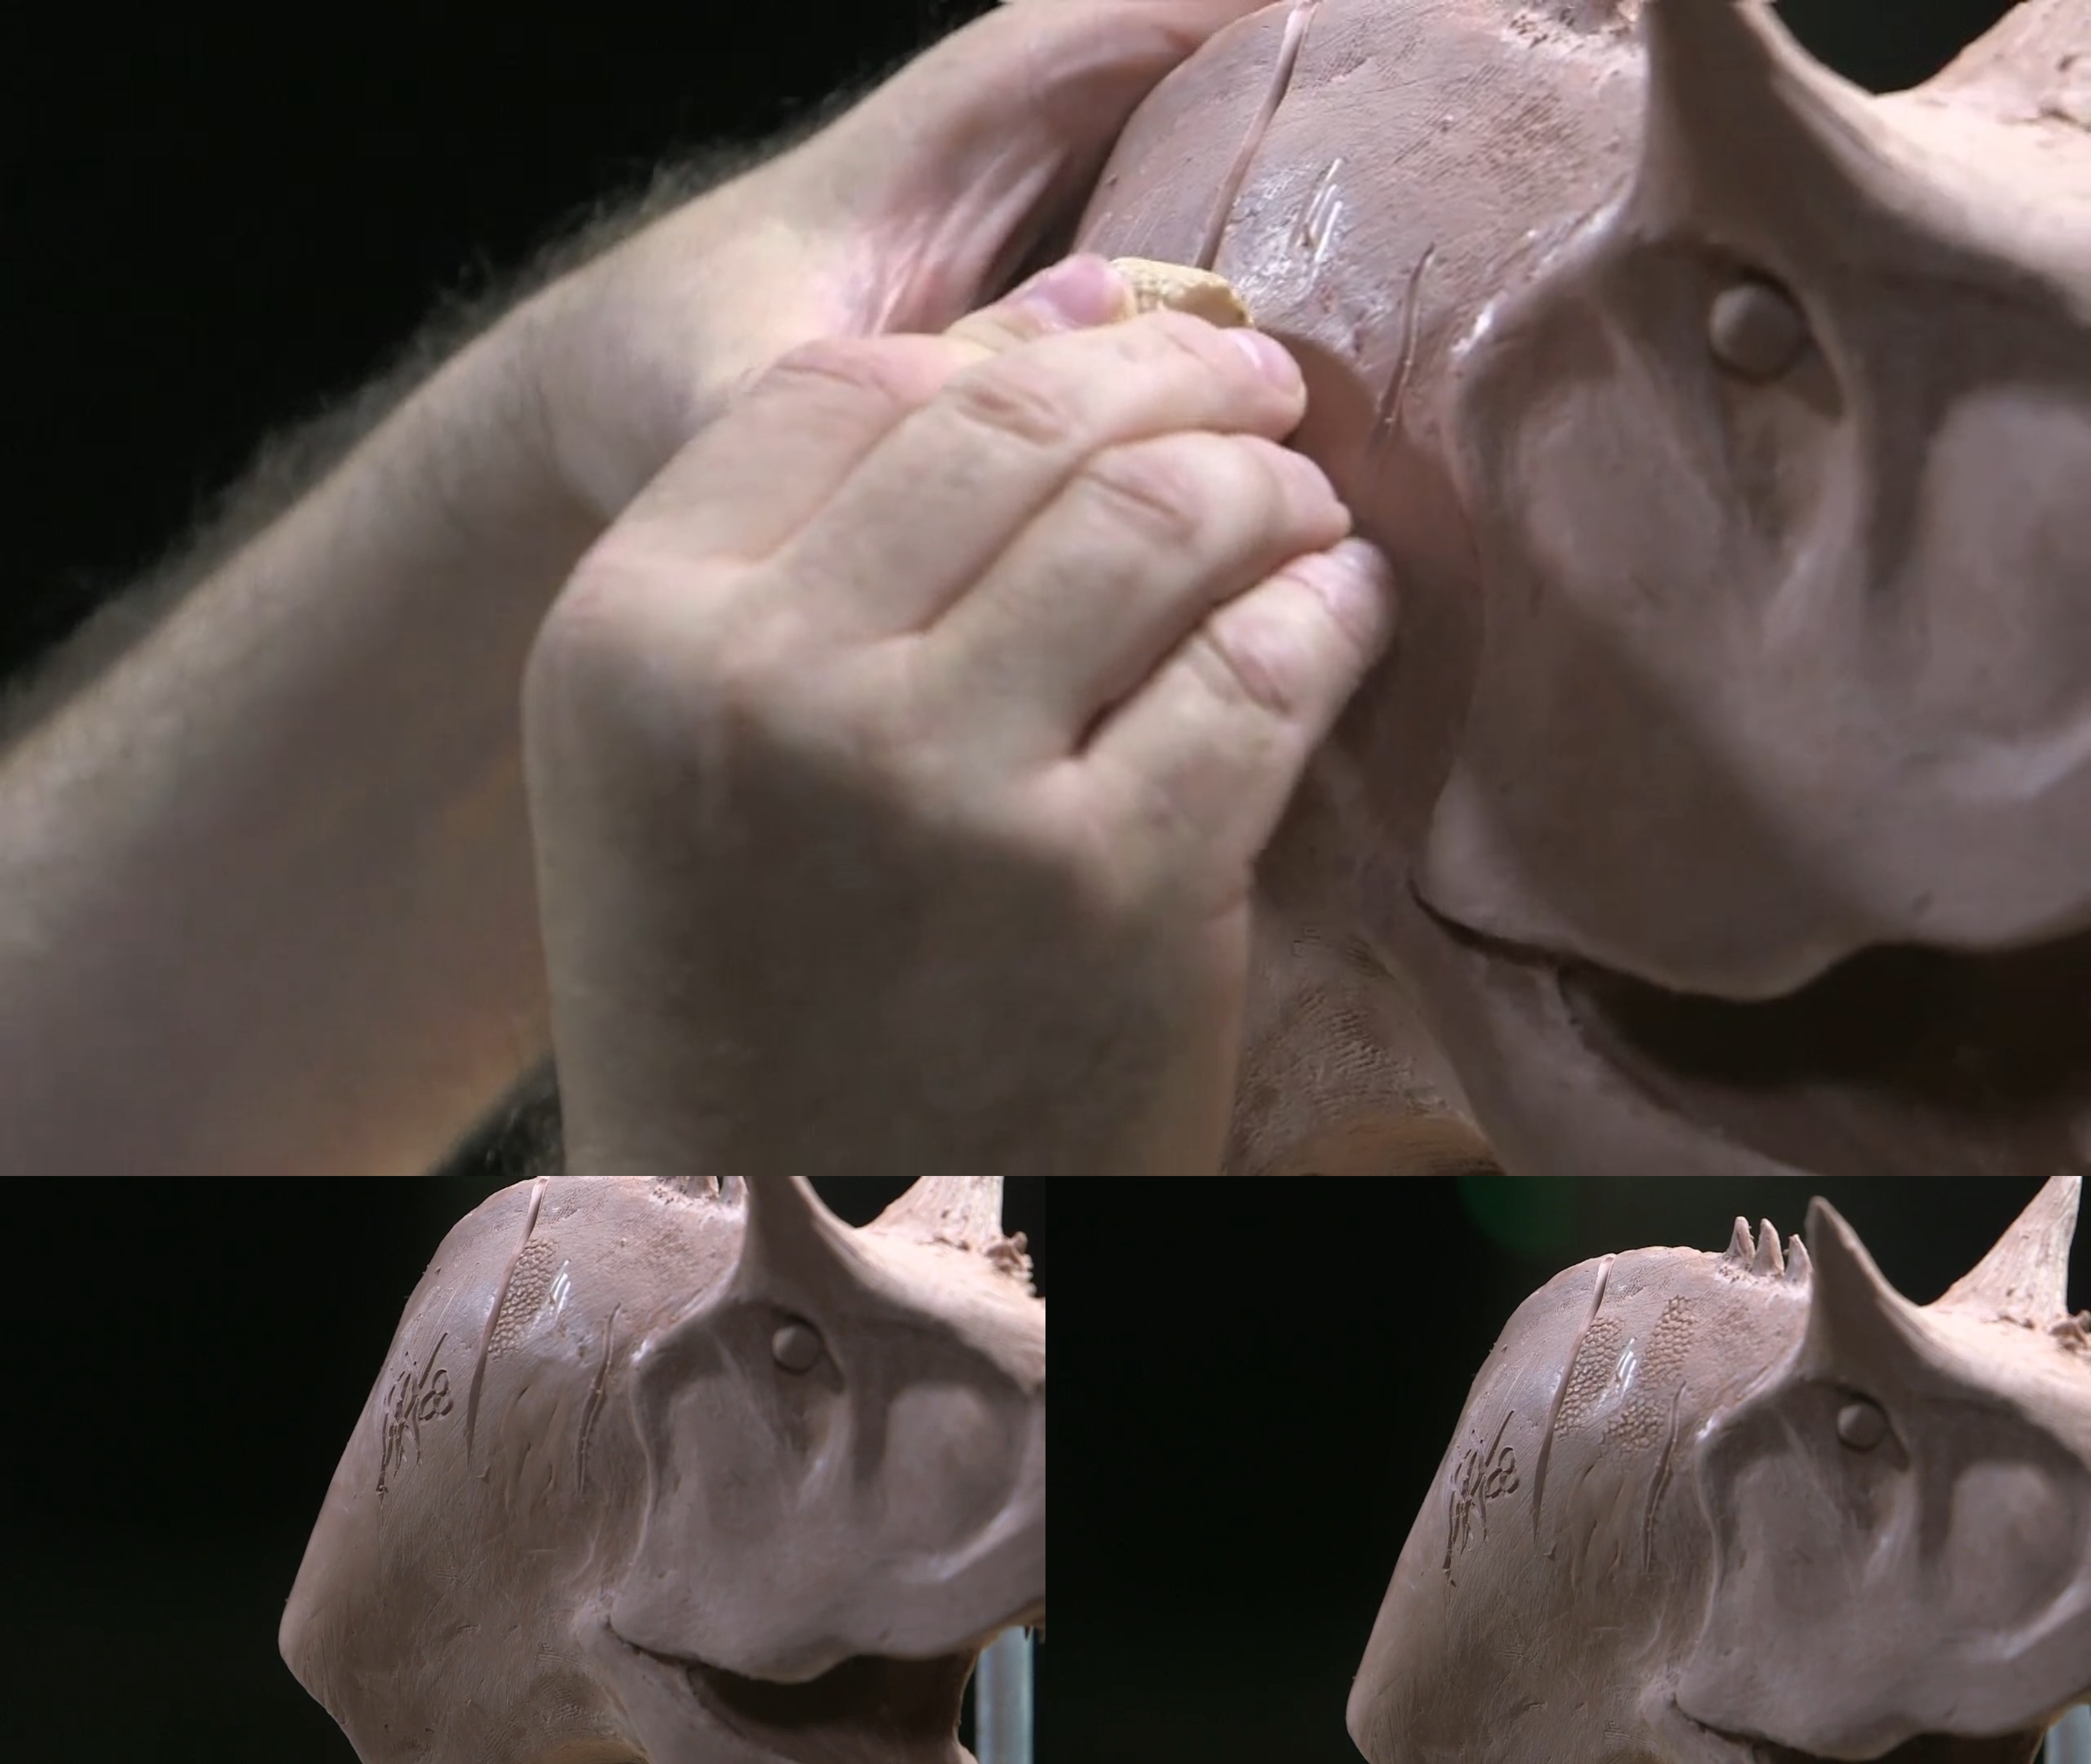 (Christopher Darga demonstrates how he uses the texture stamp and the imprint it leaves on his dinosaur sculpture.)
These can be useful if you need to work on creating a scale pattern across the entire body of your dinosaur sculpture. One caveat to be mindful of is that it can look manufactured.
Because clay can get quite sticky, Darga recommends using a small piece of Saran plastic wrap to place on top of it to stamp the clay with ease. Although making the tool can be time-consuming, it ultimately saves time when put to use.
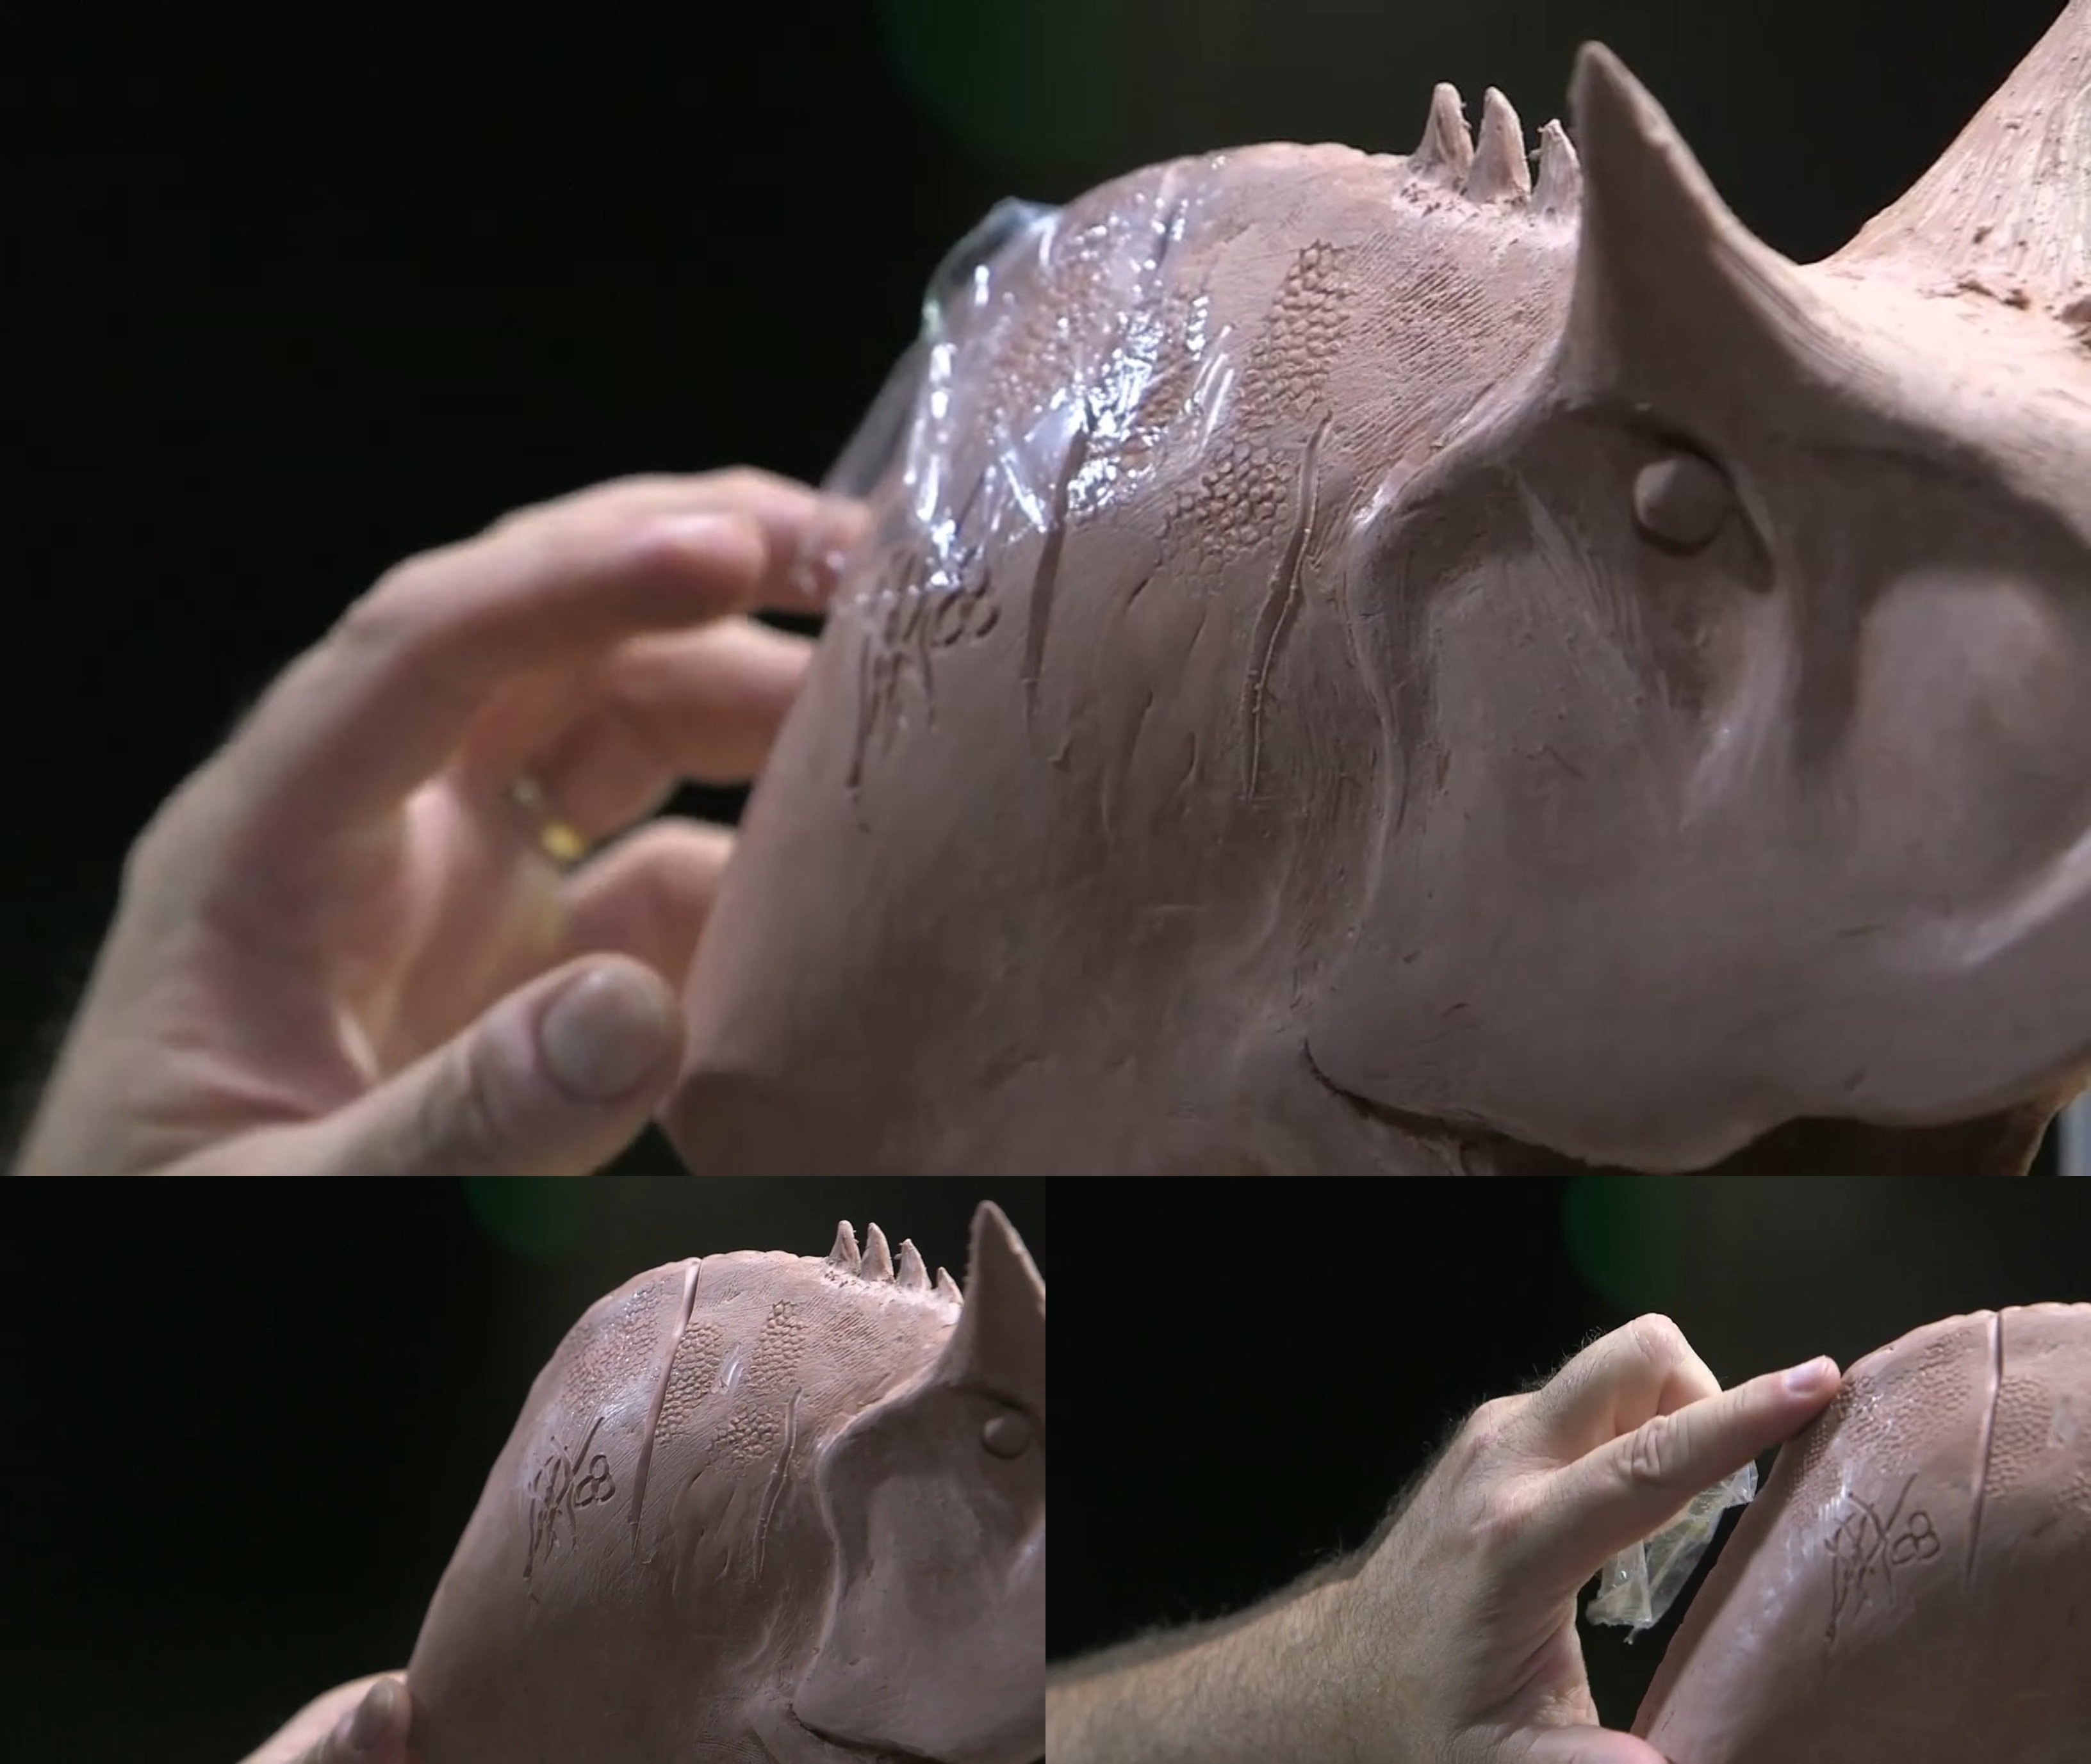 (Christopher Darga uses plastic wrap to combat any stickiness the clay has so he can use the texture stamp to create small, realistic scales.)
“If you’re doing a lot of material and you don’t want to sit there and sculpt one scale at a time that small, I would recommend it,” Darga says. This handmade tool was helpful when he was making dinosaur model kits with Sculpey.
You can create true-to-life scale texture as long as you’re making small scales. It’s best to avoid using a texture stamp for large scales because you’ll end up creating layers of scales to try to fill in empty spaces, which results in an unrealistic appearance.
Softening Detail with a Stipple Sponge or Chip Brush
When it’s time to soften any details or clean up any residual clay crumbs that get on your sculpture, using the right tools can make a big impact. Darga’s personal favorites are a stipple sponge or chip brush.
Pro-tip: Cut the end of the brush to stiffen it.
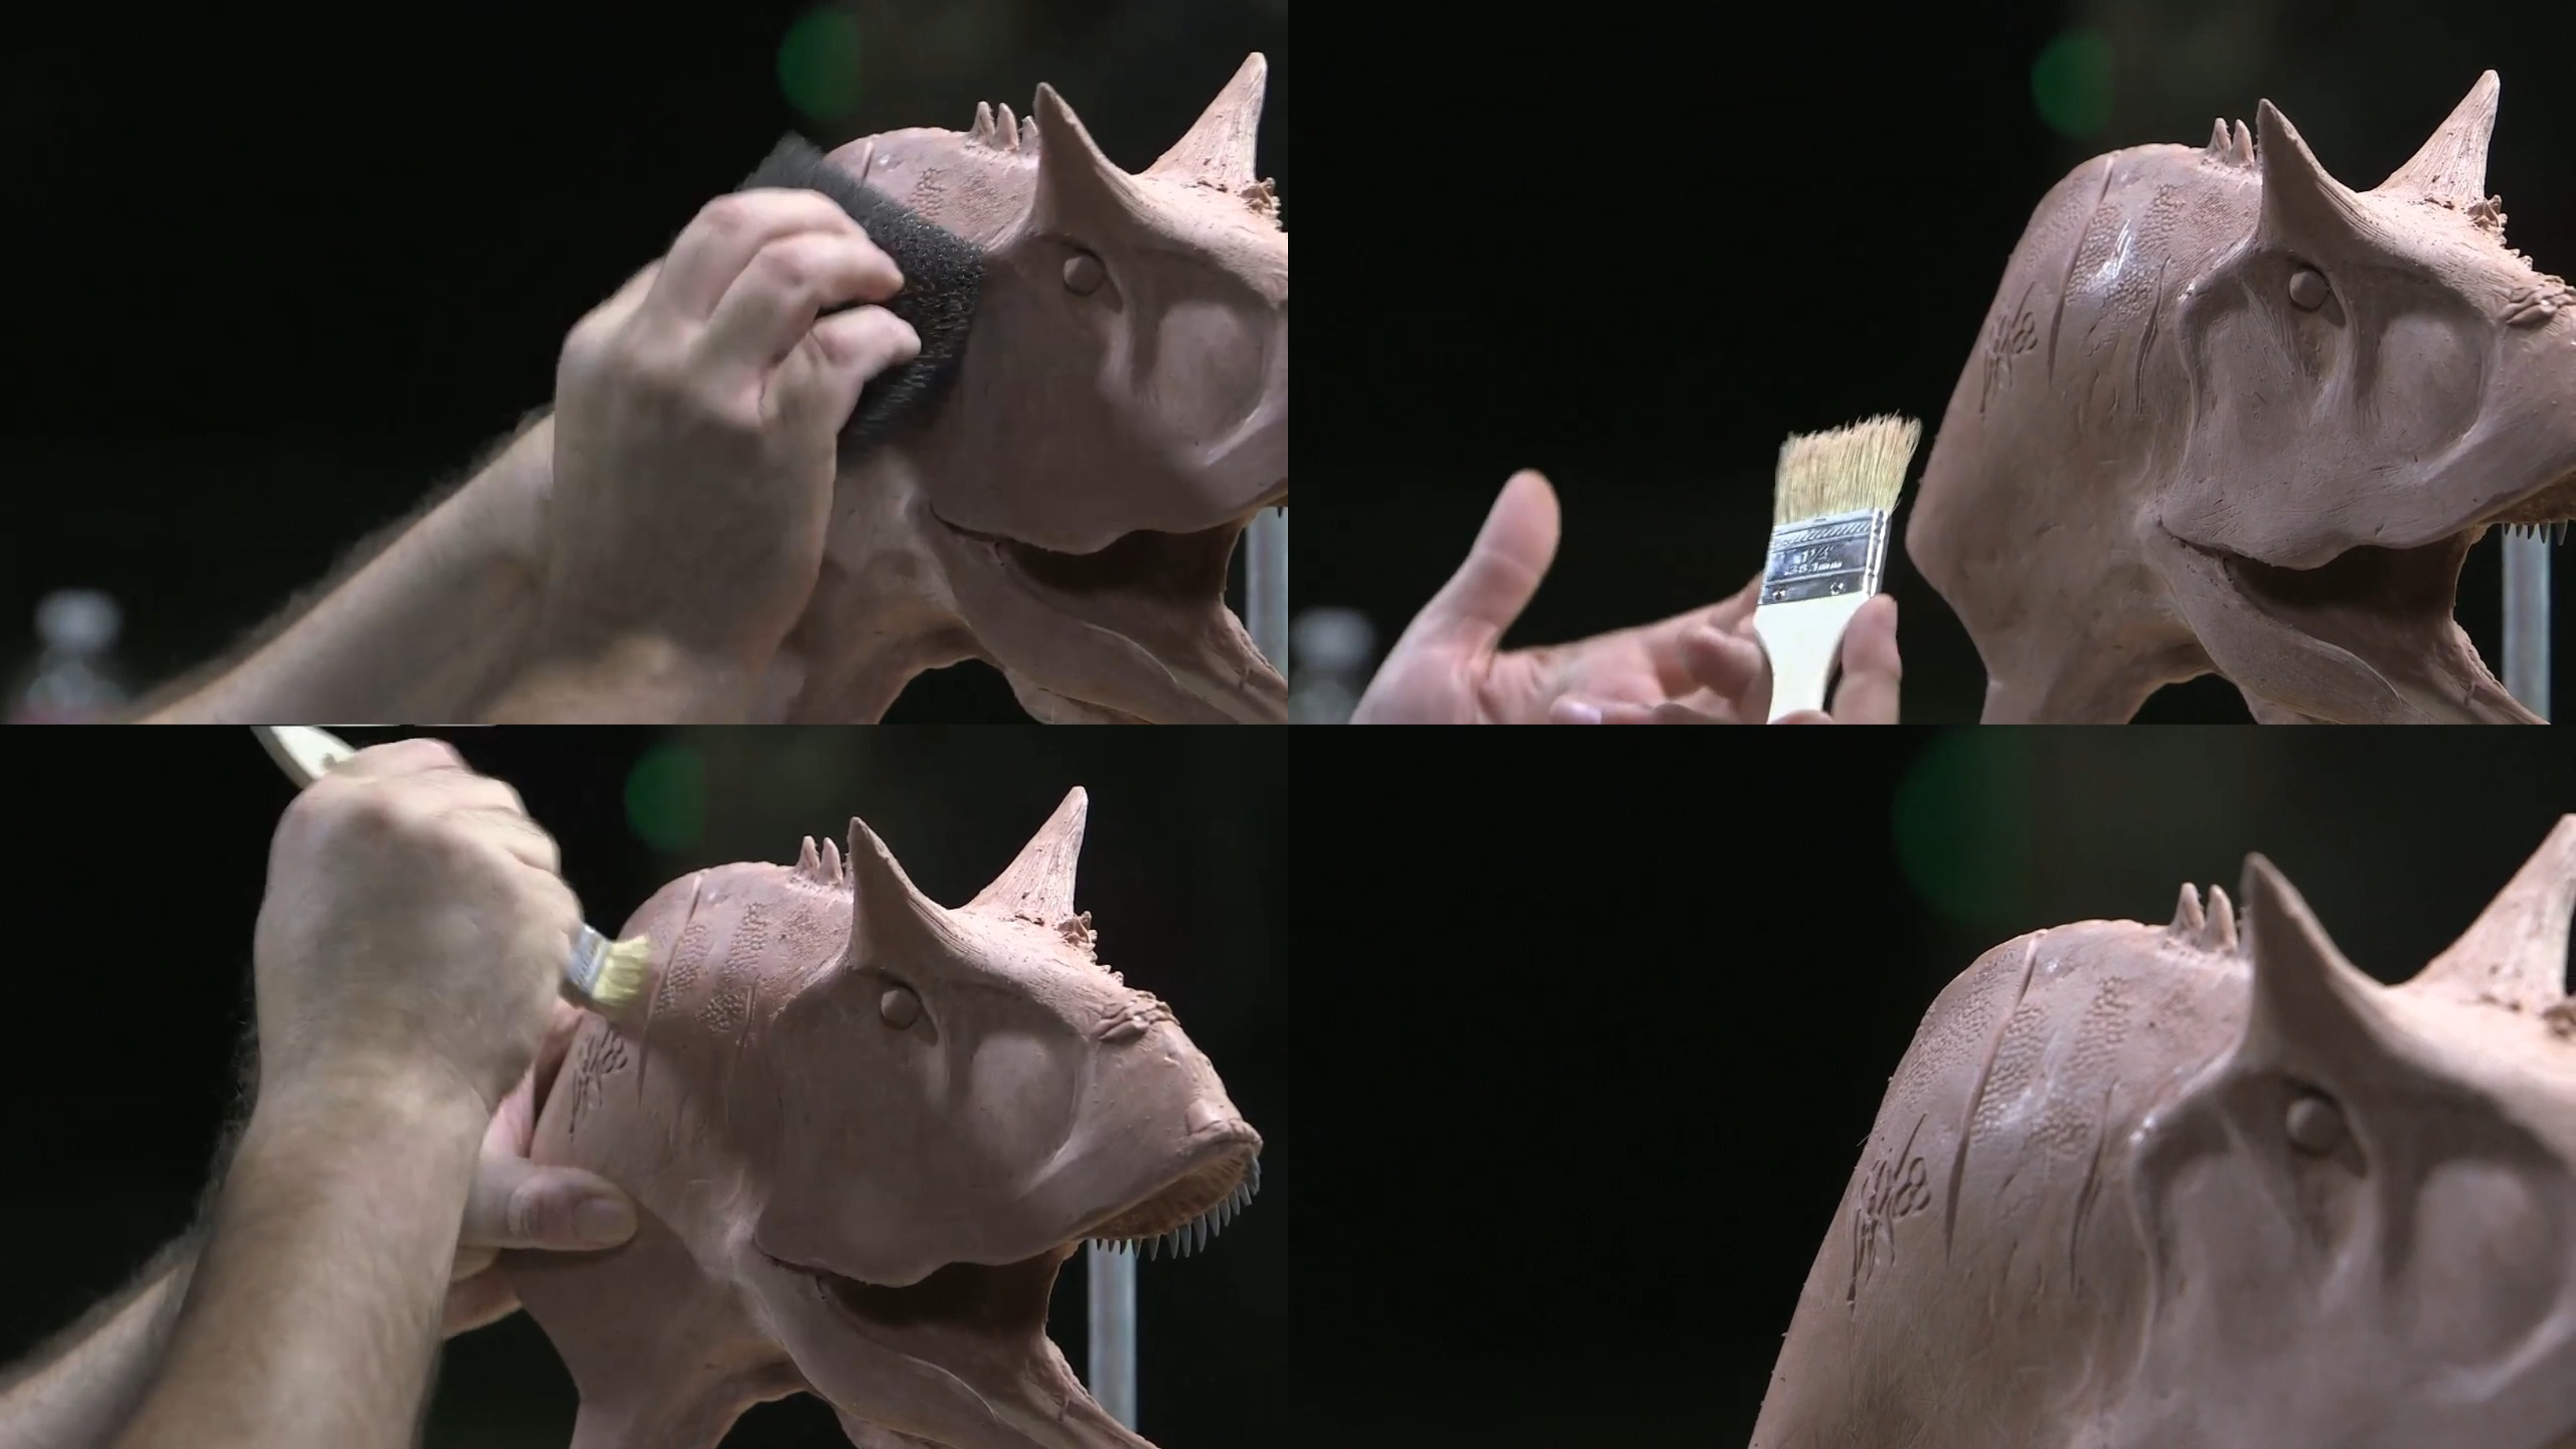 (Christopher Darga uses a stipple sponge and chip brush to soften details and clean his dino bust.)
You use the brush or sponge, along with a solvent. Darga generally avoids using alcohol because it dries out the clay. Instead, he prefers to use Weber Odorless Turpenoid solvent. Though he cautions that you need to be careful with how much you use, since it does aggressively dissolve polymer clay.
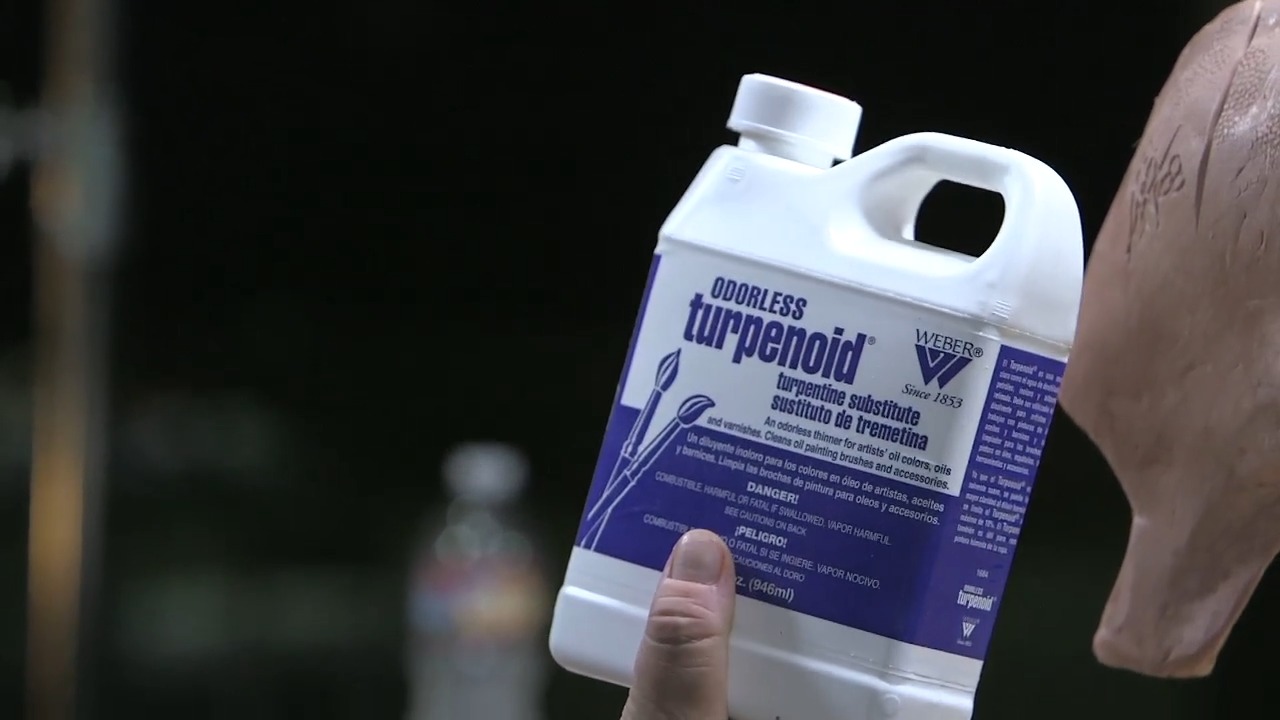 (Odorless Turpenoid is a solvent that isn't as drying as alcohol.)
Cooling Clay with Duster Spray
As you’re working on your sculpture, you might notice that the clay is getting too soft when you’re preparing to carve in more scales. In this instance, Darga finds using duster spray is a fast, efficient way to cool the clay.
Turn the spray canister upside down prior to giving your sculpture a quick blast. Be very careful when using this and avoid spraying anywhere but your sculpture since it can cause serious freezer burn due to being as low as -60ºF/-51°C.
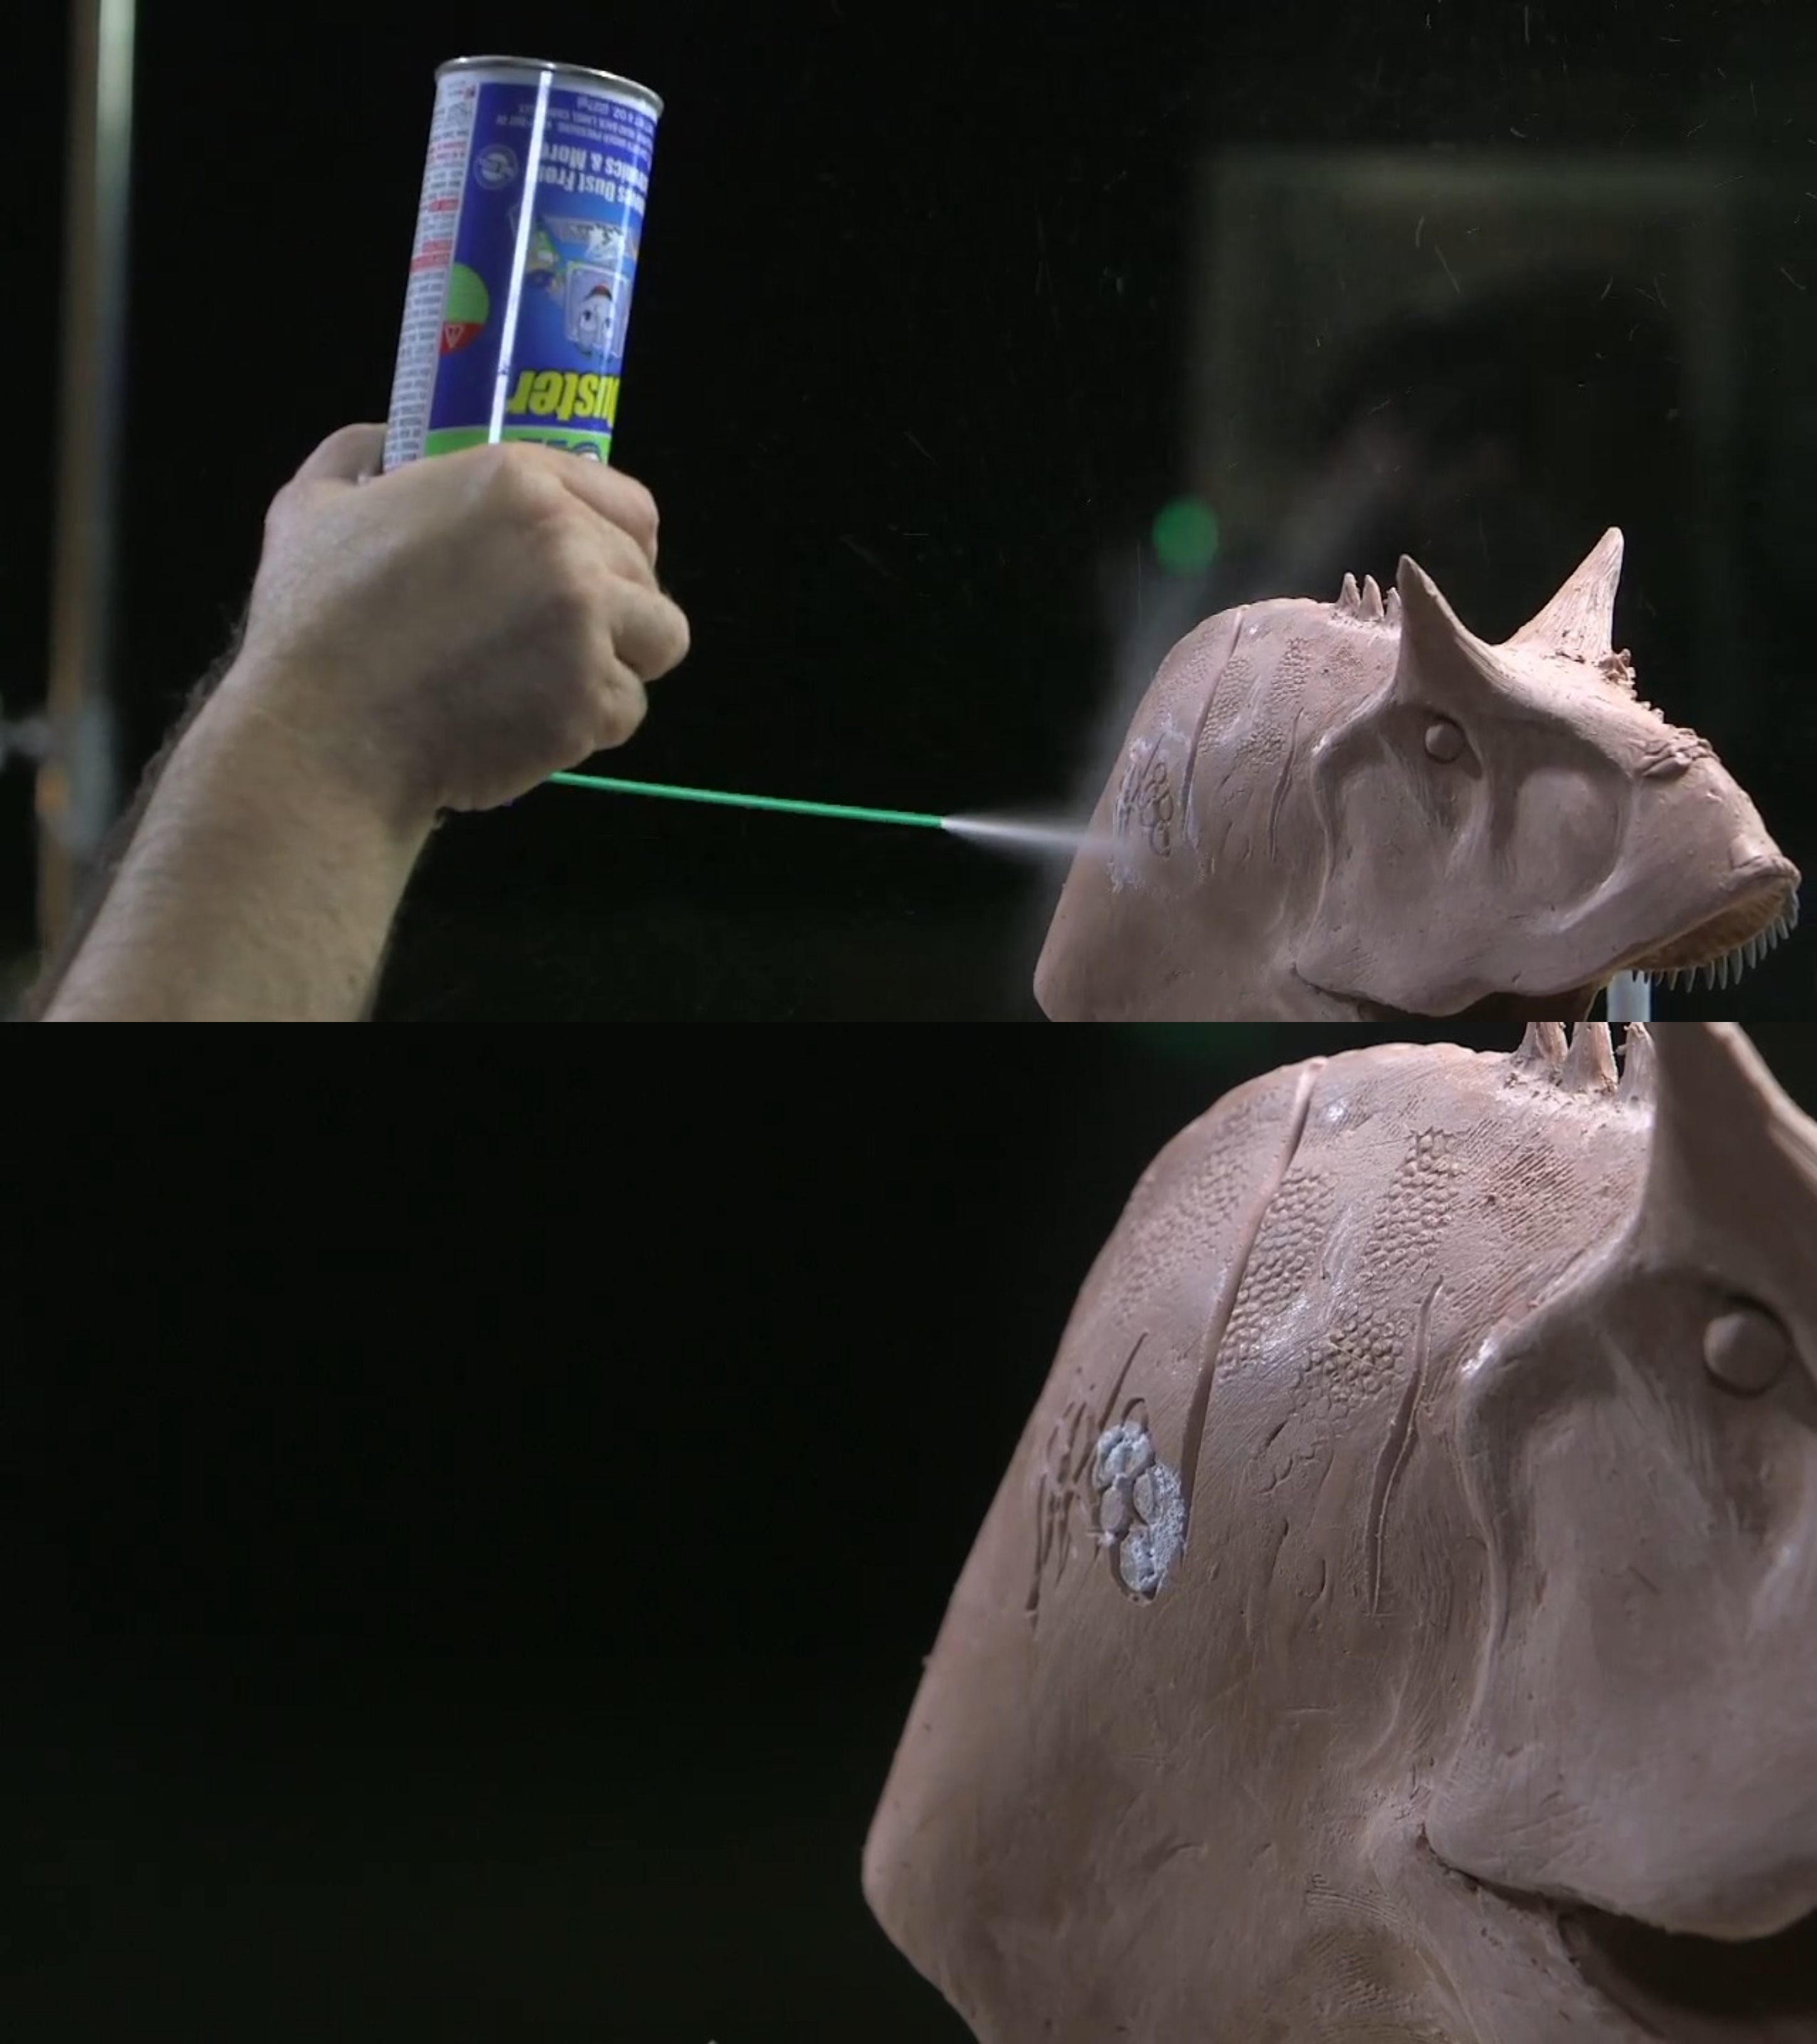 (Christopher Darga uses gas duster to quickly cool clay. He turns the can upside down prior to spraying a short burst of compressed air onto his dinosaur bust.)
Once you've sprayed the surface, you're left with cold clay that you can then take your loop tool and clean off the edges to make your sculpture appear more natural—and bring dinosaurs back from extinction in the process.
 (Using his handy dandy loop tool, Christopher Darga makes his dino bust appear more natural by cleaning off the edges of clay.)
WATCH THE “HOW TO SCULPT A DINOSAUR” COURSE WITH CHRISTOPHER DARGA:
How to Sculpt a Dinosaur Part 1 - Armature Building & Sculpting Primary Forms
How to Sculpt a Dinosaur Part 2 - Secondary Forms & Finishing Techniques