
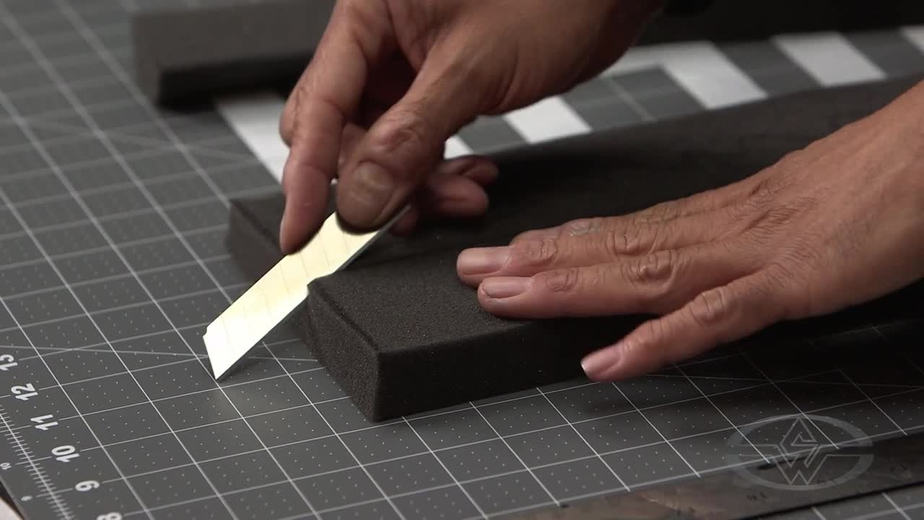
A CUT ABOVE THE REST
In this FREE excerpt from his Stan Winston School of Character Arts course, Costume & Mask Fabrication Part 1: Pattern, Cut & Assemble, master creature fabricator and specialty costumer, Fred Fraleigh (Where the Wild Things Are, Blade: Trinity, Men in Black 3) teaches you how to make bevel cuts to attain fluid, sharp curves and edges in your foam.
To watch the complete video, click the player above!
Jump To Section
- Using a Lean Cut on Your Foam
- Cutting to Create Peaks and Valleys the Foam
- Applying Spray Glue to Your Foam Pieces
- Combining the Foam Pieces
Learning how to transform, manipulate and combine foam is a skill set that will help you tremendously when you come up with a creative concept for a costume or mask.
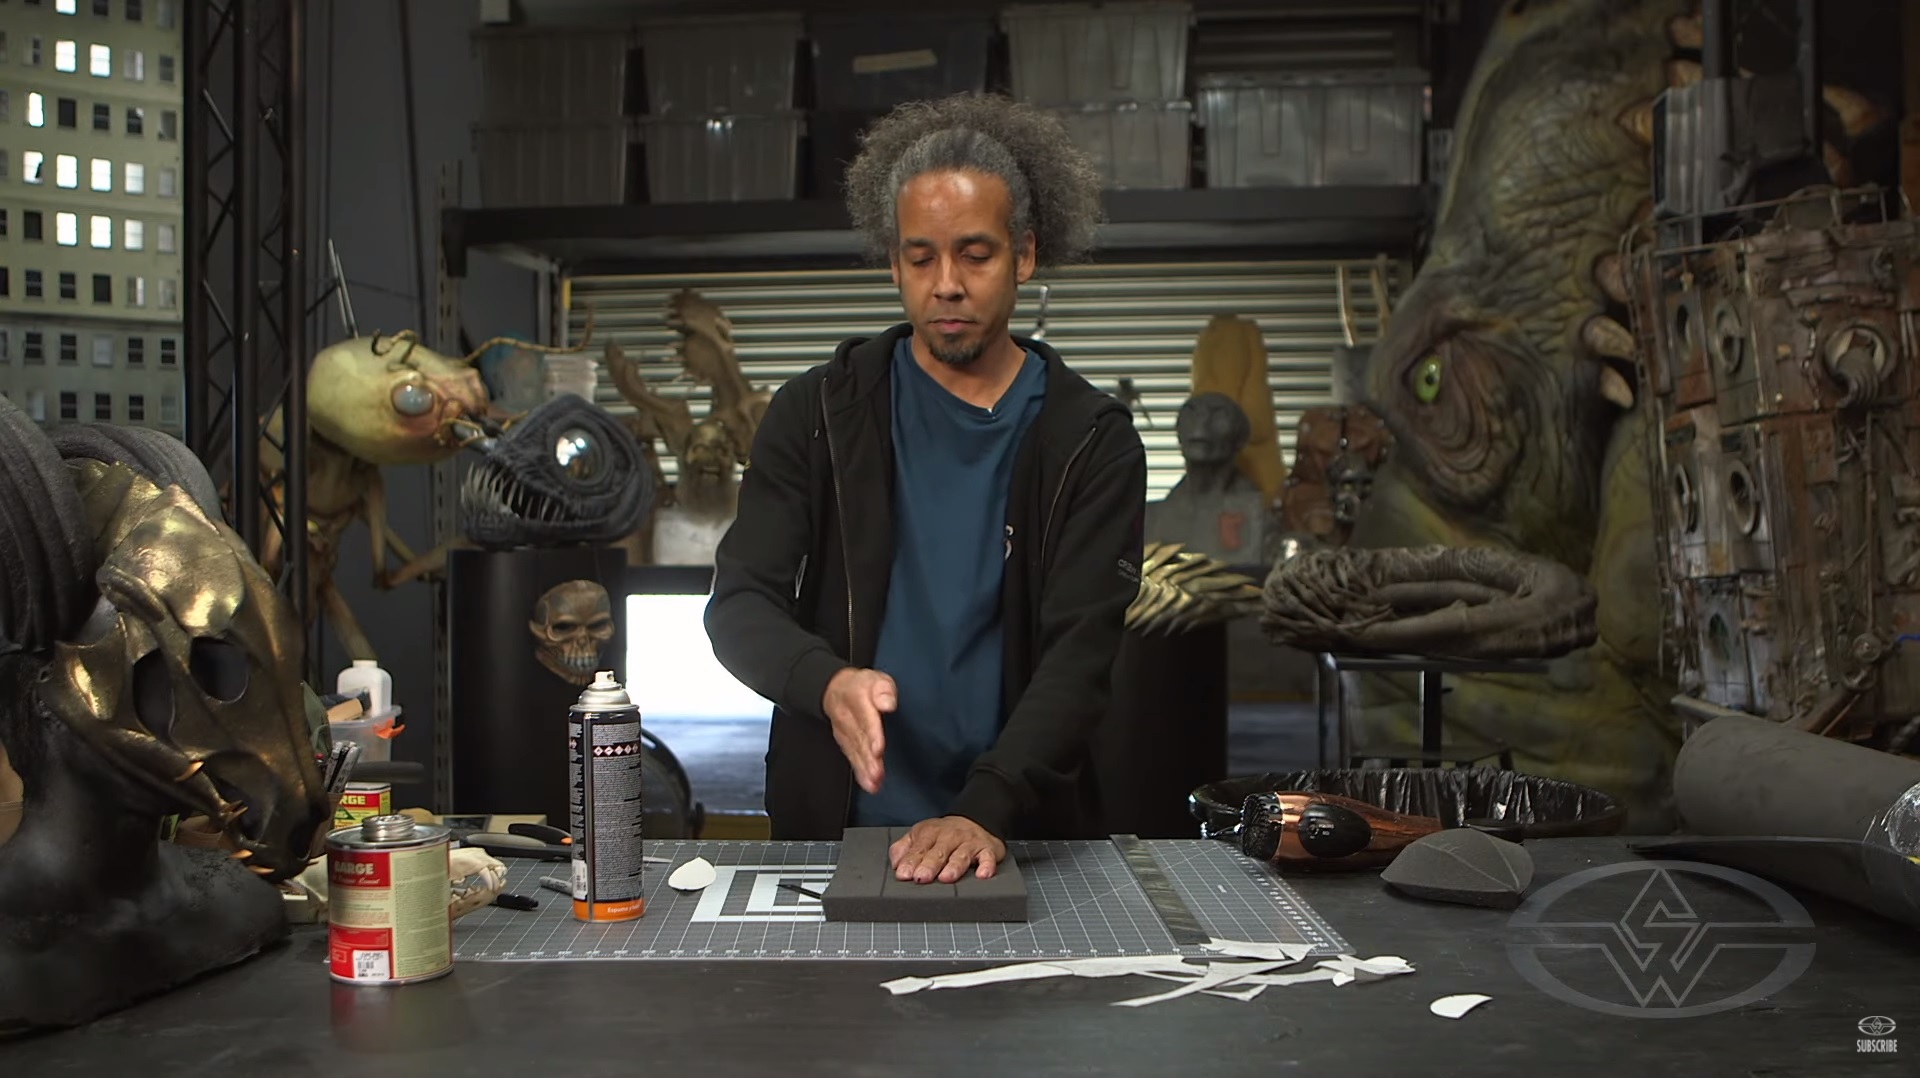
In this mini-lesson, Fred explains the magic of bevel cuts so you'll be one step closer to executing your innovative idea!
- Foam ( ¼” L-200, charcoal 1” thick x 24” x 60”)
- Spray glue (3M Spray 74 Foam Fast Adhesive)
- A blow dryer
- A razor
Using a Lean Cut on Your Foam
Bevel cuts are used to create a sharp peak or valley between two pieces of foam. You can achieve various organic and mechanical shapes through this method of cutting, which is just what you want if you are looking to make a practical, one-of-a-kind mask.
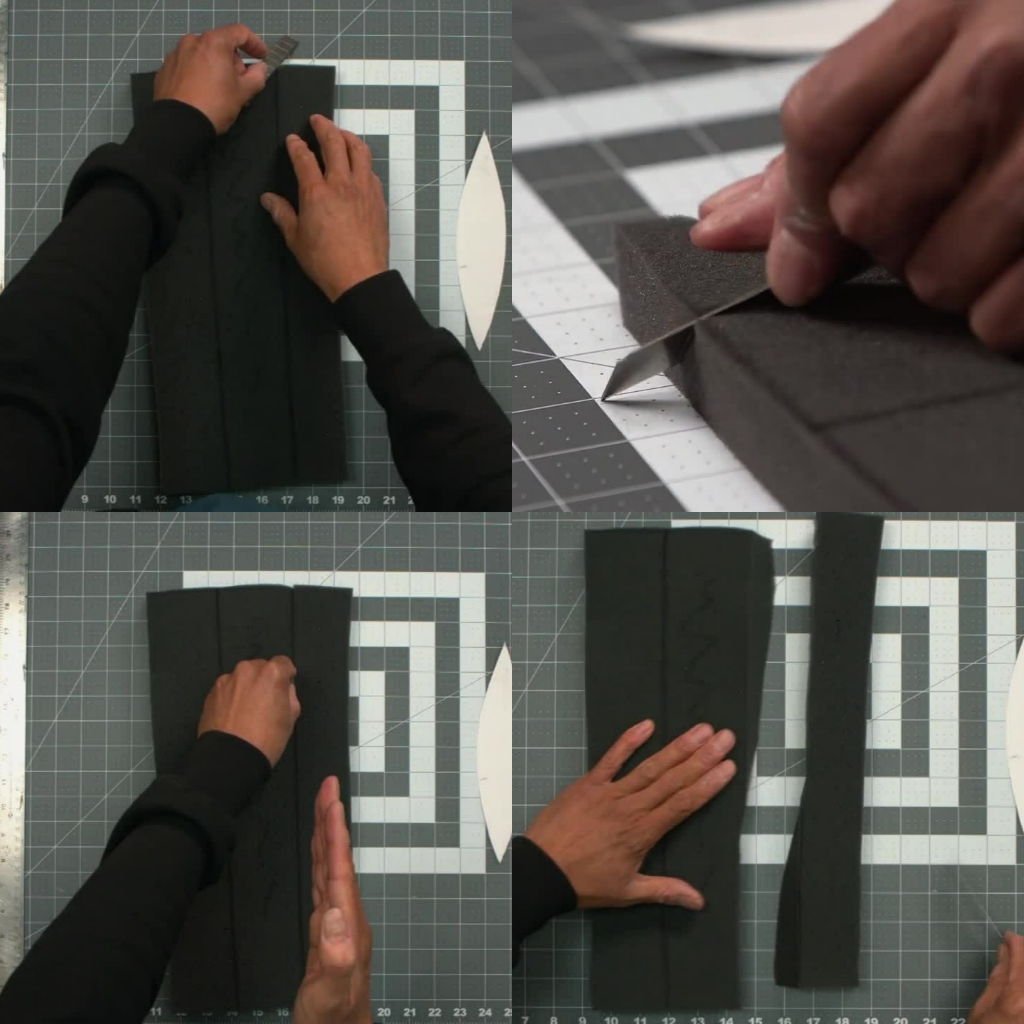 (Fraleigh takes a single piece of foam and marks it into three sections, demonstrating how to make a bevel cut on one section of the foam.)
Fred begins his demonstration by beveling in and out on a single foam piece marked into three sections to closely follow the pattern line. (Note: the middle piece will just be a scrap piece.)
On the first section of the marked foam piece, you’re going to start by beveling in, meaning you will kick the blade in to create an angle cut. Use your other hand to keep the foam nice and sturdy as you cut.
Next, you’ll transition your position to perpendicular and bevel out—or kick your blade out—and follow through until you've reached the end of your foam piece.
Cutting to Create Peaks and Valleys the Foam
Repeat the process on your second marked piece of foam. Cut it as a mirror image of the first to then have both a ridge and a recess, as Fred describes.
Begin by beveling in, transitioning to perpendicular, then beveling out.
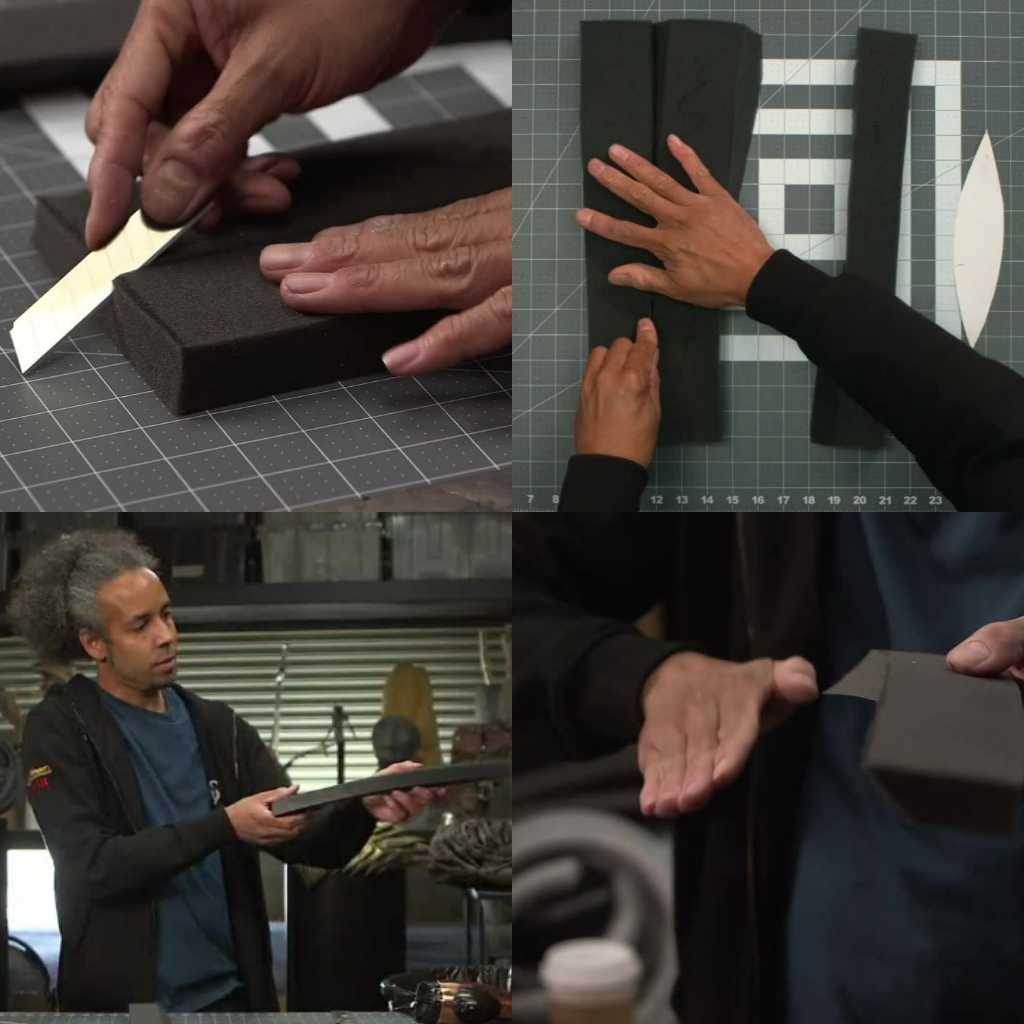 (Fraleigh repeats the process, emphasizing the importance of having the angle cut mirror the first piece of foam and the shapes they should take when joined.)
You should now have two pieces that create a peak when joined. When both your pieces reach their beveled out points, they should create a valley.
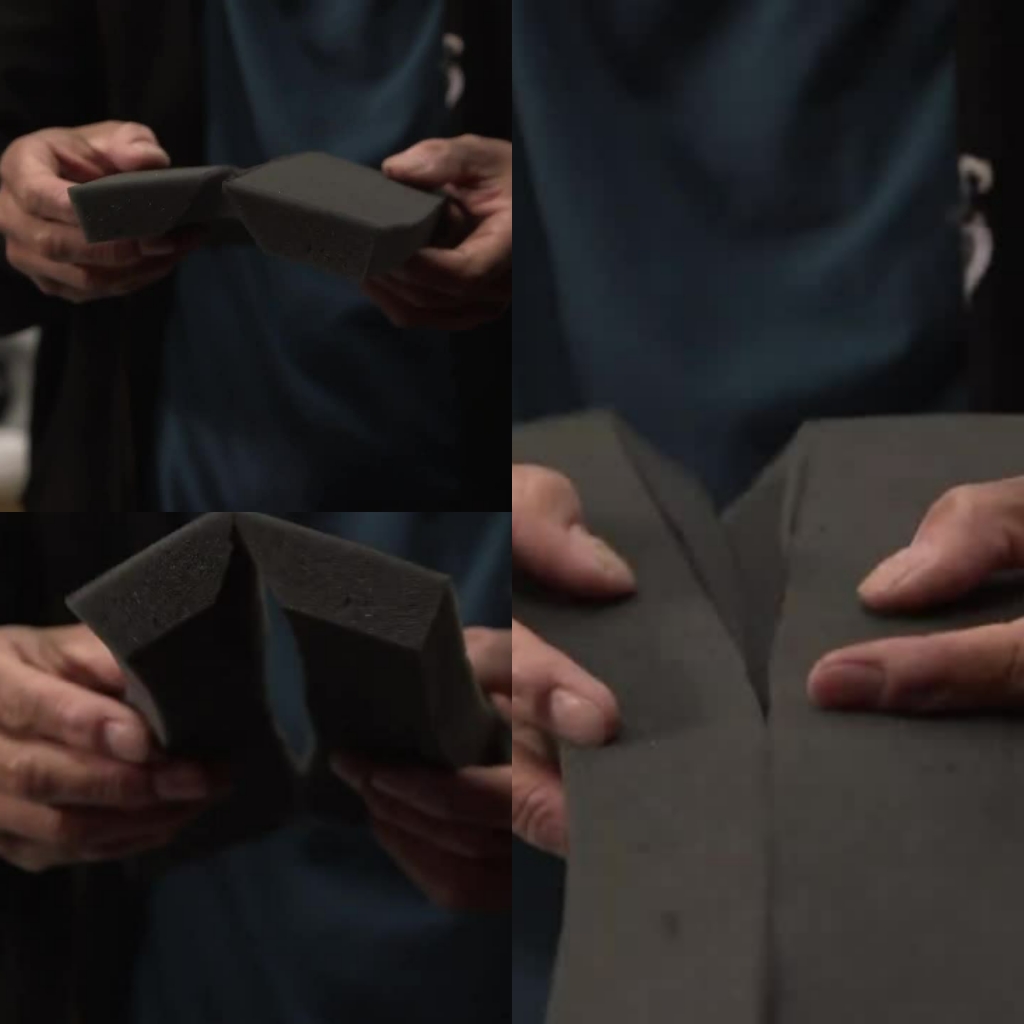 (The two pieces of foam with bevel cuts should create peaks and valleys as seen here.)
Applying Spray Glue to Your Foam Pieces
Next, you’re going to spray the insides of your foam pieces with glue. Try to keep the top surfaces of your foam clean.
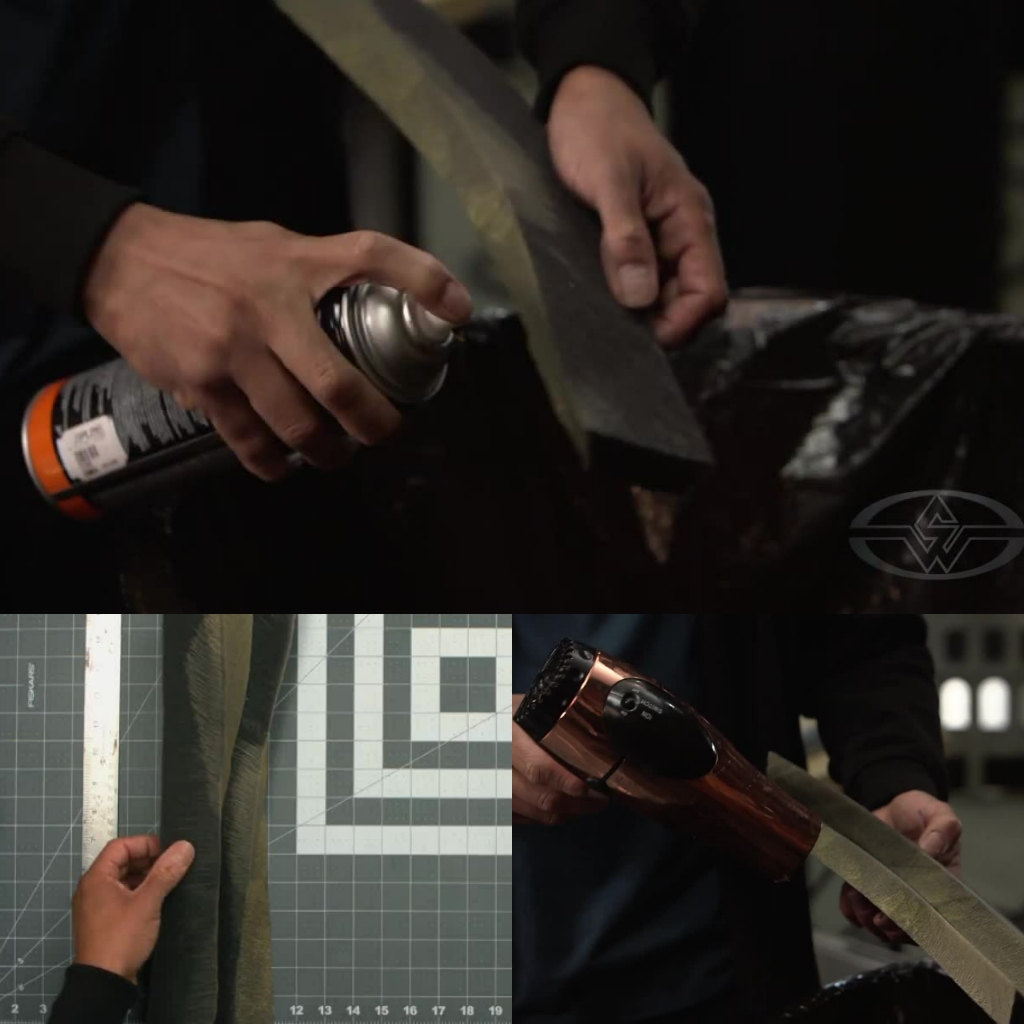 (Spray the inside of your foam pieces with glue and blow dry to combine the two.)
Proceed with blow drying your foam pieces for about 15 seconds.
Pro-tip: If you happen to leave the glue on for too long and it dries, that's A-okay. Fred recommends simply "waking up" the dried glue with a fresh layer to get you back to that happy spot that allows you to stick the pieces together. You can even pre-glue a piece and powder it so you can work with it or put it in position and go back with a fresh layer once you’re ready.
Combining the Foam Pieces
Now it’s time for the fun part—sticking your two pieces together!
 (Little by little, gently press the two pieces of foam together.)
Gently press your foam pieces together. When you reach the point where your pieces are perpendicular and beveled out, squeeze them together so they're secure.
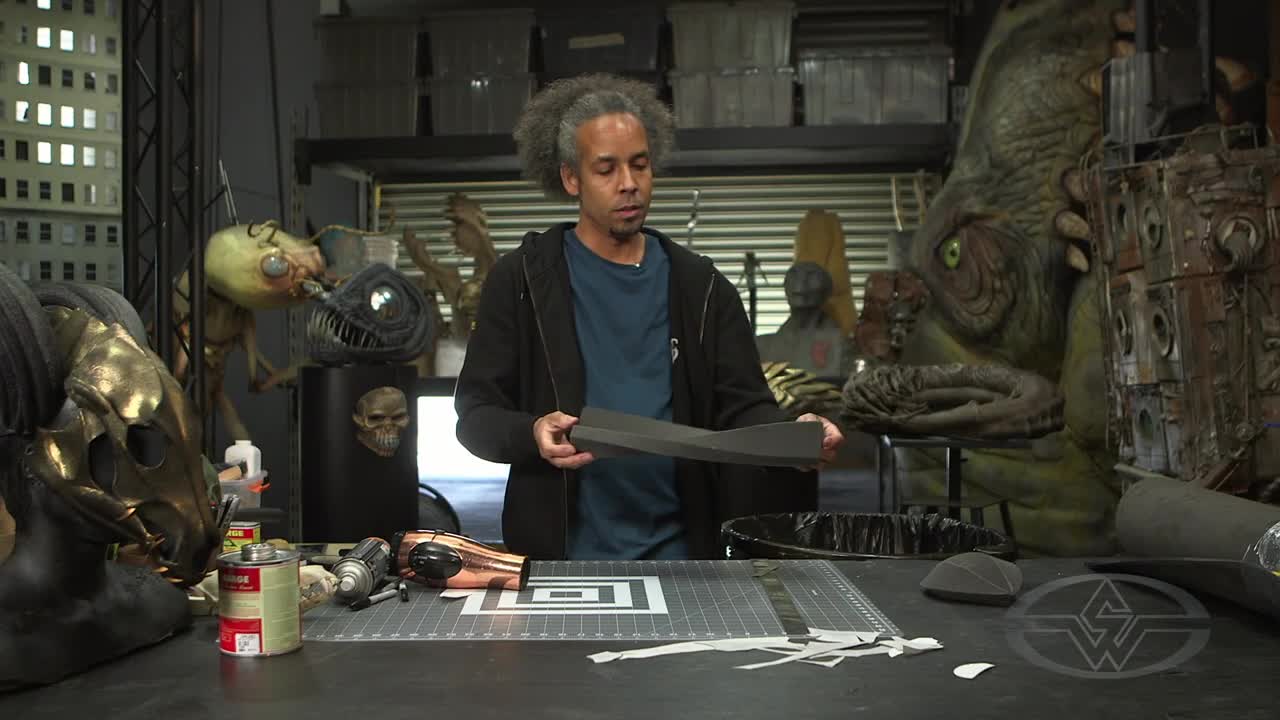 (Fraleigh shows the single foam piece, ready for the next part in the mask fabricating process.)
You will then have a single piece of foam, and you'll be ready to move on to the next step of your mask fabrication journey!
WATCH FRED FRALEIGH’S “COSTUME & MASK FABRICATION” COURSE:
Costume & Mask Fabrication Part 1: Pattern, Cut & Assemble
Costume & Mask Fabrication Part 2: Secondary Forms & Foam Antlers/Horns
Costume & Mask Fabrication Part 3: Surfacing, Biomechanical Elements & Paint