
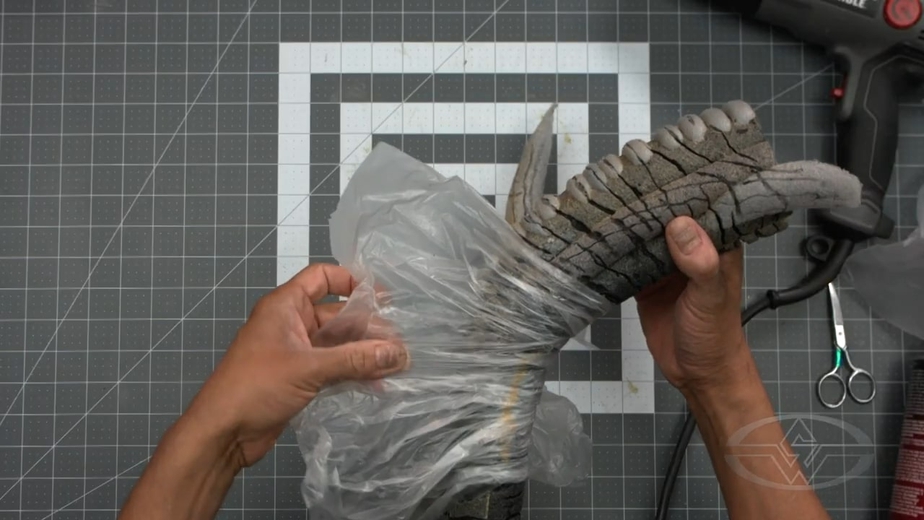
Using Plastic Bags to Add Texture to Organic Forms
In this FREE excerpt from his Stan Winston School of Character Arts course, Costume & Mask Fabrication Part 3: Surfacing, Biomechanical Elements & Paint, master creature fabricator and specialty costumer, Fred Fraleigh (Where the Wild Things Are, Blade: Trinity, Men in Black 3) shares his techniques on adding texture to organic forms with plastic bags.
To watch the complete video, click the player above!
Jump To Section
- A Budget-friendly Texturing Technique
- Cutting Natural Edges in Your Trash Bag
- Adding Texture with a Trash Bag
- Removing Excess Plastic from Your Piece
- Applying Heat to Your Piece
When it comes to costume and mask-making projects, every detail enhances your work and takes it to the next level. Whether you’re making horns, antlers, or other organic alien shapes, the beauty is in the details!
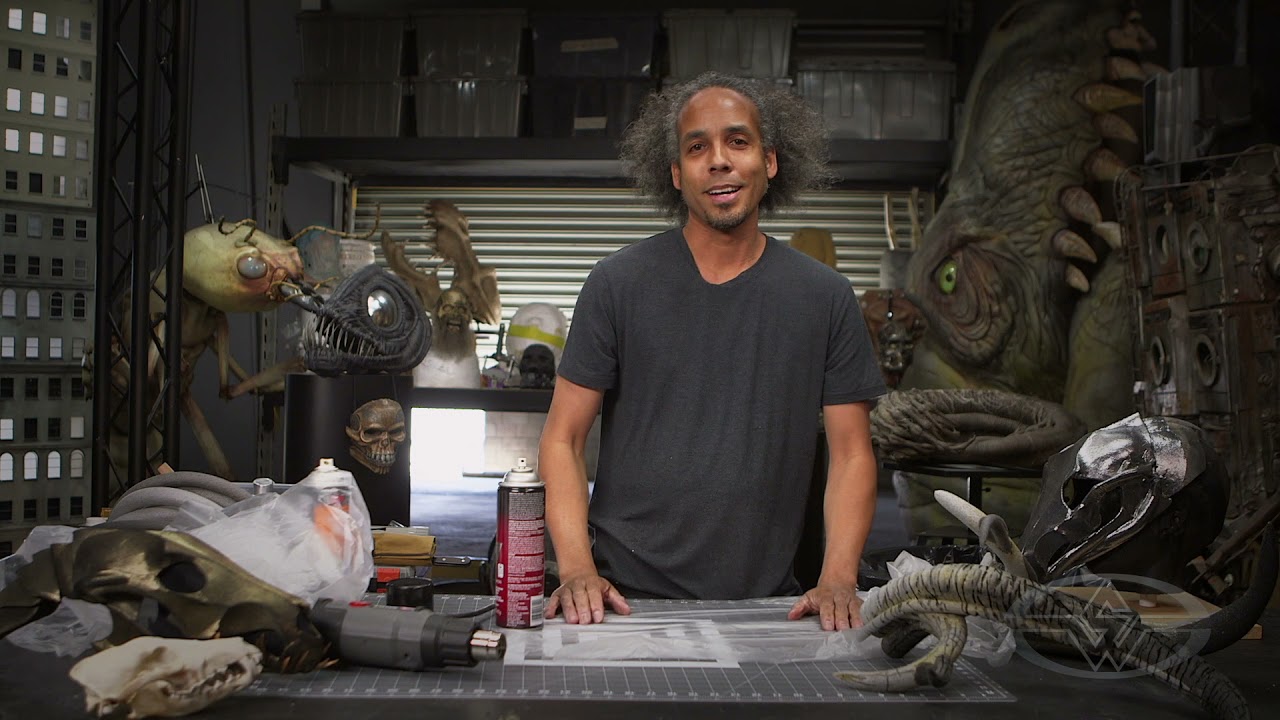 (Fraleigh with his materials, preparing to add some texture to his foam antler.)
In this mini-lesson, first-rate fabricator Fred Fraleigh explains how you can create organic textures on your foam antler with plastic bags.
Step by step, you’ll learn:
• How to layer sections of trash bags to allow wrinkles to gather and flow over the forms
• How to adhere plastic bags to your foam piece with 3M Spray 74 (a webbing spray that will be perfect for final details and texture) and 3M Super 77 (a misting spray that goes on evenly and is great for light tacking)
• How to sweep with a heat gun set on high to shrink the plastic and give it extra detail lines
To get started, you’ll need the following materials:
• Spray glue both 3M Spray 74 Foam Fast Adhesive and 3M Super 77 Multipurpose Spray Adhesive (if you’re in the UK, an alternative brand is No Nonsense.)
• Scissors
• Heat gun
A Budget-friendly Texturing Technique
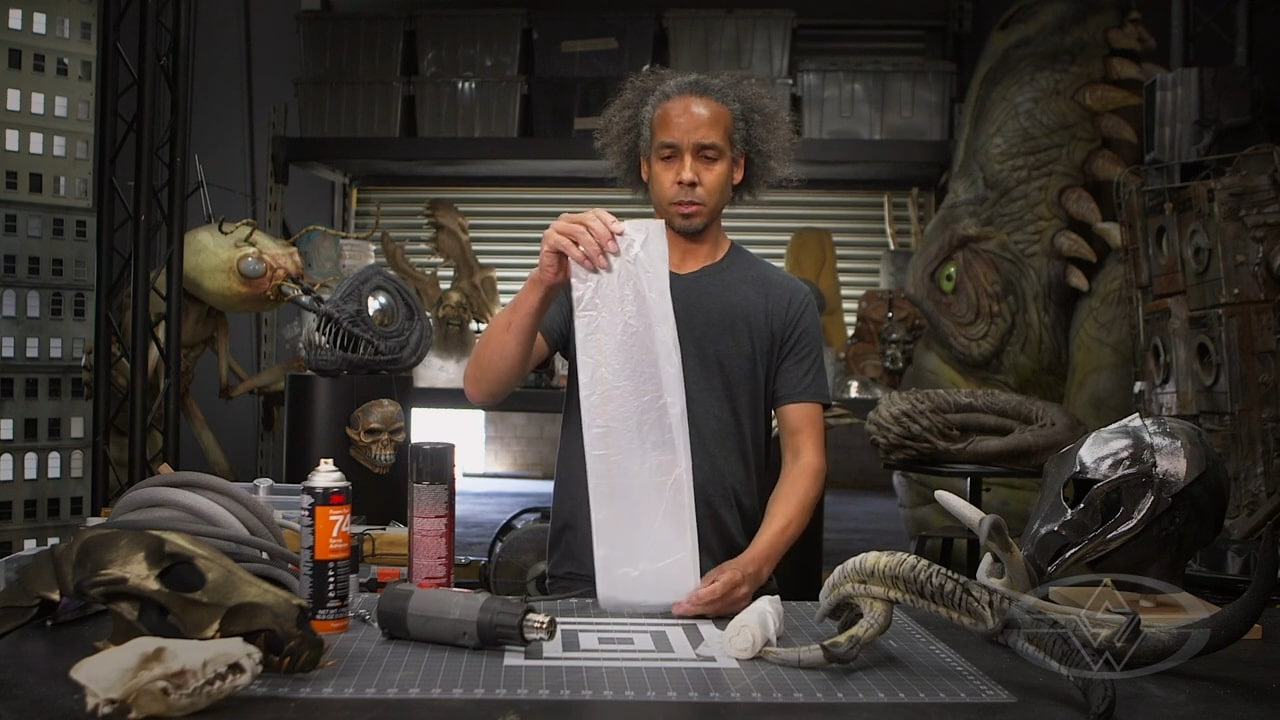 (Fraleigh unrolling plastic bags.)
When it comes to plastic bags, Fraleigh recommends using office trash can bags. (Although, they might be labeled as kitchen trash bags.) The cheaper the bag, the better, he says.
“They’re literally the cheapest, thinnest, crappy bags you can buy that if you fill them up with something, they’ll just burst out the bottom,” he says. “But it’s that really kind of wispy, tissue paper kind of quality that I like when I’m doing this technique. I look for the cheap stuff.”
Fraleigh opens up a bag and uses scissors to cut a large sheet to work with. He repeats this process to prep several bags.
 (Fraleigh lays out a single plastic bag and cuts it open to give himself more sheet to work with.)
Since different kinds of bags have varying properties, the type of bag you use may yield different results once you hit it with a heat gun. As Fraleigh says, "The thinner the plastic, the finer the details." You can also use plastic drop cloths (the kind you’d cover the floor with when painting) if you’re interested in using larger, thicker pieces for your project.
 (Bag check: if your finger stretches the plastic and it doesn't go back, use it!)
No matter which plastic bag you use, Fraleigh suggests checking to see how malleable it is by pushing your finger into the bag. If it stretches and doesn’t return to its original form, you can manipulate it — a surefire material for your project.
Cutting Natural Edges in Your Trash Bag
Next, you’ll lay out your trash bag and cut it into a few smaller pieces. Fraleigh recommends not cutting a straight line, as it will appear unnatural on your organic form. Instead, create a torn, uneven edge.
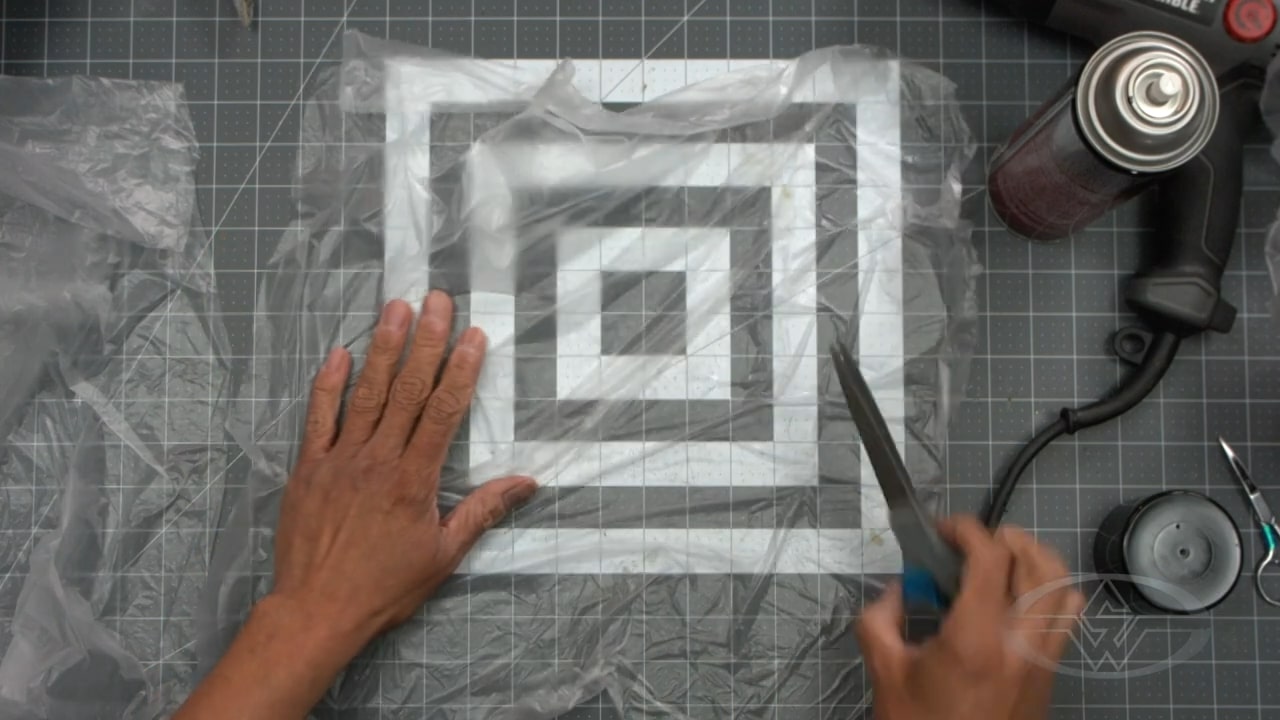 (Fraleigh cuts a single, large plastic bag into smaller pieces with torn edges.)
Adding Texture with a Trash Bag
Prepare to spray the glue onto the foam, starting in the tight nooks, cracks and under areas of your horn.
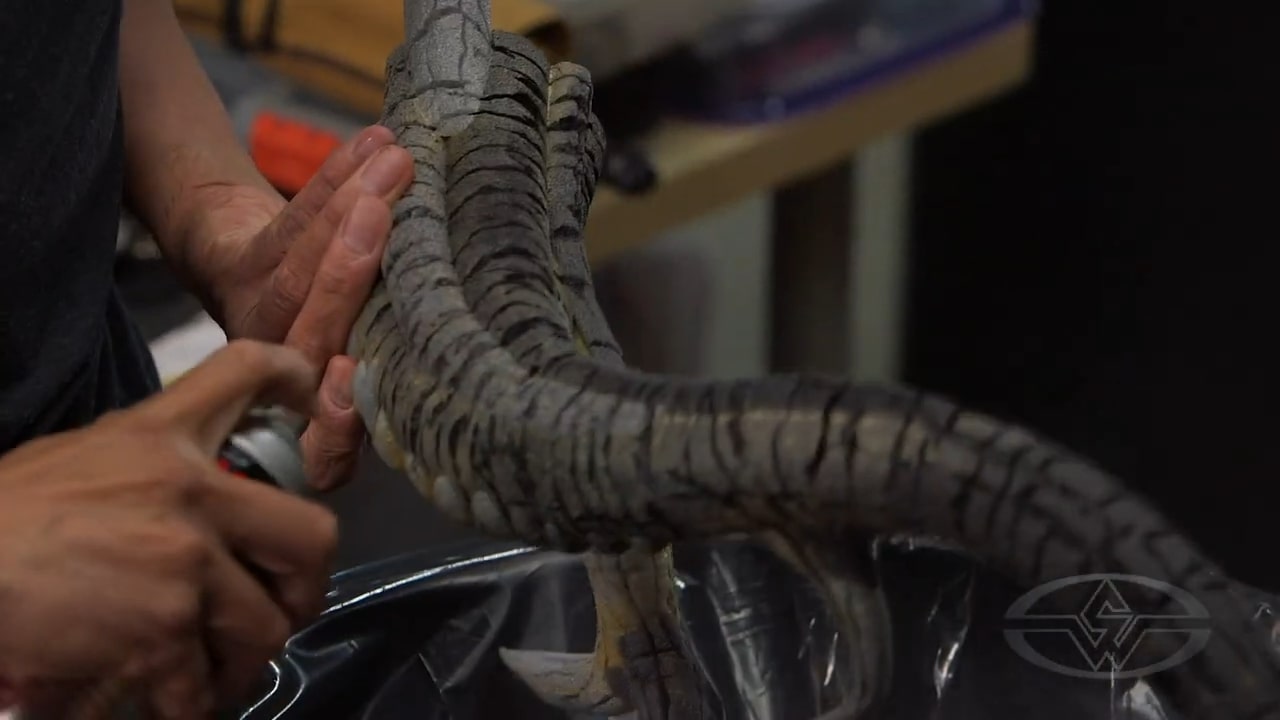 (Fraleigh applies spray glue.)
Apply spray glue onto your foam piece.
Gather the bag so it has plenty of wrinkles.
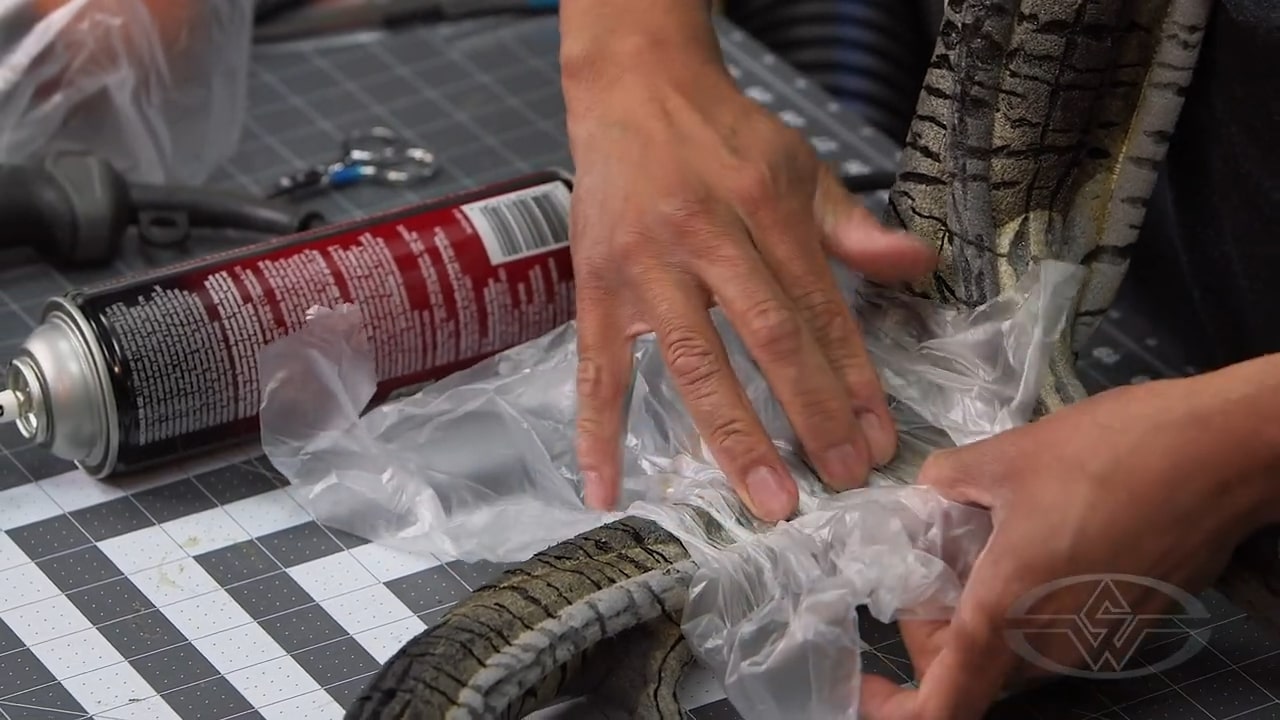 (Fraleigh gathers the plastic bag to the horn.)
Next, pull the wrinkles all around, and lay the bag into the wet glue.
 (Detail images as Fraleigh lays down his plastic and wrinkles it.)
Place more plastic down on your piece and, as Fraleigh says, "wrinkle the crap out of it."
Take the bag, and put a little down at a time, focusing on amping up the wrinkliness of your piece. (Fear not, the wrinkles will tighten up when you apply heat!)
Spray more glue onto the horn as you’re placing the bag over it — spraying as you go — and apply glue on the plastic as well.
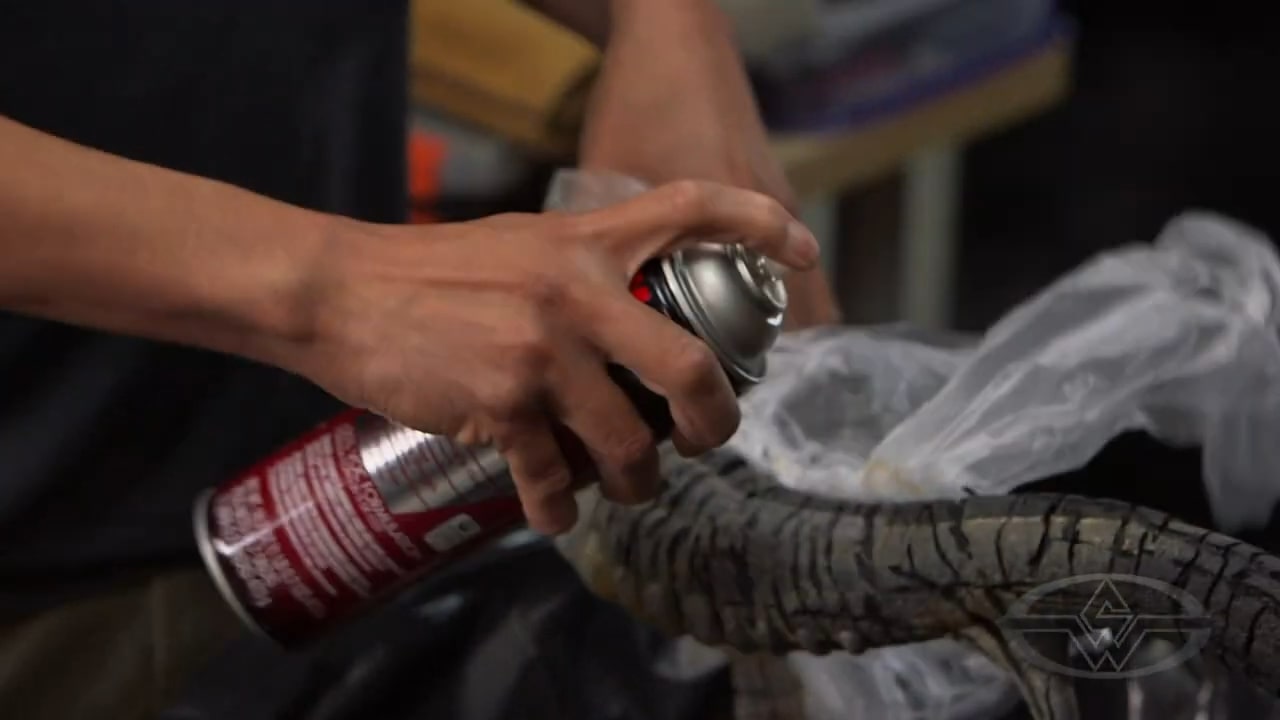 (Detail of Fraleigh spraying glue to the shape.)
Continue to tuck and press the bag into the wet glue, staying in the direction of your scored lines. Keep wrapping the bag around your shape.
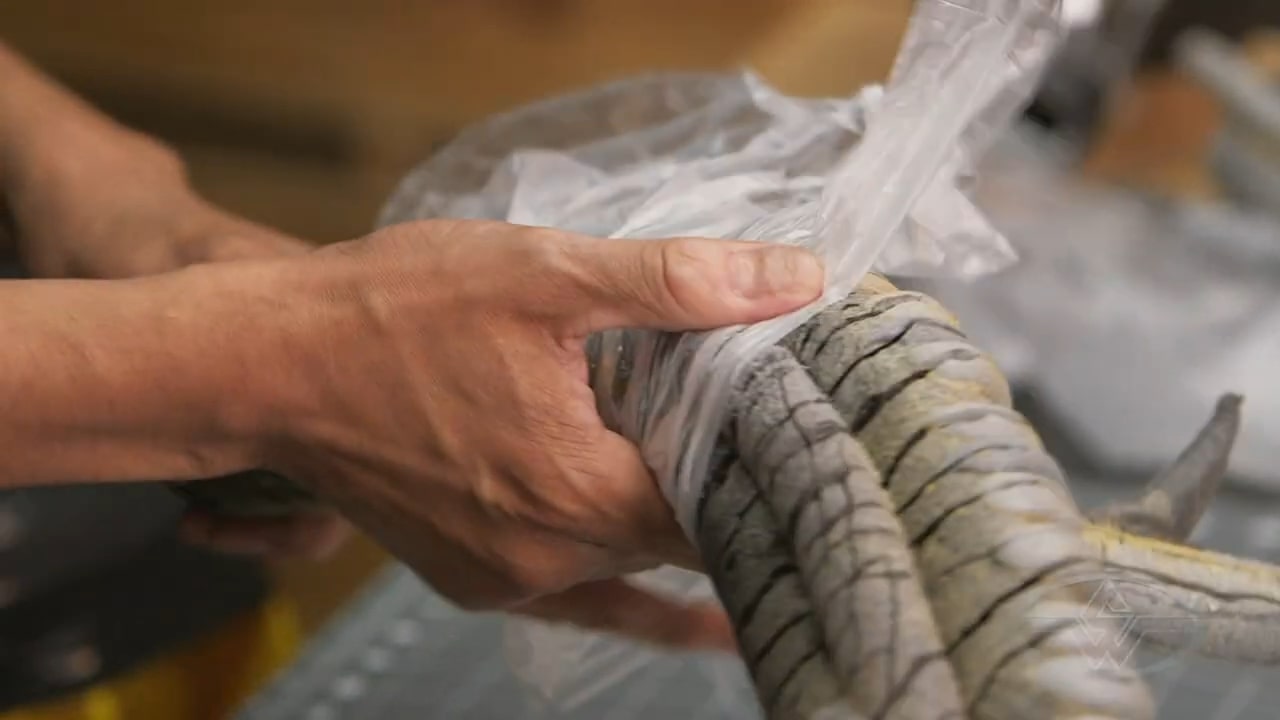 (Fraleigh demonstrates the tuck and press manuever.)
As you fully wrap your piece, tuck and press the bag.
“The first person I ever saw do the plastic bag stuff was Bill Bryan." said Fraleigh, "He's come up with so many cool ways to make this plastic do all this different stuff. You can get so many different results depending on just how you handle this material.”
Removing Excess Plastic from Your Piece
As the two bag pieces wrap around and meet, you can start to tear off the edge. Bring one piece to the top of its peak then tear the rest off from the other piece. Repeat the process on the other side.
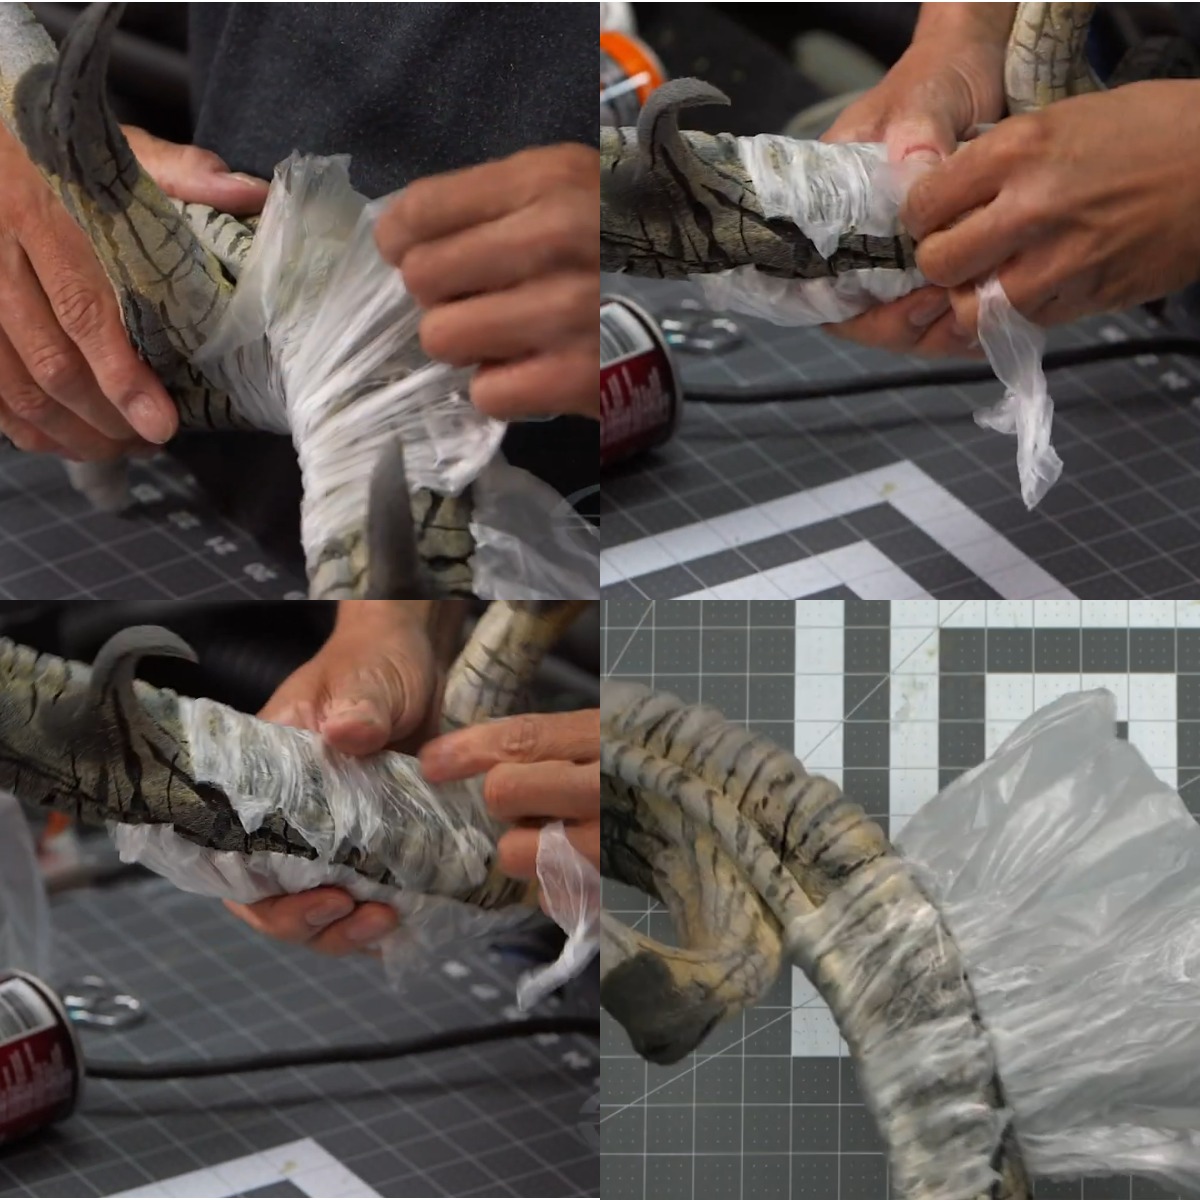 (Detail images showing the edges of the torn plastic as Fraleigh lays it down.)
Tear off the excess plastic once both sides meet and create a peak.
Pro-tip: Fraleigh advises to lay the contact adhesive down wet since it’ll become useless if it gets too dry. Since you’re working with ultra light plastic, it won’t take any weight.
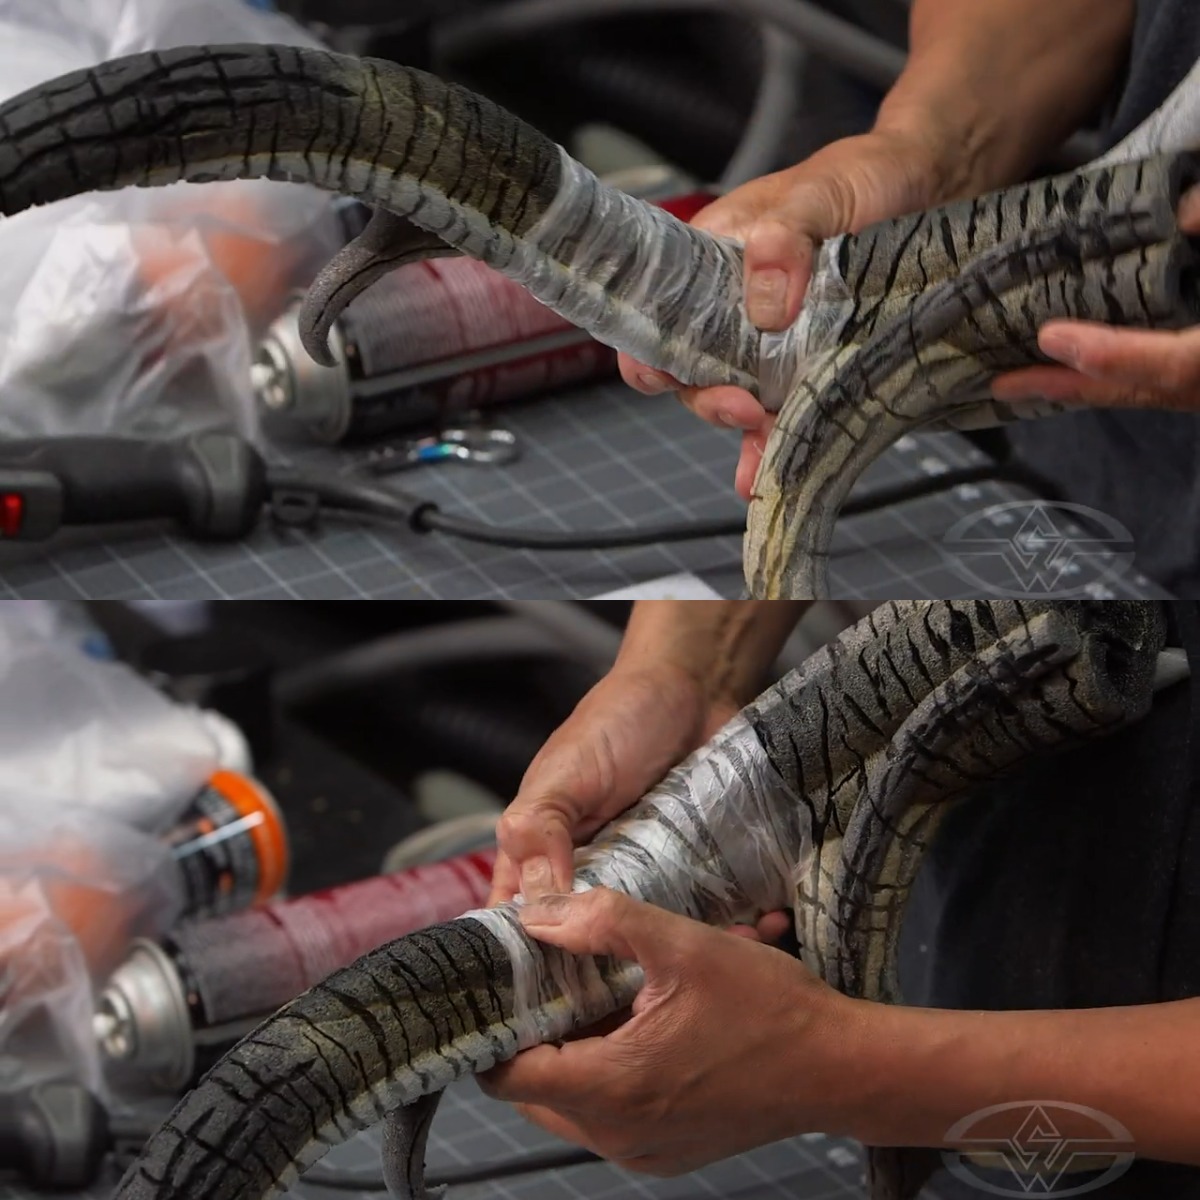 (Fraleigh gets that plastic pressed down into the cracks of his antler.)
Now that you've removed the excess and glued the plastic down, press into the cracks in your foam. If you notice plastic that’s not glued down and has folded and wrinkled over itself, that is A-okay. Because now, you’ll apply heat and it becomes even more texture!
Applying Heat to Your Piece
Apply short bursts of heat all over your piece.
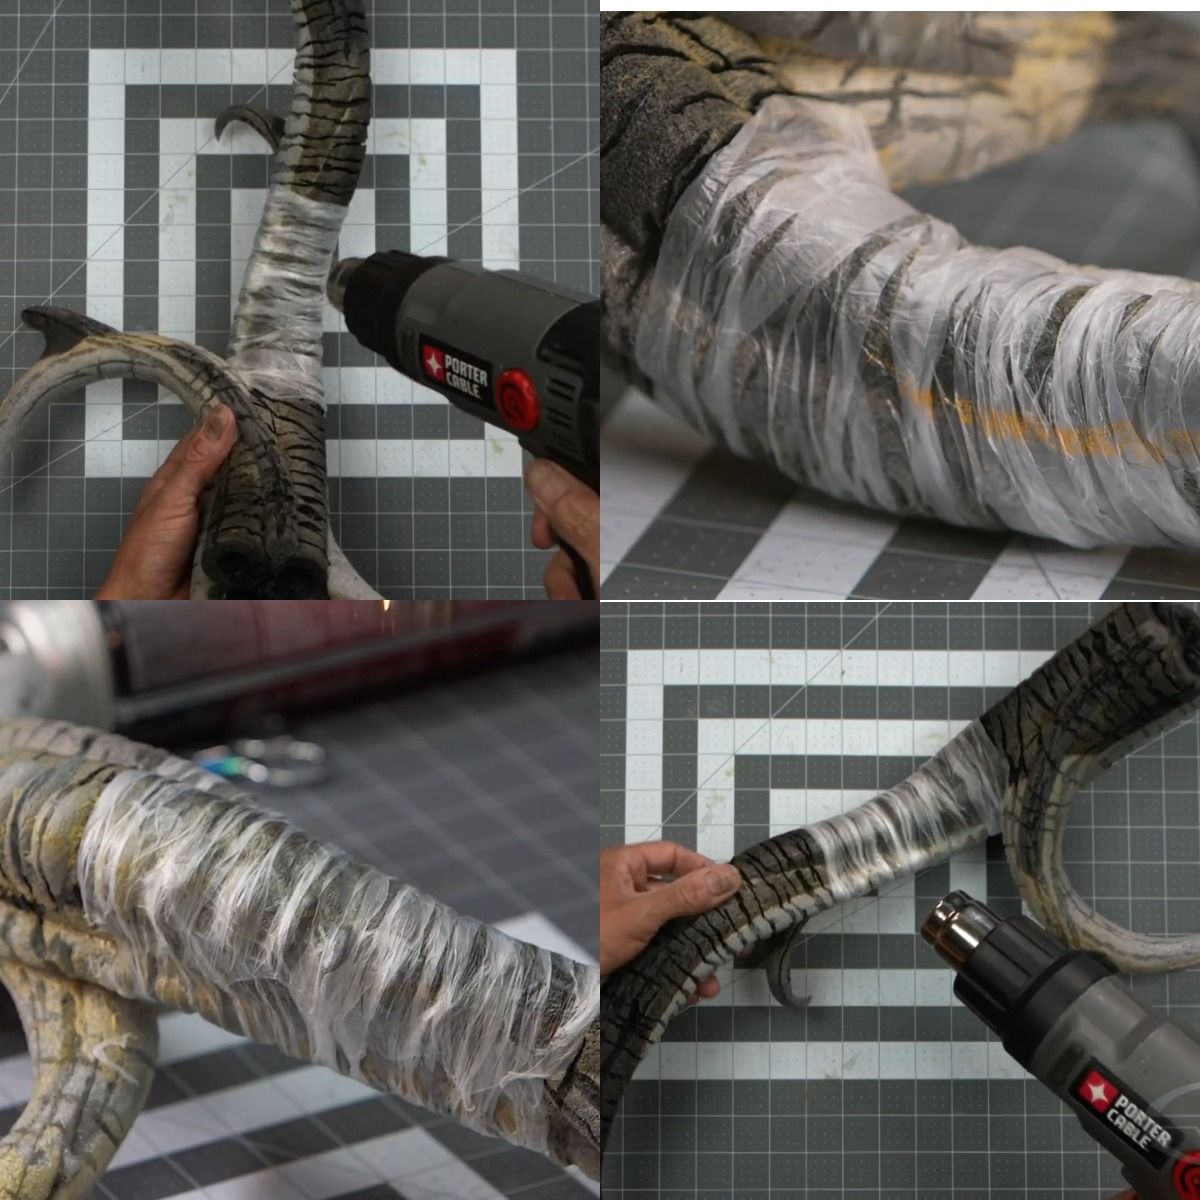 (Detail showing the plastic changing its shape as it's hit with heat.)
As you hit the plastic with heat, be careful not to linger on any one spot for too long. Give your piece short bursts of heat and allow it to cool before applying more heat. Otherwise, you run the danger of having your piece melt into a big hole.
How textured your piece looks is all based on your personal preference. You can press some of the wrinkled pieces back down in the grooves. “Melting plastic will always try to span because as it heats up, it shrinks and tightens,” Fraleigh says. “It will always try to bridge across a gap, but I love that about it.”
In any case, your wrinkles should have a nice tightness for a textured look. "Your piece," Fraleigh says, "will pick up paint really well when it’s time to move onto dry brush paintwork."
Be sure to press the plastic into all the small nubs of your horn while it’s soft and warm. (Note: If some of your foam’s detail has gone away, you can spread the plastic out a tad more thinly on your next piece.)
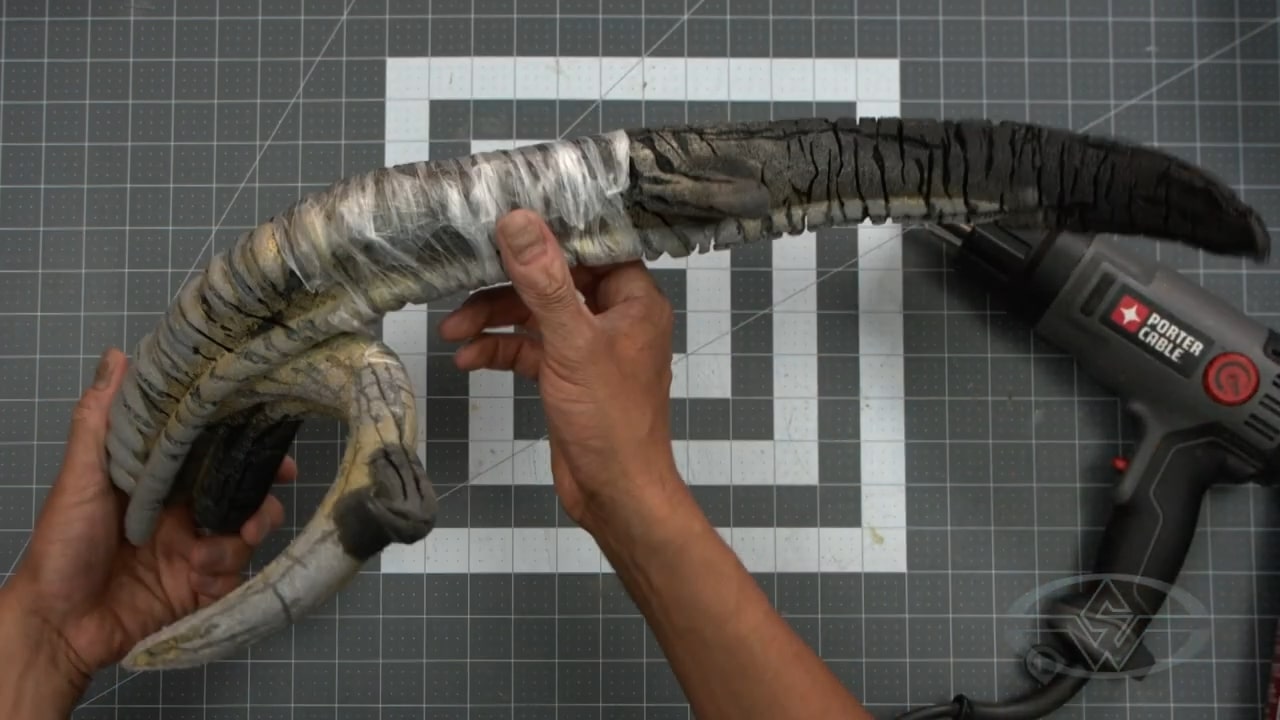 (The finished wrapped section of horn!)
Repeat this process, and you’ve got yourself a textured antler. Happy fabricating!
WATCH FRED FRALEIGH’S “COSTUME & MASK FABRICATION” COURSE:
Costume & Mask Fabrication Part 1: Pattern, Cut & Assemble
Costume & Mask Fabrication Part 2: Secondary Forms & Foam Antlers/Horns
Costume & Mask Fabrication Part 3: Surfacing, Biomechanical Elements & Paint