

Cut-Throat Blood Effects
In this FREE excerpt from his Stan Winston School of Character Arts course, Blood FX: Rig, Apply & Shoot, 5-time Emmy Award-winning makeup effects artist Mike Mekash (American Horror Story, Captain Marvel, Mad Max: Fury Road) shares his techniques on final rigging and prep before performing a blood effect!
To watch the complete video, click the player above!
Jump To Section
- Prepping Your Prosthetic with Powder
- Getting Your Actor Camera-ready
- Double Checking the Blood Bladder
- Taping Down the Blood Tube
- Quick, Final Steps Before Your Blood Effect
Take your artistry to a whole new level with blood effects. Learning how to build, apply and film these realistic gags is a surefire way to taste blood as a makeup effects artist — figuratively speaking, of course!
Blood rig effects are a fun way to amp up the gore in any production and wow everyone on set. (Though more squeamish viewers may want to look away.) All the blood, sweat and tears you will put into the effect are definitely worth the payoff.
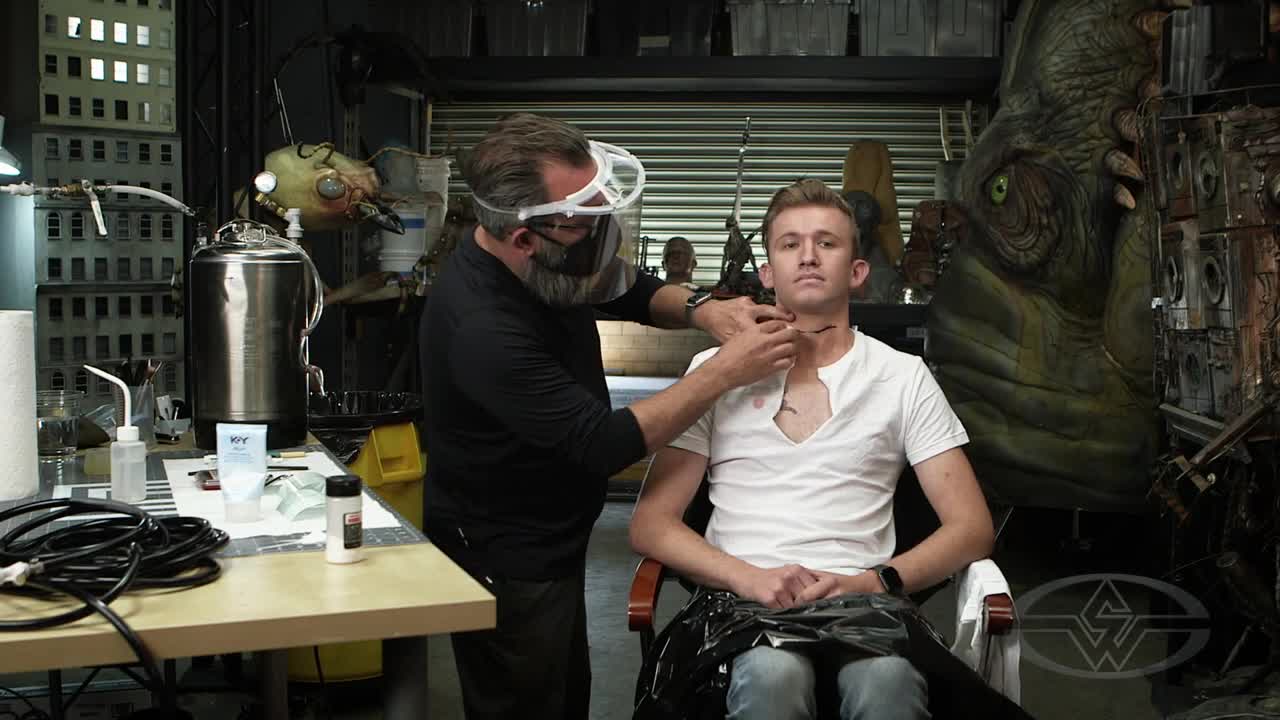
In this mini-lesson, makeup effects artist Mike Mekash explains the final rigging and prep process before performing a neck throat slash blood effect!
To get started, you’ll need the following materials:
- Powder
- Powder puff
- Scissors
- 4 inch roll of OpSite Flexfix transparent medical tape
At this point, you’ll have the actor with an applied prosthetic--in this case, the actor, Joey Wilson, is prepared for a slit throat blood effect. It's important to double check everything is secure. That way, the effect can be executed seamlessly and you will have created the perfect bloody mess!
Let’s get started!
Prepping Your Prosthetic with Powder
First, you want to make sure the prosthetic is as open and free as possible. If you notice part of your neck prosthetic sticking, you’ll want to apply powder. This will help prevent the raw silicone from sticking to itself.
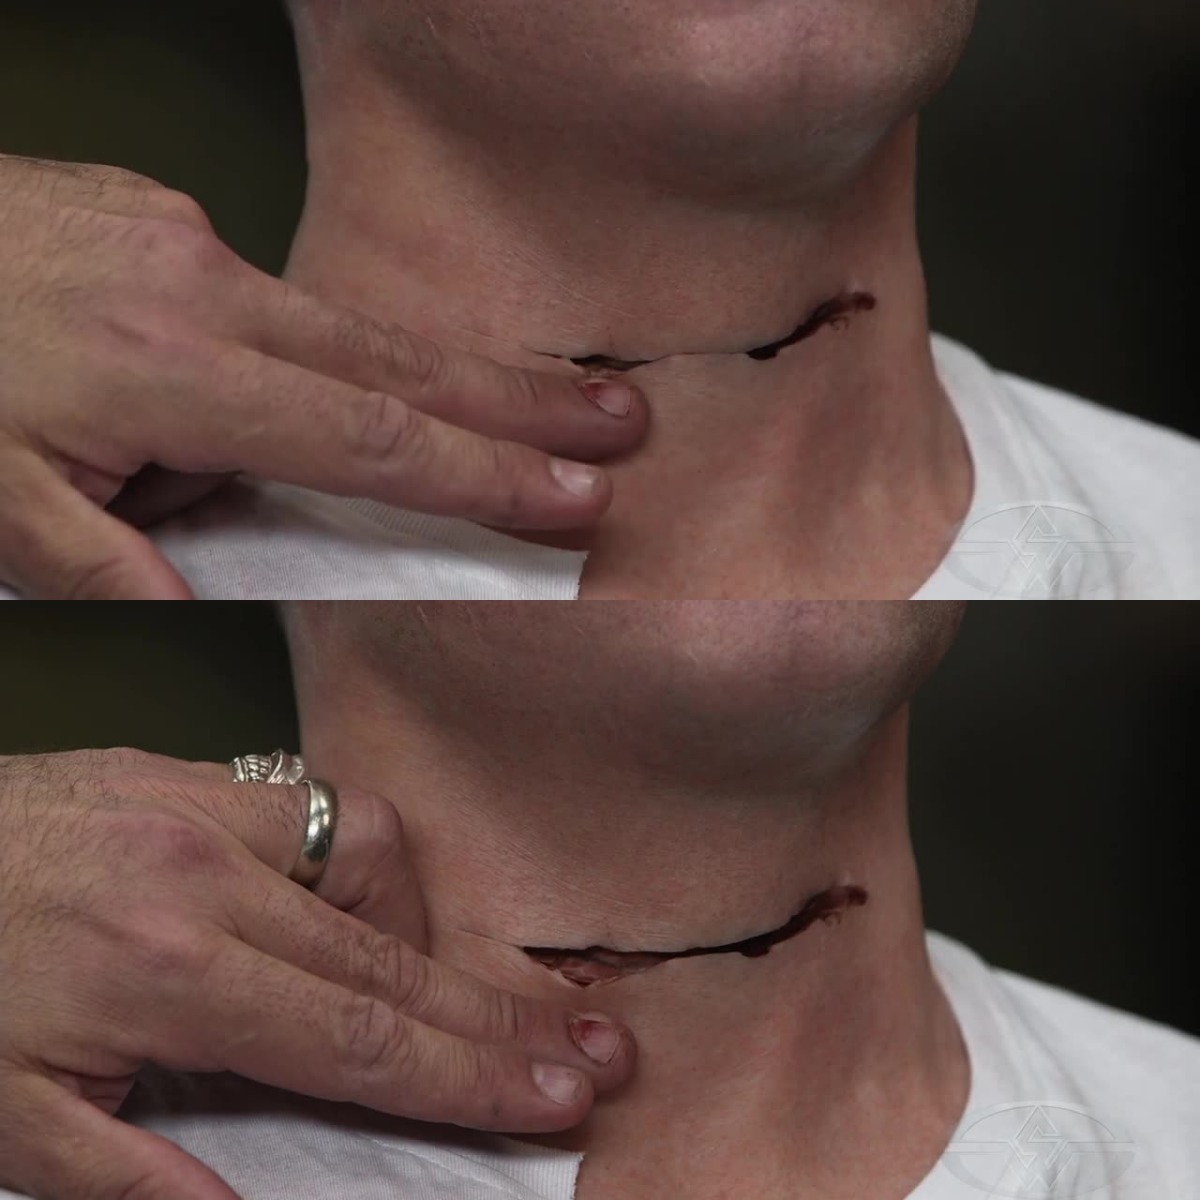 (Mike points out where part of the opening is sticking, creating the appearance of a "wise ass smirk," so he pulls the silicone slightly apart.)
Pour a bit of powder out on a flat table surface. Using a powder puff, lightly tap onto the powder to load it up. Then, apply it to the neck prosthetic at all those sticky parts.
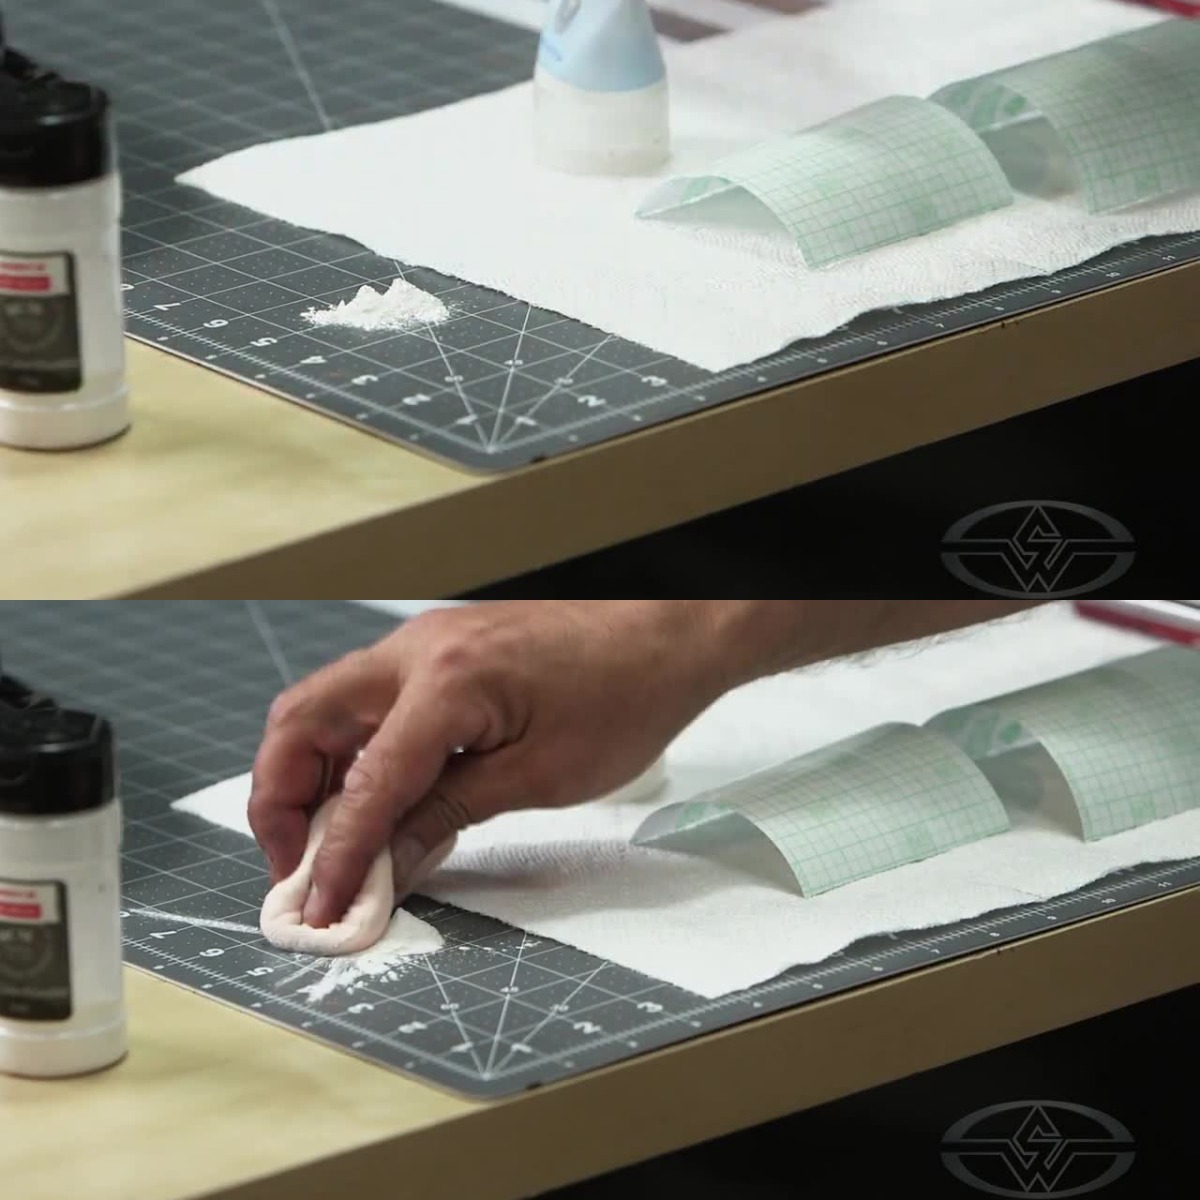 (Mike dips his powder puff in the powder.)
“When the blood comes out, you want it to be as free of any diversion as possible — except for the big diversion of the big flap here that's going to divert it from just spraying out.” Mekash says. “You want it to open up really nicely and easy.”
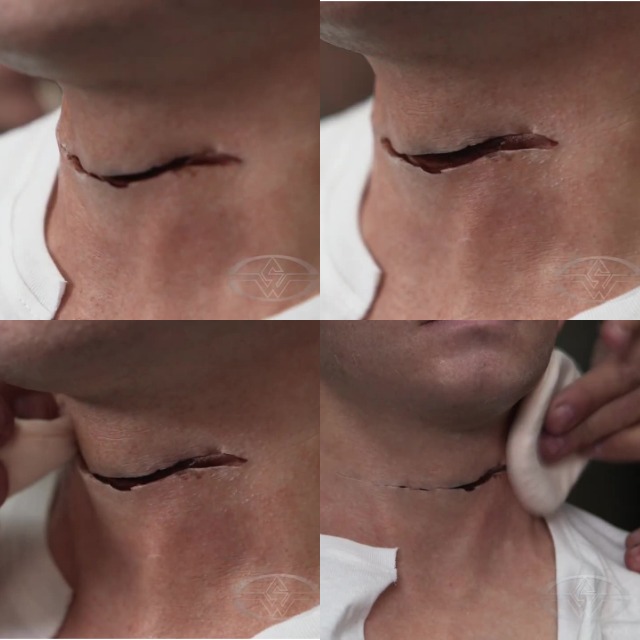 (Working from either side, Mike carefully applies the powder.)
Apply the powder until you notice the silicone no longer sticks together. Keep applying until your prosthetic has a matte appearance.
Getting Your Actor Camera-ready
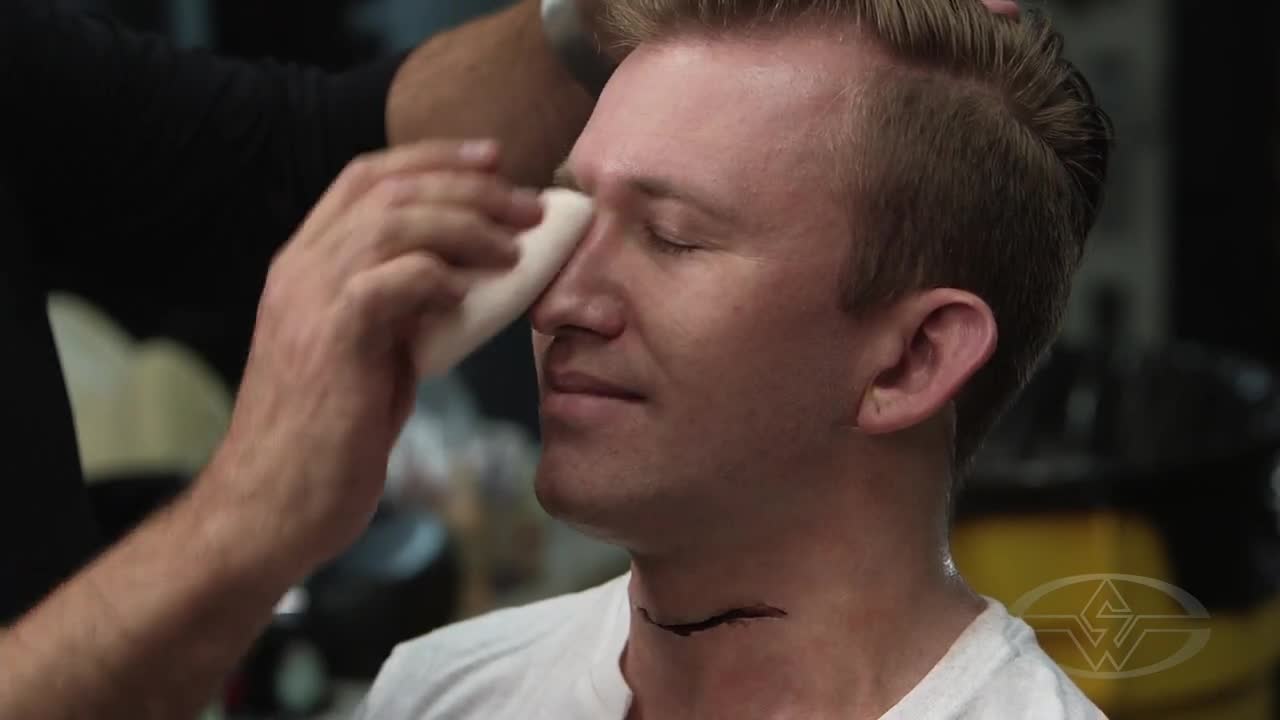 (Mike applies powder to Joey's face to keep him looking "cool and collected" before he gets his throat slashed.)
If your actor has worked up any sweat or shine, feel free to powder the face as well to keep a consistent overall look to the skin.
Double Checking the Blood Bladder
The very last thing you want to do before sending your actor to set is making sure that the apparatus is hidden and secure. Making sure your blood bladder is well taped down will save you from any clogs or other mishaps when the critical moment comes.
If you were using a makeup shirt it can be cut away now, so as not to disturb the prosthetic.
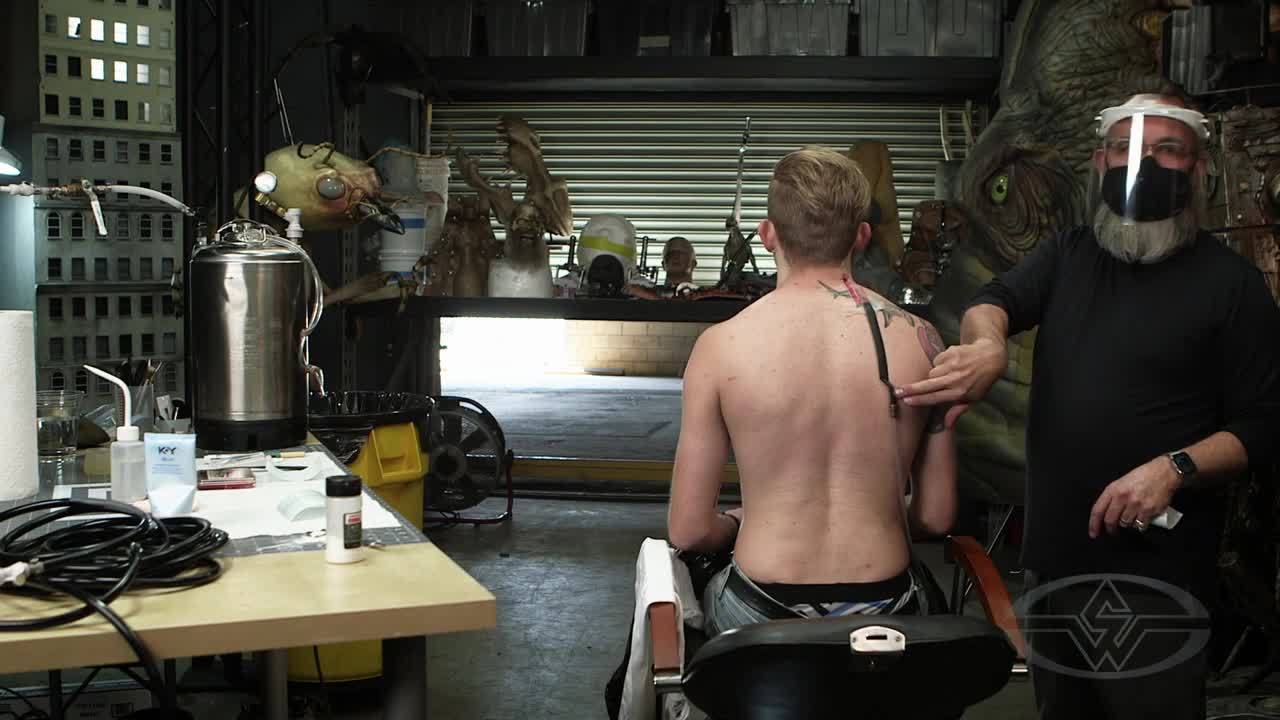 (Mike reveals a kink in the tube that hadn't yet been taped down.)
Taping Down the Blood Tube
A twist or kink in the blood tube can mean the blood will not flow smoothly, this could effect the timing of the effect or even ruin it entirely if the tube ruptures before the blood can flow through. It's critical to check your line before you send the actor to set.
If you notice your blood bladder has kinks, straighten them out to ensure your blood effect will work as planned. You want the fake blood to flow flawlessly.
Hold the bottom of the tube in place; if you need an extra hand, have the actor hold it. Then, tape the tube down using the OpSite adhesive tape.
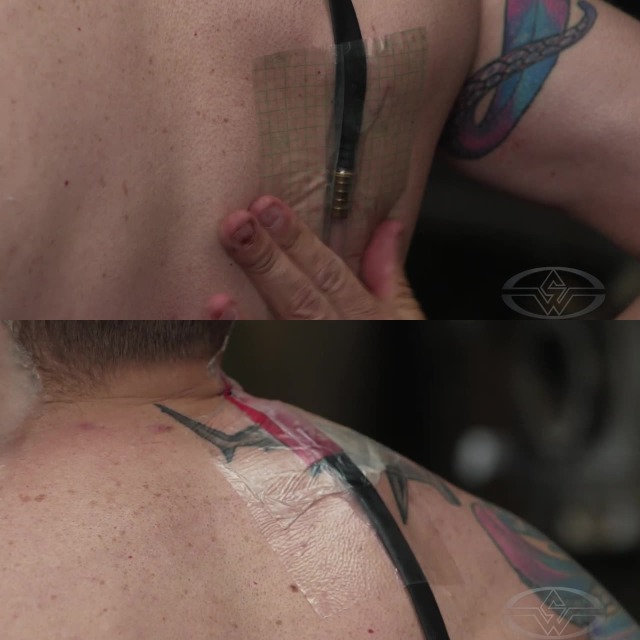 (Mike uses OpSite tape to keep the tube secure on Joey's back.)
The transparency of the OpSite tape lets you keep an eye on the tube flow. It will hold without compressing, so again the flow through the tube will be uninterrupted. Now, your tube is secured. You're nearly ready for a take.
Quick, Final Steps Before Your Blood Effect
You also need to wrangle the free end of the blood tube. In order to further prevent the tube from twisting and causing any kinks, it's a good idea to secure it, sticking it through the actor’s belt loop for instance, or zip tying it, or taping it. You want to allow the actor enough room to move and bend freely without pulling on the bladder.
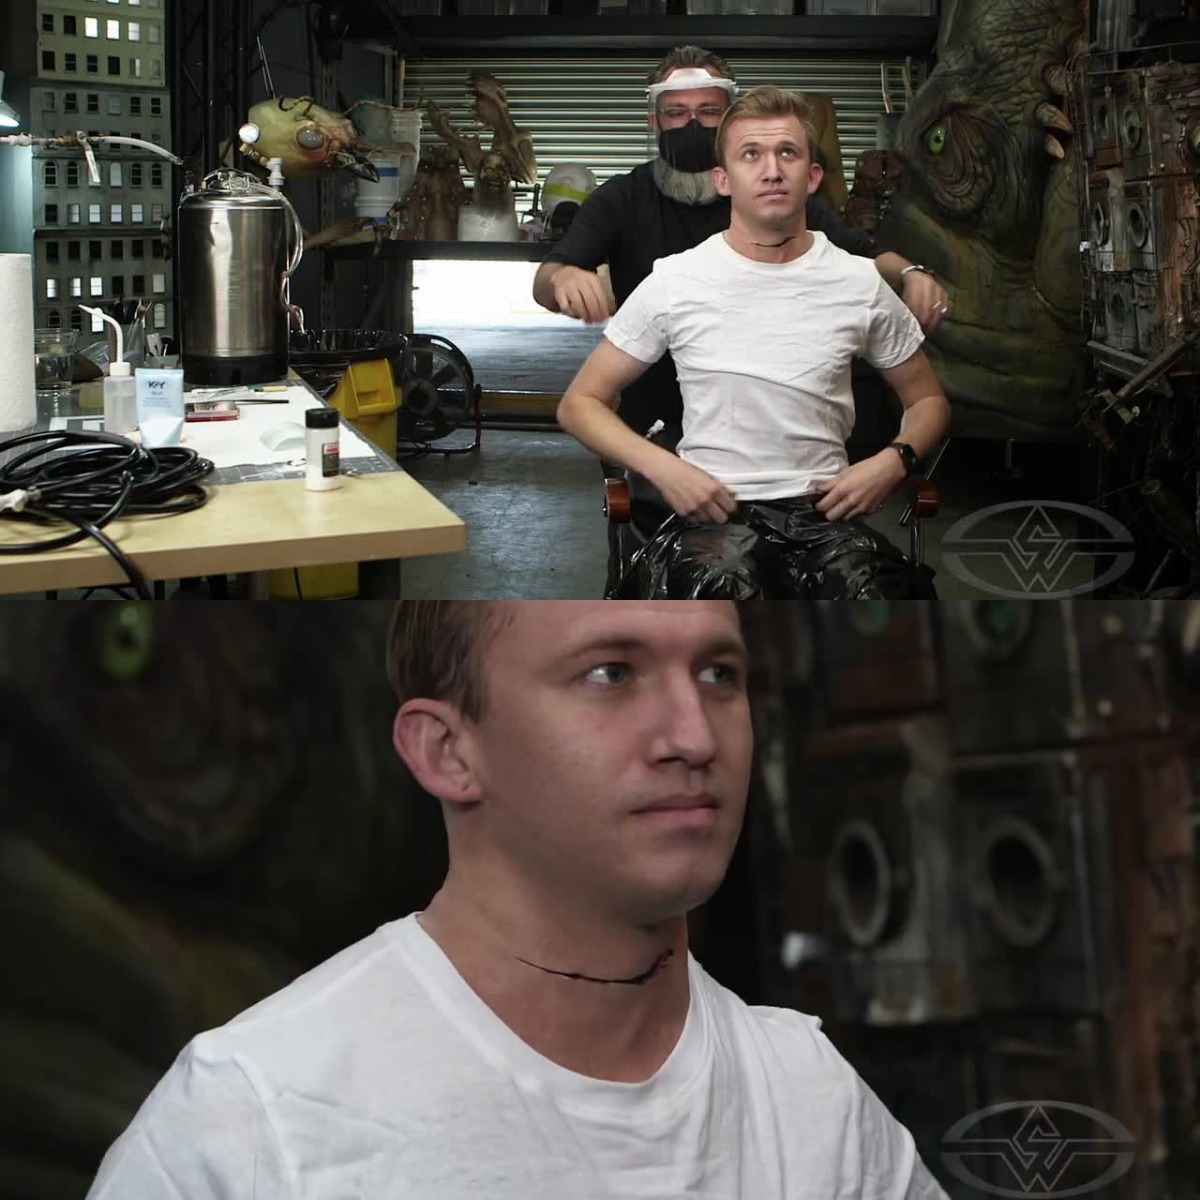 (With the tube now secure and a new shirt for Joey, Mike is ready to make a bloody mess!)
Carefully put the hero wardrobe on your actor. And just like that, you’re one step closer to creating an abso-bloody-lutely killer blood effect!
WATCH MIKE MEKASH’S “BLOOD FX: RIG, APPLY & SHOOT” COURSE: