
In this FREE excerpt from the Stan Winston School of Character Arts course, 3D Pumpkin Carving - How to Carve a Pumpkin from the Outside In, master sculptor and pumpkin carver Andy Bergholtz (Alien: Romulus, Prey, The Walking Dead) shares easy-to-follow techniques on how to attach an extra piece to a pumpkin carving, a demonstration using none other than Stan Winston’s iconic character, Pumpkinhead!
Jump To Section
- Carving the Chin of Your Pumpkin Sculpt
- Selecting and Cutting a Piece of Your Pumpkin
- Preparing and Trimming the Extra Pumpkin Piece
- Attaching Pumpkin Pieces With Super Glue and Dowels
- Refining the Chin and Reestablishing the Lower Lip
- Making Final Adjustments to Your Pumpkin Carving
To watch the complete instructional video, click the player above!
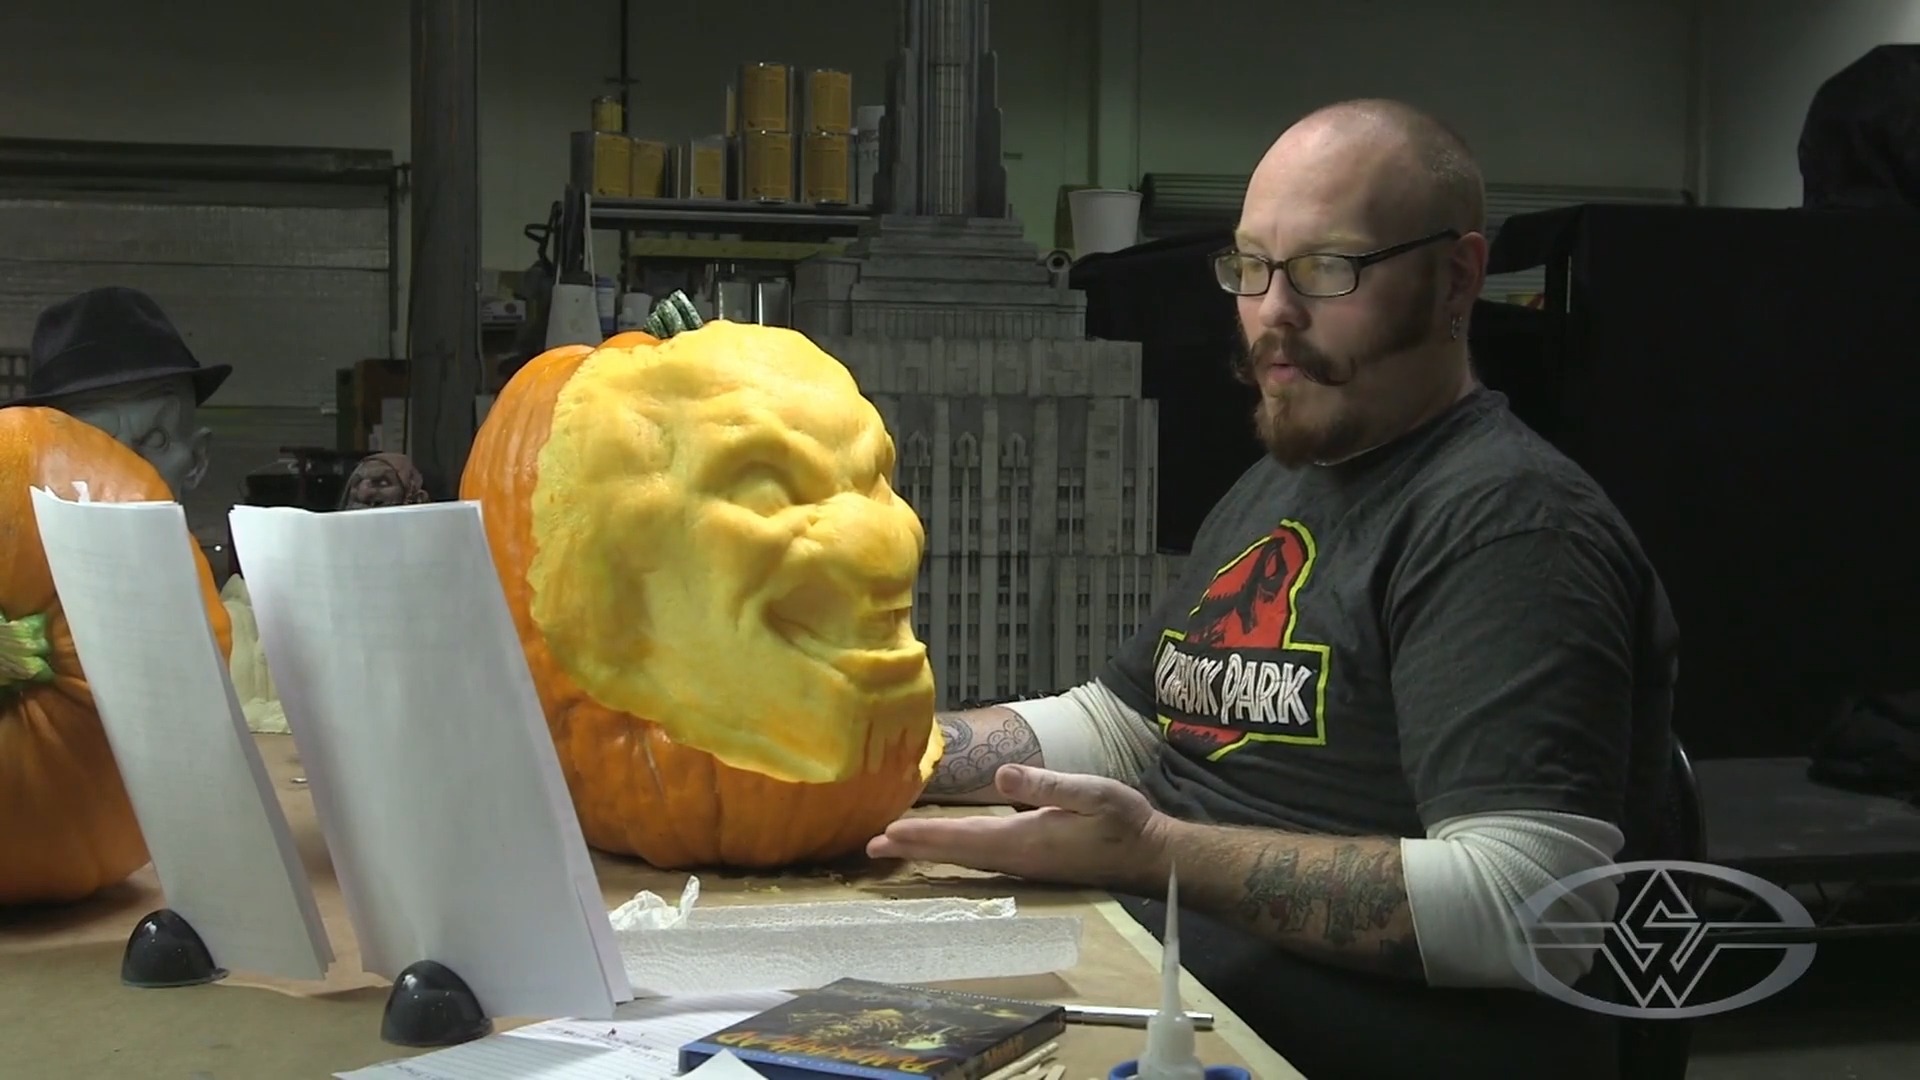
In this lesson, Bergholtz shares some darn ‘gourd’ techniques on how to build out the chin to add depth and volume to your 3D work of art. From horns to noses, whatever shape you need to add to take your pumpkin carving beyond the limits of its original form, this lesson will help you do it, whether it’s Pumpkinhead or any other character you want to create for future Halloween projects!
Carving the Chin of Your Pumpkin Sculpt
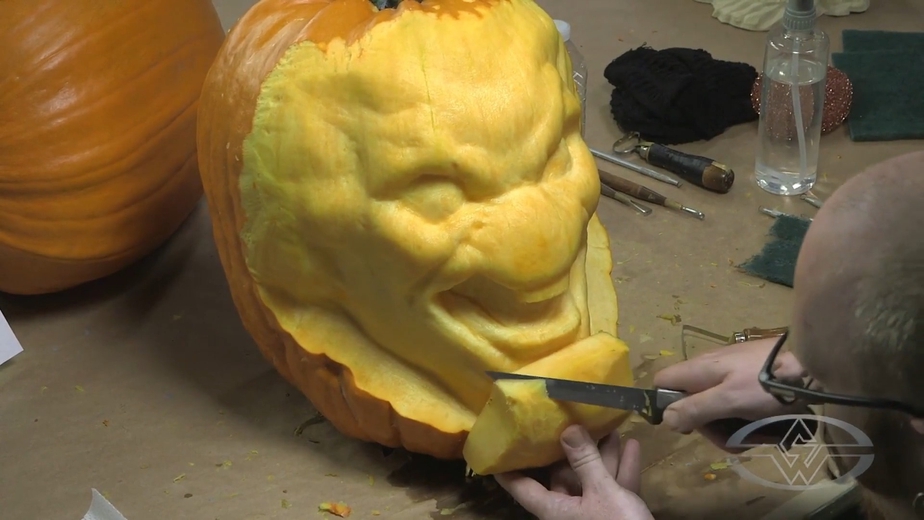
The key to creating more depth and the illusion of a more elongated form to your pumpkin carving is by adding more pumpkin as opposed to removing any material. To get started, cut a very flat edge off the chin, or wherever you're going to attach your new shape.
Pro-tip: An ideal tool for creating a flat edge where you plan to glue a new piece of pumpkin is the rasp, aka scraper. But while the tool is handy, it's not strictly necessary. Bergholtz uses a steak knife here in this lesson.
Make your cut carefully so it's straight, leaving a flat surface.
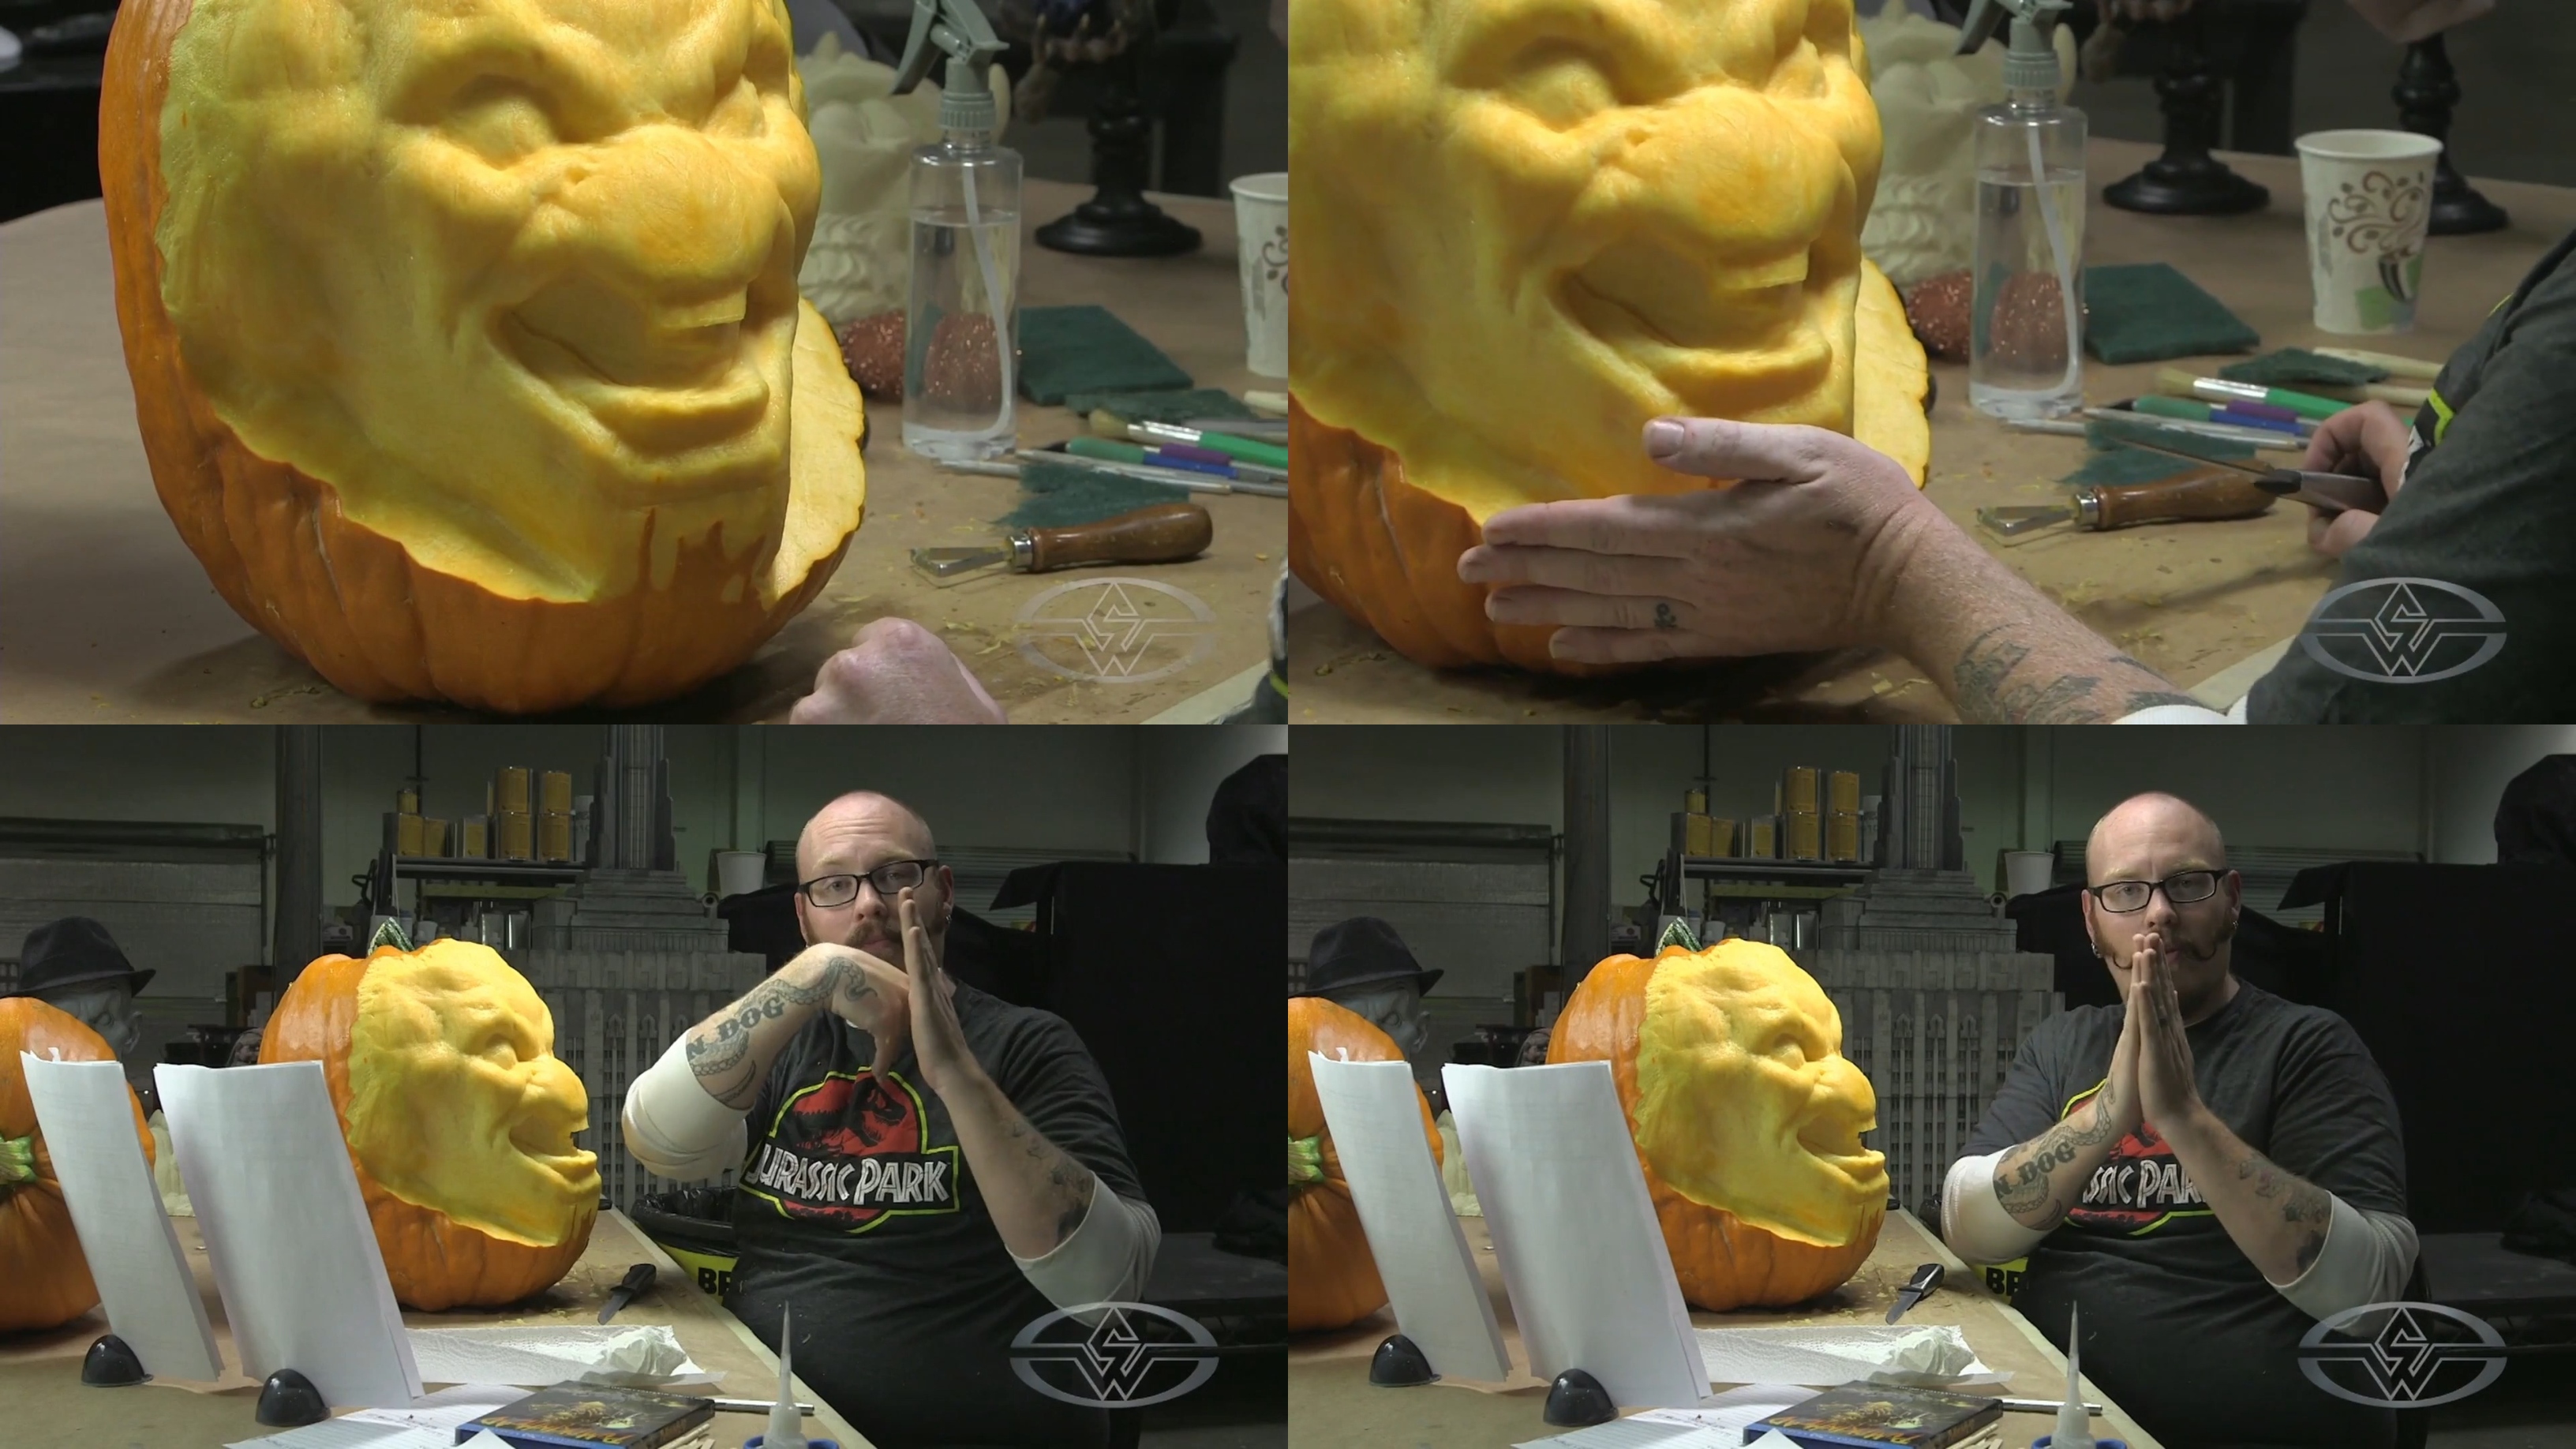 (Andy Bergholtz indicates where his chin extension will be and uses his hands to show the ideal attachment, flat-to-flat, rather than round-to-flat.)
When you join two surfaces, you want as much surface area as possible, so avoid gluing a flat piece of pumpkin to a rounded, carved area, which will not be as secure or easy to carve.
 (Using a steak knife, Andy Bergholtz cuts the chin of his pumpkin carving to create a flatter surface.)
“It doesn’t have to be perfect,” Bergholtz says. “You’d be surprised how forgiving this material [pumpkin] is when it comes to blending and softening the surface.”
Selecting and Cutting a Piece of Your Pumpkin
Next, find a piece of pumpkin for your add-on part. You might just take a chunk from the backside of your pumpkin as your “donor” chunk. Using the same pumpkin for your add-on pieces keeps the shade consistent instead of reaching for another since each pumpkin can slightly vary in color.
Pro-tip: For add-on parts meant to be different, such as teeth or horns, you can use a different shade of pumpkin, for example, one with more pale pumpkin flesh. The contrast of the different flesh can enhance your effect. (Plus, you can still say your piece is 100% made of pumpkin!)
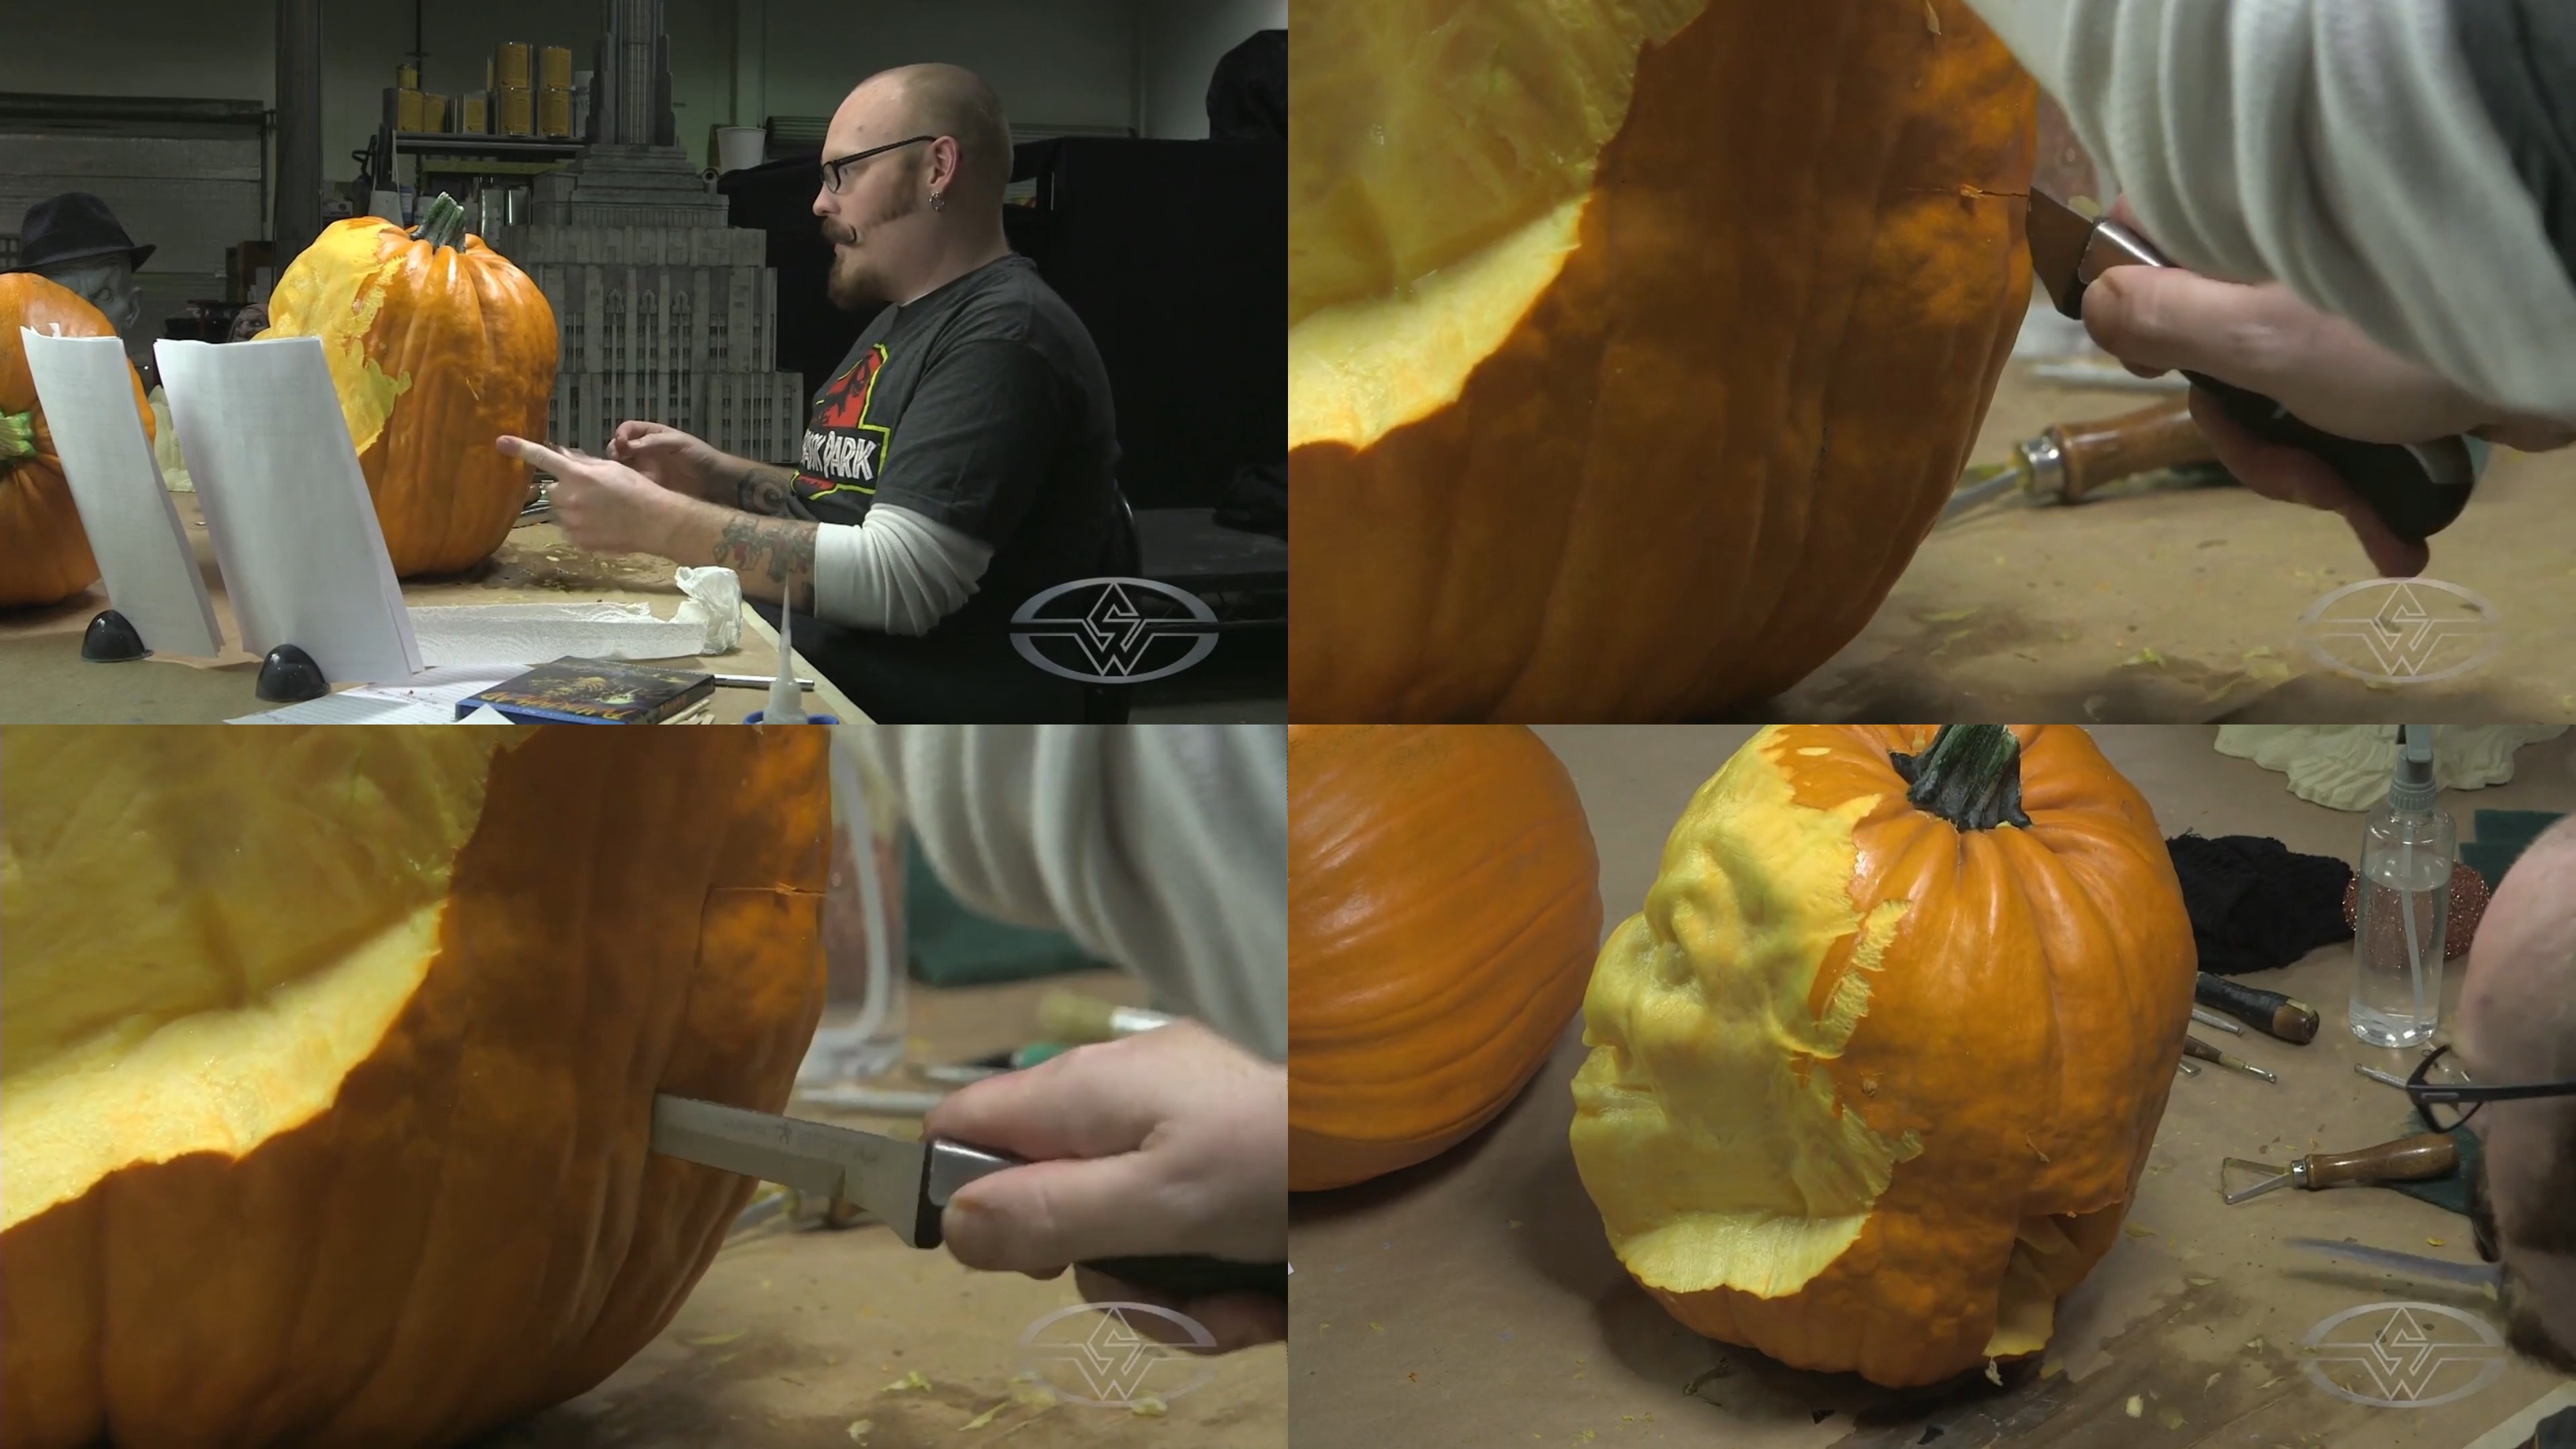 (Andy Bergholtz selects a spot on the back and carves out a "donor" chunk of his pumpkin that will be reattached to form Pumpkinhead's new chin.)
Once you’ve decided where to get your donor piece, cut the piece out entirely with deep knife cuts, just as you would cut an eye into a traditional jack-o'-lantern.
Don’t worry about cutting out a perfect shape the first time. You can cut a few chunks before getting the “right” one.
Preparing and Trimming the Extra Pumpkin Piece
Your chunk of pumpkin most likely includes the stringy guts and perhaps even seeds of the pumpkin. You will need to trim those clean.
Be sure to work conservatively, cutting away only the shredded part of the pumpkin and keeping the meat. The meat is what has volume and what you’ll be carving once attached to your head, so preserve as much of the meat as possible, while discarding the fibrous strands and seeds.
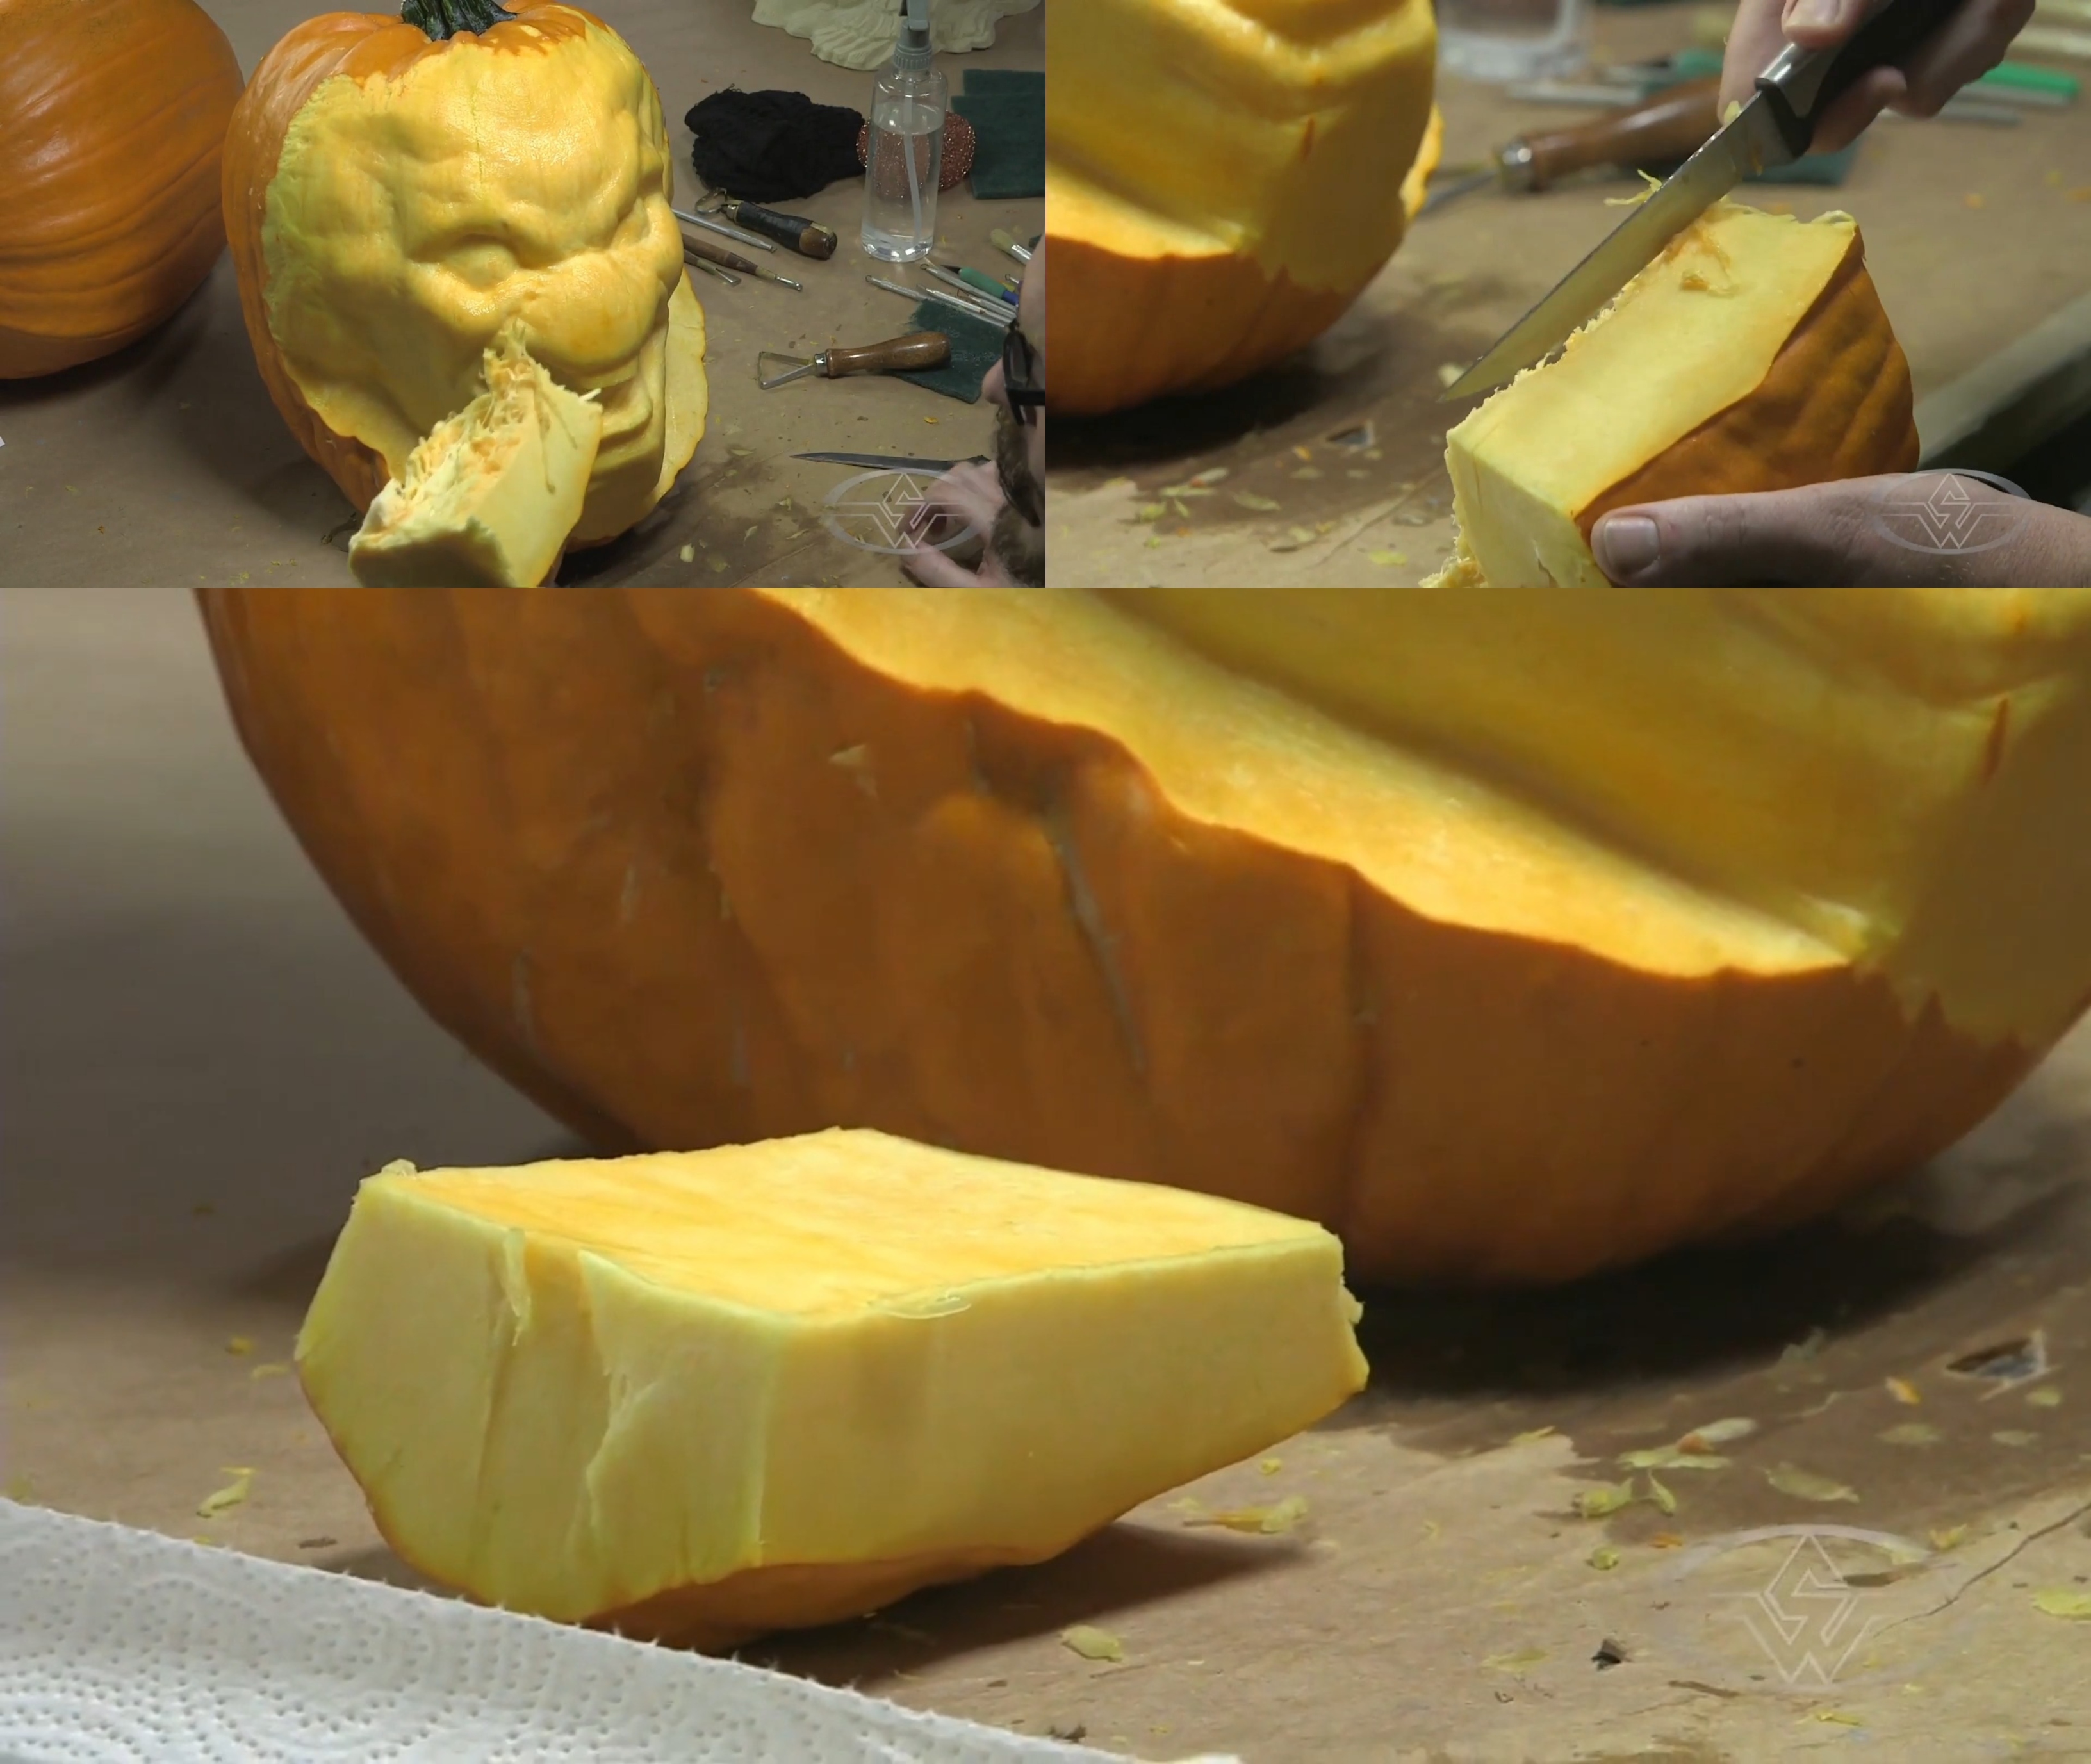 (Andy Bergholtz carefully trims away the pumpkin guts, making sure not to cut too deeply into the meat.)
When you have your chunk sliced, place it to see how it lies and to get a sense of how the two pieces match up.
 (Andy Bergholtz cuts more meat off the chin and sees how the two pieces match up.)
In truth, neither of the pieces of pumpkin--the hero nor the new chunk--will be perfectly flat, but it doesn't matter too much. It helps to use a loop tool or rasp to create a flatter surface and allow them to match up.
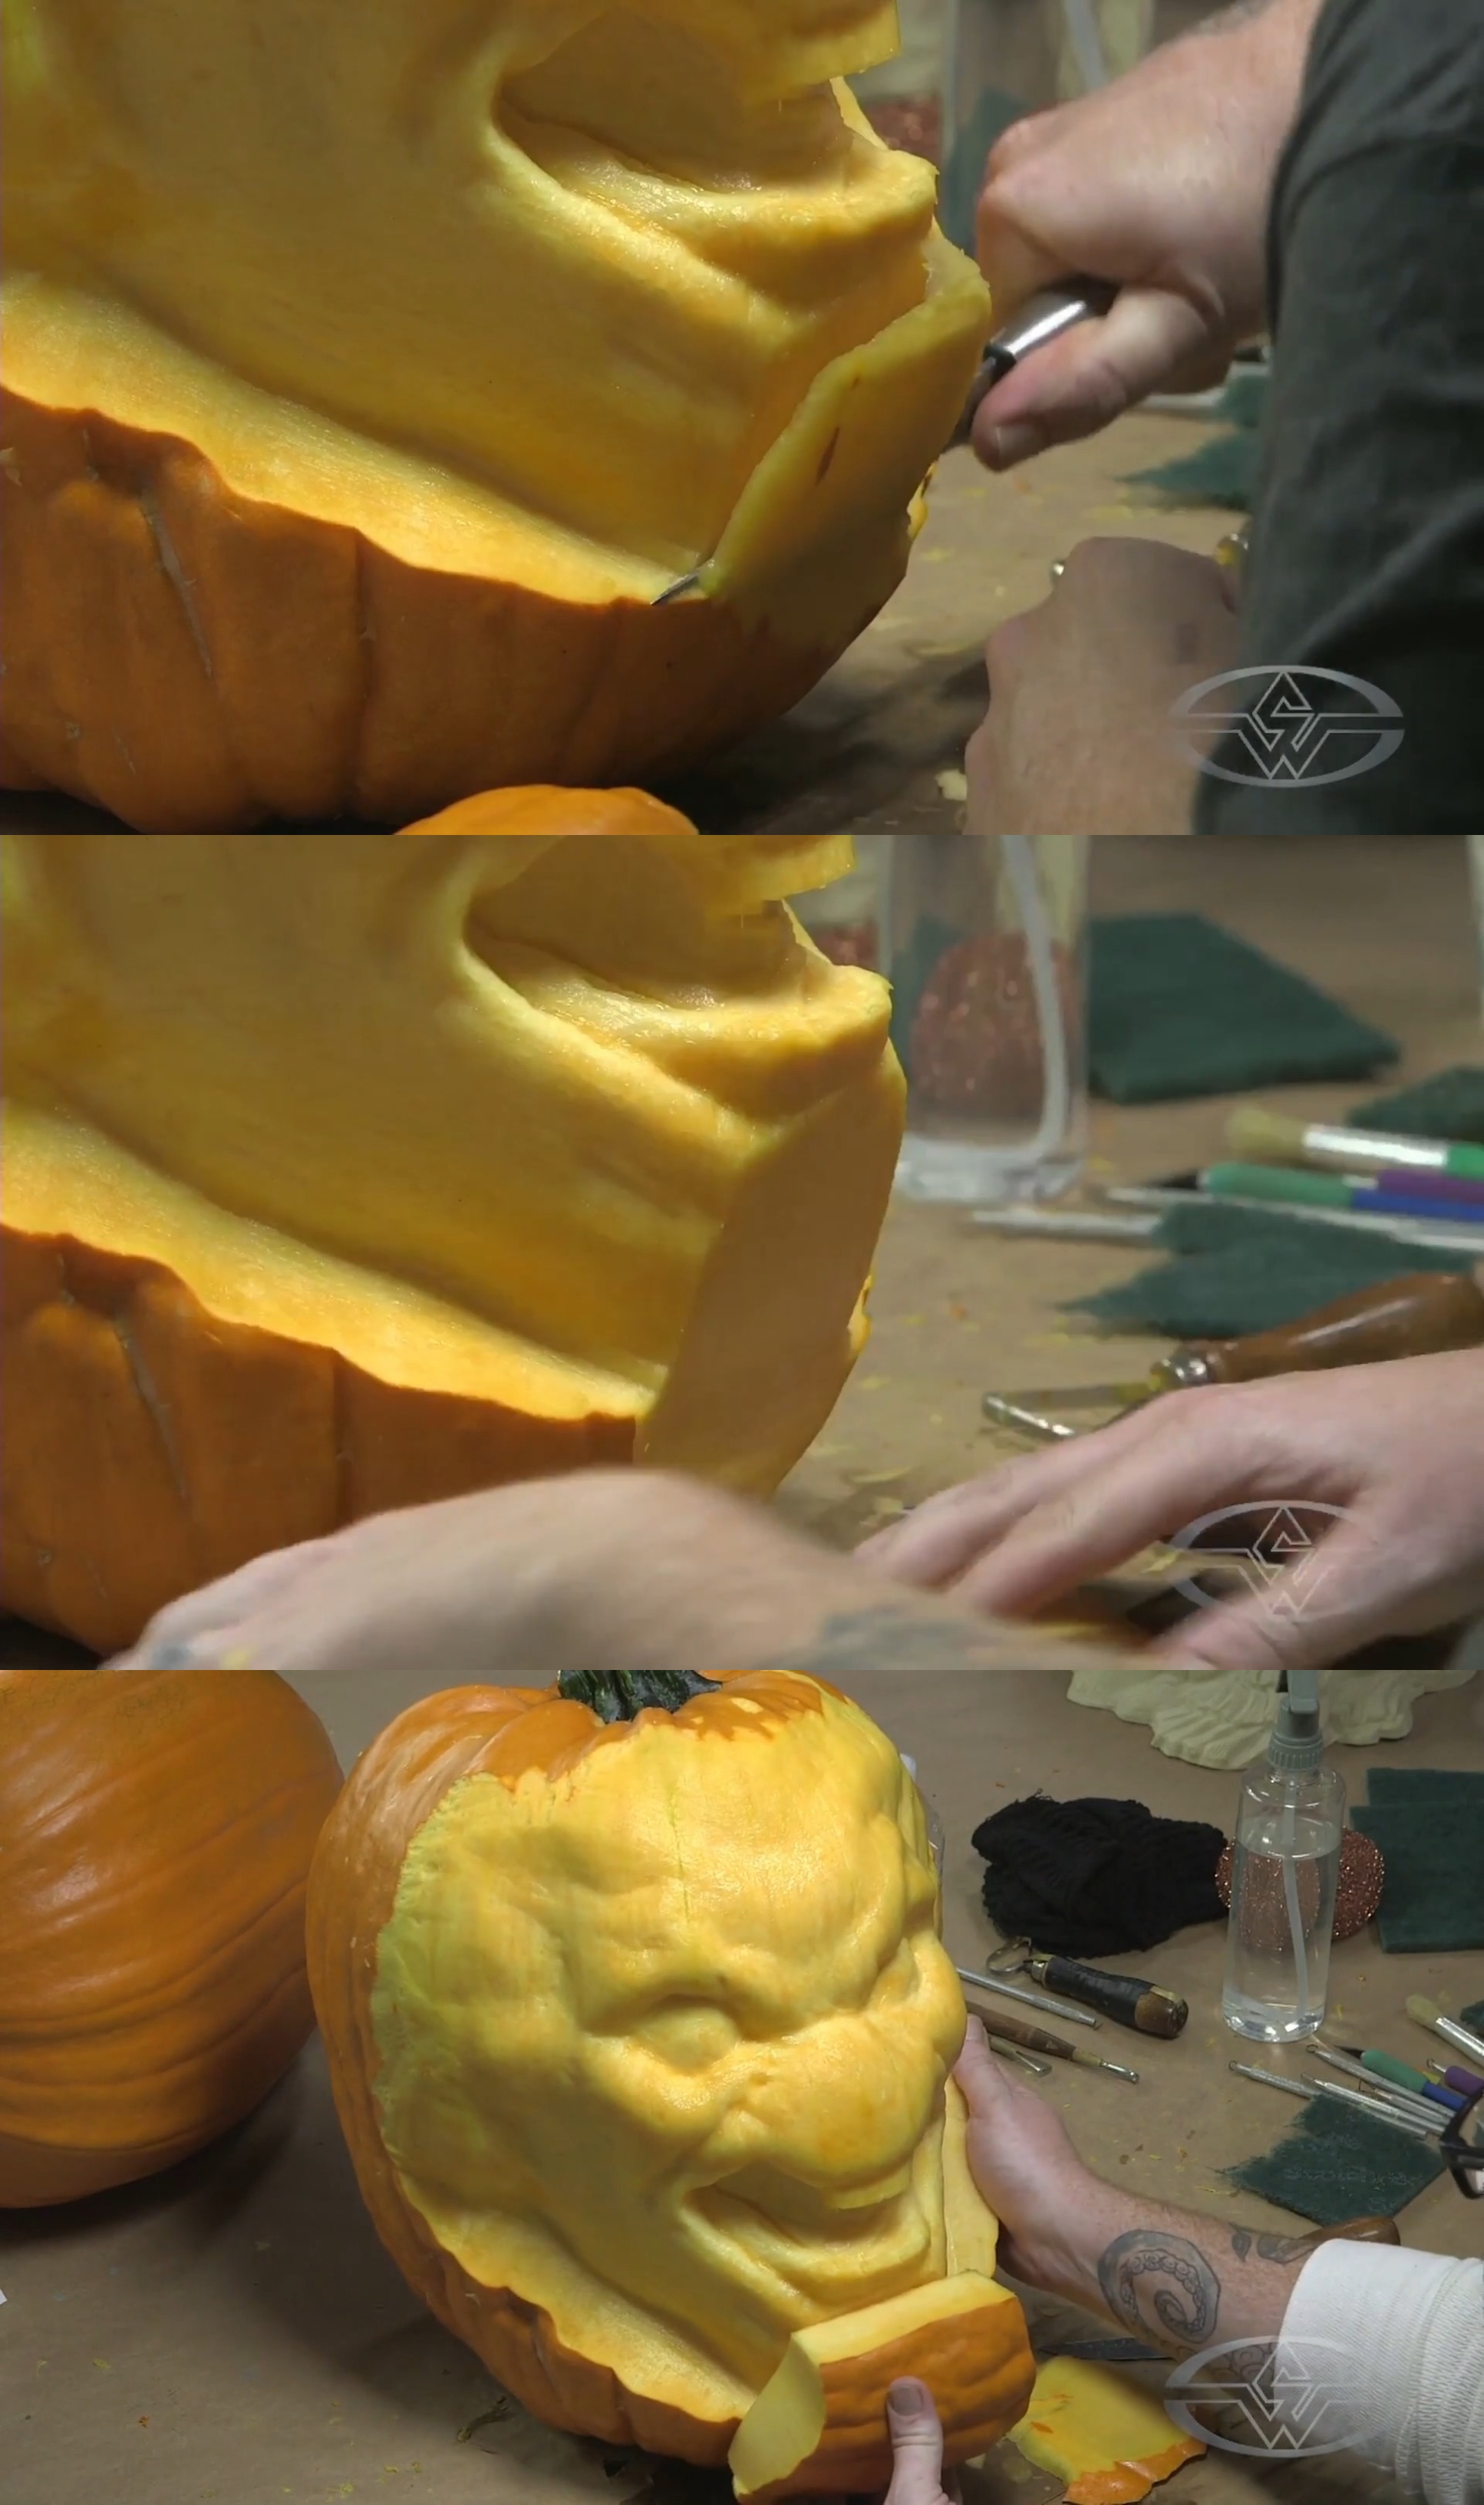
 (Andy Bergholtz continues to carve away to make as flat a surface as he can using a loop tool and places the pumpkin piece against his carving.)
Don’t worry about perfection—rather, try to match the flatness as best as you can.
Attaching Pumpkin Pieces With Super Glue and Dowels
Joining pumpkin pieces together is actually very simple, according to Bergholtz. You’ll only need super glue to bond the pieces and wooden dowels to reinforce them. You could alternatively use toothpicks, chopsticks, shrimp skewers—essentially anything that can serve as a sharp peg to connect the two shapes.
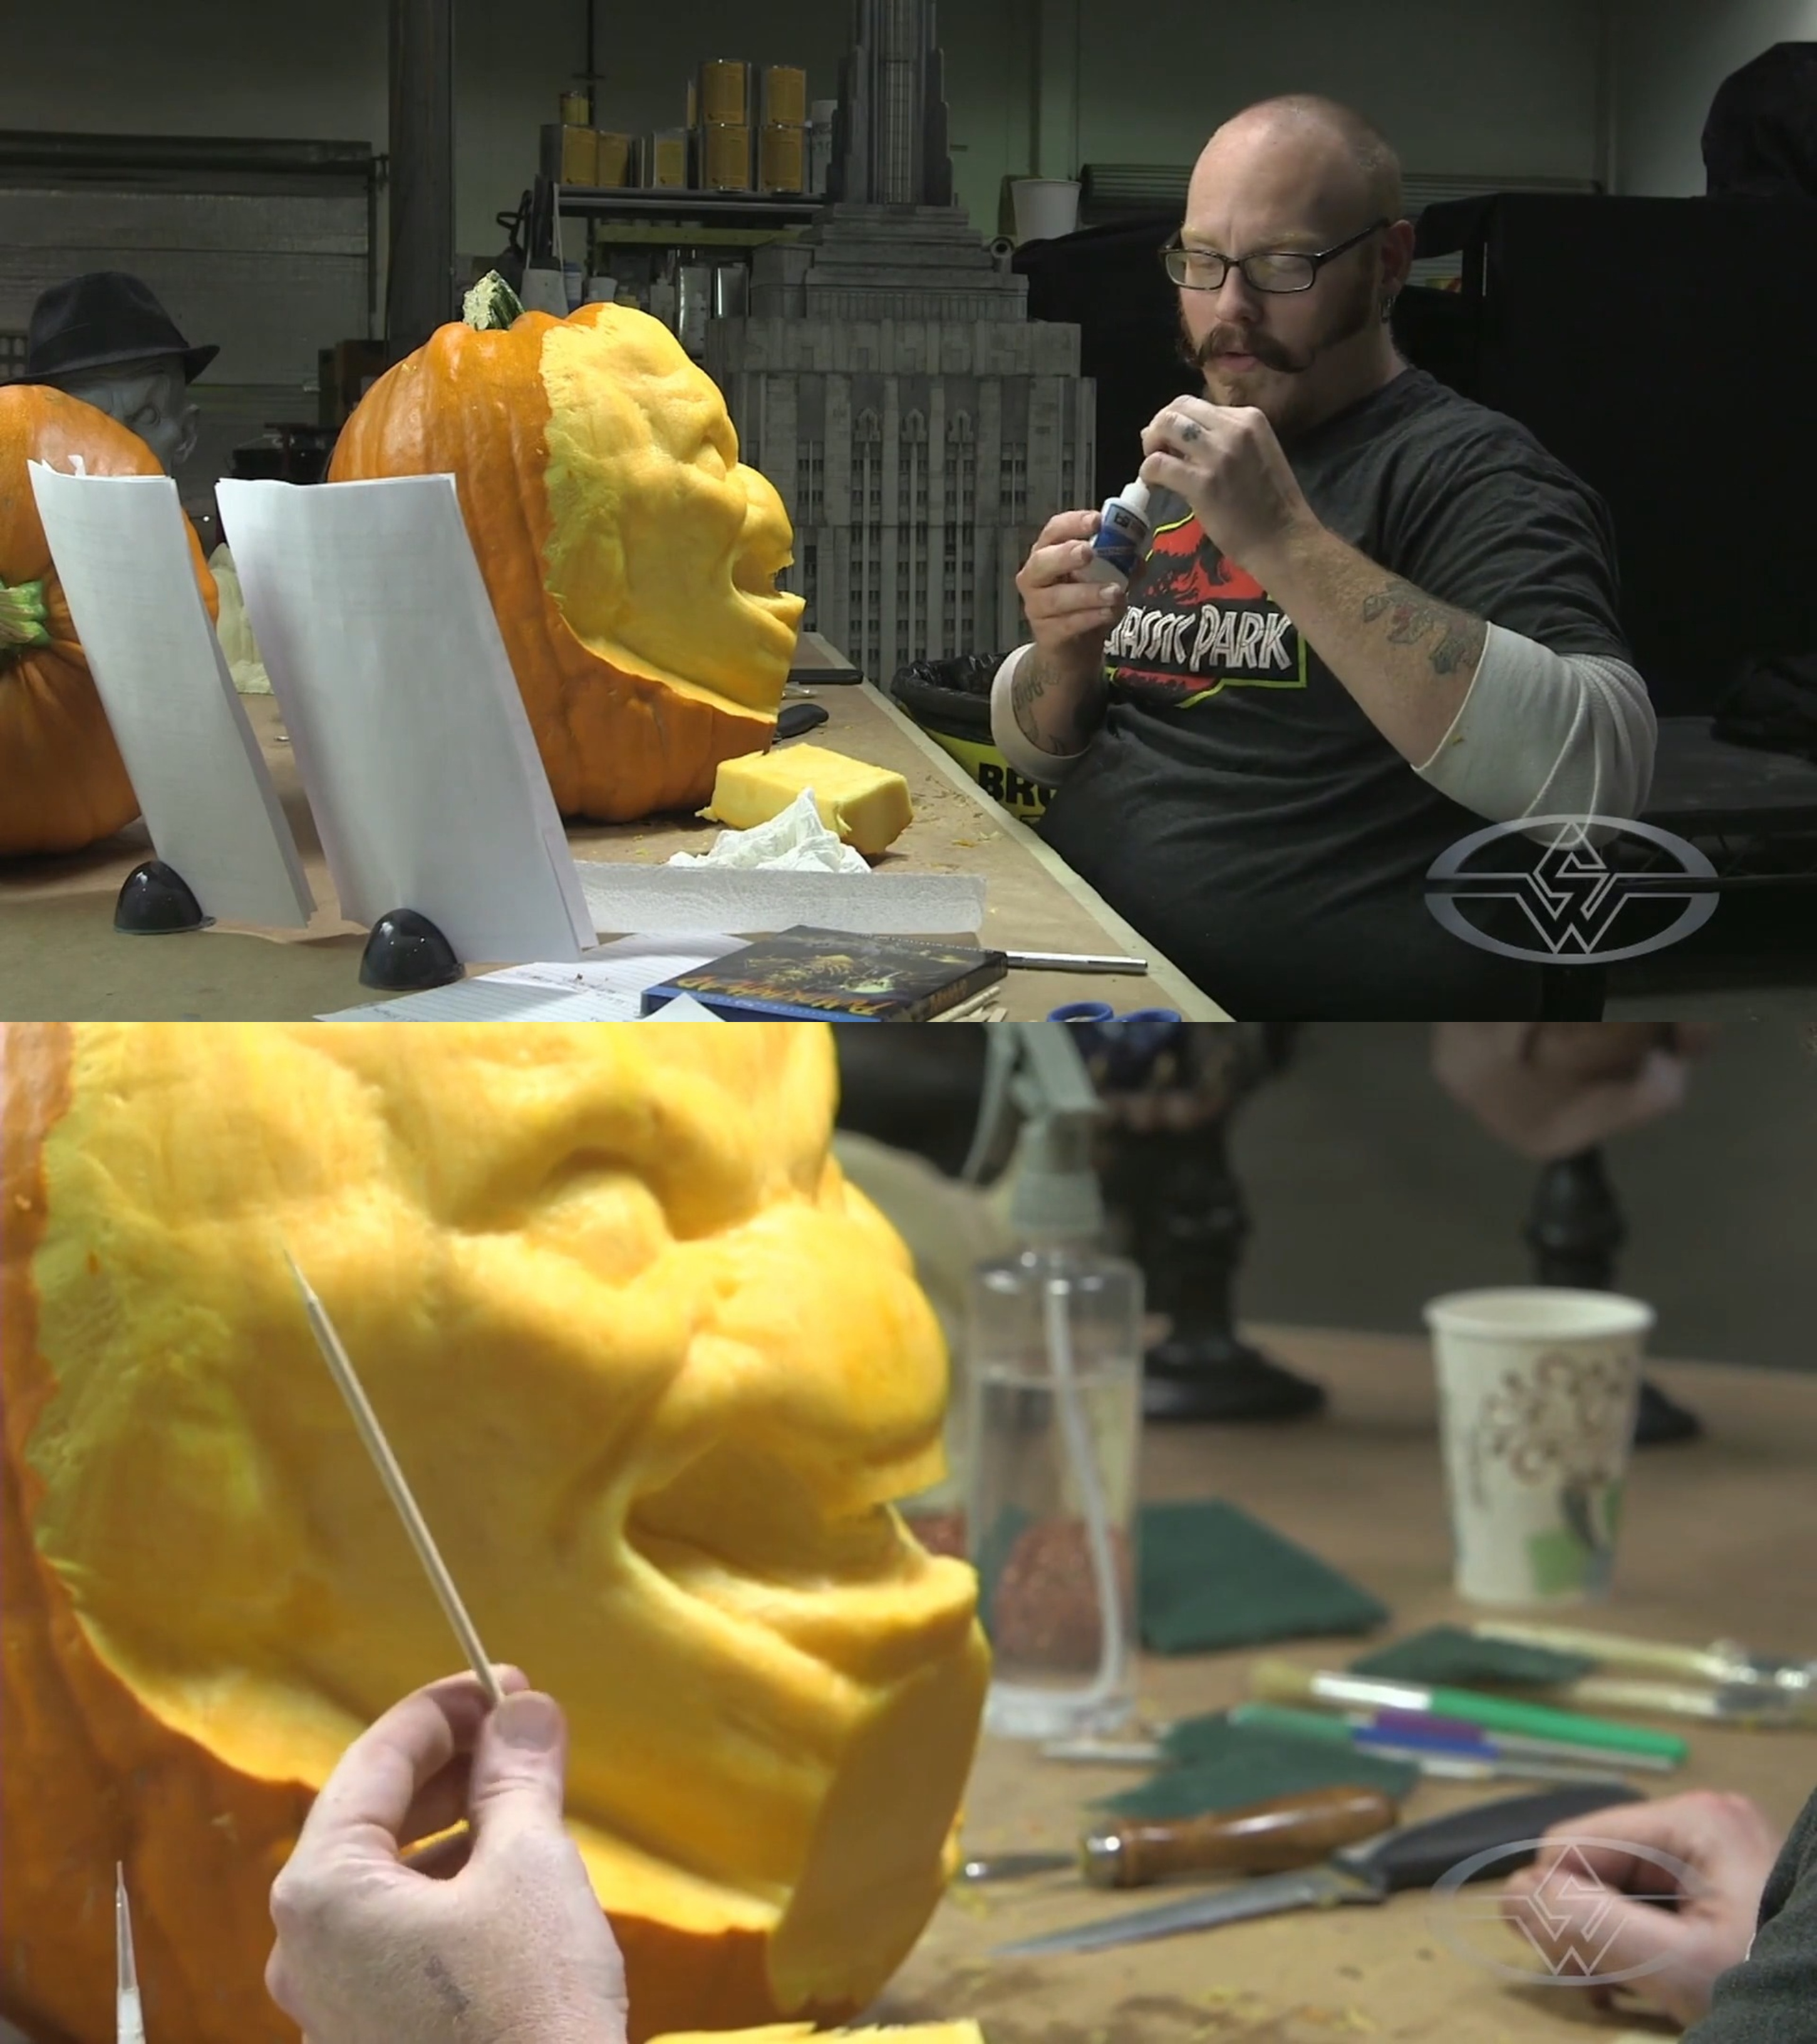 (Two must-haves for pumpkin carving: super glue and wooden dowels!)
Before attaching the two pieces, use a loop tool and knife to completely remove the orange rind from the donor pumpkin.
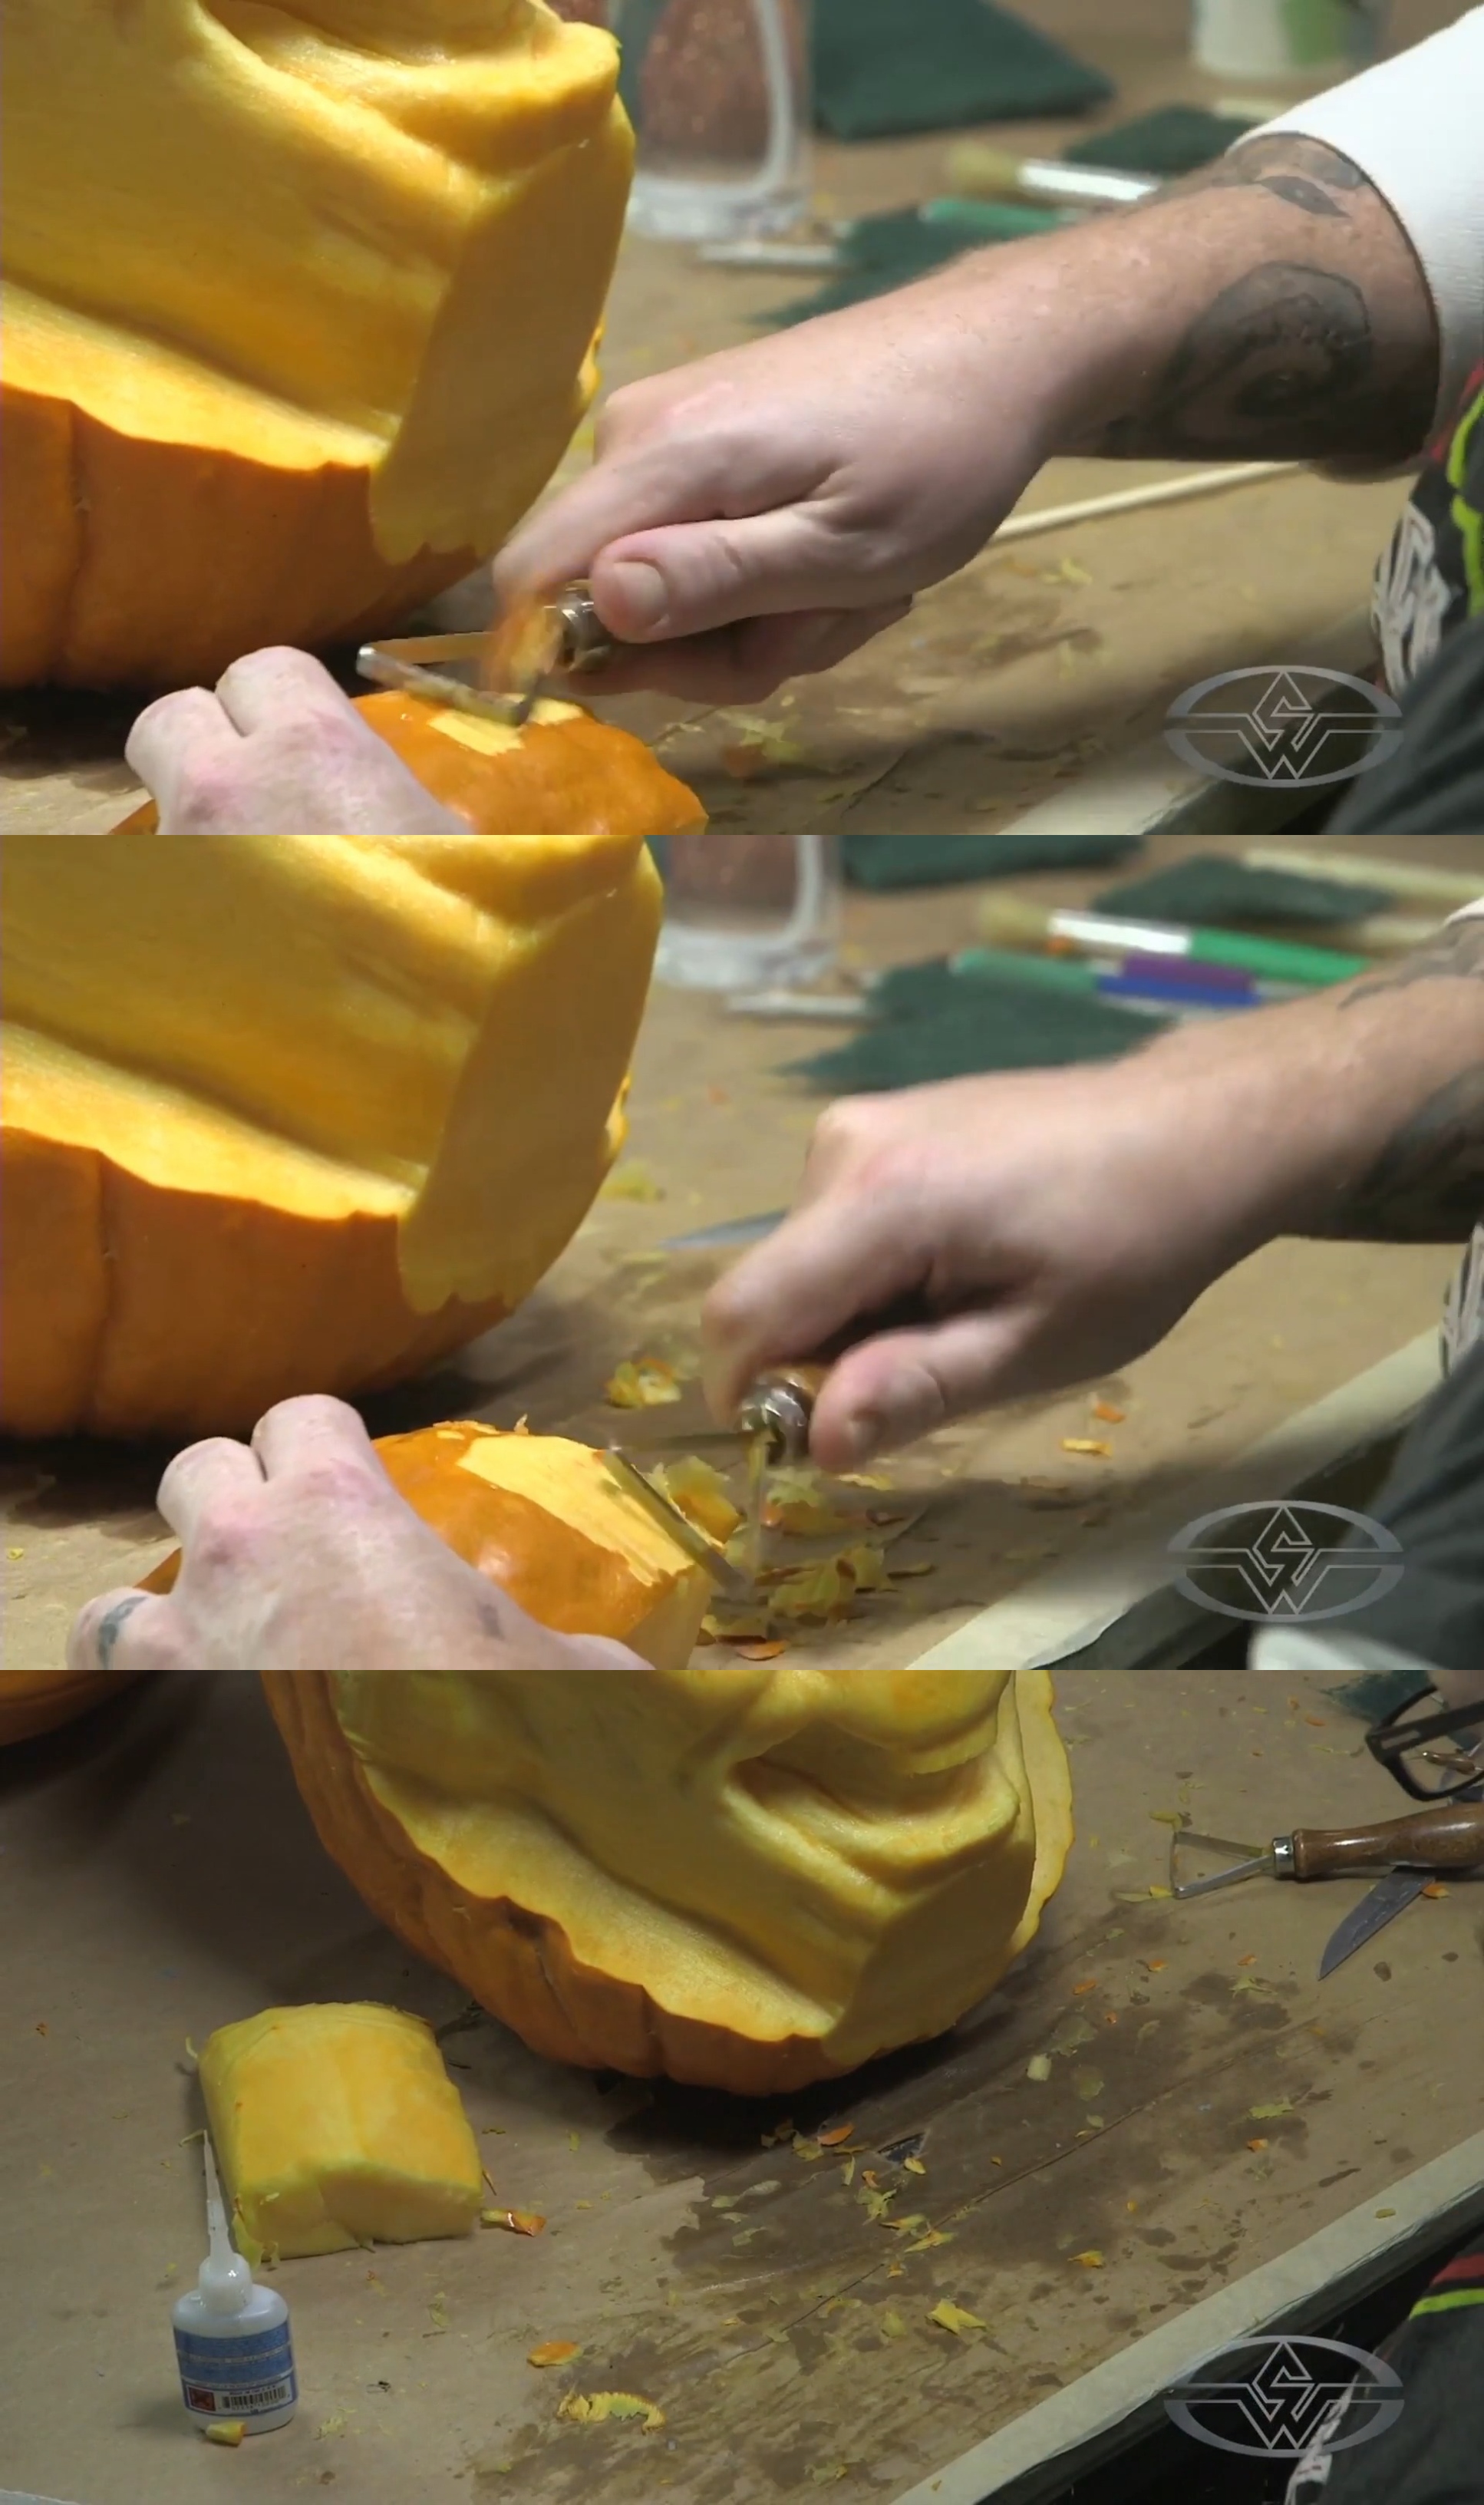 (Andy Bergholtz completely removes the pumpkin rind before attaching the new piece to his carving.)
If you had to carve the hard rind off after attaching, it could dislodge your recently glued piece; therefore, it's better to remove the rind as soon as possible. Then, once you know where you want to place your pumpkin piece and are happy with the size, it’s time to attach it.
Take two sharpened pegs and cut them to a length of about 2–3 inches. You could alternatively use toothpicks, though you'd want more than two for security. Whichever you choose, be mindful that they don’t have to penetrate too far into the pumpkin and should just help reinforce the connection point.
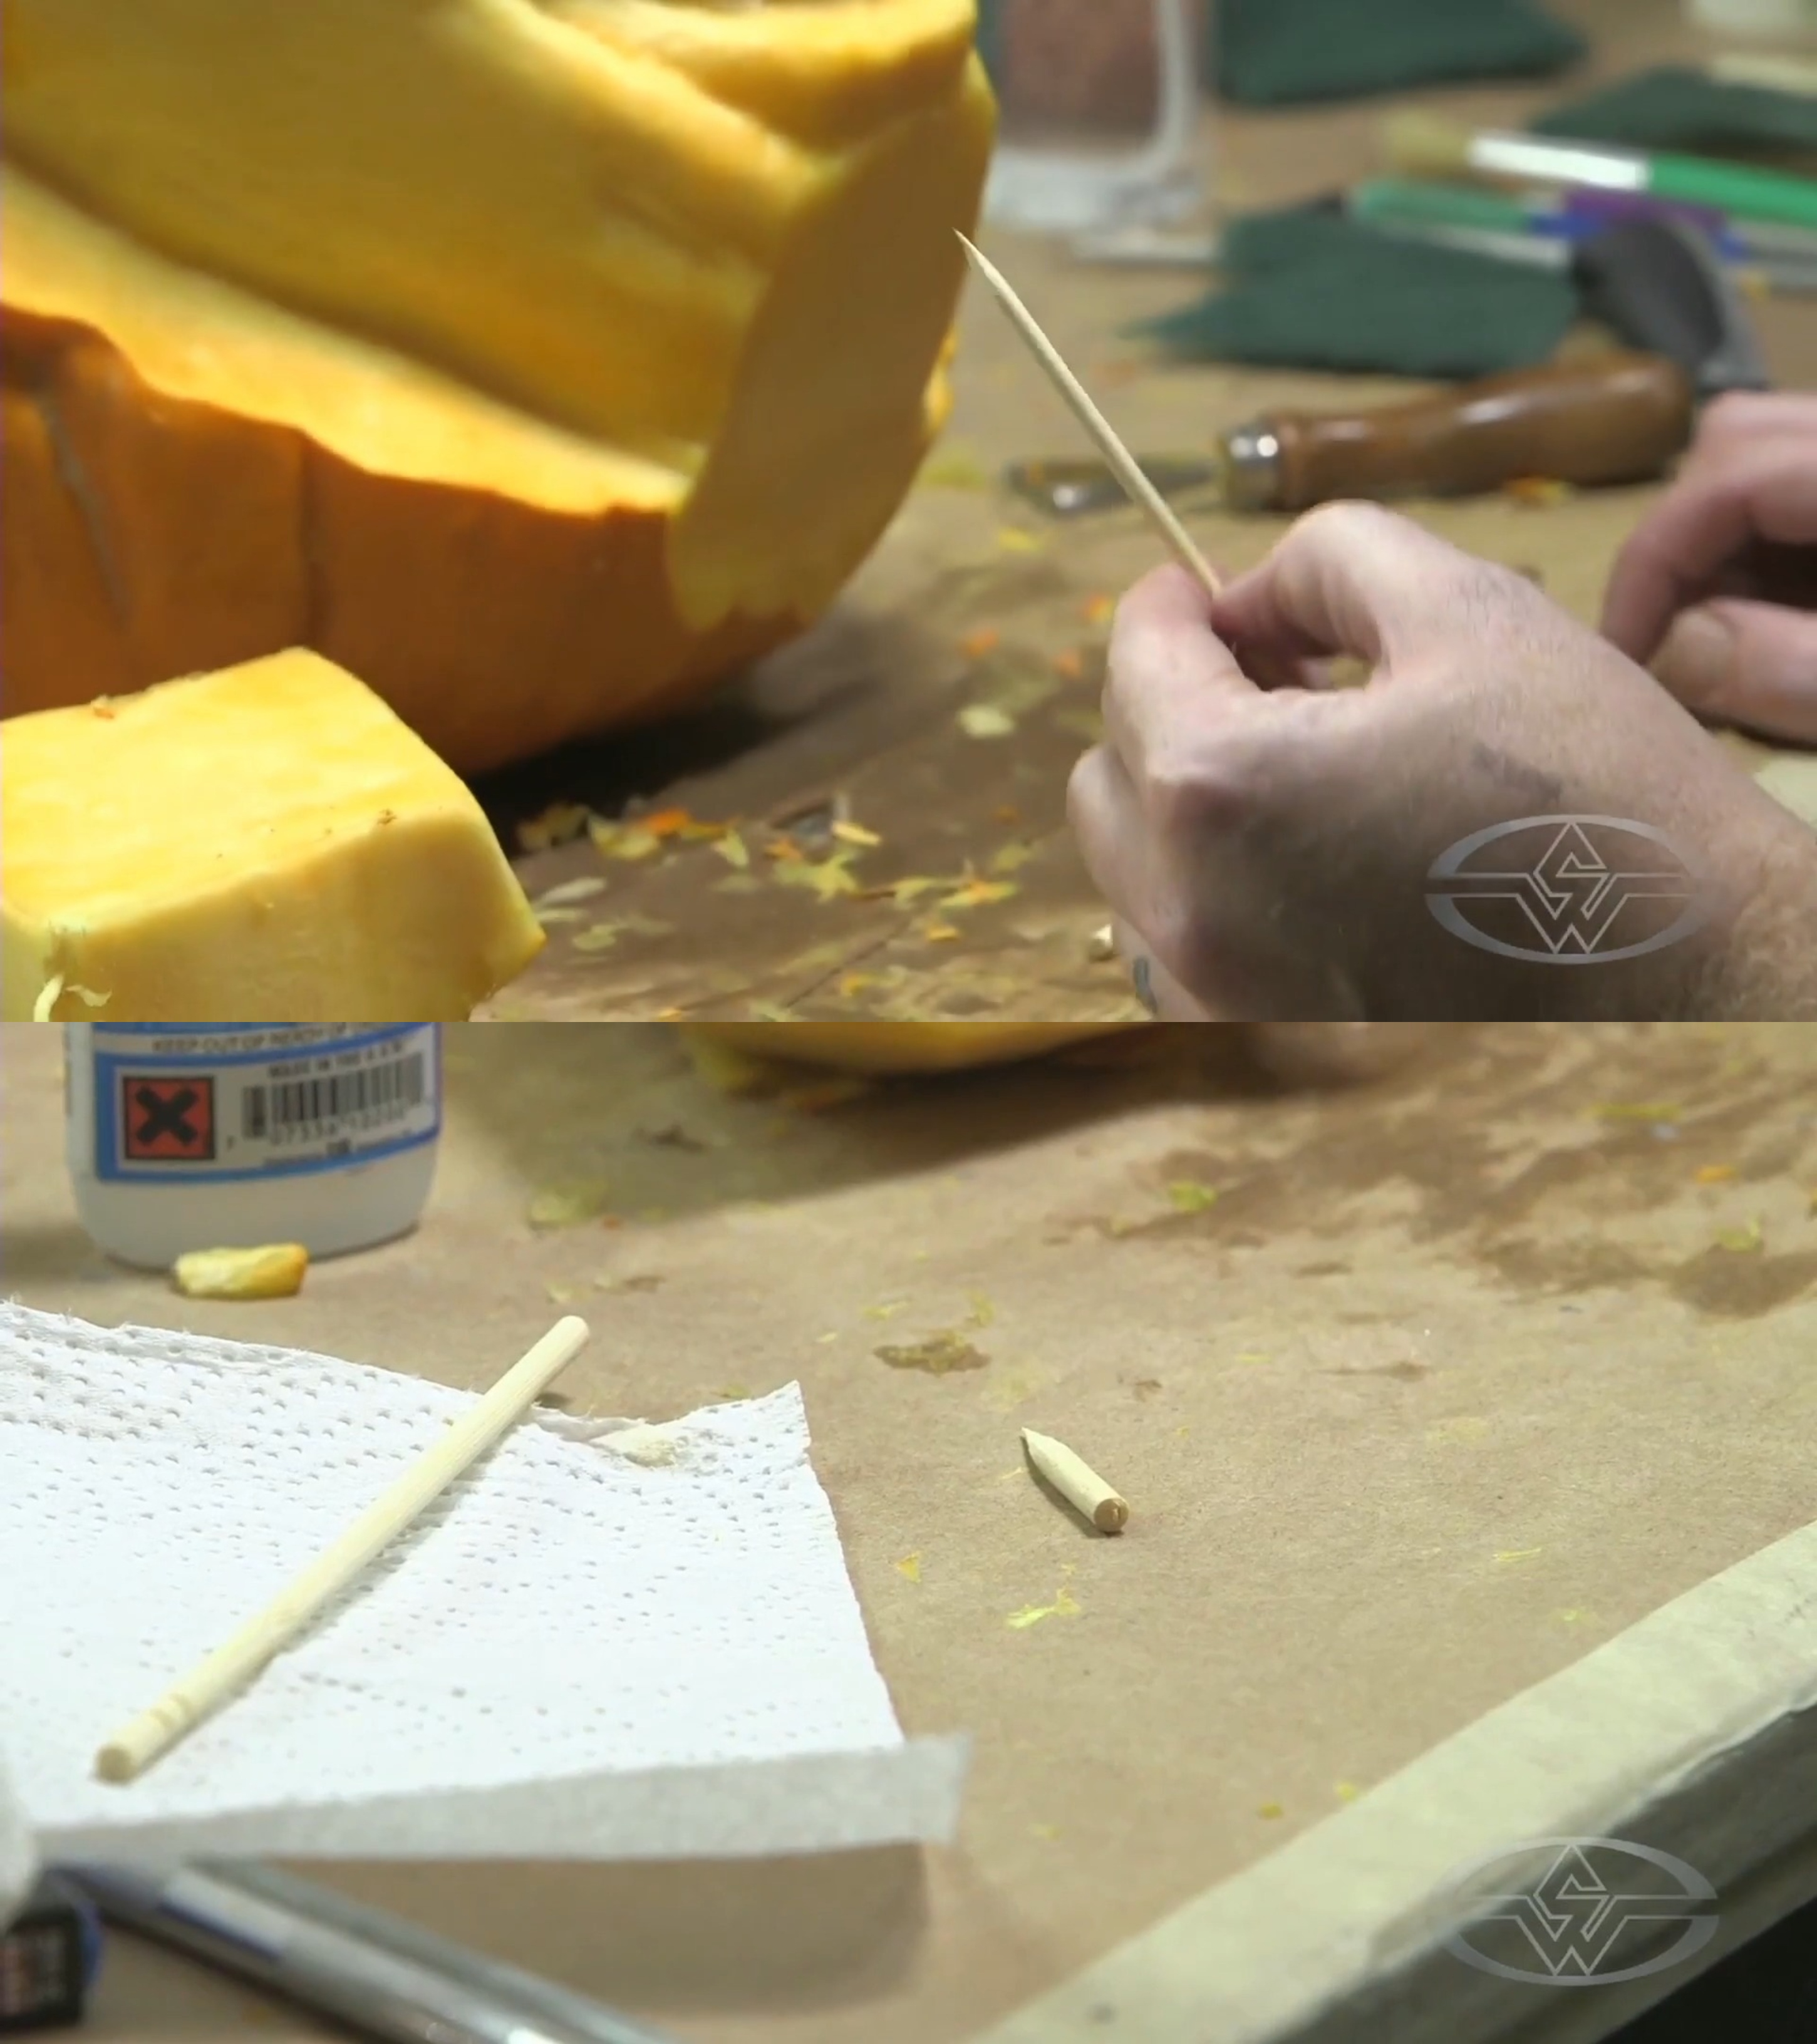 (To create his pegs for pumpkin carving, Andy Bergholtz cuts his dowels to just a few inches.)
Shove the small, sharpened pegs flat-end first into the connection point. The flat edge will give some counter pressure as you slide the pumpkin on.
Gently poke the dowel slightly into the pumpkin. Avoid poking it all the way through to ensure you have some resistance when pressing the added pumpkin piece into place.
In Bergholtz’s experience, he cautions to be mindful of the dowel placement so your carving won't interfere with the dowels. This might mean placing the dowels lower or higher than the center.
Next, glue both the chin and the extra pumpkin piece, pressing the extra piece into the pointy-end of the dowels, and hold the now combined piece for a few seconds.
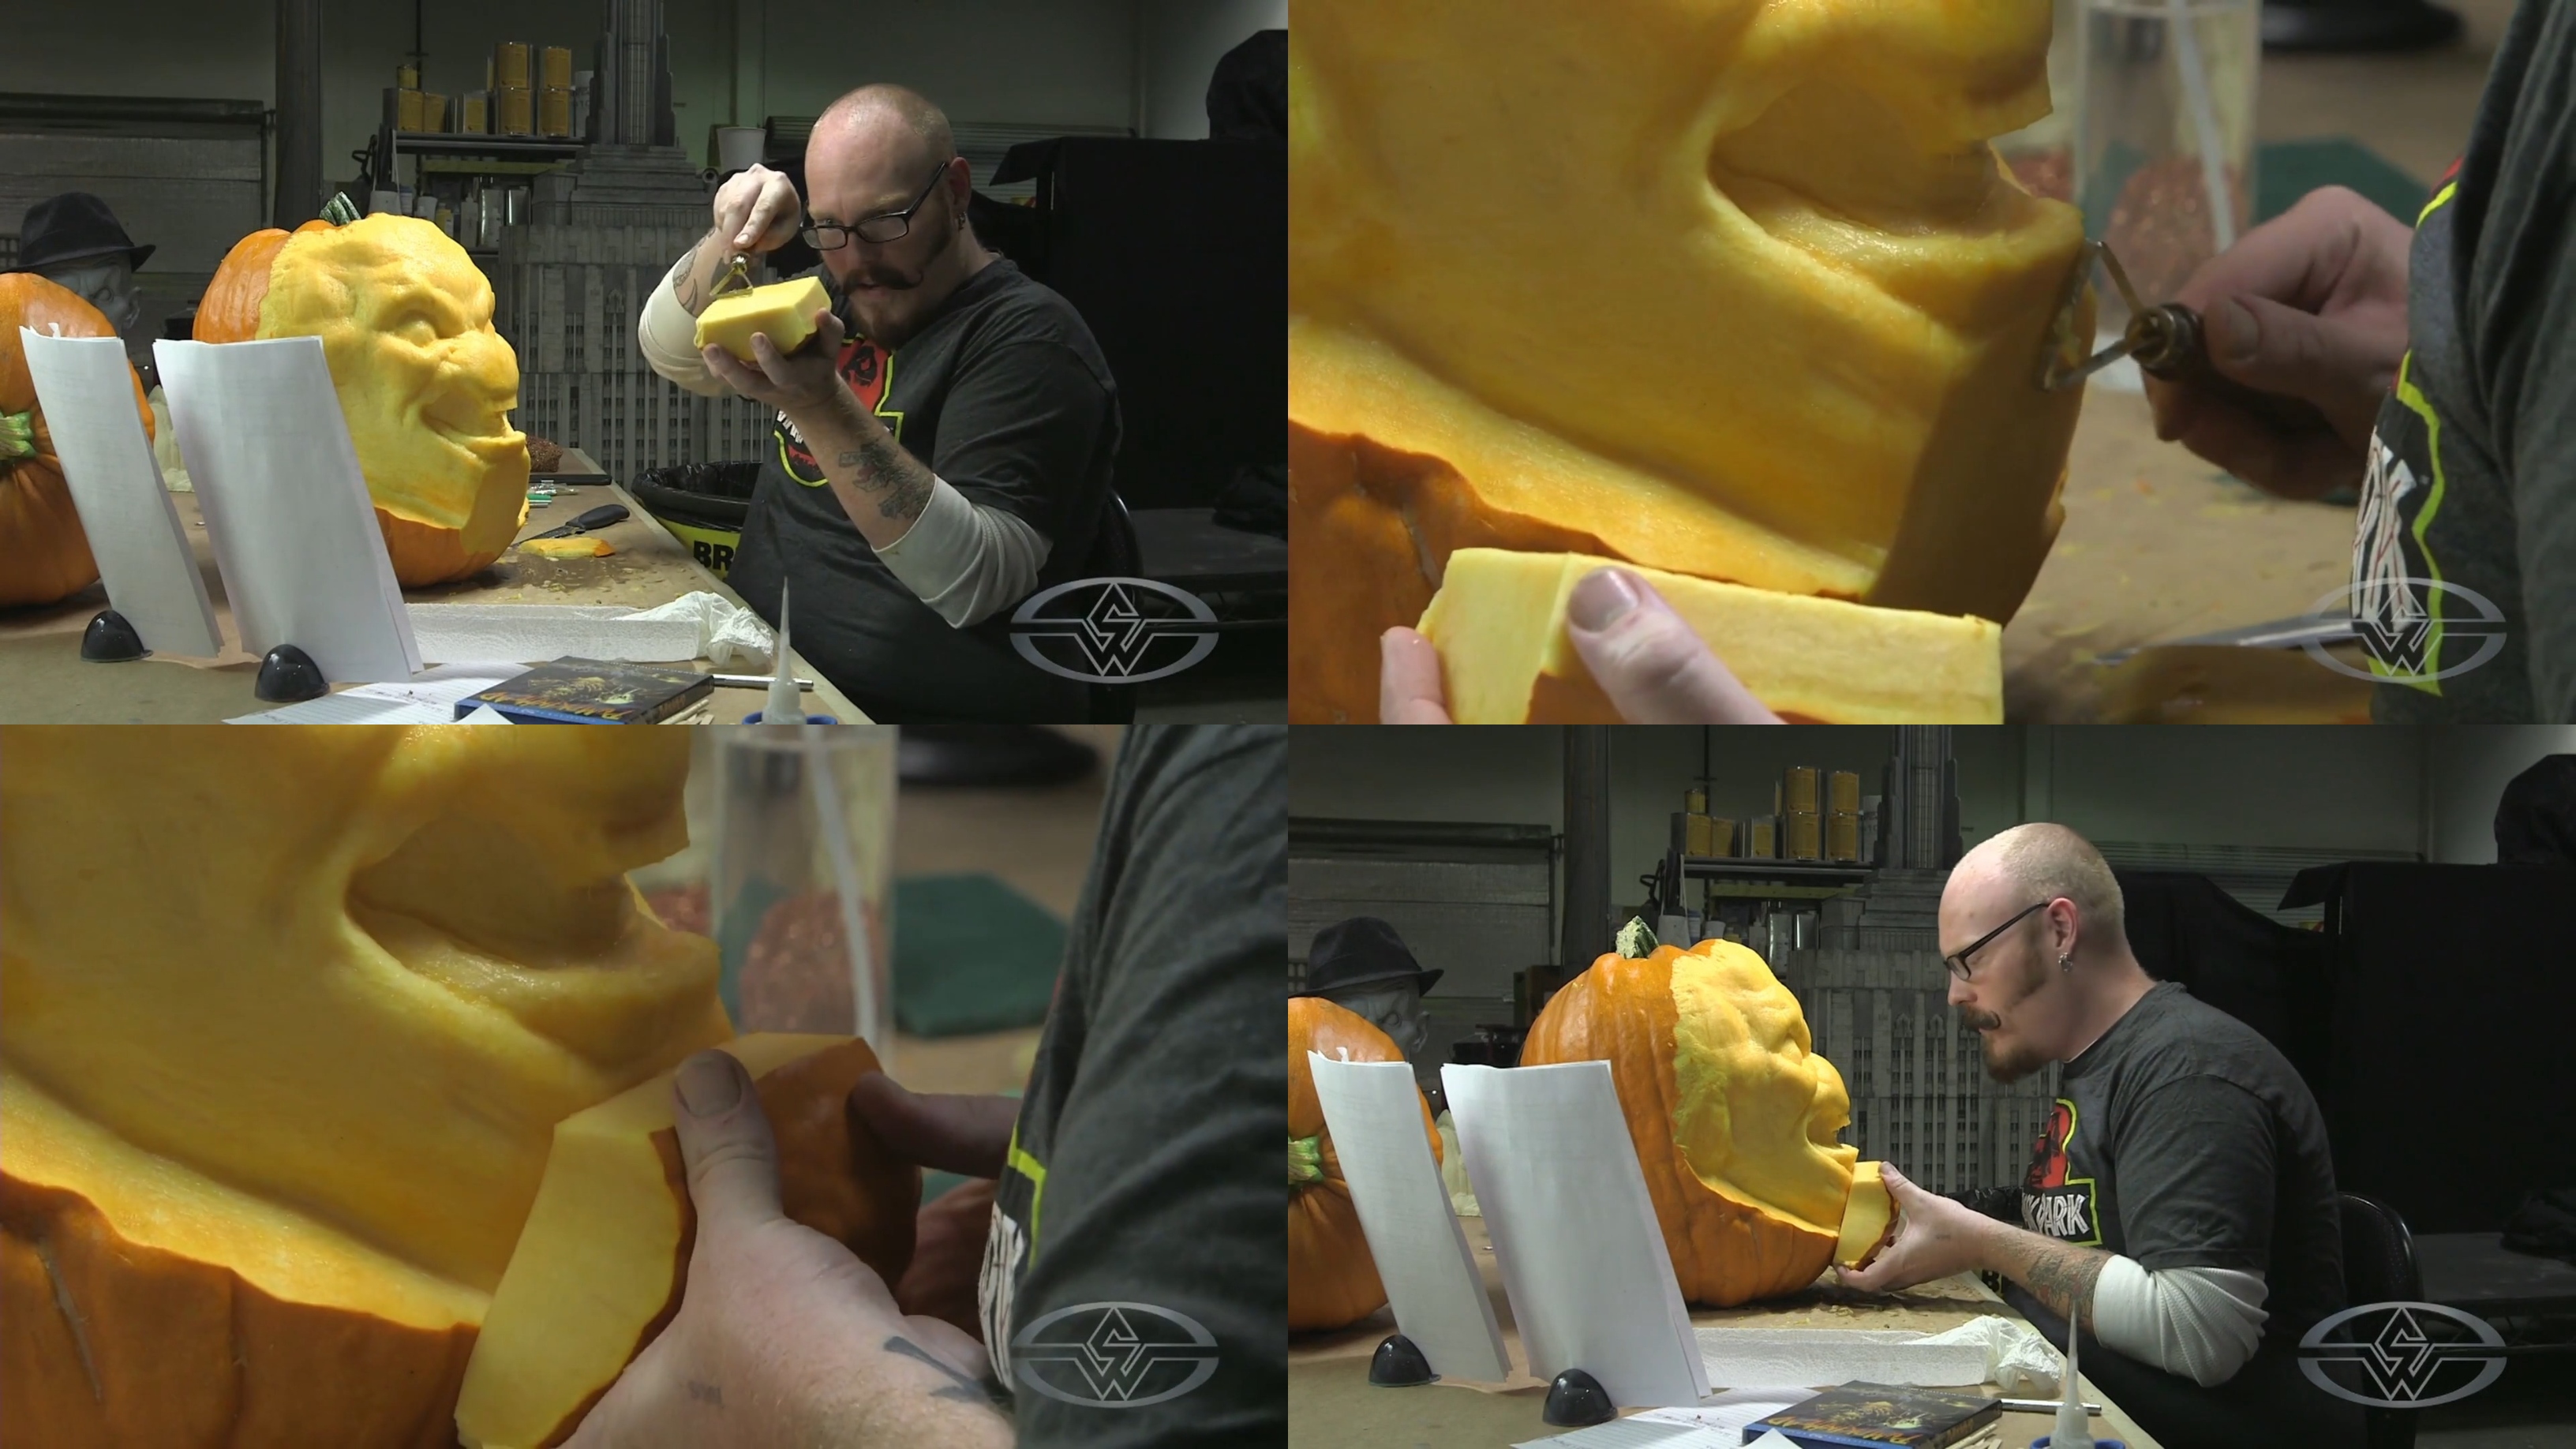
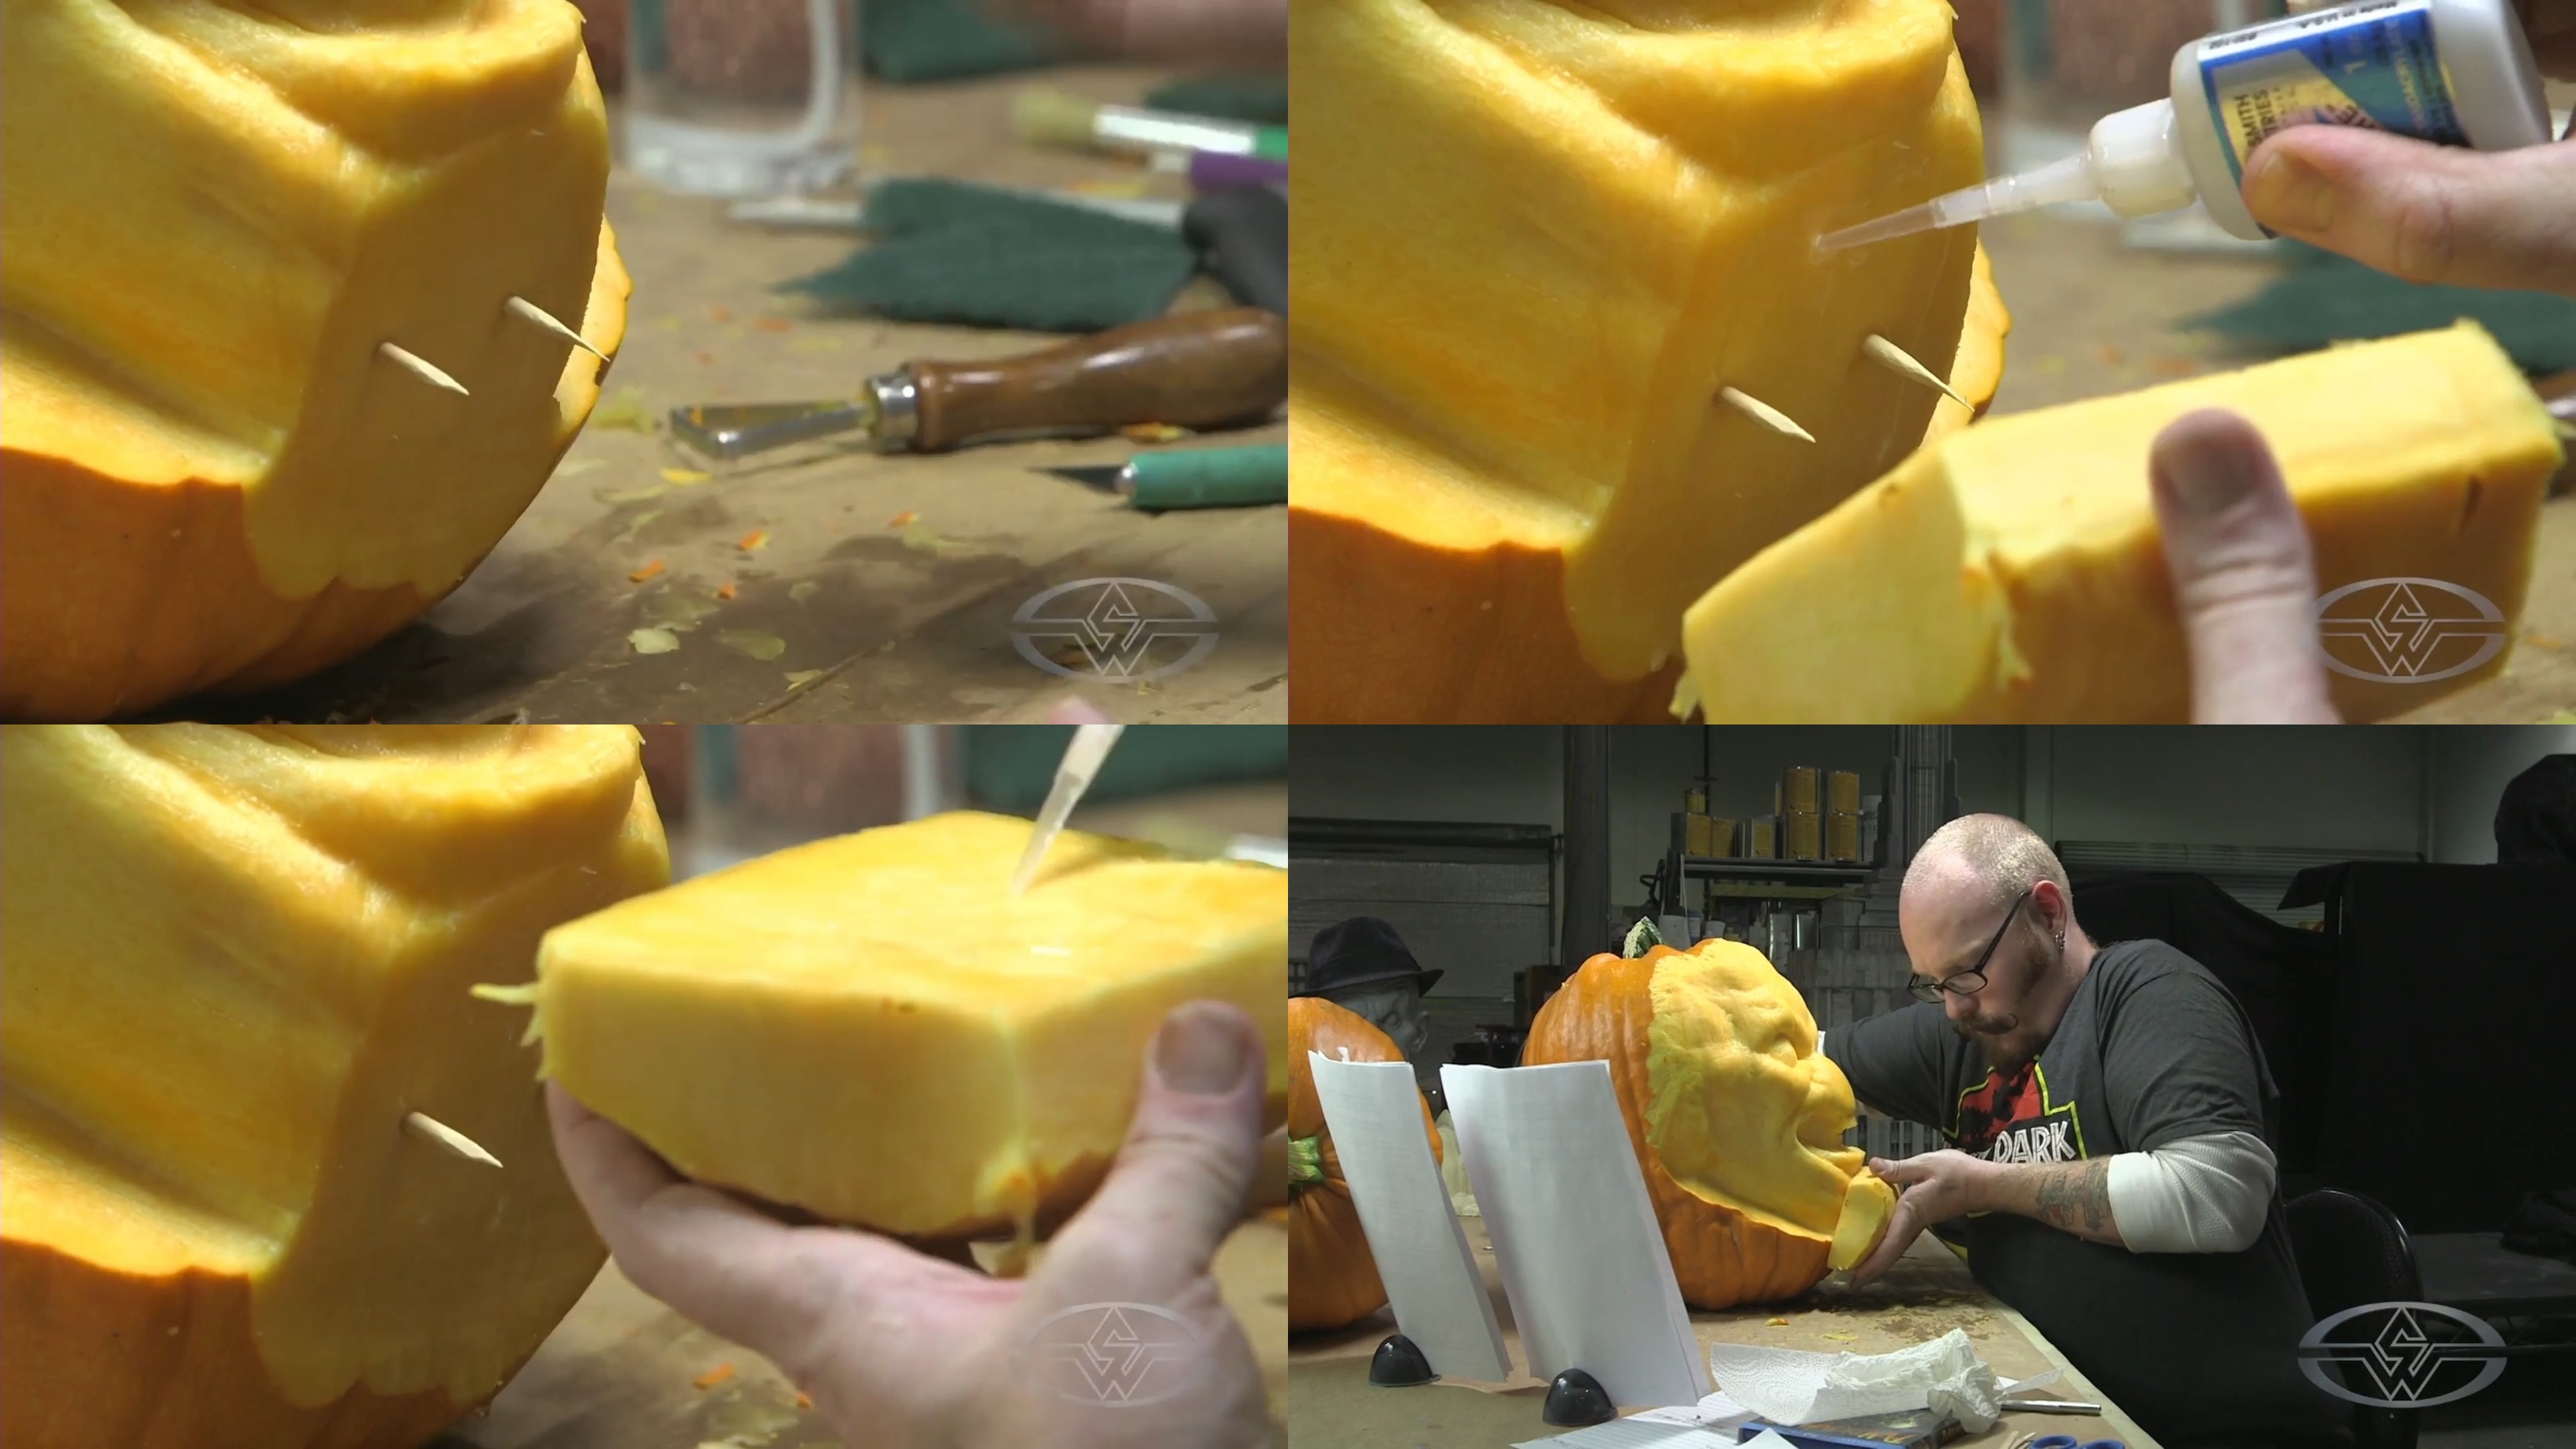 (Andy Bergholtz applies super glue to both the base of the existing chin and the new pumpkin piece before pressing them together to attach them.)
After a few moments, your new piece will be secure enough to begin carving. “That’s how I add volume if you need to add,” Bergholtz says. “I would do the same thing for a nose if I needed more volume on the nose, and it works great. And most of the time, you can’t even tell where the two chunks meet. Sometimes, that edge just blends away.”
Refining the Chin and Reestablishing the Lower Lip
With your new pumpkin piece successfully attached to the rest of your pumpkin, it's time to start integrating it into your sculpture. Use a knife to gently carve the form down, little by little, to achieve the desired shape. The knife is a more gentle tool than the loop tool, and is better so you don't dislodge your newly glued piece.
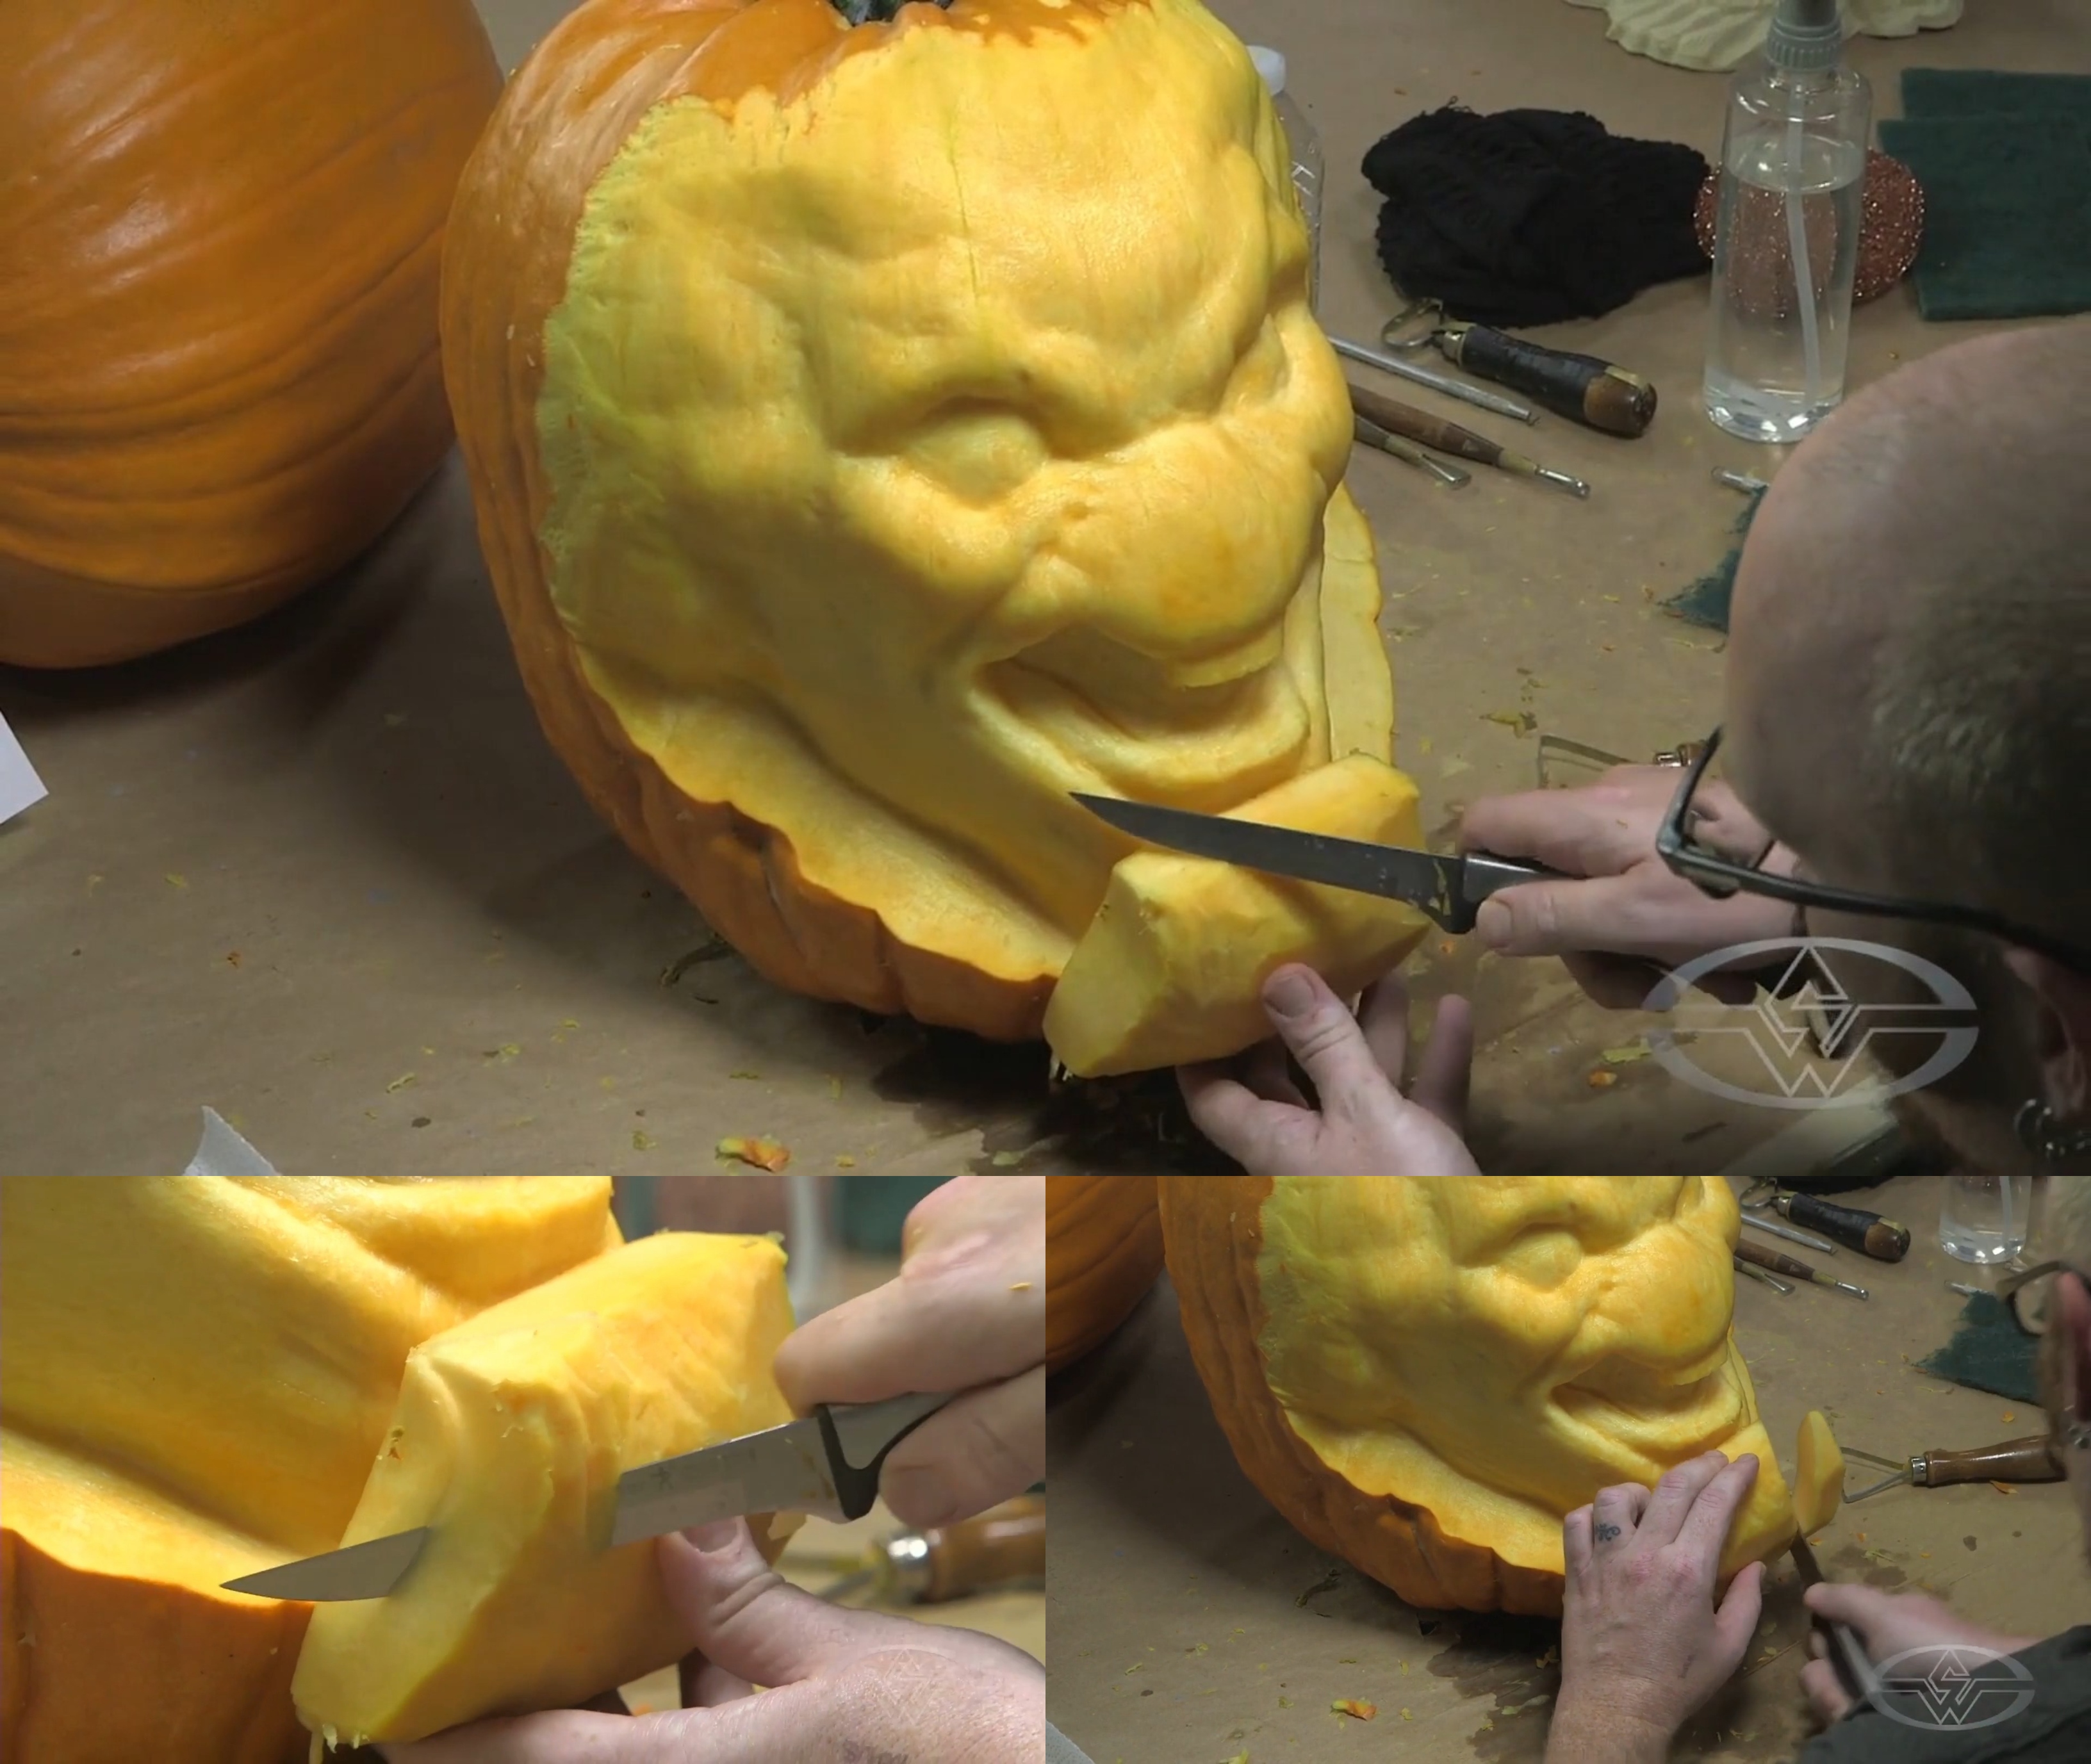 (With his new piece now attached, Andy Bergholtz carves away excess to refine the chin.)
Shave and carve the new pumpkin just as you would have carved the extant pumpkin before any modifications were made.
“I’m just going to start sculpting the areas that I need, and you’ll see here soon, it will stop looking like a chunk that I’ve added, and it’ll look much more natural,” Bergholtz says.
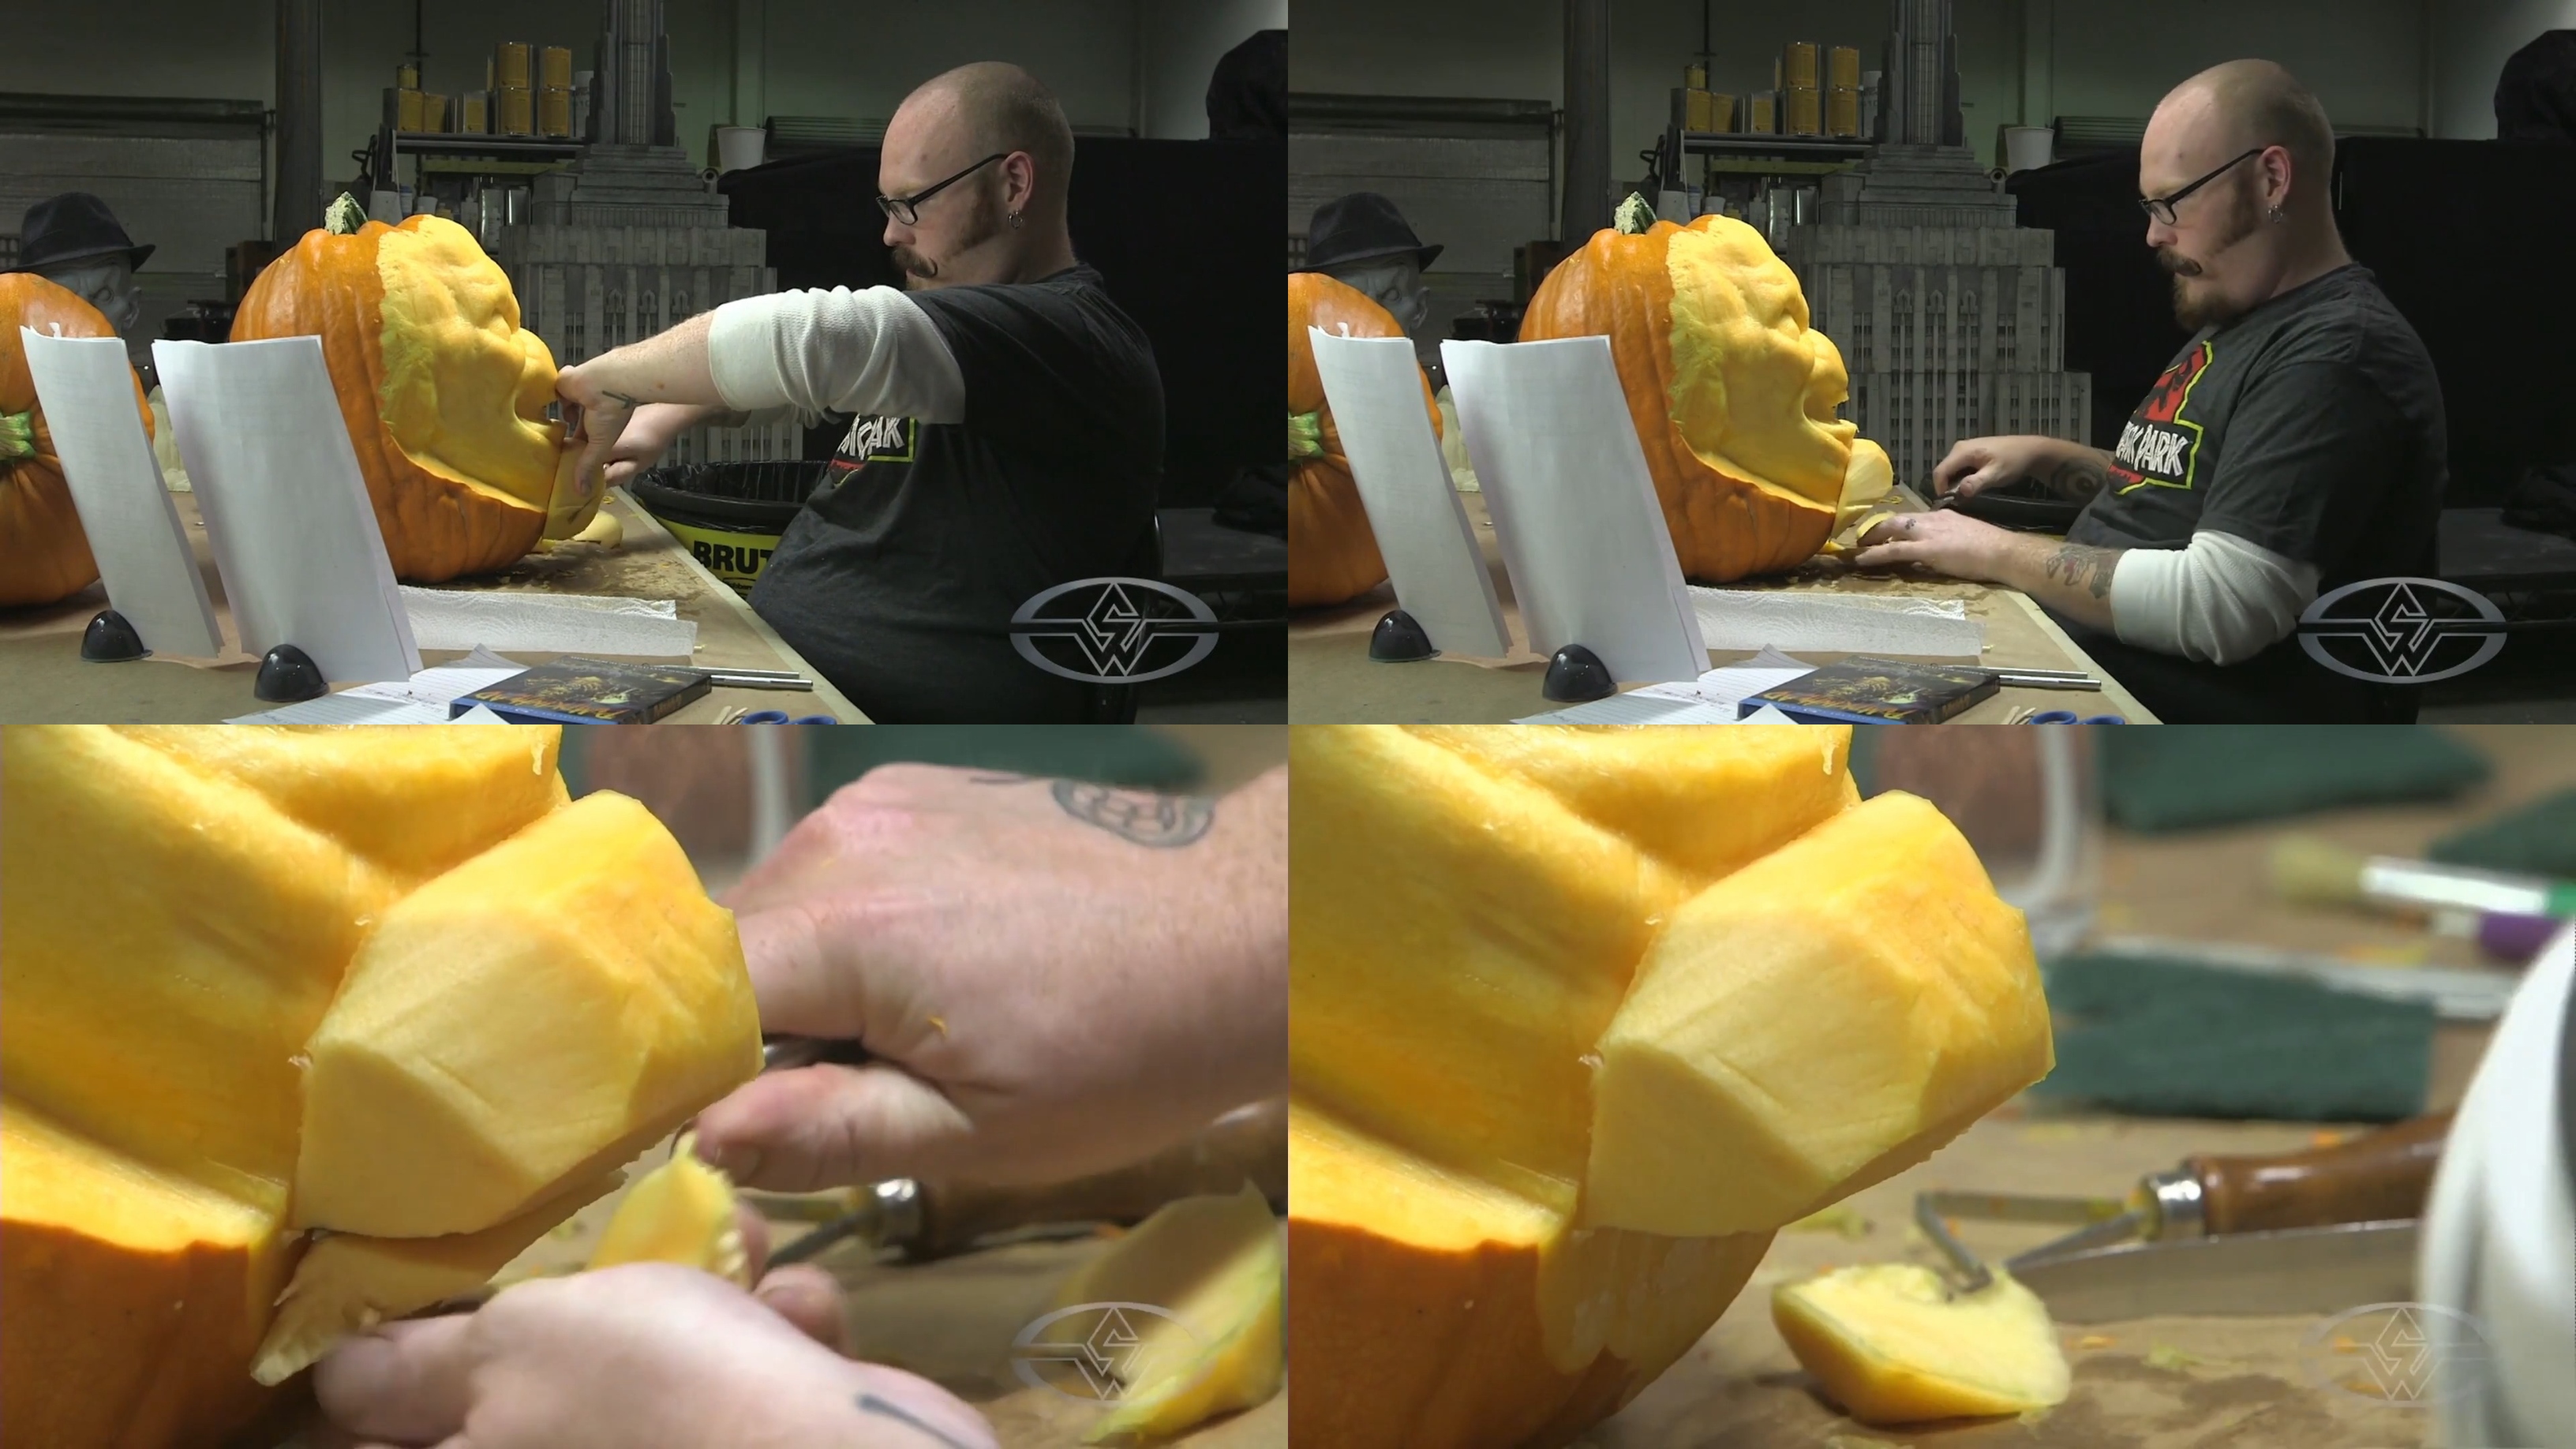 (Andy Bergholtz continues to cut the added pumpkin piece till it feels integrated.)
As you carve away, if there are details that were removed to create the flat surface, such as the lower lip of the Pumpkinhead sculpture filmed in the lesson, now is the time to reestablish those shapes.
Simply carve and scrape away the added piece using various tools, such as a pen knife blade, a loop tool, and a steak knife, until you’ve reestablished the desired forms. For Bergholtz, he reestablishes a lower lip and creates a more defined chin.
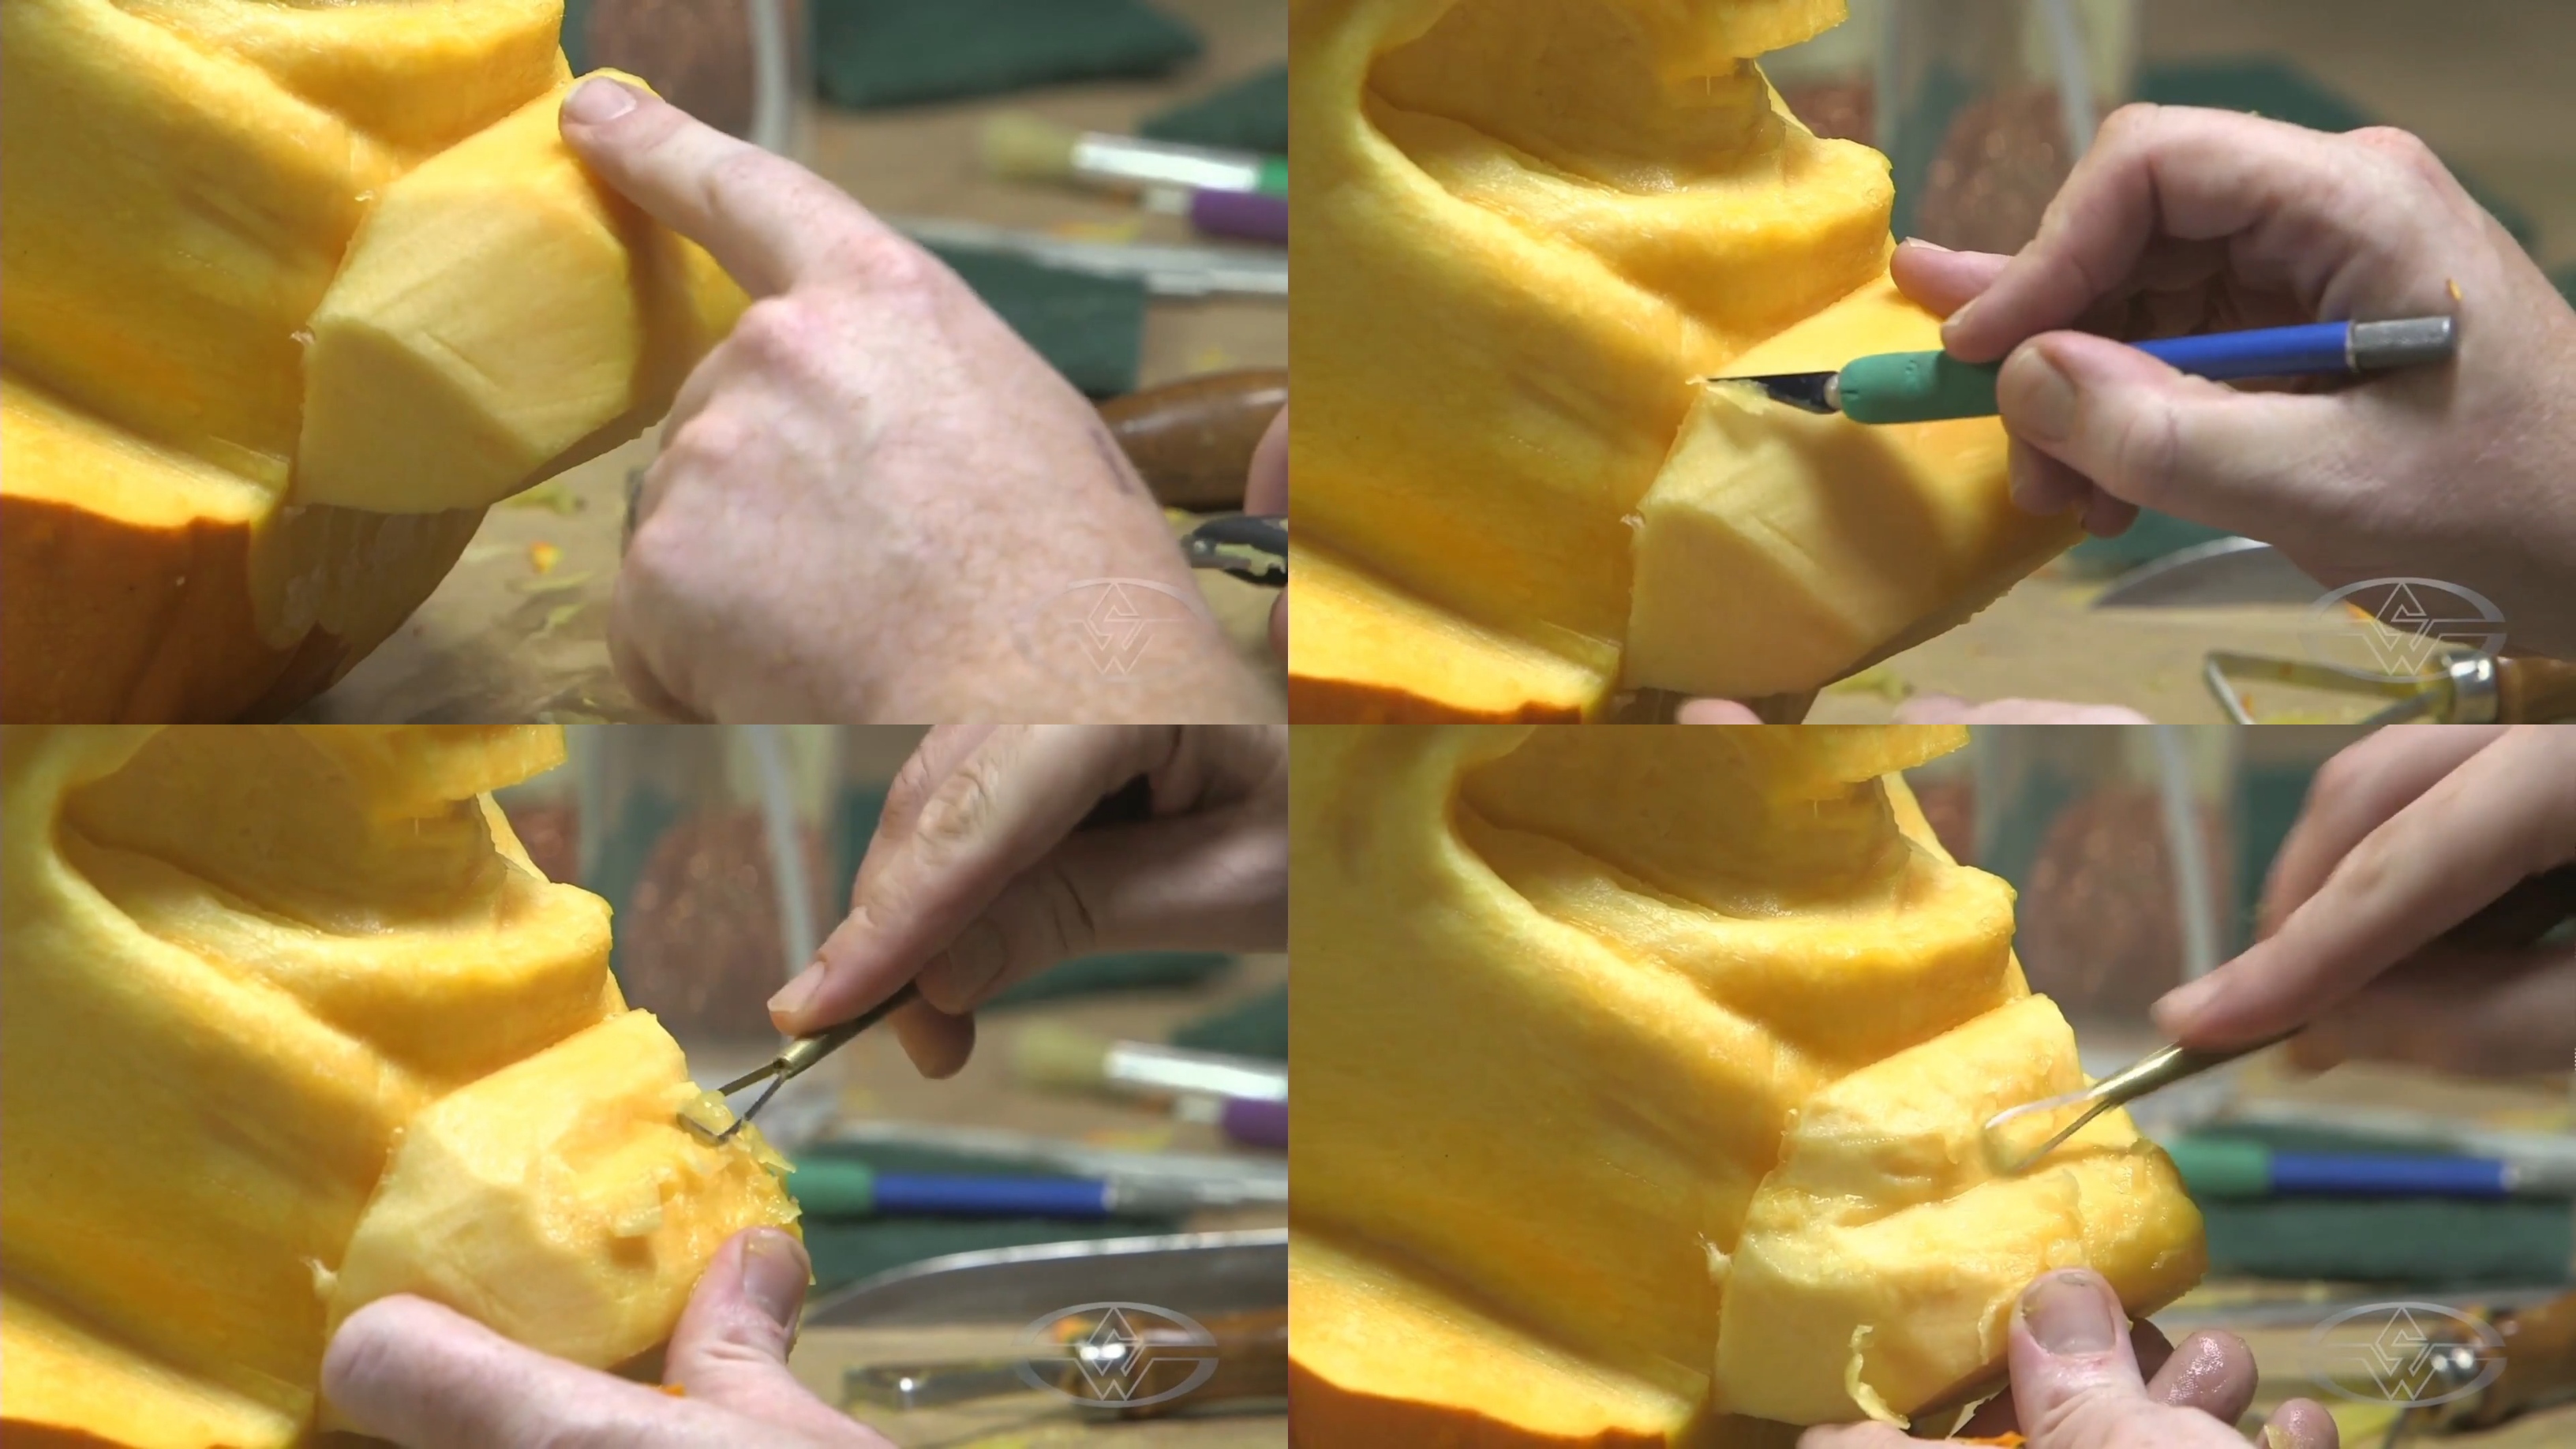 (Andy Bergholtz points out where he'll reestablish the lower lip of his Pumpkinhead carving and uses a variety of tools to carve out the lower lip and chin.)
“All the textures that we’re going to add later will also help hide this seam,” Bergholtz says. “Right now, it’s very visible, especially from the sides, but we’re going to texture this so heavily later that it’s going to hide that a little bit, and really, from the front, you won’t notice it very much anyway, even if we didn’t texture it.”
At this point, you might find that the majority of the attached pumpkin chunk gets whittled away. This is good, Bergholtz says. “You want to start out with a chunk that’s much larger than what you need to carve it into because it’s better to err on the side of too much material than too little.”
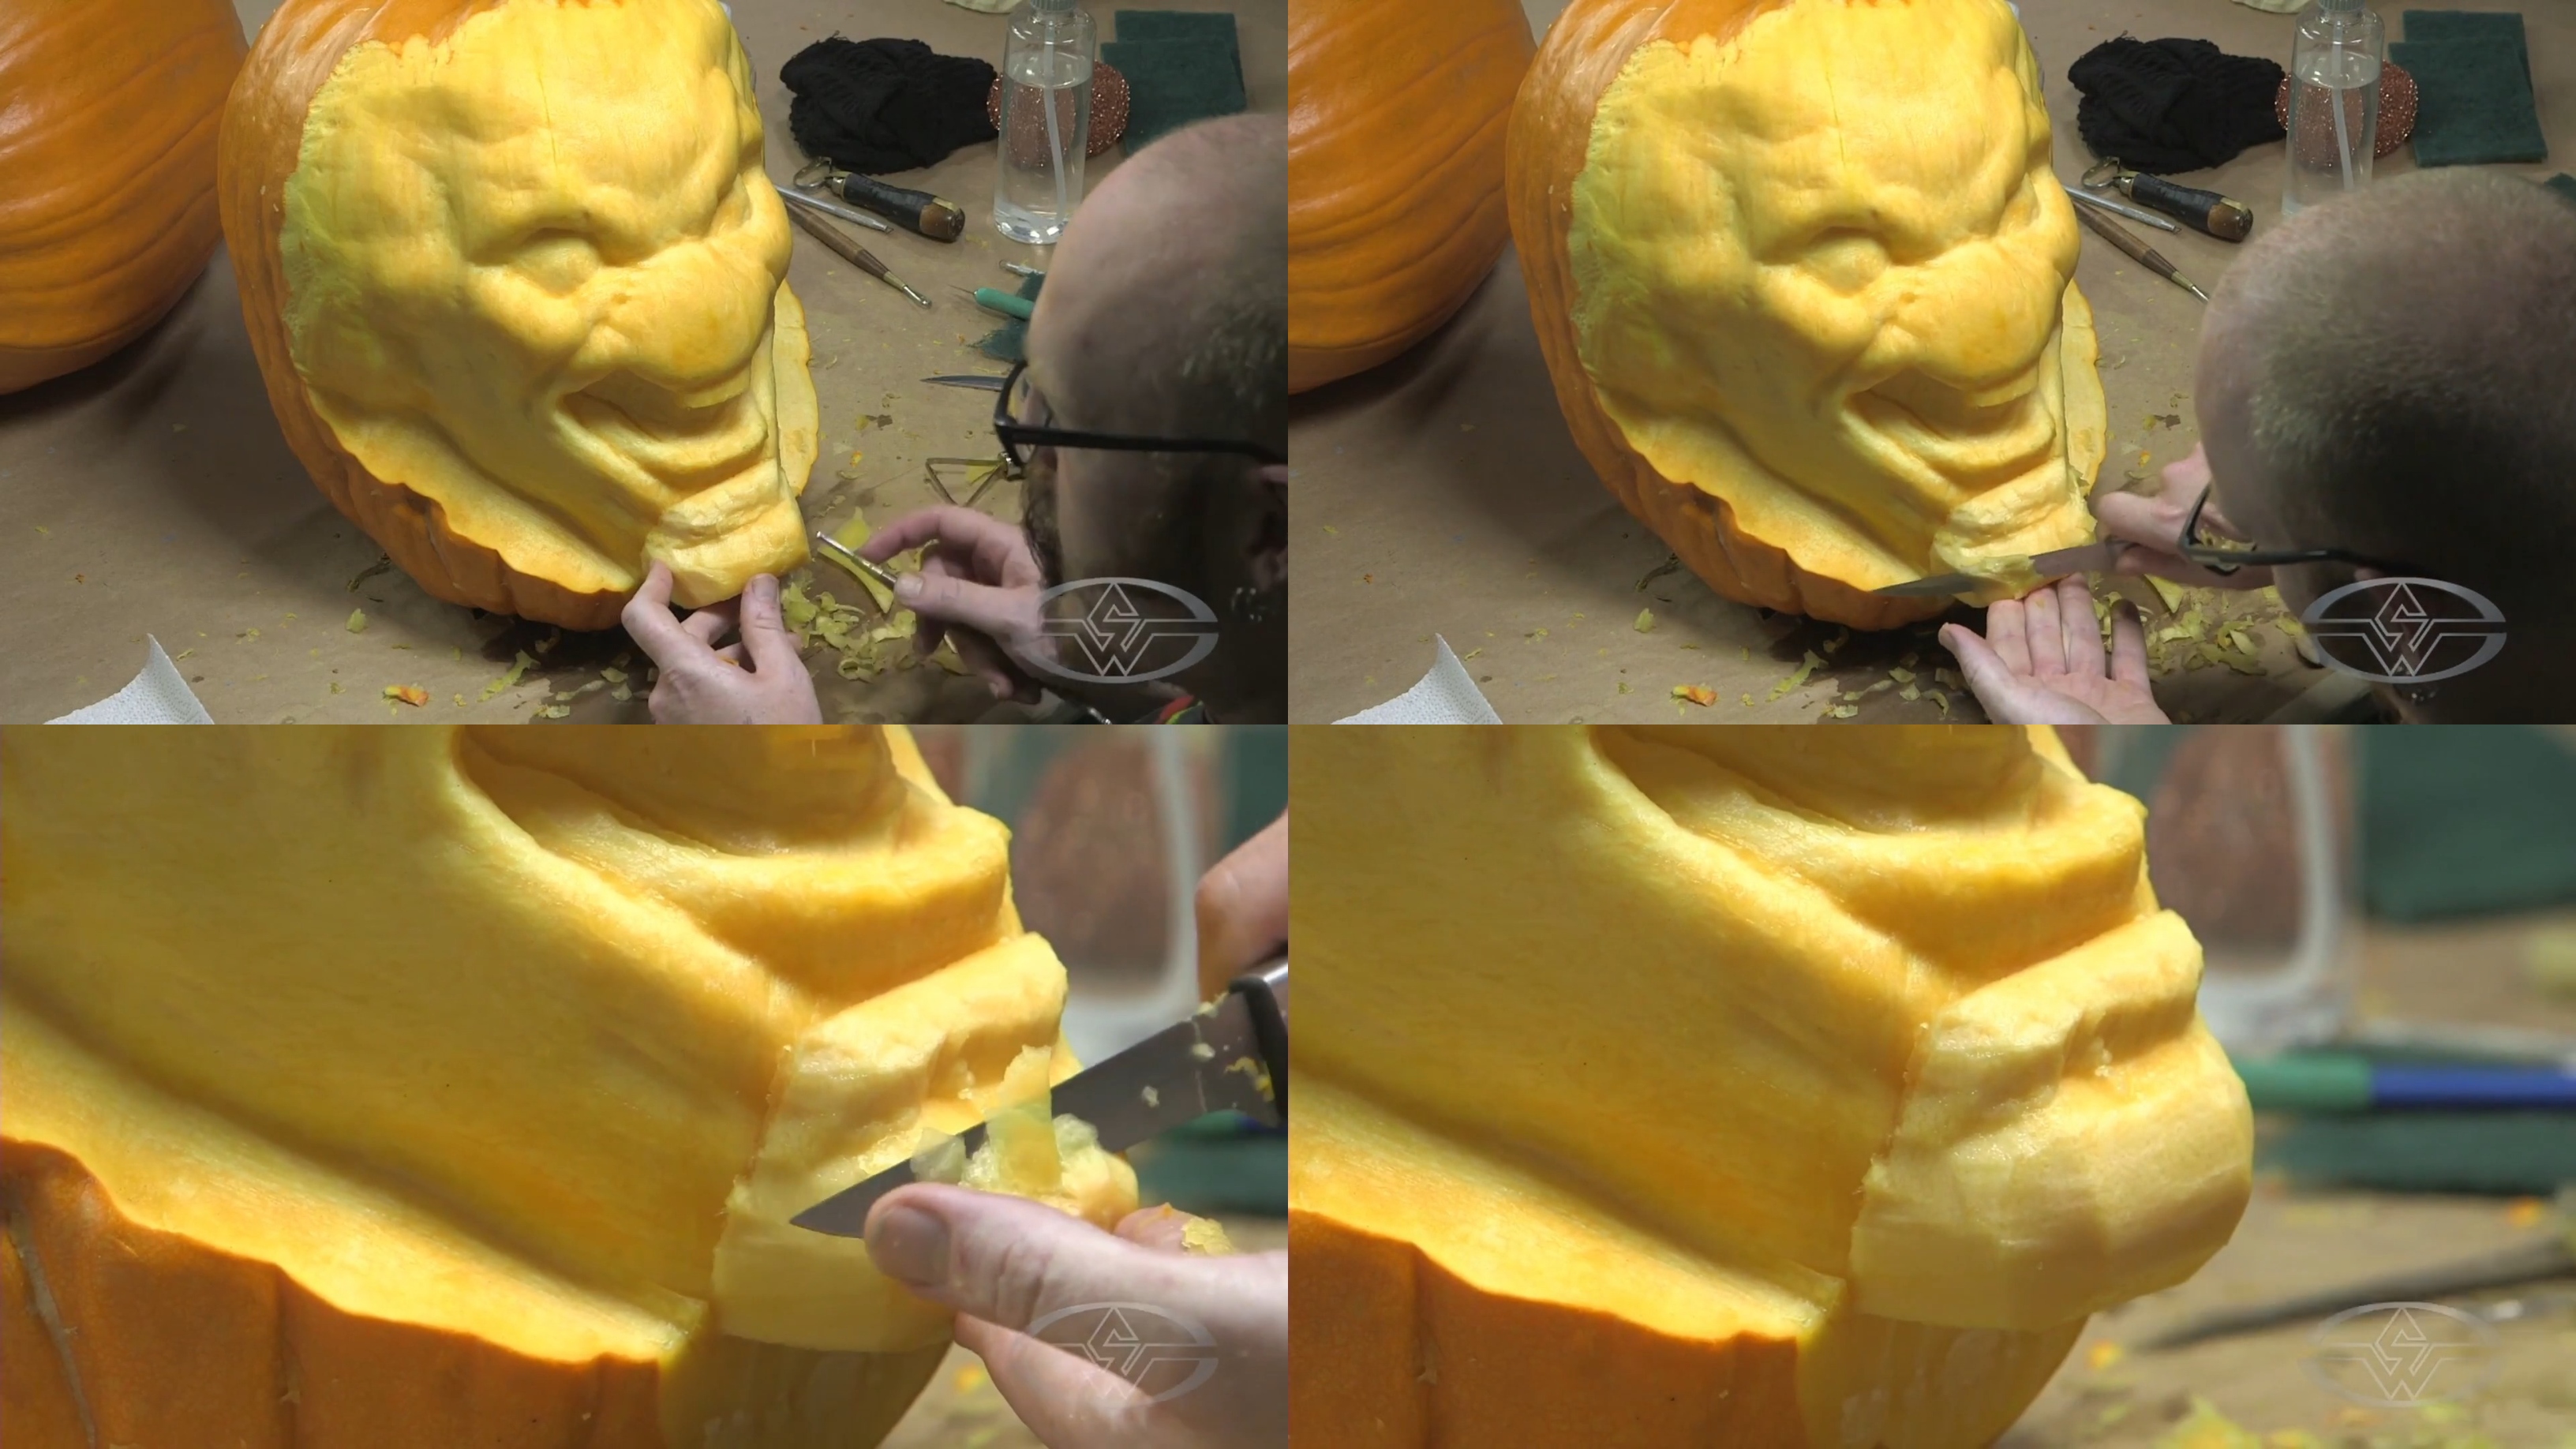 (Andy Bergholtz makes his final cuts to his Pumpkinhead carving until he's happy with the result.)
Making Final Adjustments to Your Pumpkin Carving
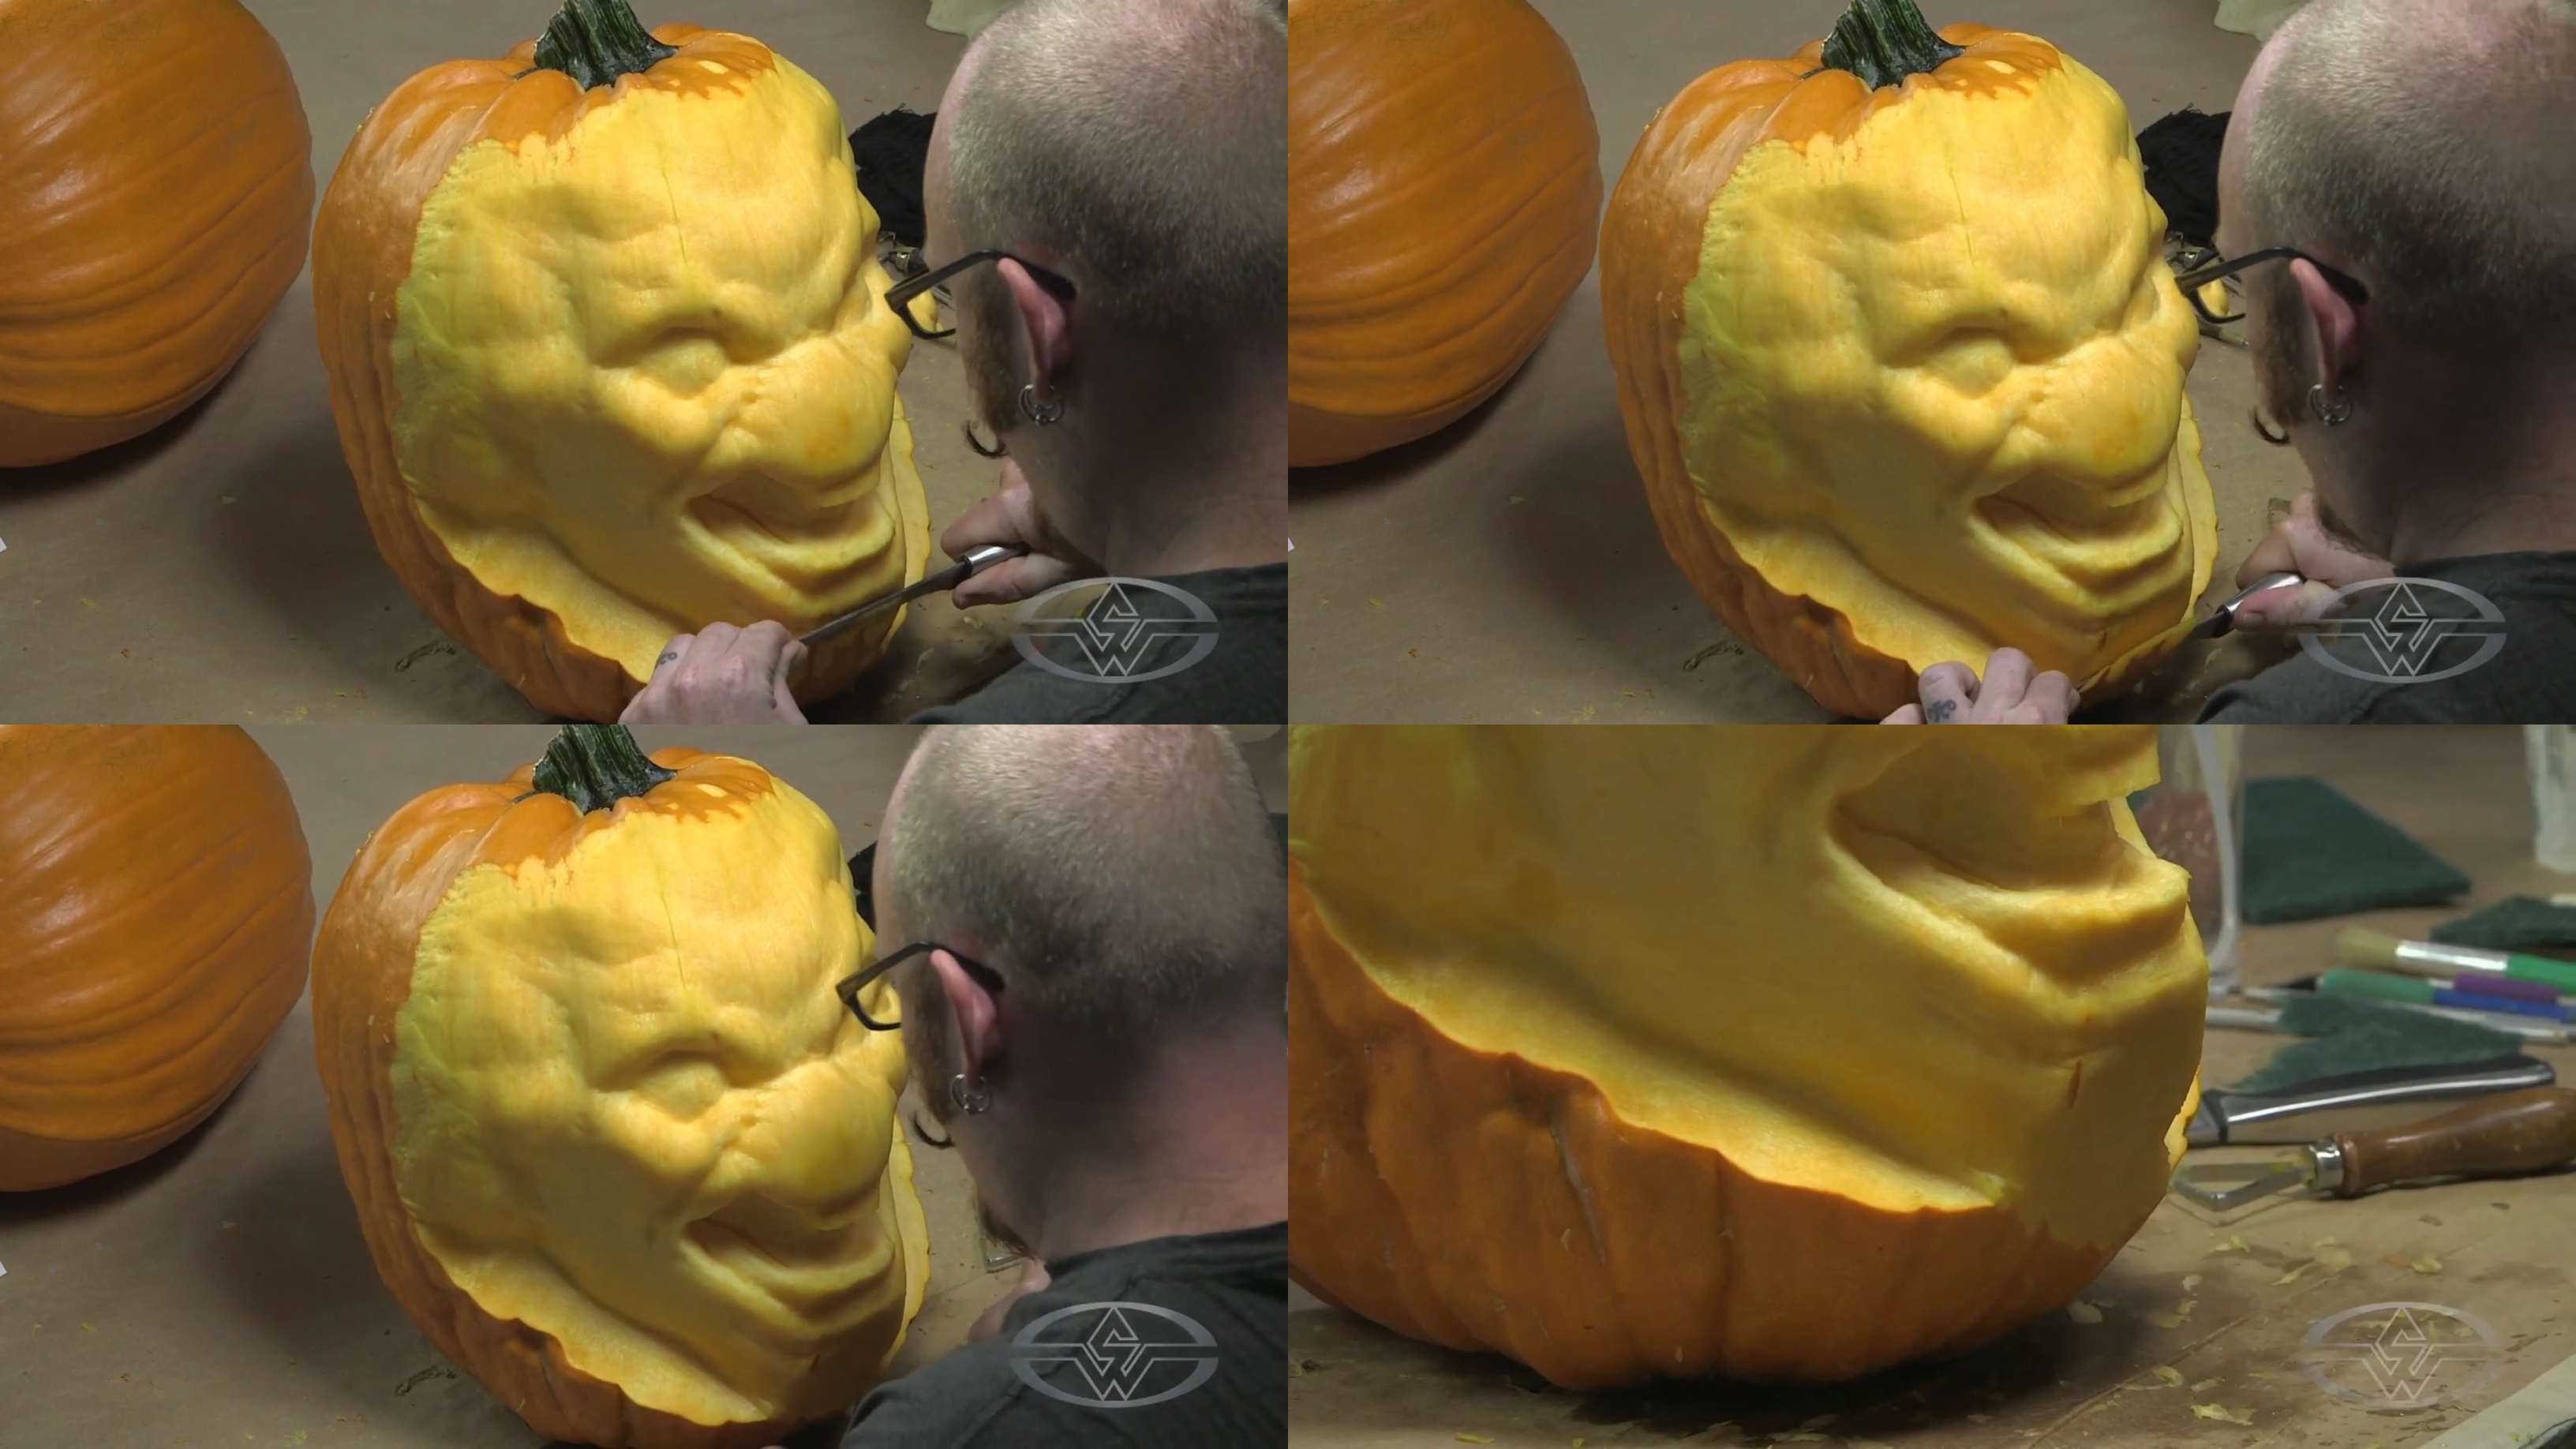
With the extra piece added to your pumpkin carving, you can see new expressions start to form. In the Pumpkinhead example, the entire head is now elongated beyond the expected edge of the original pumpkin shape. “You can see it’s elongated the face, and it’s brought this chin out of the shade now, so it can catch light and really give the dimension that I wanted here,” Bergholtz says.
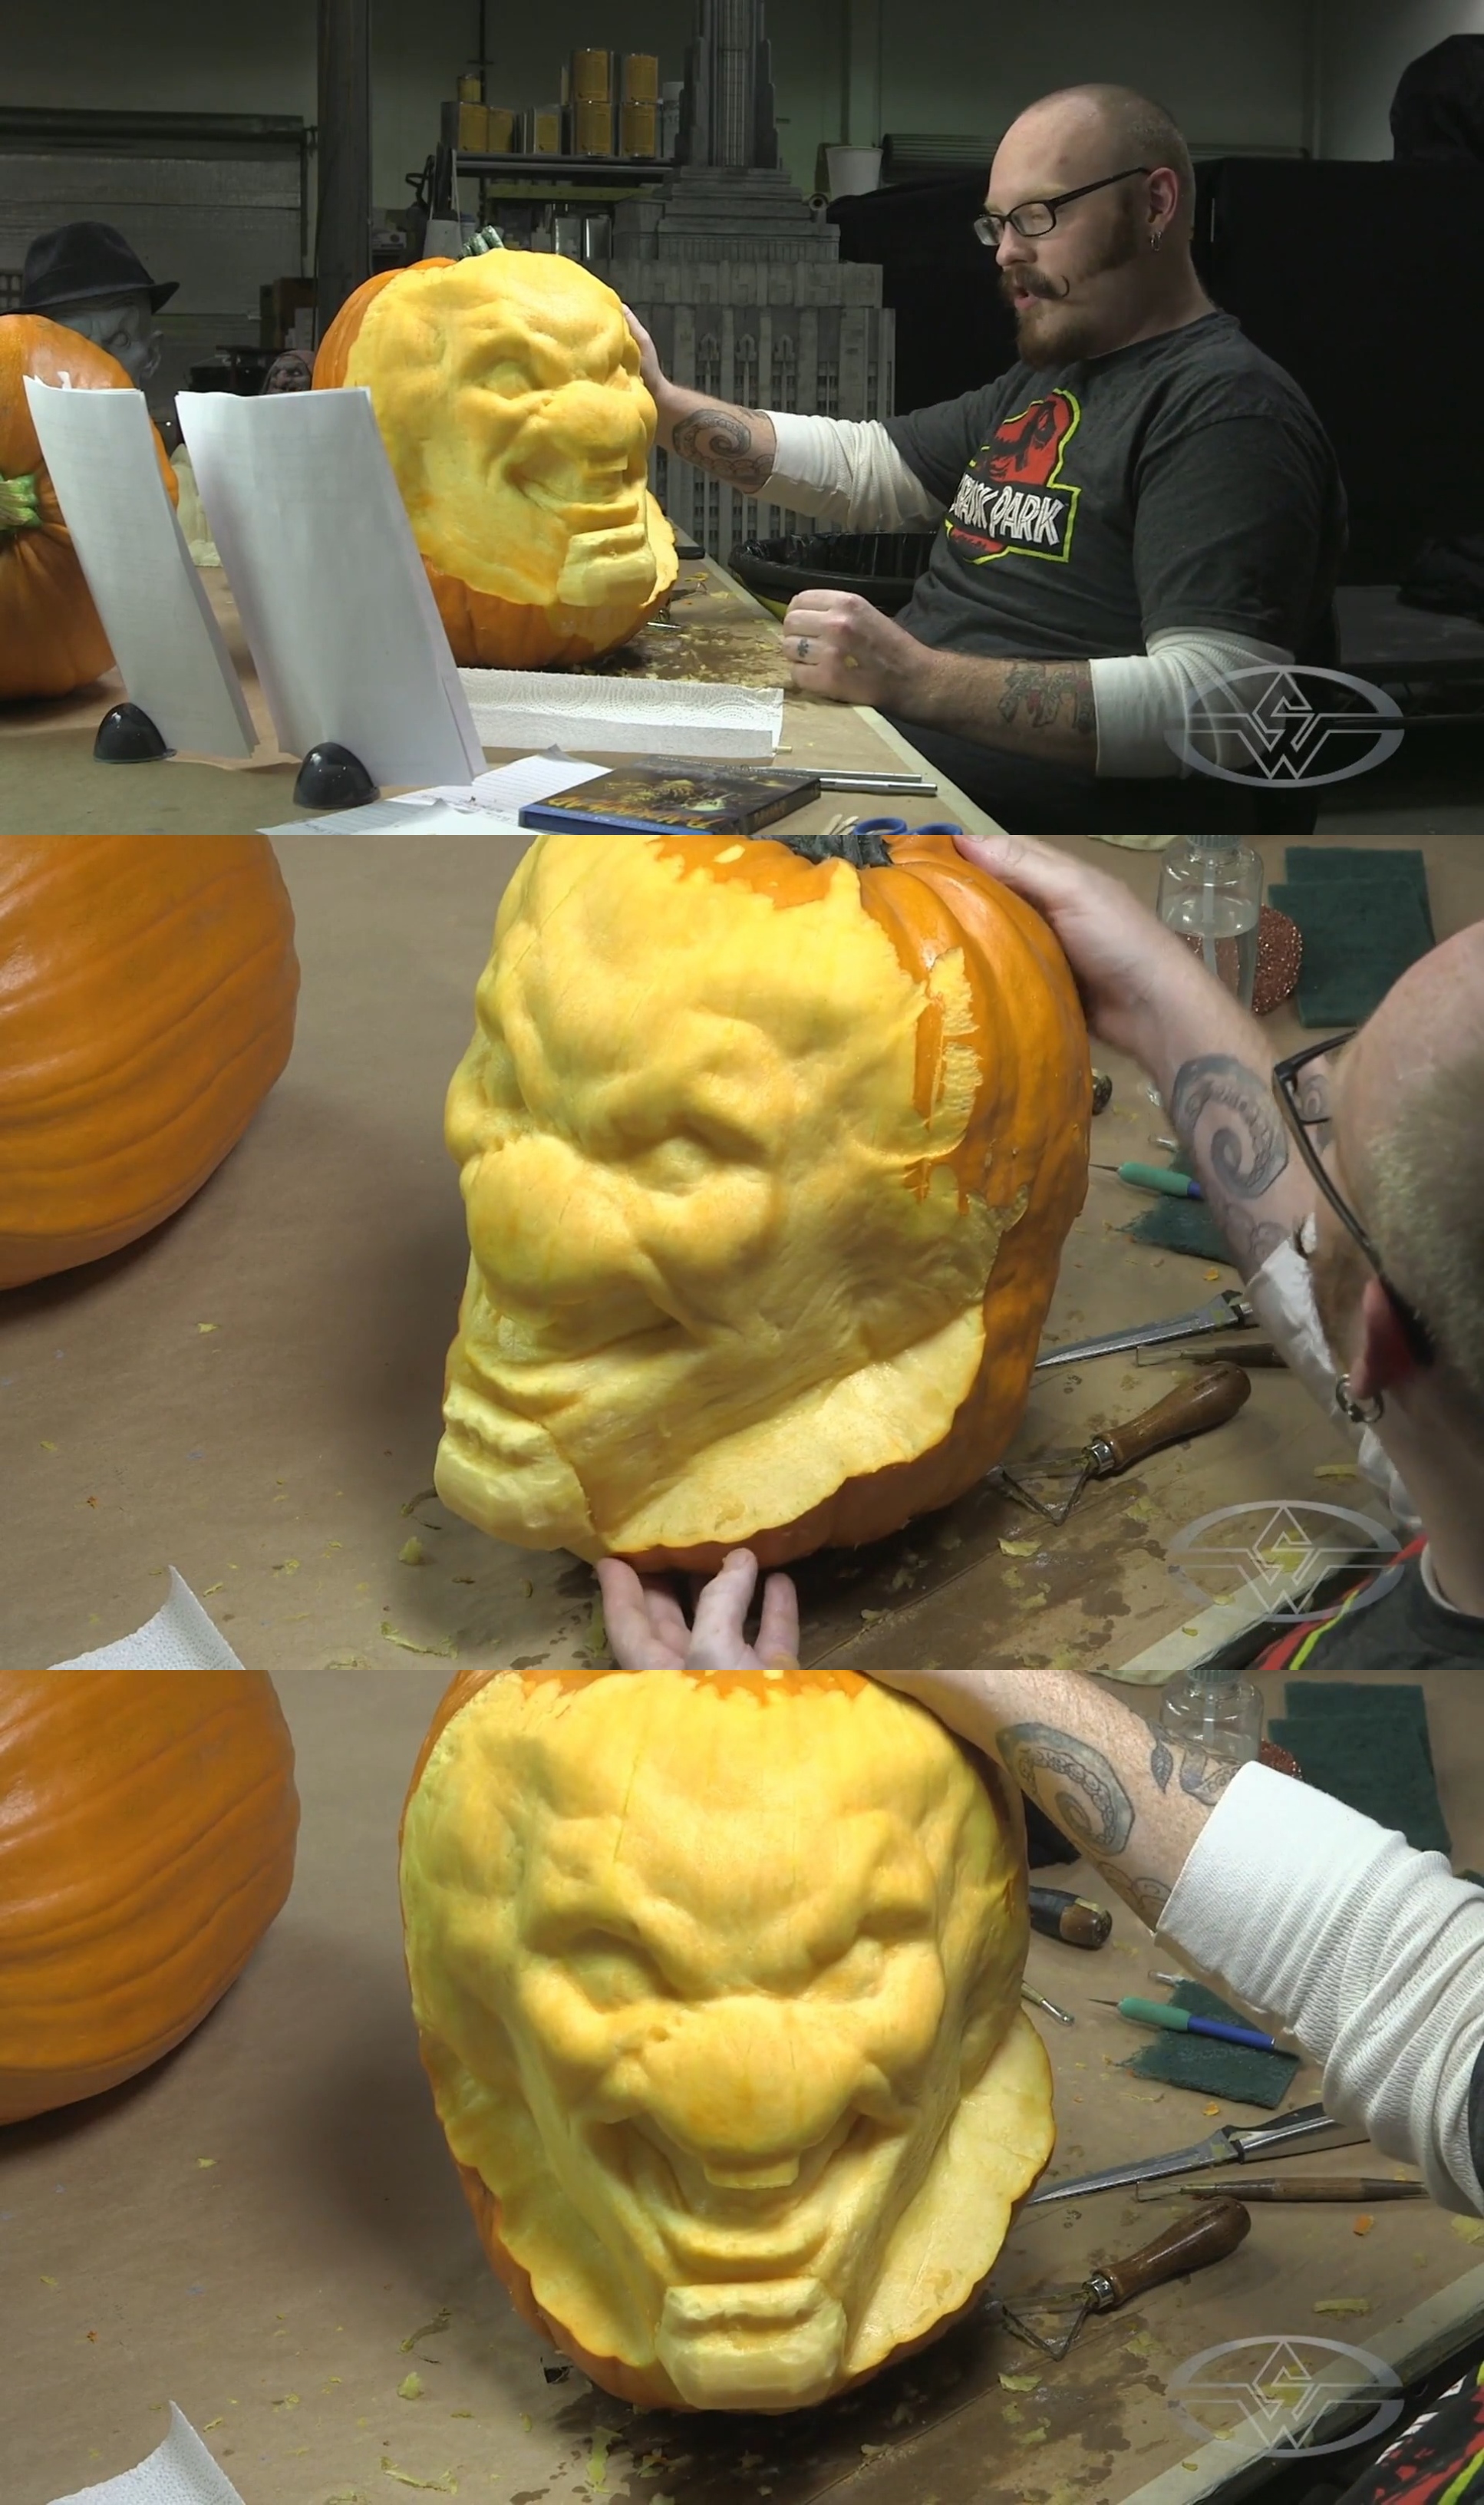 (A few angles of Pumpkinhead's new chin.)
To finesse the look of the added pumpkin piece, you can use a copper scrubber to soften the surfaces, so they blend in more seamlessly with the original carving.
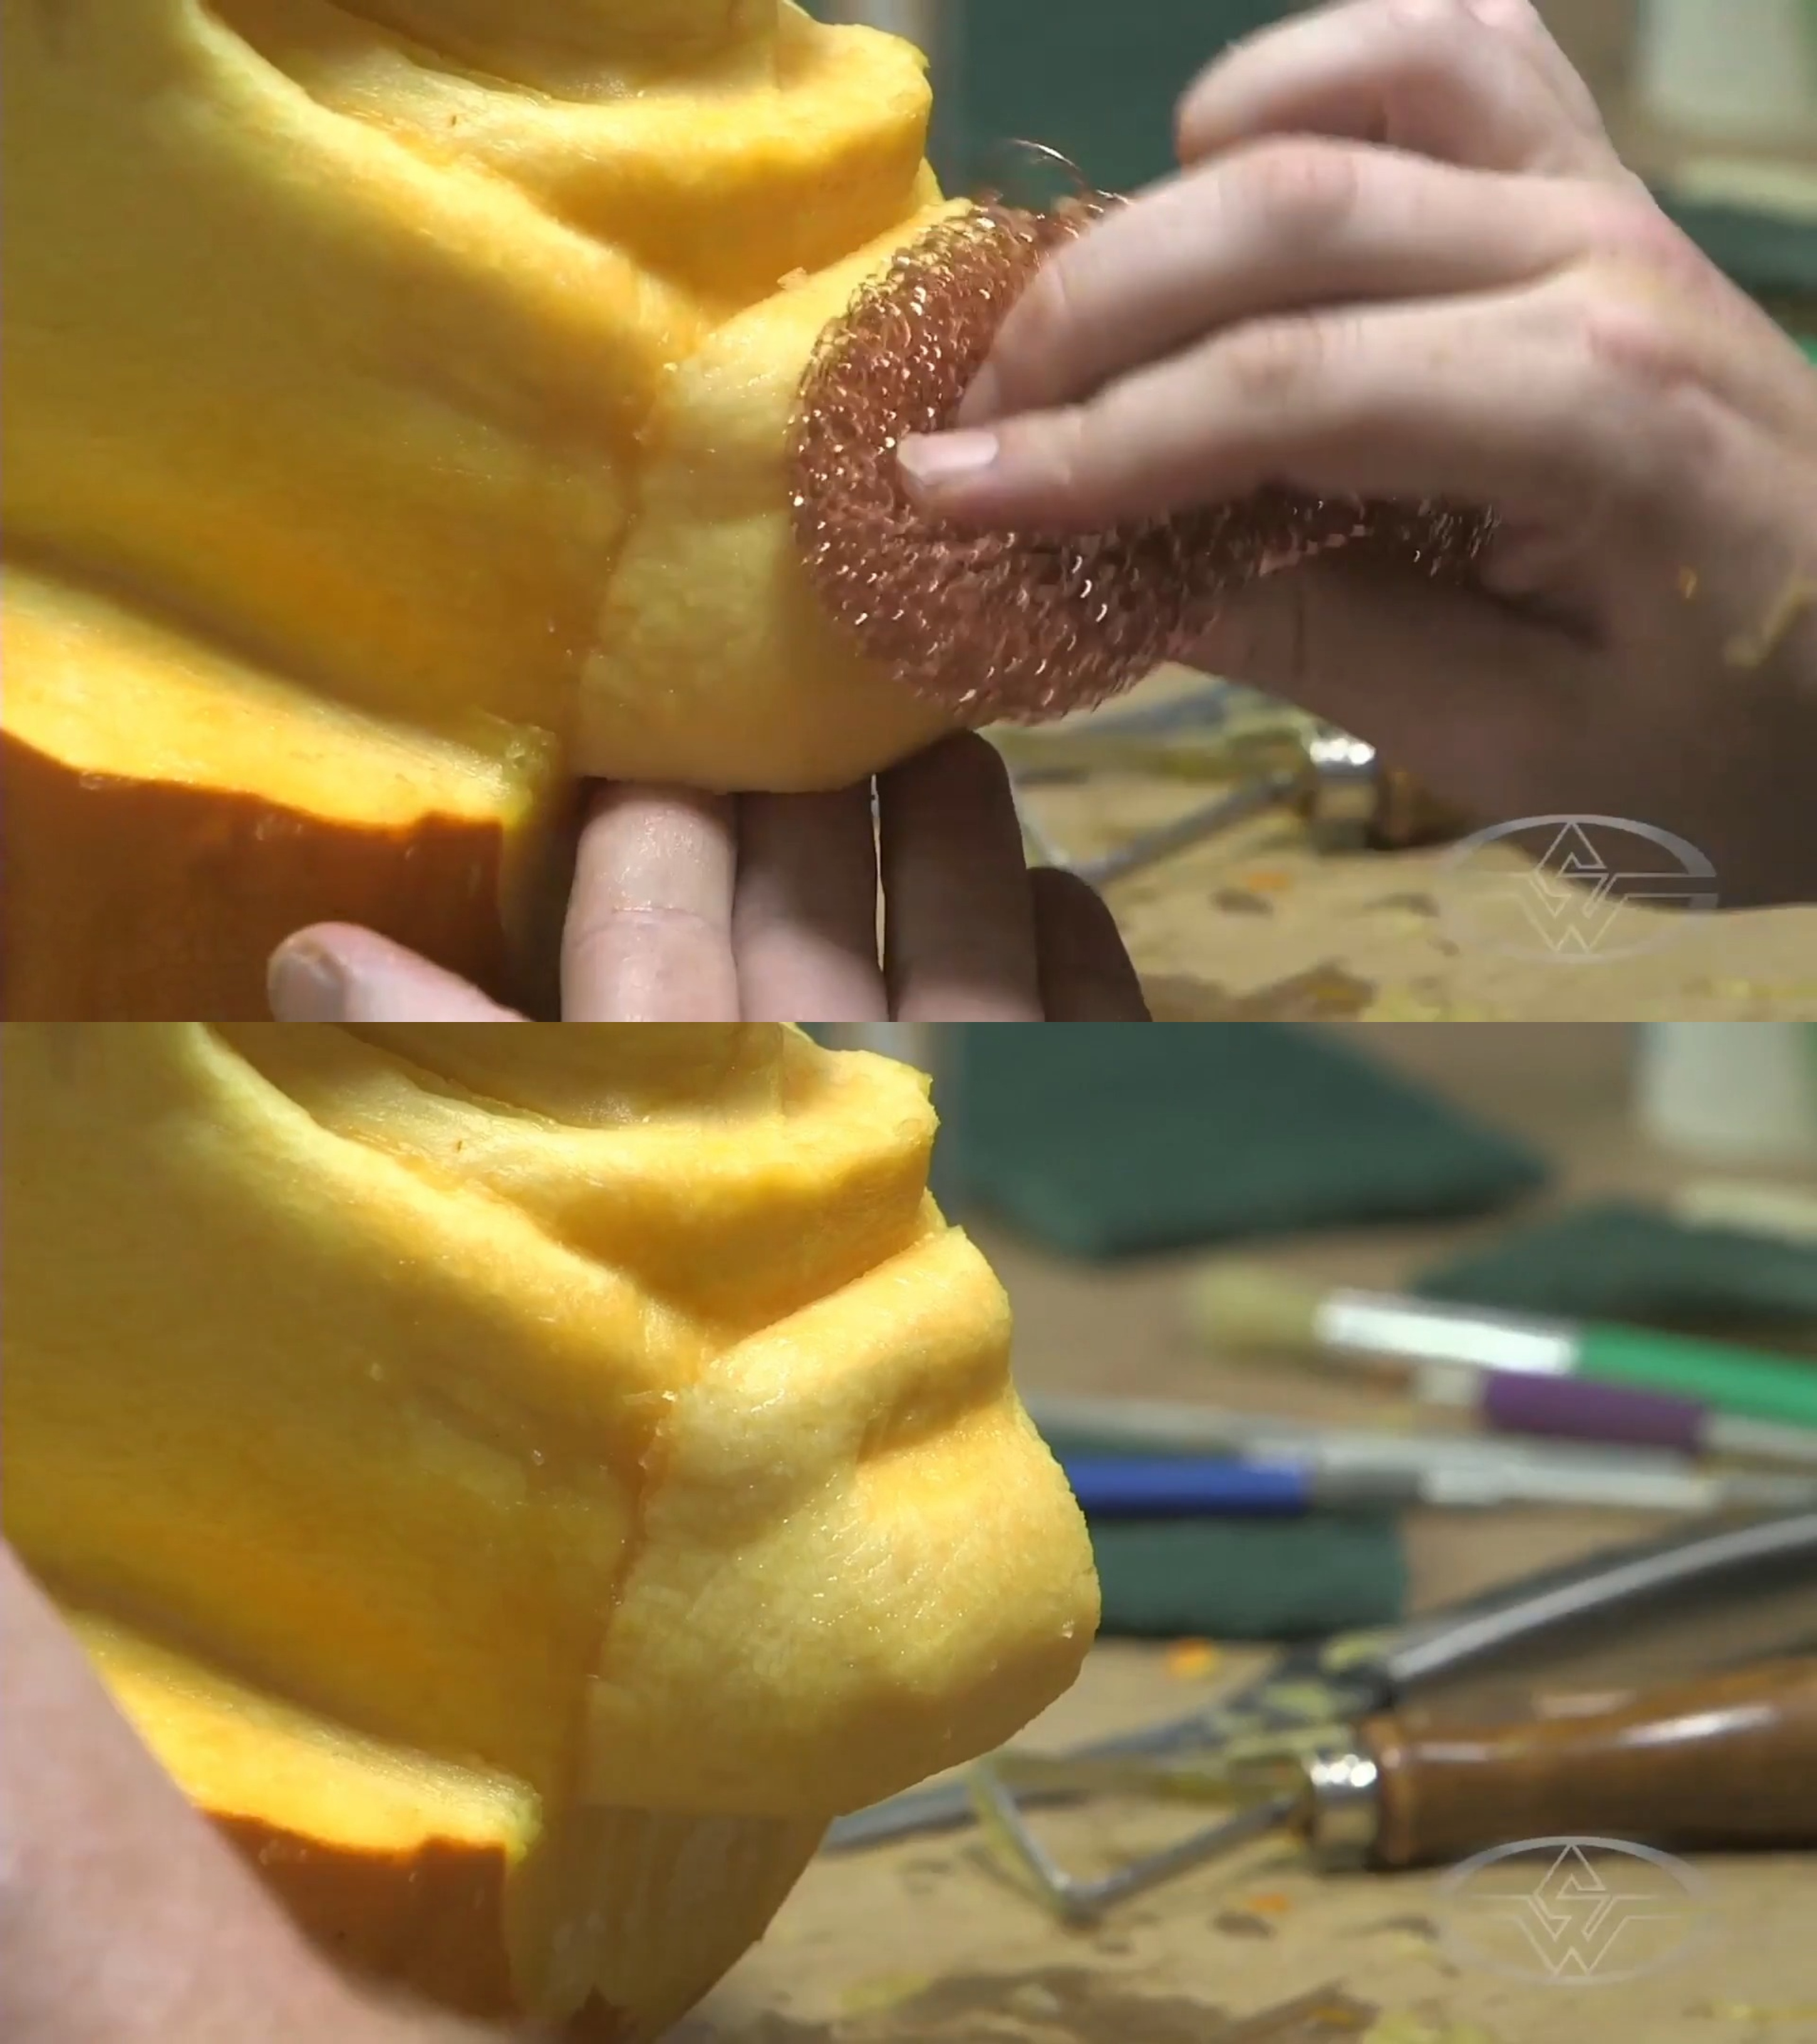 (Andy Bergholtz uses a copper scrubber to soften harsh lines for a more seamlessly blended appearance.)
Once your pumpkin looks the way you want it to, you can start detailing again!
WATCH THE “3D PUMPKIN CARVING - HOW TO CARVE A PUMPKIN FROM THE OUTSIDE IN” COURSE WITH ANDY BERGHOLTZ:
3D Pumpkin Carving - How to Carve a Pumpkin from the Outside In