
An Overview of Cable Mechanism Basics With Richard Landon
In this FREE excerpt from the Stan Winston School of Character Arts course, Cable Mechanism Basics - Tentacles, master character effects mechanical designer Richard Landon (Aliens, The Terminator, Jurassic Park) breaks down the different types of tentacle mechanisms and how to build a four-way tentacle mechanism for your creature puppets.
Jump To Section
To watch the complete instructional video, click the player above!
In this mini-lesson, you’ll learn the various types of cable-controlled tentacle mechanisms for your character creation projects, no matter whether you want to make an elephant trunk, monkey tail, cat tail, or alien tentacle! Richard Landon also shares how you can construct a simple version of a four-way tentacle mechanism.
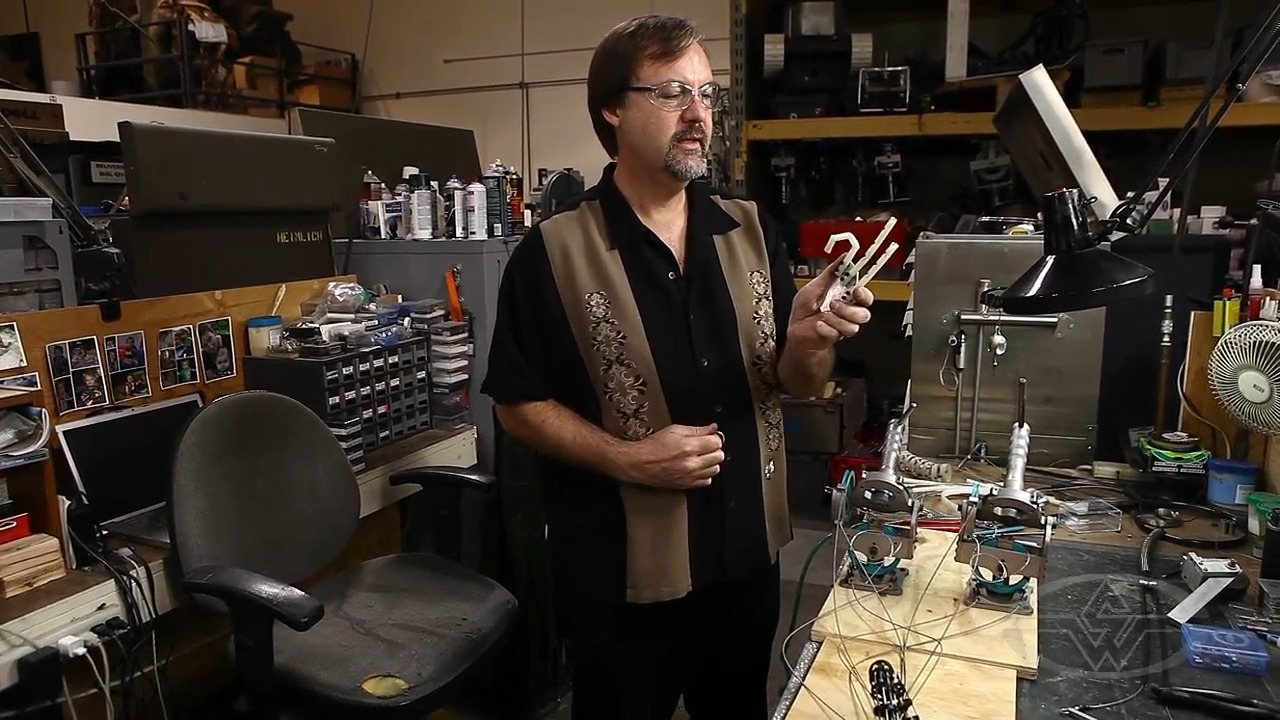
Different Types of Tentacle Mechanisms
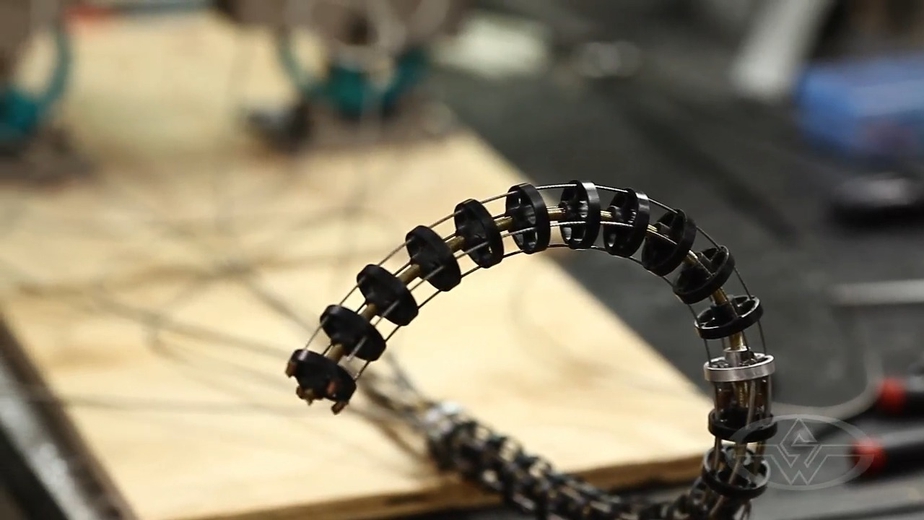
Tentacle mechanisms in animatronics are essential to creating a lifelike robotic creature. The components of a tentacle mechanism include: a flexible core, series of discs, cable conduit, and stacked segments. Richard Landon explains the differences among three types of tentacle mechanisms.
First, we have the single, one-way tentacle. While this mechanism technically has two axes, it’s known as a one-way tentacle.
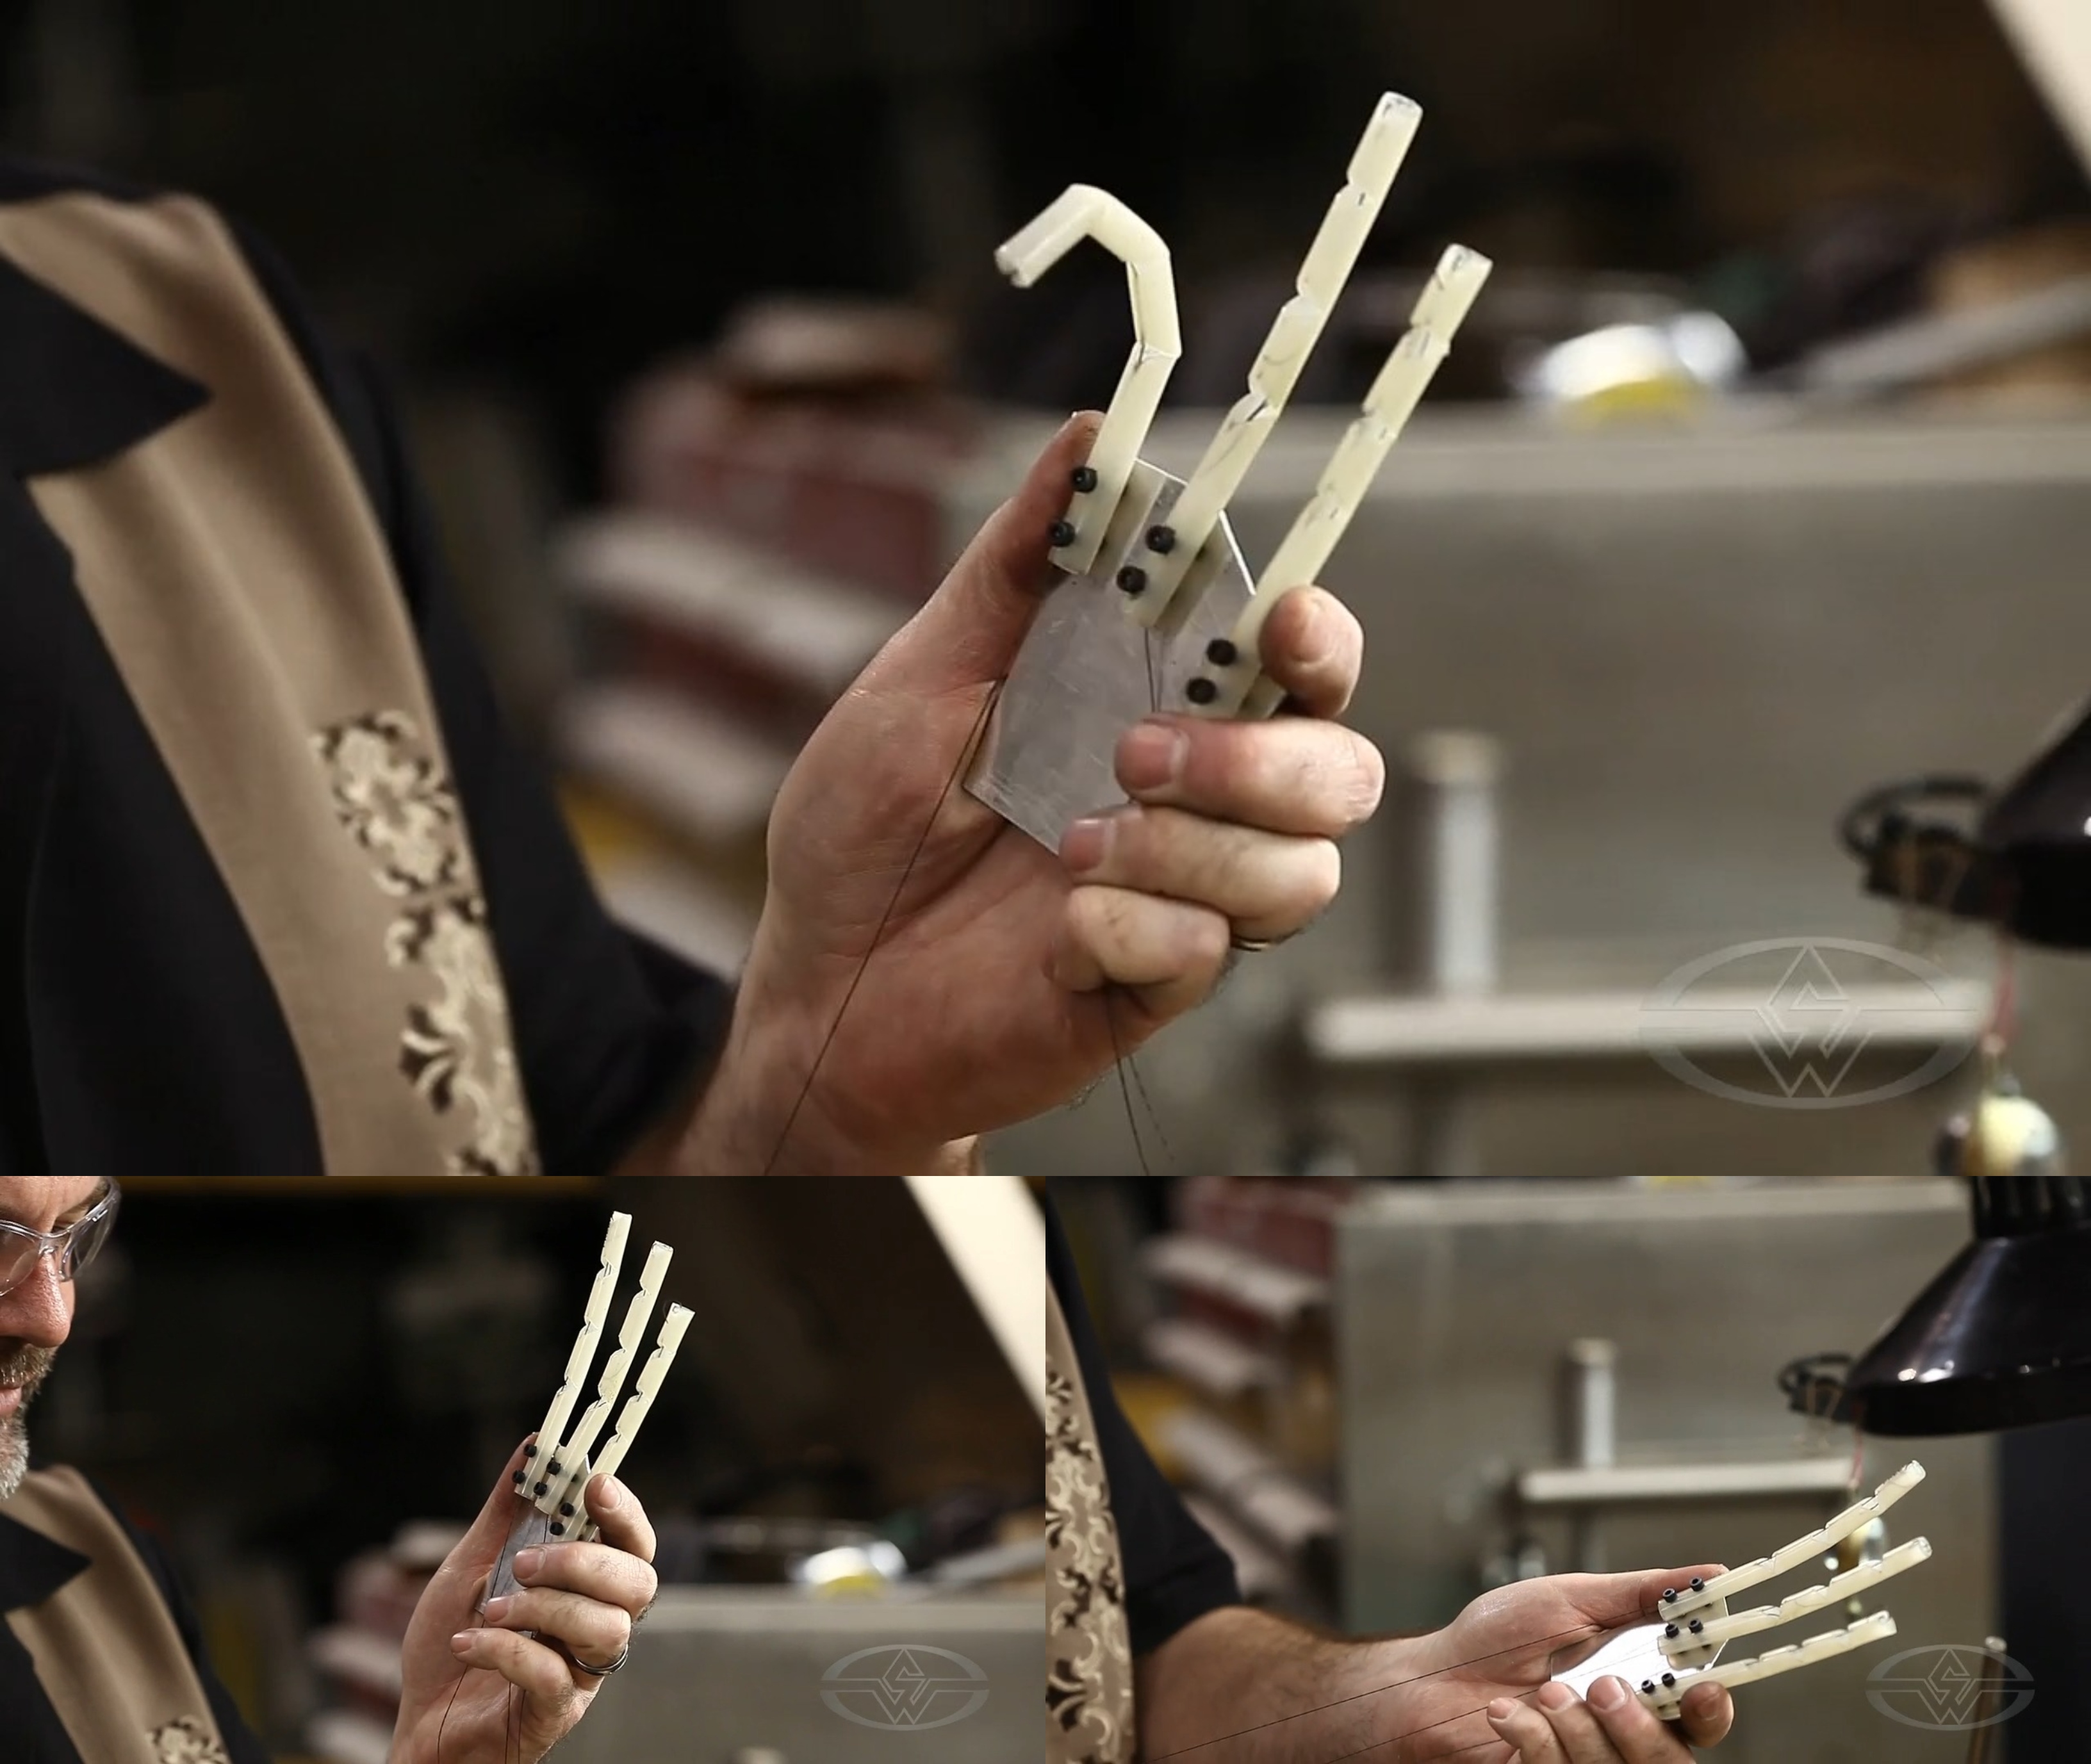 (Richard Landon demonstrates how a one-way tentacle works.)
For clarity purposes, Landon mentions that “axis” and “way” are sometimes used interchangeably.
Next, there are two-way tentacles. These still technically have one axis, but again, they’re often referred to as two-way tentacles because they can be pulled in two directions.
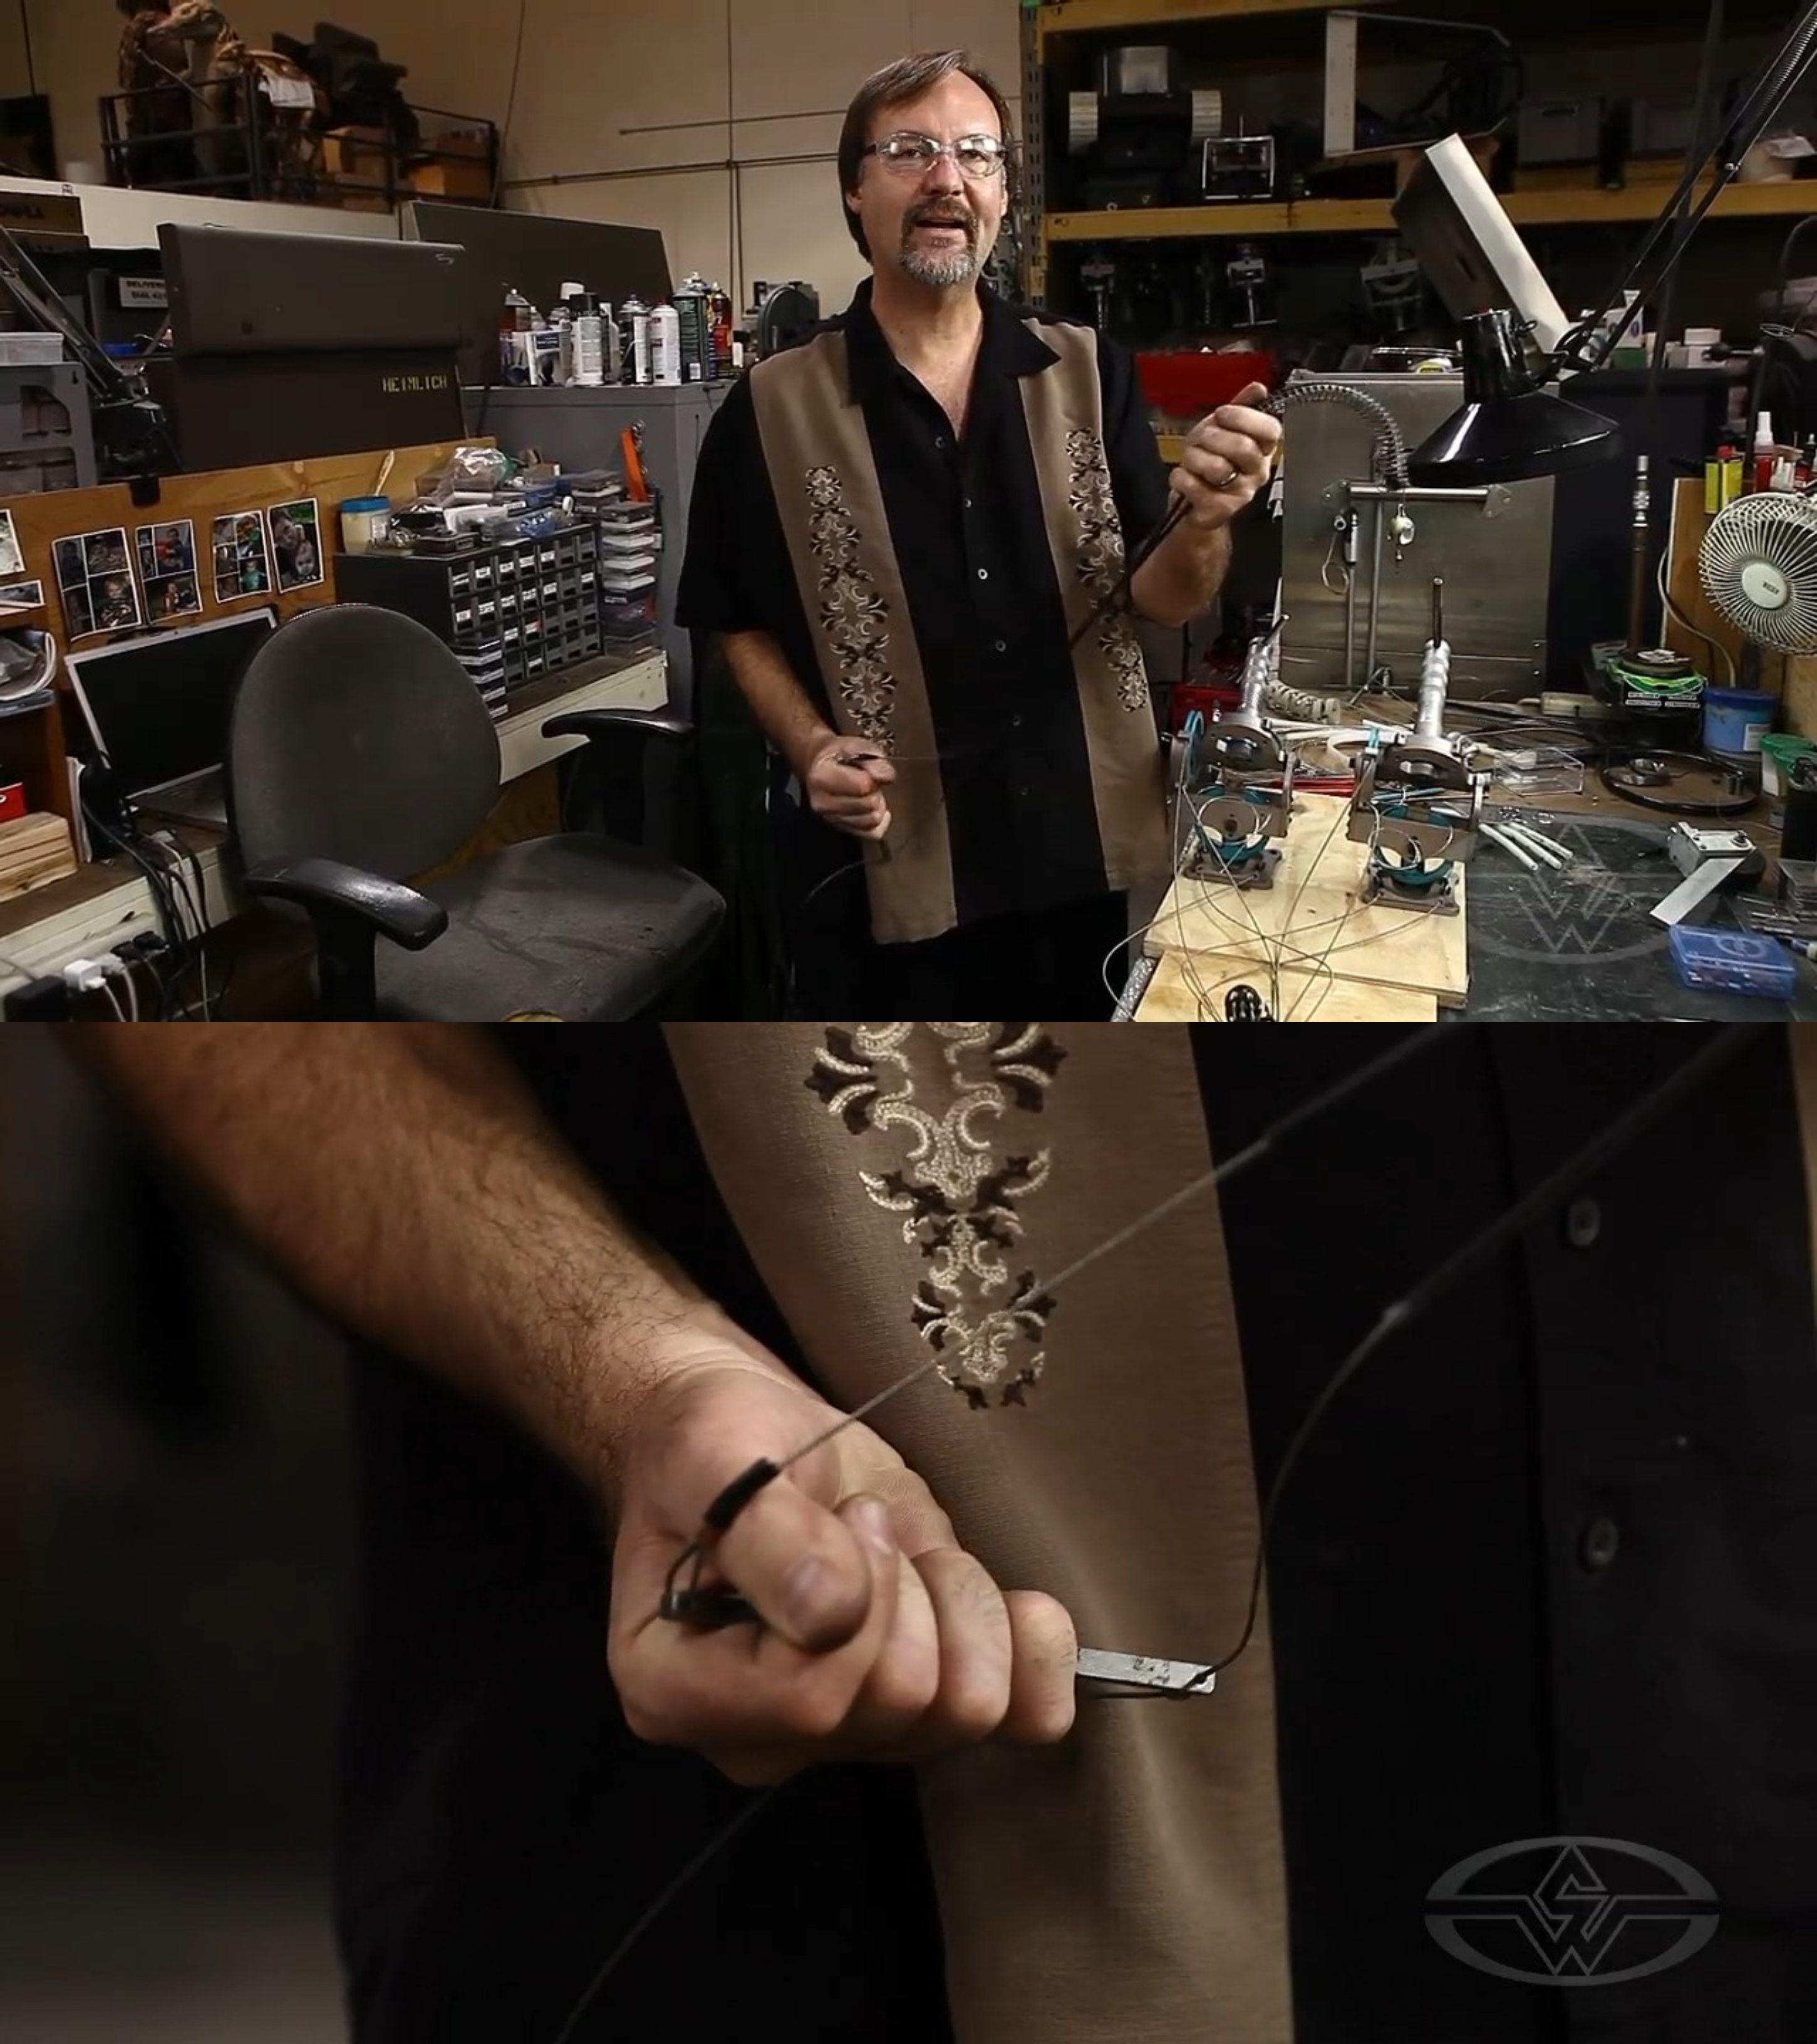 (Richard Landon introduces us to the two-way tentacle.)
The four-way tentacle is made up of multiple vertebrae or multiple stations. These vertebrae control four cables that counterpull each other in pairs from up and down and left to right.
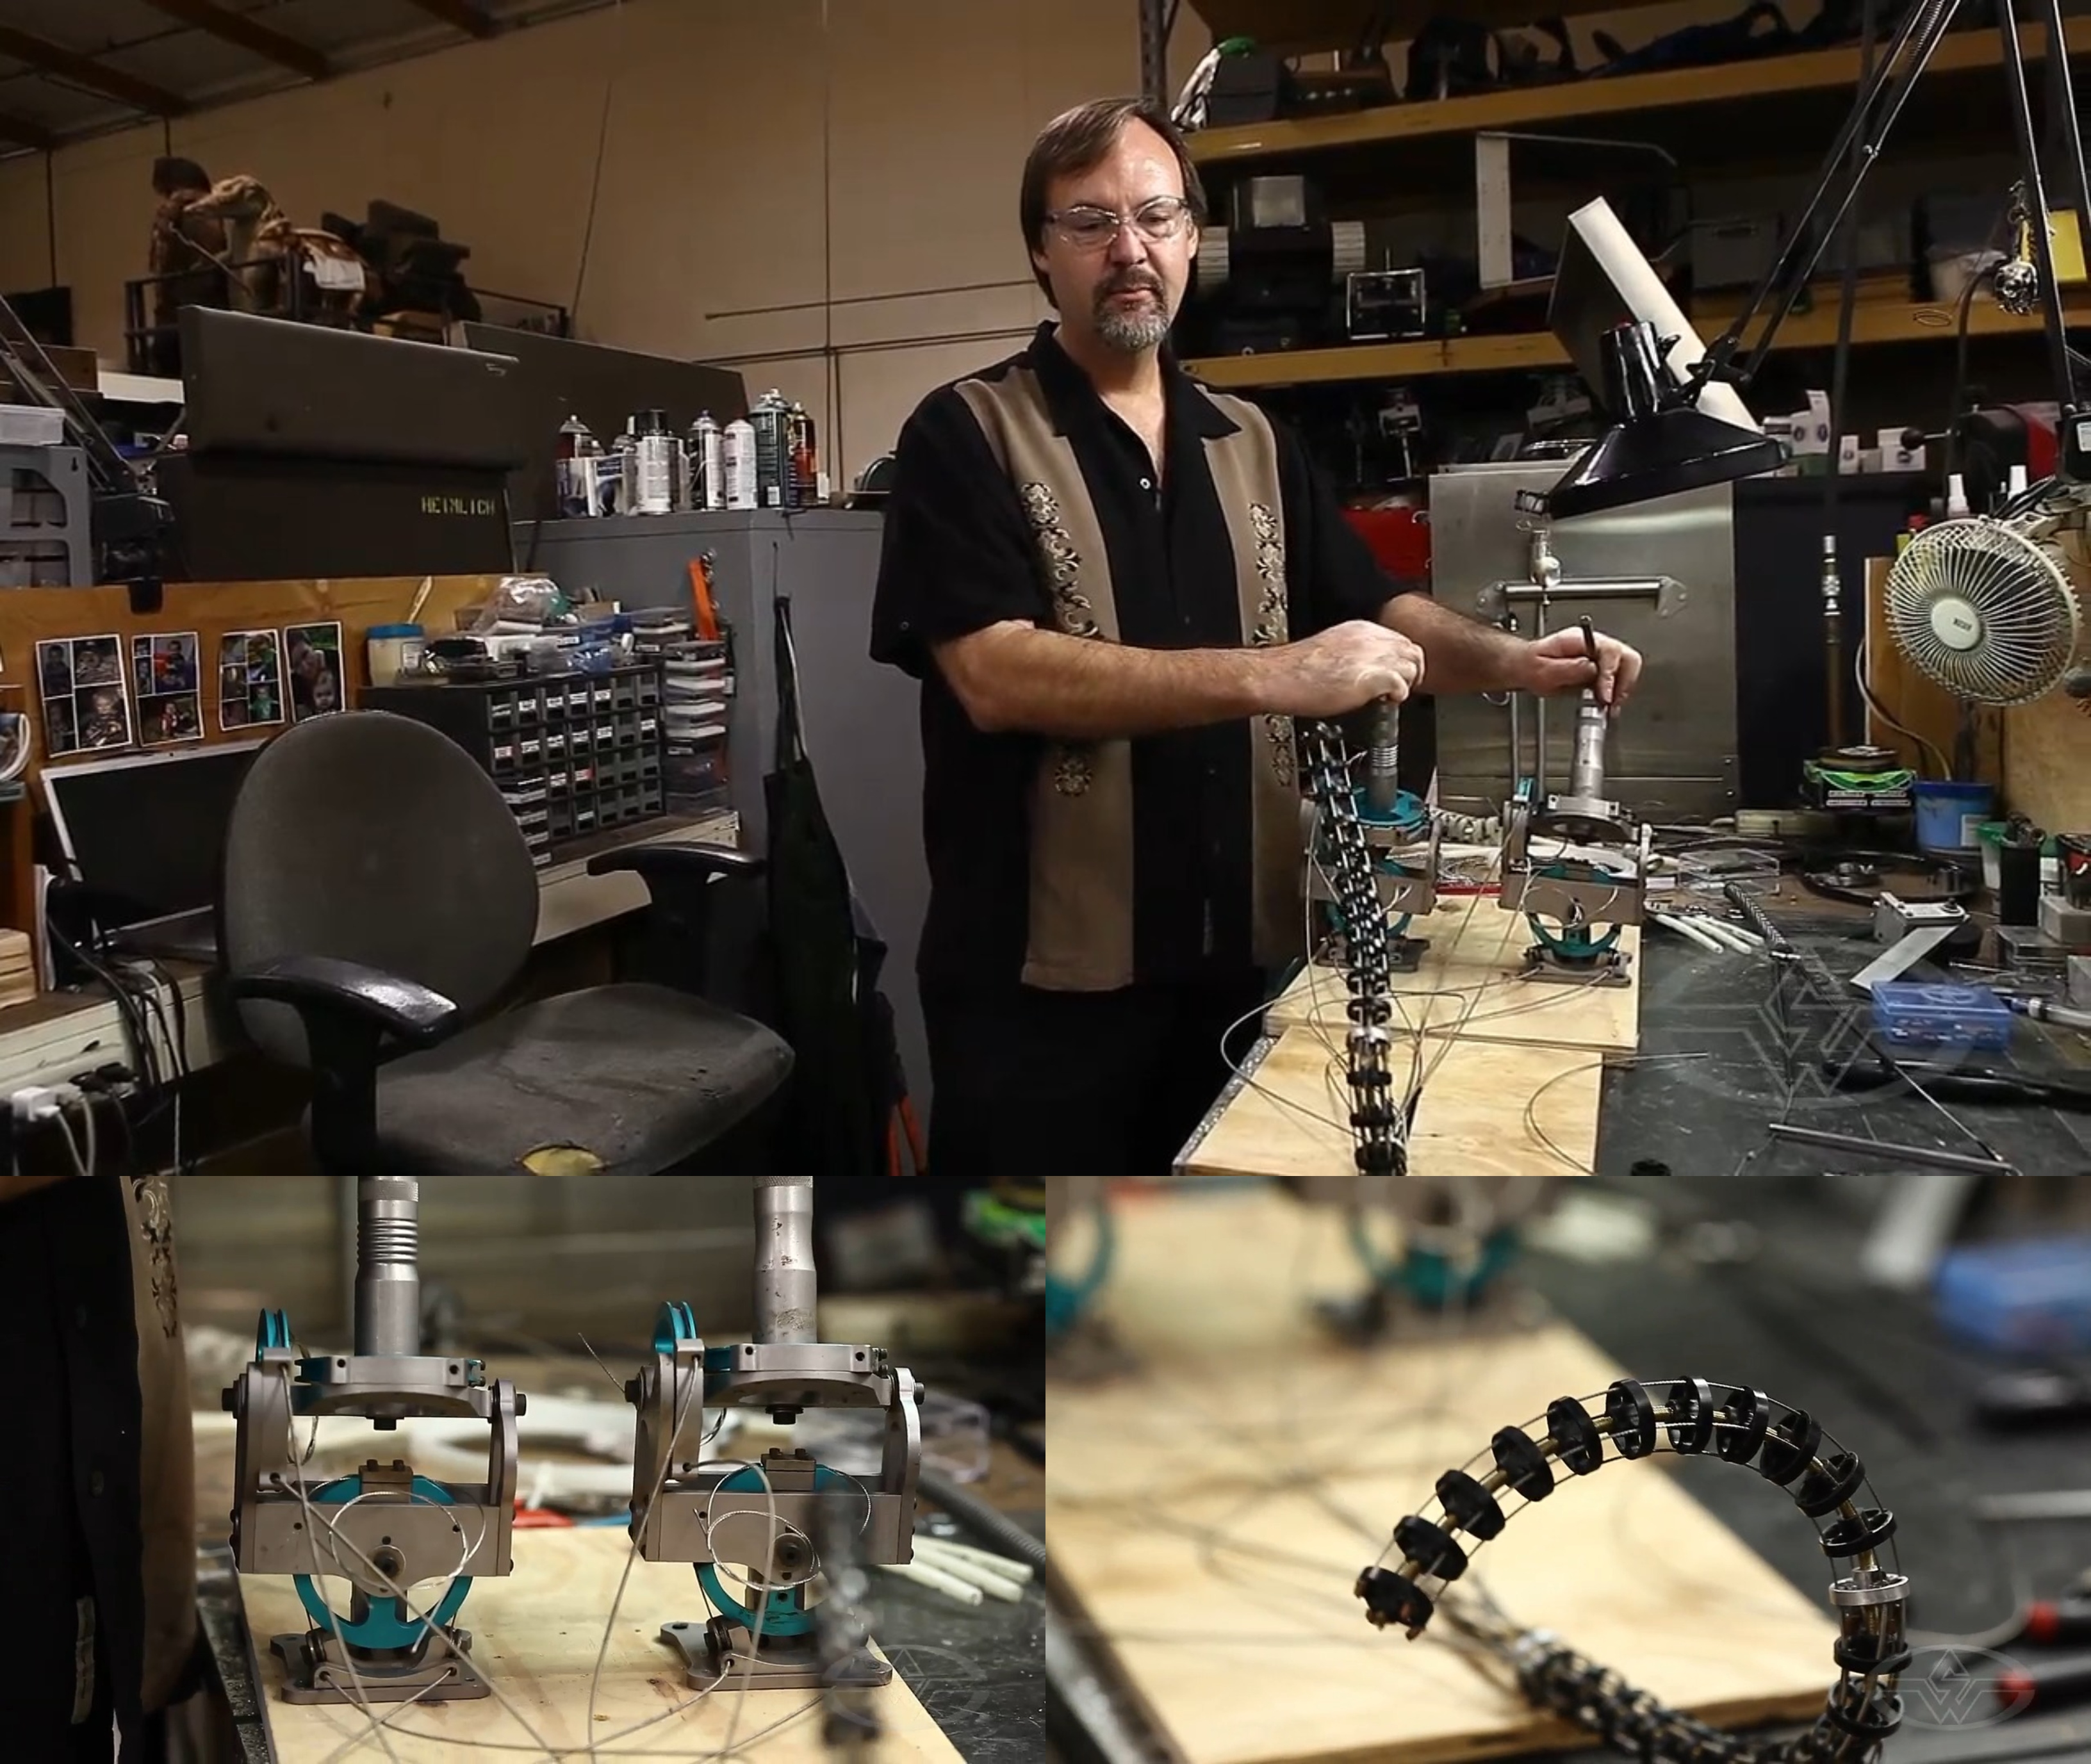 (Richard Landon demonstrates a four-way tentacle mechanism in full effect!)
The construction is described by Landon as being a “fairly complicated” four-cable mechanism. Each cable passes through a CNC machined disc, essentially serving as the vertebrae of the tentacle. The discs are made with four small holes that the cables go through, the interiors are cut out to make the mechanism lighter. The center hole in the disc allows the speedometer cable to pass through. On the outside of the inner hub of the disc is a set screw used to lock the mechanism into position on the speedometer cable so it doesn't slide around.
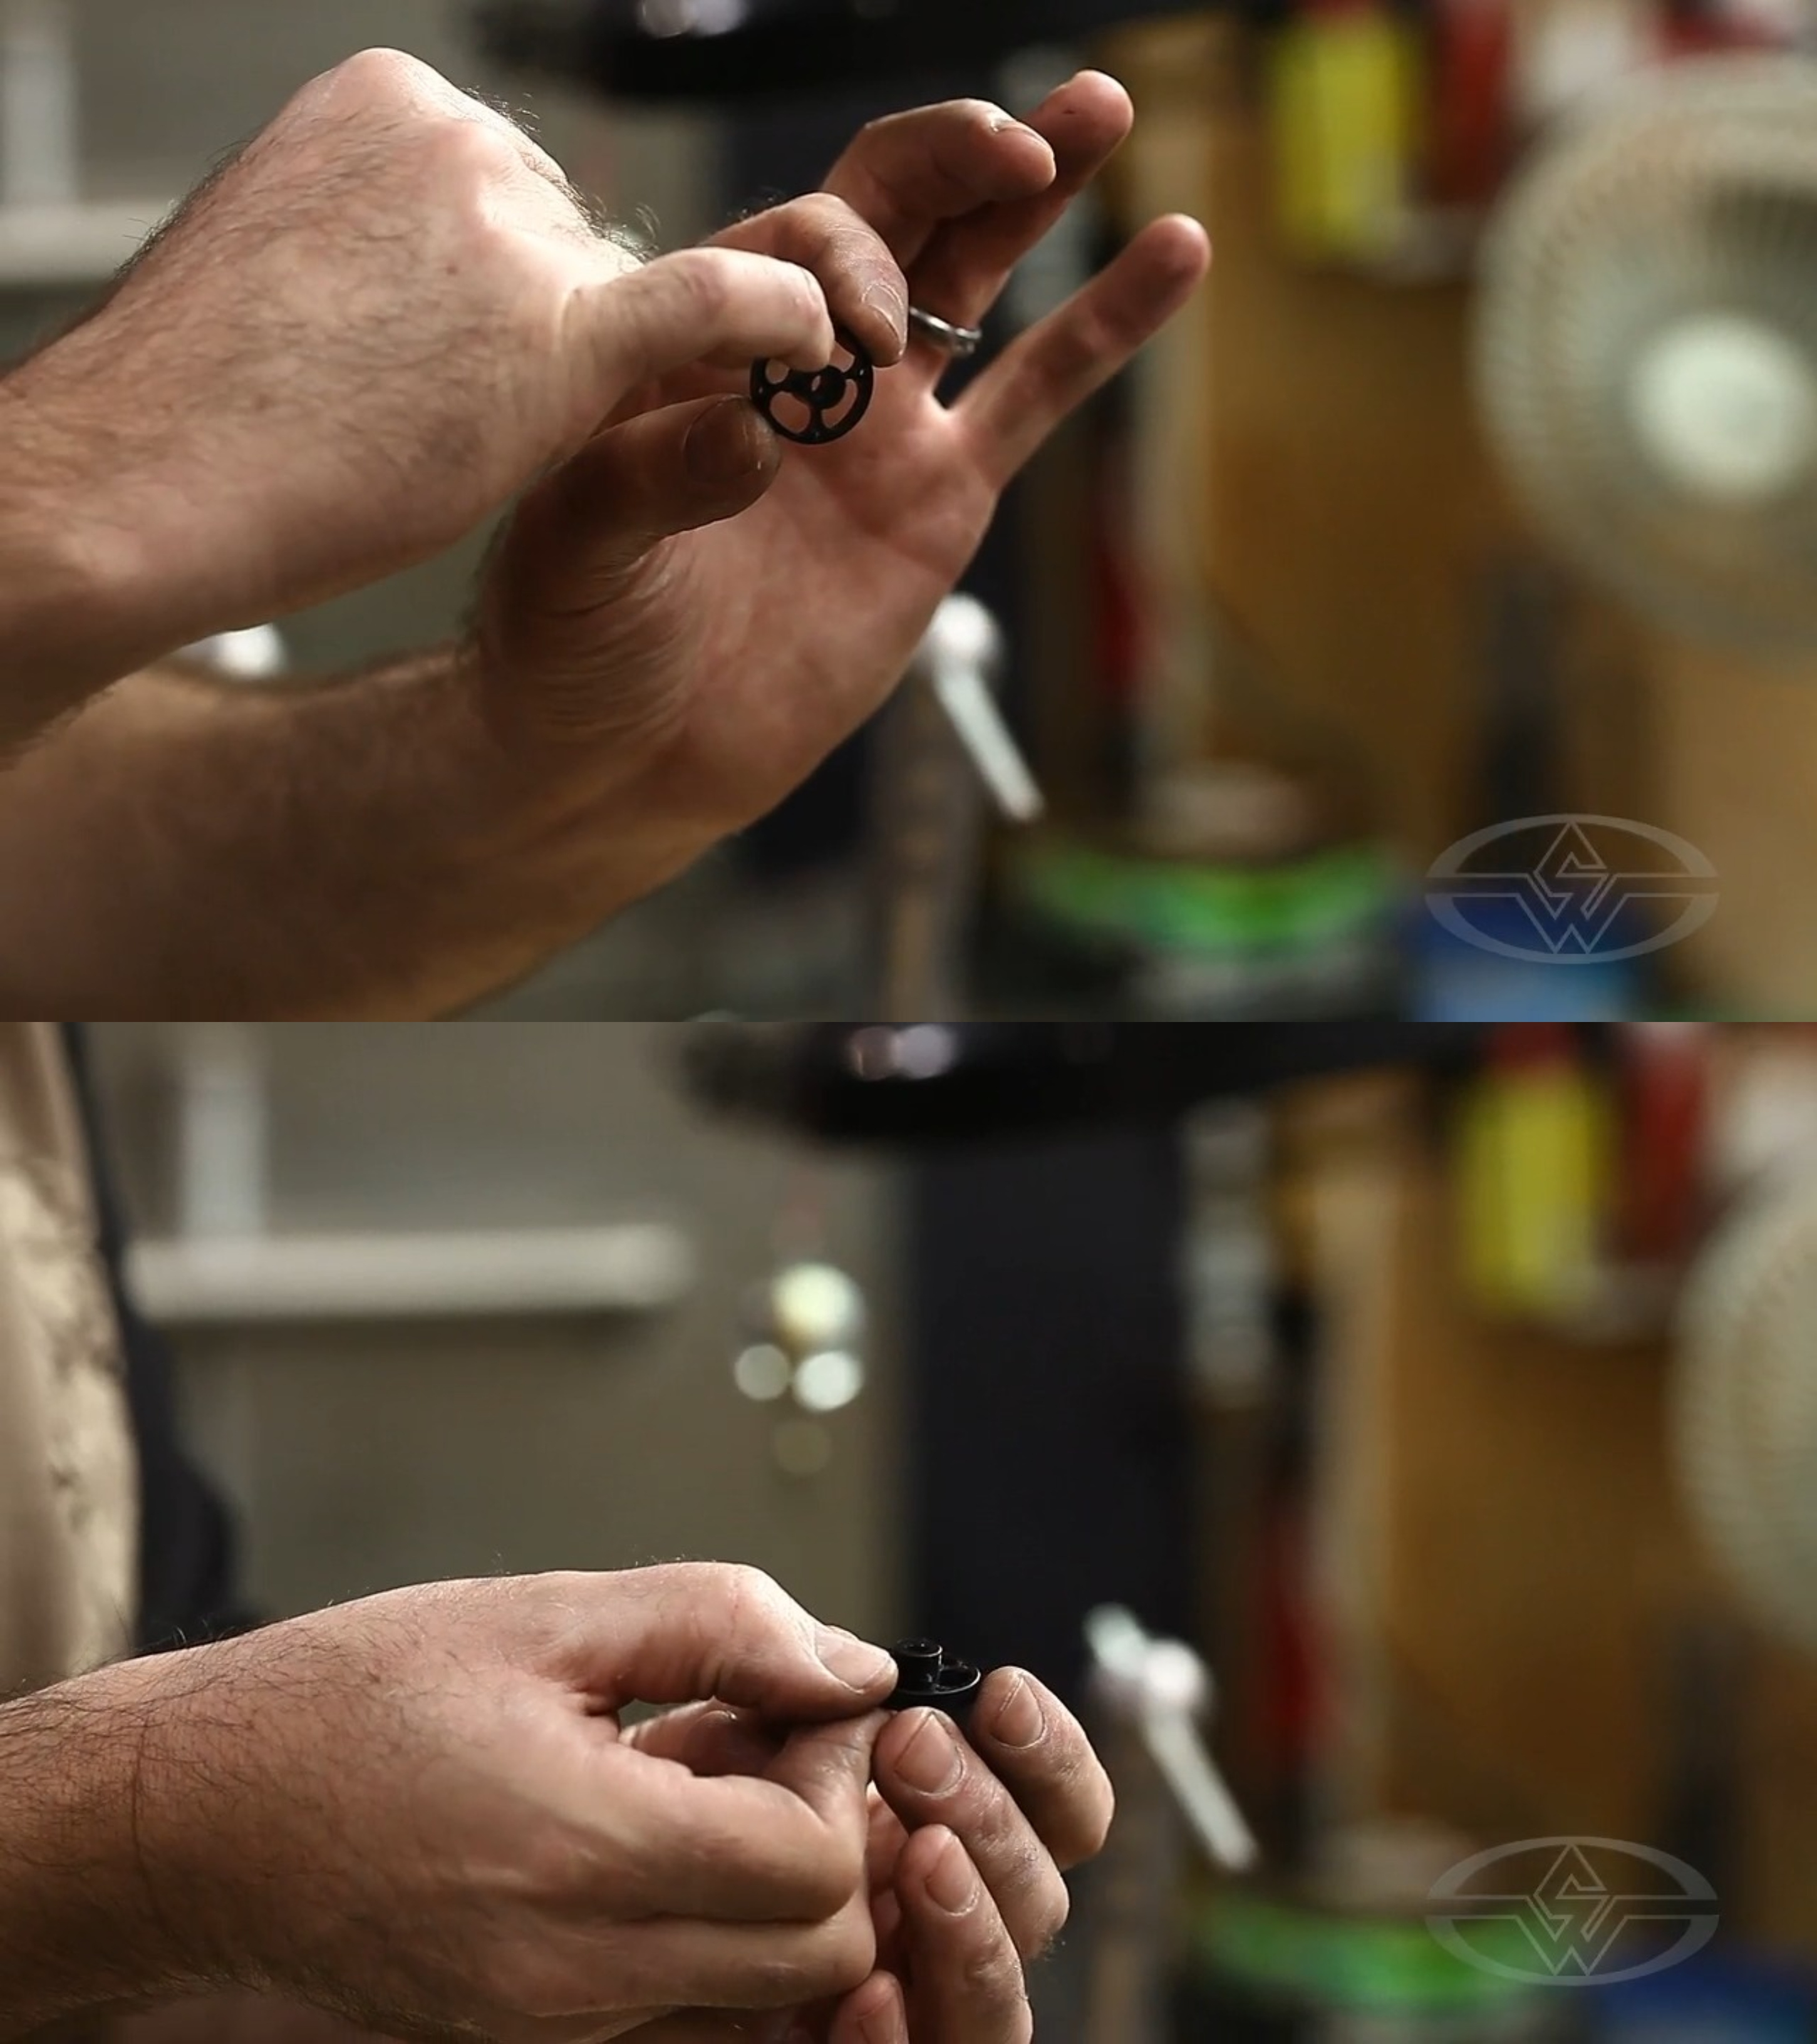 (Richard Landon points out the different parts of the disc and explains their uses in building a tentacle mechanism.)
Landon stresses the importance of making a tentacle have good controllability to prevent it from twisting. To do so, the disc must be locked down tight to the side of the speedometer cable. That way, when you have multiple discs lined up in a row, each cable pulls in different directions.
Landon describes the results if you were to string the discs without the set screw holding them in place, “If they were to spiral like a candy cane, you would get an uncontrolled mess.”
Prepping to Build a Four-Way Tentacle Mechanism
To make a four-way tentacle mechanism without using CNC machining, Landon explains how you can create a simple version using sliced aluminum.
You’ll slice a bar of aluminum multiple times to make a five vertebrae tentacle to start with.
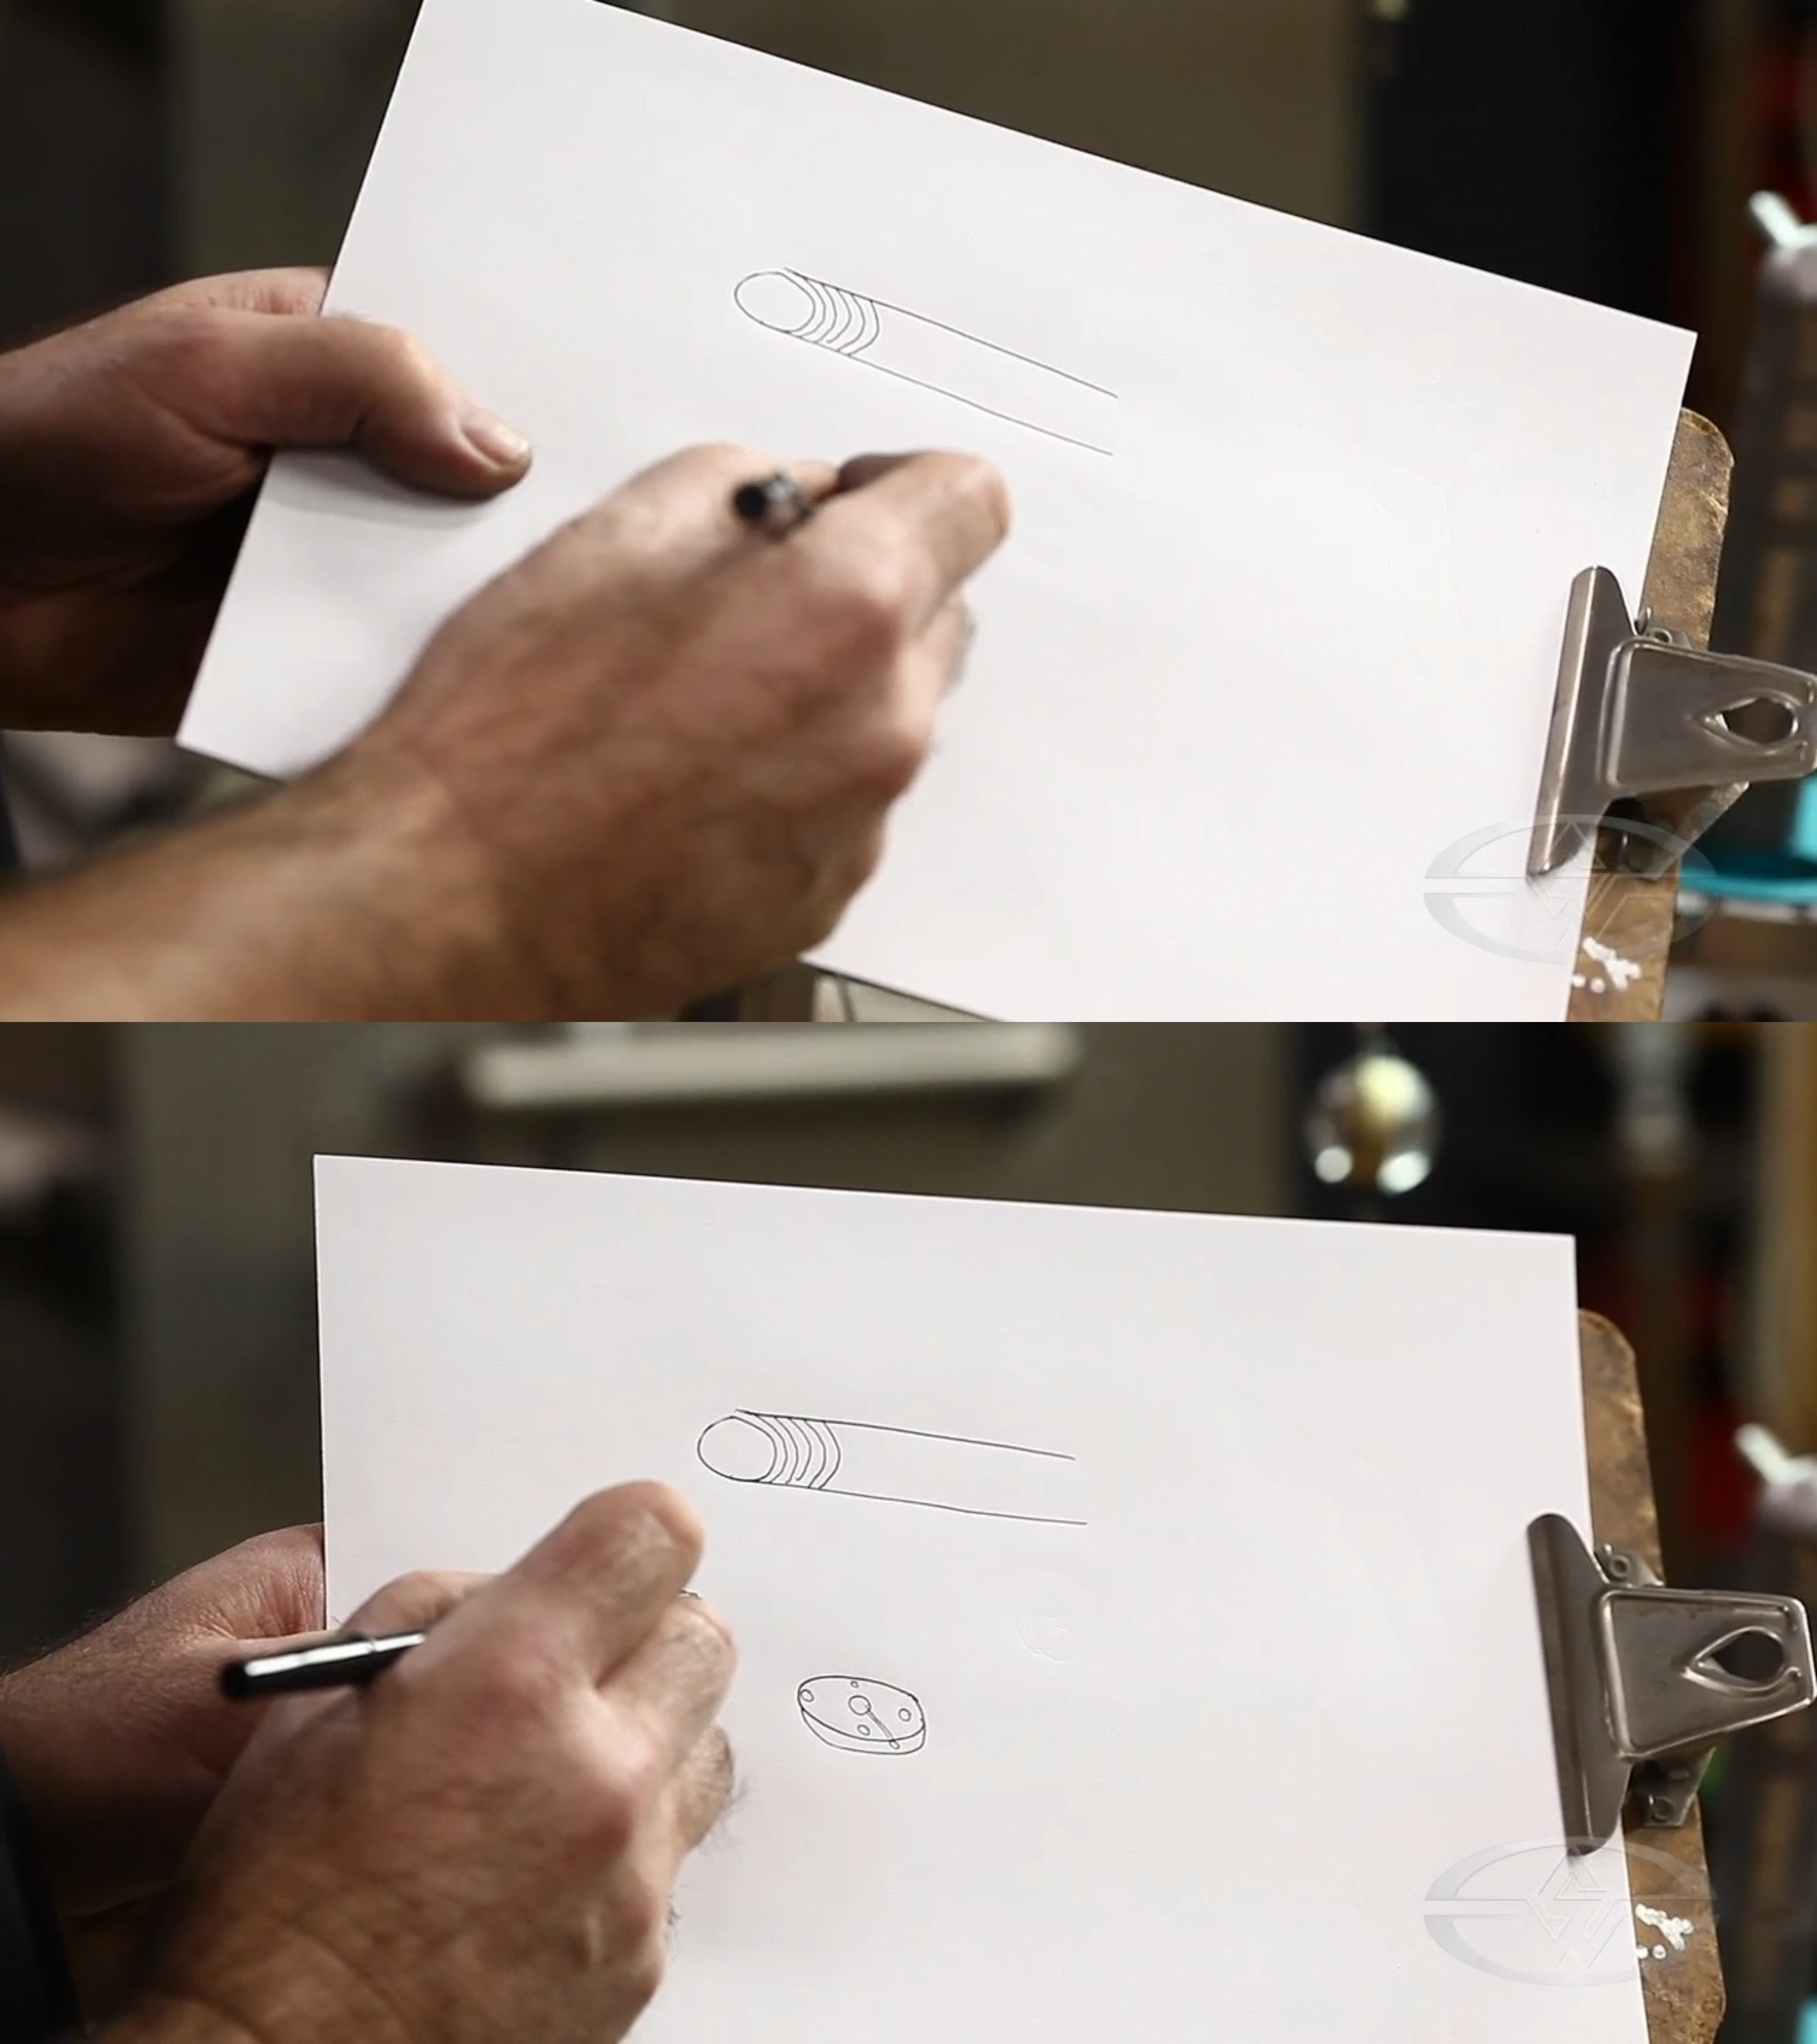 (Landon draws a mockup of the process he'll use to create a four-way tentacle mechanism.)
With each aluminum slice, you’ll drill a passage hole in the center, as well as four holes for the four cables.
Then, drill and tap a hole in the side of the disc to allow it to be secured to the central cable. You've now created the vertebrae that you’ll need for your tentacle project!
WATCH THE “CABLE MECHANISM BASICS - TENTACLES” COURSE WITH RICHARD LANDON: