
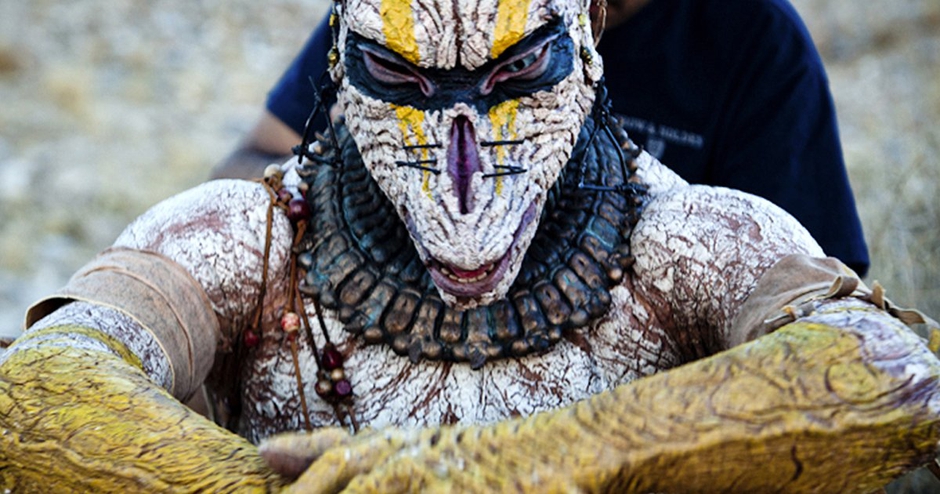
How To Make a Monster Suit With Alec Gillis
By Jeff Dixon
To watch the FREE lesson preview, simply click on the player above
This lesson is quite a journey. What started with Monster Suit Sculpting by Alec Gillis is continued here with Make a Monster – Mold-Making, Foam Latex & Paint, also captained Alec Gillis.
Jump To Section
- The Process of Creating a Character
- Planning the Animatronics With Your Mechanical Designer
- Making Adjustments to Suit Your Actor
I think saying it’s “captained” by Alec Gillis is appropriate because while he created and sculpted the initial product and is definitely the captain of the ship here, these later steps really showcase how an entire crew must come together to create something great. As they say, “it takes a village.”
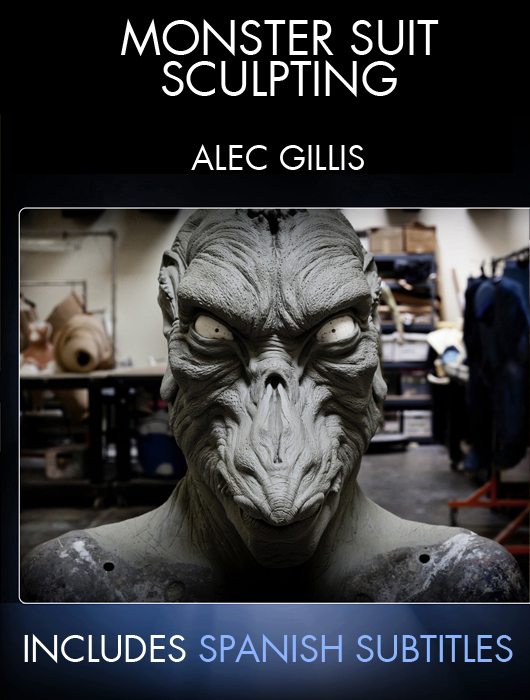 (Alec Gillis' tour de force in sculpting a head-to-toe monster suit for partner and performer Tom Woodruff Jr. This process includes being aware of the mechanisms that will one day fit inside the head!)
 (Alec and his crew take it all the way home. From the sculpt... HOW DO I GET THAT THING ON SET? You'll find out in this 4-plus hour marathon.)
The Process of Creating a Character
For the first half of this lesson, Alec offers his sage narration for a slew of processes, mostly tackled by key ADI artist (and fellow SWSCA lesson leader) Timothy Martin. These processes really showcase the large amount of work necessary for the creation of any character. Molds, molds, and more molds. Here, you really grasp an idea of just how many components go into this. Skins, cases, molds, undershells, cores, vacuform, sealants, releases, fiberglass, epoxy, latex, silicon… you name it. All your favorites are here. It really is a crash course on all things character creation between the sculpture and a wearable final piece. Most people focus on the exterior product, but they may tend to forget about the need for, say, an undershell or skull cap for the performer. But rest easy, everything you need to know about this process, and I do mean everything, is right here. That even includes making mistakes, something that is not only shown but discussed at length at one point on the journey.
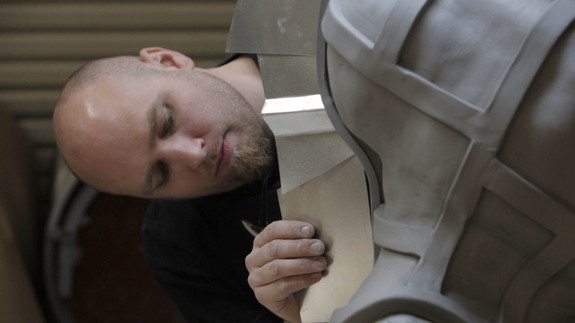 (Timothy Martin creates the two-piece mold by setting shims down a centerline in the clay in this Matrix mold.)
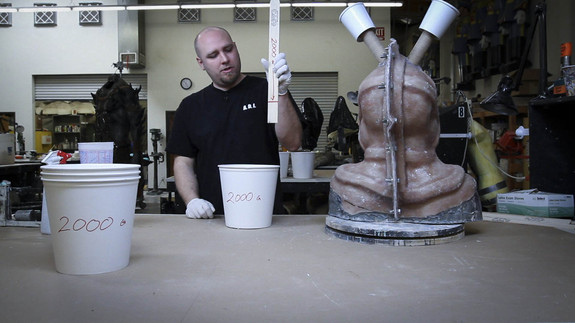 (How do you mix and measure silicone to finish the mold? Here ya go!)
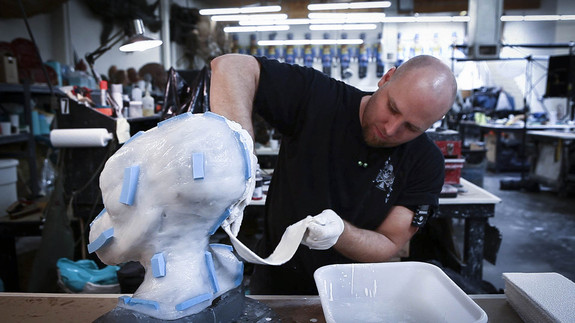 (Tim creates the hard outer shell on this silicone brush up by using a plaster bandage.)
 (The plaster bandage shell is covering the brushup. Now Tim smoothes it.)
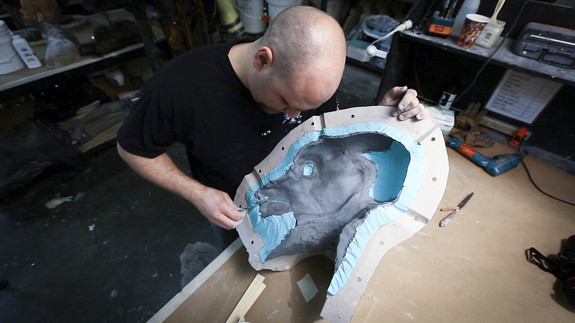 (Tim lays a thickness of clay inside the Matrix mold to pour a test skin for Animatronics.)
Planning the Animatronics With Your Mechanical Designer
In addition to Alec and Tim, we also meet more of the ADI team that add to the final product. A key component in the process is Dave Penikas, ADI’s key mechanical designer. Anyone wanting to learn this process should pay definite attention to the powwow between Alec and Dave as they discuss the logistics of the animatronic components within the created skull. The combination of creative ideas with logical realities really shows how a team must work together in order for things to get done correctly. Simple things like leaving enough room for components to fit inside the skull, having enough area near the ears so the performer is not in pain or injured by the mechanism, or even discussing the exact specifications of the animatronics themselves are all points that need to be addressed. And being a fly on the wall watching these discussions take place offers the viewer a wealth of information.
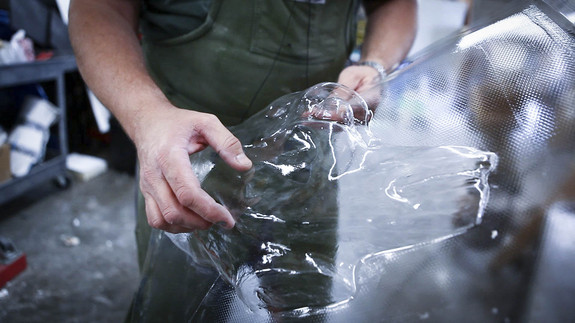 (Dave Penikas creates a vacuform of the core.)
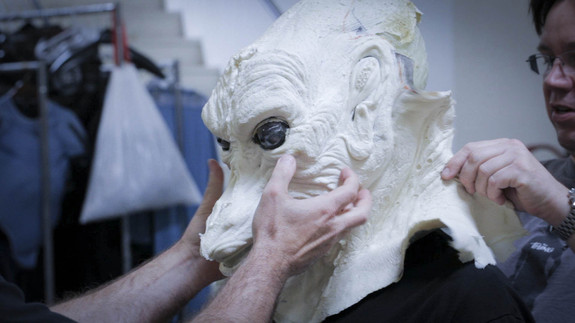 (This foam latex test skin is poked and prodded by Alec and Dave.)
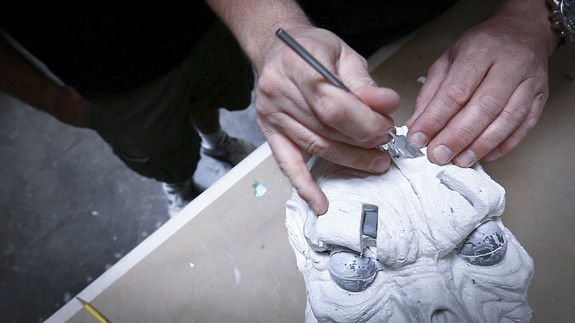 (An alginate test skin lets the guys actually slice it apart to see how the mold must be altered to perfect skin thickness.)
Making Adjustments to Suit Your Actor
Now, all this work really adds up to the final product of testing the suit with the performer. It’s here that everything really comes together, and you fully grasp how all this hard work can truly pay off in exciting ways. As an additional perk, Tom Woodruff, Jr., master suit performer, is the one to try on and test out the suit. Watching him move around in the suit, learning the actions, and feeling the character from the inside is truly fascinating. They even note at one point that his movements in the suit are very similar to his movements with the Pumpkinhead creation. When you put it in this perspective, I guarantee you all the Stan Winston geeks out there just perked up a bit more. Watching Tom get into the role is phenomenal. But like all great creations, none of it would have been as fulfilling if we hadn’t seen where everything came from in the first place.
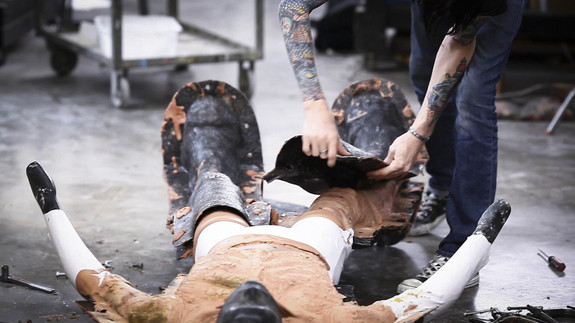 (Chris Baer pulls the body mold apart to reveal the foam legs and body on the Lycra suit.)
 (Chris uses liquid latex and a texture stamp with powder and a puff to patch the foam seams.)
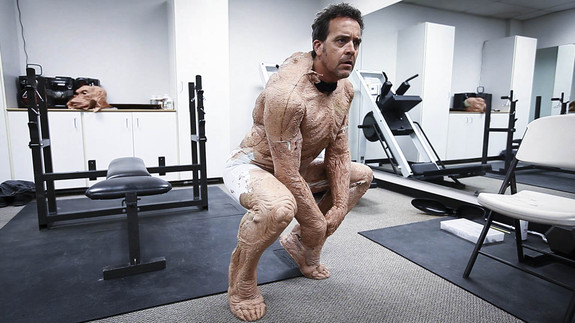 (Tom Woodruff Jr. gets inside the suit for the first time. Rehearsal with the actor tells the suit-makers all they need to know to make the suit as good as it can be.)
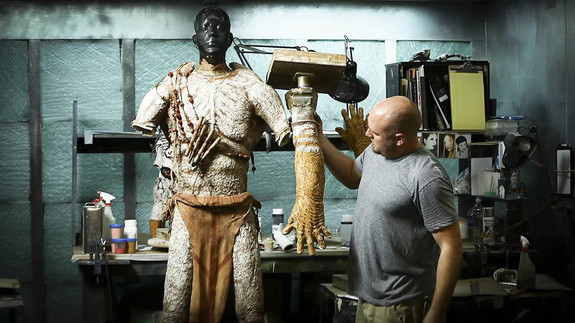 (After the alterations, the sewing, and patching are complete, Tim Martin paints and adds mud texture and costume elements. The suit is ready to go to set for the test shoot.)
So come along on this journey with us. Learn and see how these incredible characters go from sculpture to set-ready suits. And see how a team truly comes together to build something great.
-Jeff Dixon
To watch the FULL LESSON, click HERE: Make a Monster – Mold-Making, Foam Latex & Paint