
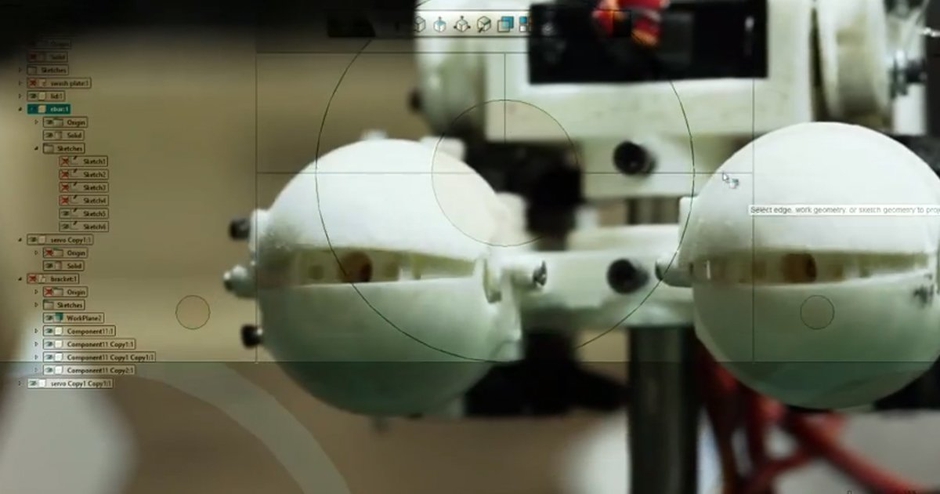
Building Eye Mechanisms with David Covarrubias
We've had many requests over the years to do a video tutorial on EYE MECHANISMS. One of the main reasons it's taken us so long to cover this topic, is that most of our fans don't have access to expensive machines like the lathes, CNC mills, water cutting tools and other gear necessary for shaping precision metal to make animatronic parts. Key Legacy Effects Mechanical Designer, and former Stan Winston Studio Mechanical Lead, David Covarrubias (Avatar, Iron Man) has found a solution. The emerging world of additive printing--also known as 3D printing--allows a consumer to design parts using free software and then print or "grow" them on a consumer-grade 3D printer, available as low as a few hundred dollars.
Jump To Section
- Using 3D Printing to Create a Functional Animatronic Mechanism
- Bringing Your Eye Mechanism Designs to Life
- The Versatility of 3D Printers
Using 3D Printing to Create a Functional Animatronic Mechanism
In today's tutorial, Dave takes you through the entire process of creating a fully functioning animatronic eye mechanism. Using readily available FREE software (Autodesk 123D), Dave designs each of the parts of the eye mechanism around small servos purchased from an electronics or hobby store.
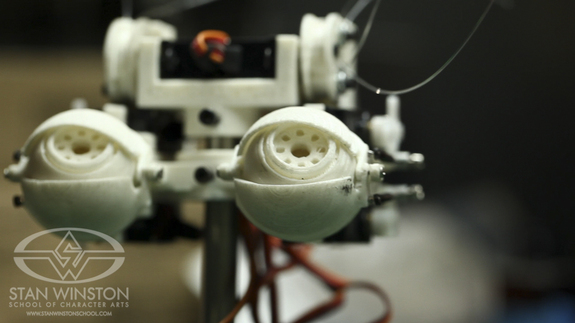 (A fully assembled eye mechanism, created with free software and printed on an affordable, lower-end 3D printer.)
The first part of the lesson is all about DESIGN, showing you step-by-step how to bend the beta software to your will. Dave flies through the functions until they become second nature--extracting shapes, extruding cavities, chamfering, and filleting edges--as he virtually creates his parts. He covers the value of "freehanding" in order to expedite the design process, showing you when it's most important to be specific with your design and when you can afford to cut some corners. The material literally takes on shape and presence as he works, and Dave's teaching style is patient and comprehensive as he explains where a part needs extra bulk for support and where you can "remove the meat" for a lighter, more open part. He's patient with the software, too, as you need to be when you're dealing with a free "beta" version. He shows you how to simplify your render when the program starts to become less responsive and shares invaluable tips, sometimes as simple as knowing that if you're having trouble selecting a specific object or part on the screen, "sometimes a little zooming will get you there."
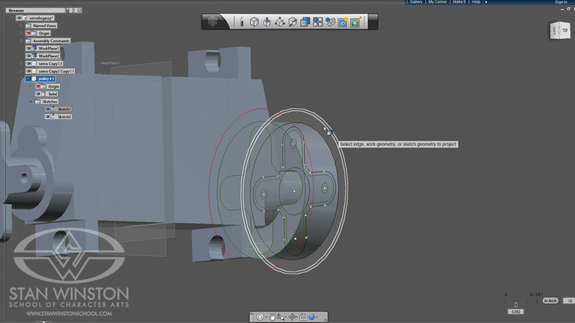 (Using Autodesk 123D (beta9) Dave Covarrubias is able to design his pulley and his pulley block without using expensive metal shaping and cutting equipment.)
Bringing Your Eye Mechanism Designs to Life
Once the design is completed to Dave's satisfaction, the parts get sent to the printer, and soon, like magic, what was once only a drawing on a computer becomes something you can hold in your hand. Dave shows you how to prep your pieces for assembly. Using small servos, cables, and screws common to model plane builders and similar hobbyists, Dave attaches each grown part: the eyeball, swash plate, pulleys, eyelids, and blocks that comprise the eye mechanism. He shows you exactly how to connect your cables from the part that needs to move through the pulley that gives it its range of movement to the servo itself.
But Dave doesn't stop there. What eye mechanism would be complete without performance? Using a standard Futaba Radio controller, the kind used in flying model planes, Dave shows you how to program a remote control. From setting limits to controlling which joystick motions control which movements, Dave takes you on a complete starter tour through the modern Radio Controller. He even covers blending channels, for example, allowing the lower eyelid to raise when the eyeball looks up.
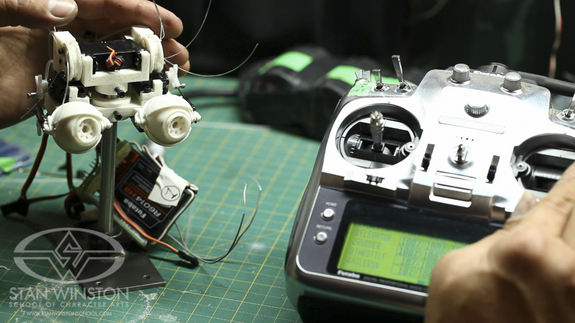 (After the eye mechanism is printed, it gets assembled along with the servos and cables and finally programmed using a standard Futaba RC airplane controller.)
The Versatility of 3D Printers
Let the 3D printing revolution carry you away, and let Dave Covarrubias open your eyes to a whole new way of generating complicated precision instruments to make your animatronic projects come alive!
- David Sanger
To watch the FREE lesson preview, simply click on the player above.
Full course with David Covarrubias: How to Make an Eye Mech - Design, 3D Print & Assembly