
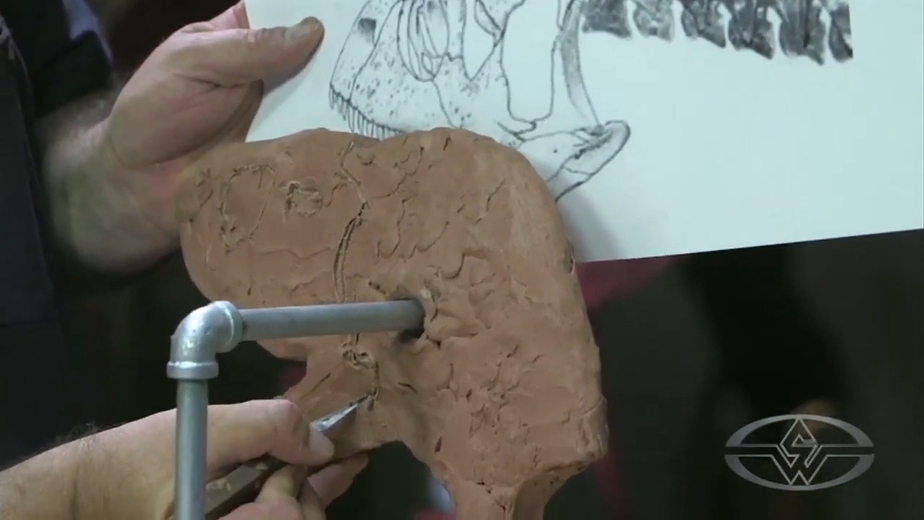
In this FREE excerpt from the Stan Winston School of Character Arts course, How To Sculpt A Dinosaur Part 1 - Armature Building & Sculpting Primary Forms, award-winning paleo-sculptor Christopher Darga demonstrates how 2D skull and skeleton references provide an easy, scientifically accurate way to map out the key features of a dinosaur sculpture, including eye sockets, nostrils, jaw bones, and more.
Using an additive sculptural process, Darga shares his process on how to symmetrically build upon those skeletal reference points to bring dinosaurs back to life with clay. No matter whether you're sculpting a dinosaur, animal, or original creature, using high-quality references is key to producing a realistic sculpture of any kind. Referring to a variety of images as you work can help you achieve an anatomically correct sculpture as you let your imagination run wild — and in this case, as wild as a Carnotaurus once did! — to ultimately create a unique and believable character for your projects.
Jump To Section
- Using Dinosaur Skull References for Sculptures
- Referencing Dinosaur Anatomy to Assess Different Angles
- Carving Reference Points in Clay
- Sculpting Primary Forms in Clay
- Repeating the Process
To watch the complete instructional video, click the player above!
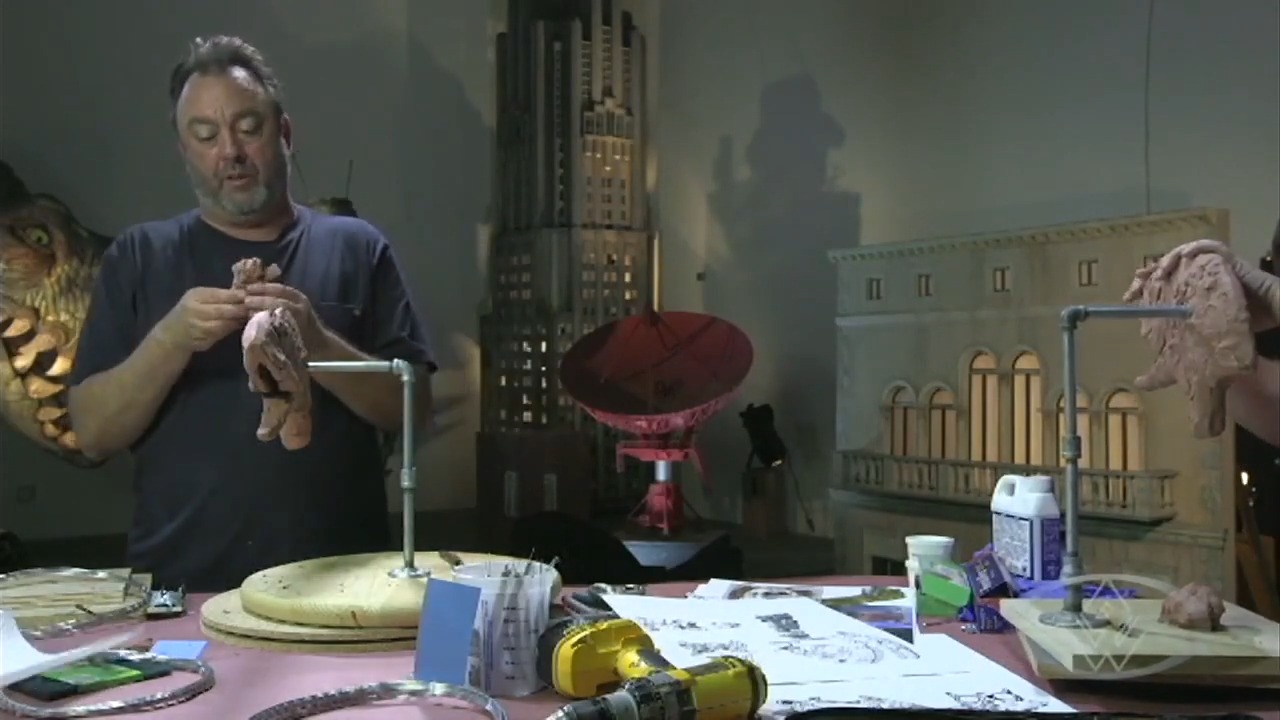
In this lesson, Darga takes you step-by-step on how to use references to create a realistic, ravenous Carnotaurus. Because little information is available on these horned, blunt-nosed dinosaurs and exactly what they looked like, there are many interpretations of them. You can therefore bring a bit of creative freedom to imagining this carnivorous theropod. As Darga says, we can really have some fun with it!
From reviewing references and maintaining accuracy to carving reference points and building out clay, you'll learn how to take your dinosaur dreams from paper to clay.
Using Dinosaur Skull References for Sculptures
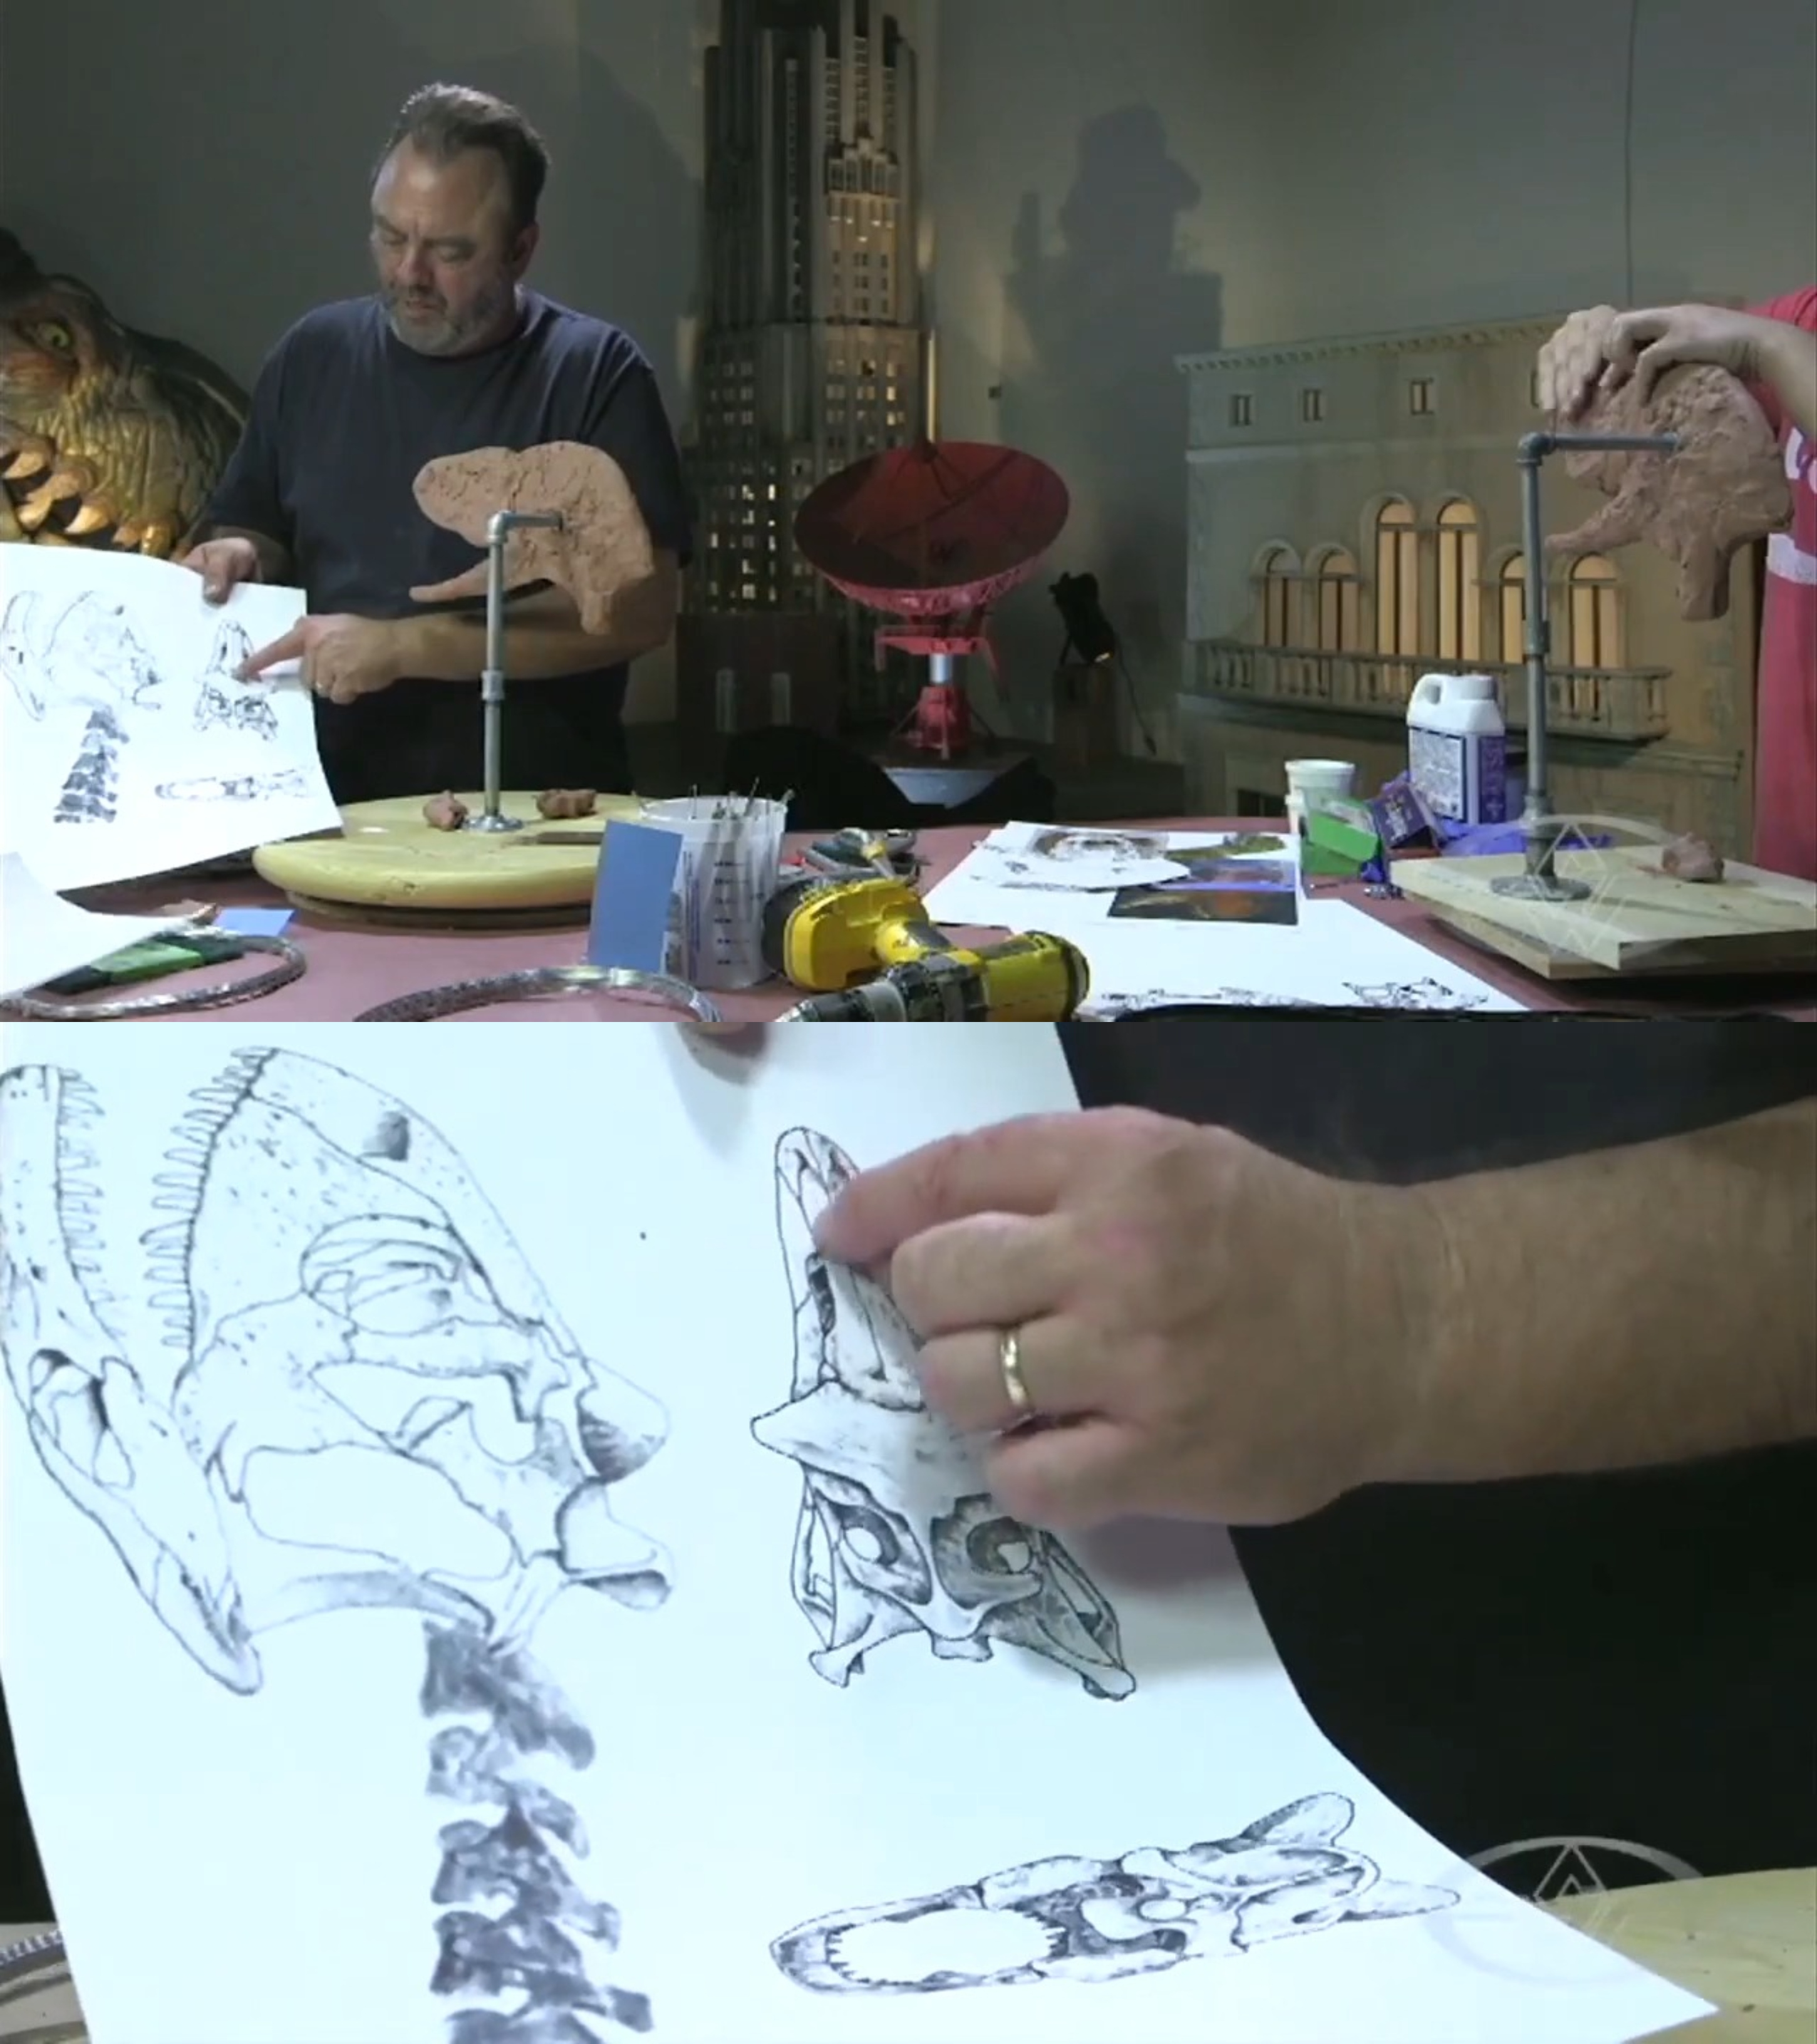
Darga starts with two-dimensional drawings of the Carnotaurus skull, and a roughed-out clay form on a stand. As you reference your dinosaur skull drawing, get a sense of where the features of the skull affect the aspects of the creature you're sculpting. Take particular note of the areas of the eye socket, behind the snout, the nostril, behind the eye where the jaw muscles attach into the lower jaw, and the neck muscles. The shape and location of the bones will determine how you build your creature.
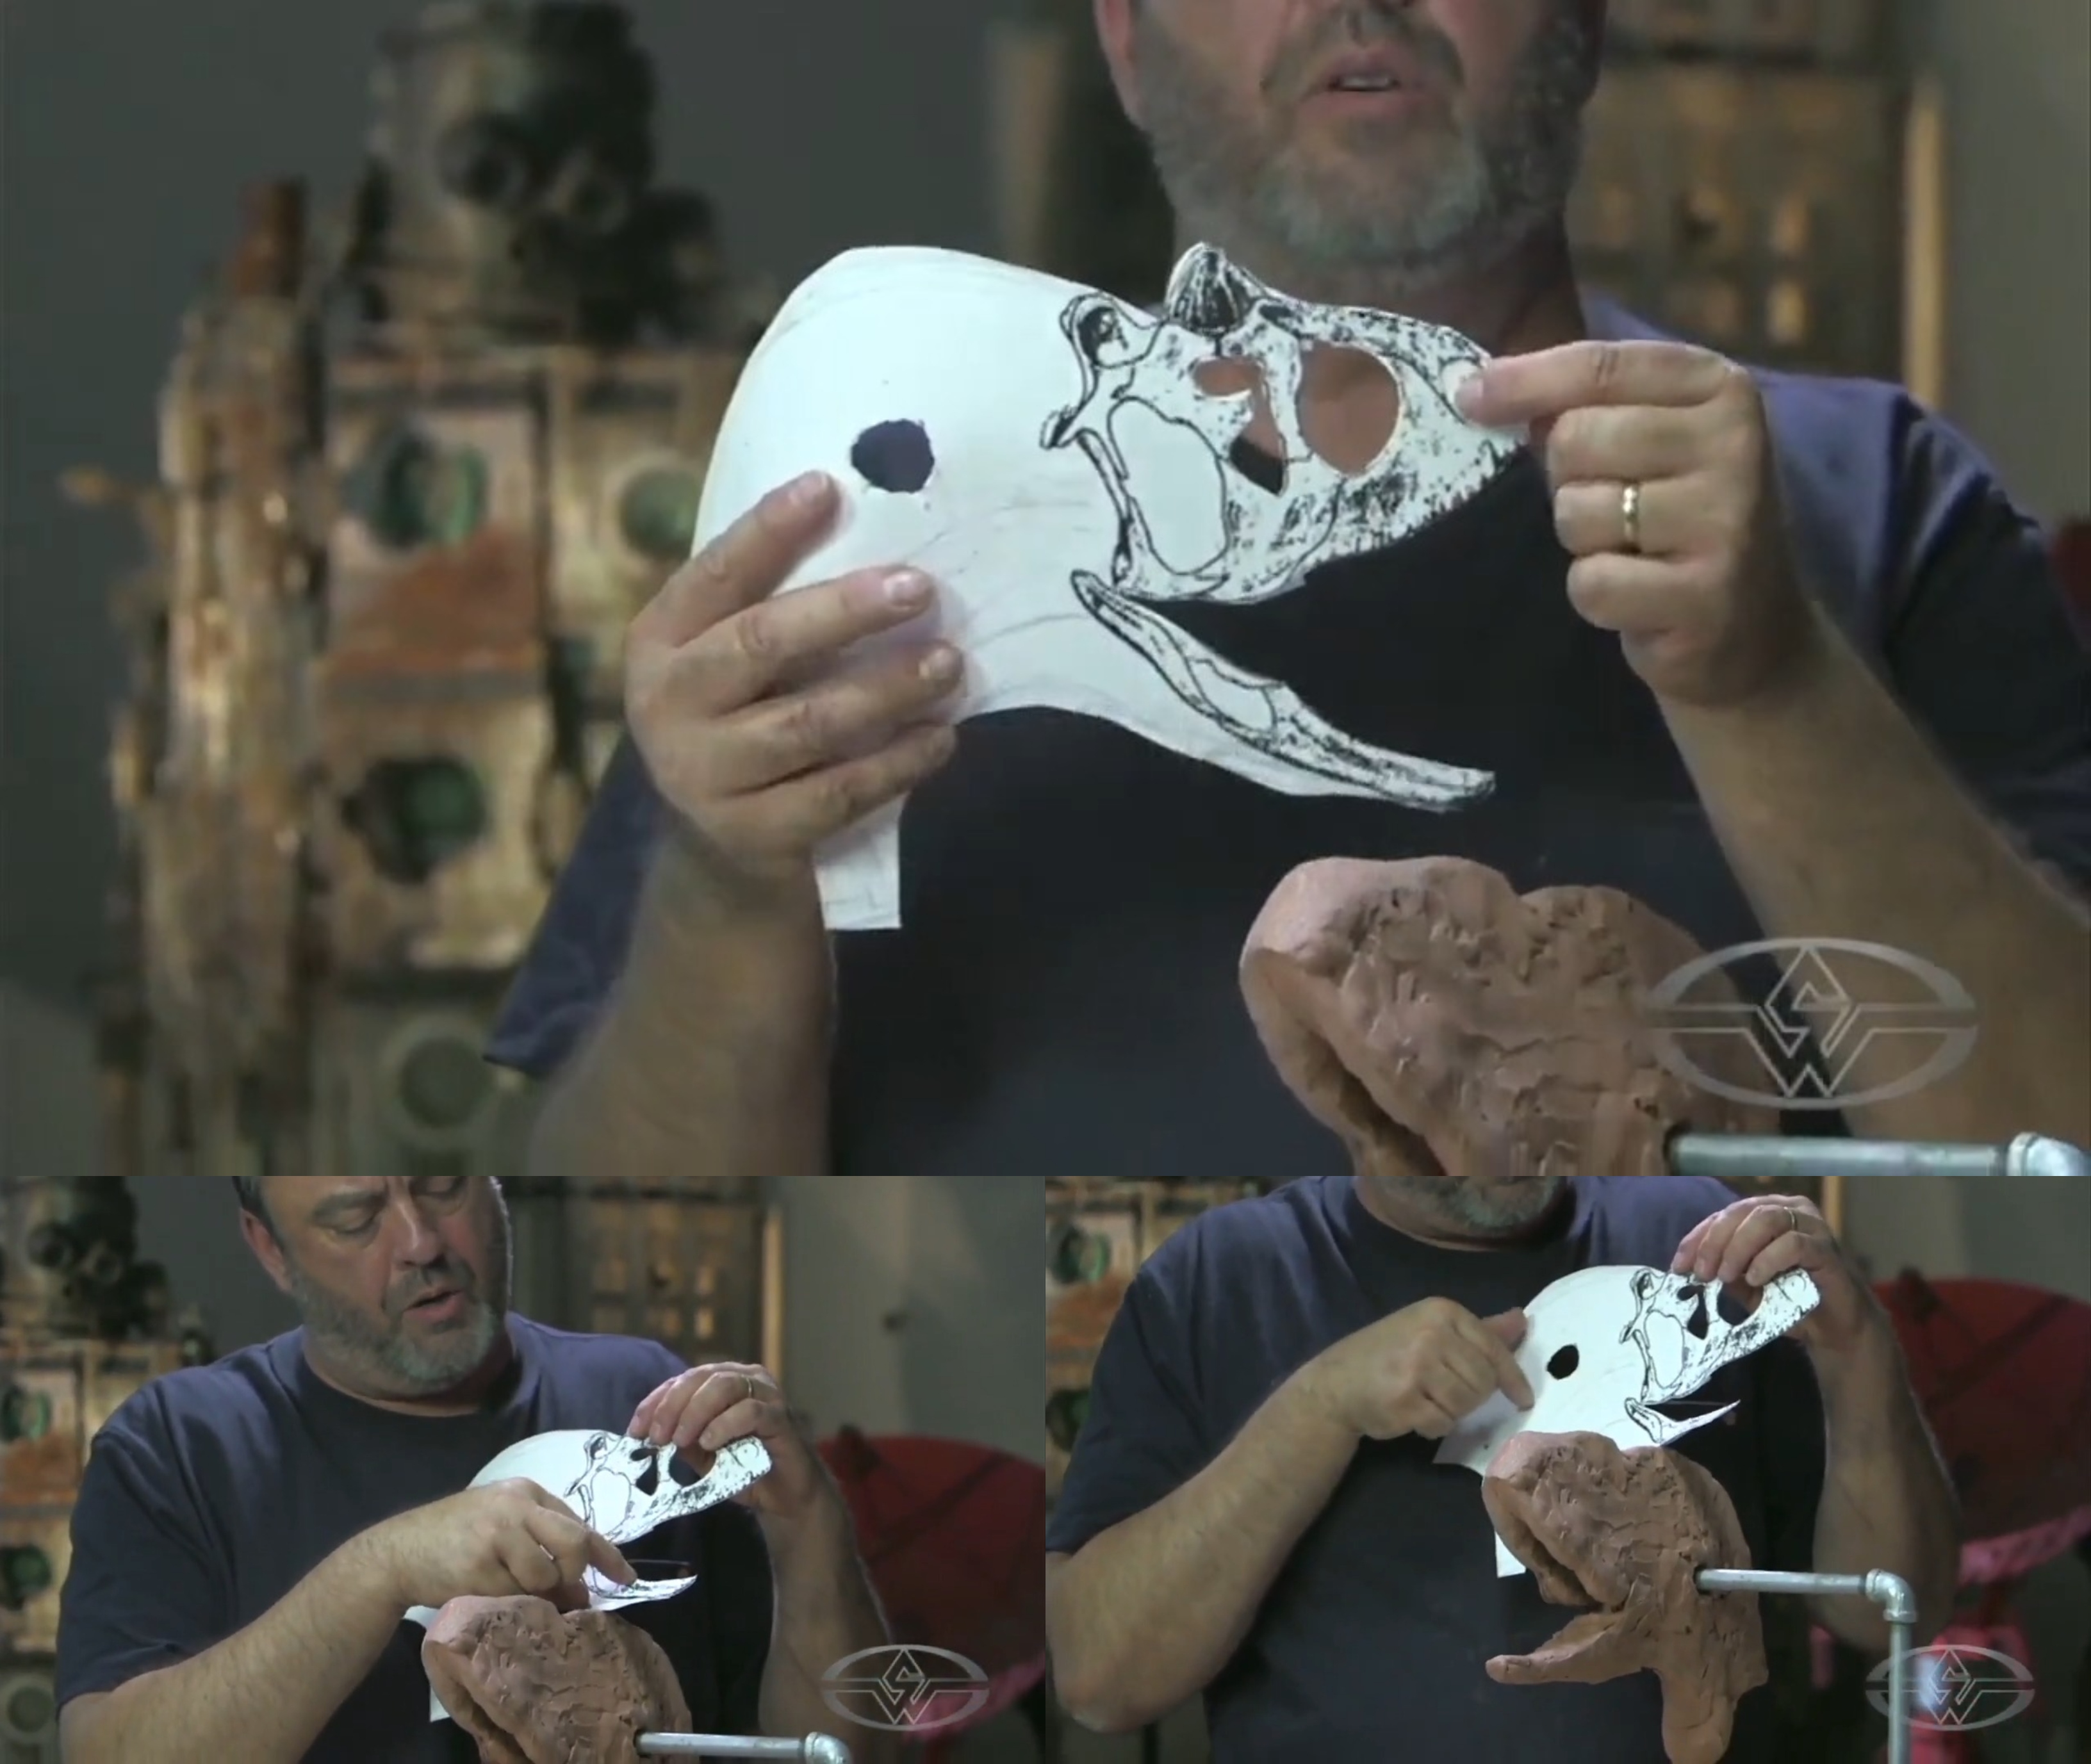 (Christopher Darga points out the different features on his paleontological reference drawing.)
Pro-tip: Leave openings, or make cutouts, for features, like the eye socket and area behind the nostrils, on your dino drawing to easily add reference marks to your piece.
Align your drawing perfectly with your dinosaur sculpture to add the reference marks.
Then, using a carving tool of your choice, roughly carve out where the features will go.
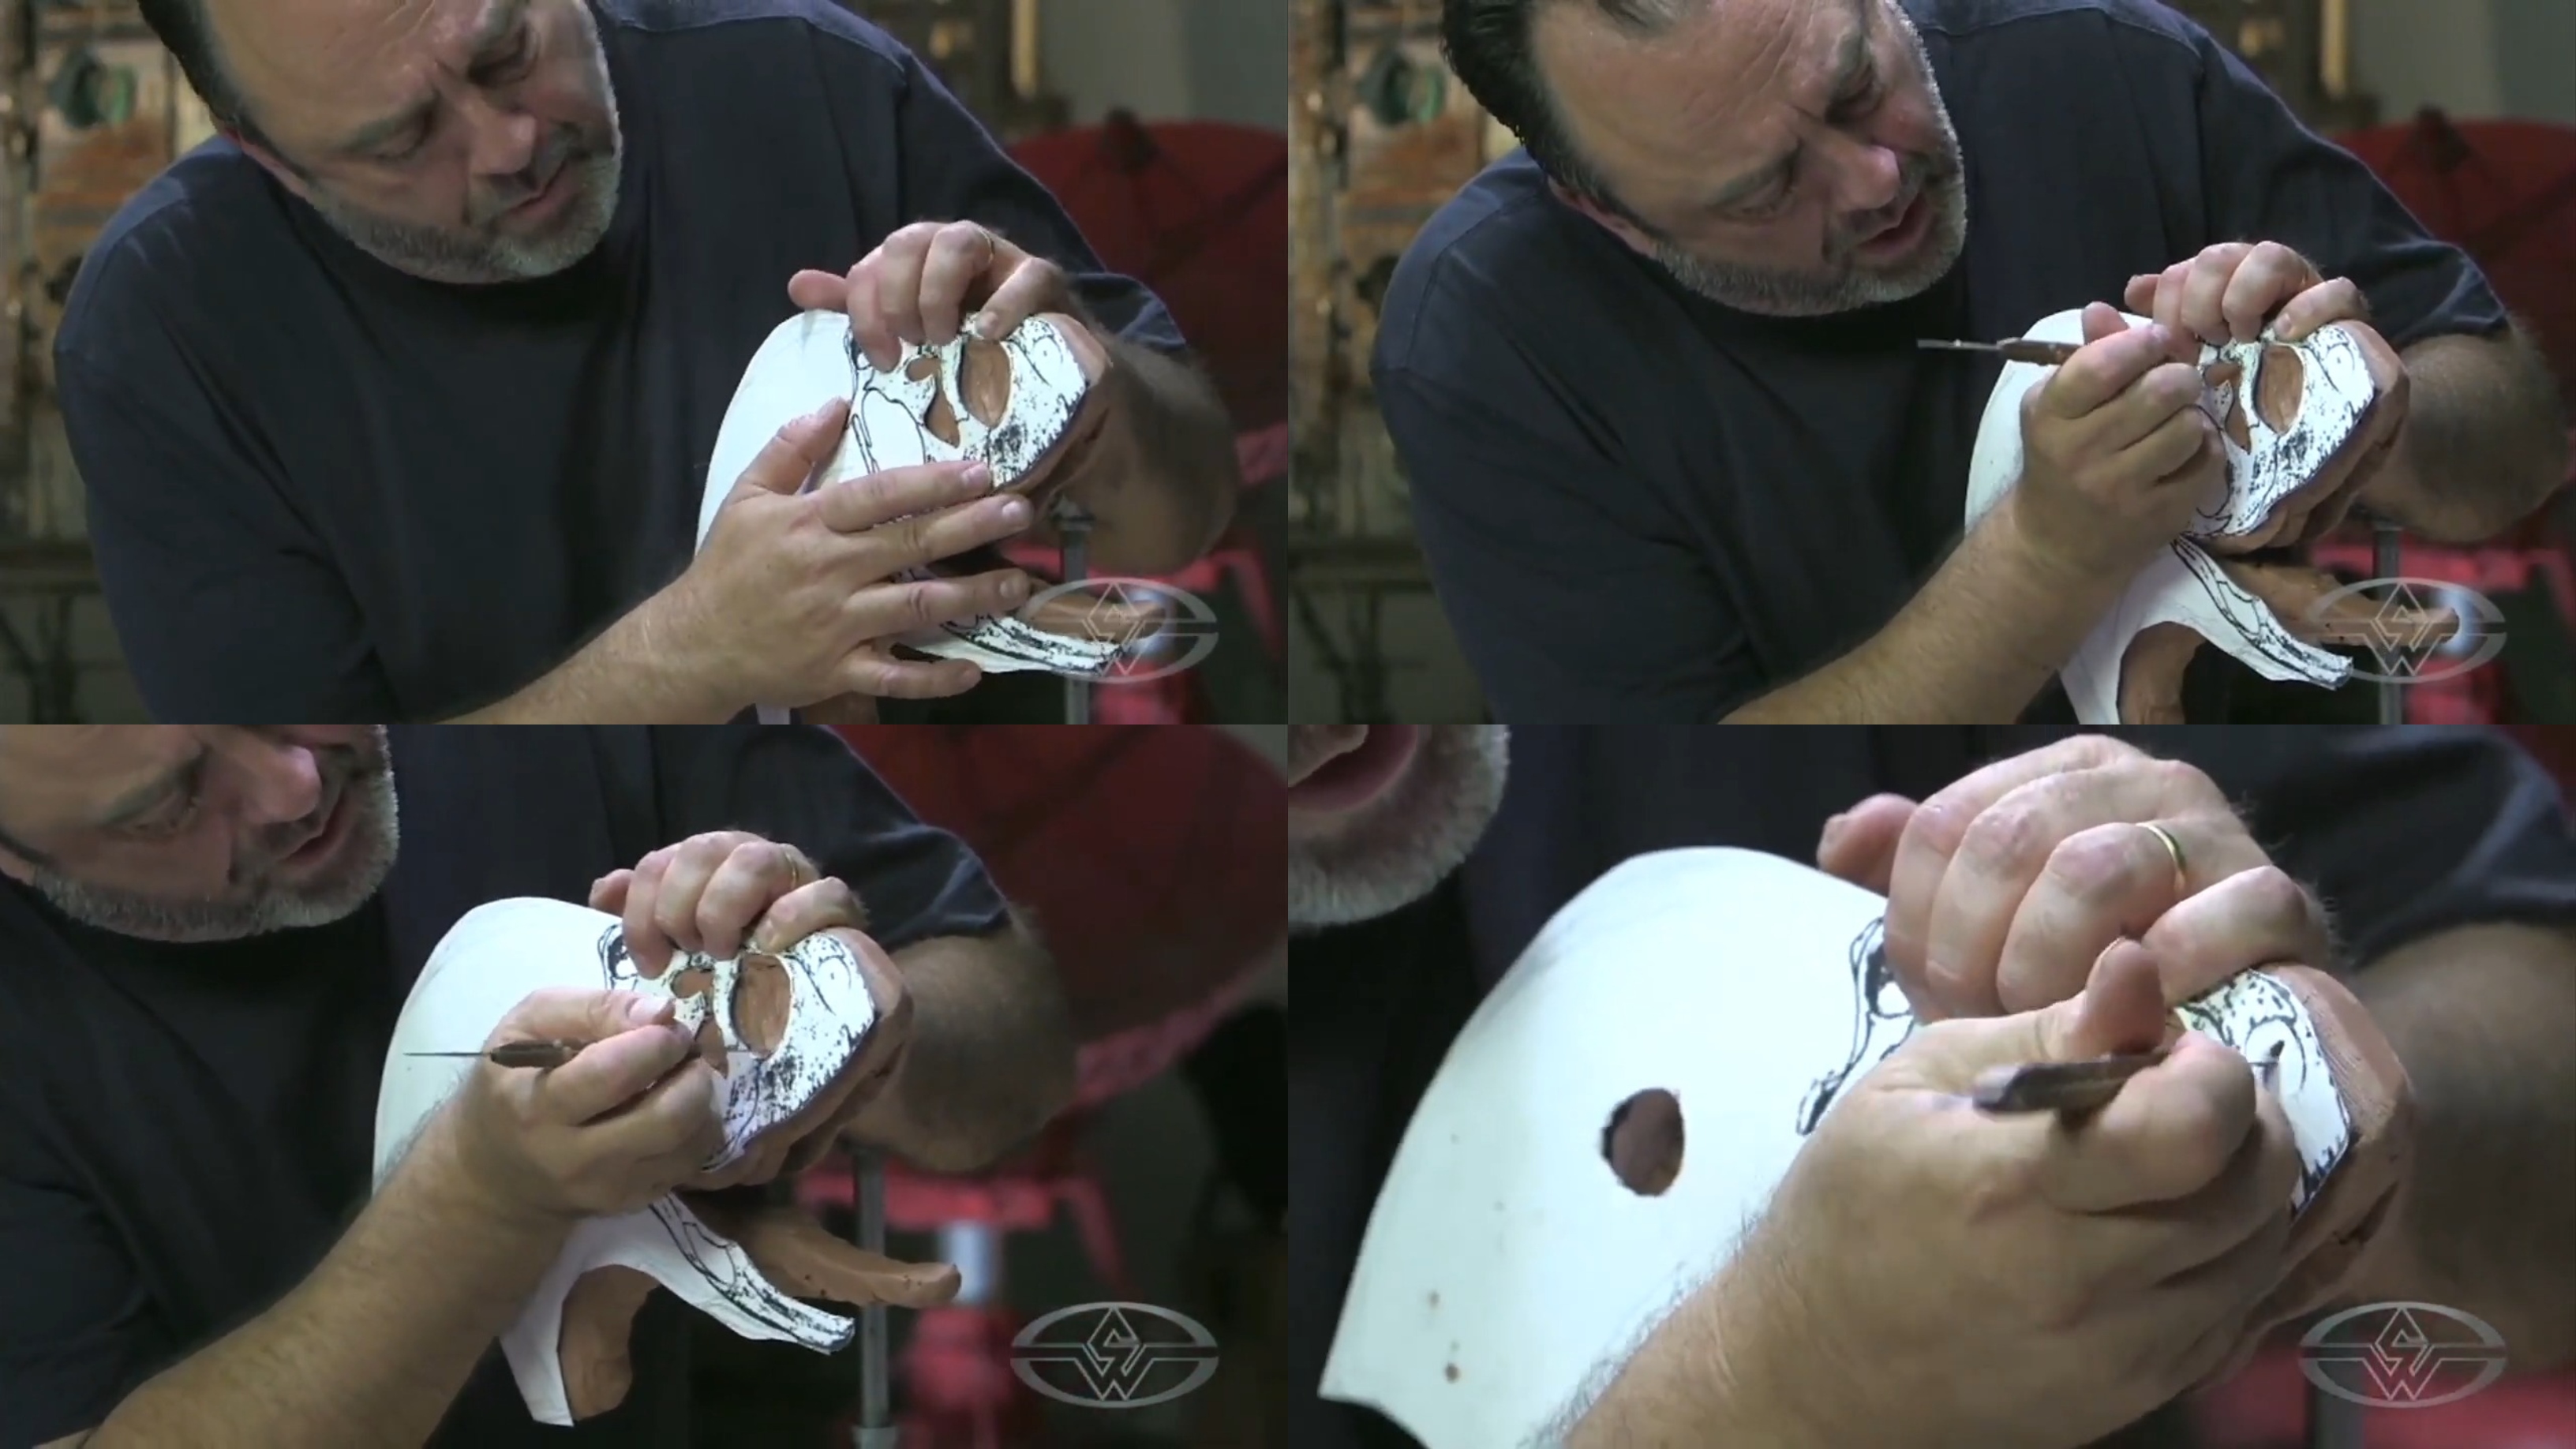 (Christopher Darga carves clay to outline where the dinosaur's key features will go.)
Identify and mark these same reference points on the other side of your dinosaur’s face. It's important to view your sculpt from more than one angle so you can work evenly as you progress on it. Check from the top of the sculpture that the marks are about the same as they are on the other side to keep everything as symmetrical and balanced as possible.
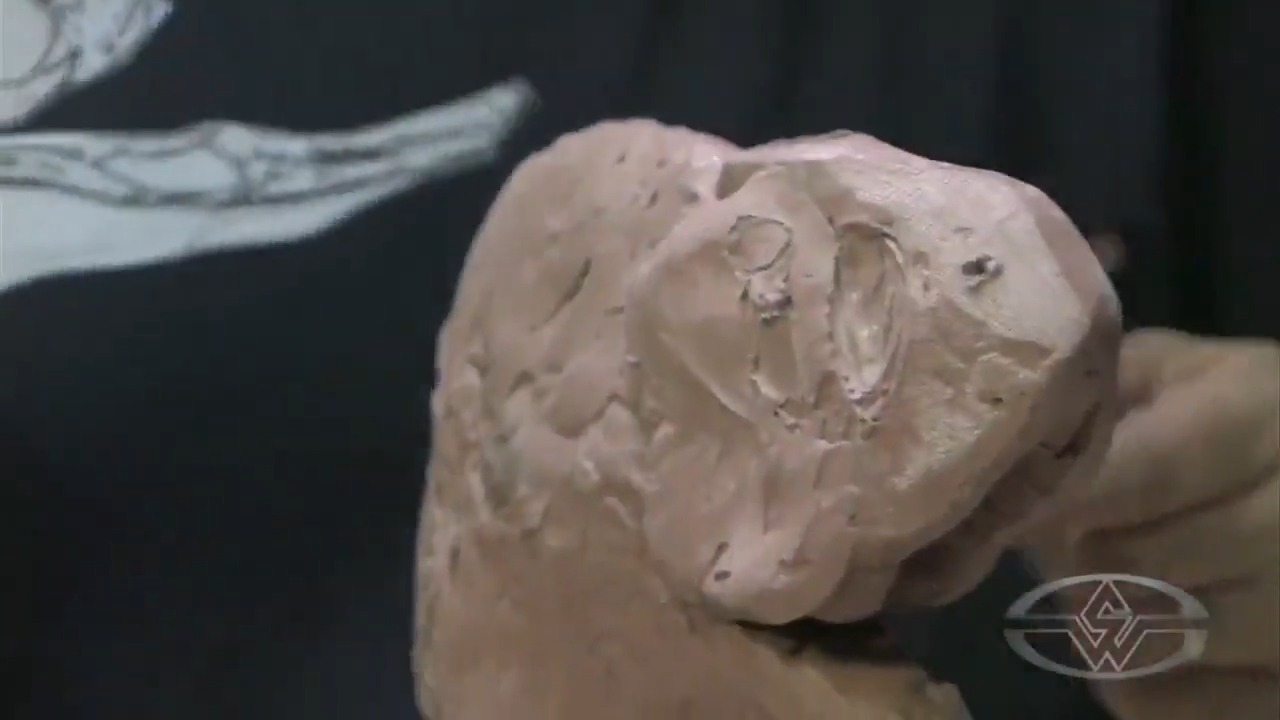 (Detail of one side of Christopher Darga's dinosaur sculpture.)
 (Christopher Darga carefully lines up his drawing with the other side of the dinosaur's face and repeats the process to make the same reference points.)
Referencing Dinosaur Anatomy to Assess Different Angles
Darga makes sure to have reference that includes a top, front, and side view of the dinosaur's skull for a full look at the location of its key features. Obtaining drawings that reveal multiple angles is good practice. This allows you to accurately outline the back of the skull and build up your sculpture with accuracy.
 (Christopher Darga looks at his Carnotaurus skull reference to decide how he's going to approach the next steps: carving reference points and roughing in clay.)
Carving Reference Points in Clay
Keep your drawing close for good measure. Then use your carving tool and begin carving reference points onto your sculpture.
 (Reference in hand, Christopher Darga carves into the clay with precision for anatomical accuracy.)
Keeping in mind where the eye, horn, and back of the eye socket will be, start from the top of the head and carefully follow along to make your way down to the end of the jaw.
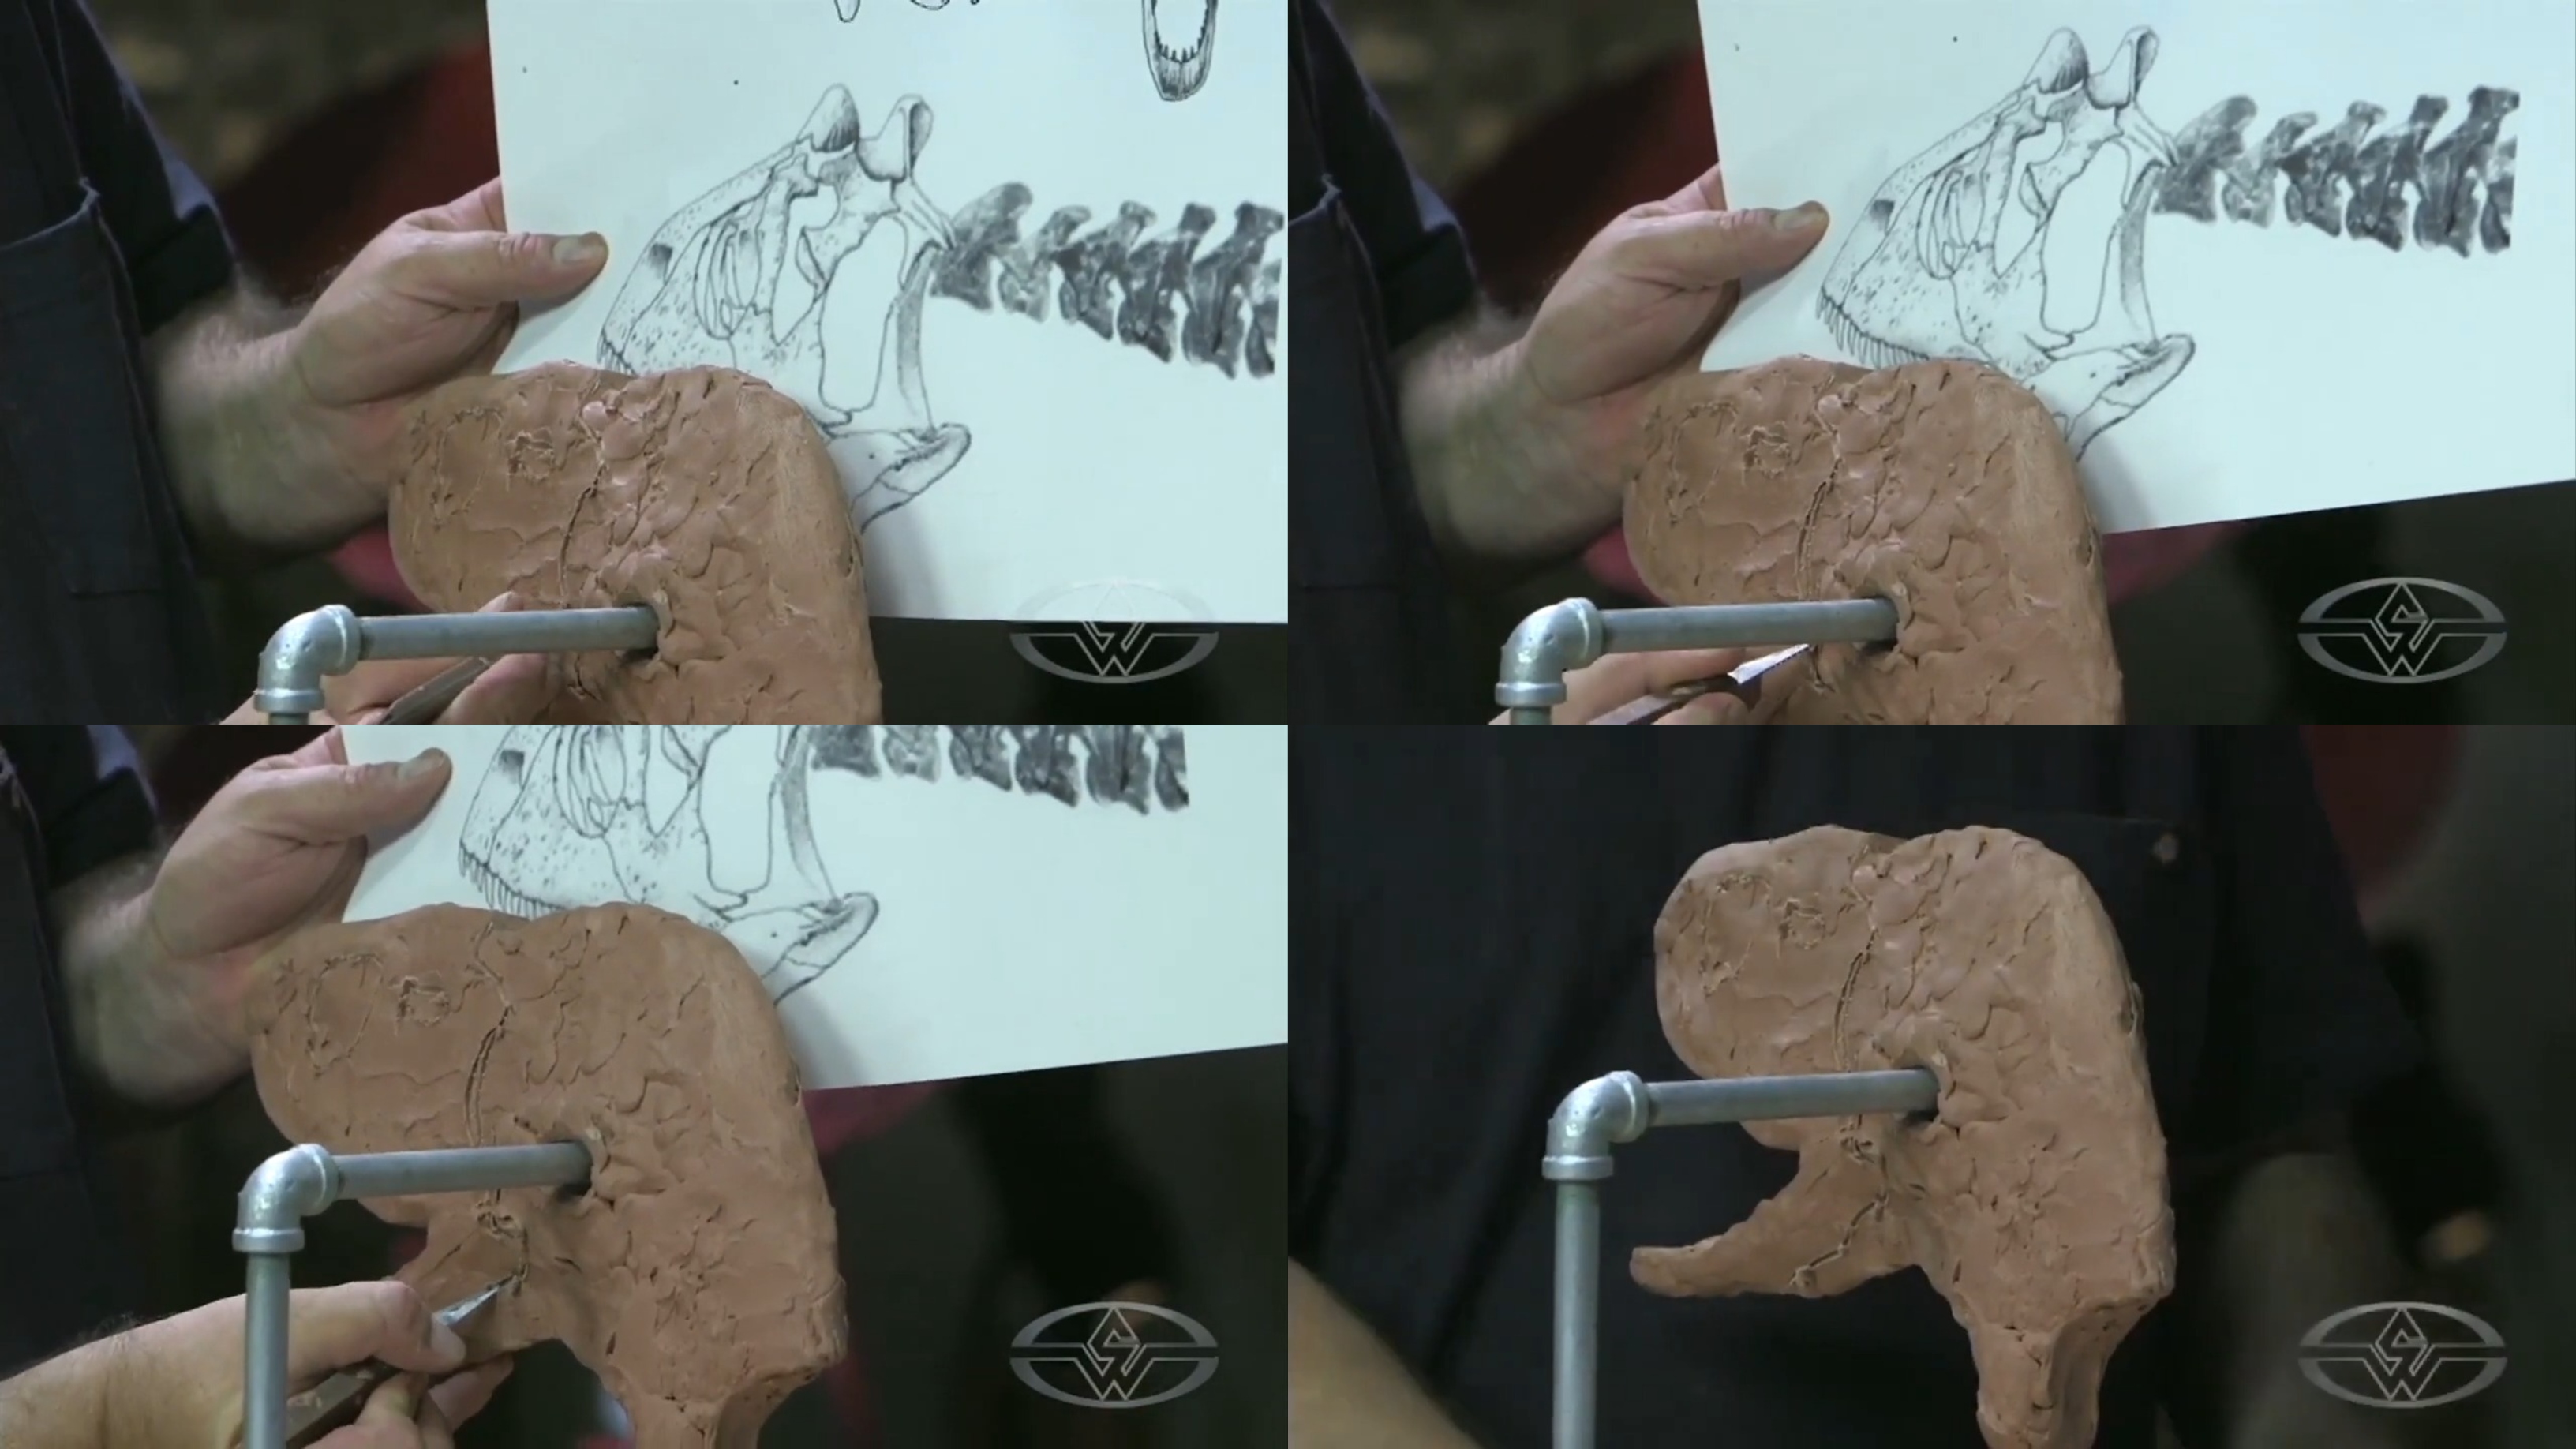 (Christopher Darga continues carving reference points until he reaches the bottom of the jaw.)
This is all rough since the clay will still be molded and shaped, so it doesn’t need to be perfect. Try to replicate the same points of your reference to the best of your ability.
Sculpting Primary Forms in Clay
Next, begin to rough in your dinosaur sculpt. Any time you add to a sculpture, it's always a good idea to add on the other side simultaneously to maintain balance and symmetry.
 (Christopher Darga looks to add more clay to his sculpture and points out how he had already added some clay built up at the top of the head.)
Use clay to build out around the top of the head and eye areas. As you do this, you may end up covering the eye socket, but that's okay since it's all going to be covered eventually, and you know it's there.
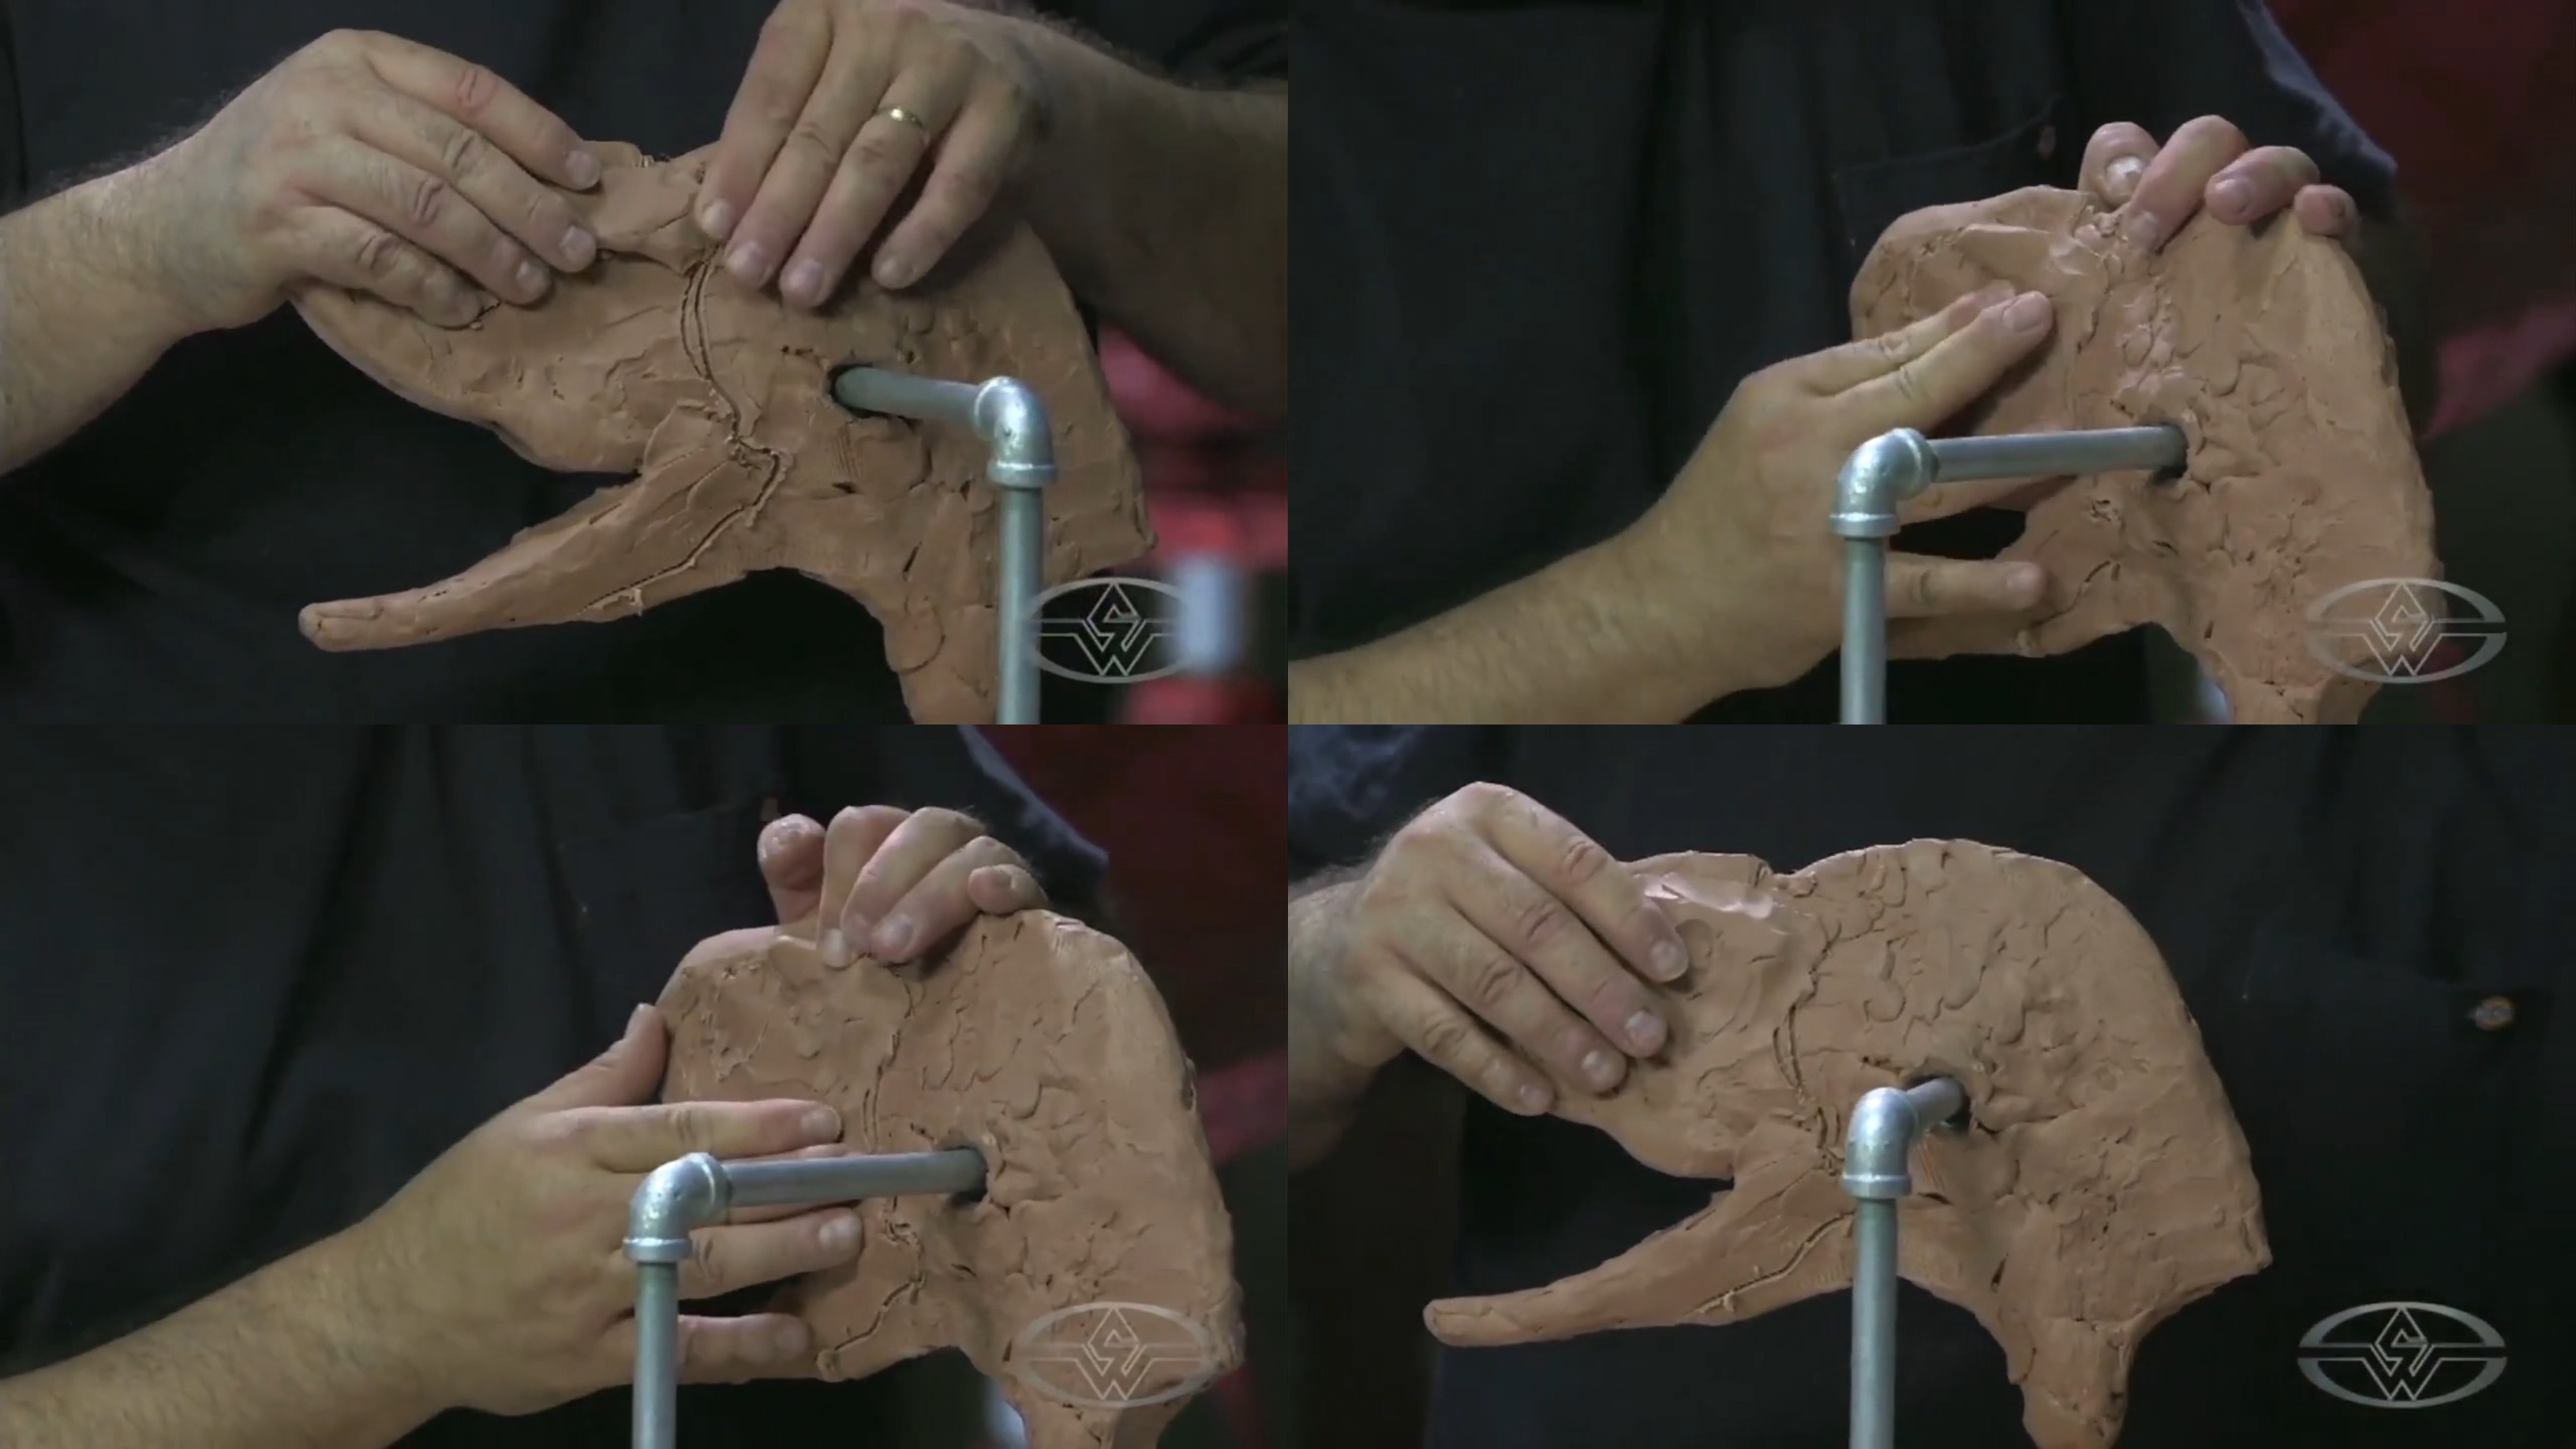 (Christopher Darga adds more clay to build out his dinosaur's head and eye area.)
Use your references as you go to guide your proportions and find out which areas could use more clay. Checking your references — and checking them often — can prevent potential hiccups as you progress.
 (Christopher Darga uses his references to guide where he'll need clay.)
As you examine your reference, you'll see that the top of a Carnotaurus head is narrower and widens at the bottom for the teeth. The snout area is also lower and narrows to the nostrils. And the lower jaw area is wider when looking from a top view. To accomplish this, widen out your sculpture with more clay around the lower jaw and snout as needed.
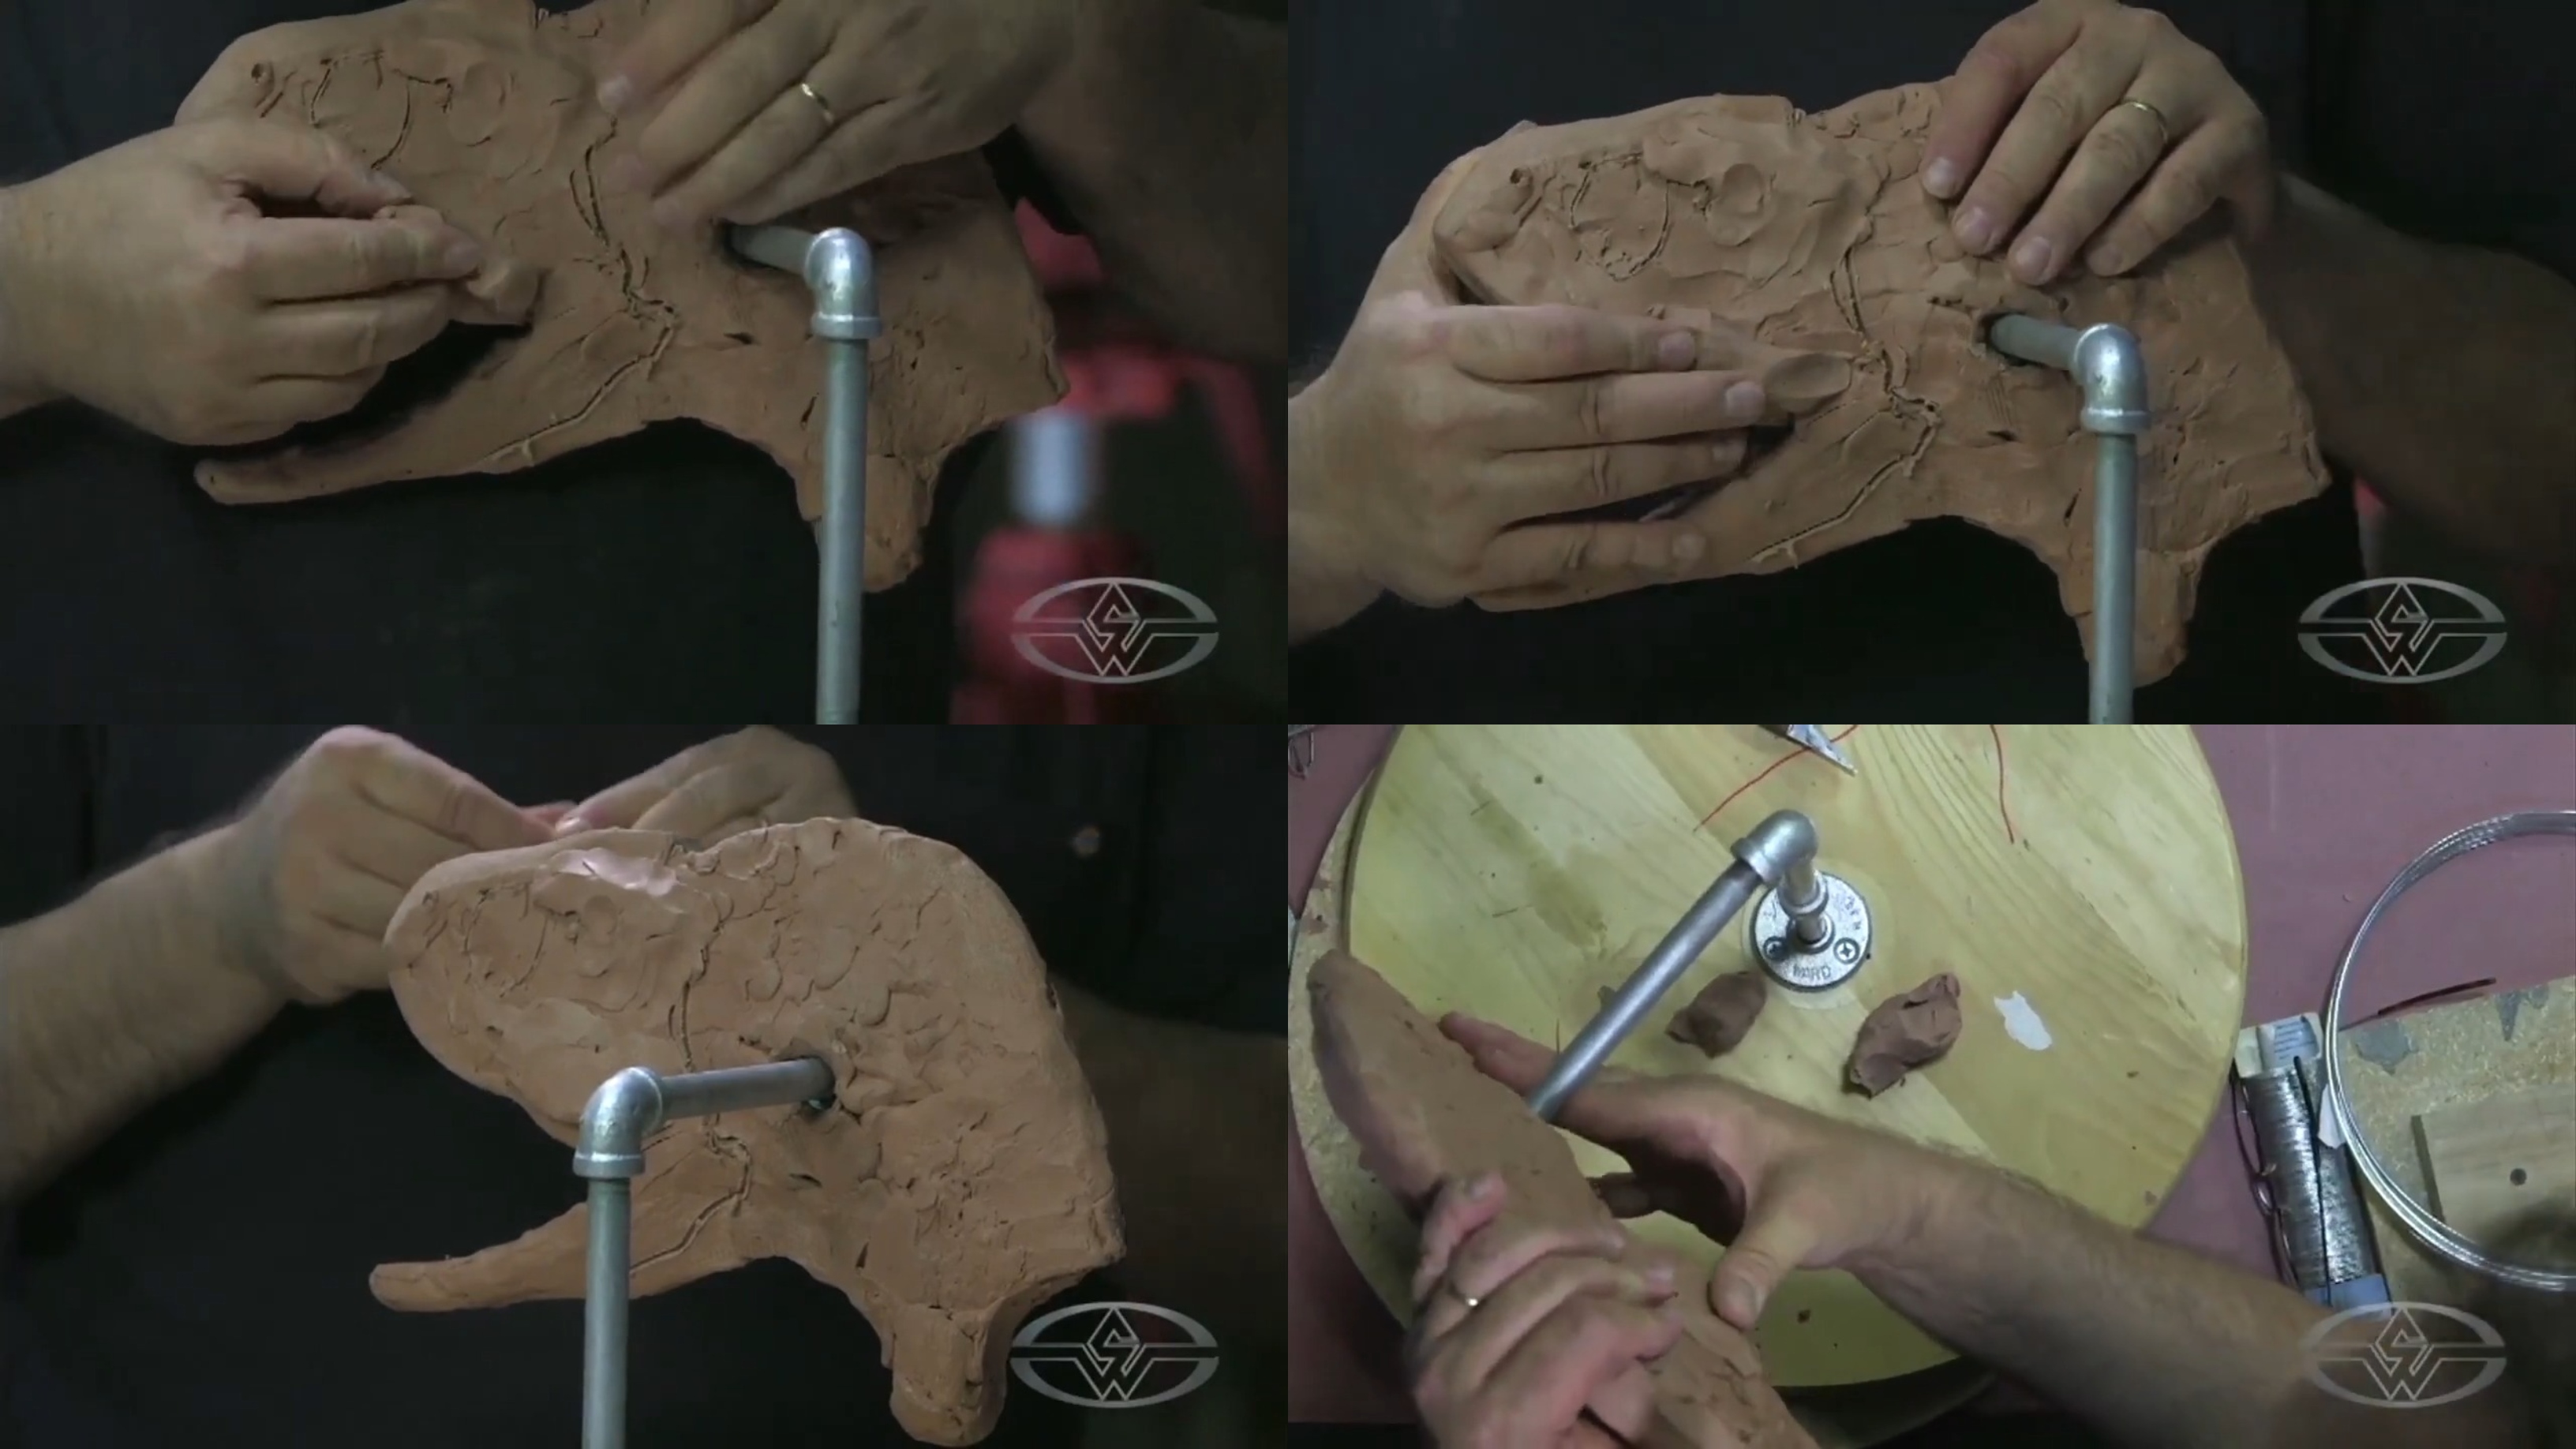 (Christopher Darga puts small amounts of clay on his dino and roughs it out, remembering to repeat the process on the other side as he works.)
It doesn't matter where you start as you begin getting clay on your form. While you eyeball your piece to determine whether it could use some more building out, ensure both sides have the same amount of clay to keep them in balance. This also prevents any potential confusion if you get too far on one area on one side and wonder how exactly you approached it to repeat the process on the other side.
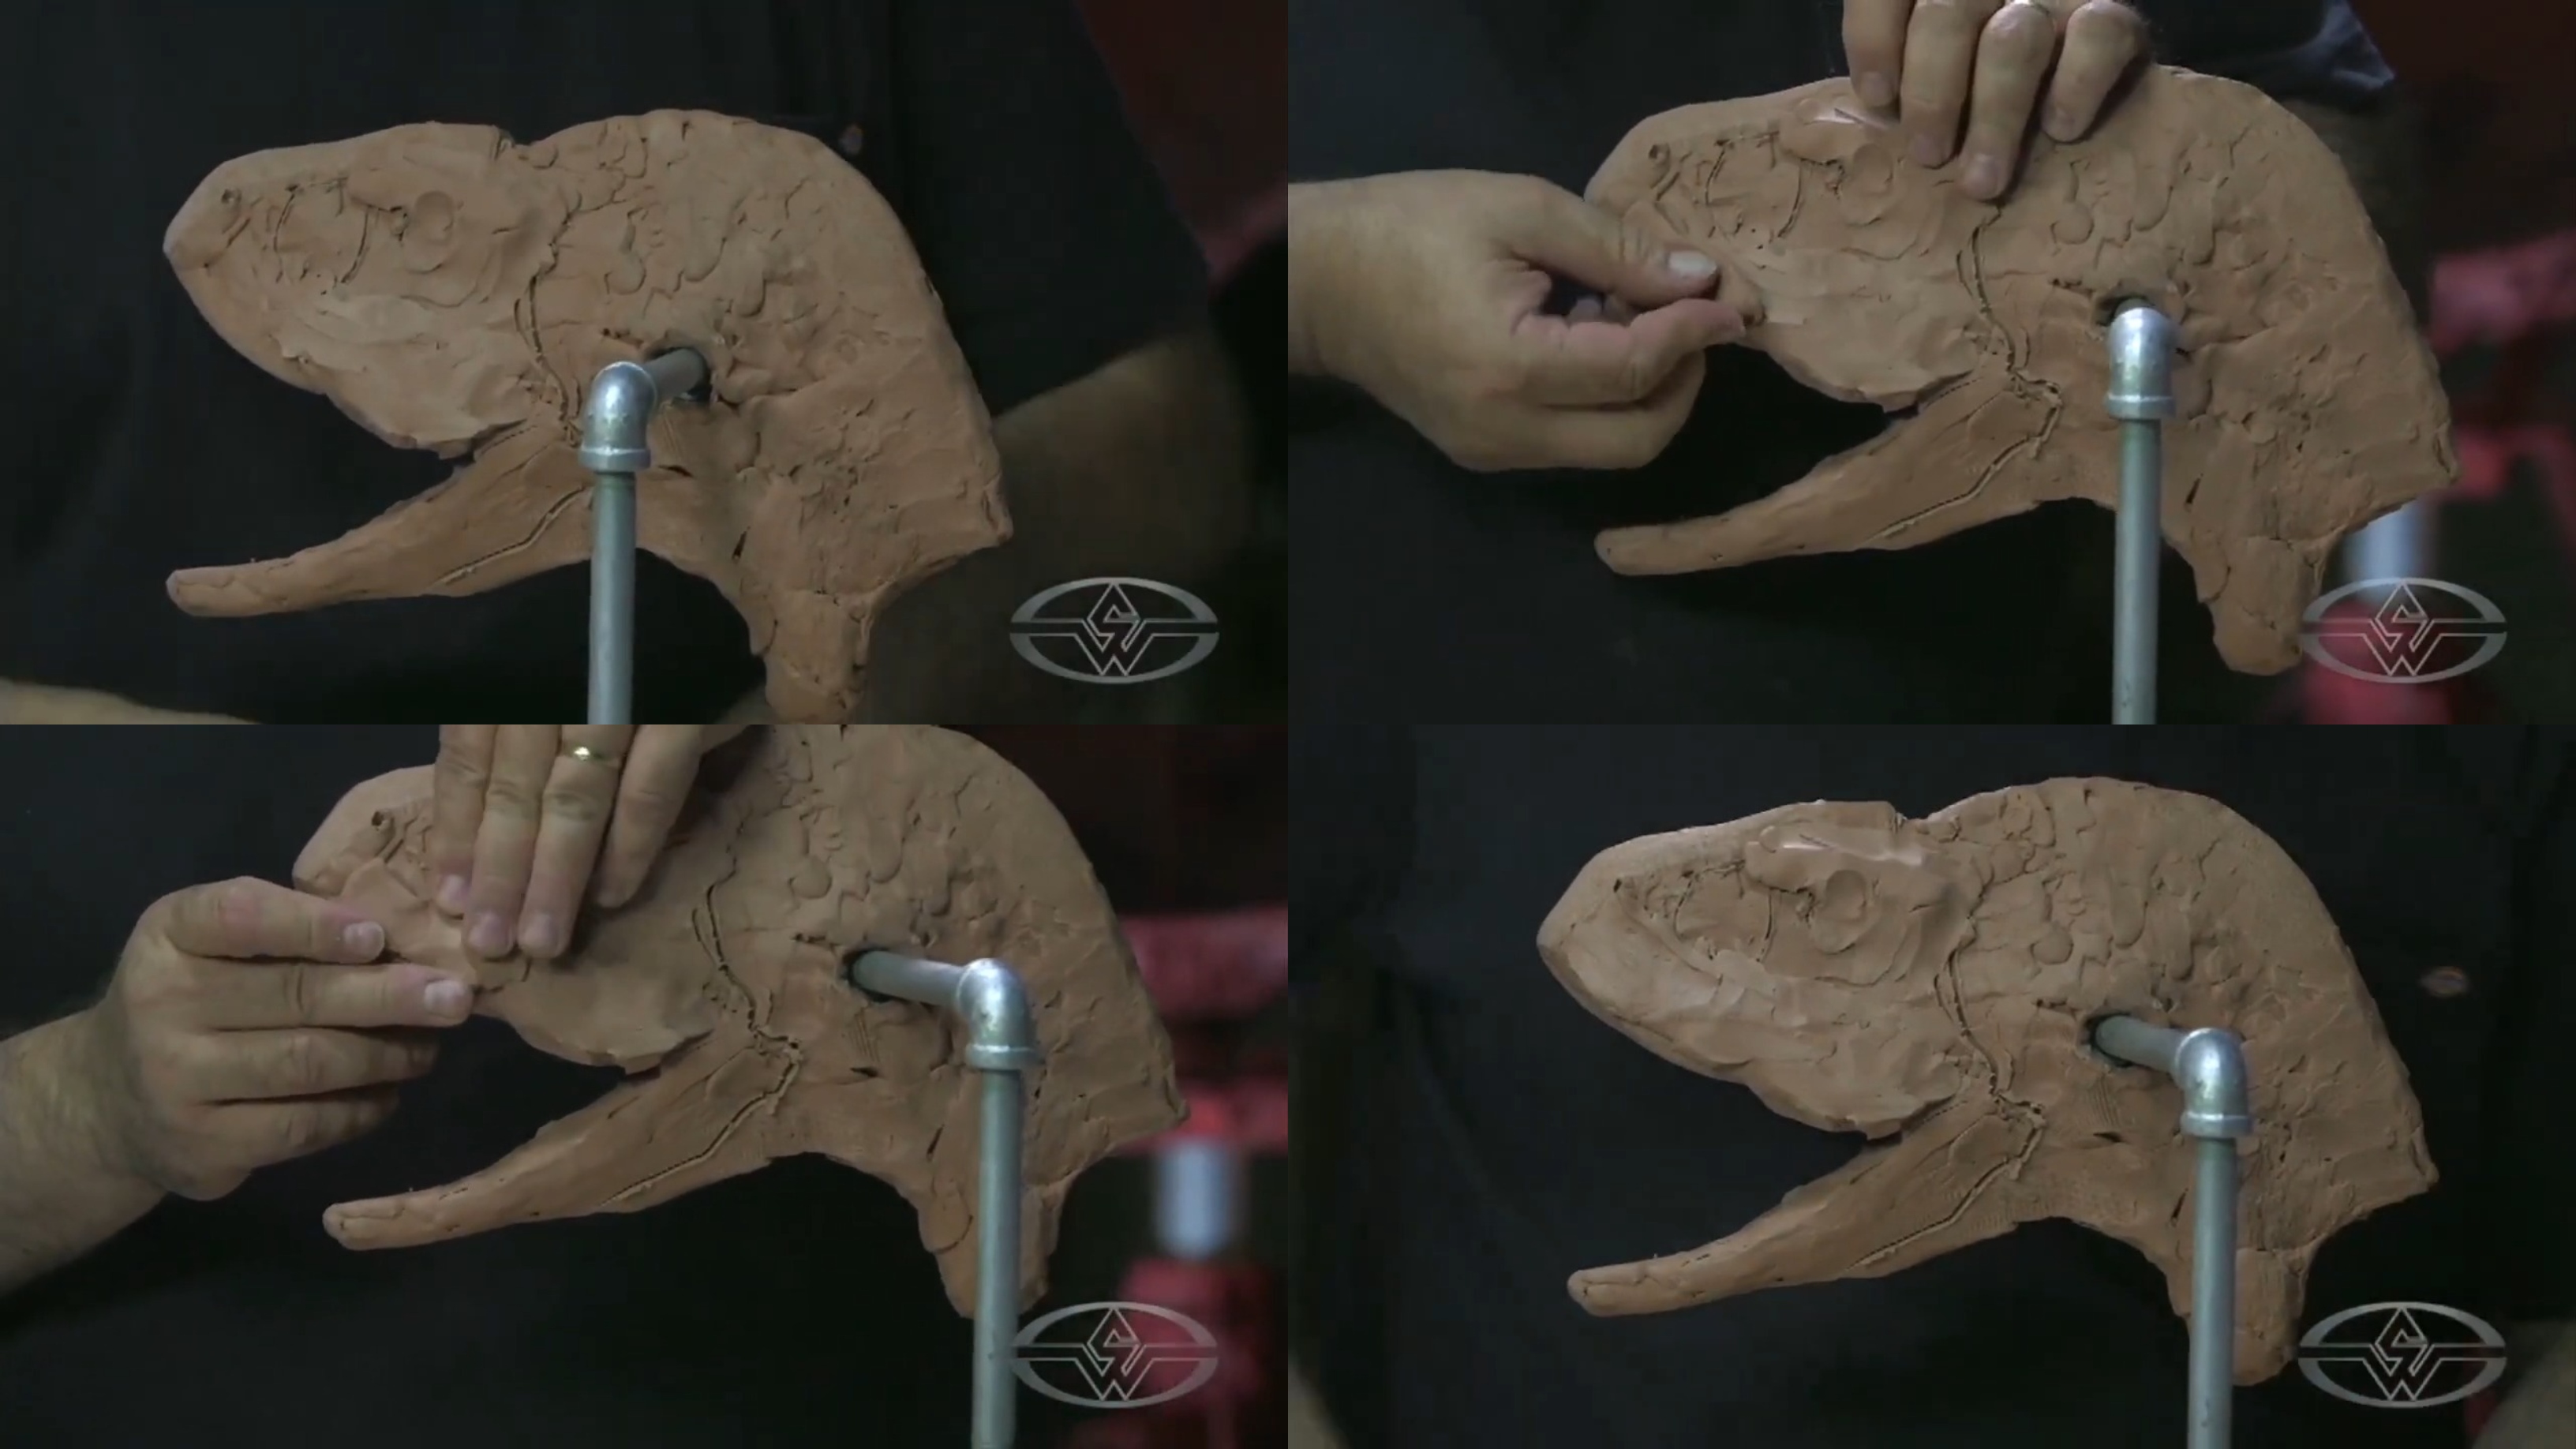 (Christopher Darga continues building out the rough profile in clay until he's satisfied.)
Repeating the Process
Once you’ve roughed out one side, it's time to grab more clay to build out the other side to appear the same. Take your time with this part. Make sure to look at your sculpt from different angles to see what you’ve done. Then keep building up the forms.
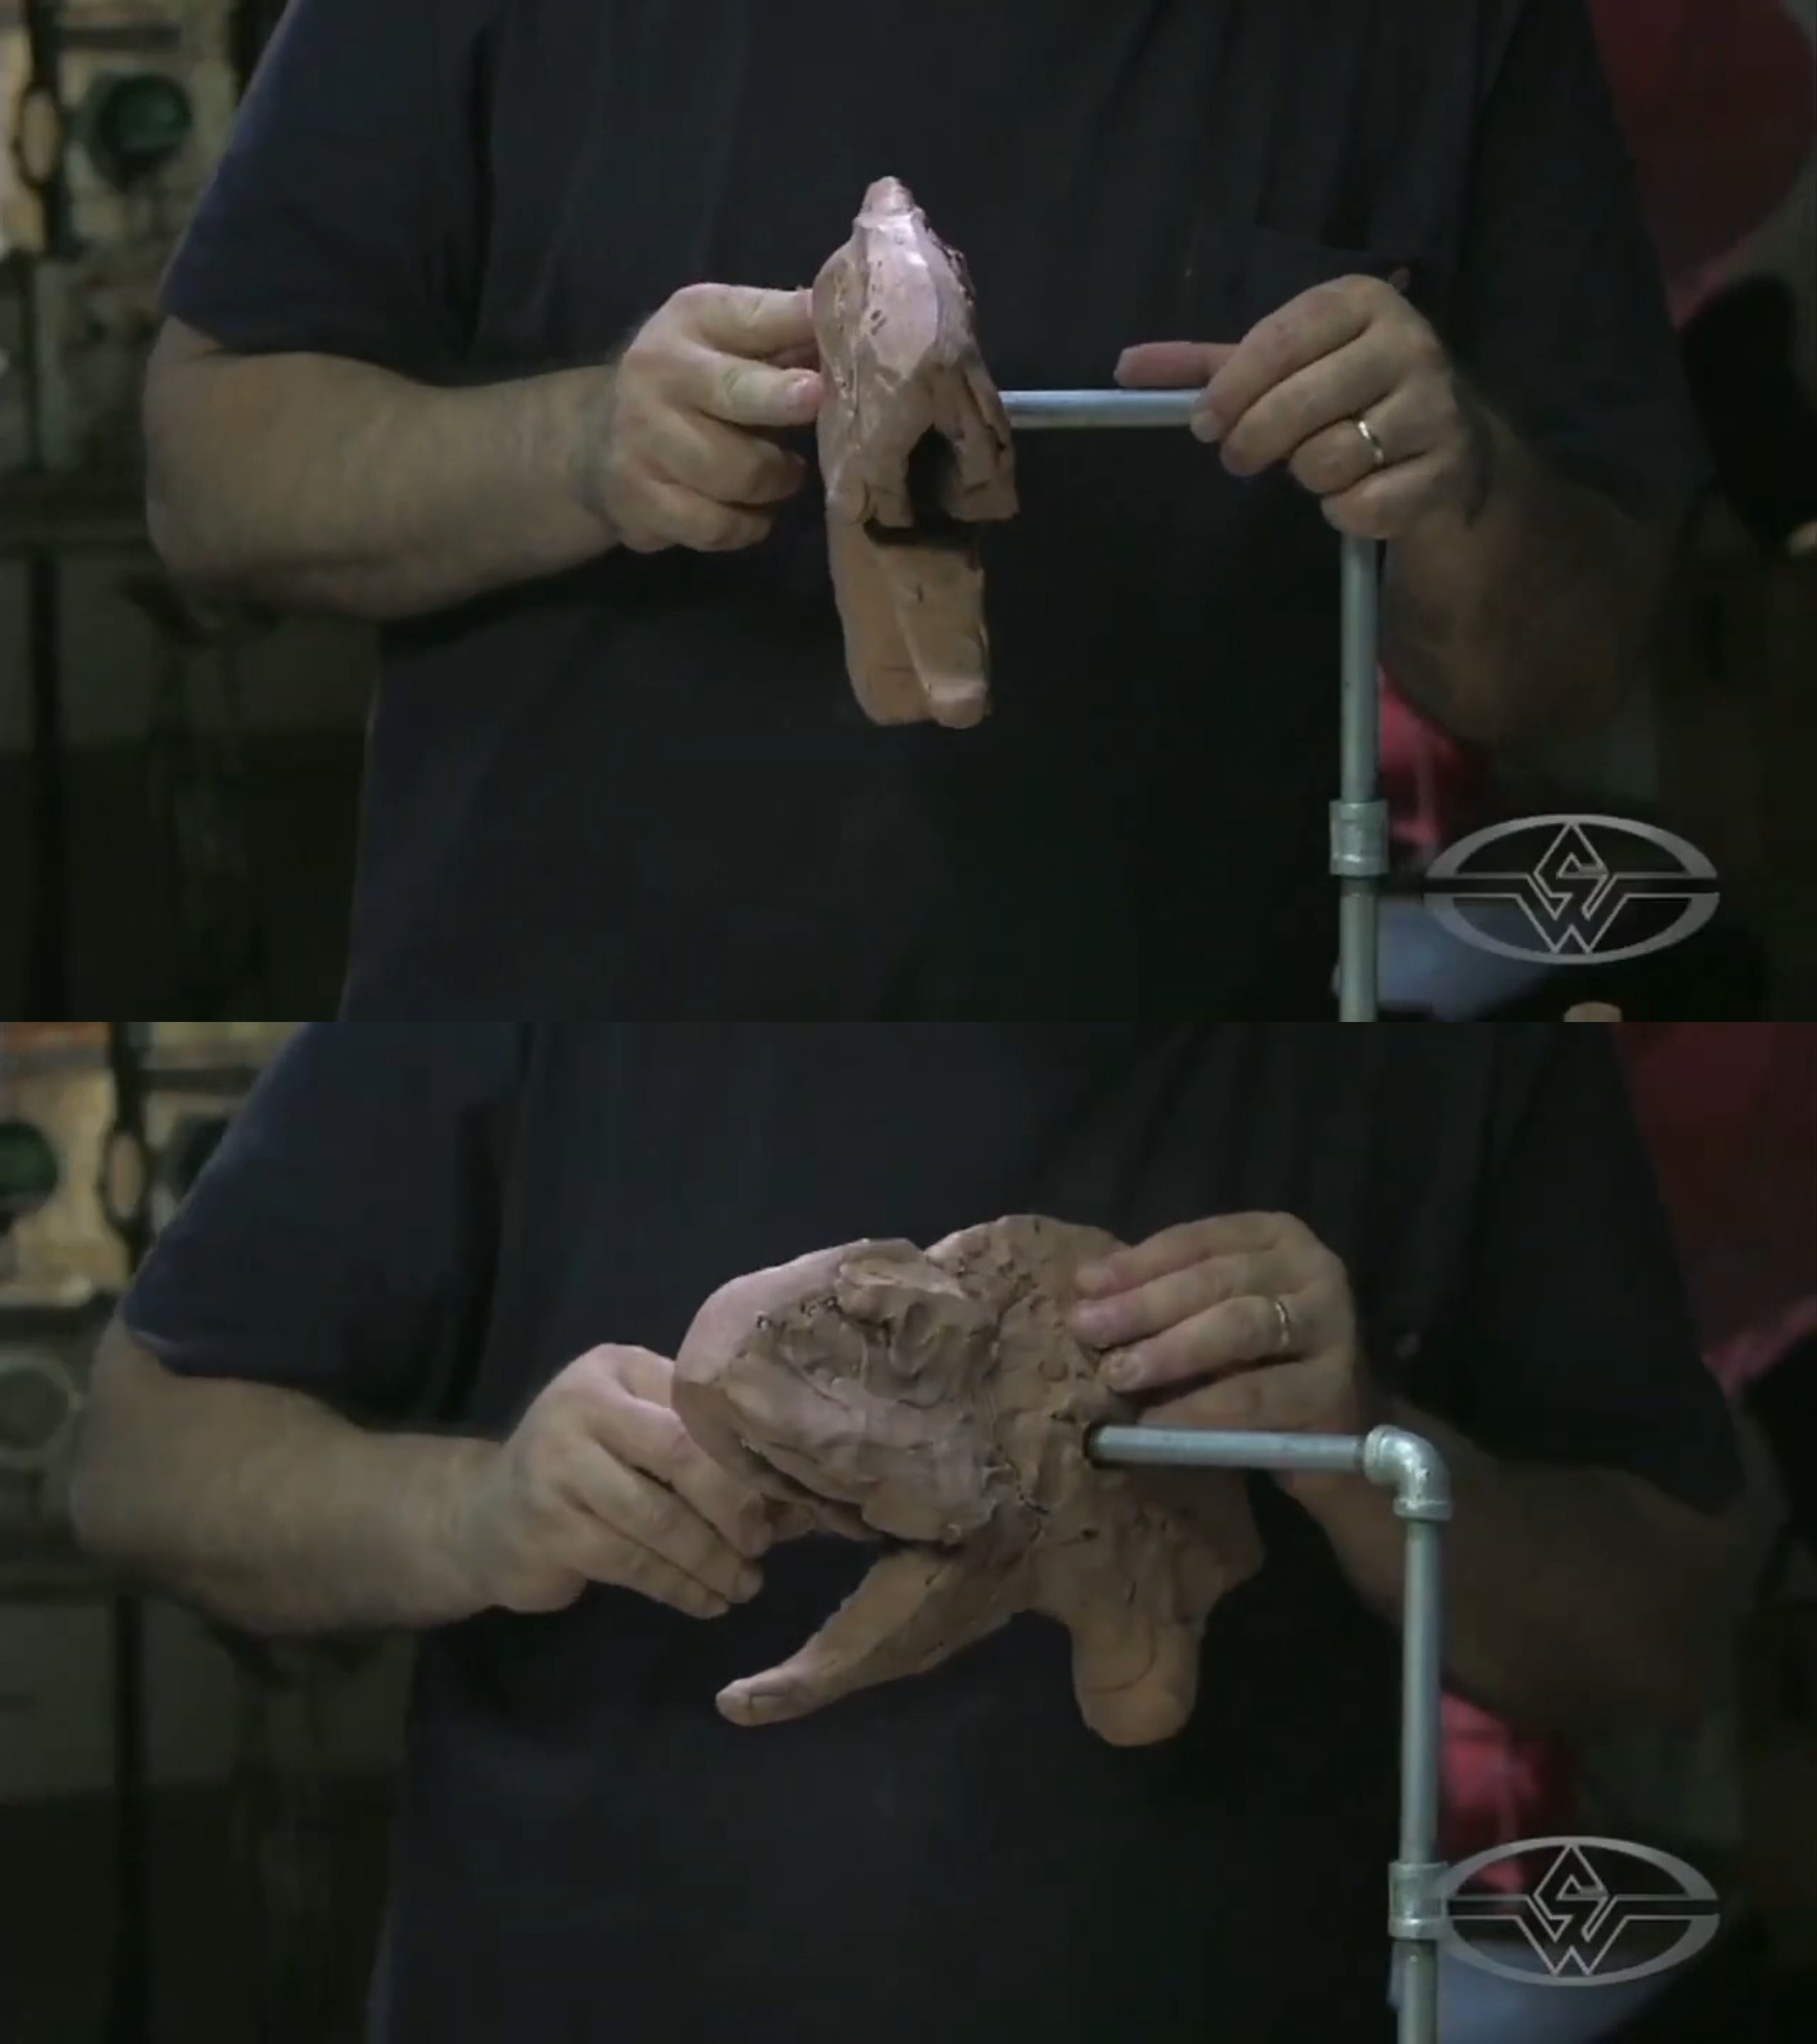 (Christopher Darga shows side and front views of his dinosaur sculpture.)
Now, you're one step closer to creating your killer carnotaurus!
WATCH THE “HOW TO SCULPT A DINOSAUR” COURSE WITH CHRISTOPHER DARGA:
How To Sculpt A Dinosaur Part 1 - Armature Building & Sculpting Primary Forms
How To Sculpt A Dinosaur Part 2 - Secondary Forms & Finishing Techniques