

Making a Hand Puppet With Bill Bryan
by Jeff Dixon
To watch the FREE lesson preview, simply click on the player above. Check out the Full Lesson page HERE: HOW TO MAKE A HAND PUPPET
Welcome to the world of Polymer Membrane Manipulates. That’s the fancy pants way of saying, “plastic bag monsters.” Your leader for this journey is one Bill Bryan, aided this time by his son Tyler Bryan. This is Bill’s second foray into the world of plastic bag monsters for our site, including the previous, “MAKE A MONSTER – Plastic Bag Technology. And much like the first, it’s exceedingly entertaining.
Jump To Section
- Preparing to Design and Create Custom-shaped Balloons
- Designing the Plastic Bag Monster
- Bill Bryan’s Legendary Technique to Cut and Seal Plastic
- Adding Colors And Translucency
- Bringing The Squiggioskeleton To Life
 (The technique that launched a thousand monsters. Bill Bryan is a HERO to moviegoers all over who have asked, 'What the hell am I looking at?')
Preparing to Design and Create Custom-shaped Balloons
This is the kind of lesson that is immensely fun on so many levels. Of course, it’s informative and interesting; this is the SWSCA, so that’s a gimme. But this lesson has an X-factor about it. It’s just so downright unique and inventive that it stands apart. For instance, what if I told you that you could learn to actually design and create custom-shaped balloons? Pretty cool, right? What if I then said you could combine those custom-shaped balloons to create the puppet of a ferocious little alien? Even cooler. And finally, what if by using the combination of an air pump and your own breath, you could actually manipulate it and bring it all to life? Yep, that’s the game, set, and match of cool. And it’s all right here.
To get started, in addition to some other basic tools and materials, the key component here is the plastic. In this case, Bill uses drop cloth, about 7mm thick. It’s thin enough to be lightweight and move with blown air and flexible enough to pull some neat ridges and points out from it.
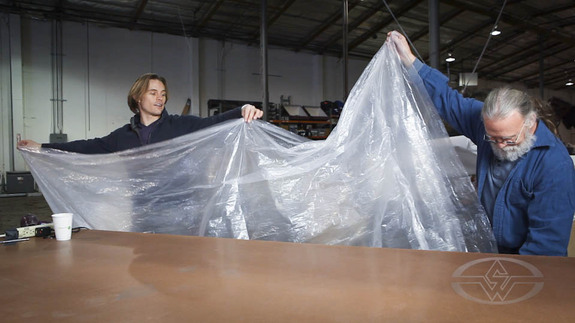 (Bill and Tyler team up to do an elaborate series of folds that takes a bit of planning to make sure you don't get LOST!)
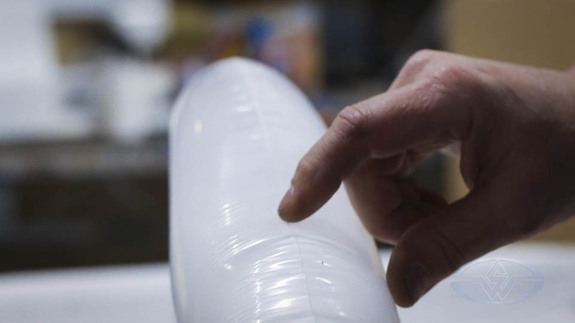 (Once Bill inverts the new balloon, the seam is on the INSIDE, making it easier to disguise with color and texture.)
Designing the Plastic Bag Monster
Like most creature creations, it all starts with a design. Bill starts by tracing Tyler’s arm since he’ll be the puppeteer for the beast. But he then adds his own flourish to it. The resulting external design is pretty basic but also quite odd-looking. The reason for the strange shape is revealed later when the plastic is doubled over to create both an inner wall that surrounds the arm and an outer skin for the creature itself. This way, the only place that needs to inflate is between the two. It’s something that works really well.
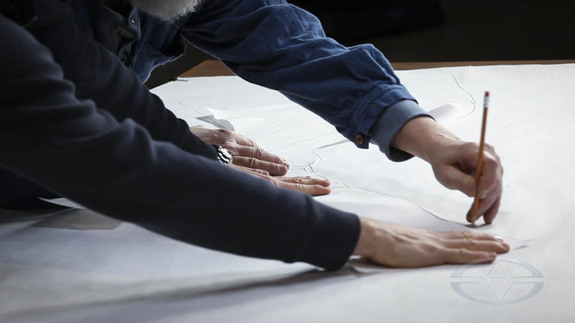 (Bill's design comes from his BRAIN. And a shrimp. But mostly... his very big brain.)
Bill Bryan’s Legendary Technique to Cut and Seal Plastic
Using a soldering iron both cuts out and creates a seal in the plastic. This process is used for the main body, tentacles, and tongue. Like many aspects of this lesson, even though it looks so basic and simple, a quick air test reveals that these basic and simple maneuvers yield some fantastic results. Now all you have to do is pull on the plastic to create points and barbs for the creature, and then add some thin music wire and air tubes to make it roll up and back. After all this, when air is added and taken away, it acts much like a party blower – an organic alien party blower. It’s quite cool and really crazy how easy it is.
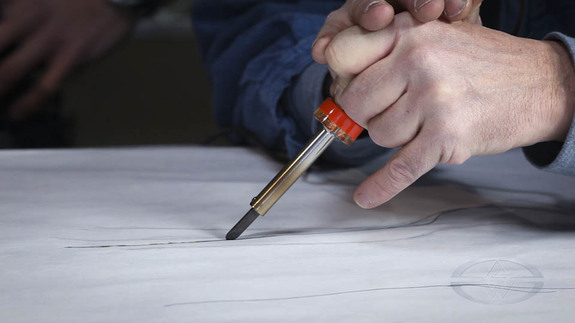 (Ever have a writer's cramp? Try BALLON MONSTER CRAMP. Bill's technique takes patience and stamina.)
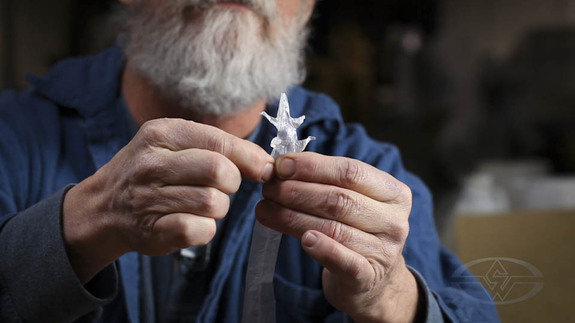 (The whispy, nebulous quality of Bill's monsters is what makes them so mysterious. Bill has perfected the pinch-pull.)
Adding Colors And Translucency
After a brief stint of using L200 foam to create a base for the puppet, it’s now time to paint. Using an airbrush to paint the plastic, along with some stencils for patterning, the creature really starts to pop. The skin color, textures, and details are all added layer by layer until this little beastie is ready to breathe life. Finally, adding an eyeball out of a small balloon is the icing on the cake.
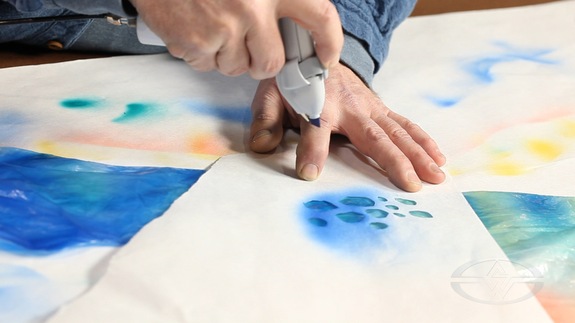 (NOT paint, says Bill. PENS. Copic Pens, a converter, a compressor, and BOOM: Not as much smudgy, heavy material in the form of paint.)
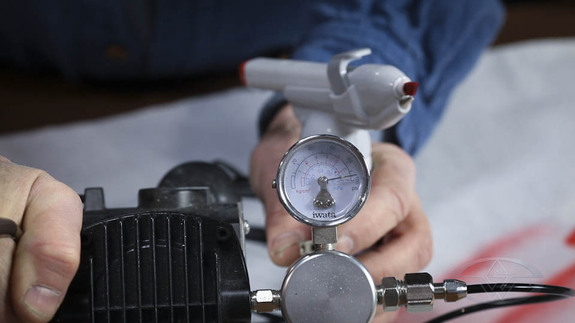 (The compressor kit with attachment.)
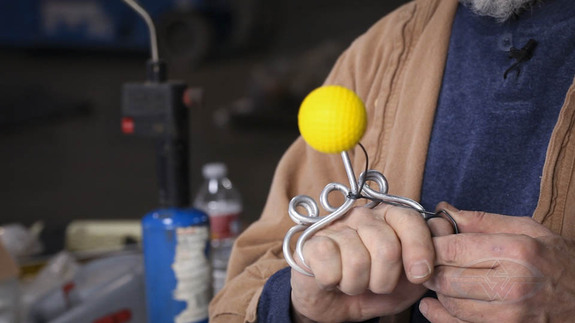 (Stunt ball. Improv mech. Bill tests his theory of armature wire and a hollow golf ball to operate the eye inside the puppet. You can literally make this out of your junk drawer's contents.)
Bringing The Squiggioskeleton To Life
Once finally constructed, the seals are airtight, and all the mechanisms are in place, it’s finally time to release the beast. As with any puppeteering lesson, this is what you always wait for – watching it all come together and move. It’s quite an amazing little alien creature with moving tentacles, a rolling forked tongue, and highly organic motion, and it was all made out of simple plastic bags… and a lot of imagination. Lucky for us Bill Bryan, and his son Tyler, have imagination in spades and are willing to share it all with us.
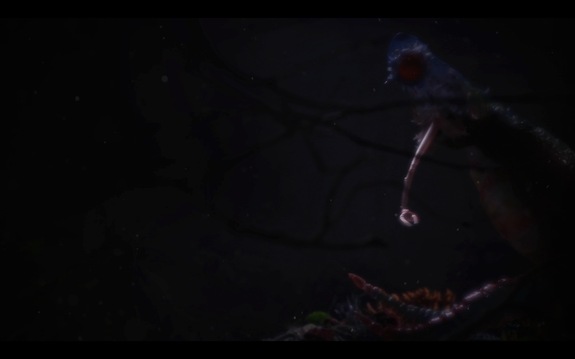 (Bill shows up on set and mounts up the blobule. Once it is disguised in its environment and Bill, ever the performer, gets the thing moving, you forget how SIMPLE it is. And you start saying... 'What the...?')
Enjoy SWSCA viewers, this is a good one. You’ll never look at your simple Ziploc bags the same way ever again.
-- Jeff Dixon
SEE the full lesson HERE: HOW TO MAKE A HAND PUPPET